

⚠️ Hiking and scrambling are inherently dangerous activities. Please read my Disclaimer. ⚠️
After summiting the first peak of Syncline Mountain and enjoying lunch on its sheltered east face, we then turned our attention towards Peak 2. However, we first took the time to climb to the top of the High Point along the connecting ridge.

The trek from the summit of Peak 1 to Peak 2 includes some fun technical scrambling and is full of incredible scenery. As Nugara describes in, More Scrambles in the Canadian Rockies, it is well worth the trip to the top of the High Point along the connecting ridge. You don’t have to do this, but once you see what the High Point looks like from the opposite direction, you will wish that you had stood on top of it. Fortunately the wind was blowing us back from the edge of its cliffs and not towards them… From the top of the High Point we backtracked a bit and then descended down to the right. From here, we picked our way carefully along the cliffs towards the col at the base of Peak 2. The slippery snow covered rock made things a bit tricky at times, particularly when we had to down climb a few sections. Once we reached the col, the route to the summit of Peak 2 involved only a steep hike up packed scree. The views from this location are even better than the views from Peak 1 as it is higher (my GPS said 2482m) and set further to the west. Our route off of Peak 2 also involved some fun scrambling as we down climbed several sections of rock to reach the ridge that connects to St. Eloi. After walking along the ridge for a short distance, we dropped into a large drainage that had been scoured clear of any vegetation by massive flooding. We followed the creek in this colourful drainage until it intersected with Syncline Brook and then followed this out to the highway and back to our vehicles.

Mark heads toward the High Point. From this angle it doesn’t look like much…

Mount Haig, Gravenstafel Ridge, and Tombstone Mountain provide a scenic backdrop as Mark walks along the ridge.

Jeff and Alex pick their way down from the summit of Peak 1.

The top of the High Point is not hard to get to.
For some reason Mark kept photobombing my landscape shots 😉

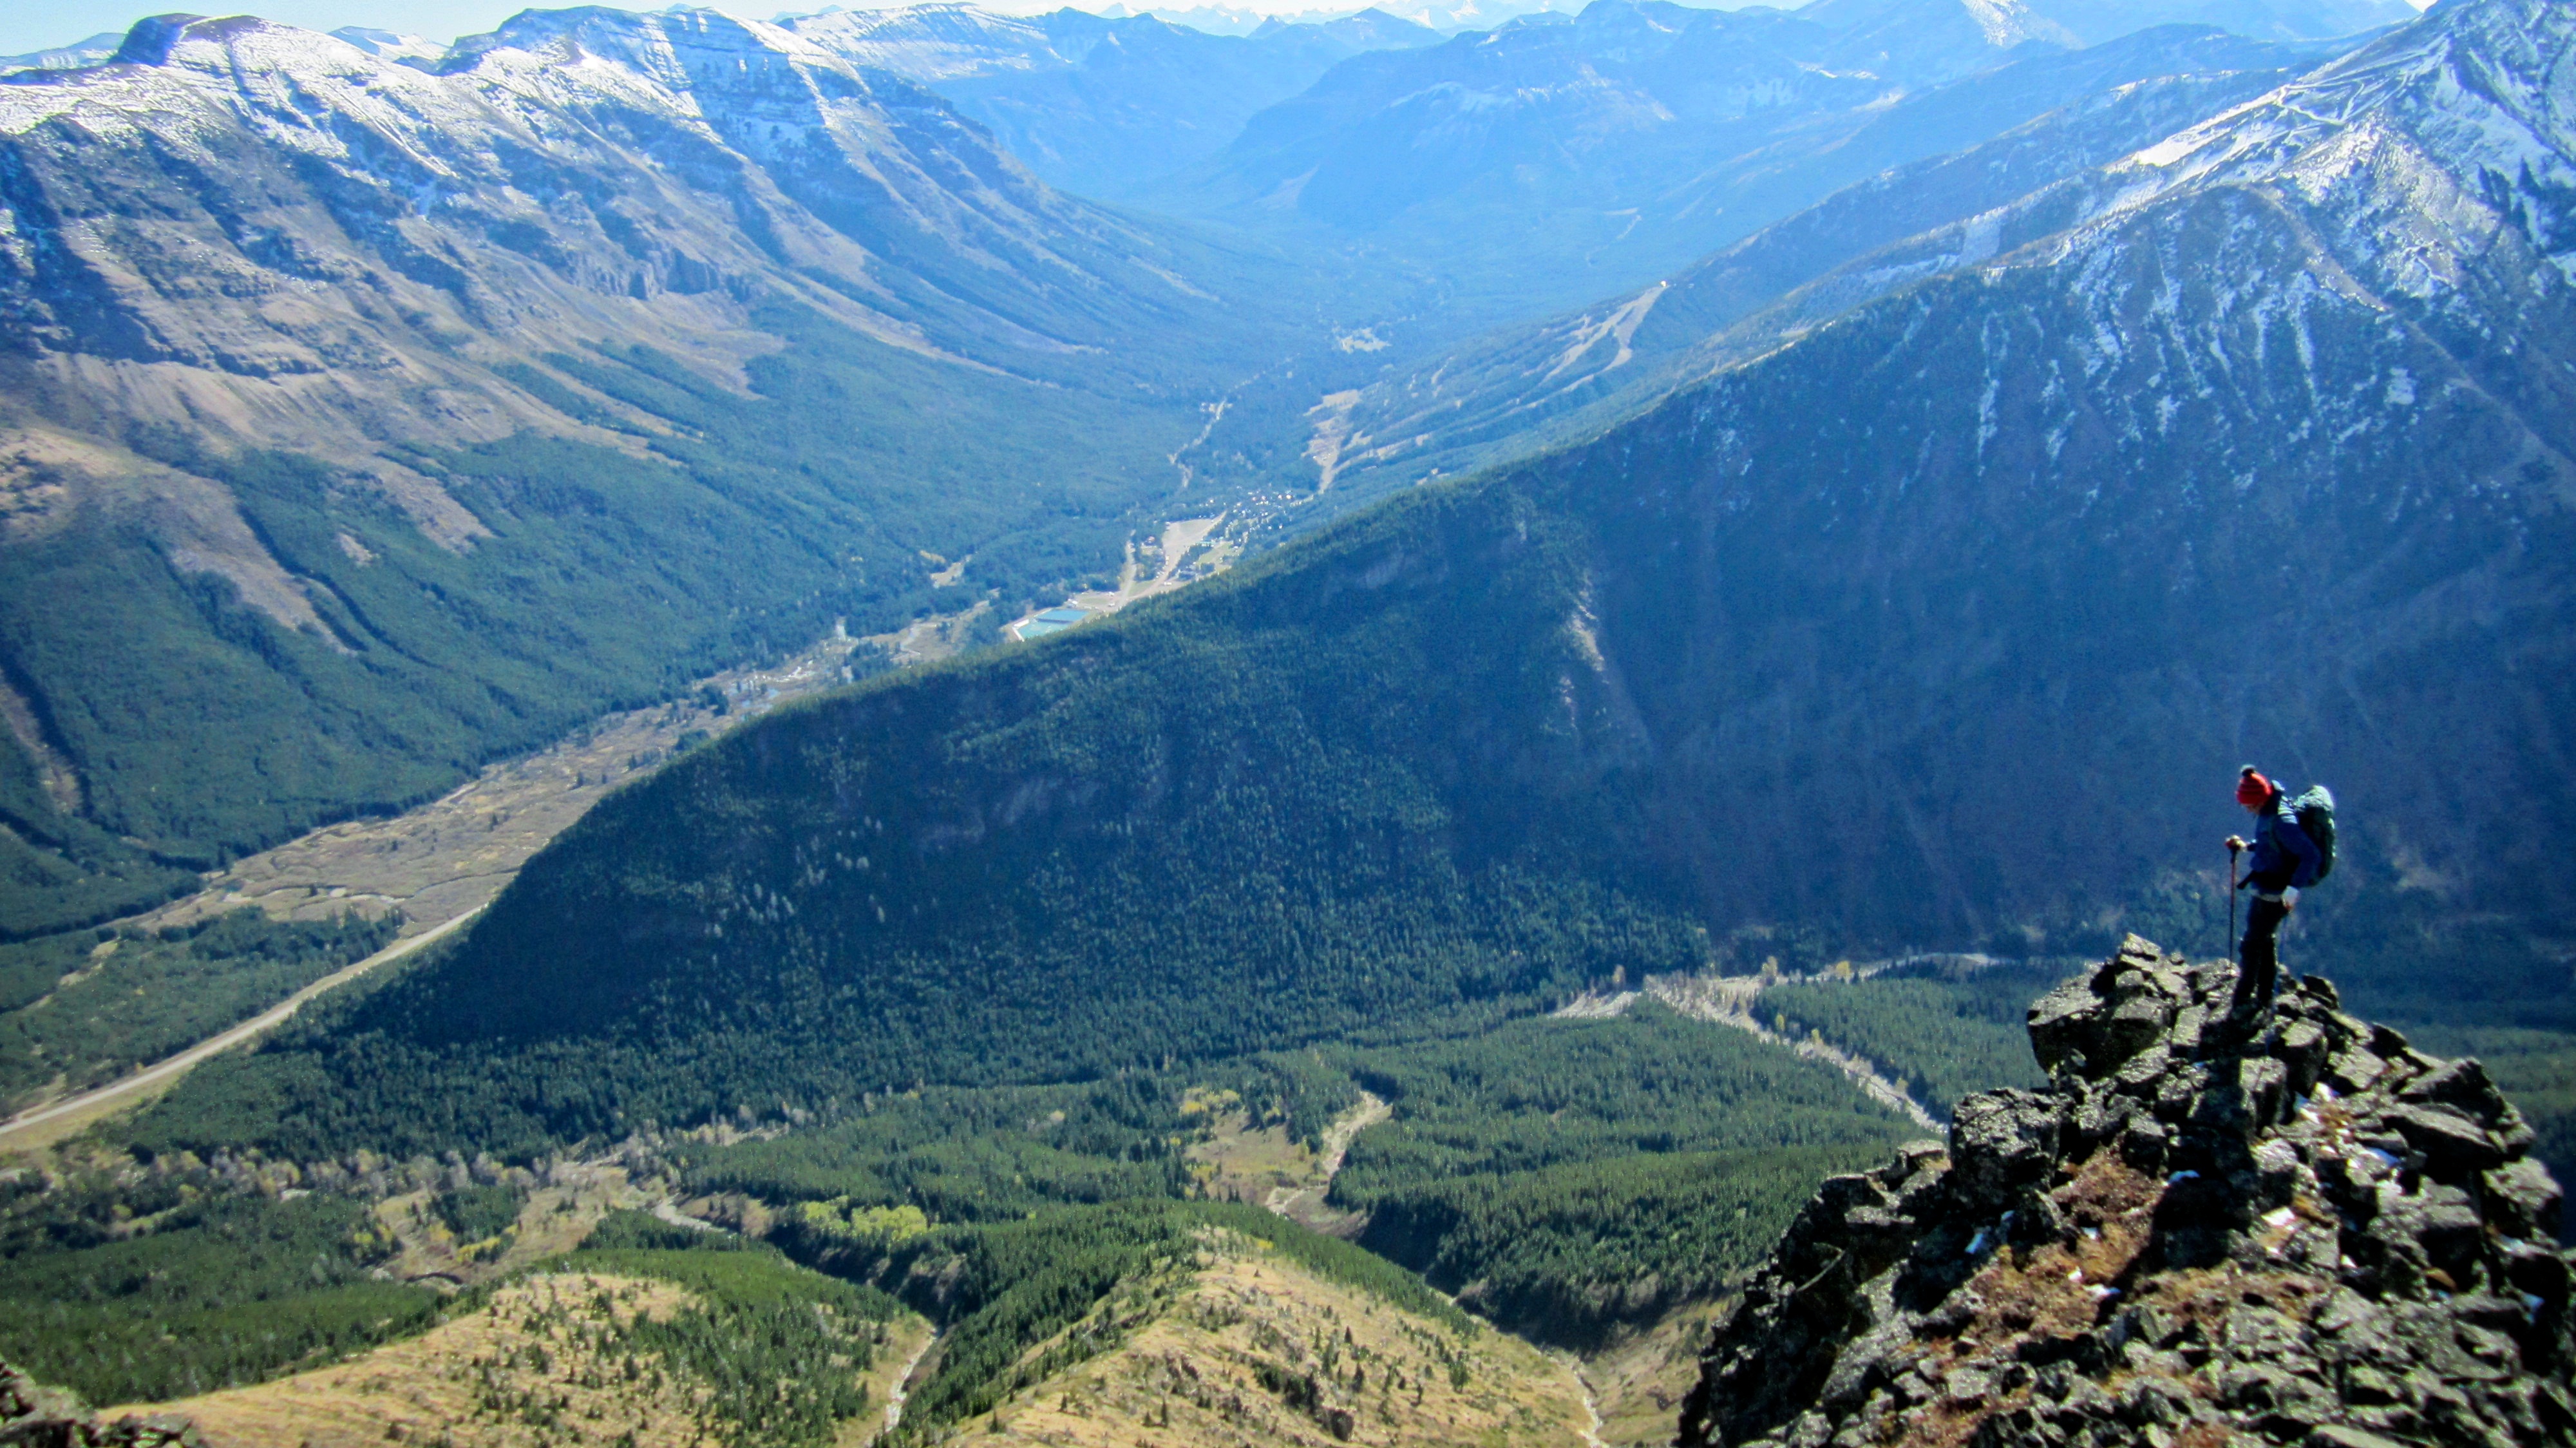
From the top of the High Point, Alex looks back at Peak 1.

Looking west from the High Point at Peaks 2 and 3.

Looking down at the valley which sits in the middle of Syncline Mountain.

Looking southwest at St. Eloi Mountain (centre).

Jeff arrives on the High Point. Table Mountain and what we call the ‘Whistler Loop’ are behind him in the distance.

After enjoying the views, we backtracked until we could descend down the right side of the High Point. Here, Jeff down climbs a section of rock.

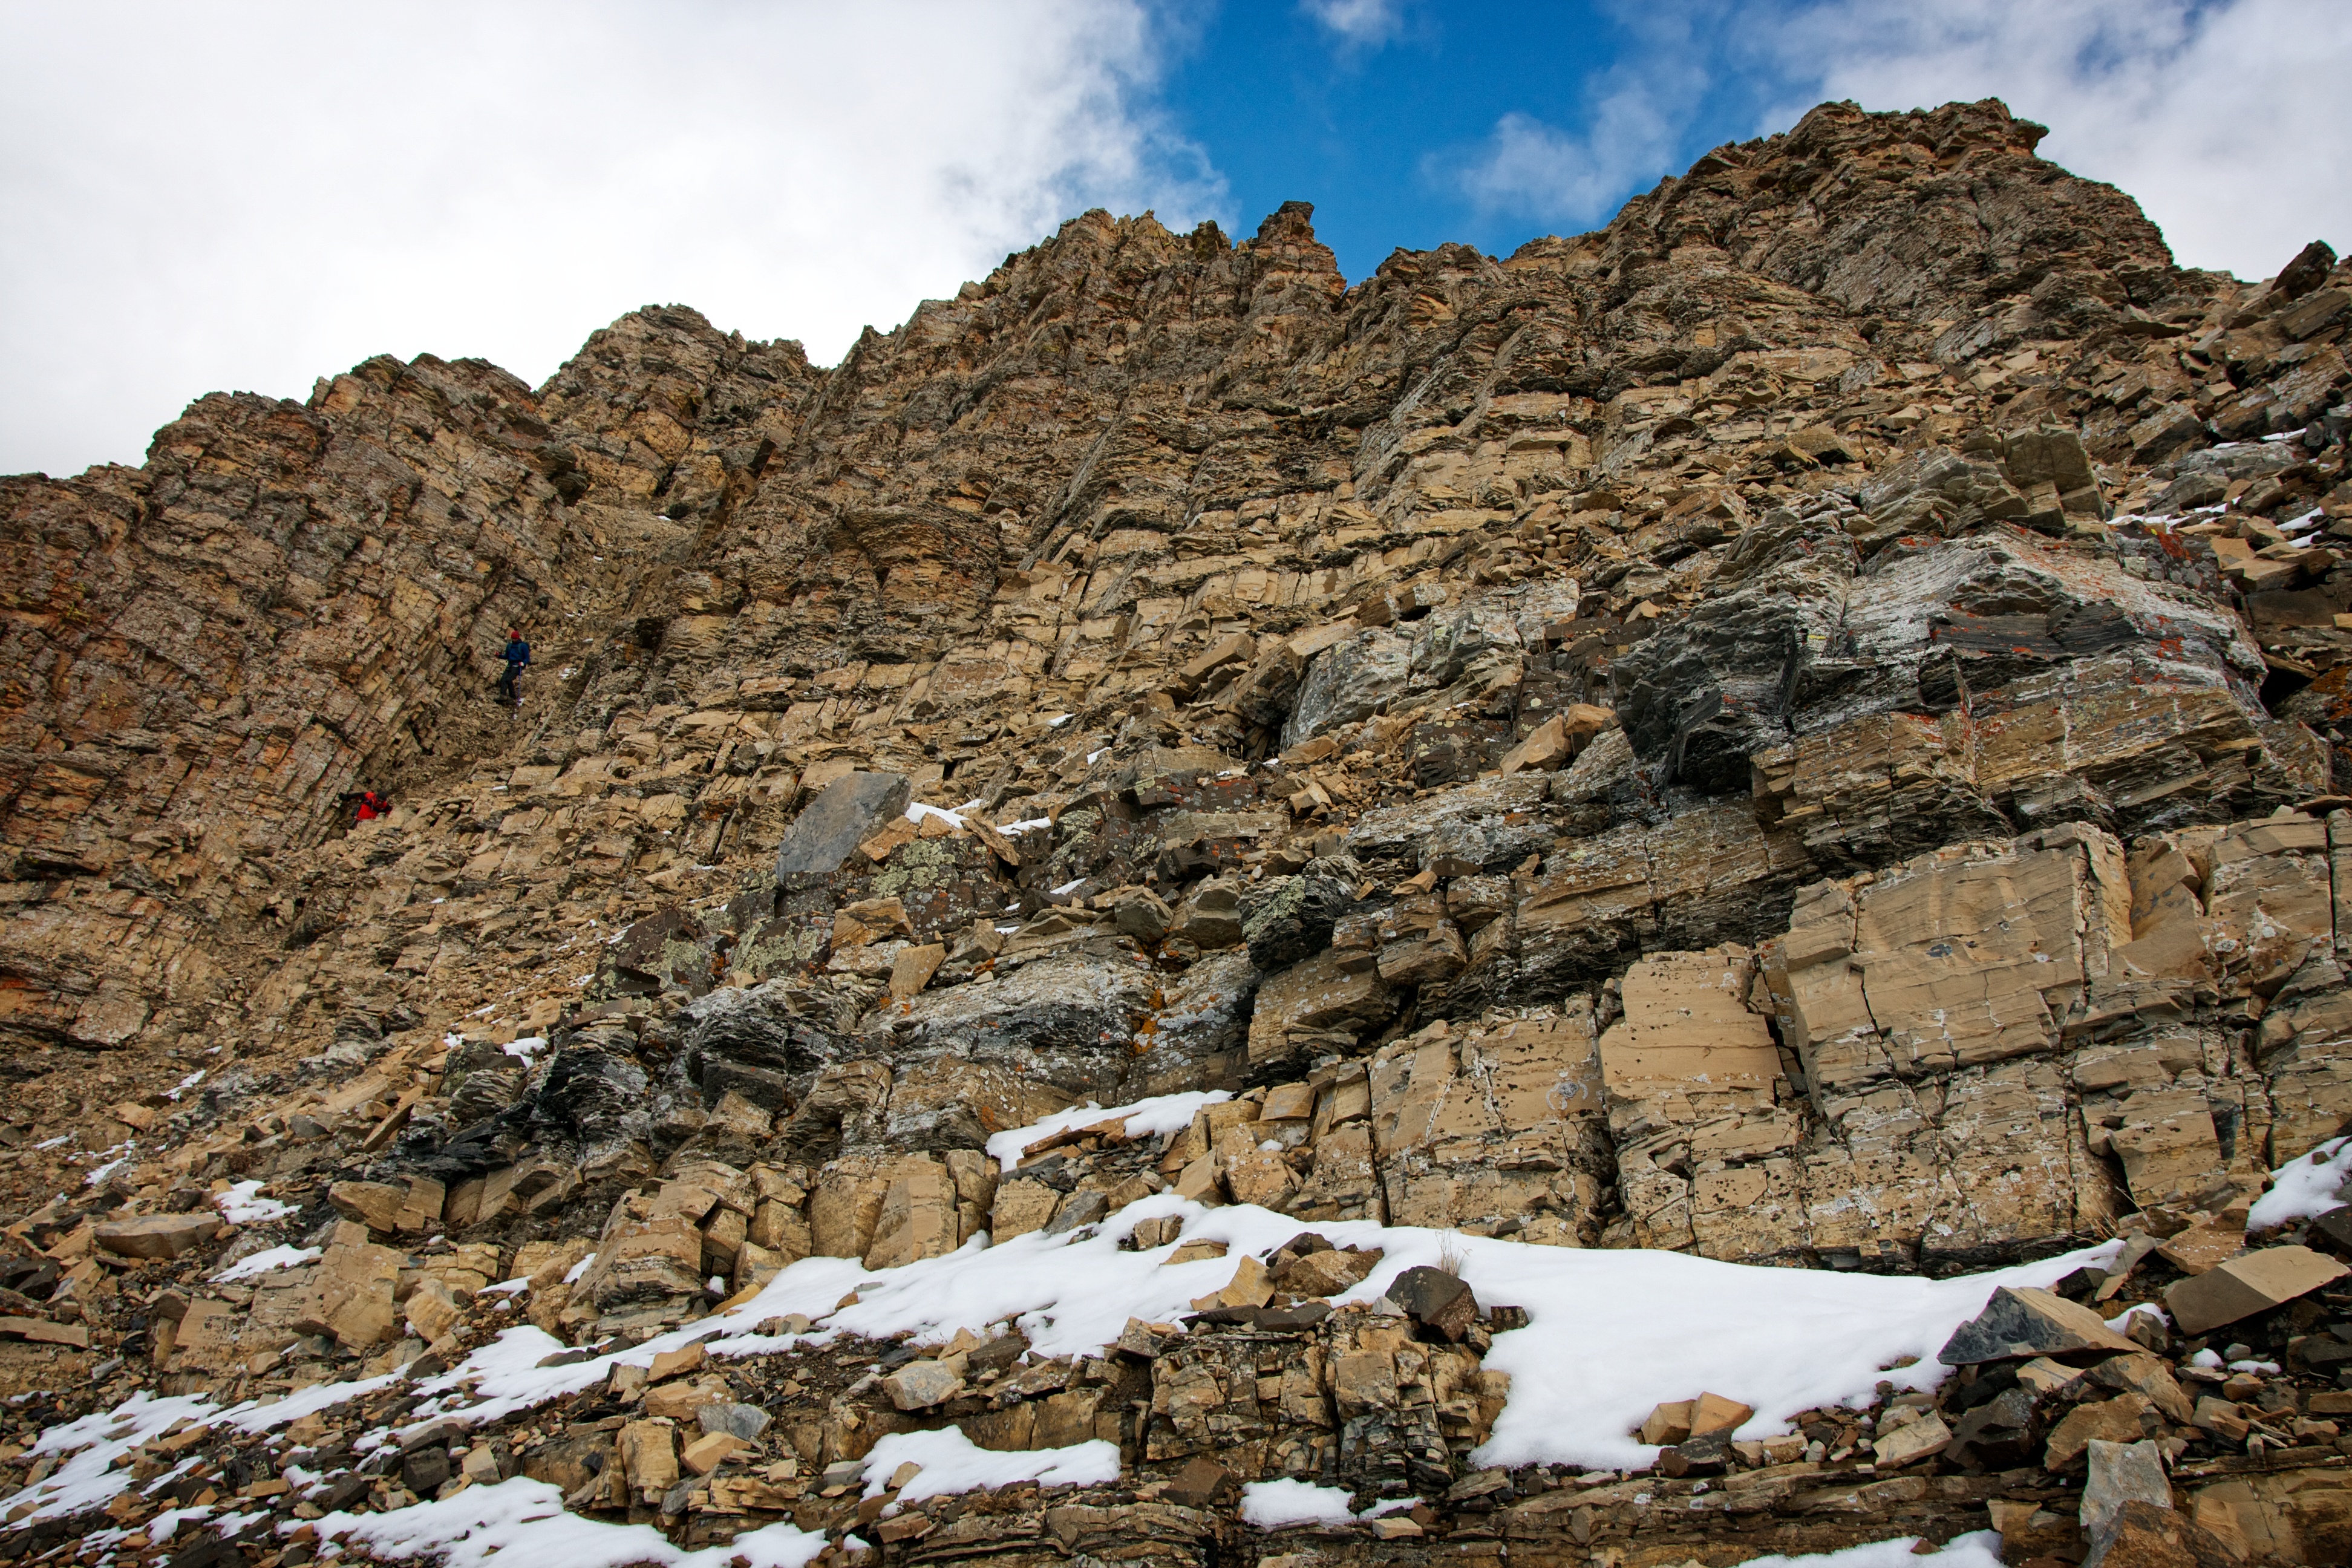
Mark walks next to the cliffs directly beneath the High Point.

To see these colourful lichens on the cliff face was worth the price of admission.

Alex and Jeff make their way below the same cliffs.

When the sun poked through the clouds, the colours on the cliff face sprang to life.

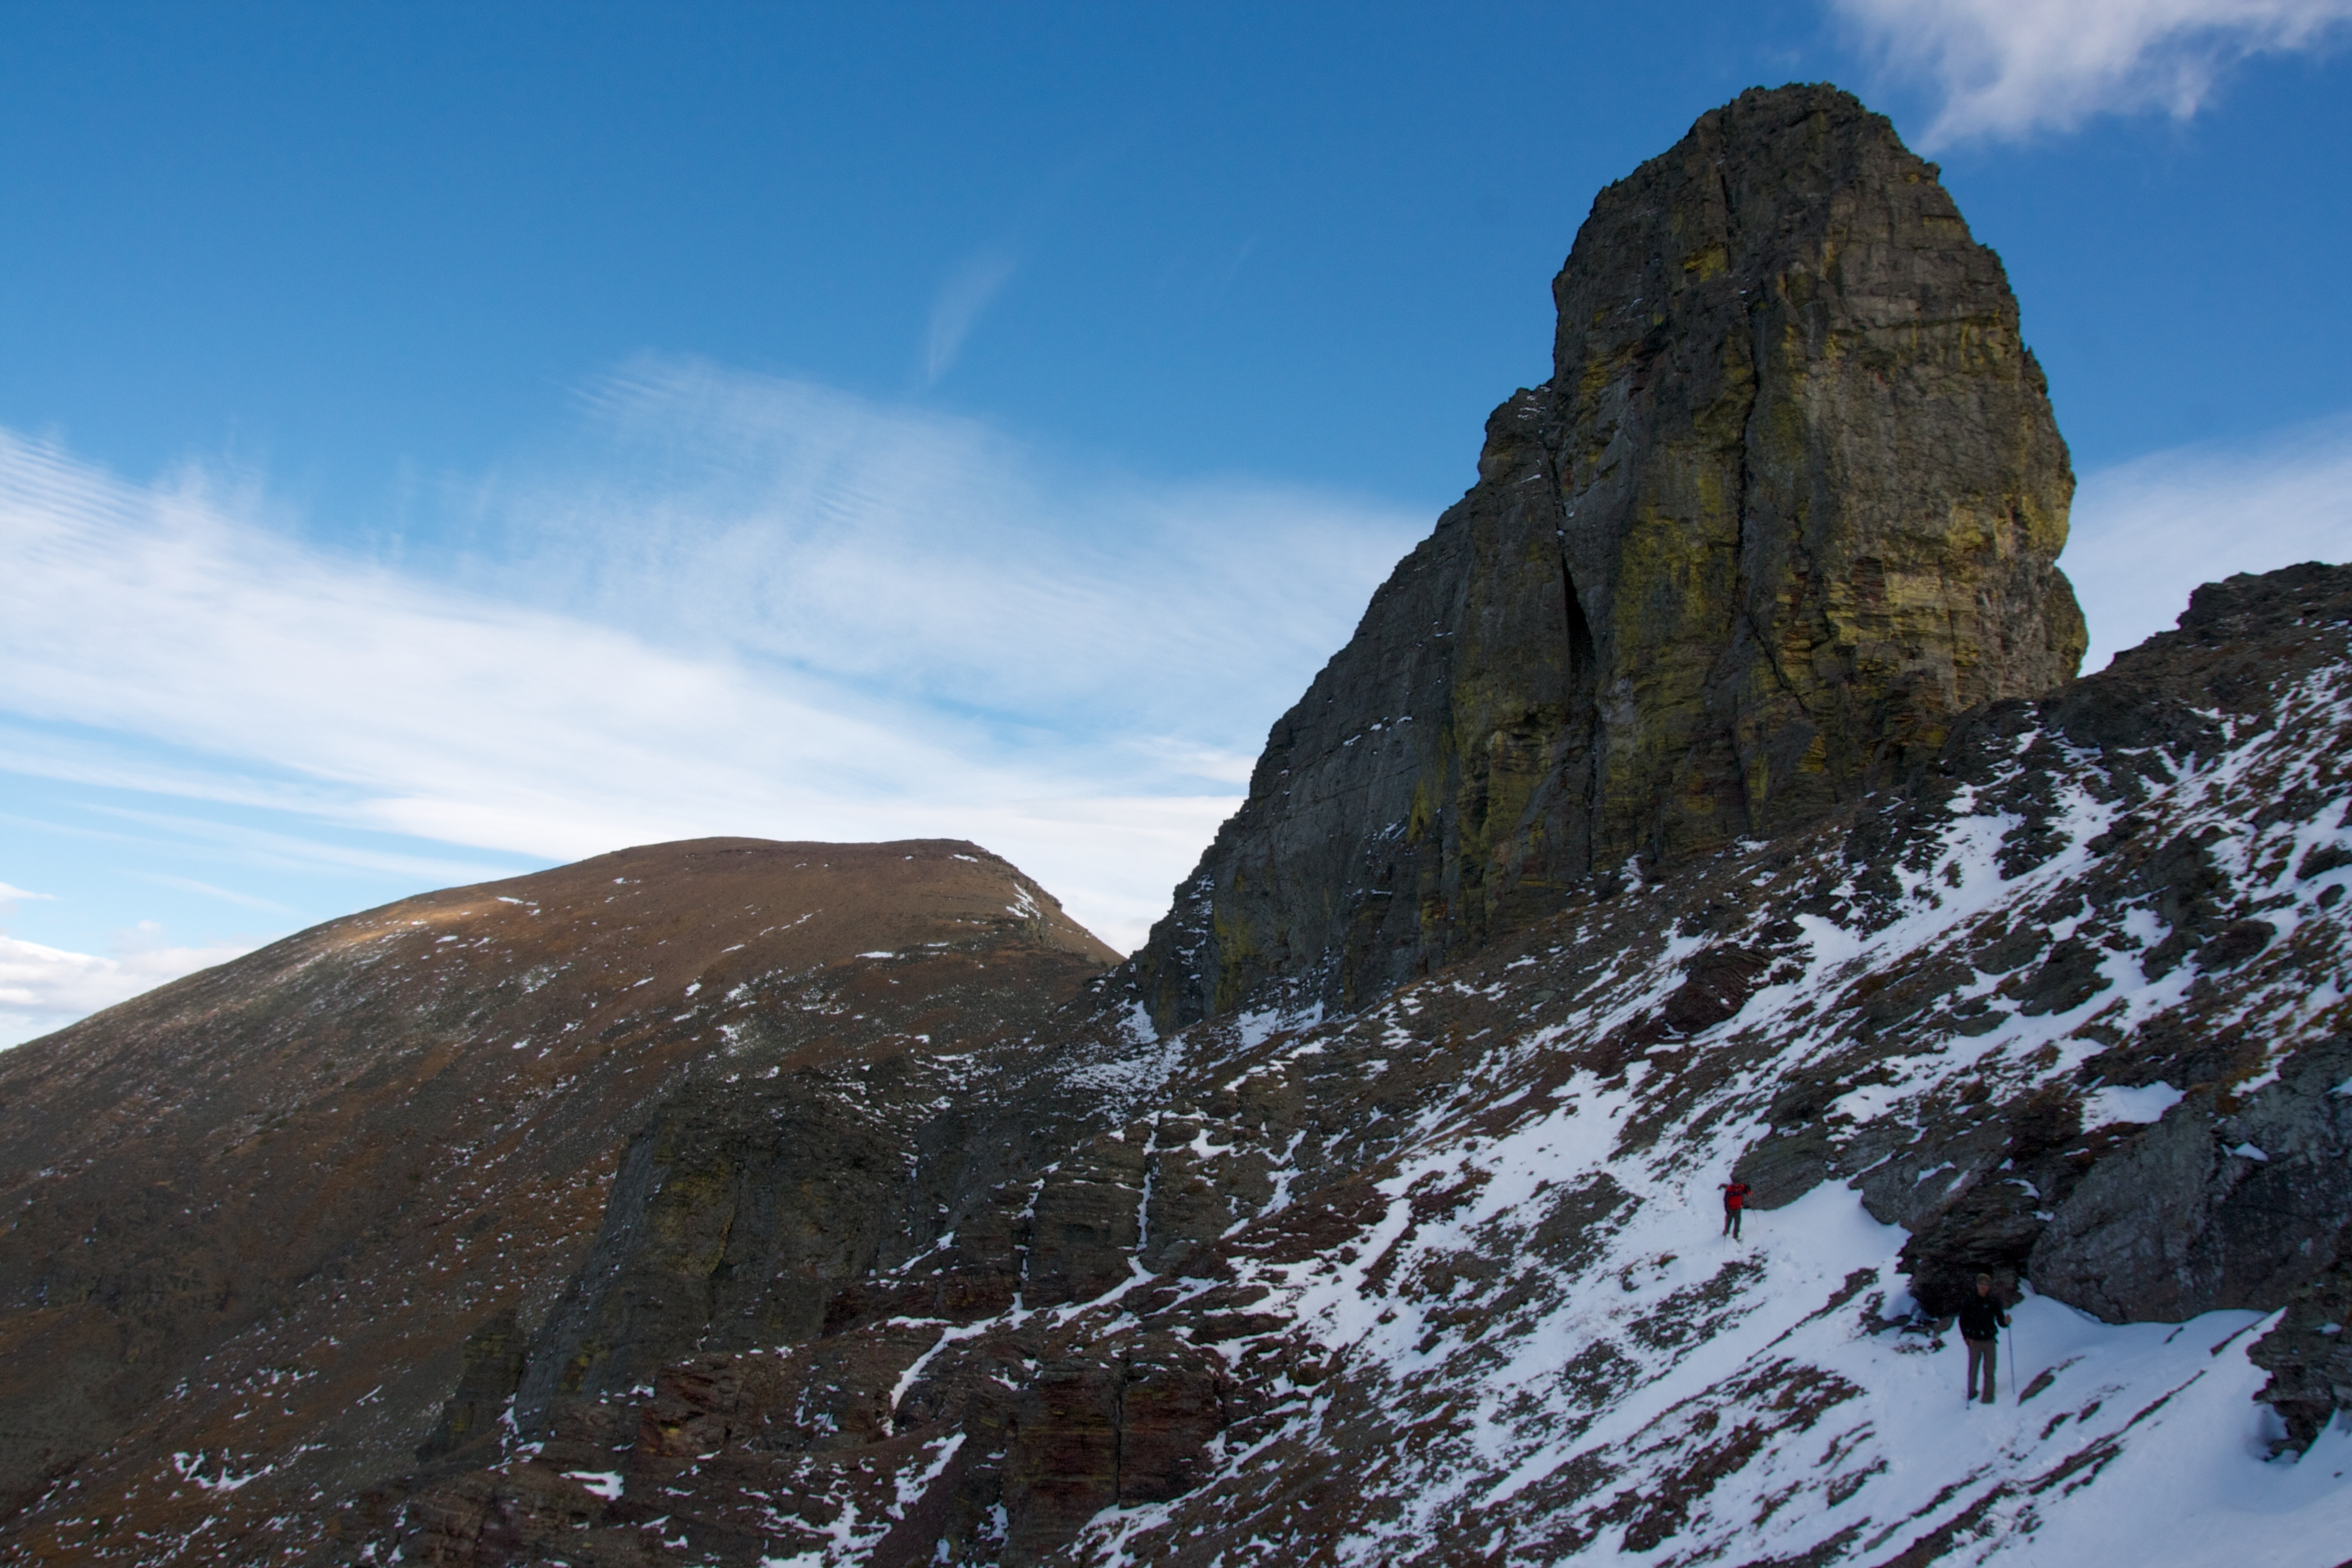
Remember when I said that if you bypass the High Point you will look back and wish you had stood on the top of it? Well, this is why.

Same view different camera…
And because film is so cheap, another look back at the High Point with the summit of Peak 1 in the distance.

Looking at Peak 2 from halfway along the ridge. It may look close, but don’t be deceived by the amount of time the hands on scrambling and route finding takes, particularly if there is snow on the rocks.

Barely visible in the middle right, Alex and Jeff down climb a slippery section of rock while Mark can be seen on the lower right.

This is typical of the terrain along the ridge.

Jeff, Alex, and Mark can be seen at the base of the final cliff section before the col.

From the col it’s a steep jaunt to the summit up packed scree.

Looking back from the slopes of Peak 2 at the High Point and Peak 1. This type of scenery is why the trip to Peak 2 is so worth it.

Overcome by summit fever, Jeff sheds his clothing and runs naked to the summit! Okay, okay, that’s not what happened, but after growing bored of the scree slog, Jeff turned on the jets and left us in his dust. In this picture he is just metres from the summit.

Jeff, Alex, and Mark on the summit of Peak 2 of Syncline Mountain.

Looking west from the summit at Mount McCarty and Hollobeke Mountain.

Mark wanted to continue on to Peak 3 which is the highest summit, but the rest of us declined. I think you’d have to descend down into the bowl and follow the creek out, or you would have to descend the west side and walk along the trail that leads back to the Carbondale River – a very, very long walk. Peak 3 does look possible to ascend from the west as the slopes are fairly gradual.

Looking north along the valley which sits in the middle of Syncline Mountain.

The view to the east from the summit of Peak 2 (from left to right): Peak 1, Table Mountain, the ‘Whistler Loop’, Prairie Bluff Mountain, Mount Gladstone, Victoria Peak, Drywood Mountain, and Castle Peak and Windsor Mountain. Southfork Mountain and Barnaby Ridge are in the foreground.

Looking south from the summit at Gravenstafel Ridge, Mount Haig, and Tombstone Mountain.

Another view to the south along the connecting ridge to St. Eloi (right). Our descent route would go down the slopes on the left of the ridge.

The angle of the sun combined with the scattered dark clouds presented us with a constantly changing view of the landscape. In one minute the view to the east would look like this…

…and the next minute it would change to this.

That’s me sitting on the summit of Peak 2.

It’s hard to miss the pointy peak of Mount Darrah in the distance.

Jeff watches as Mark and Alex scramble down a section of rock directly beneath the summit.
If you look closely at the middle left hand side, you will see Mark making his way down through the rocks.

This was cool. We could see this rock from the top of the High Point on our way to Peak 2 and wondered if we’d get to see it up close.

A view of the precariously perched rock from the west.

Hamming it up for the audience back home.

Jeff and Mark work their way down yet another section of rock. Alex ended up taking a different route that was on the other side of these cliffs. He mentioned something about wanting to tryout a squirrel suit before he disappeared…

While we emerged on the left side of the cliff face, Alex’s route came out on the right hand side.

Peak 2, the High Point, and Peak 1 all together in one shot from along the ridge.

A ‘behind the scenes’ shot of the previous photo – or perhaps a scene from an upcoming North Face commercial…? (Joke and picture courtesy of Mark Derksen)

The view along the ridge. Our descent route went down the slopes shown on the left.

The connecting ridge to St. Eloi displays all of the colours that the Castle Crown Region is famous for.

Here’s Mark photobombing another landscape shot…

If we had time along with the energy of Mark, we could have continued on to St. Eloi. However, given the shortened days of Fall, there was no way we could have done this and have been off of the mountain while it was still light out.

A pretty tarn sits beneath St. Eloi.
One last view to the south before dropping down into the drainage.

An obvious syncline is visible on the south side of the mountain.

While Jeff, Alex, and myself descended off of the mountain, Mark bagged the next high point along the ridge. You can see him standing on top if you look at the upper right side of the picture. If you look closely at the trees in the middle of the picture you will see a sasquatch… Ha! Made you squint!

Jeff makes his way along grassy slopes beneath the summit of Peak 2.
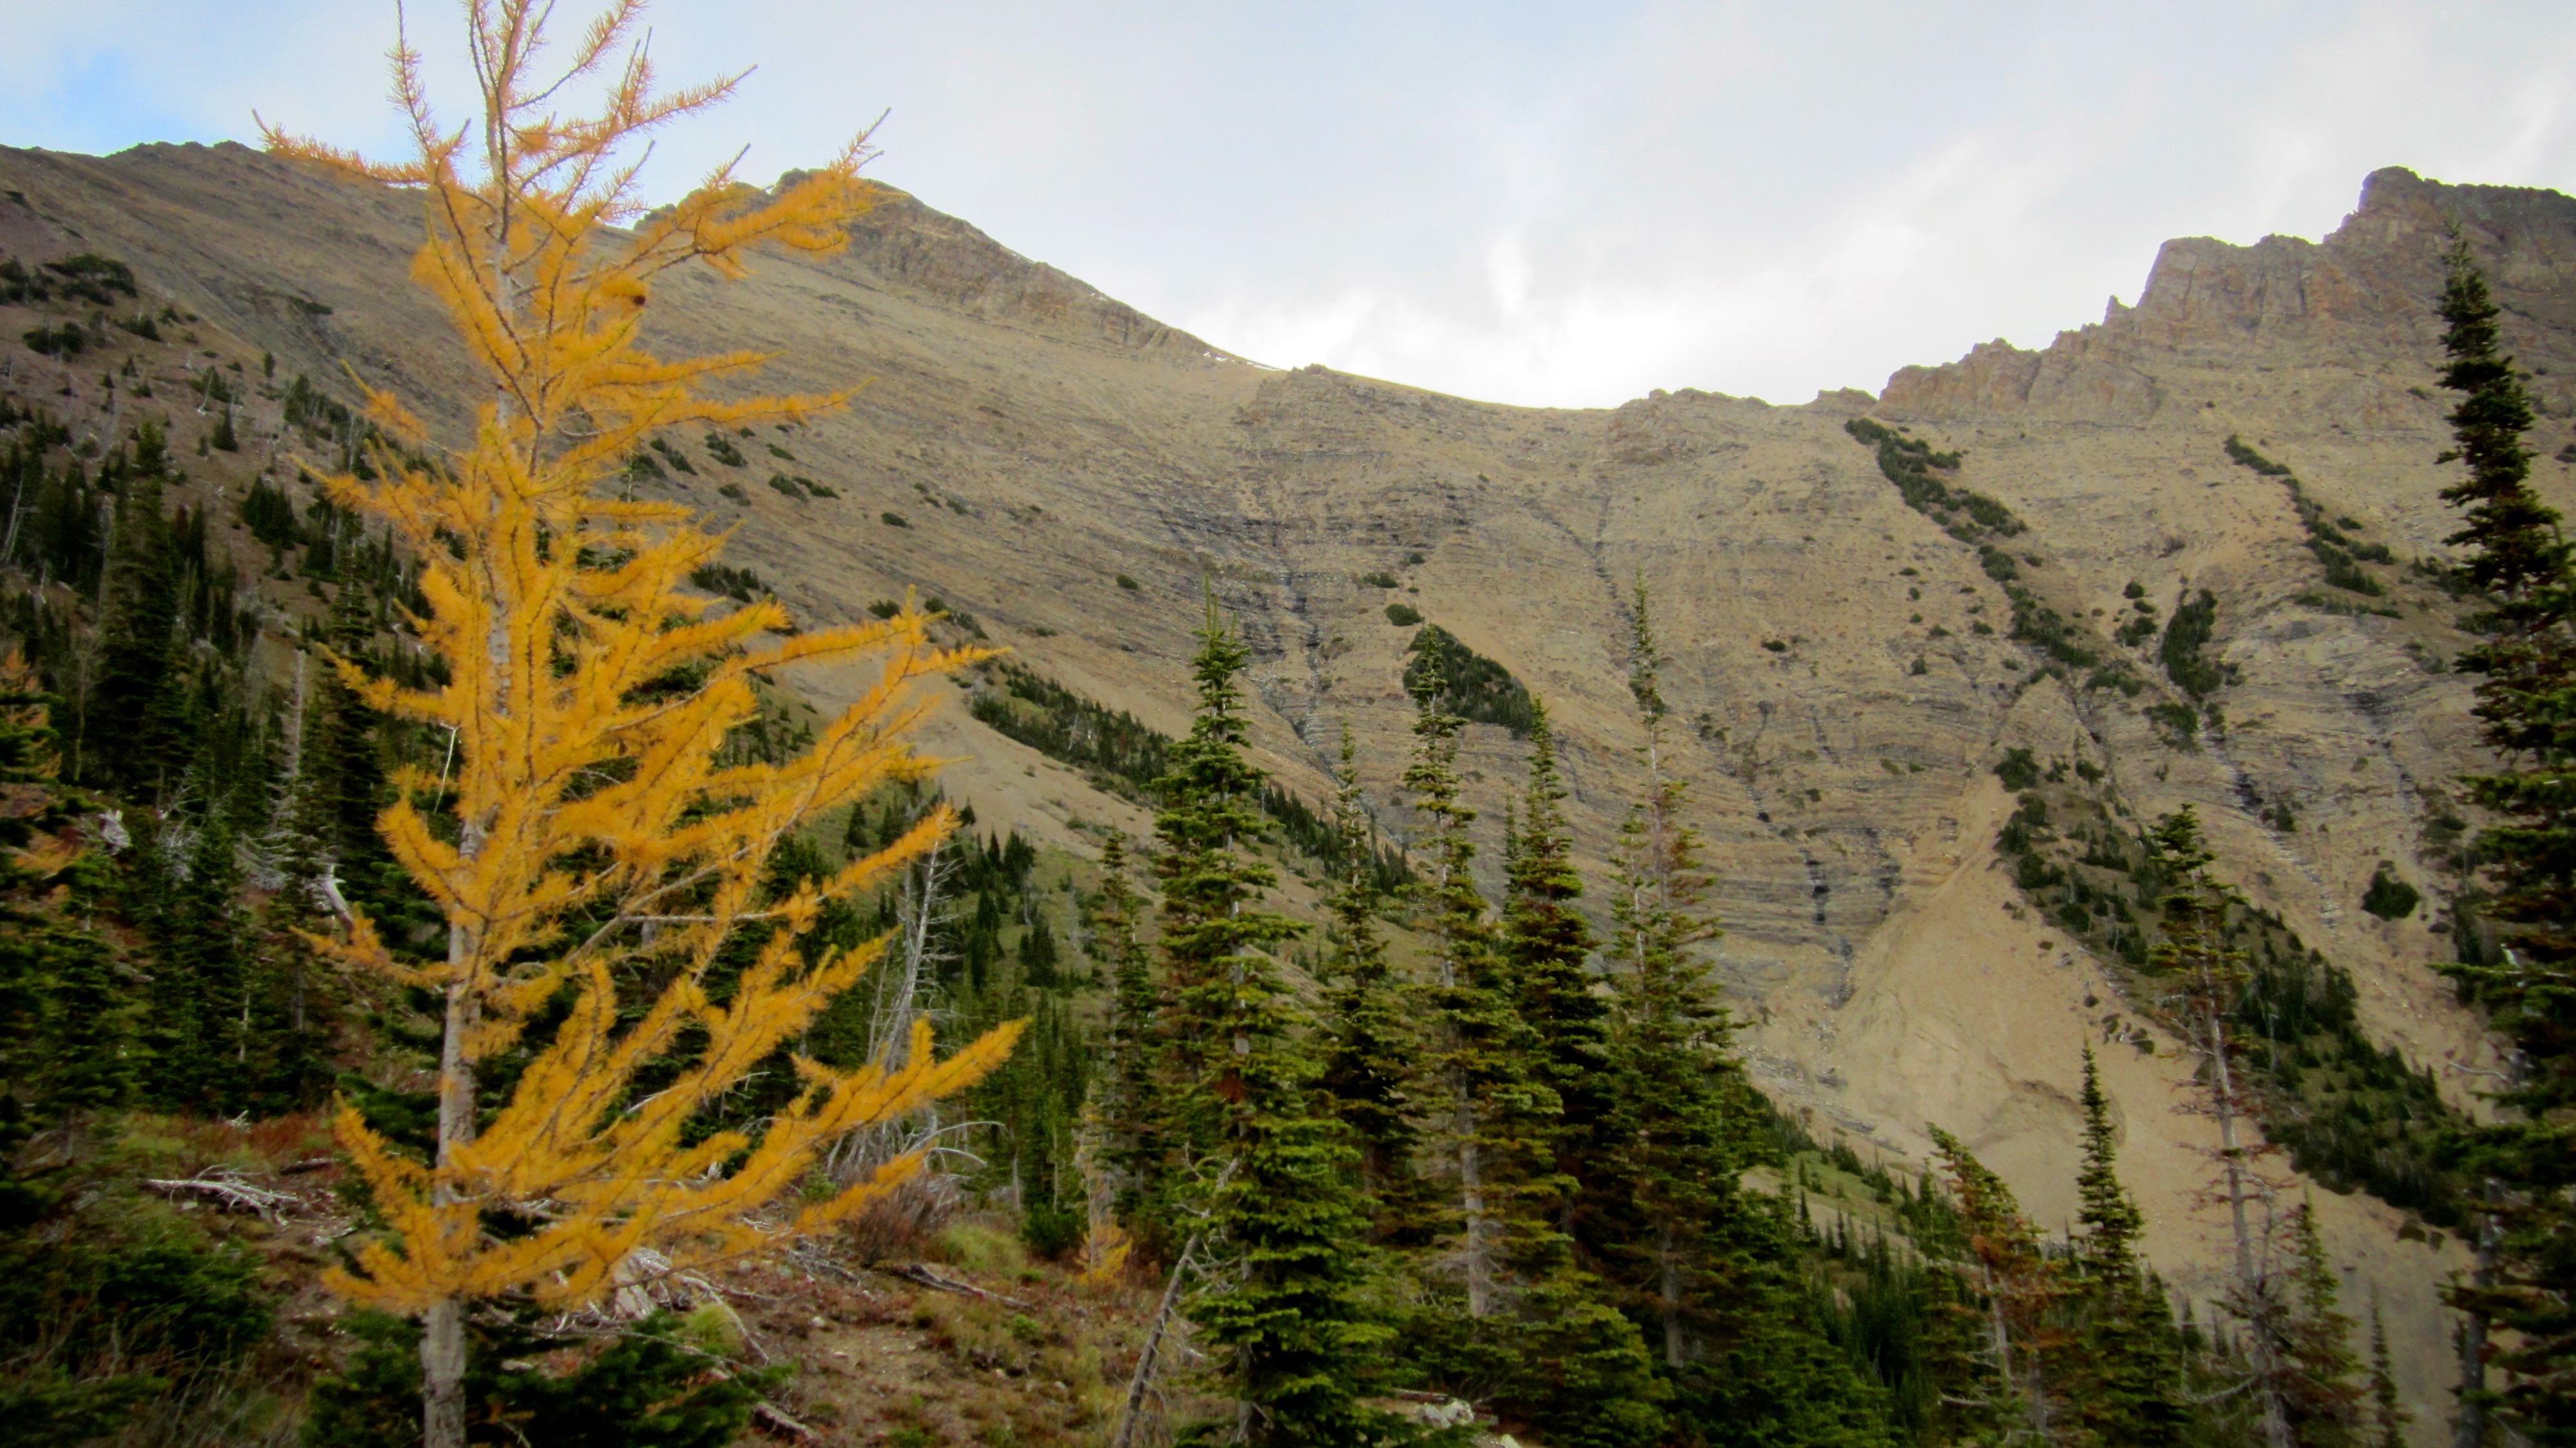
No one gave this lone larch the memo that it was time to shed its needles.

Looking down at our route off of Syncline Mountain. The drainage had been scoured bare of any form of vegetation.

Alex demonstrates his scree skiing technique.

The drainage off of the mountain is full of interesting scenery. Here is a slab of rock full of what looks to be fossilized flora.

Mark straddles the creek that runs down the drainage.

Looking up at some typical terrain along the drainage.

Mark shows what happens when nature decides to try and take him down. Somewhere out in the forest is a lopsided moose…

This is why the Castle Crown is such an amazing place. The contrast of colours in the rock is something to see.

After following the drainage down to its junction with Syncline Brook, we then followed Syncline Brook out to the highway – a trip of about 2 kilometres complete with multiple crossings. By this point, the novelty of walking along a creek had worn thin.

Alex and Jeff walk along pretty Syncline Brook.

After a round trip of 12.7km, a total time of 8 hours and 59 minutes, and 1405m in elevation gains, we finally arrived back at our vehicles. Syncline Mountain would have been a good trip even if we had just summited Peak 1. However, the scenery and the fun of scrambling over to Peak 2 definitely added another dimension to the day that made it special. It was also awesome to have been able to hike with Mark and Alex. These are two young men who definitely have good heads on their shoulders and who have bright futures ahead.