
⚠️ Hiking and scrambling are inherently dangerous activities. Please read my Disclaimer. ⚠️
Happy New Year! To celebrate the arrival of 2015, Jeff and I took advantage of clear skies and headed to the Crowsnest Pass. Once again, I had several snowshoeing destinations in my back pocket, but as we drove into the Pass we watched the temperature gauge drop from -9c to -15c in the relatively short distance between Burmis and the Allison Creek Road. To top it off, the wind was howling from the SW like a banshee. Not wanting to be exposed to a -20 something wind chill all day, we decided to climb to the top of Byron Hill where we’d have the benefit of a treed approach to shelter us from the wind. So, we backtracked to Hillcrest and drove 2.2km up the Adanac Road to the starting point. To our surprise, it was dead calm and it remained this way for most of the day. We did encounter a stiff breeze at times on the approach ridge and on the summit, but nothing like what we had experienced further to the west. What was even more interesting, was at the end of the day, after we had driven back to Highway 3, we encountered a wind stronger than anything we had experienced all day. My only explanation for this is that Byron Hill benefited from the shelter provided by Hillcrest Mountain and Turtle Mountain. Regardless of why, Byron Hill ended up being a fantastic snowshoe trip that offered up some amazing panoramic views of the Crowsnest Pass and the Castle Crown.

All credit for our route goes to Bob Spirko, who put in considerable effort to map out an approach to Byron Hill which utilized public land. Be sure to read his June 2013 trip report here.
To access the route, drive west on Highway 3 from Lethbridge. Approximately 1.1km from Leitch Collieries, turn left on East Hillcrest Drive and drive ~2.4km to Adanac Road. Turn left and follow the road for ~2.2 km until you come to an obvious bend. This is the starting point. Be advised that the first kilometre of the Adanac Road is maintained but after this, the road is not maintained in either summer or winter. This means that you may have to tack on an additional ~1km to the trip by walking up the road if there is too much snow or you are not confident that your vehicle can make it.
After parking on the salient, we followed an obvious cutline to the top of a steep bank above Byron Creek. As Bob Spirko notes, descending this slope requires a 70m elevation loss and then a creek crossing. Fortunately for us, Byron Creek was frozen and we had no problem getting across it. After reaching the creek, the cutline continues on the other side and follows a steep slope upwards until it reaches an old logging road. Once on the logging road, the approach to Byron Hill becomes much easier and as Bob states, “Byron Hill turns meek, so obliging in fact, you could probably follow an old road all the way to the summit, but that would miss the ridgewalk, the best part of the trip.”
We took Bob’s advice and after following the logging road past the clearing, we left the road and began to make our way through the trees. The bushwhacking was light and we trended to our right until we reached the open slopes of the ridge. The trudge up the open slopes in sometimes knee deep snow seemed to go on for a while, but once we reached the ridge the views were wonderful. We followed the ridge until we reconnected with the old road which then took us through the trees to the slopes beneath Byron’s summit. Here the road forked and we turned left and followed more open slopes to the summit where we were greeted with panoramic views of the Castle Crown, the Flathead Range, the Crowsnest Pass, the Livingstone Range, and the open prairies to the east.

Byron was a great snowshoe experience that helped burn off the copious amounts of Chinese food that I eaten on New Year’s Eve. Our total distance travelled was 8.7km with total elevation gains of 682m. It took Jeff and I a tidy, 4 hours and 50 minutes to complete.

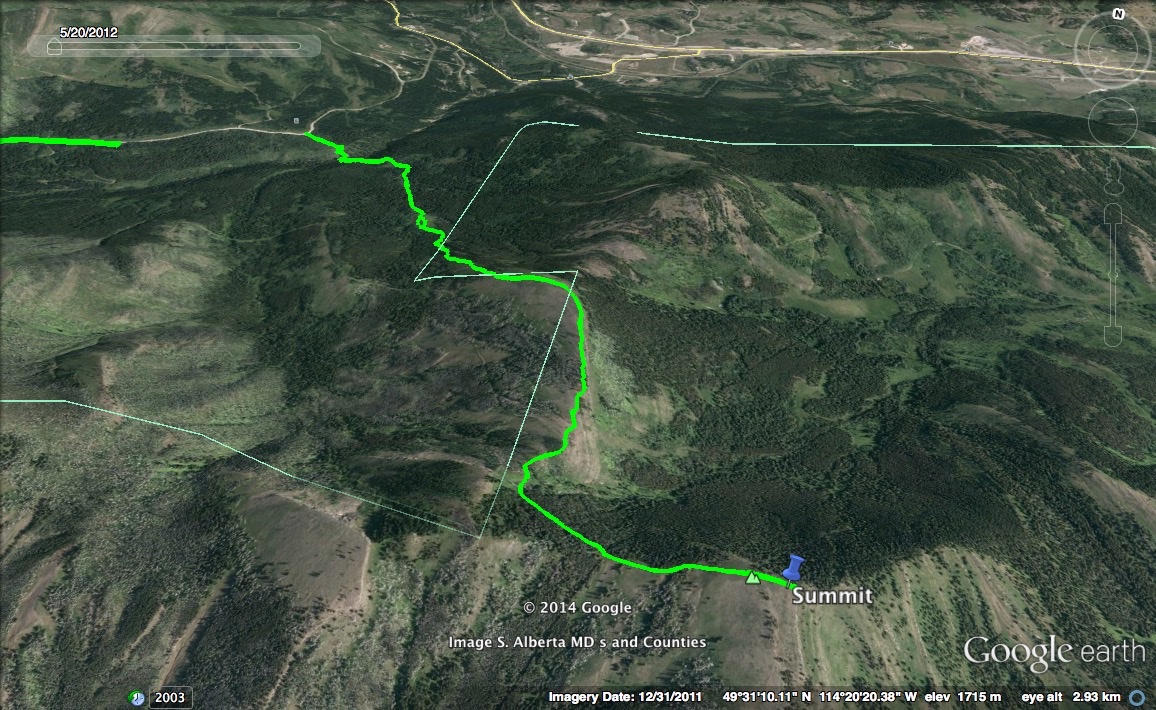
The view from our starting point on Adanac Road. The cutline is obvious in the foreground and the ridge we gained on our way to the summit is on the far right. The summit is not visible.
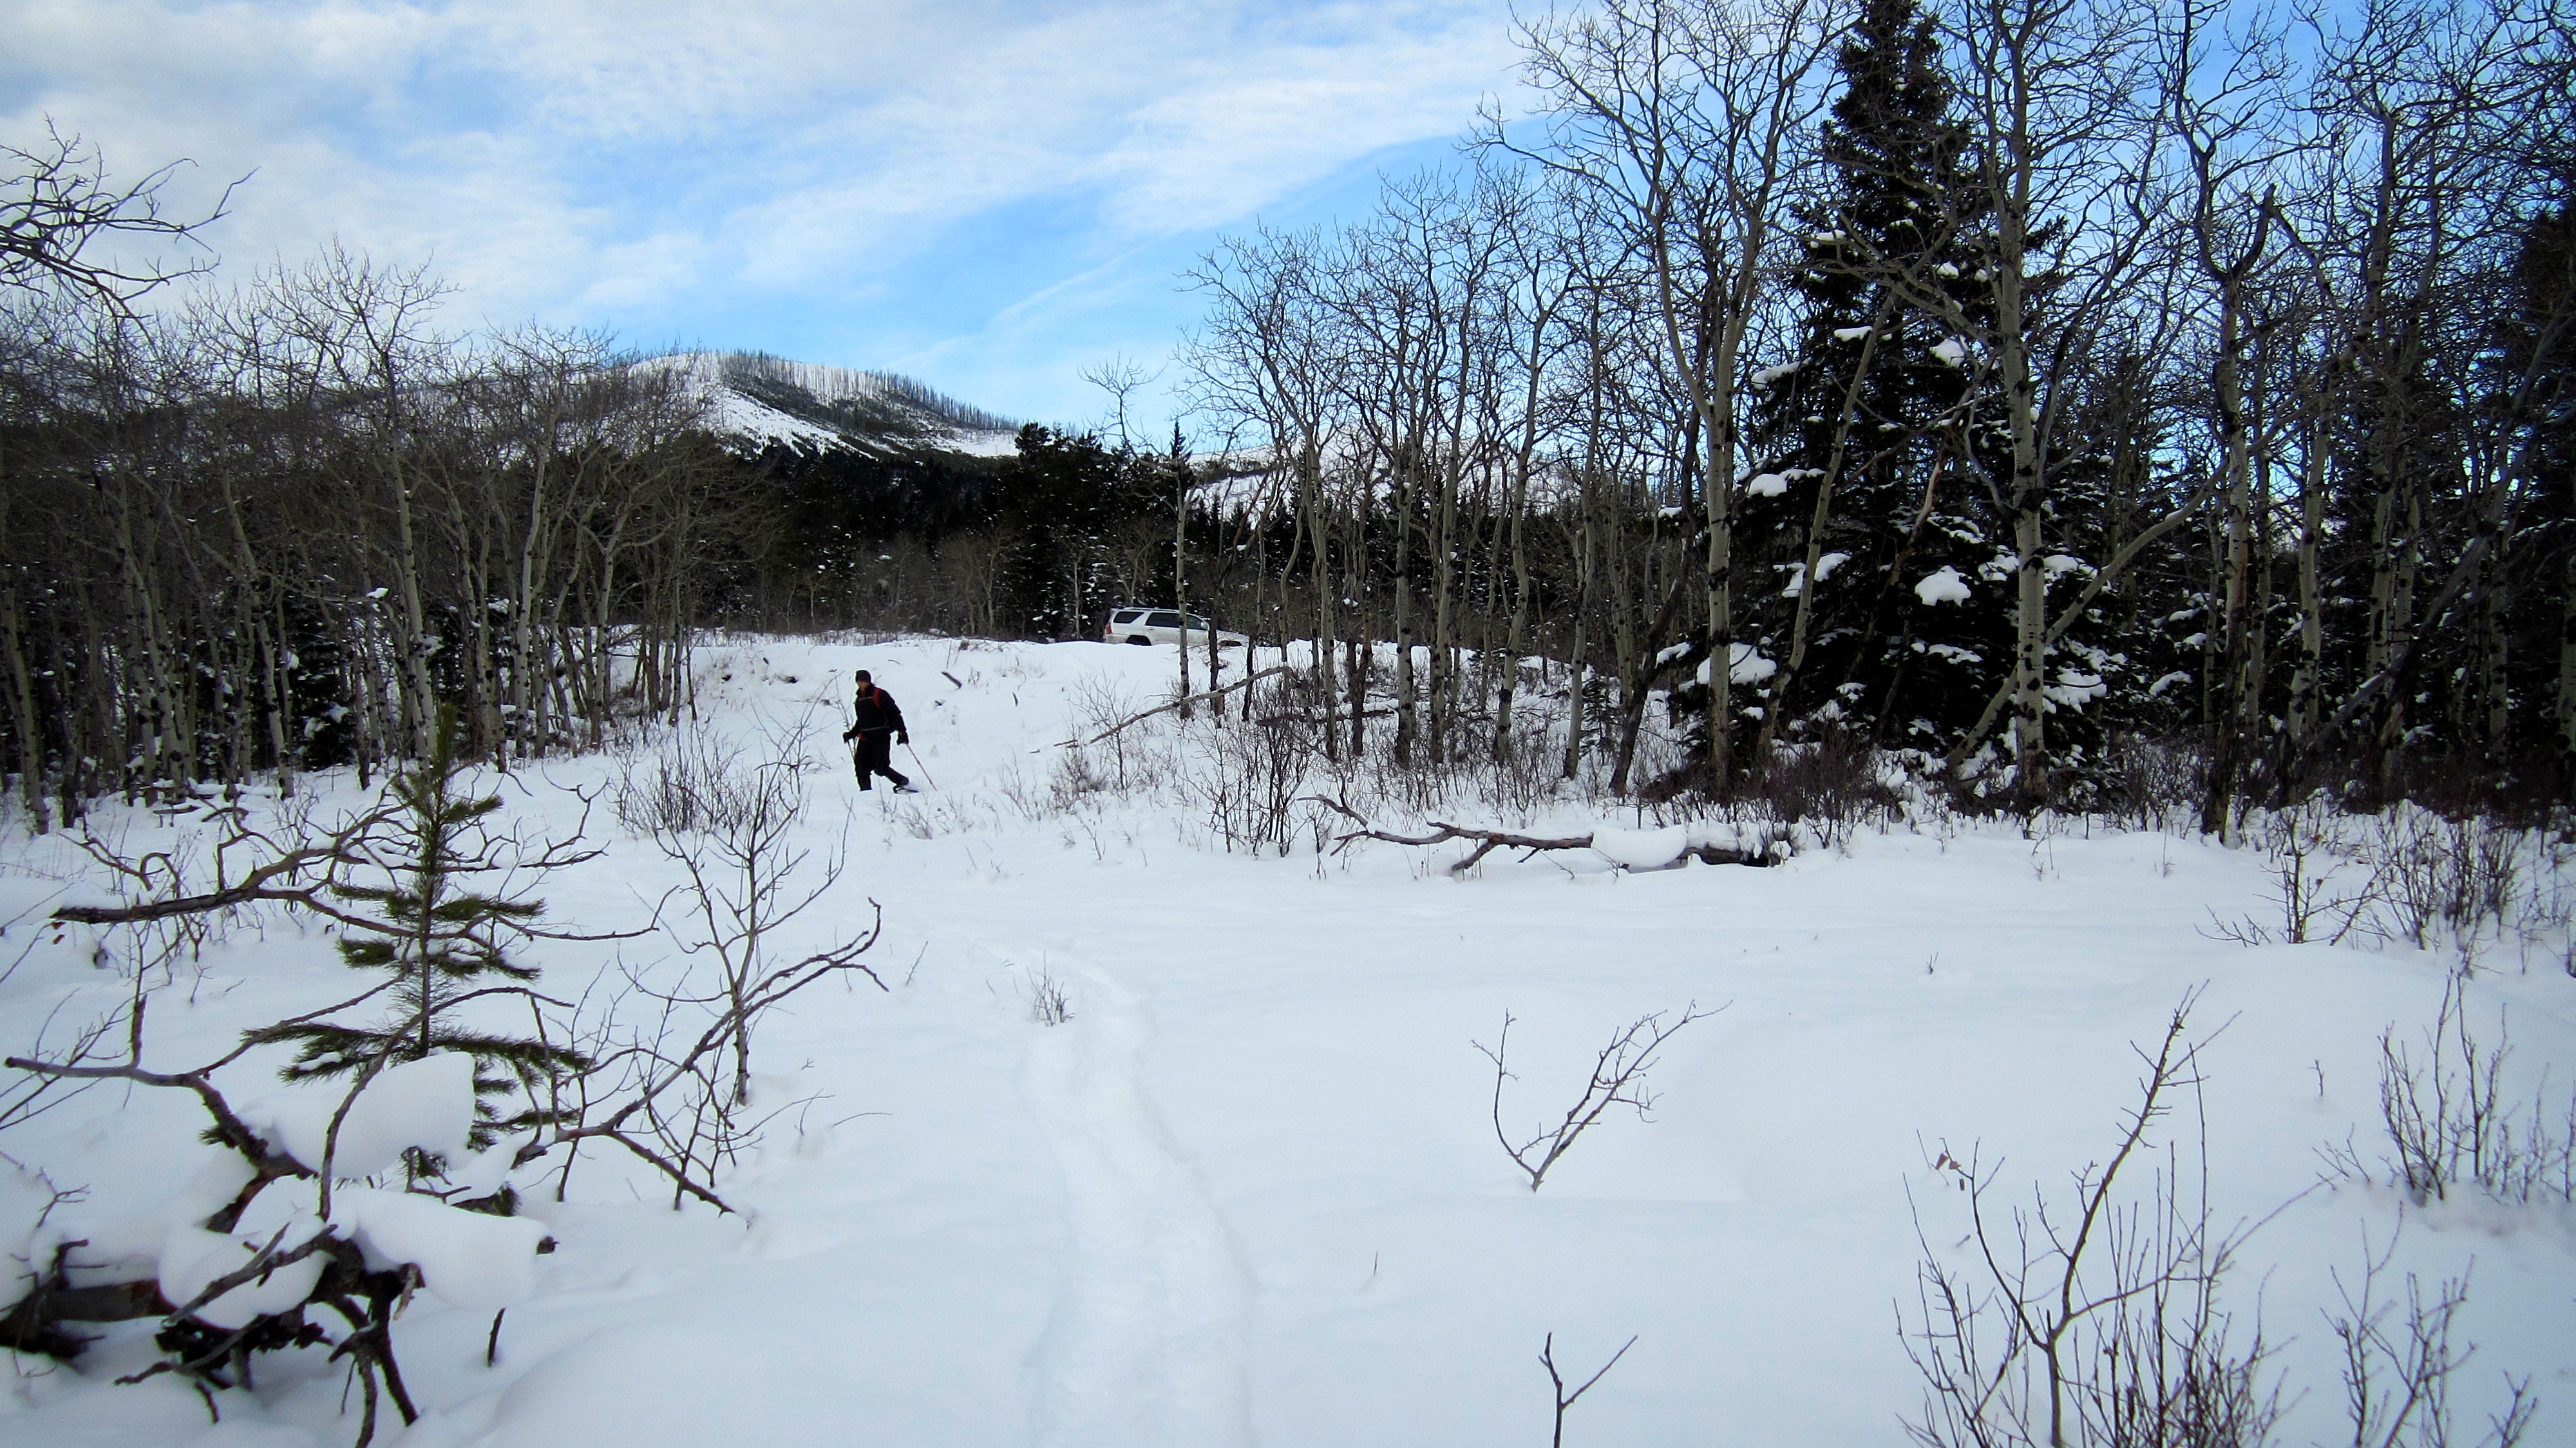
Looking back at our vehicle as Jeff makes his way down the cutline to the creek.

Once again, I discover that another animal has dropped its cell phone. These cougar tracks were very fresh and very large. We saw lots of cat tracks all day but these were by far the most notable.

Looking down the western slope above Byron Creek shortly after leaving our vehicle. The cutline we followed is obvious on the far bank. The open slopes that we used to gain the ridge are visible in the distance on the far right.

Another look down at a frozen Byron Creek. There was a significant amount of deadfall on the other side of the creek that we had to navigate through.

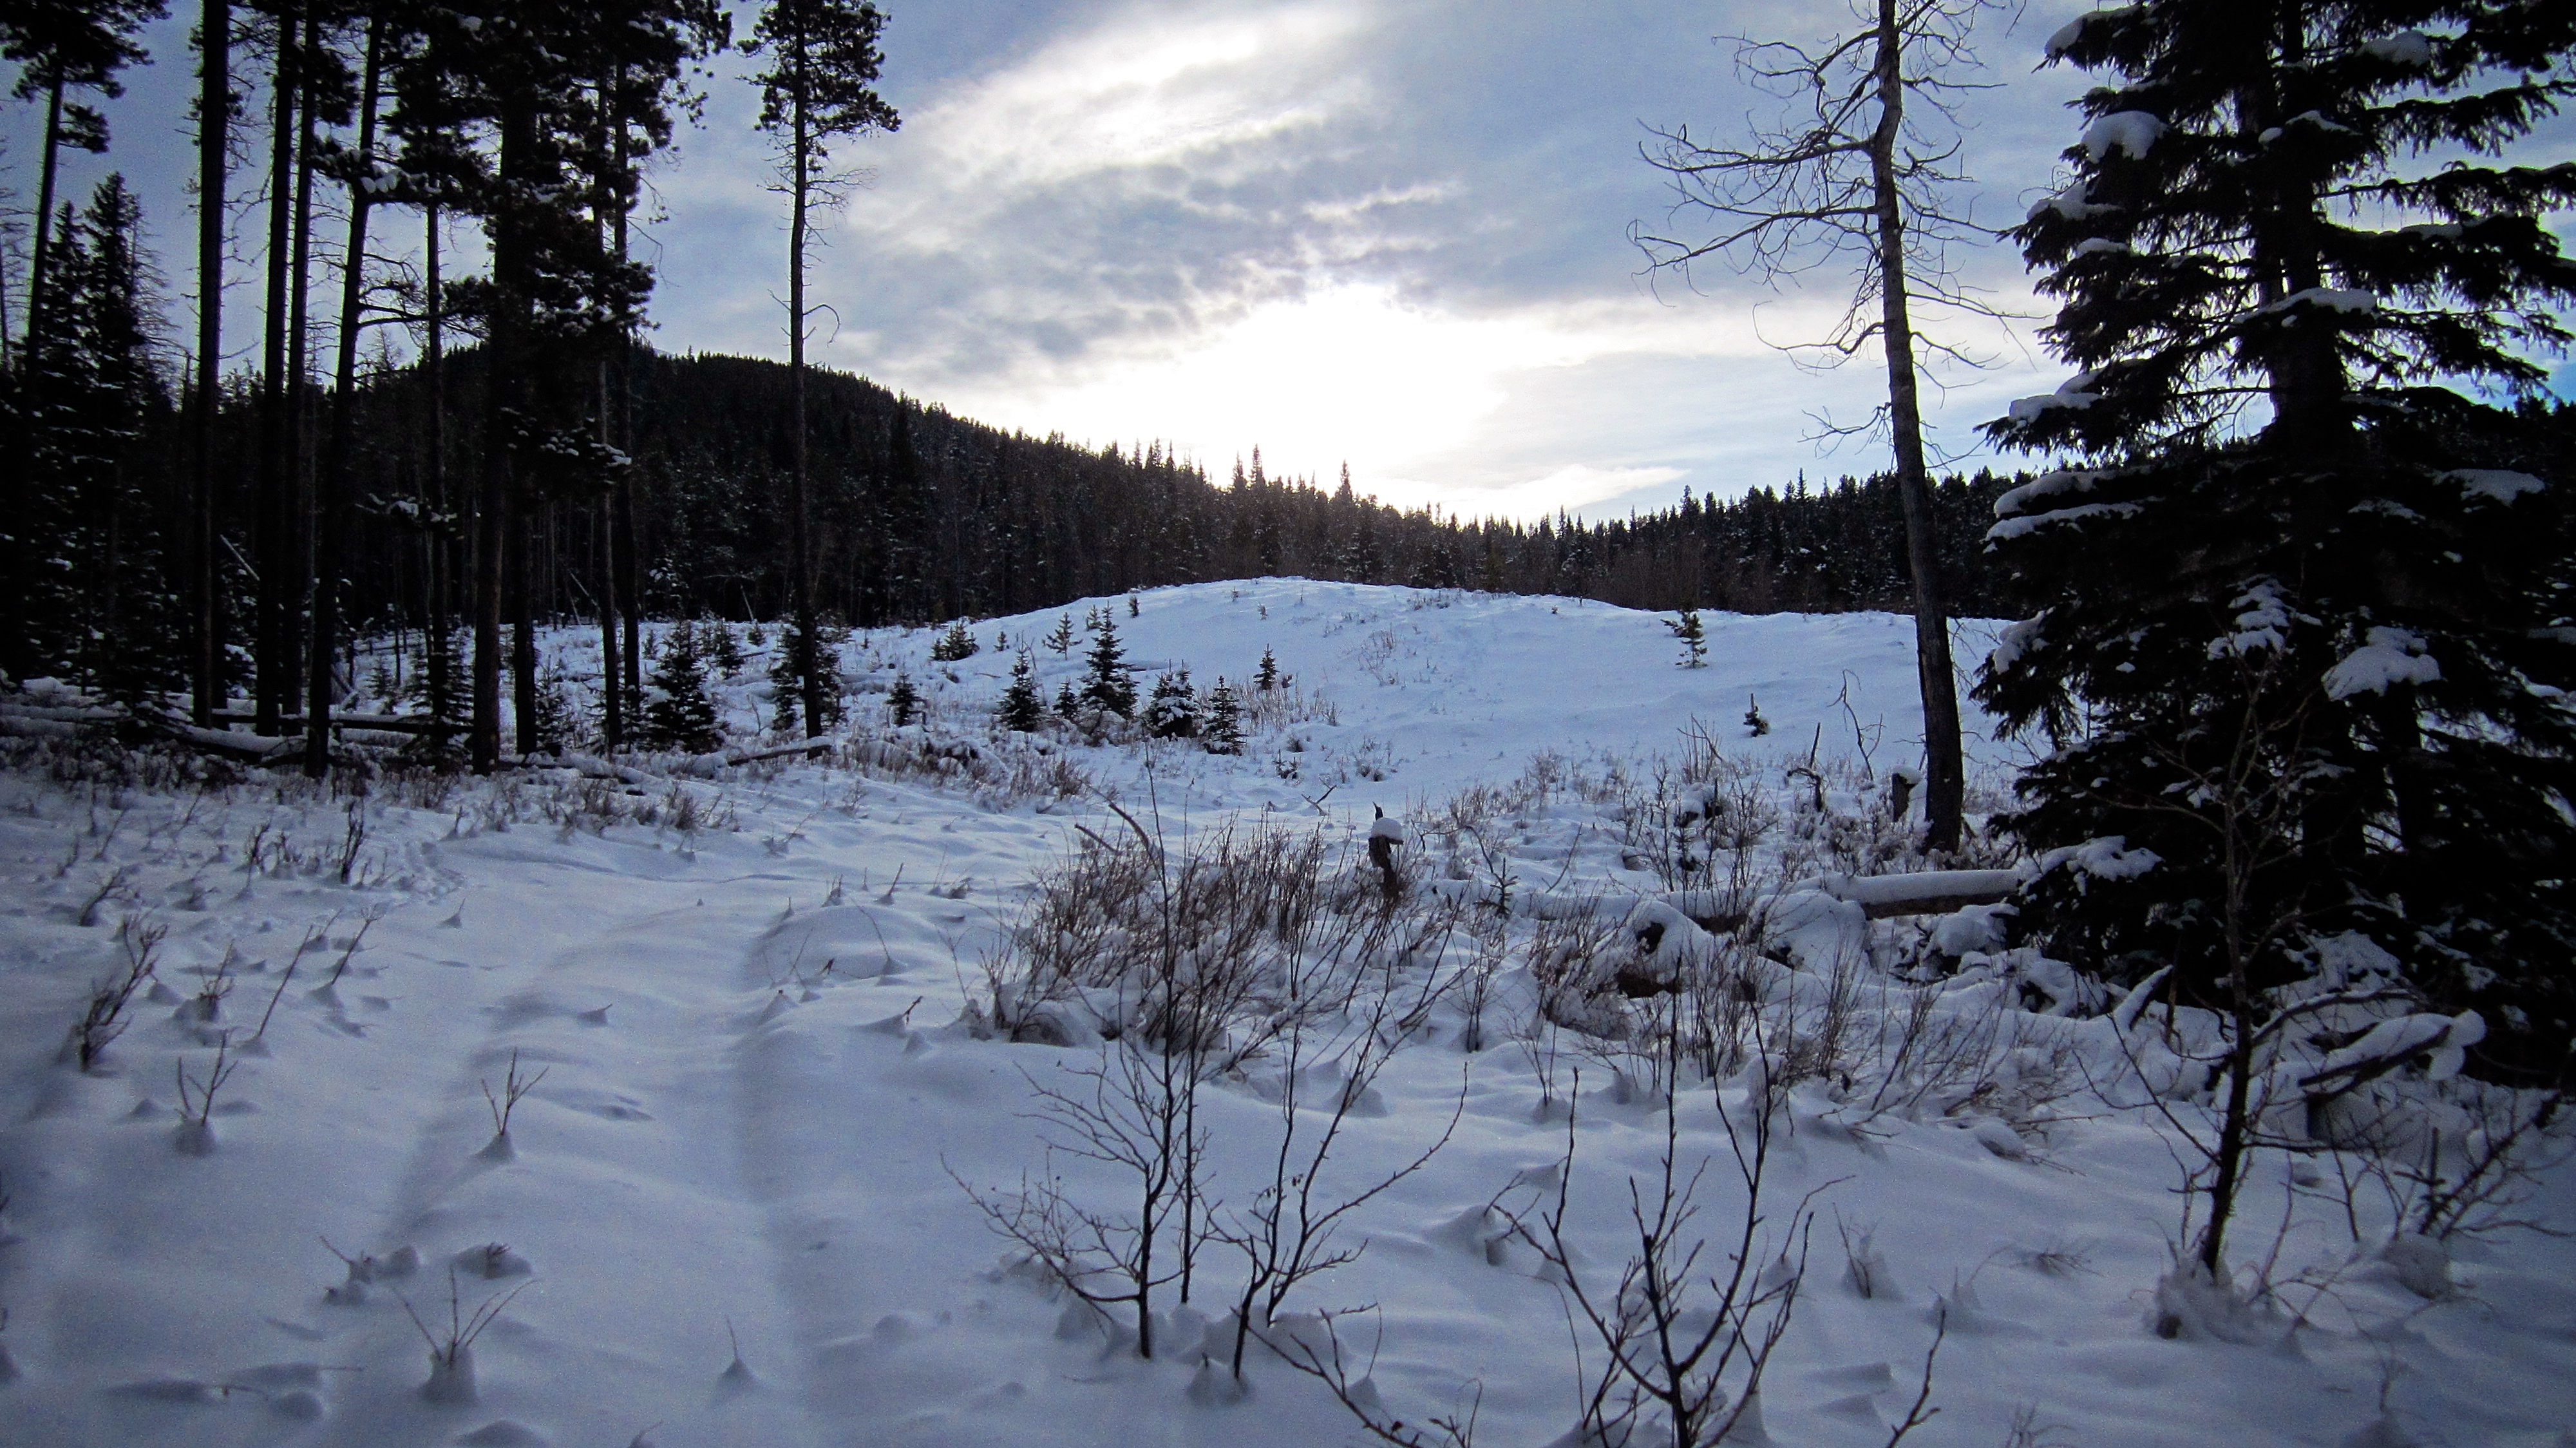
Looking up the cutline from Byron Creek. The snow made this a stunningly beautiful place.

Another shot of beautiful Byron Creek.

Jeff makes his way across Byron Creek.

Surprisingly, I think that the existing snow cover and our use of snowshoes made it easier to navigate through the deadfall because the terrain was somewhat flattened and we could float over some of the pitfalls.

Looking back down the cutline. The steep slope that we descended to get to Byron Creek is in the background.

Once we reached the top of the cutline, we began to follow an old logging road toward the base of the ridge.

After crossing a little creek the road straightened out. The lack of wind and the fresh snow made for a peaceful trek.

ATV ruts could still be seen through the snow.

Looking back down the road at Bluff Mountain.
At the end of the straight section of road, we came to this clearing.

Once in the clearing the views opened up and gave us a taste of what was to come. From left to right: Turtle Mountain, Ma Butte, McGillivray Ridge, Bluff Mountain, Grassy Mountain, “The Dog”, Morin Peak, and the South Peak of the Livingstone Range.

The logging road appeared to be maintained as evidenced by recent chainsaw activity to remove on deadfall on the road. We encountered this just after leaving the clearing. In the background is where the road takes a right turn but we would continue straight and head into the trees.

Jeff stands at the bend where we would leave the road. We entered the trees in the opening on the left on what appeared to be a trail, but we soon lost any sign of it because of the snow and so we began bushwhacking.
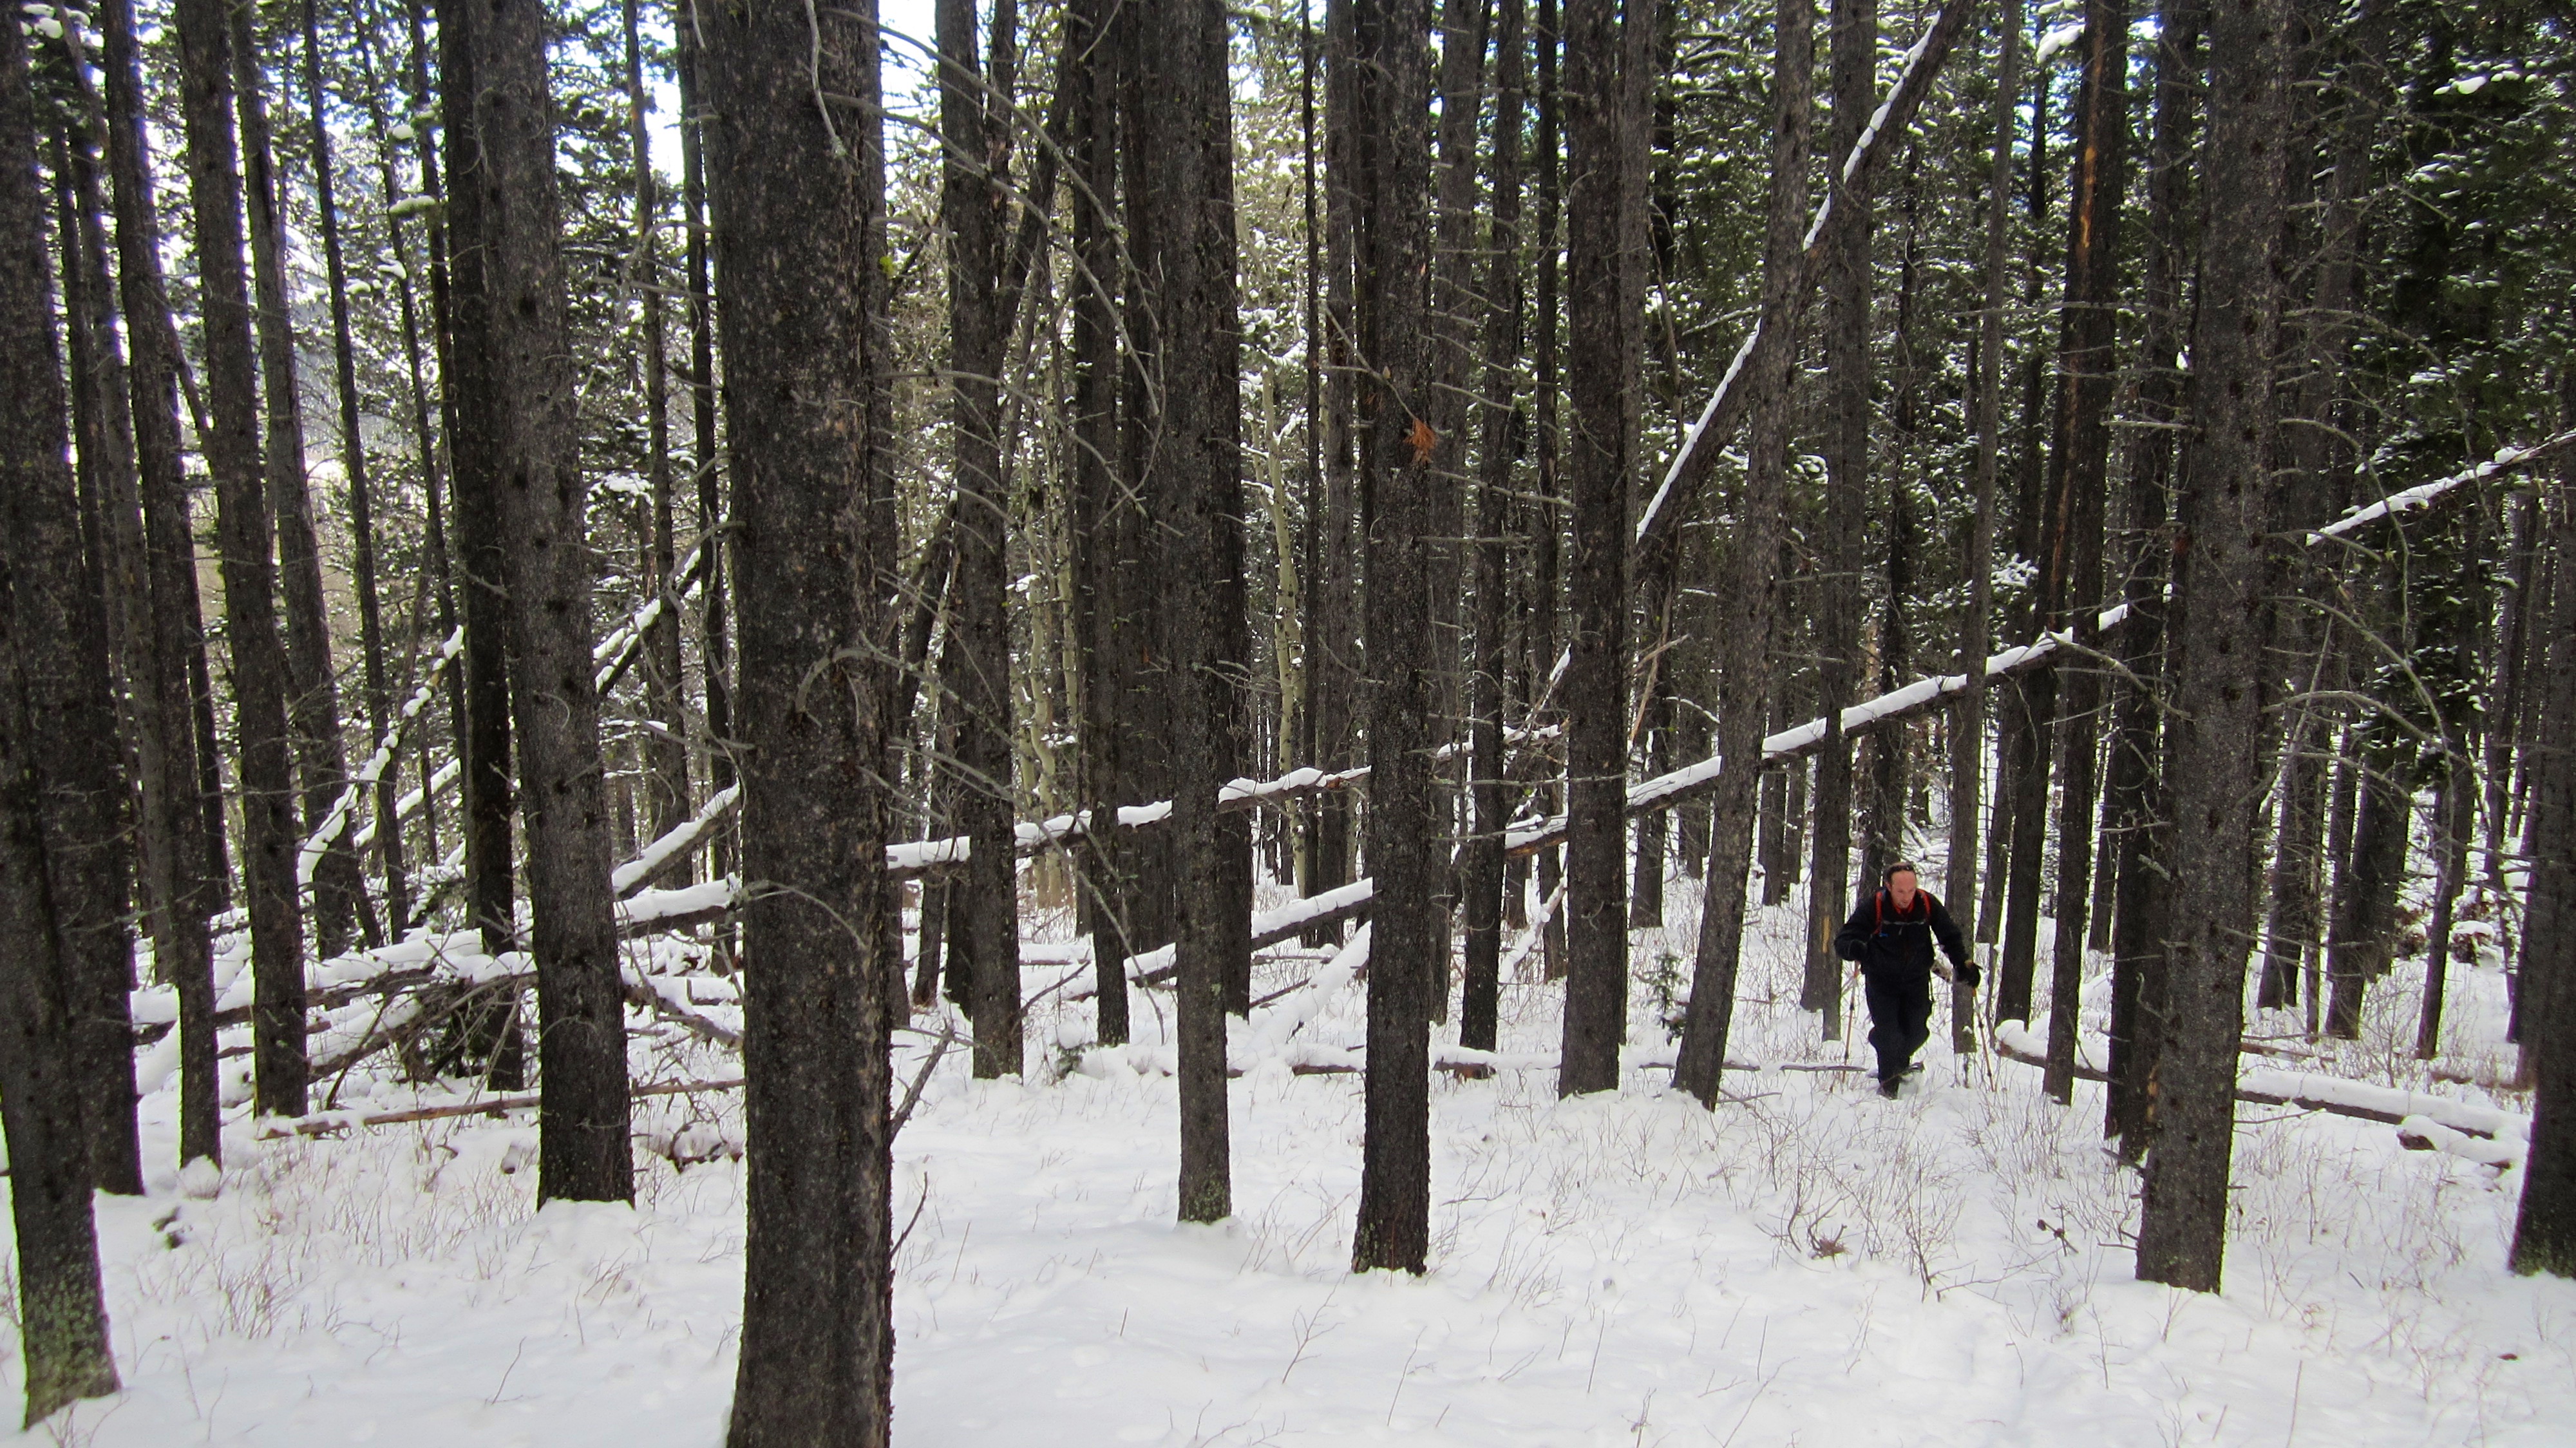
Fortunately, the bushwhacking was generally light.

After bushwhacking for a short period of time, we came to this open gully. We were tempted to stick to the mostly open bank on the left, but decided to continue bushwhacking up the righthand side because it had a more gradual slope.
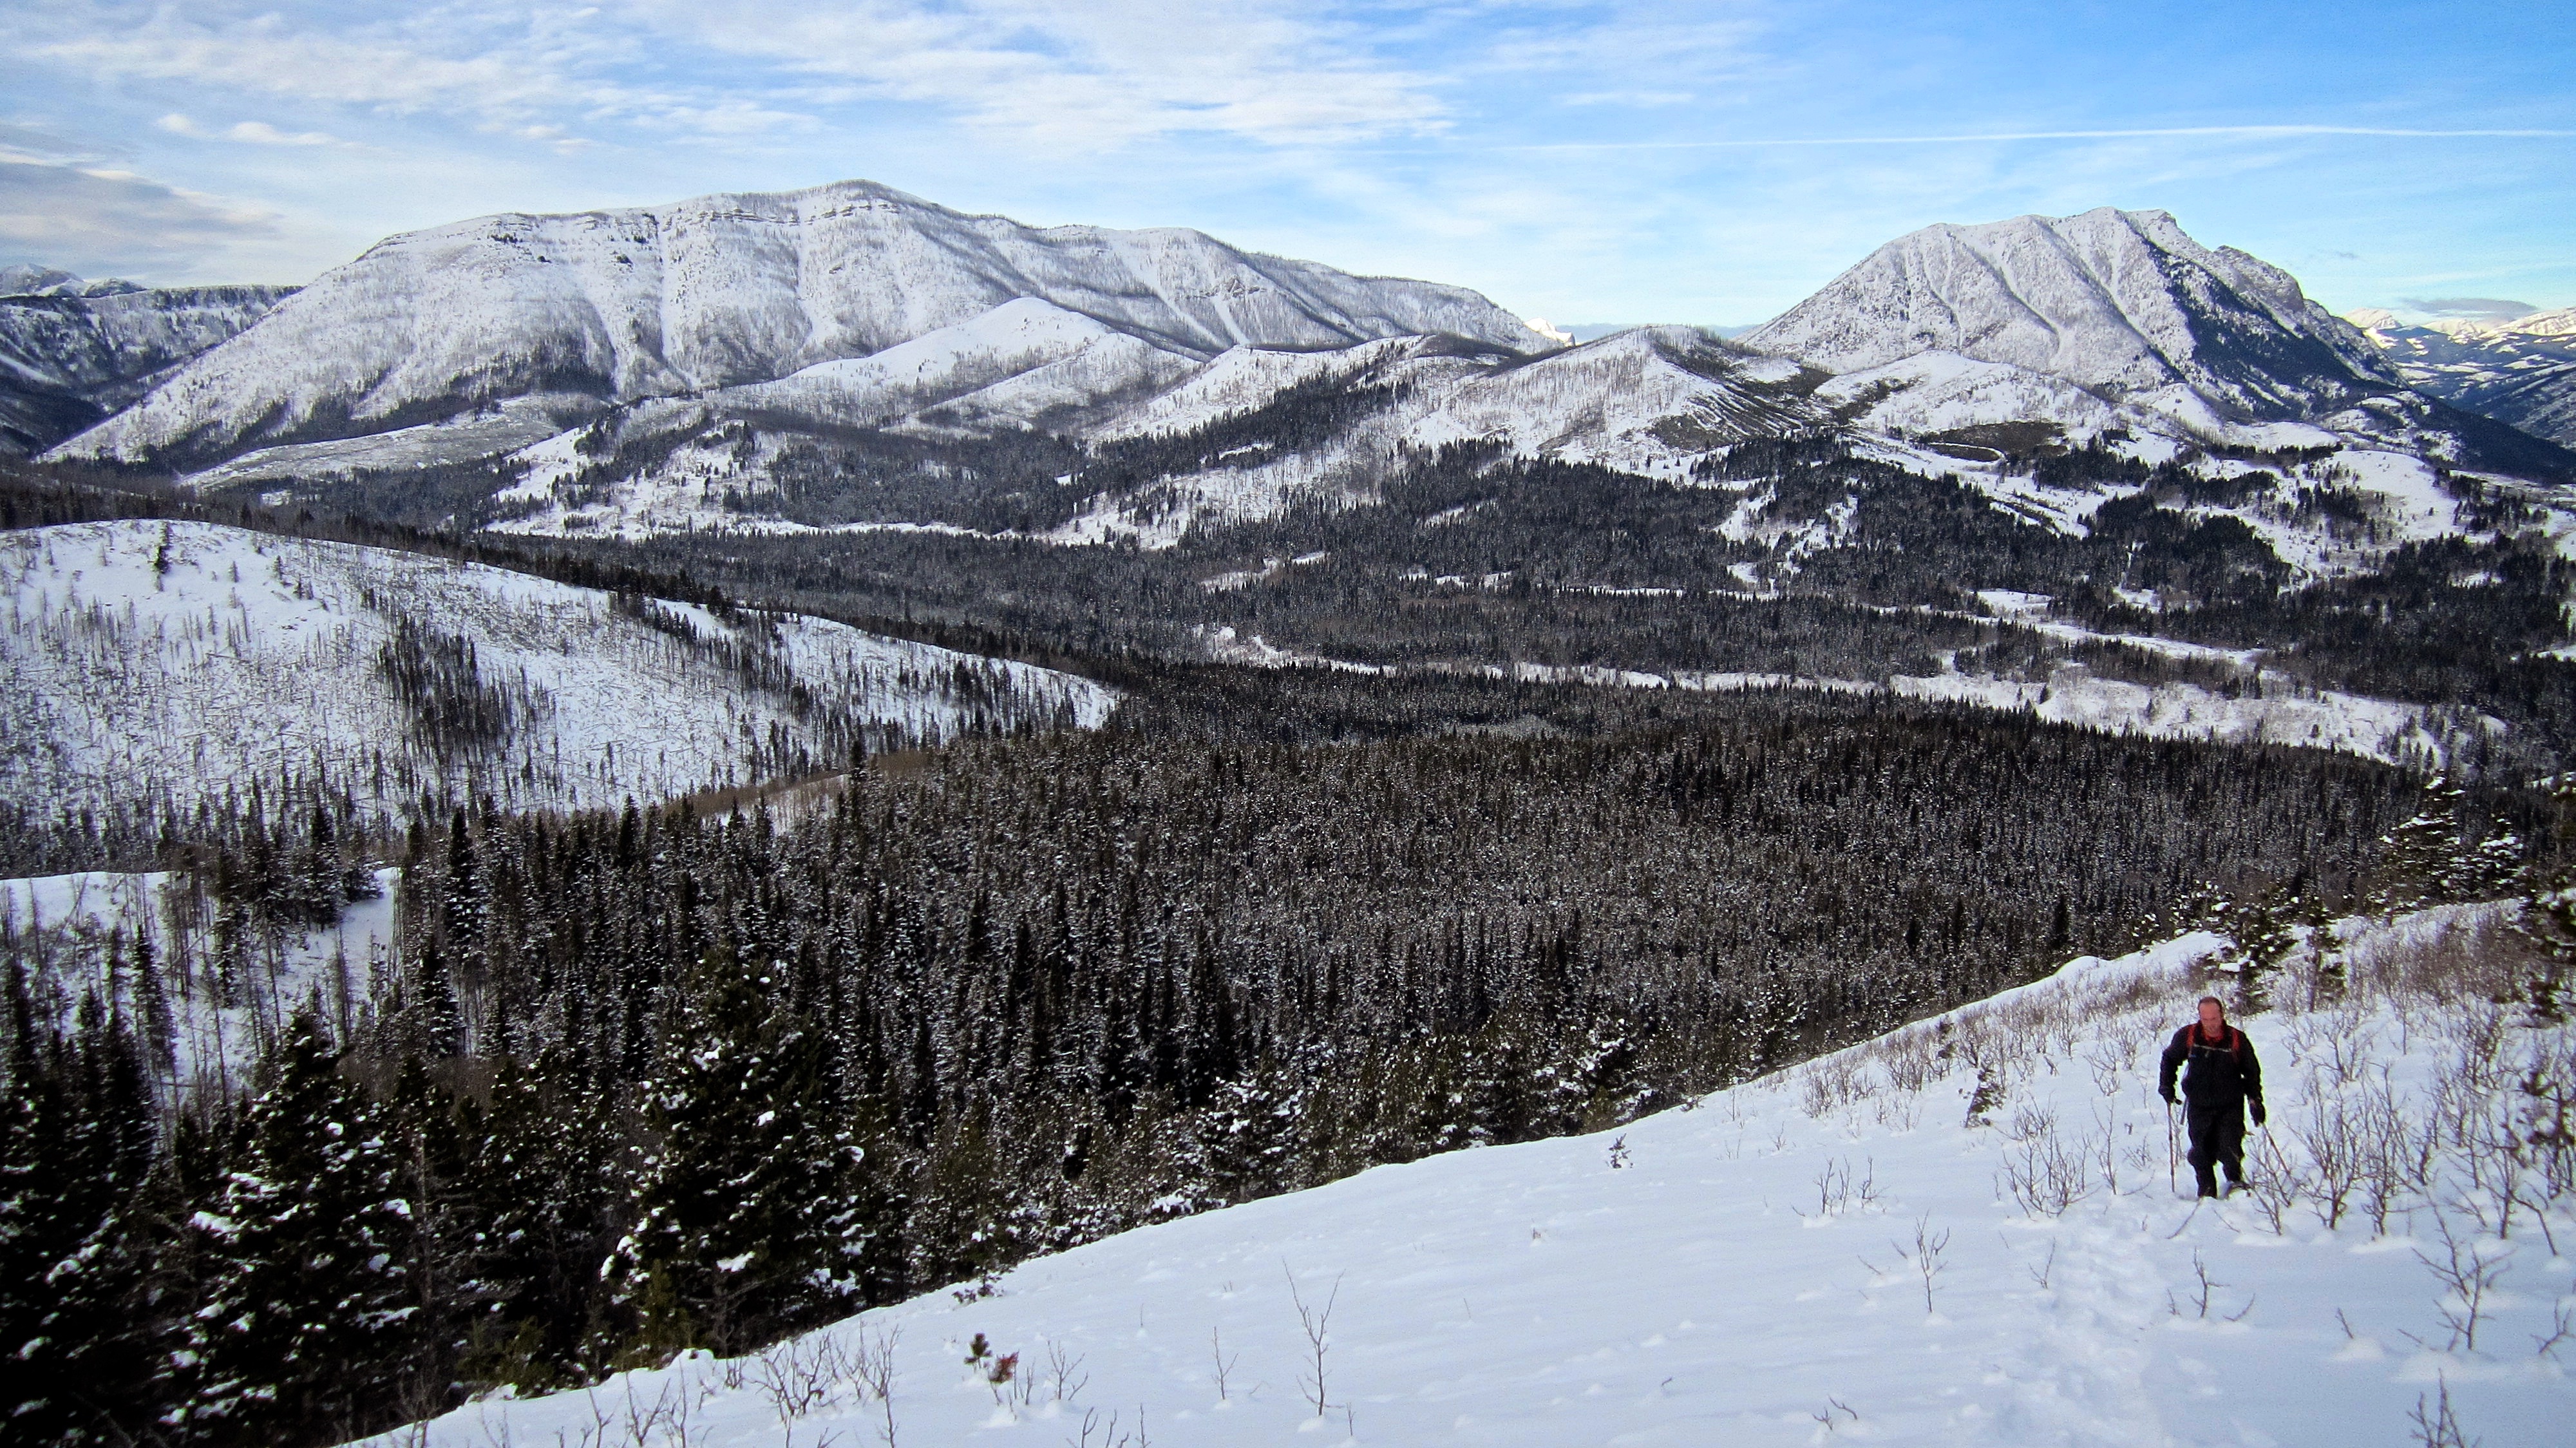
After a working our way through the trees next to the gully, we eventually began to see open slopes to our right and headed in that direction. We followed the open slopes along the tree line all the way to the ridge. Hillcrest Mountain (left) and Turtle Mountain are behind Jeff.

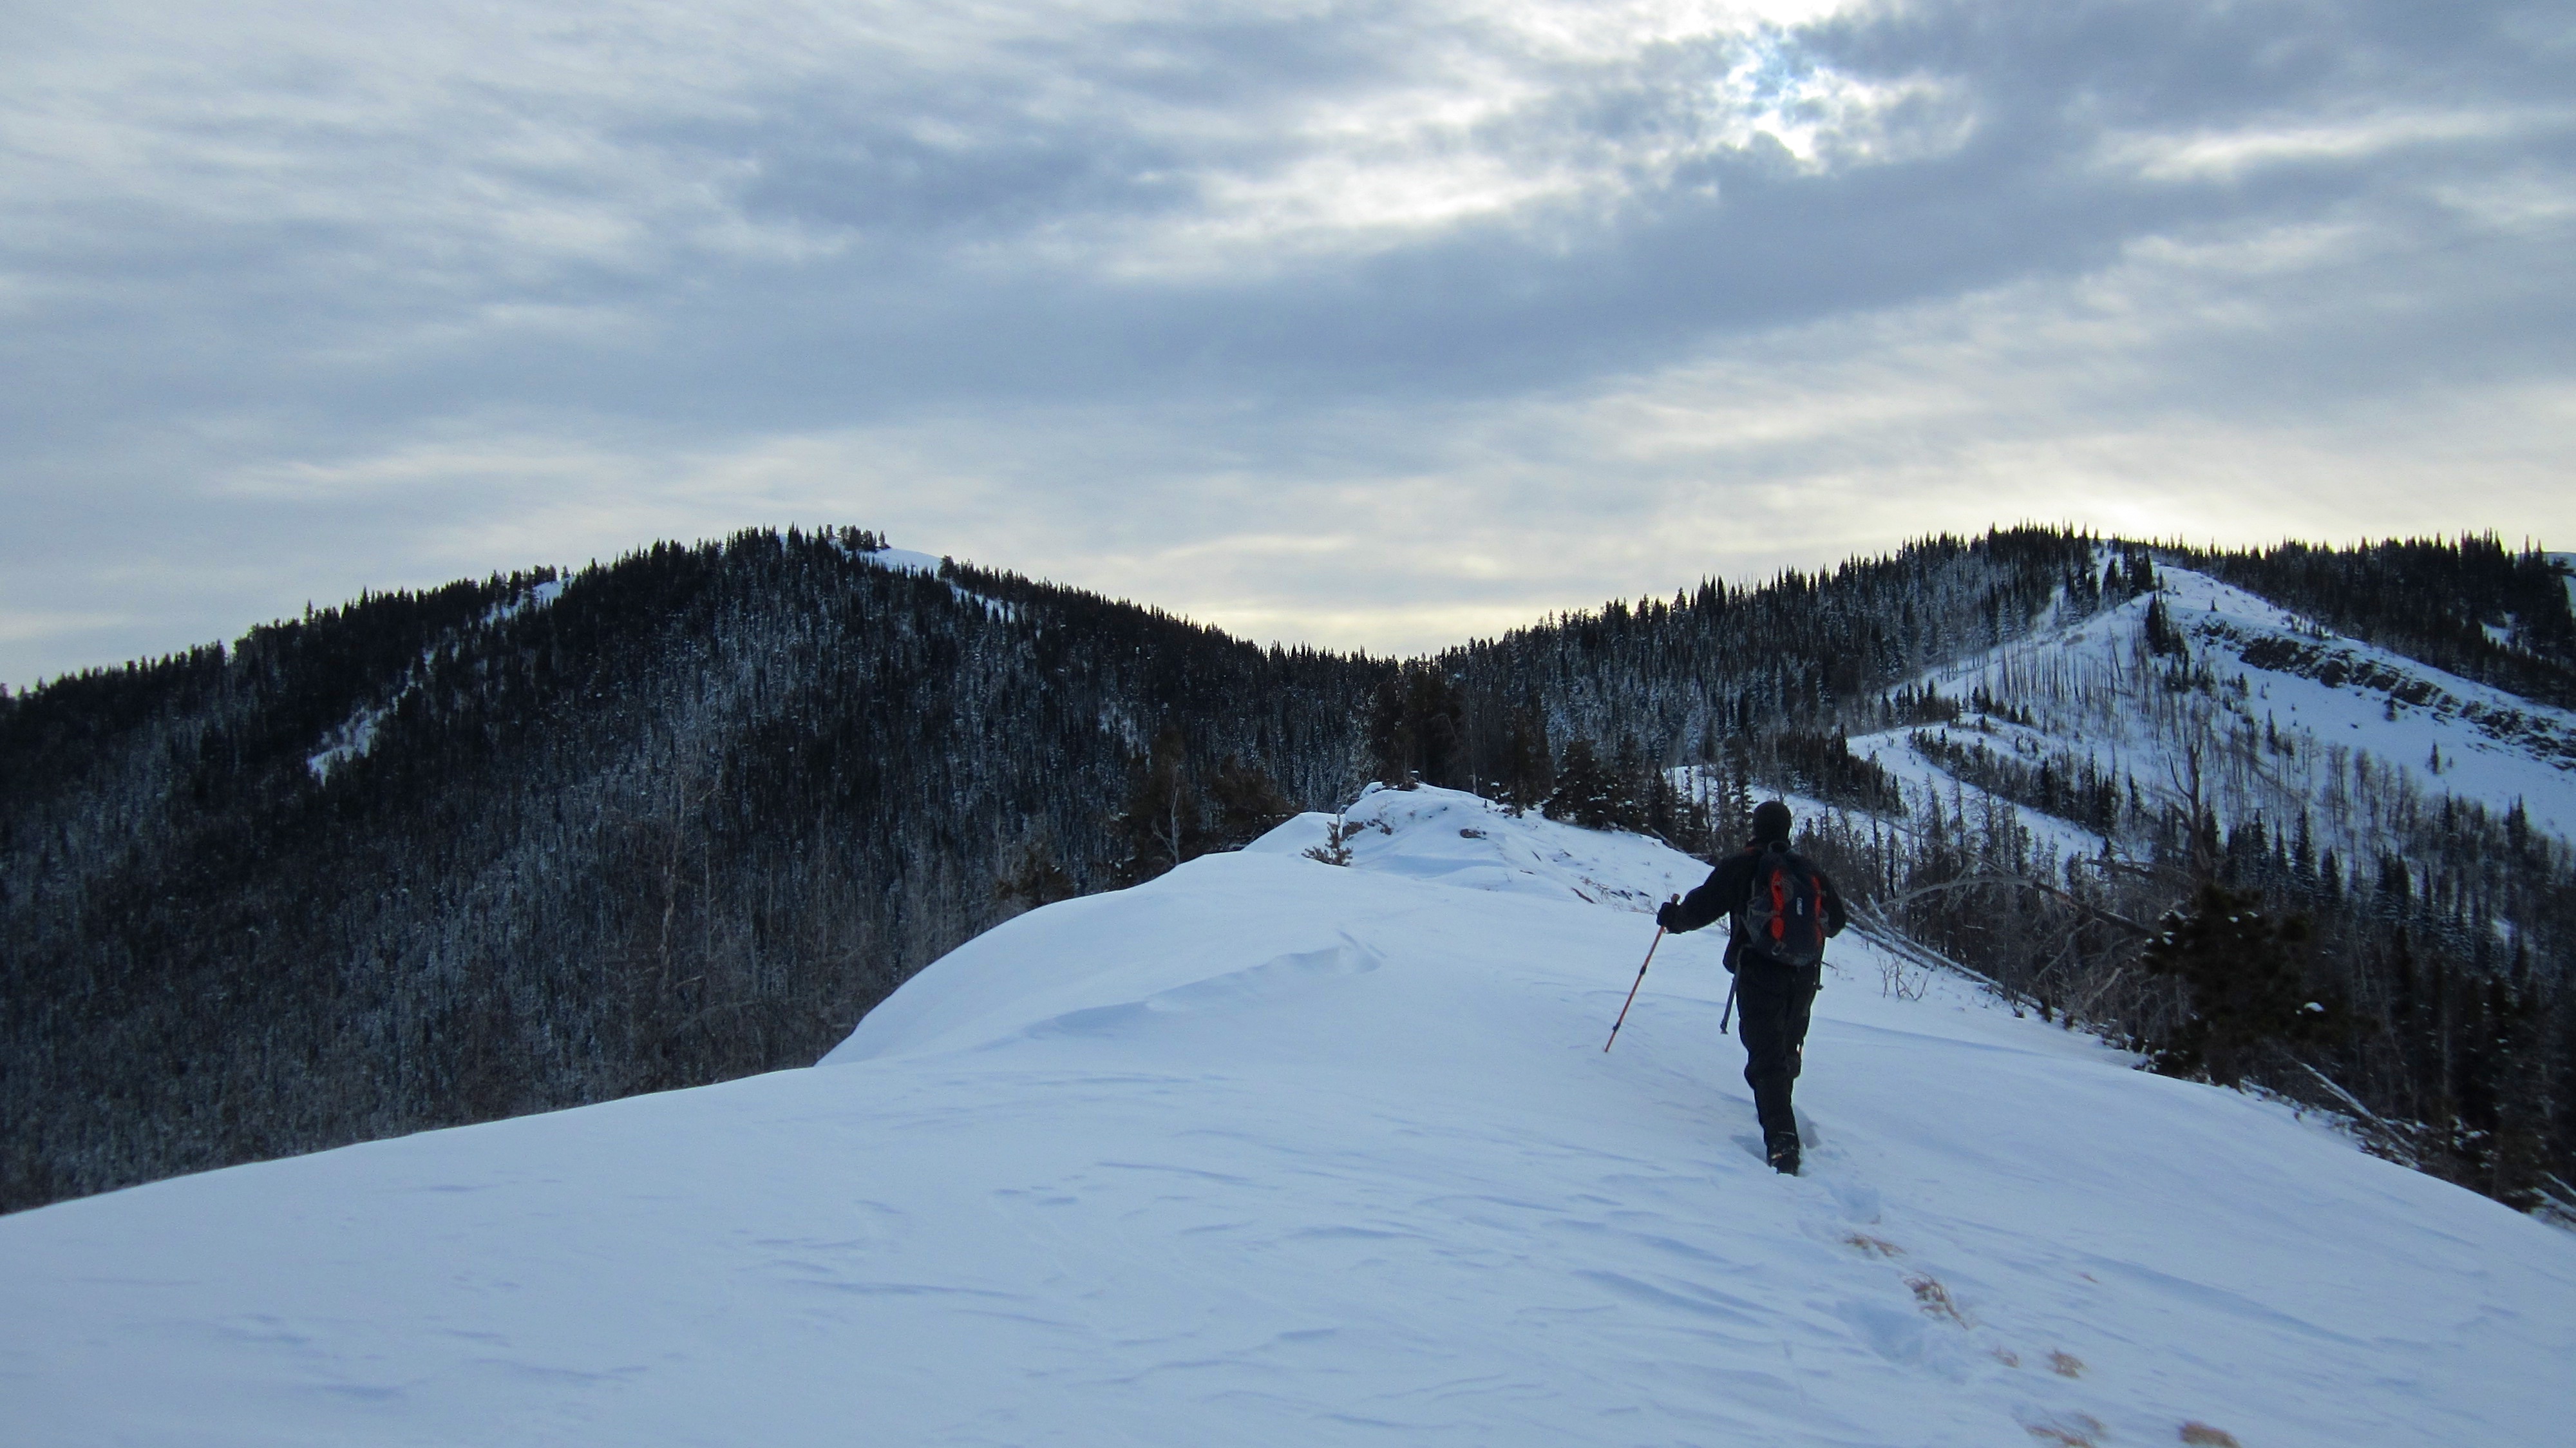
The trudge through the snow up to the ridge seemed to take forever. The top of the ridge is not visible and is still quite far off.

We were very glad that we took Bob Spirko’s advice and gained the ridge. The views were worth it!

Left to right: Turtle Mountain, Ma Butte, McGillivray Ridge, Bluff Mountain, Grassy Mountain, “The Dog”, Morin Peak, South Peak Livingstone Range, Piitaistakis Eagle Watch Site, and Robertson Peak.

A wider angle view of the previous photo. Tallon Peak is now visible on the far right.

Jeff enjoys the views from the ridge. Mount Tecumseh can be seen in the distance on the left.
Once on the ridge, we could finally see the summit of Byron Hill (left).

Ky-es-kaghd-oghsuyiss (the Porcupine Hills) is visible to the northeast.

The clearing to the left of Jeff is where the logging road joins the ridge.

At the south end of the ridge, the logging road heads into the trees between the high point pictured on the right and Byron Hill. This section is where we encountered the deepest snow of the day.

It was a scenic snowshoe down the road.

It wasn’t too long before the road swung to the right and we came to two posts sticking out of the snow.

I knew from Bob’s trip report that this was the location of a side road that led to the summit. The road itself continues on and begins to descend the other side of the mountain.

The summit of Byron Hill (1849m). The little bump in the distant centre is Mount Albert.

Looking east from the summit at Burmis Mountain (left).

Looking south at the Castle Crown. From left to right: Blue Mountain, Prairie Bluff Mountain, Victoria Peak, Loaf Mountain, Mount Gladstone, Castle Peak, Table Mountain, Whistler Mountain, Lys Ridge, Southfork Mountain, Mount Haig, Gravenstafel Ridge, Syncline Mountain, and Mount McCarty. In the foreground to the right of centre is Carbondale Hill and in the foreground far right is Maverick Hill.

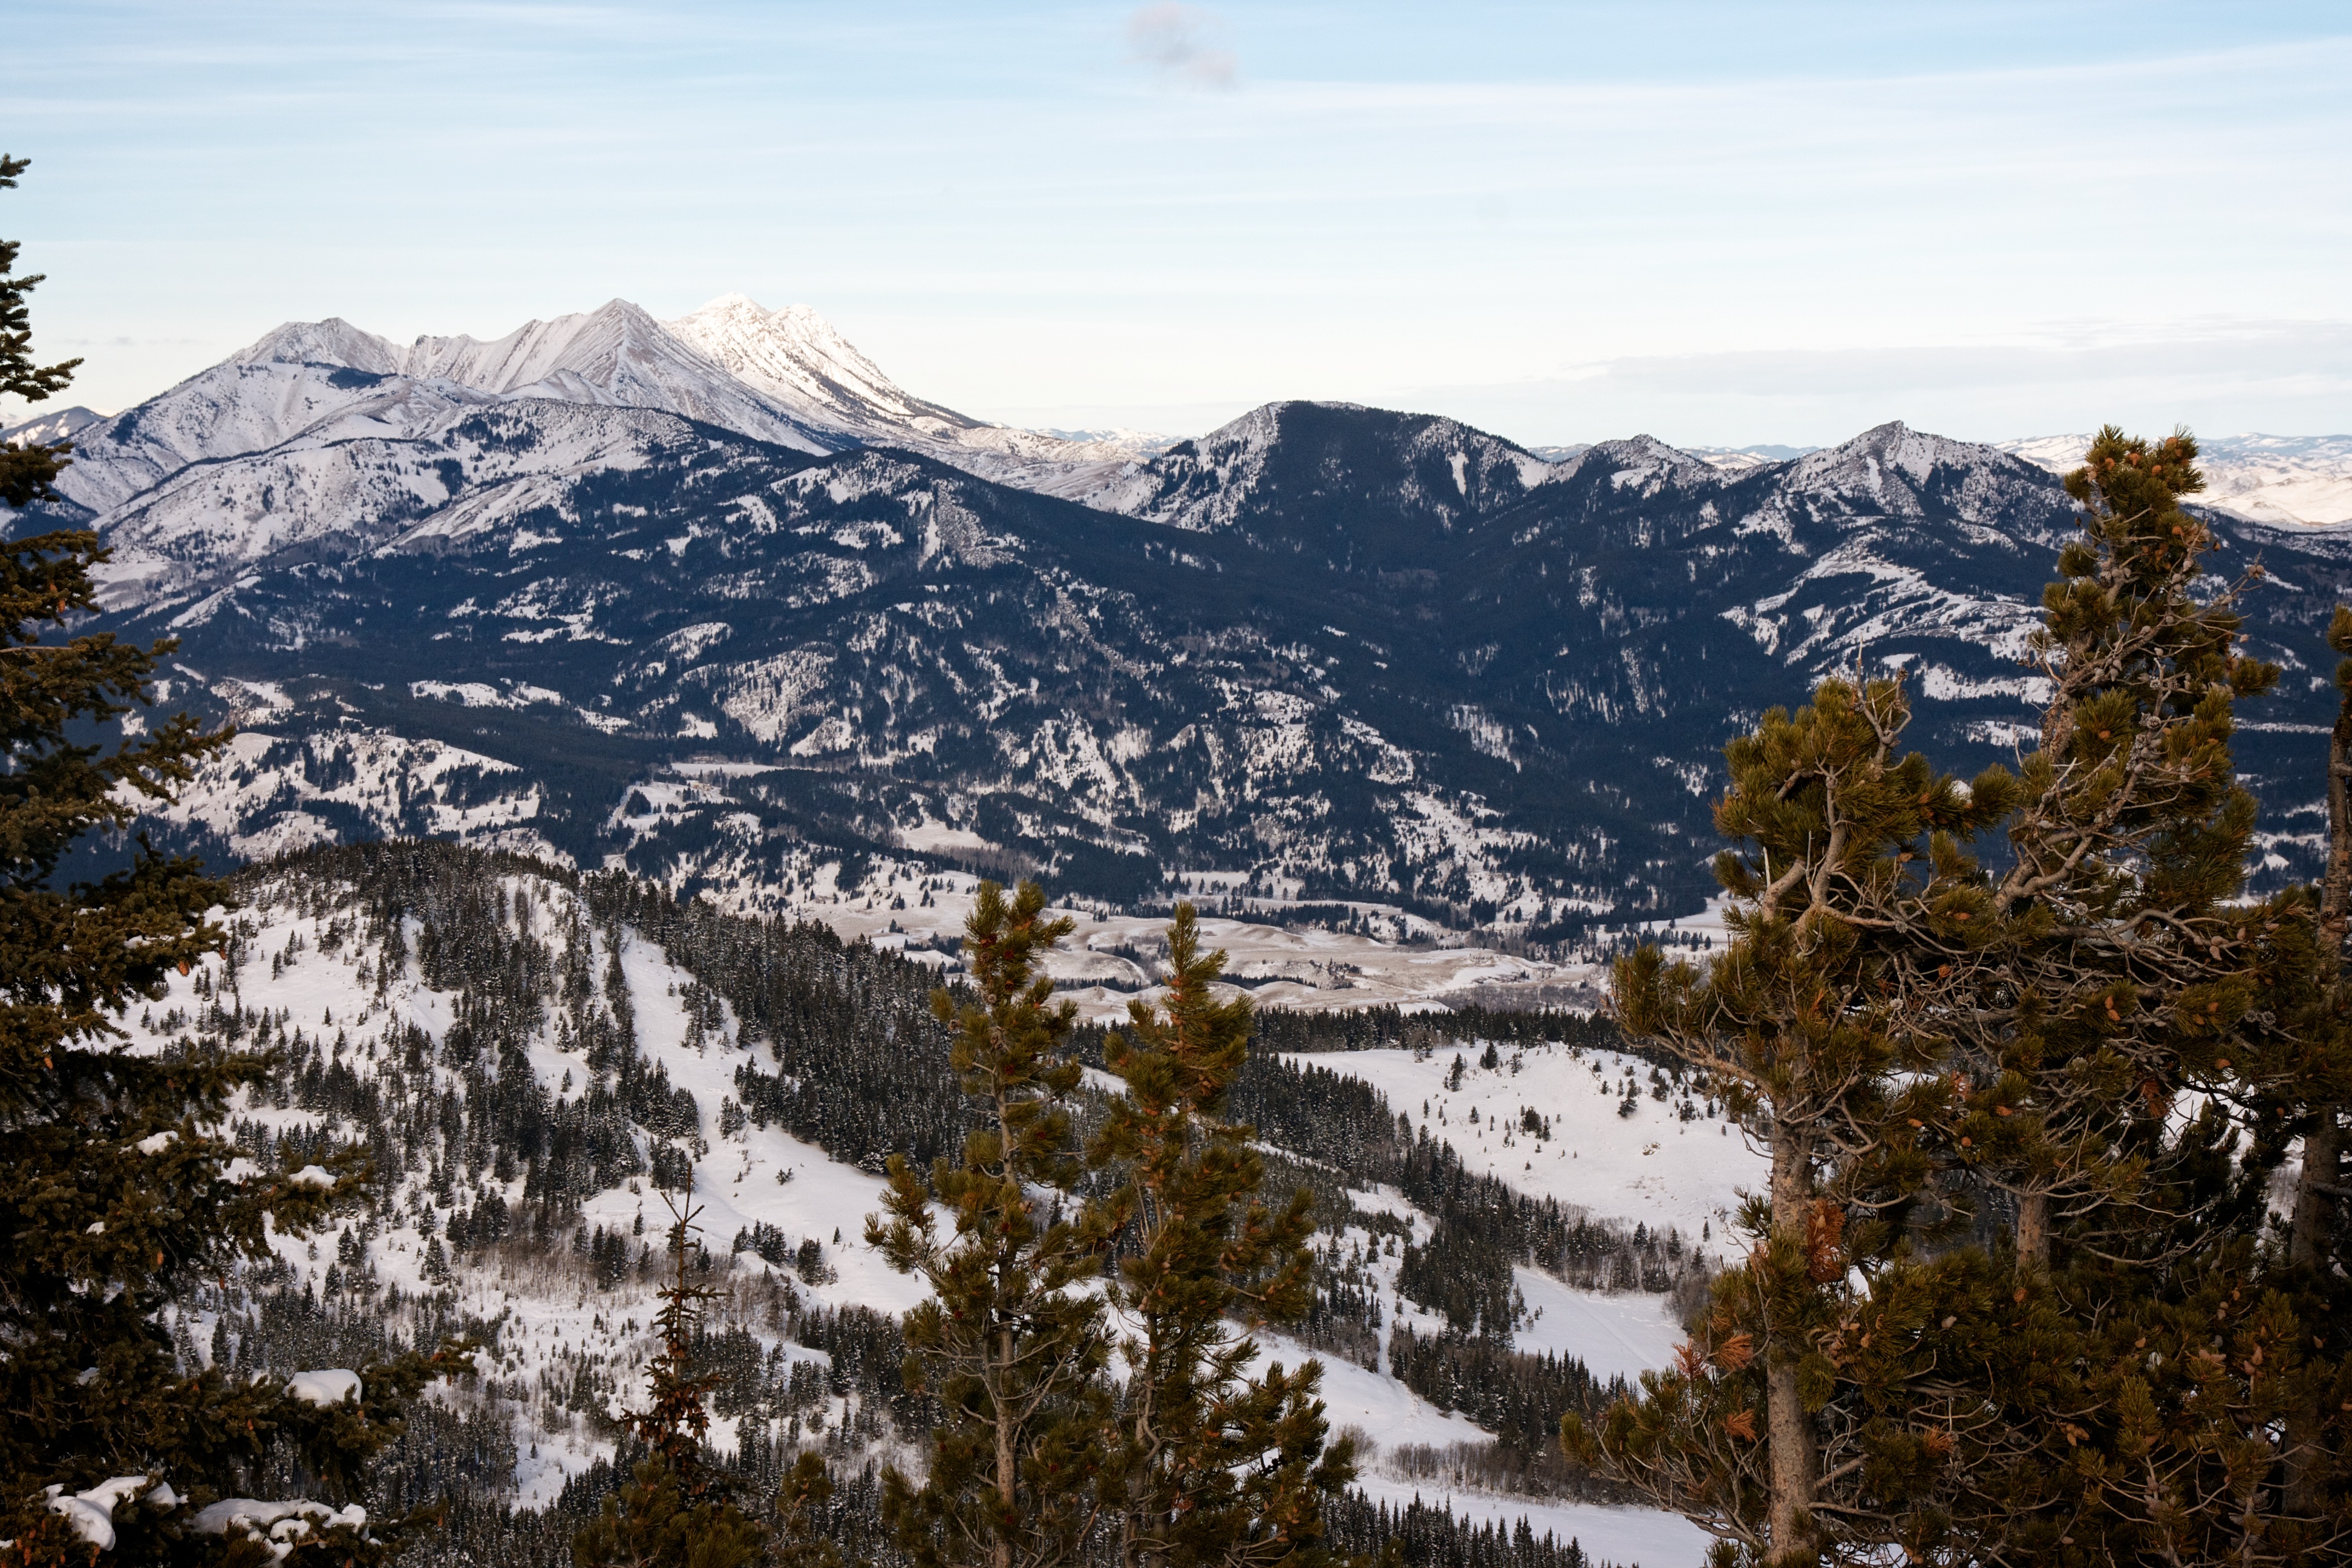
Looking southwest toward the Flathead Range. Poker Peak is in the foreground to the right of centre.

Byron Hill may not be huge, but it offers a good panoramic view of the area. A view to the west of the Flathead Range. Mount Coulthard can be seen poking over the left side of Hillcrest Mountain.
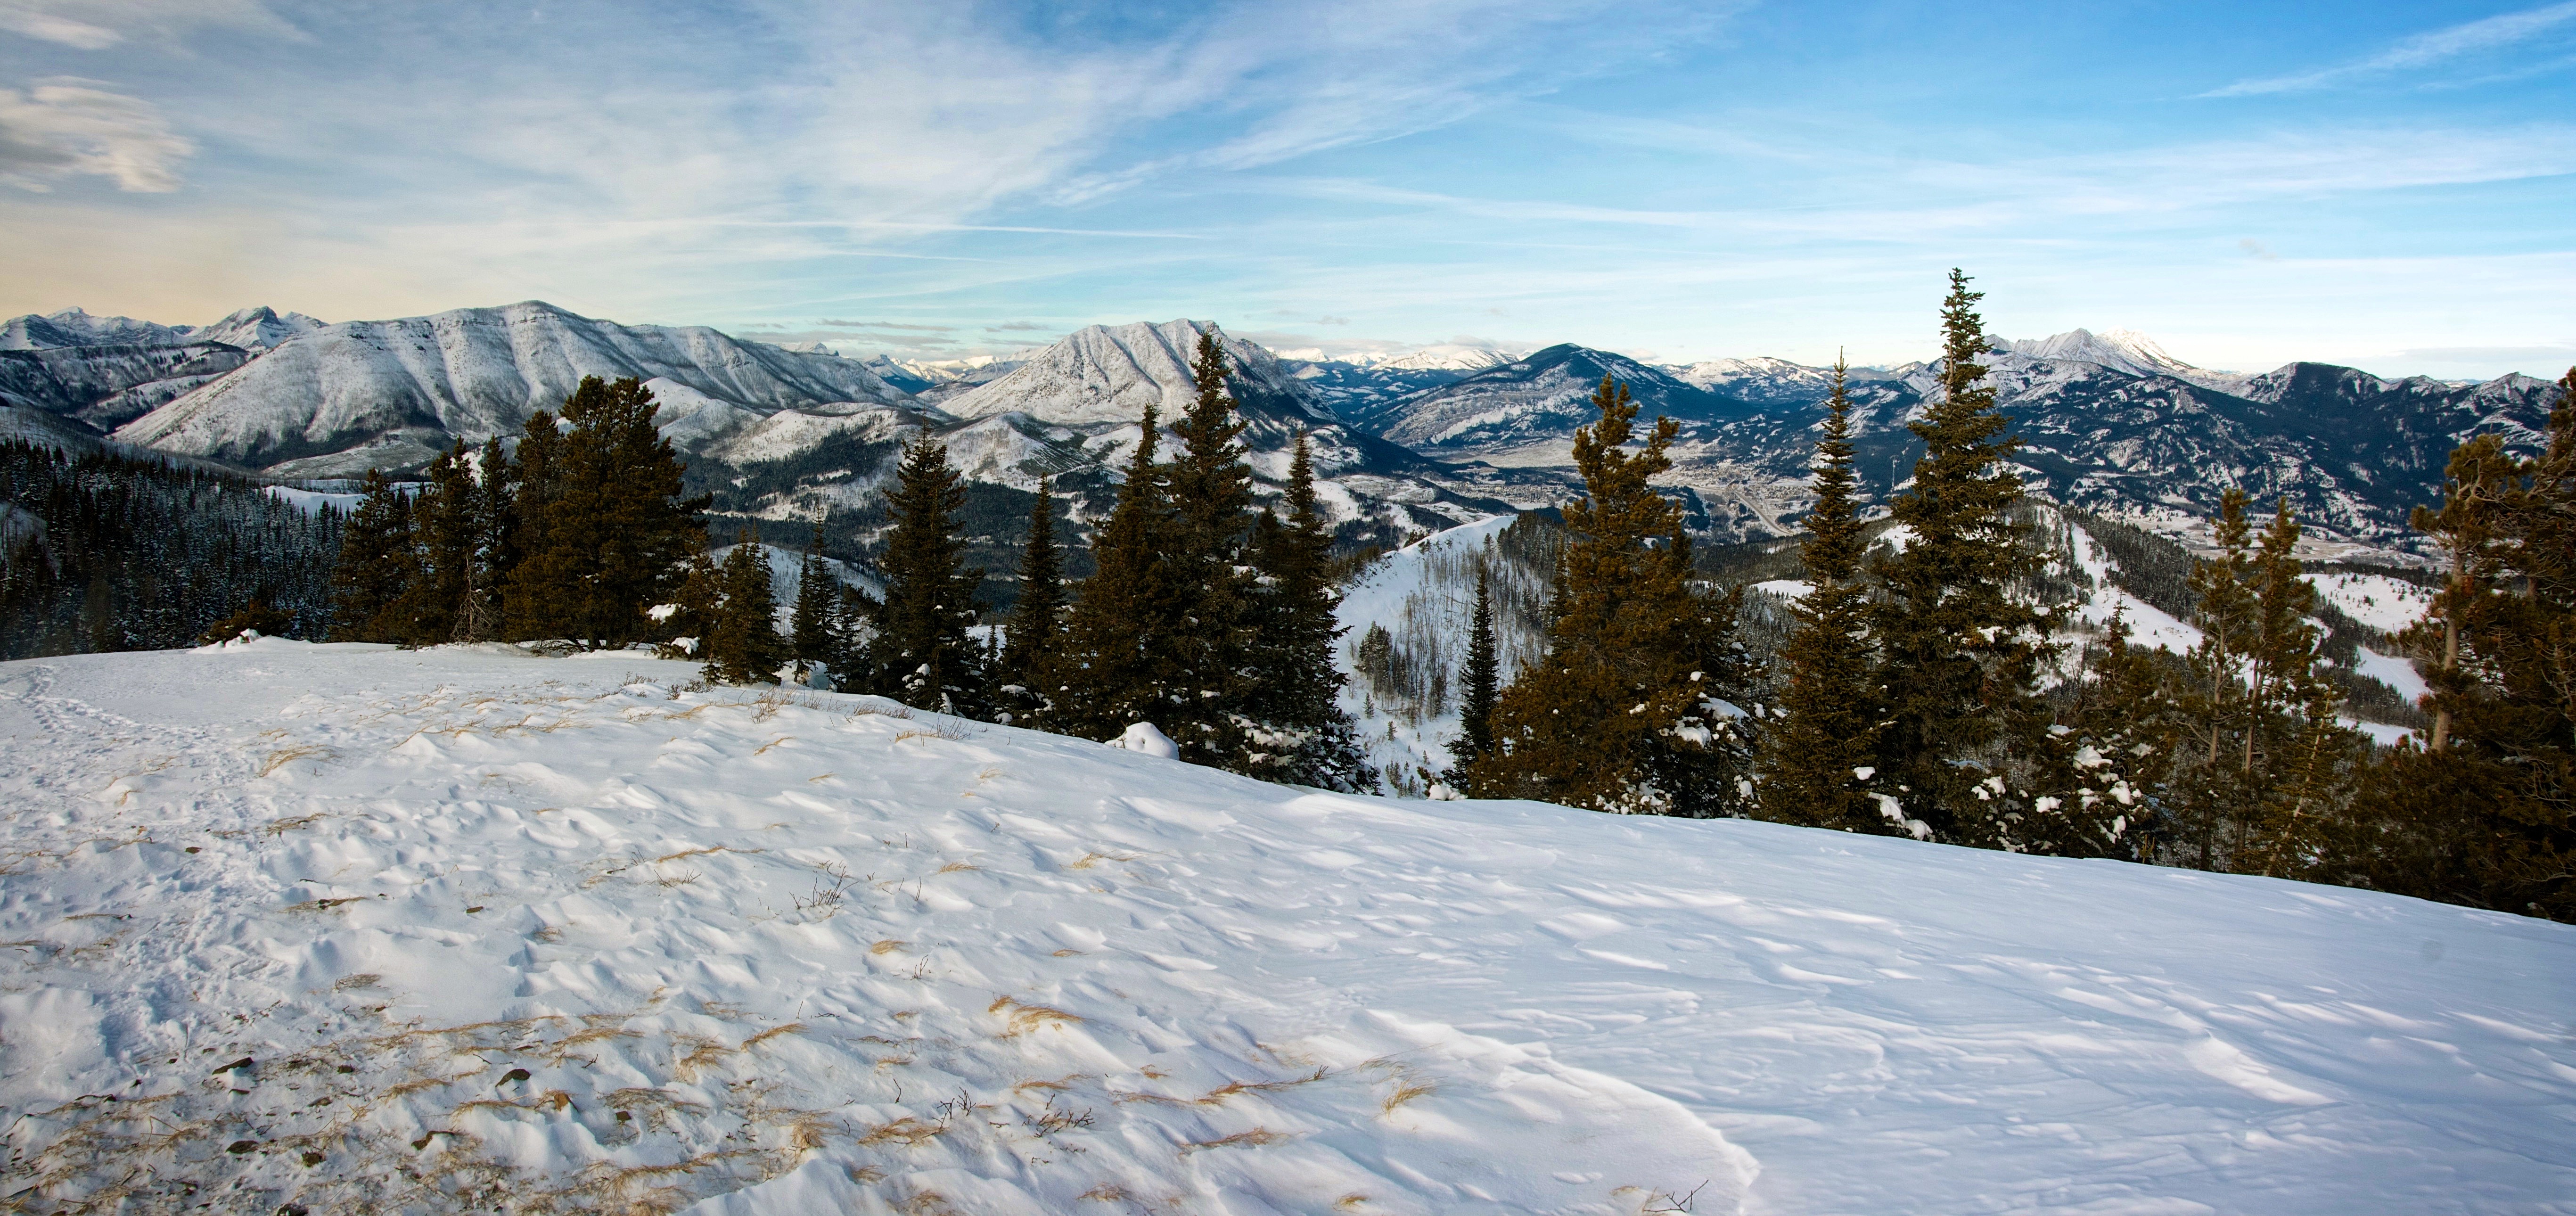
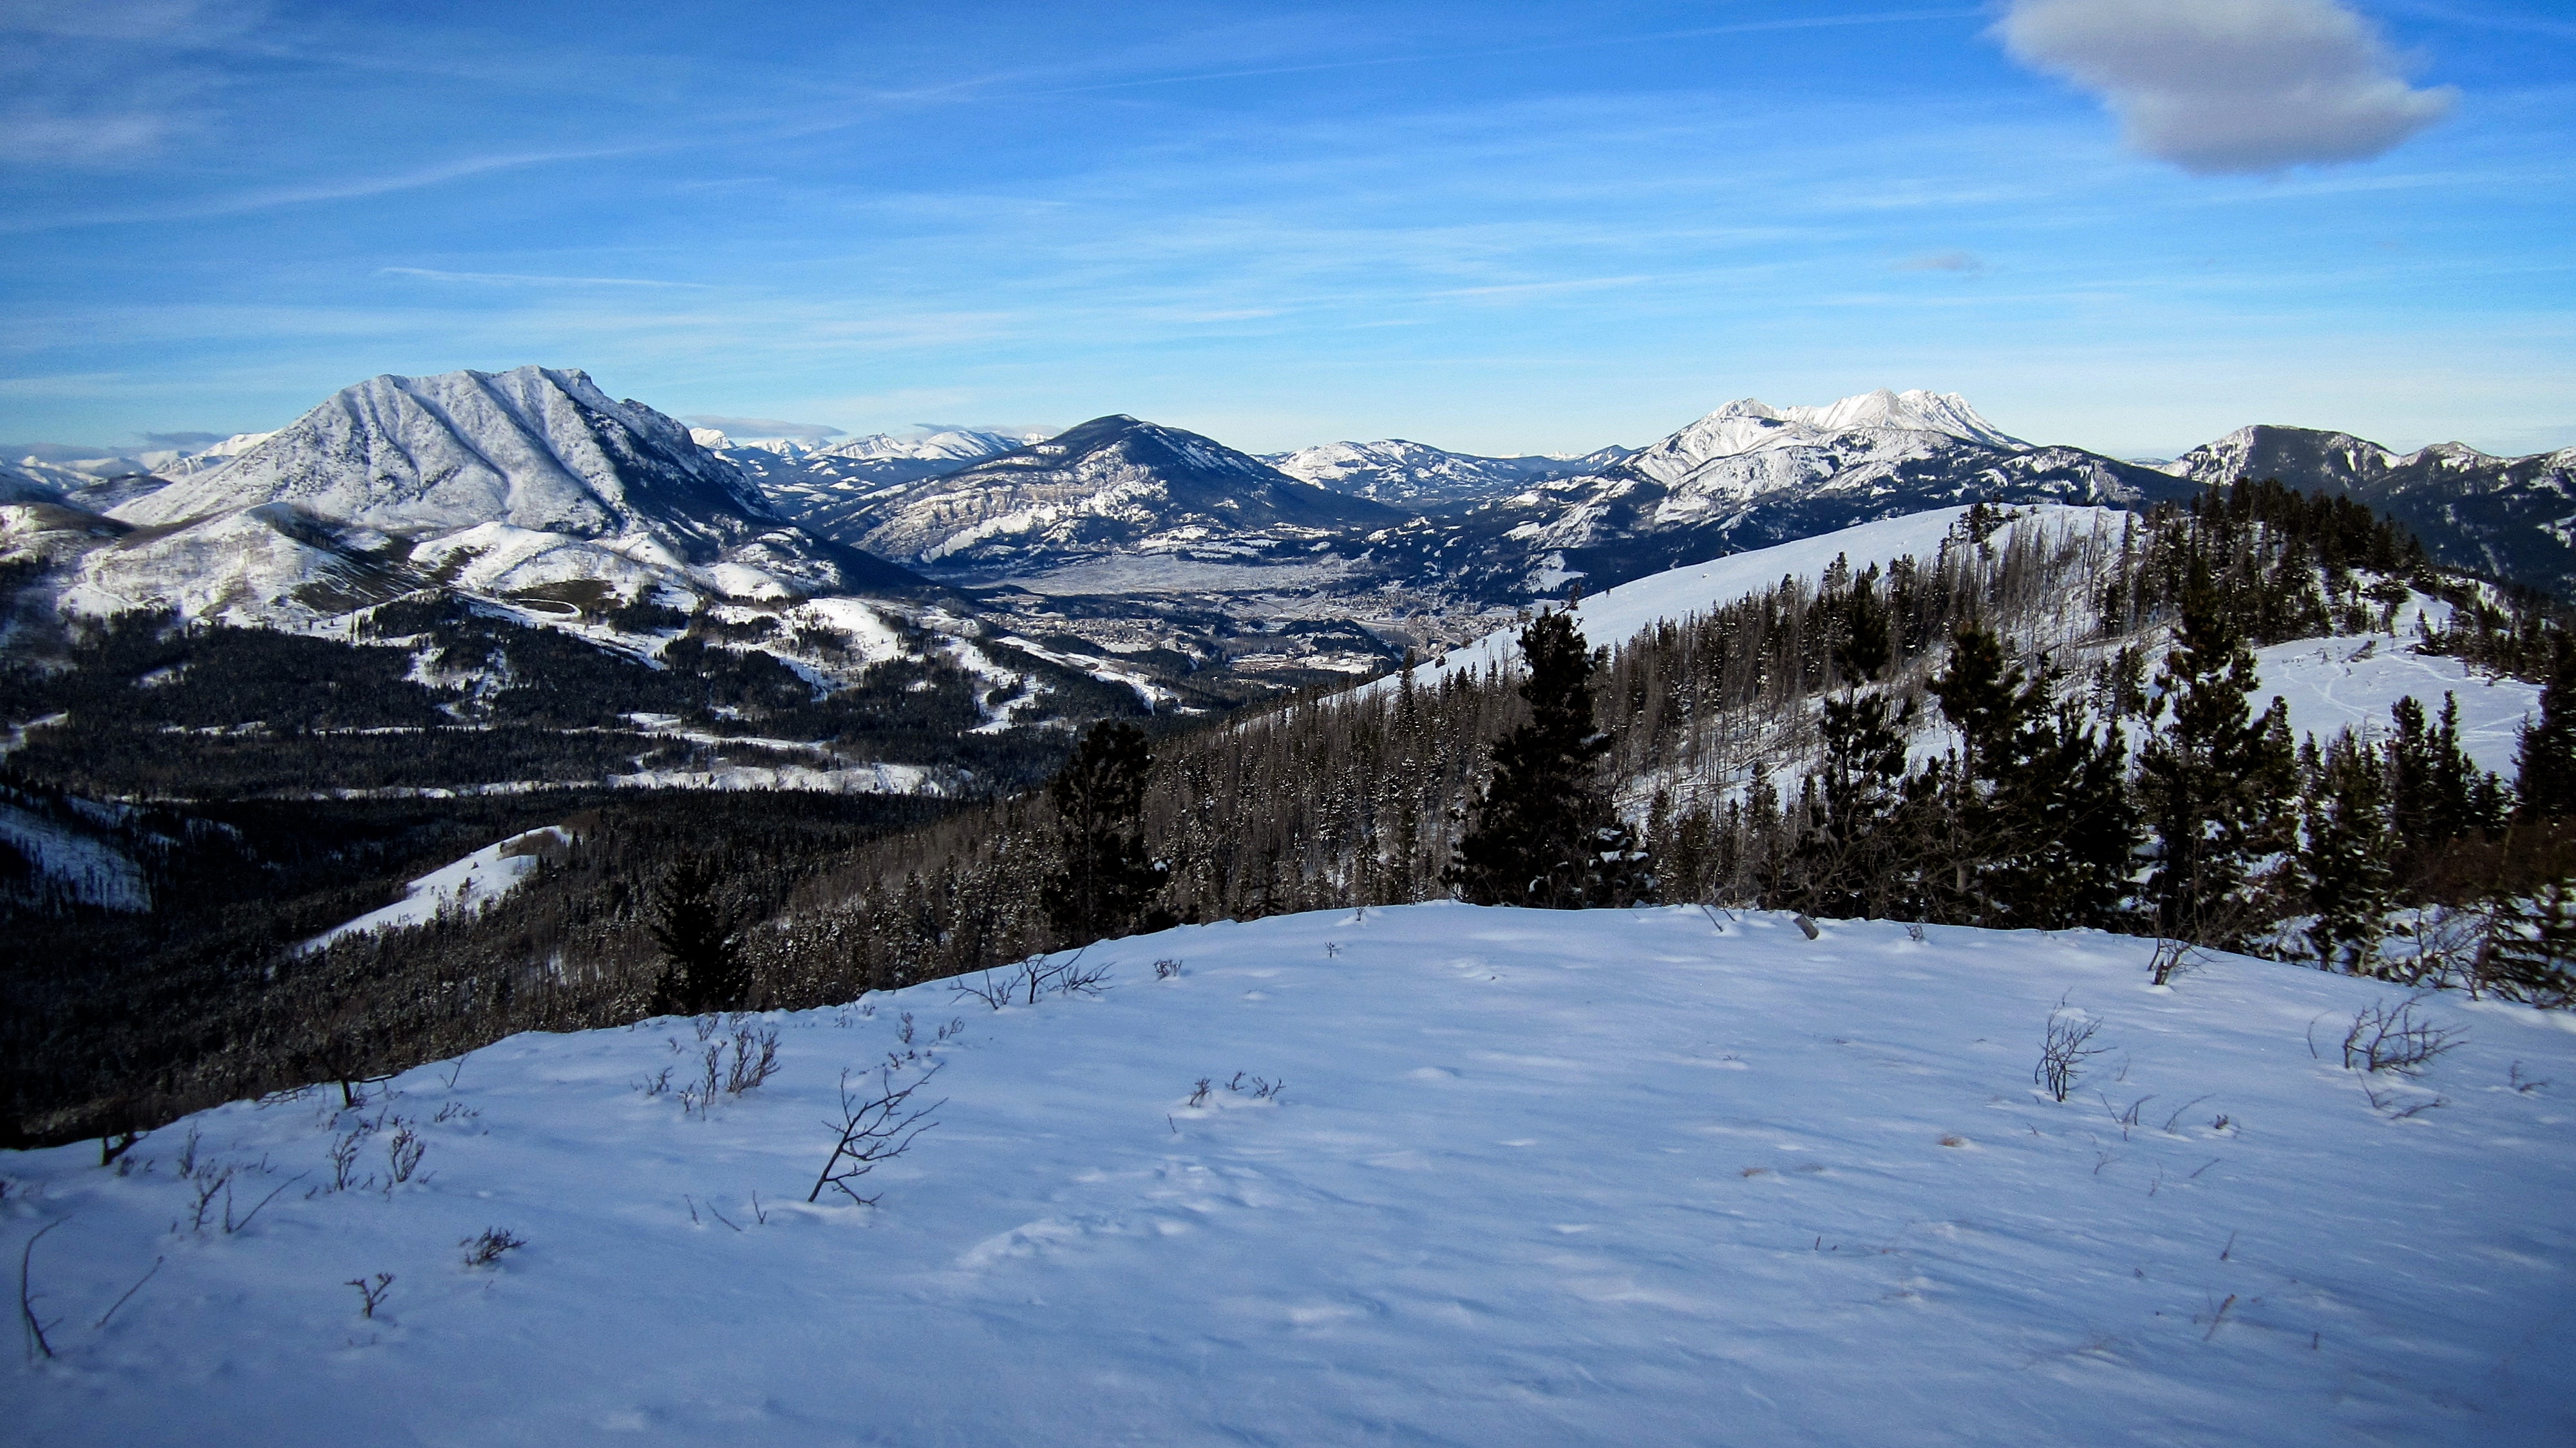
Looking west into the Crowsnest Pass. I wish we had clear skies like this a few days earlier when we hiked to the top of The Saddle. From left to right: Mount Coulthard, Hillcrest Mountain, Turtle Mountain, Ma Butte and Mcgillivray Ridge (far distance), Bluff Mountain, Grassy Mountain, South Peak of the Livingstone Range, Piitaistakis Eagle Watch Site, Robertson Peak, and Tallon Peak.
The view to the north. The Livingstone Range is on the left with the South Peak, Caudron Peak, and Centre Peak visible. The Piitaistakis Eagle Watch Site, Robertson Peak, and Tallon Peak are in the foreground.

Jeff and I celebrate the first day of 2015 on the summit of Byron Hill…

and then break into an awkward happy dance.

Jeff enjoying the views.

A closer look at the ridge (foreground) that we walked along to get to the summit.

The wind chill on the summit shortened our stay.

Bookin’ it back down.

I’ve said it many times before, but the foothills and small mountains in the Castle Crown and the Crowsnest Pass offer up some amazing scenery in the winter.
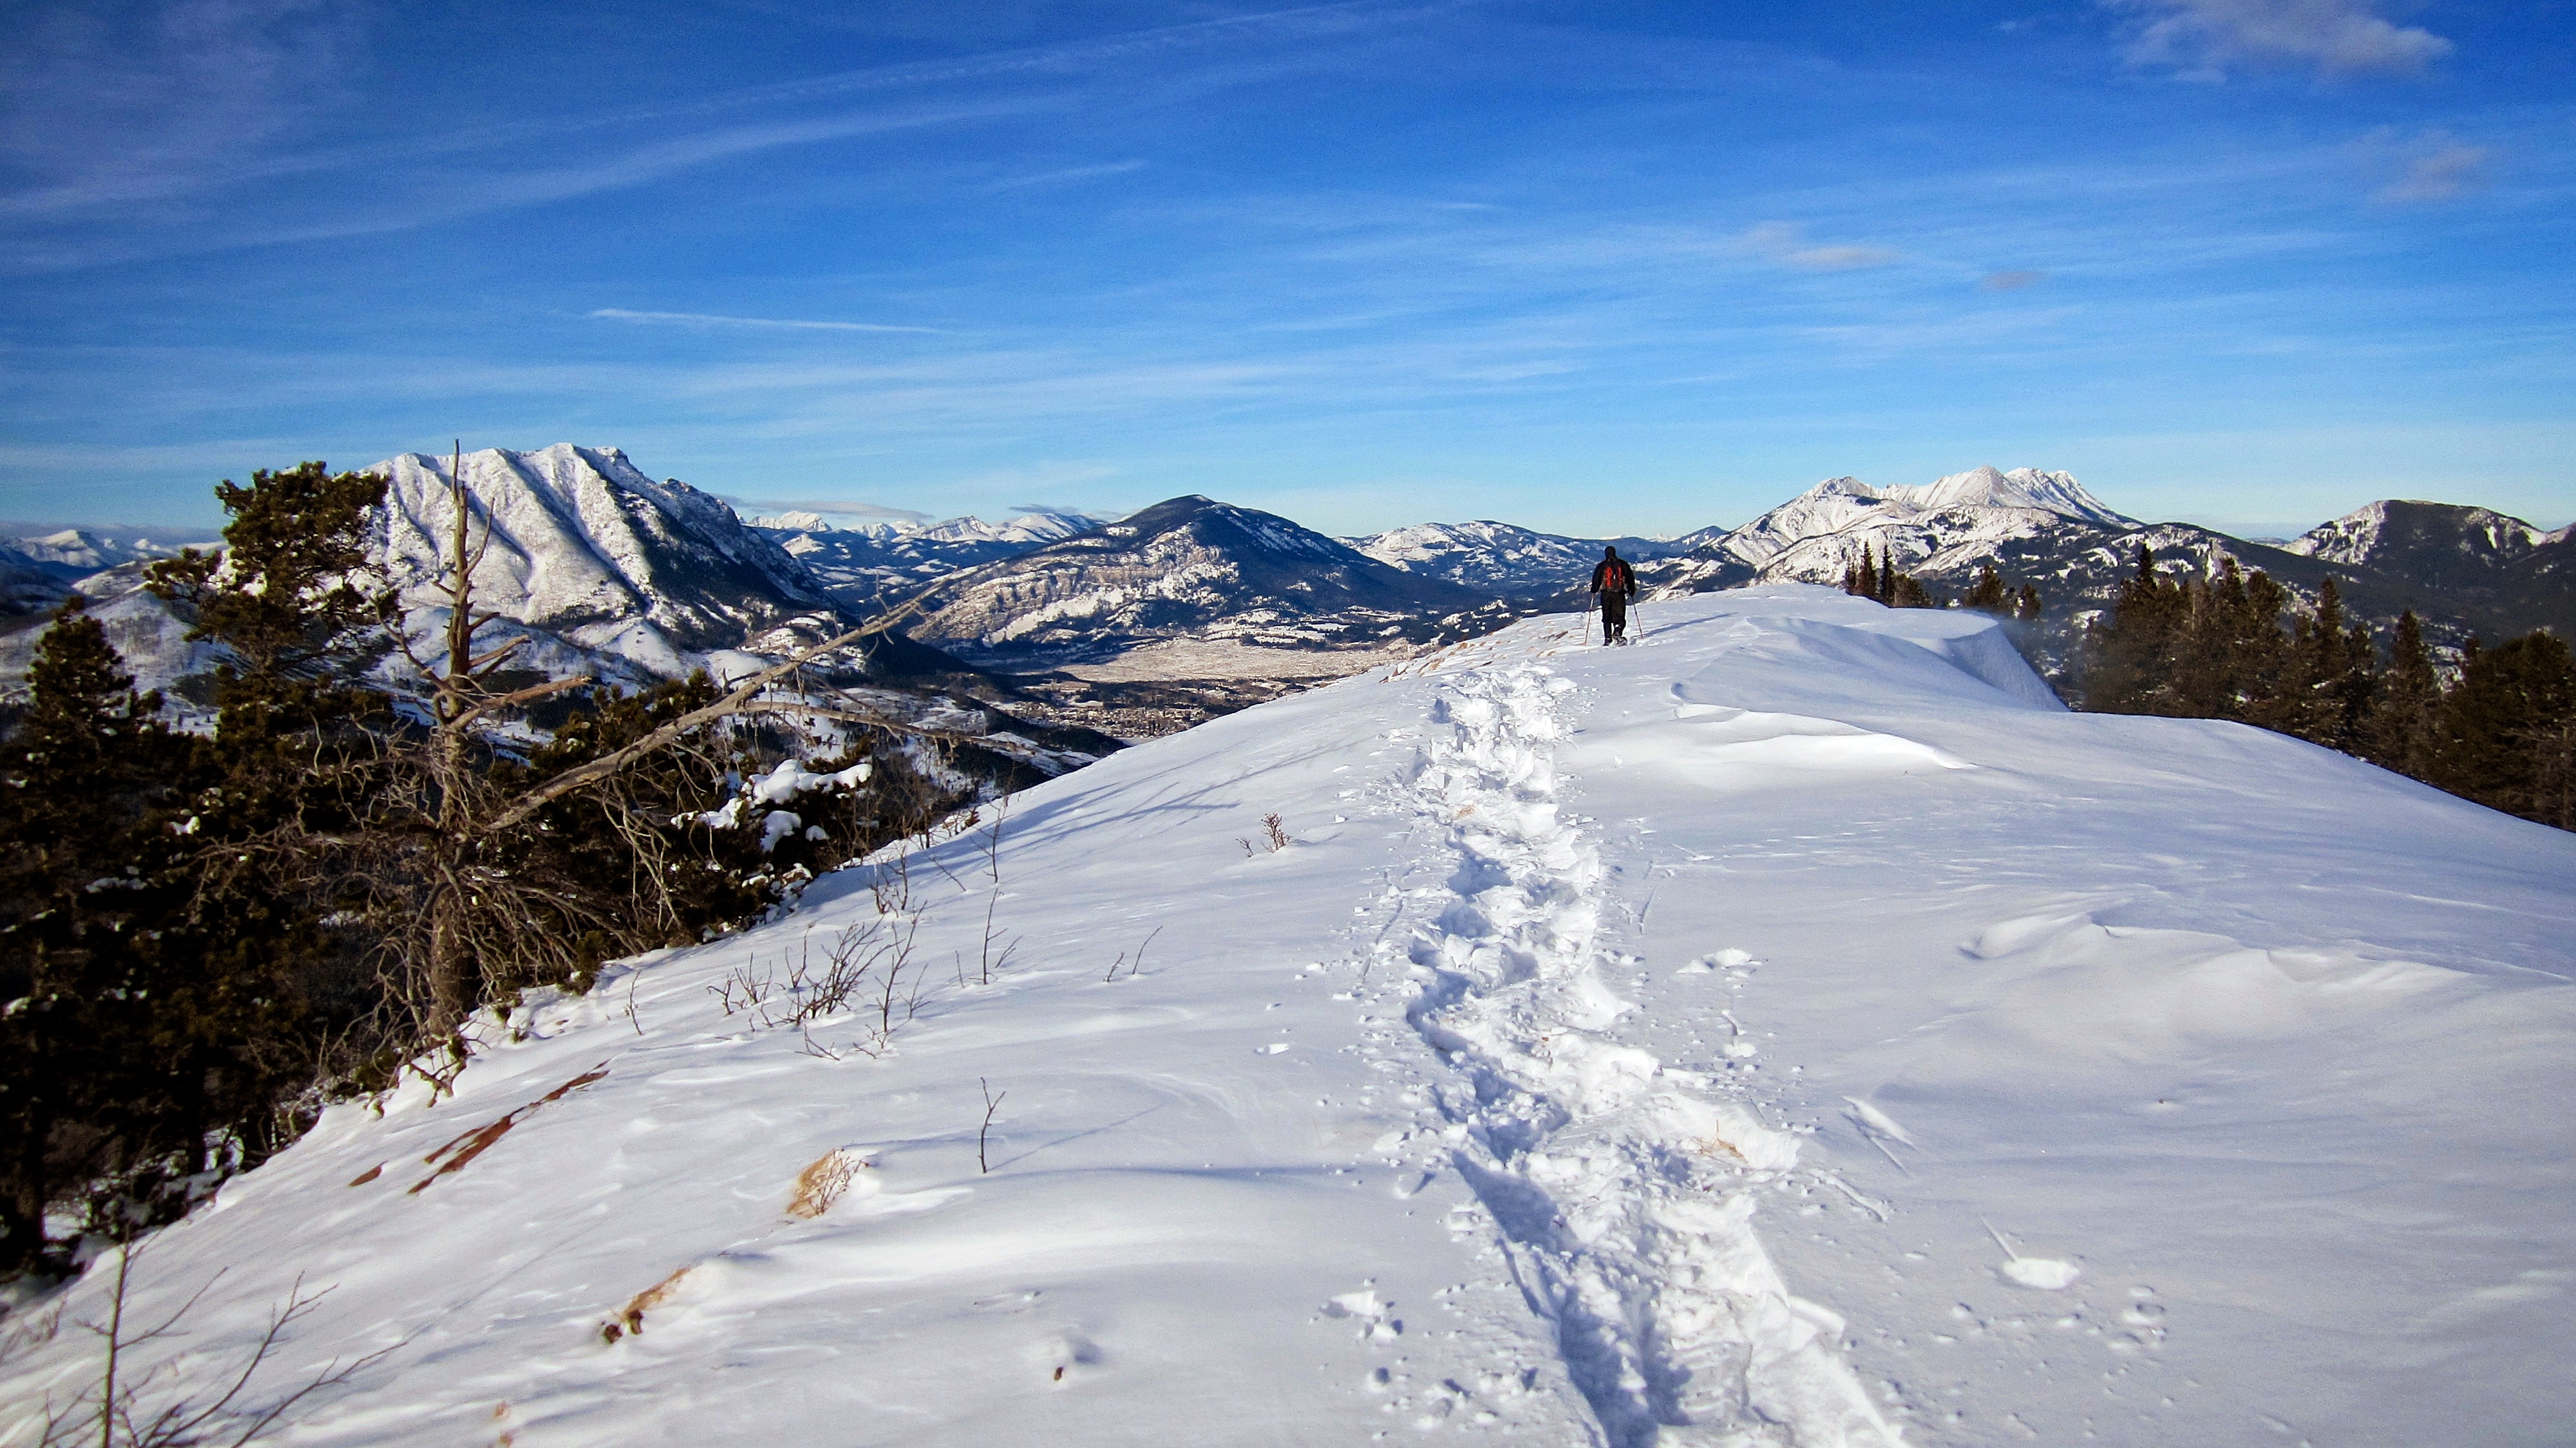
Back on the ridge as the skies get even clearer. We discussed dropping down to the logging road to avoid retracing our route along the ridge, but the thought of breaking a new trail through the snow was not appealing – and besides… that view!
Jeff follows our tracks back along the ridge.

Descending from the ridge.

Back in the clearing, we suddenly realized that we had forgotten an important part of our New Year’s summit celebration and promptly broke out the 12 year old Scotch.

Happy New Year!

Byron Creek was simply stunning on this day.

Jeff crosses Byron Creek as we get ready to make the 70m climb back up to our vehicle.

When we arrived back at our vehicle we were surprised to see a family standing next to it. They turned out to be CNP locals who were taking a break after enjoying the day with their kids and quads.

Looking back after a spending a fantastic New Year’s Day snowshoeing in the foothills of the Crowsnest Pass. Though not huge, Byron Hill offers up some great views of the surrounding area and the only tricky part is at the beginning (and then at the end) when you have to descend and ascend from Byron Creek. In the summer, as Bob notes, crossing Byron Creek might also prove to be tricky as well.