
⚠️ Hiking and scrambling are inherently dangerous activities. Please read my Disclaimer. ⚠️
Over the years, Castle Mountain Ski Resort has provided our family with some fantastic memories. Unfortunately, the ski hill had to close early last year due to a lack of snow, which sent my snowboard-crazy sons and ski-loving daughter into a period of mourning. While I love to ski and can get by on a snowboard, my attention has always been drawn to the summit of Mount Haig. After several summers of stating that I was going to make the popular pilgrimage up Mount Haig and Gravenstafel Ridge but never getting around to it, this would be the day that I finally made good on past intentions. According to Bivouac, Mount Haig was “named in 1862 after Captain R.W. Haig who was the Senior Military Officer and Chief Astronomer on the British Boundary Commission (1858-1862) which surveyed the Canada U.S. border from the Lake of the Woods in Ontario to the Continental Divide in the Rockies.” At 2612 m, it is the second highest peak in the Castle Wilderness Region after Loaf Mountain (2639m). A popular destination with more than one route to the top, online and printed trip reports are plentiful and many combine an ascent of nearby Gravenstafel Ridge as part of the trip -which is what Jeff and I chose to do as well.

Our route started at the base of the Huckleberry Chair on Haig’s lower slopes. We followed the lift until we came to the bottom of Quick Draw (first run past the creek) which we then followed up to Buffalo Flats. A small trail exists on the north edge of Buffalo Flats which leads to the Haig Lake Trail/Cinch Fork Road (~1.4 km from the parking lot). We followed the trail for a short distance before we turned right at the first junction (noticeable as a long cutline). We then followed the trail until we came to a second junction with the Cinch Fork Road. Here, we left the trail by going to the right and followed Cinch Fork Road to Cinch Traverse. We then proceeded to follow Cinch Traverse towards Haig Lake, however, before we reached the lake, we left the trail and began to angle upwards towards the col between Haig and Gravenstafel (see below). From the col, we scrambled up ~188 m to the ridge which we then followed to the slopes of Mount Haig. After a steep hike, we arrived on the summit which was located ~5.82km from our starting point. From the summit, we retraced our route back to the col, and then proceeded to gain ~300m up the southern end of Gravenstafel Ridge. After summiting Gravenstafel (~3.16 km from the summit of Haig), we descended underneath the Red Chair and then crossed over to descend underneath the Blue Chair, which brought us back to the parking lot and our vehicle.

As noted above, to save ourselves the steep climb from the lake to the col, we angled our approach by traversing the lower slopes of Gravenstafel Ridge. While this meant that we did not visit the shores of pretty Haig Lake, it did maximize our energy usage.

Our total roundtrip distance was 12.3 km with total elevation gains of 1550 m. Our total roundtrip time was a tidy 7 hours even. Our time to reach just the summit of Mount Haig was 3.5 hours at a distance of 5.8 km.

Jeff gears up at our starting point in the parking lot of Castle Ski Resort. The summit of Gravenstafel Ridge is in the background on the right.

The base of the Huckleberry Chair with the summit of Mount Haig in the background. We followed the lift a short distance before crossing the creek and ascending Quick Draw to Buffalo Flats.

Looking at Mount Haig from Buffalo Flats. One of the things that stood out to me on this particular trip was the abundance and variety of wild flowers.

The entrance to the Haig Lake Trail/Cinch Fork Road from Buffalo Flats is straight ahead. The top of the Huckleberry Chair is on the left.

A sign marks the start of the trail.

At the first junction. Cinch Fork Road continues to the left, while the trail descends to the right and can be seen as a long cutline. You can also follow Cinch Fork Road to bypass a bit of elevation loss, but we chose not to.

At the second junction. The Haig Lake Trail continues to the left, while Cinch Fork Road continues to the right. Since our destination wasn’t the lake, we kept to the right and followed Cinch Fork Road to Cinch Traverse.

Jeff crosses the creek at the end of Cinch Fork Road.

You can also get to Haig Lake by following Cinch Traverse. Mount Haig is in the background.

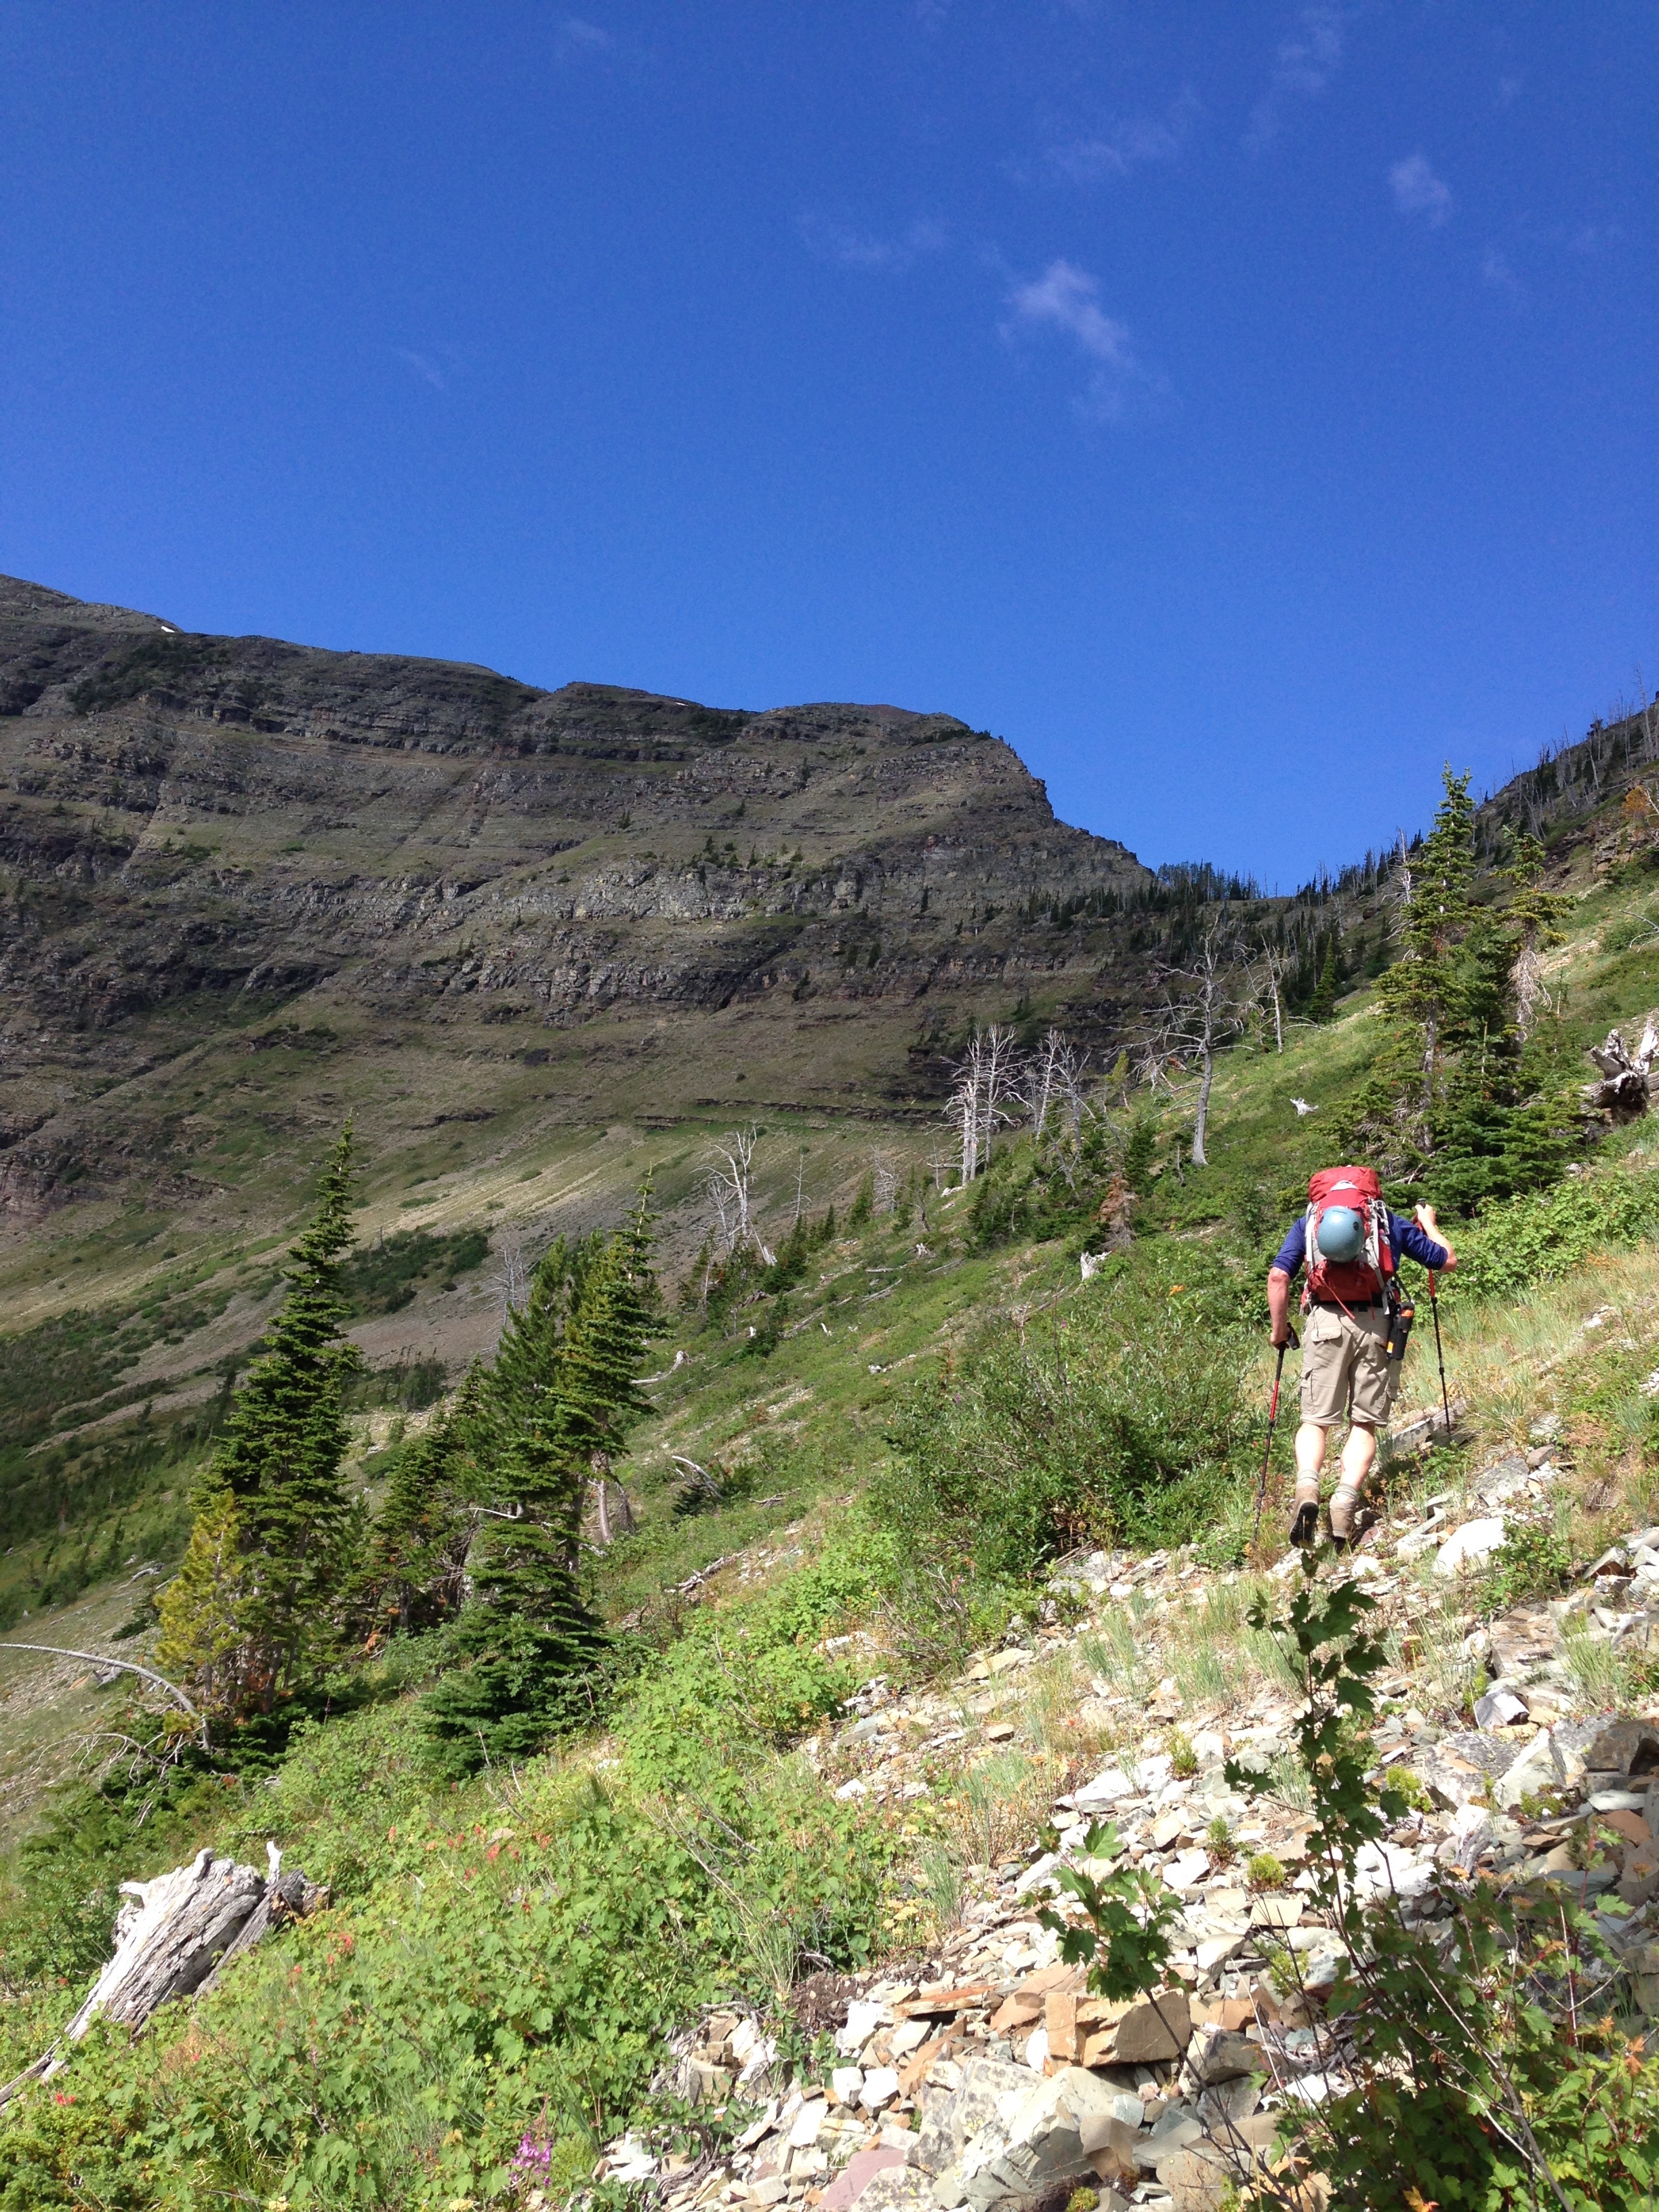
This is the point where we left the Cinch Traverse trail and began to angle towards the col (centre) between Mount Haig and Gravenstafel Ridge.

The summit of Mount Haig and Haig Lake from the southern slopes of Gravenstafel Ridge.

The scenery is outstanding.

A telephoto of Haig Lake. Surprisingly, we didn’t see any other hikers on this beautiful Sunday.
Nearing the col. The short section of scrambling to gain the ridge on Mount Haig is just to my left. (Photo by Jeff Lang)

On the col and looking towards the ridge. While there is a slight bit of exposure, a noticeable scrambling path eases the need for route finding.
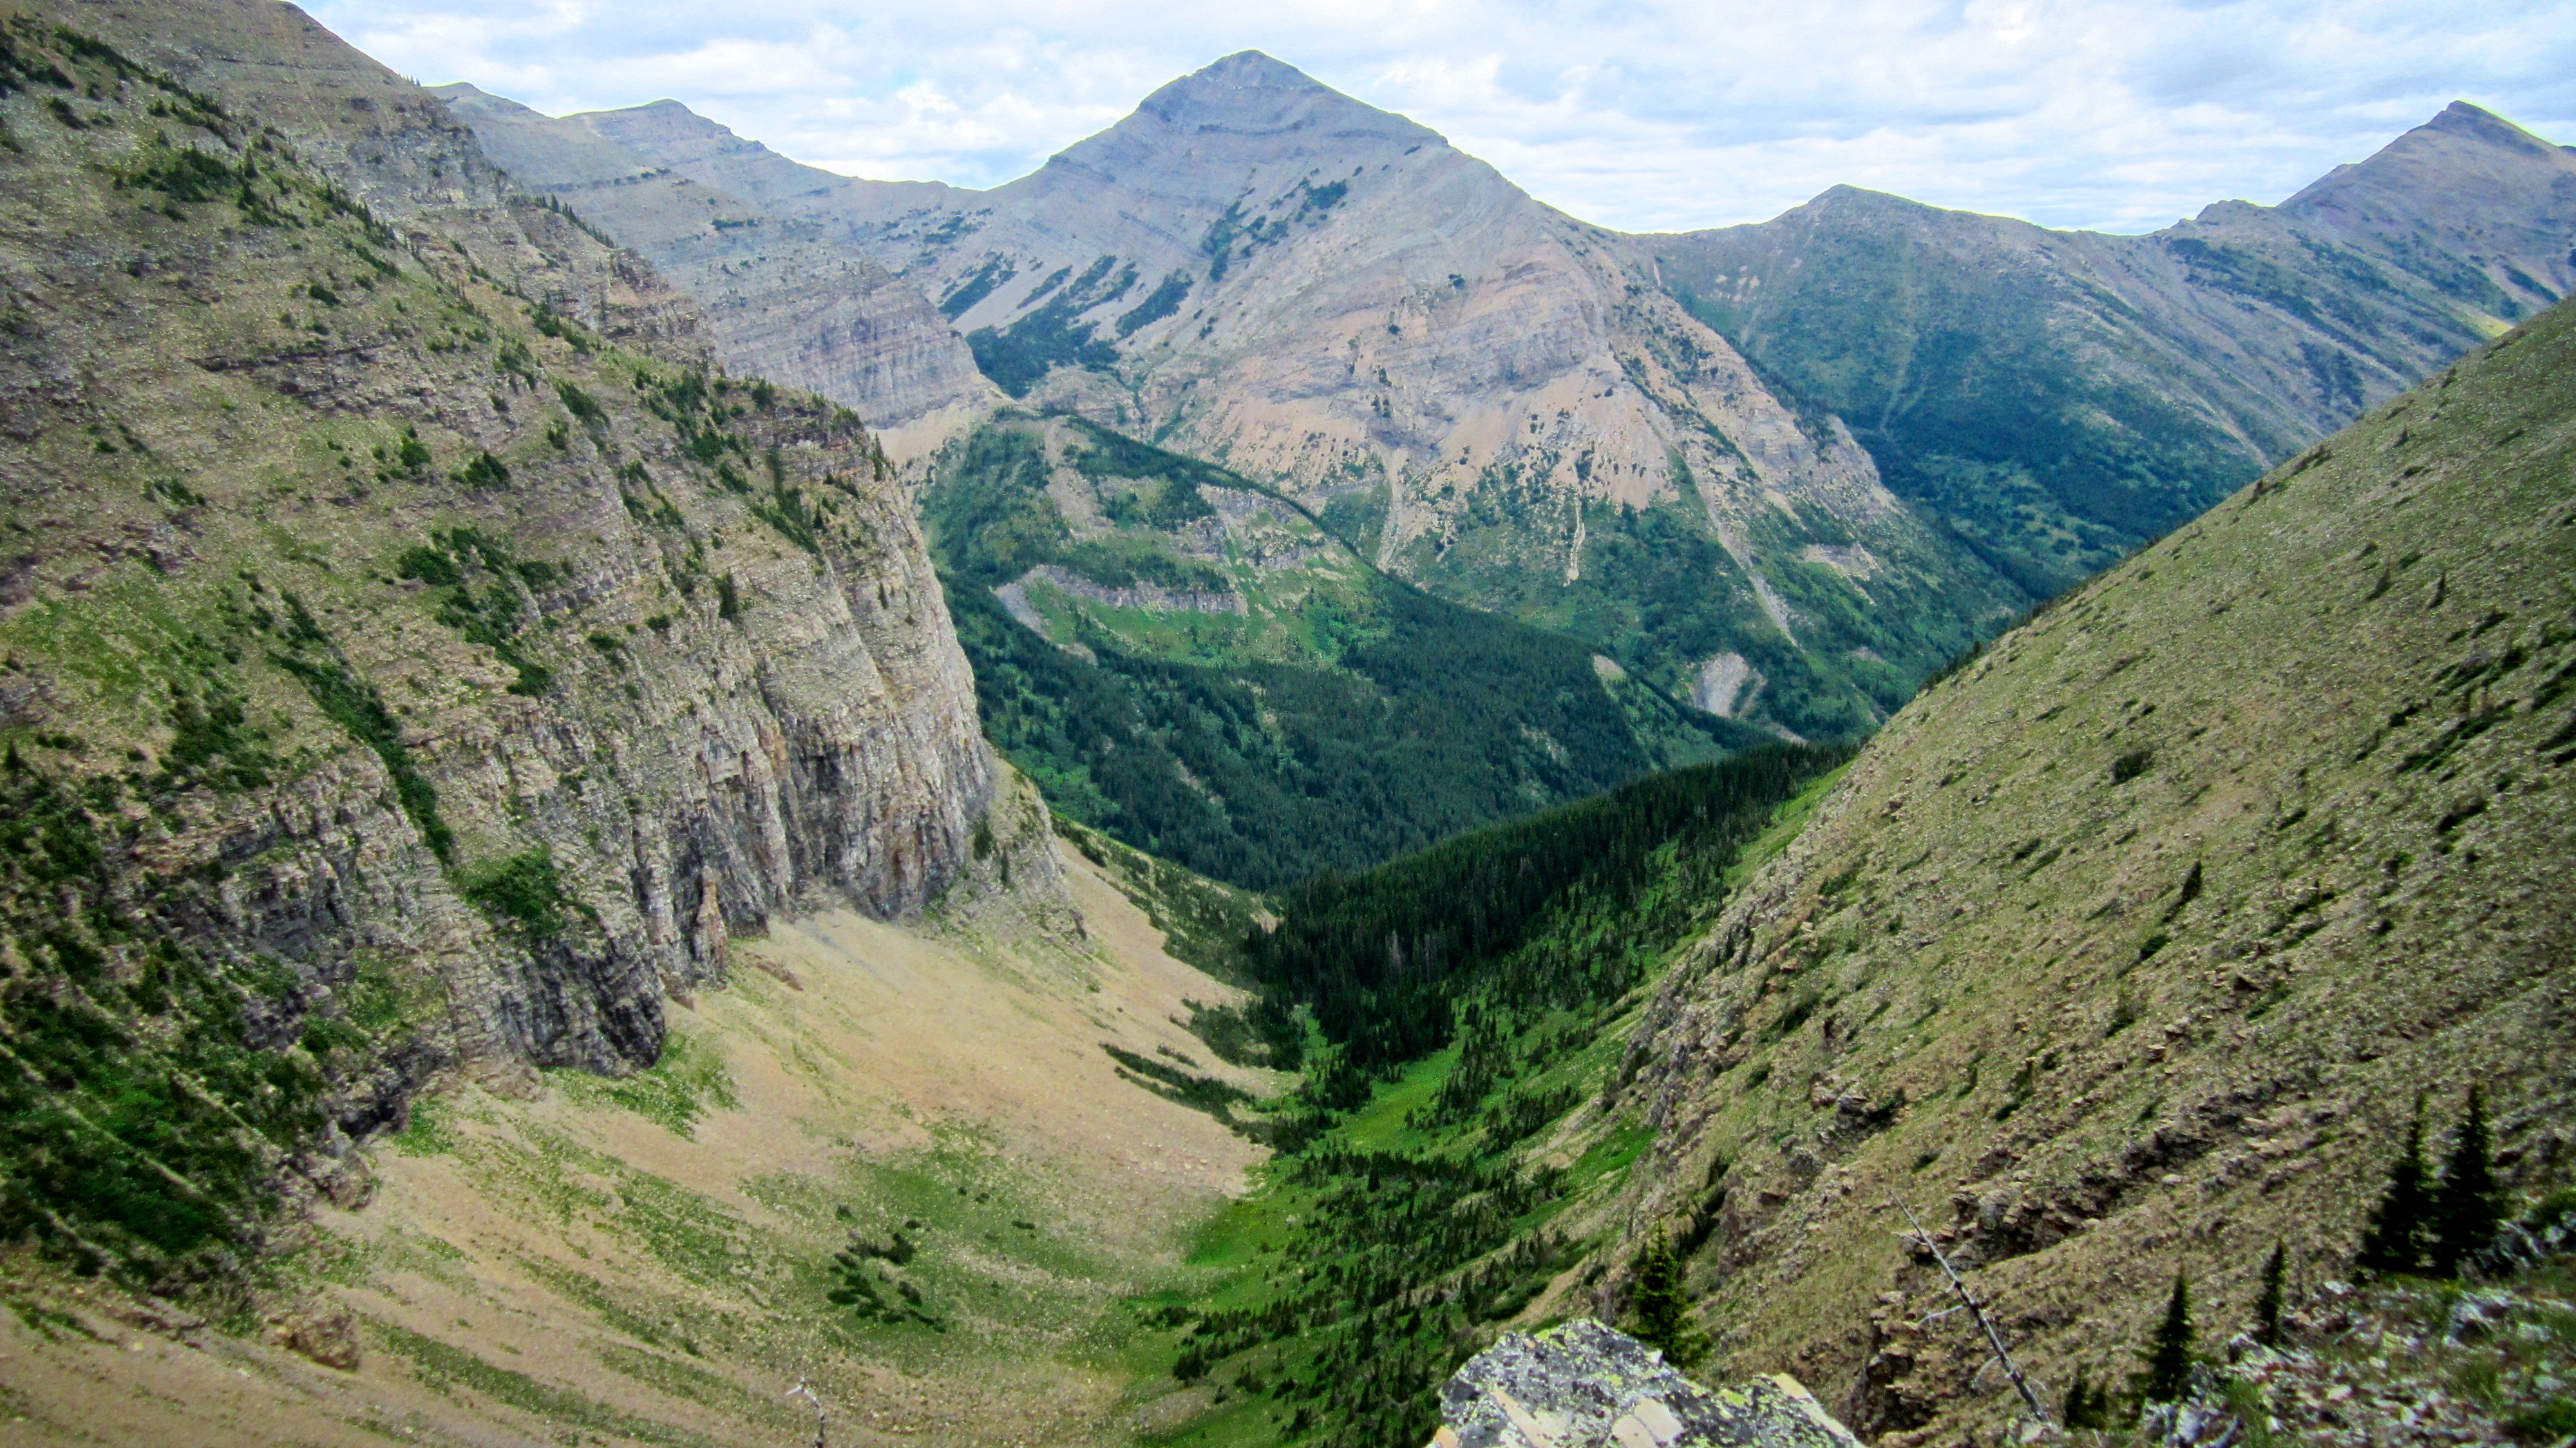
Looking west from the col at St. Eloi and the Syncline Brook Valley. The 2nd peak of Syncline Mountain is also visible on the far right.

Looking up at Gravenstafel Ridge from the col. This would be our destination after summiting Mount Haig.

The section immediately above the col. See that pillar on the top left?…

…I couldn’t just pass by and not climb it. (Photo by Jeff Lang)

Jeff eyes the summit of Mount Haig during our lunch break along the ridge.

Looking north at Gravenstafel Ridge and the 1st and 2nd peaks of Syncline Mountain.

Looking west at the connecting ridge between Mount Haig and St. Eloi. Rick Collier describes his trip along this ridge (which is also the Continental Divide) on Bivouac.

Jeff begins the steep hike to the summit.
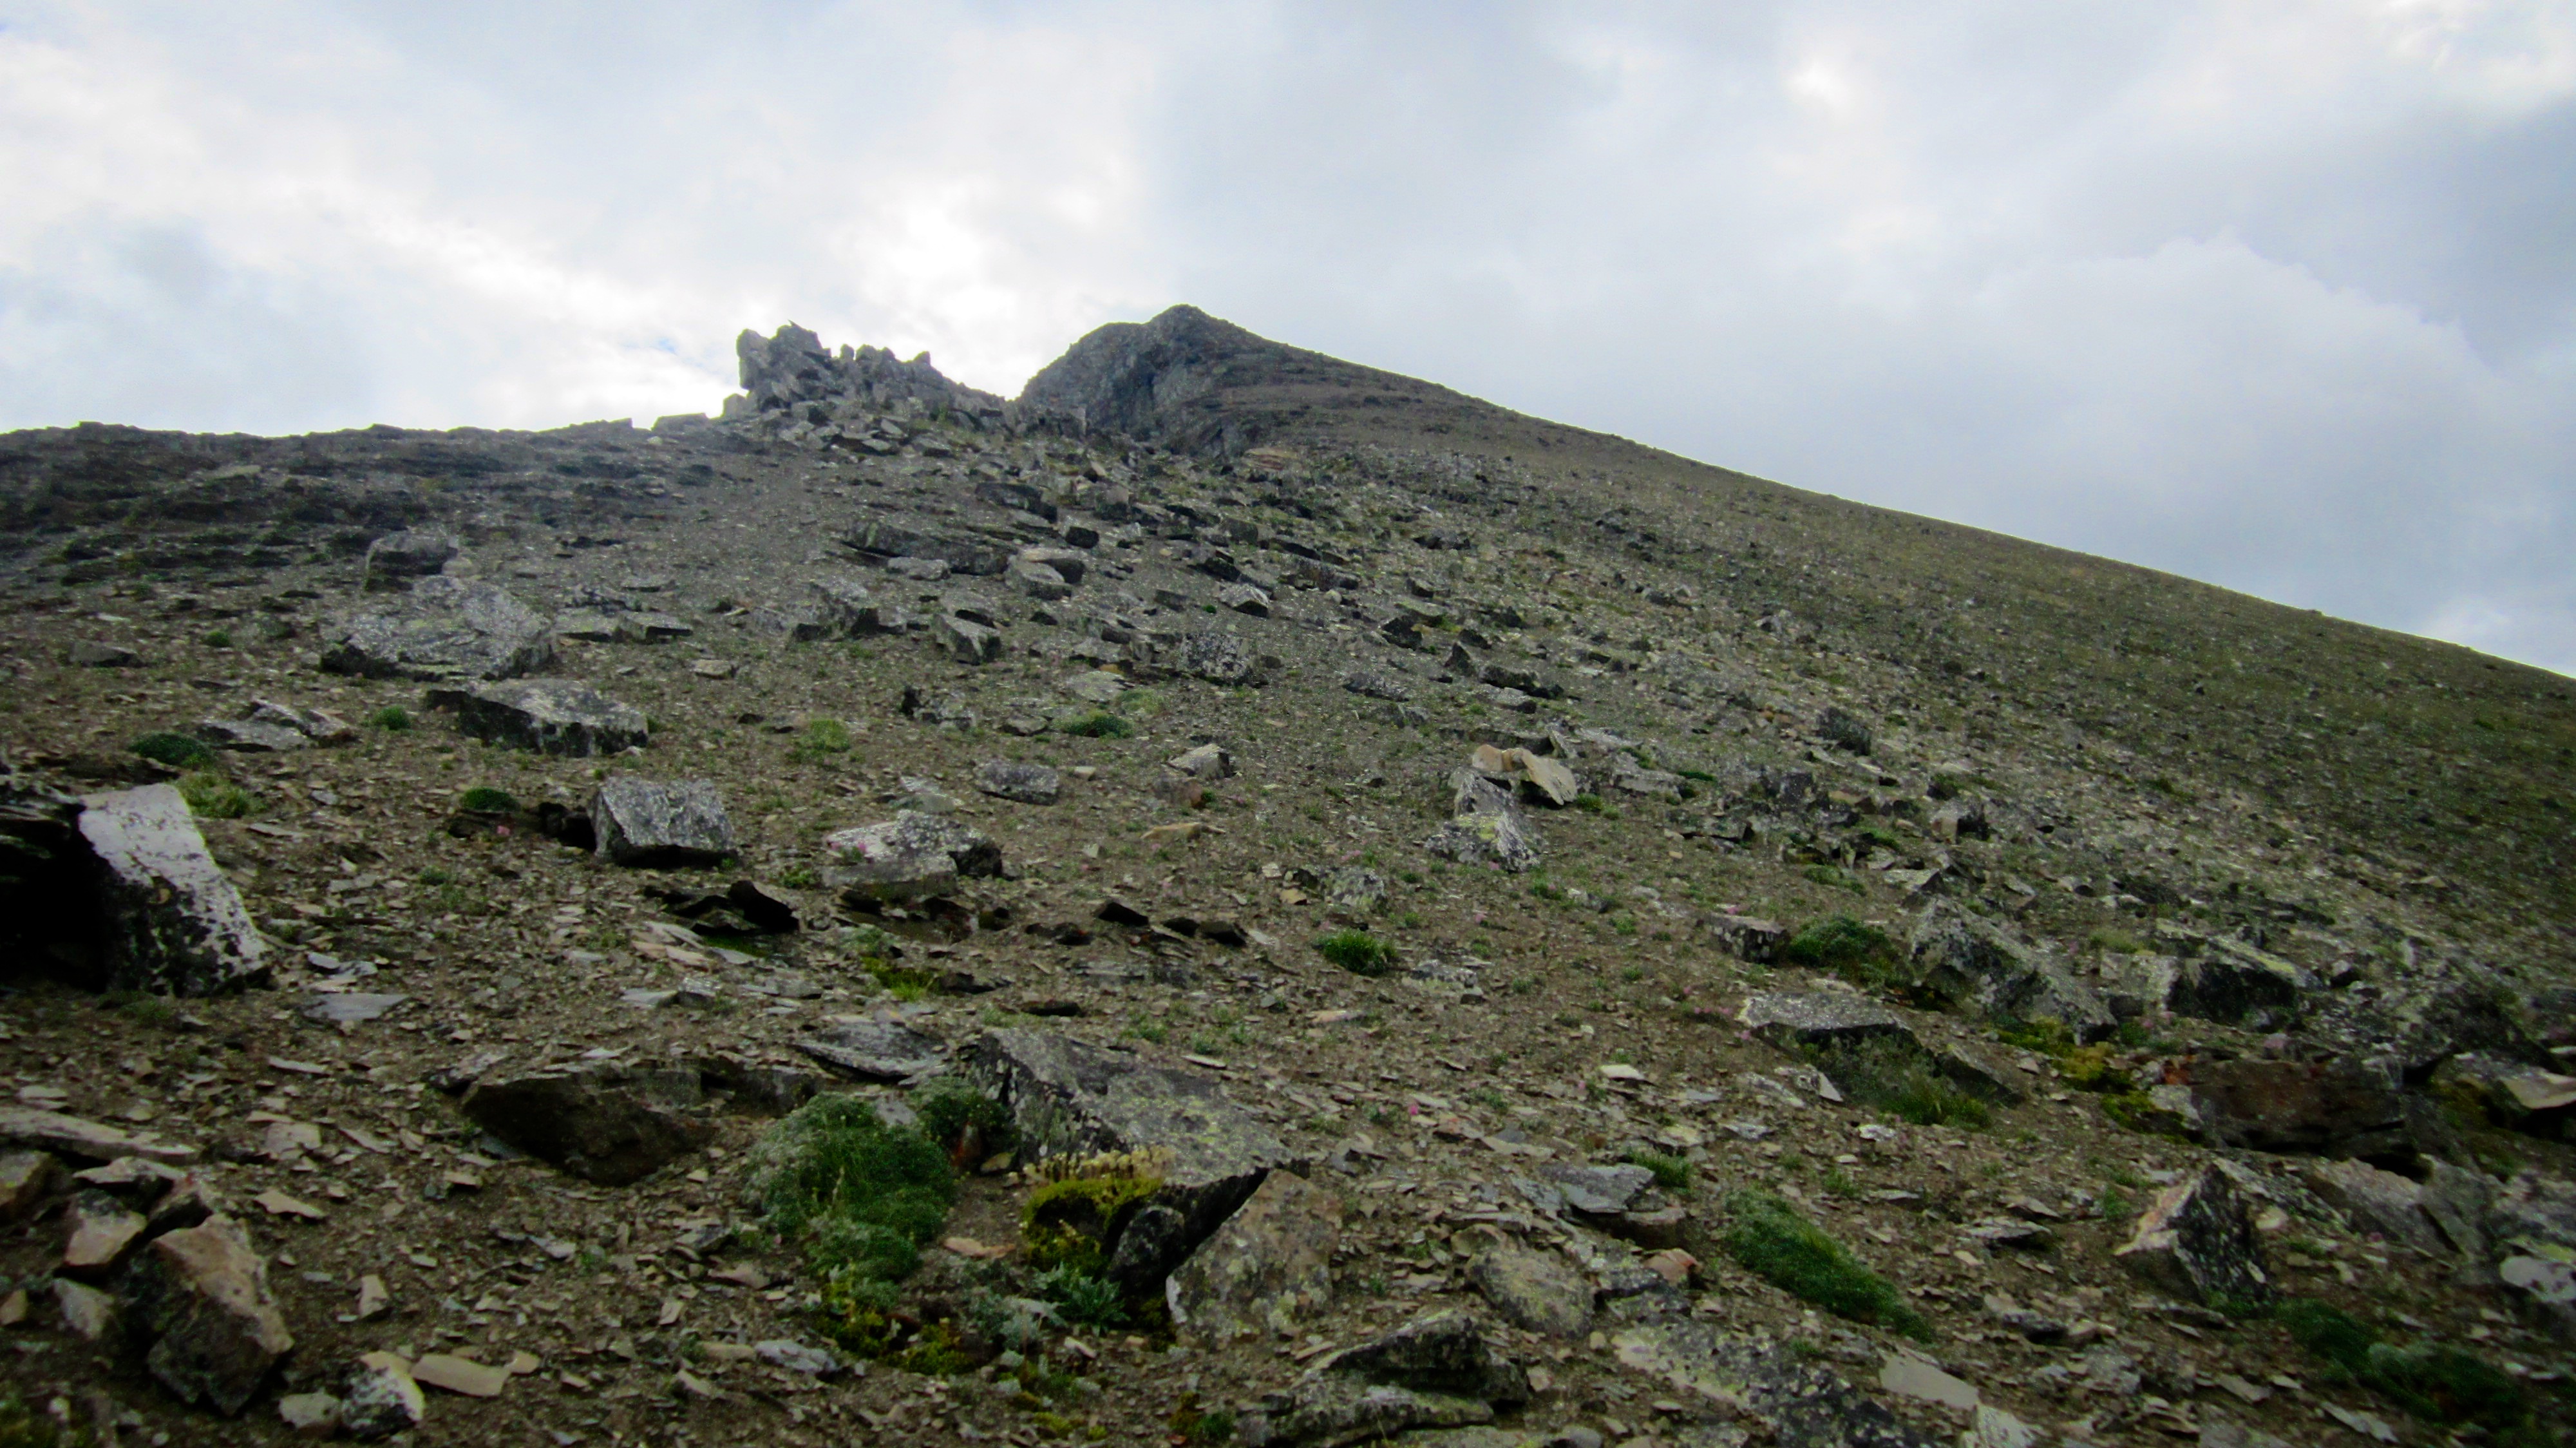
To avoid some scree bashing, we stuck to the sections of solid rock near to the edge.

The section beneath the summit was marked by an abundance of green argillite which, under the noon sun, appeared to sparkle.

Twin cairns mark the summit of Mount Haig. Why two? Perhaps there was a cairn building contest? Perhaps one for the Alberta side and one for the BC side?

Jeff arrives on the summit and also wonders why there are two cairns.
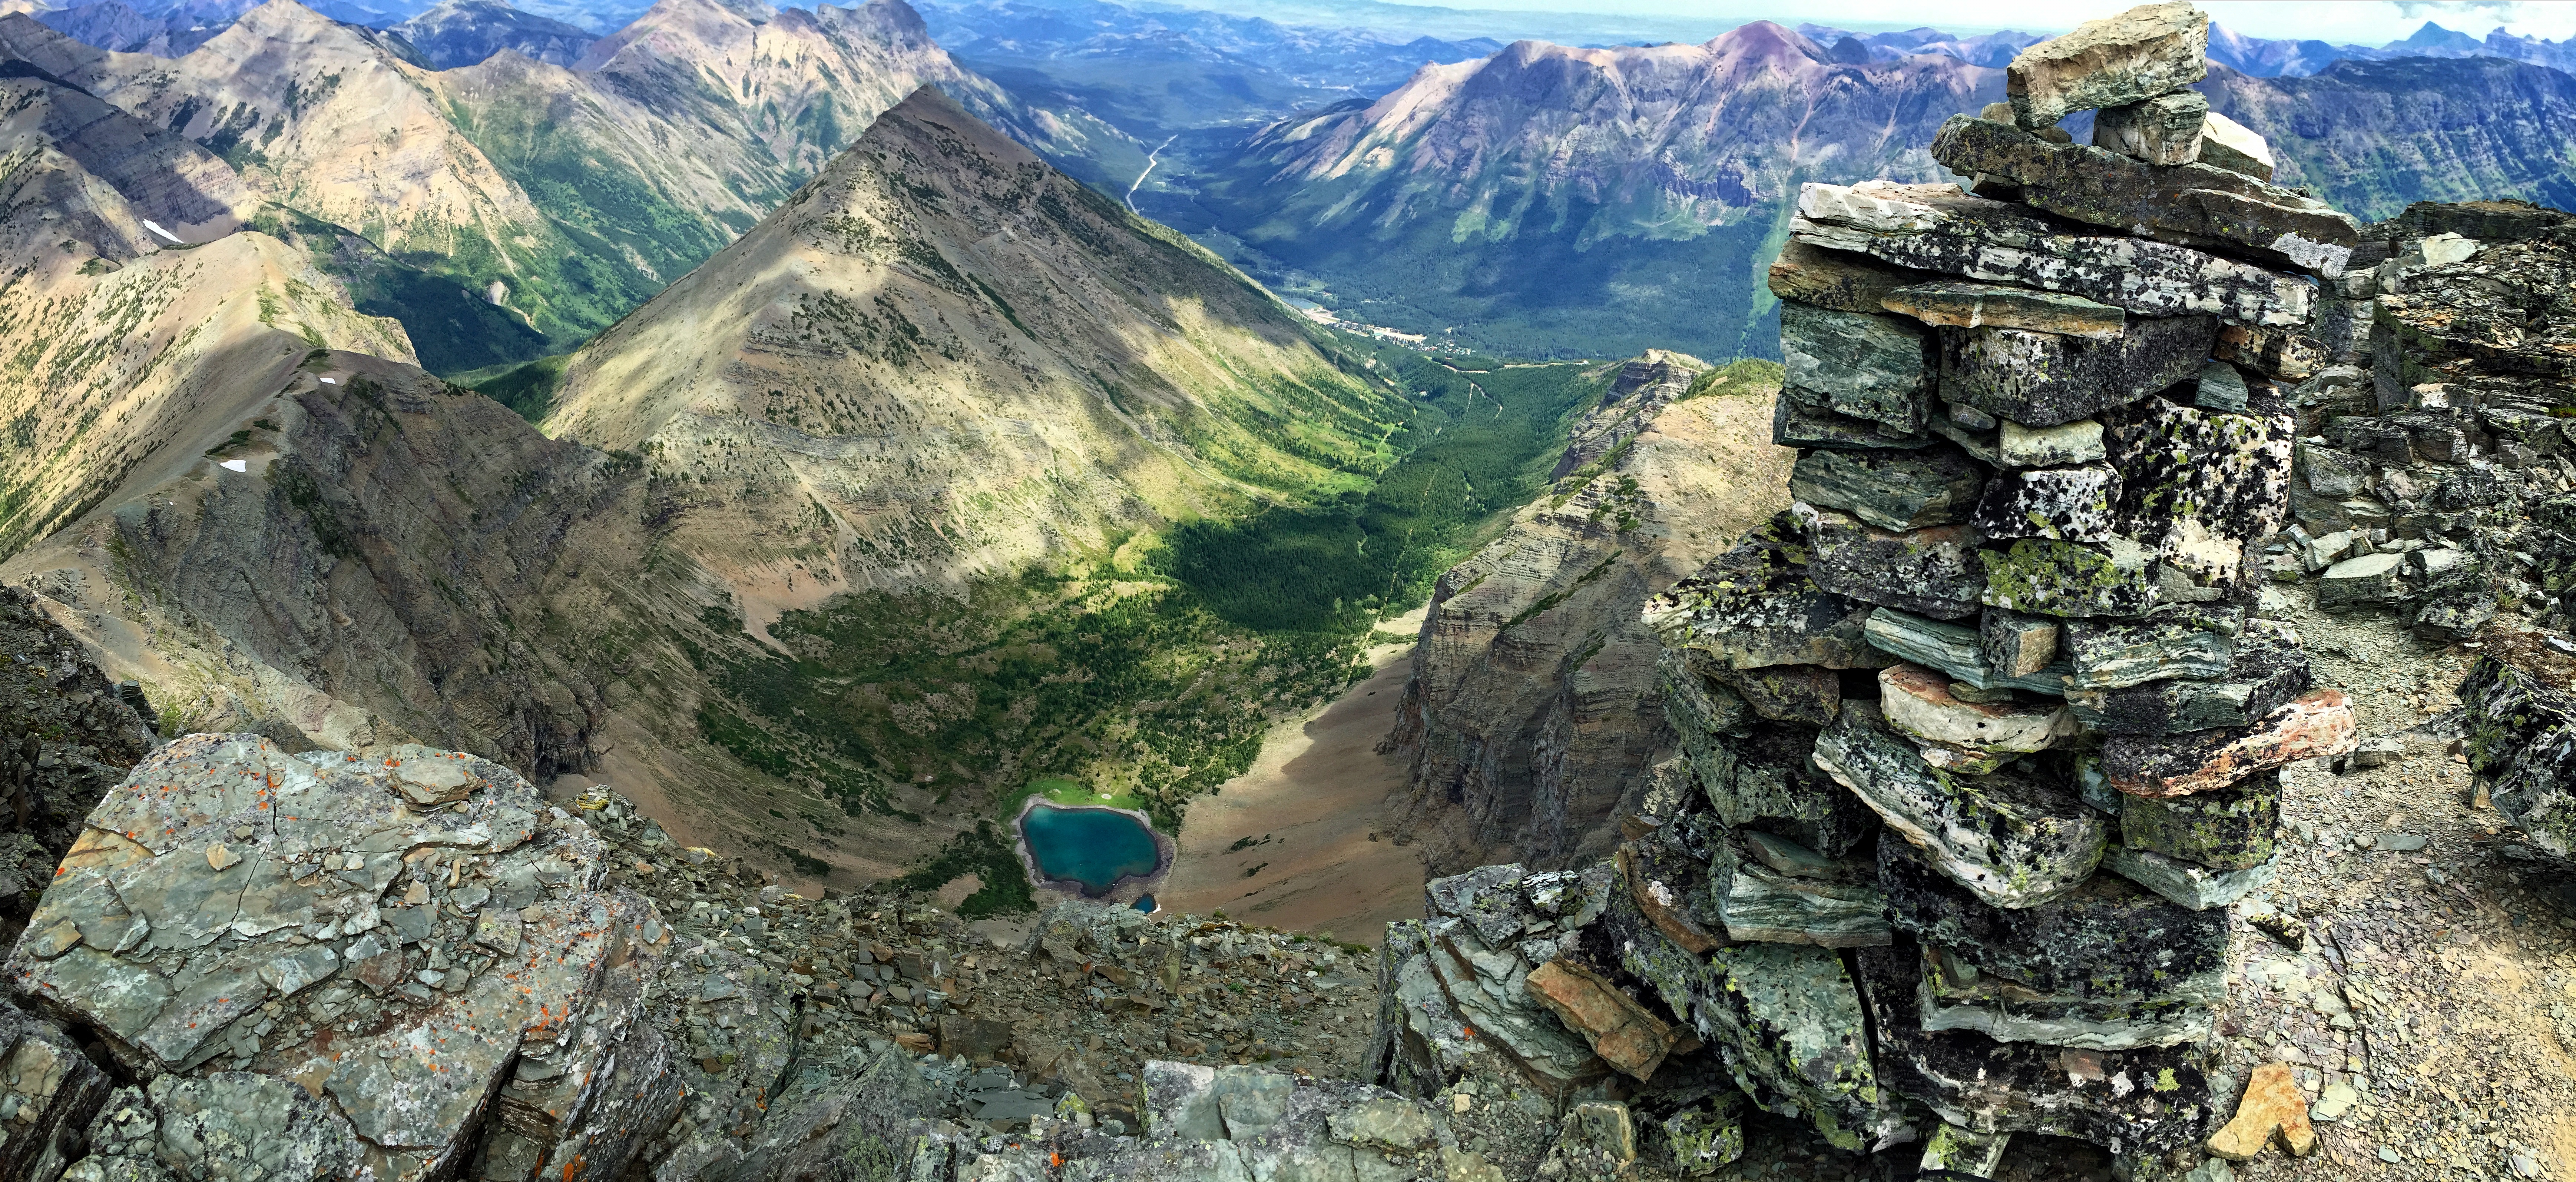
Looking down at Gravenstafel Ridge and our approach route.

Looking east from the summit. In the foreground to the left is Southfork Mountain and Barnaby Ridge while the summit of Table Mountain, ‘Table Top’, and Whistler Mountain are visible immediately behind Southfork and Barnaby. In the far distant centre is Prairie Bluff Mountain and Victoria Peak. Lys Ridge is in the distance to the right of centre.
The view south from the summit. In the foreground are unnamed outliers of Mount Haig. In the distance on the left are Rainy Ridge, Three Lakes Ridge, and Scarpe Mountain.

Looking west from the summit. The summit of Tombstone Mountain can be seen on the far left and Packhorse Peak is in the centre.

Since the view is so spectacular, it’s worth another look down at Haig Lake.

A telephoto of Haig Lake from the summit. This little turquoise tarn captivated our attention throughout the day. From this angle it reminded me of a laughing skull – perhaps a sound reminder to watch my footing.

A telephoto looking NW from the summit. St. Eloi is on the left, Mount McCarty is in the centre, and the 2nd and 3rd peaks of Syncline Mountain are on the right. In the distance is the Flathead Range. The prominent peak on the distant left is Mount Darrah. I had only come across one trip report for Mount Darrah (Rick Collier’s) until today, when I noticed that Clay Geddert had posted an extremely well-crafted piece called, “Darrah, A True hidden Gem 2758 m”. It’s definitely worth a read! To the right of Darrah is Mount Pengelly, Mount McGladrey, and Mount Coulthard (distant centre). Crowsnest Mountain can also be seen on the right.

The view to the north. From left to right: St. Eloi, Mount McCarty, Syncline Mountain, Gravenstafel Ridge, Southfork Mountain, and Barnaby Ridge.

Jeff on the summit of Mount Haig.

We chose to do our traditional summit pose next to the largest cairn.

After enjoying the views from the summit, it was time to make the ~3.16 km trip over to the summit of Gravenstafel Ridge. To get there, we retraced our route back to the col. Click to read our Gravenstafel Ridge report.
Thanks again for the trip Dave. I love your pictures and all of the interesting background info.
My pleasure Daniel, and thanks for the compliment!
The one you took form the summit looking down at the lake is incredible. Thanks for posting it. May I ask about the camera and lens you used, please? I am about to purchase a zoom and you seem to be a valuable source to consult with. I have a T5 which is not bad.
Thanks for your kind words Jacob – once and a while I get lucky. Believe it or not, most of my images from the mountains (including the telephoto of the lake) are done on my ancient Rebel XS 10mp with a Sigma DC 17-70mm 1:2.8-4 with OS. Many of the quick ones on the trail are with a Canon Elph point and shoot. I sometimes pack my 7D and other lenses, but that adds too much size, weight, and bulk. Also, my camera gear can take beating at times and the 7D costs too much to replace (I shoot quite a bit of sports photography and I like the 7D because of its high fps though I once dropped it onto a concrete floor while it was attached to a 70-200mm 2.8 and both it and the lenses cost $400 to fix). I always shoot in manual or AV, use filters, and always in RAW. I picked the 17-70mm as my general lens for hiking because of the options it gives me for wide angle and some zoom. I’m planning to move to a mirrorless camera at some point that will take the place of both my DSLR and the P & S. I think your T5 will work well for you for most things (I think it replaced the old Rebel XSi but is ~8 years newer), though I would suggest that if you can afford Canon glass, you should get it. I like Sigma as the next best option, but Canon glass is still the best. Hopefully this is helpful. Thanks again for visiting my site!
awesome trip report man.
loved the last line in your summary ” we descended underneath the Red Chair and then crossed over to descend underneath the Blue Chair, which brought us back to the parking lot and our vehicle”
post def. went uphill from there. i cant believe i’ve never been on that ridge. gorgeous.
Lol! Thanks Marc!