


⚠️ Hiking and scrambling are inherently dangerous activities. Please read my Disclaimer. ⚠️
The sole purpose of this trip was to confirm if a route exists from the east onto Darrah S4 and potentially, Centre N1. Andrew and I first speculated about this back in 2020 on our Darrah S3 and Darrah SE4 trip, and we returned today to try our luck. Before today, I was 75% convinced that a route existed, and after today, I’m 95% convinced.
However, oppressive heat thwarted our attempt at validation, forcing us to pull the plug and re-ascend Darrah SE4 as a consolation prize. Despite this, here is what we learned:
- The South Lost Creek trail is an enjoyable bike & hike with good scenery.
- The valley leading to the southeast slope beneath Darrah S4 does not appear to have a trail and given our experiences with underbrush beneath SE4, using it for approach or egress might be a nasty experience.
- The route onto the S4 and Centre N1 ridge goes through what looks to be a break in the slabs above the second cliff band on the connecting ridge with SE4. It most certainly can be scrambled but a piton and short rope might be required for down-climbing on the way back.
- Getting to the slabs from the col with SE4 requires losing and then regaining elevation to bypass the first cliff band.
- When we return, we will use the North Lost Creek trail and will attempt to bypass one or both cliff bands by ascending directly from the valley floor to the west of the col.
Just to reiterate how hot it was, by the time we arrived on the col between S4 and SE4, the morning temperature was already in the high 20’s under windless conditions. It was stifling to say the least. In fact, you know it’s hot in southern Alberta when you pray for wind. 😂 The thought of continuing under these conditions was crazy, so we turned around and tagged the summit of SE4 again just to say we did something.
Thinking it would be a quick route off the mountain, we descended directly from the summit and ended up in a hellish drainage full of thick alders, hidden deadfall, and stinging nettles. To top it off, it the temperature was sauna-like inside the thick brush. We’d have been better off staying on the east ridge and taking our chances with the deadfall than descending where we did; though from up top, it didn’t look bad at all. This is why we suspect it would be a nasty bushwhack into the valley below N1 and S4 from the South Lost Creek trail.
Despite, not accomplishing what we set out to do, we now have a better plan in place and will return in the near future to test out our theory. Thanks again to Andy for yet another great day in the mountains! 🙂
Be sure to read Andrew’s most excellent report! [link coming]


To get to Darrah SE4, we drove south from the hamlet of Beaver Mines along Highway 774 for ~15.5 km until we came to the Lynx Creek (Ohagen Road) turnoff on our right (just past the Beaver Mines Lake turnoff). We then turned right and followed the Ohagen Road for ~1.8 km until we came to a fork and a sign that said to turn left to reach Lynx Creek. Following these instructions, kept going for ~7.7 km until we came to a T-intersection. Here, we turned left and followed the Carbondale River Road for ~2.6 km until we came to a fork with an information sign and a large area to camp just beyond it. We took the right fork (Lost Creek Road) and followed it for ~4 km until we come to a parking area on the right side of the road just before a small white bridge over South Lost Creek. This is where we parked.
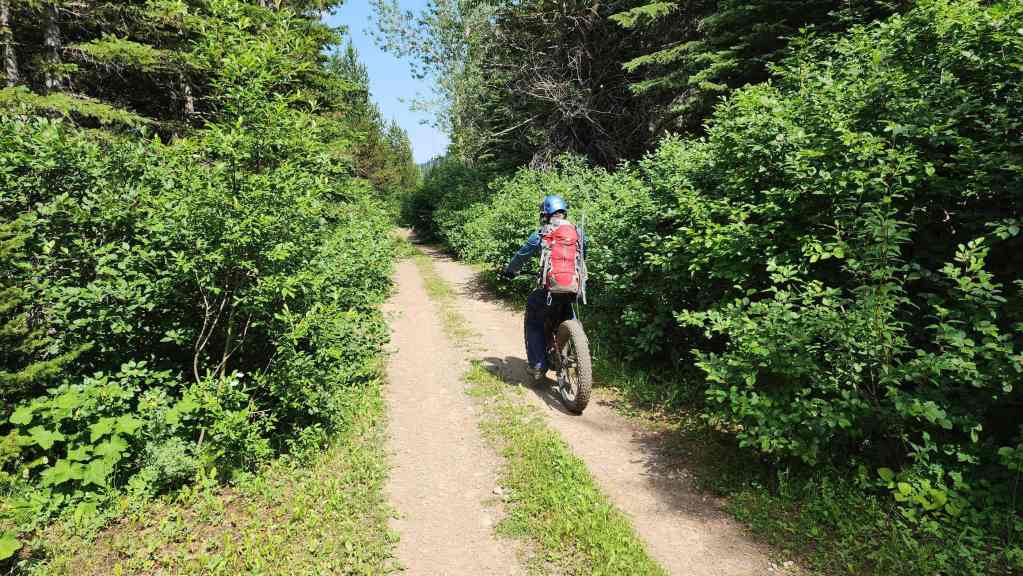
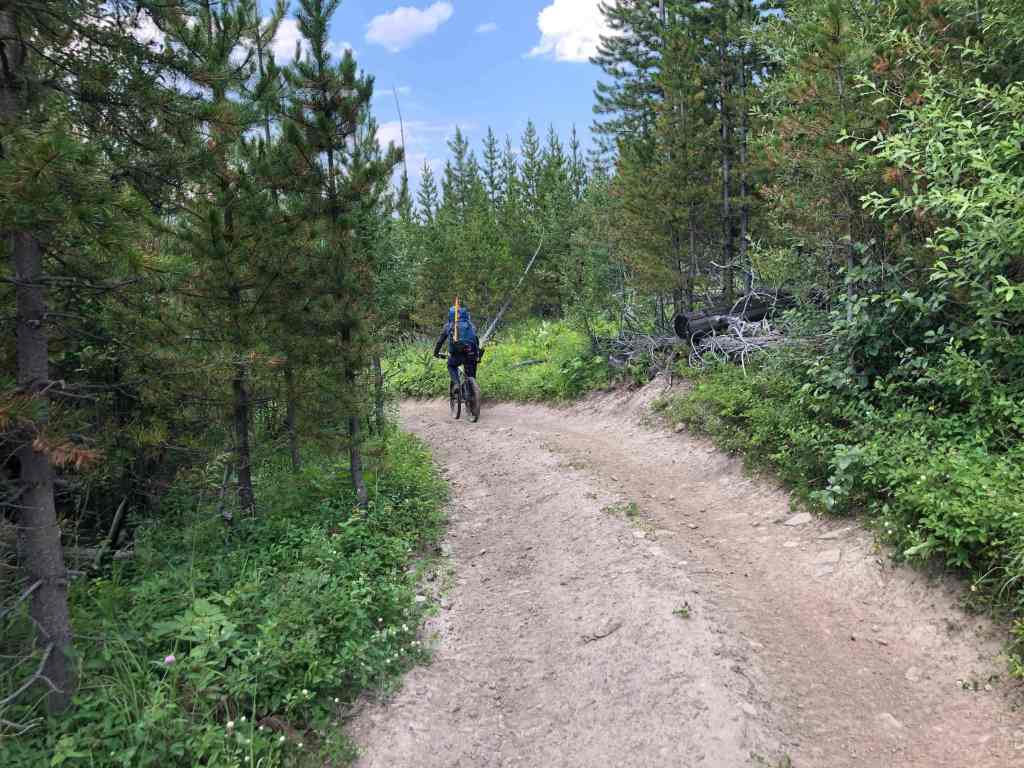
The trailhead for the South Lost Creek Trail is not marked but presents as a small ATV track leading into the woods approximately 200 m prior to our parking spot beside the bridge. From the trailhead, we road our bikes for 1 km up the winding ATV track until we came to a T-intersection. We then turned to biker’s right and lost elevation (47 m loss) as we rode down towards South Lost Creek.
Approximately 700 m after beginning our descent, we arrived at the large ATV South Lost Creek trail sign. This is where the grade softens to a gradual ascent. From the sign we enjoyed an easy ride for ~4 km until we came to another T-intersection. Here is where we left our bikes before we again turned to our right and followed the trail for ~300 m as it descended down to the creek (28 m elevation loss) and across a bridge. A short distance later, we came to fork where we kept to hiker’s right and almost immediately, found ourselves at a black bridge that led across South Lost Creek.
Immediately on the other side of the black bridge, we discovered that the hiking trail begins to hiker’s left while the ATV trail heads to hiker’s right. Following the hiking trail to our left, we followed it (some sections are wide open while others are severely overgrown) for ~2.2 km until we came to a washout just prior to reaching the valley that leads to the base of N1 and S4. This is where we decided to leave the trail.
After leaving the trail, we made our way up and around the SE4 for ~1.5 km (420 m elevation gain) until we reached the col with S4. The insane heat was unbearable, so after studying potential routes up S4, we followed the ridge from the col for ~1.2 km (155 m elevation gain) until we were on the summit of SE4.
From the summit we descended along two gradual ridges to the east before deciding to try a more direct route back to the trail. We ended up in a drainage that from above looked benign became a 2 hour ~1.8 km bushwhack back to the trail, which we regained approximately 565 m from the black bridge. We then returned to my truck the way we came in.


Our total roundtrip distance travelled was 19.6 km and total elevation gains came in at 951 m. Our total roundtrip time was 8 hours.
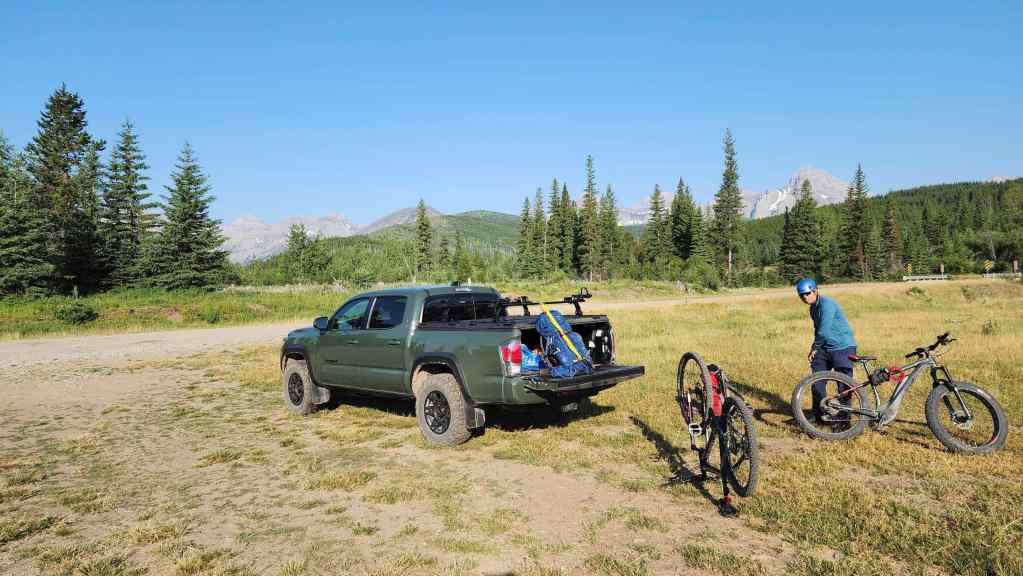

Gearing up in the parking area and it was already hot! We brought some technical gear just to make sure our packs were heavy enough. 😂

Outside of a small ATV route sign, the trailhead for South Lost Creek is otherwise not marked. We had to ride back and along the road for ~200 m to reach it from the parking area.
The first ~1 km sees the trail climb via two or three switchbacks.

At the ~1 km mark we came came to a T-intersection. From here we would head to biker’s right to reach South Lost Creek, and in the process, lose most of the elevation we had just gained.

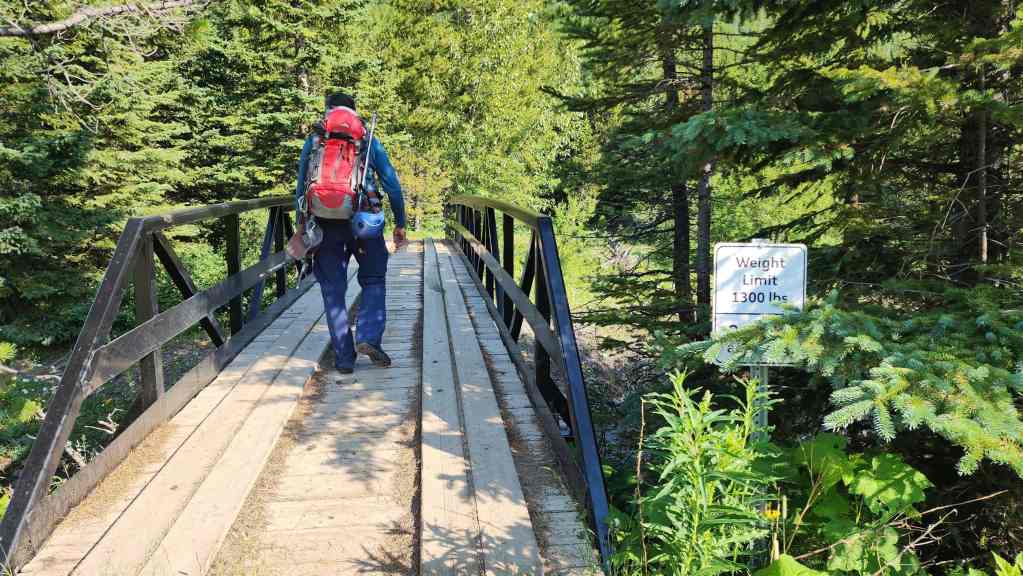
Crossing a small bridge. Hopefully Andy can meet the weight restriction! 😂

Pausing to read the trail sign that is located ~700 m from where we turned right at the T-intersection. (Photo by Drew Nugara)
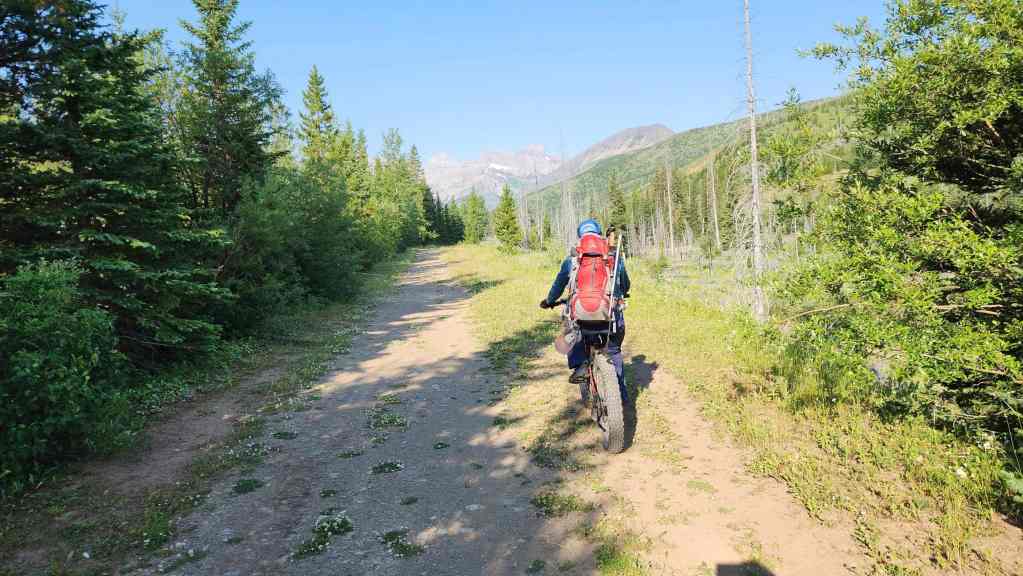
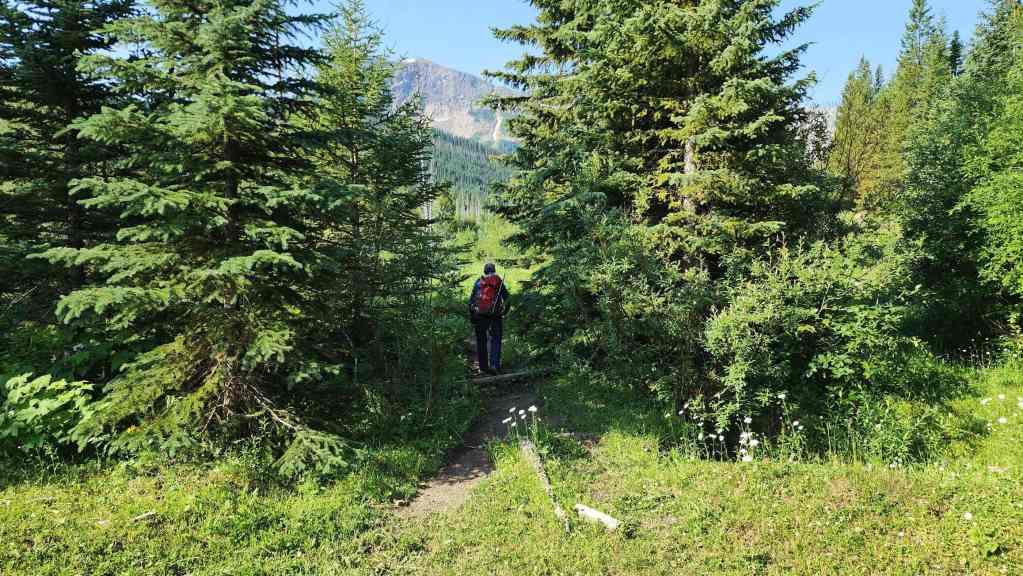
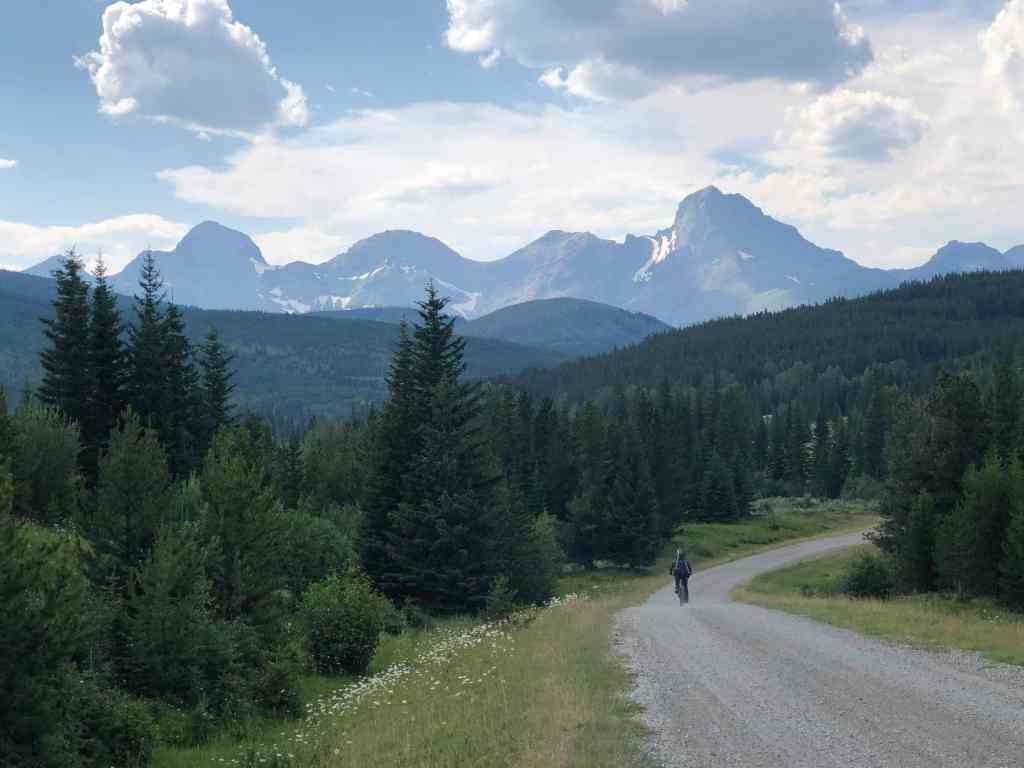
For the next ~4 km, the gradual grade of the trail will make biking relatively easy.

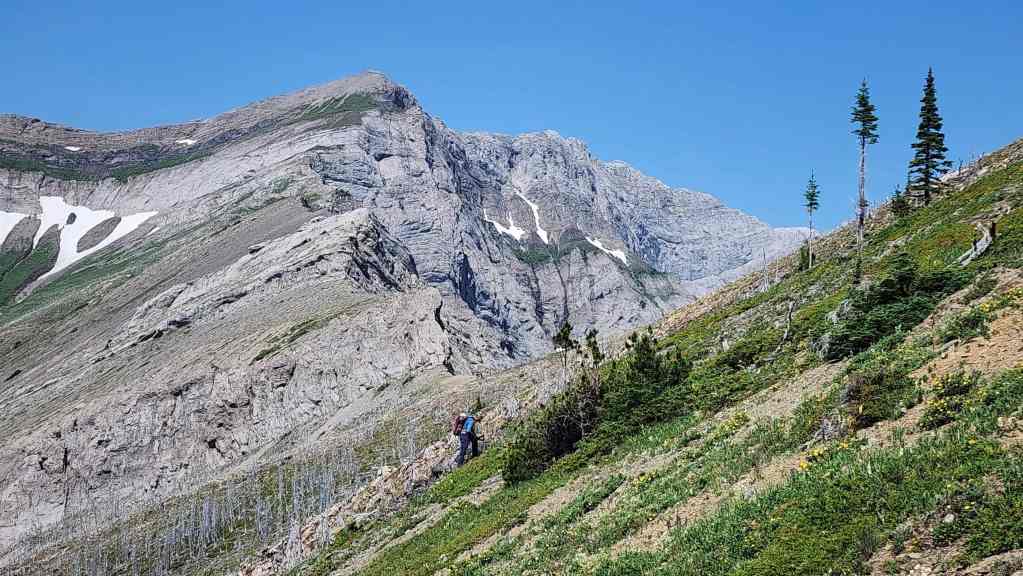
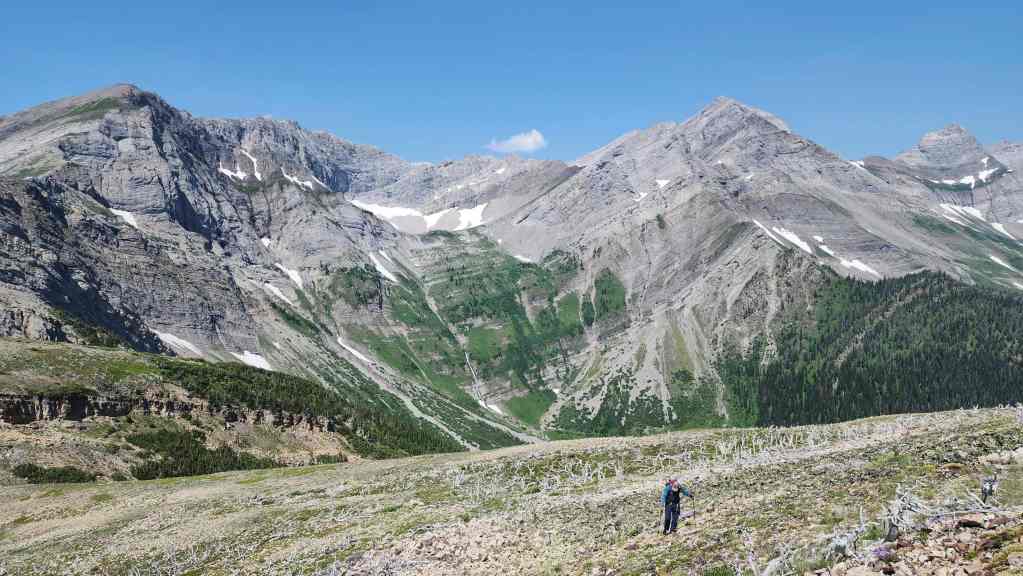
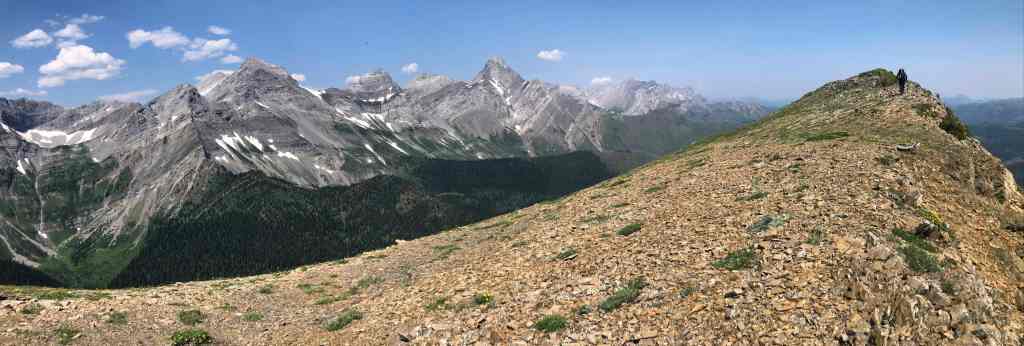
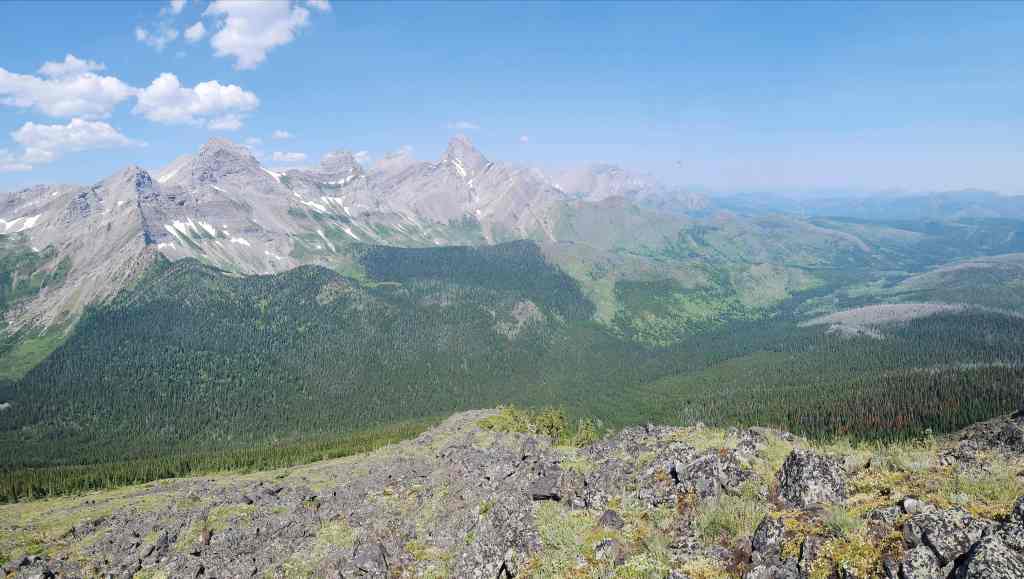
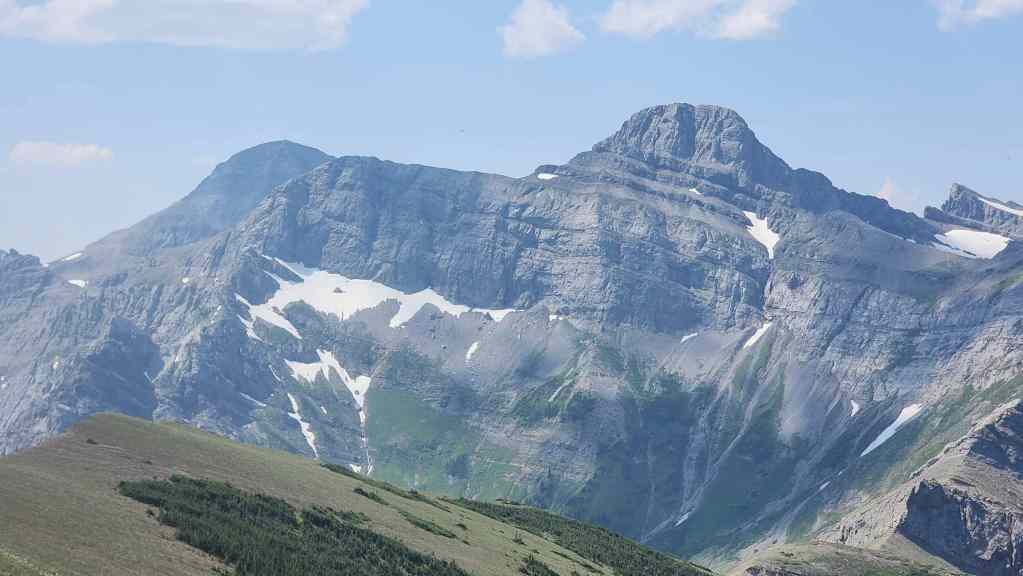
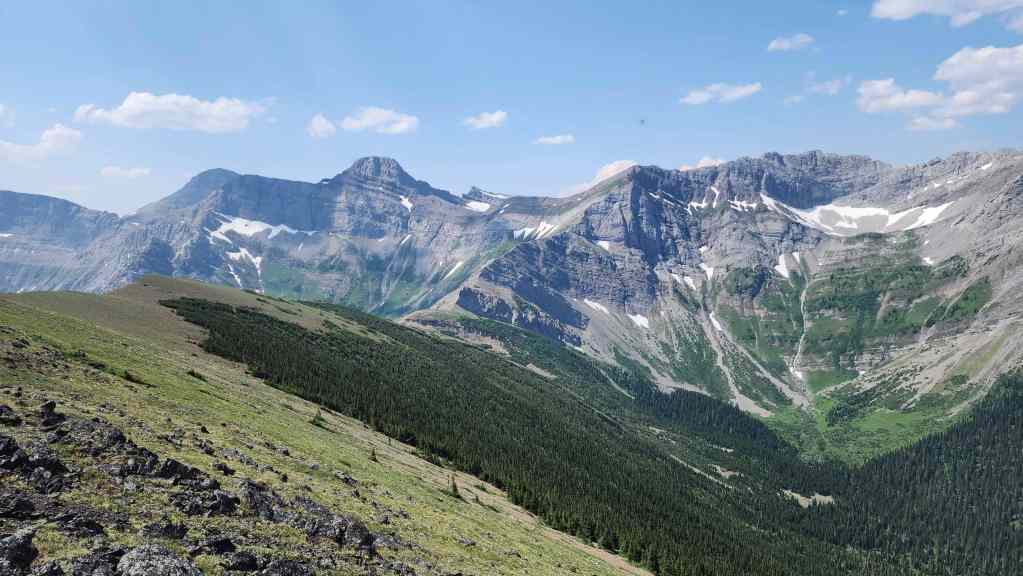
Getting a good look at Centre N1 (right of centre) and Darrah SE4 (right). SE4 was not our primary objective since we’d already visited it back in 2020.
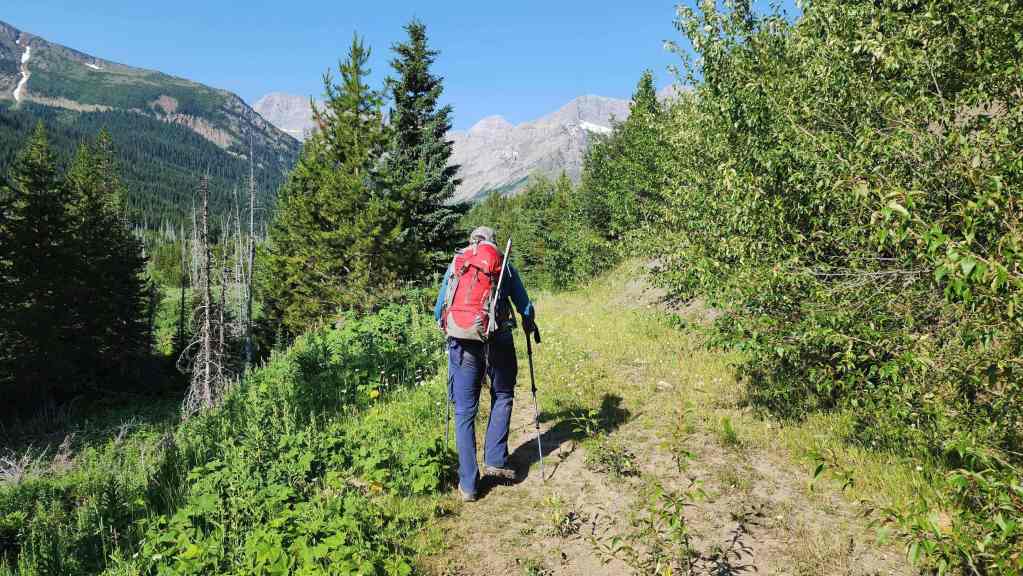
The trail will eventually cross the creek and take us along the base of SE4 (right). (Photo by Mr. Nugs)
The temperature continued to rise and to make things worse, there was no wind at all. None. Whatsoever.
Approximately 4 km from the large trail sign (~6 km from the actual trailhead), we came to another T-intersection. Here, we could see the trail to our right descend steeply towards the creek, so we stashed our bikes in the bushes and set off on foot. We would lose ~28 m over the next 300 m.
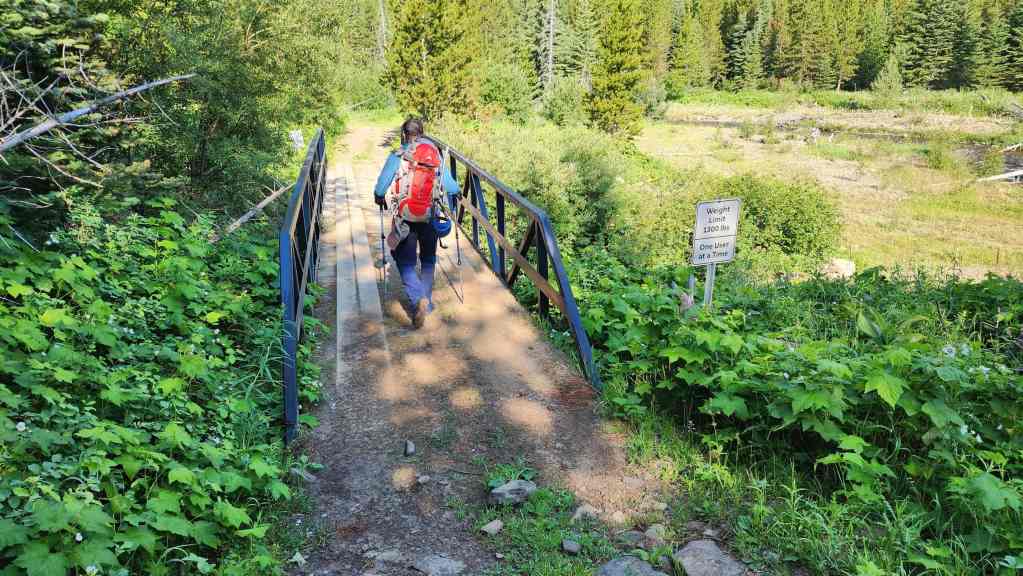
Crossing a bridge next to the creek…
And then coming to a fork where we would keep to hiker’s right.
Crossing a bridge over South Lost Creek.
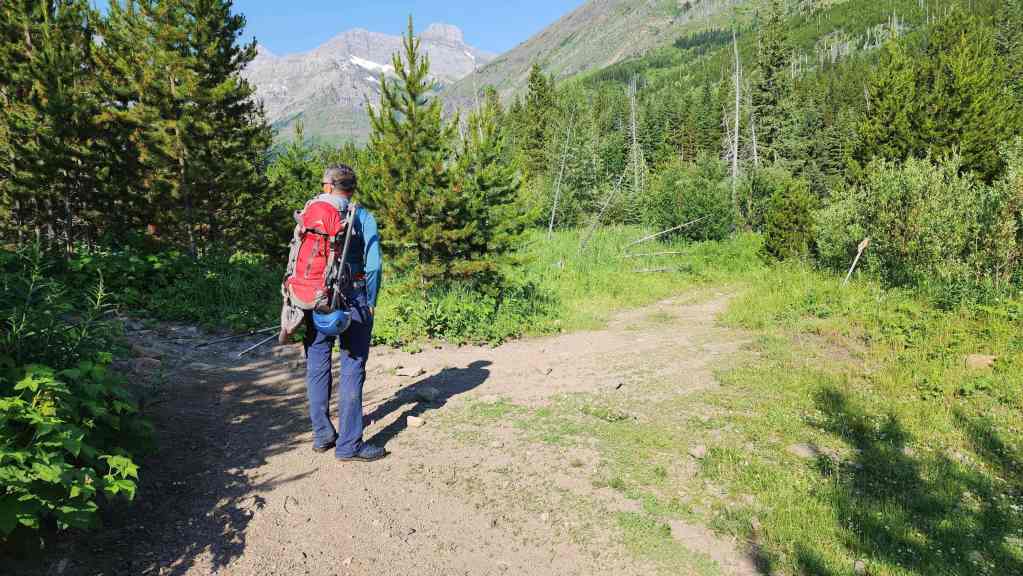
Immediately on the other side of the black bridge, we discovered that the hiking trail began off to our left while the ATV trail continued to our right.
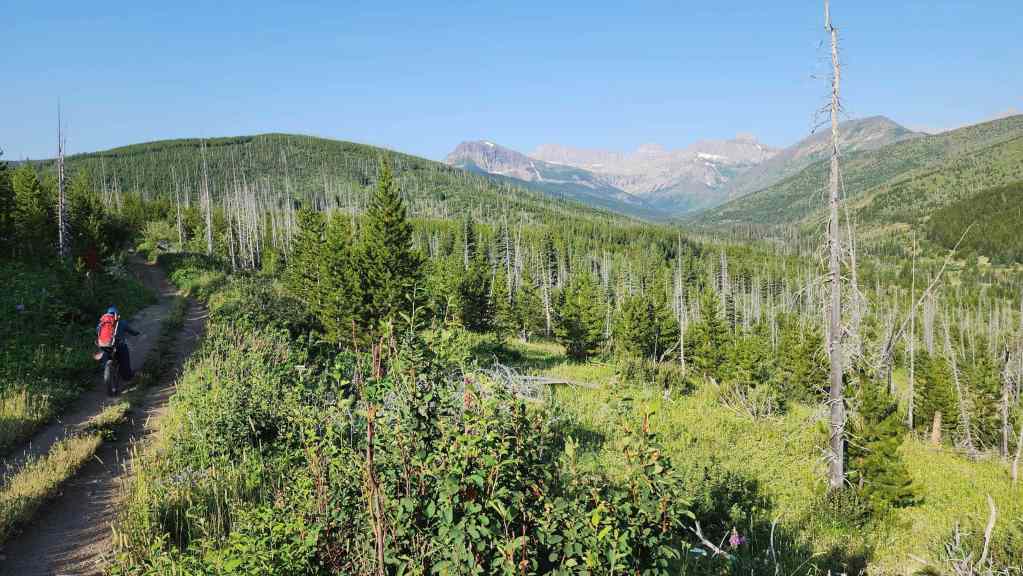
For the most part, the hiking trail was in good shape…

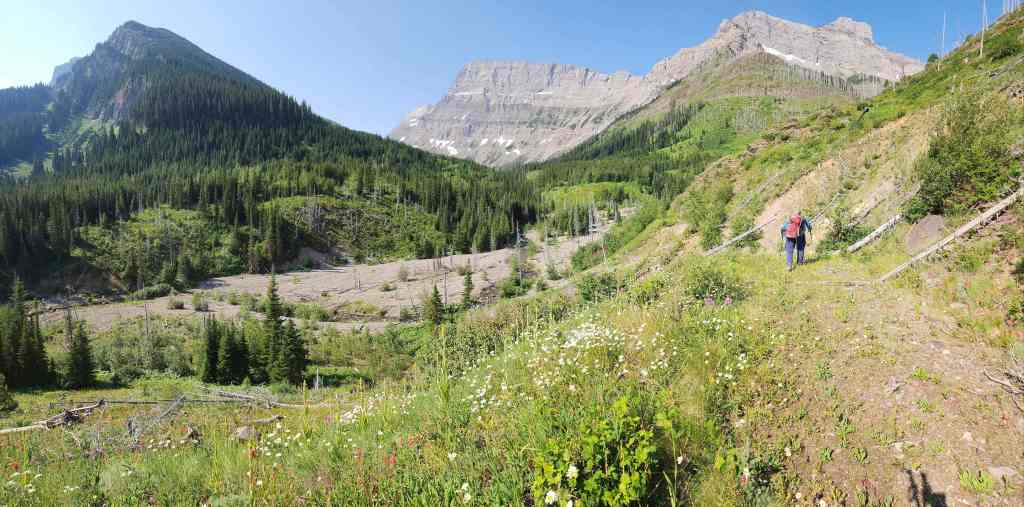
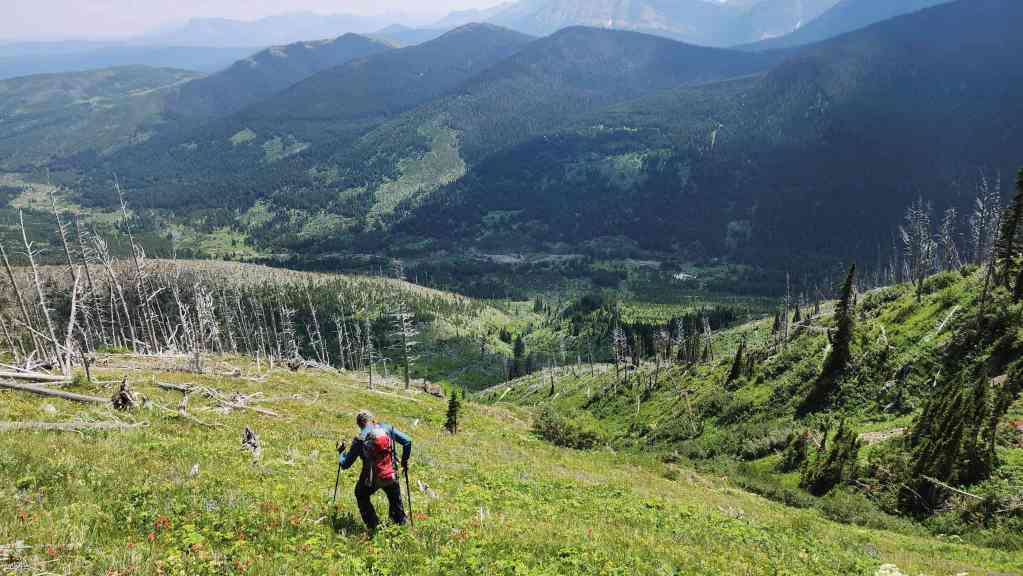
And it also offered some good views. (Photo by Andrew Nugara)
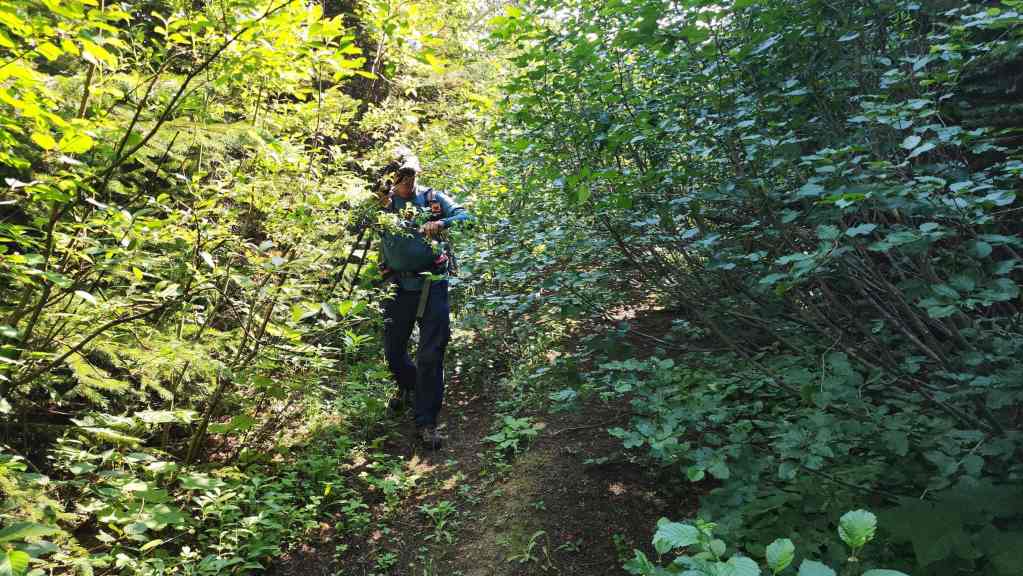
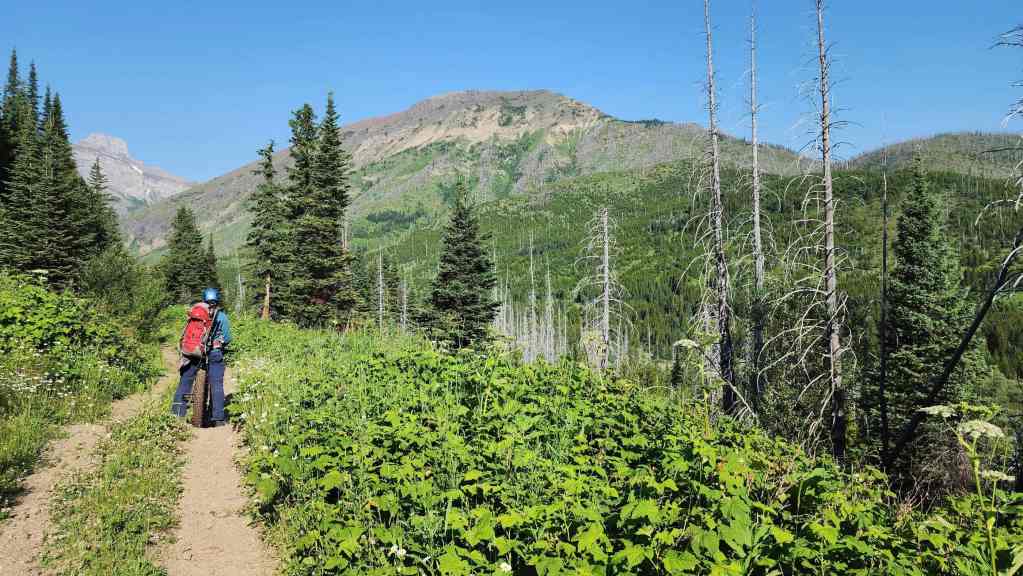
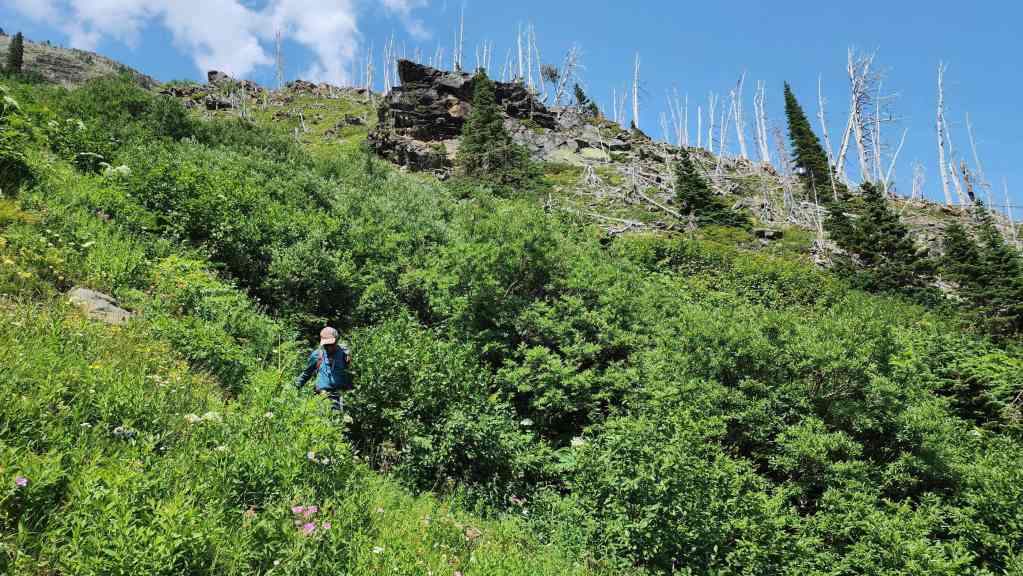
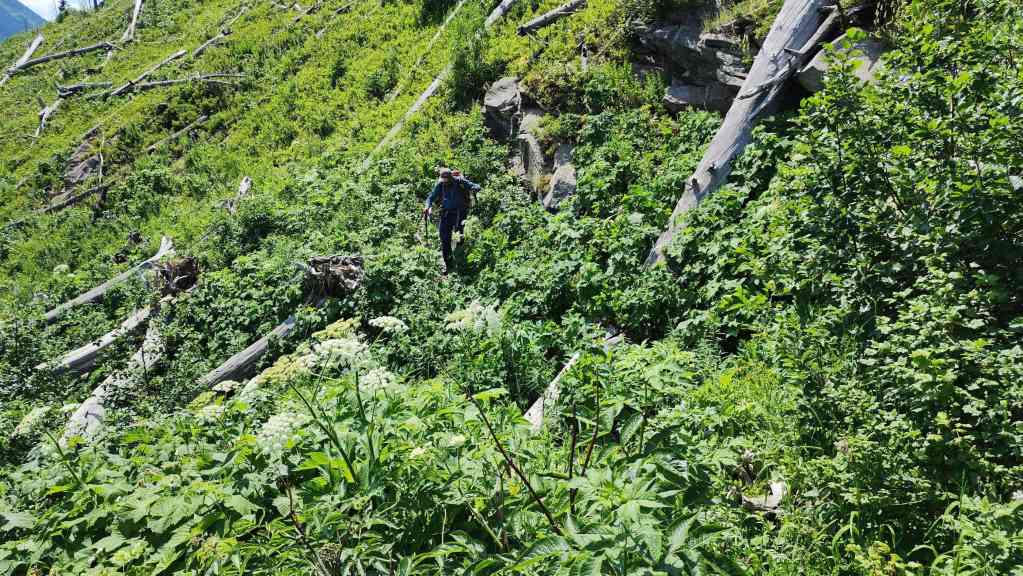
However, there were a few sections that were majorly overgrown.

Out of the alders and back onto an open section of trail.

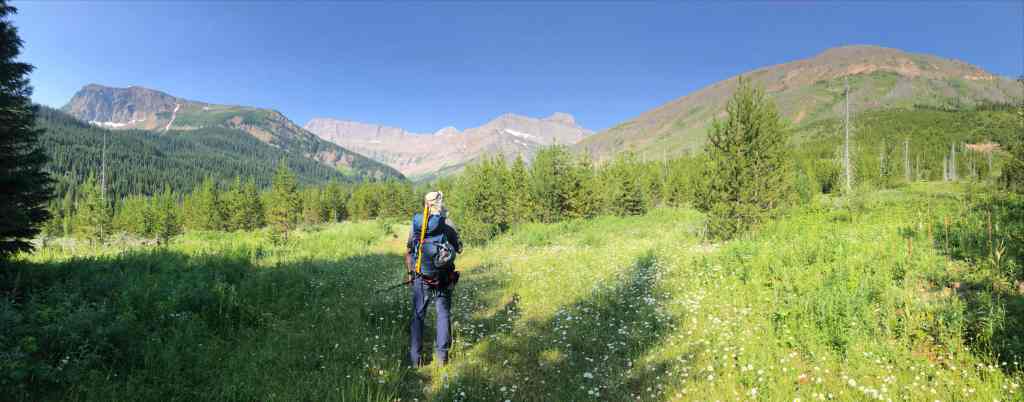
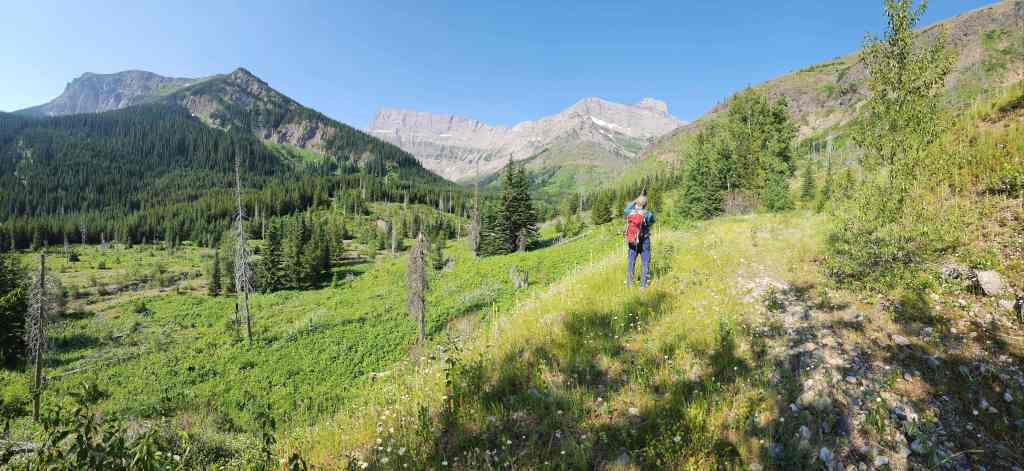
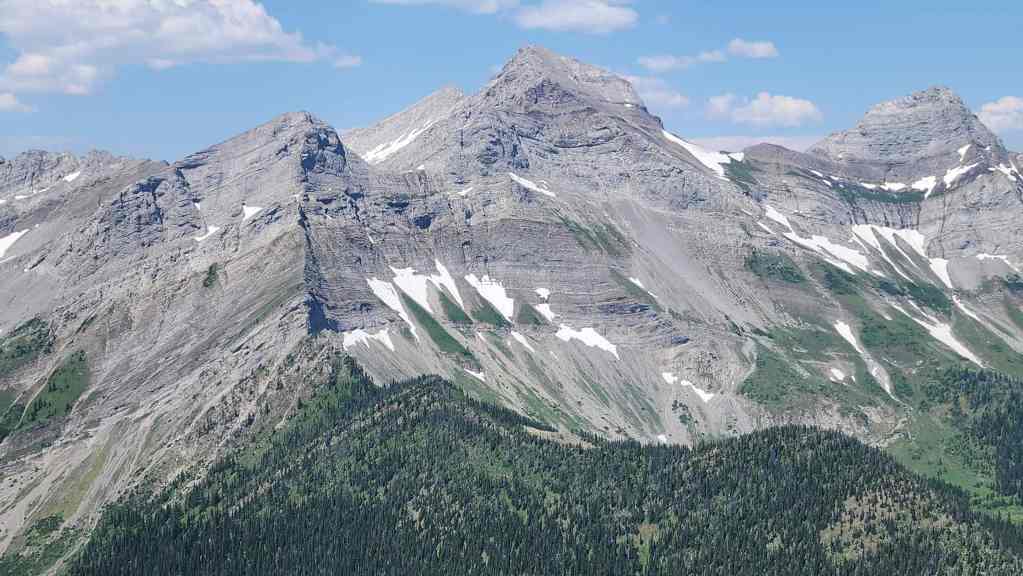
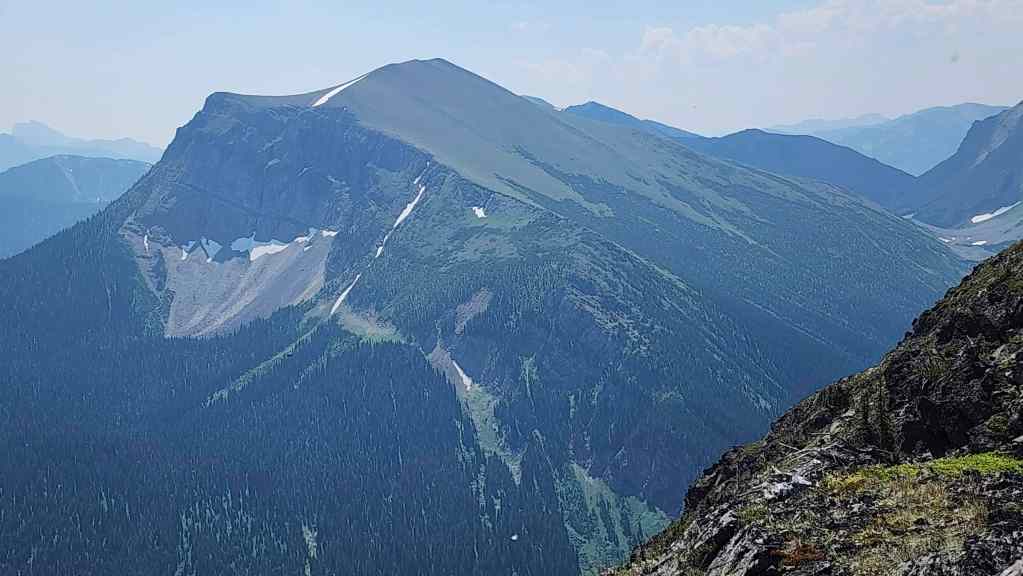
Andy’s view from the previous photo. SE4 is directly in front of us and N1 is to the left of centre. (Photo by Andrew Nugara)

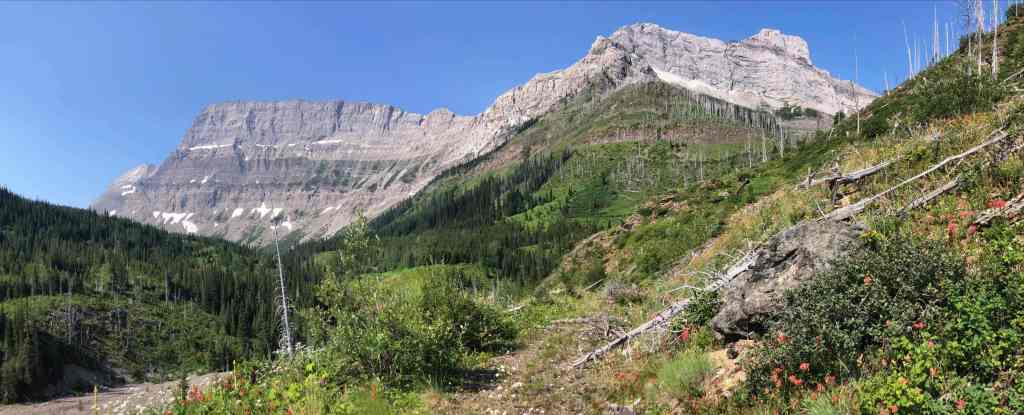
Gazing across to Centre E3.

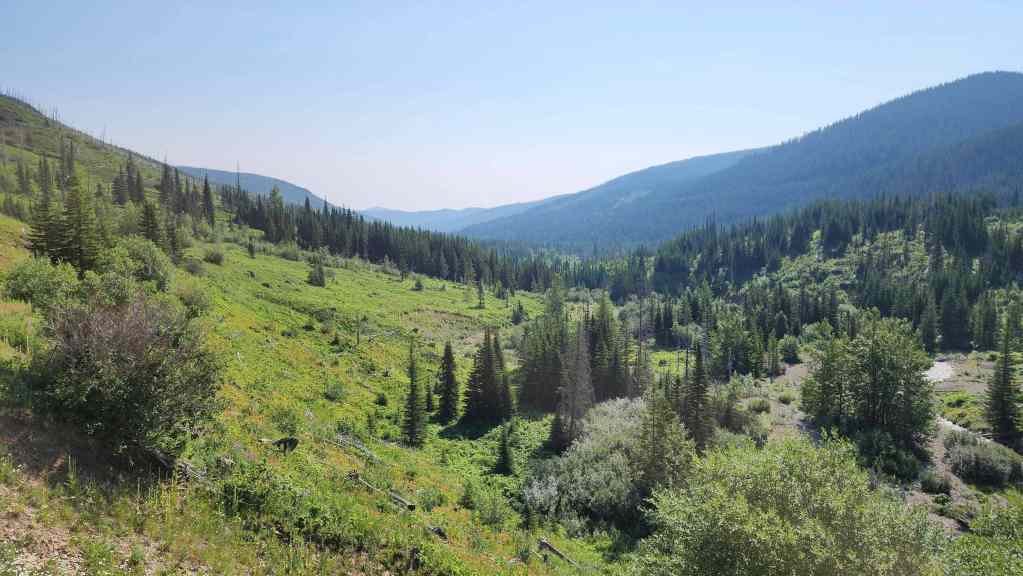
The trail will eventually connect with the North Kootenay Pass (NKP) trail located on the other side of Centre E3.
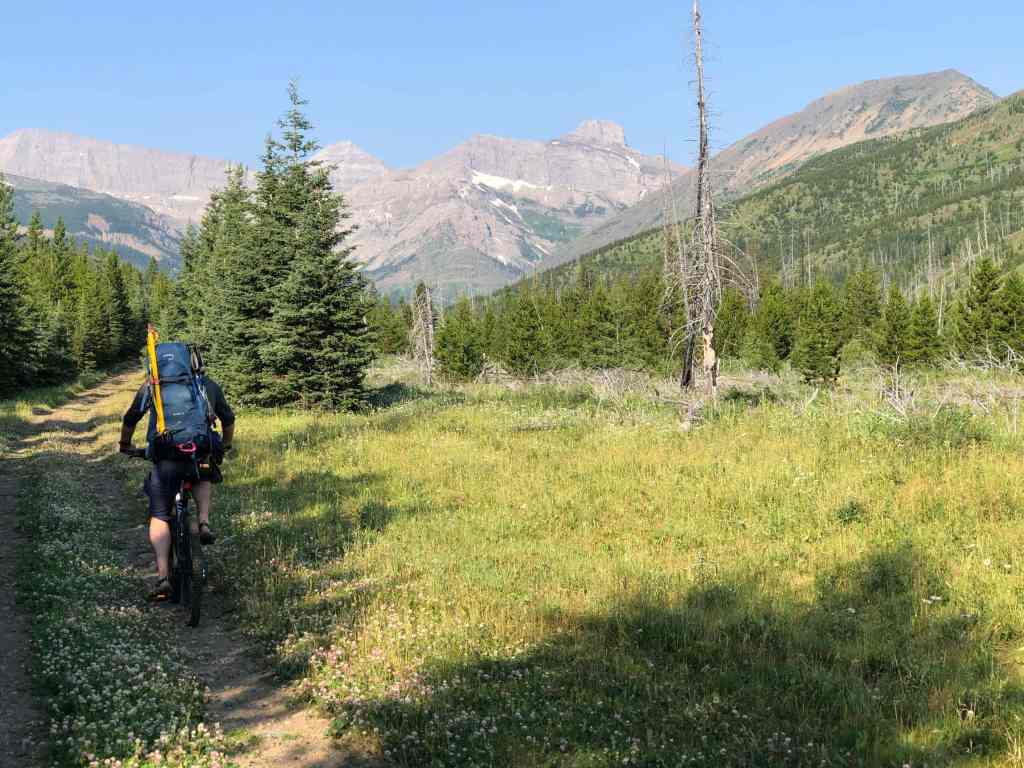
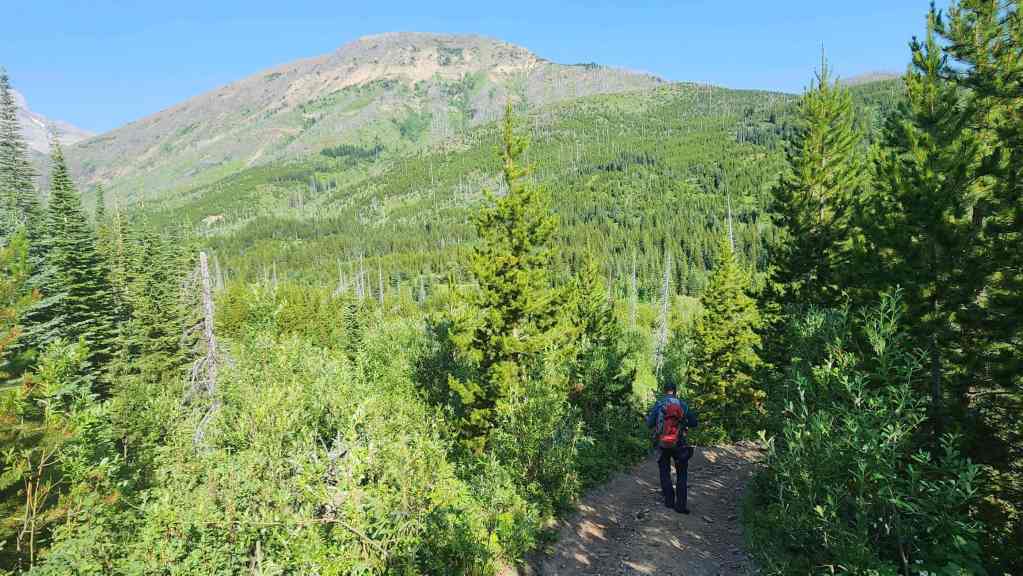
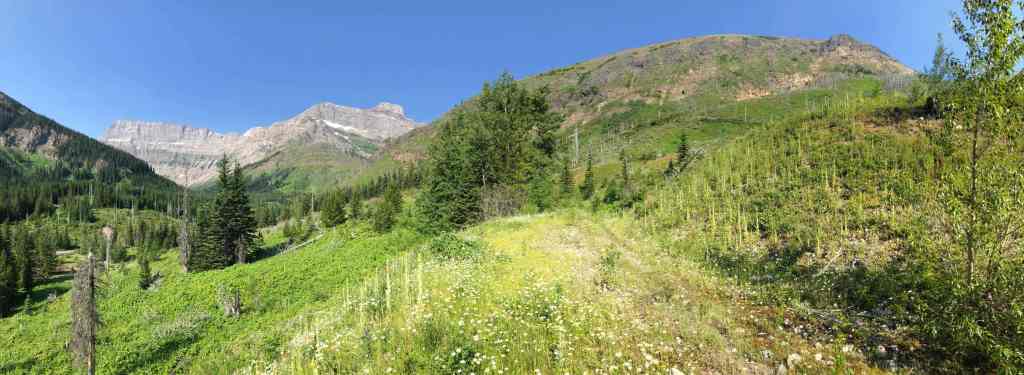
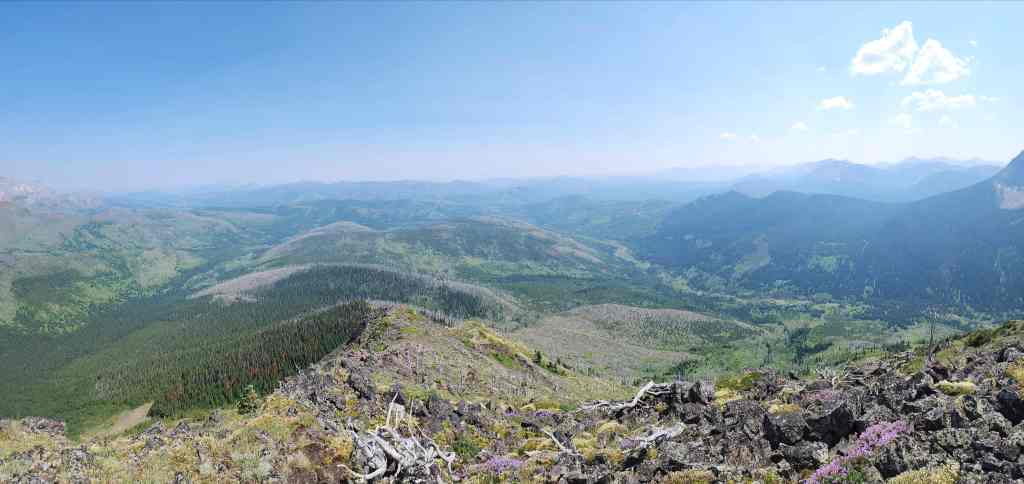
Looking back and along the South Lost Creek valley.

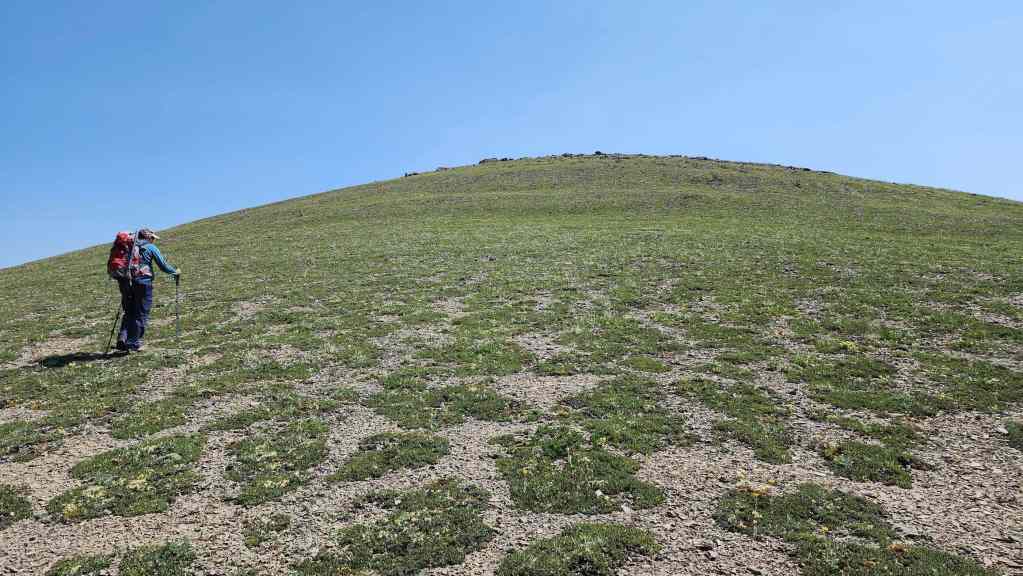
Nearing the point where we’d decide to leave the trail.

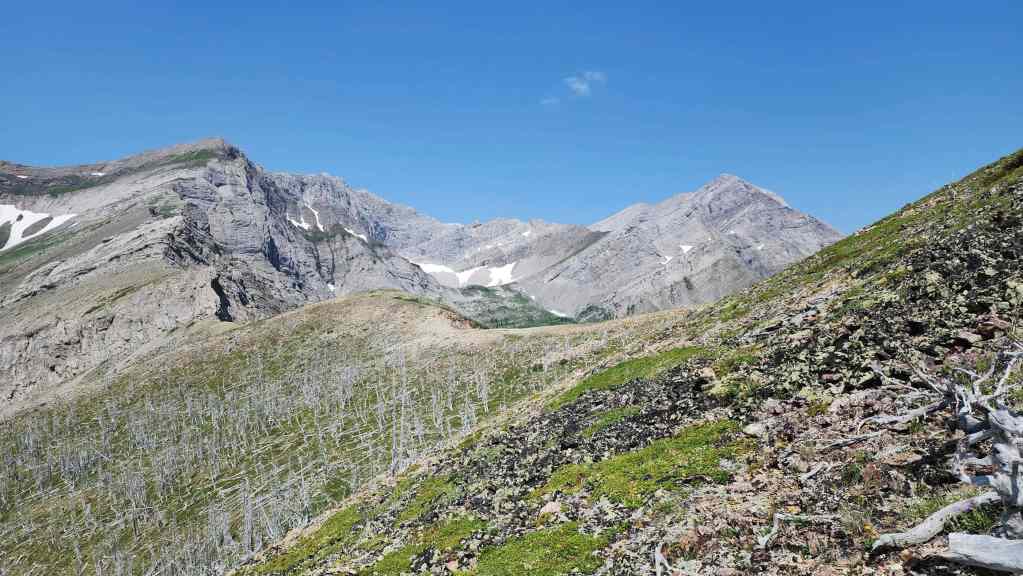
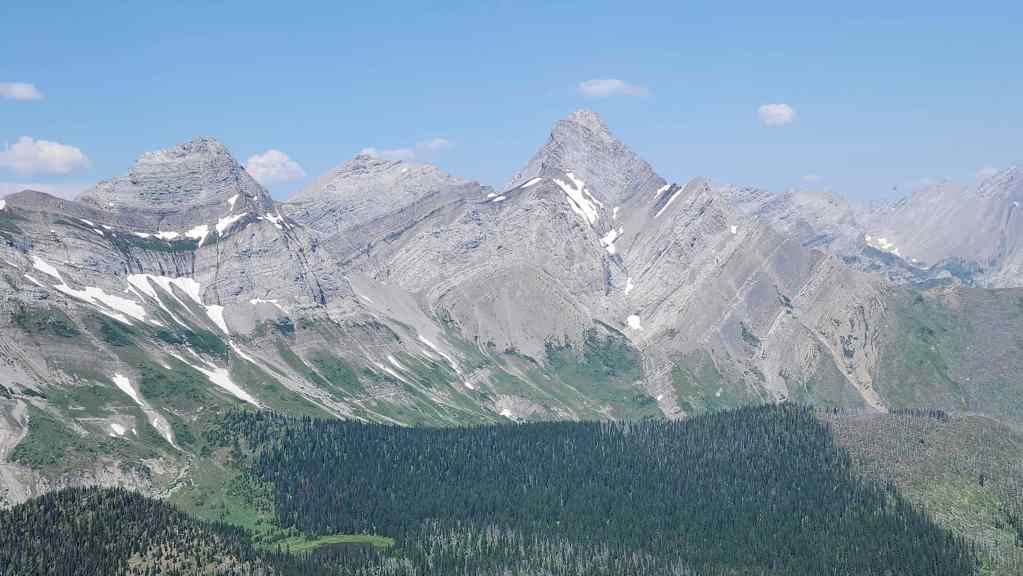
A broader view of the previous photo. The large washout in front of Andy is located ~2.2 km from the creek bridge and just prior to reaching the entrance to the small valley that leads underneath N1 and S4.

Andy’s view of the previous. Centre SE1 is on the left and Centre N1 on the right.

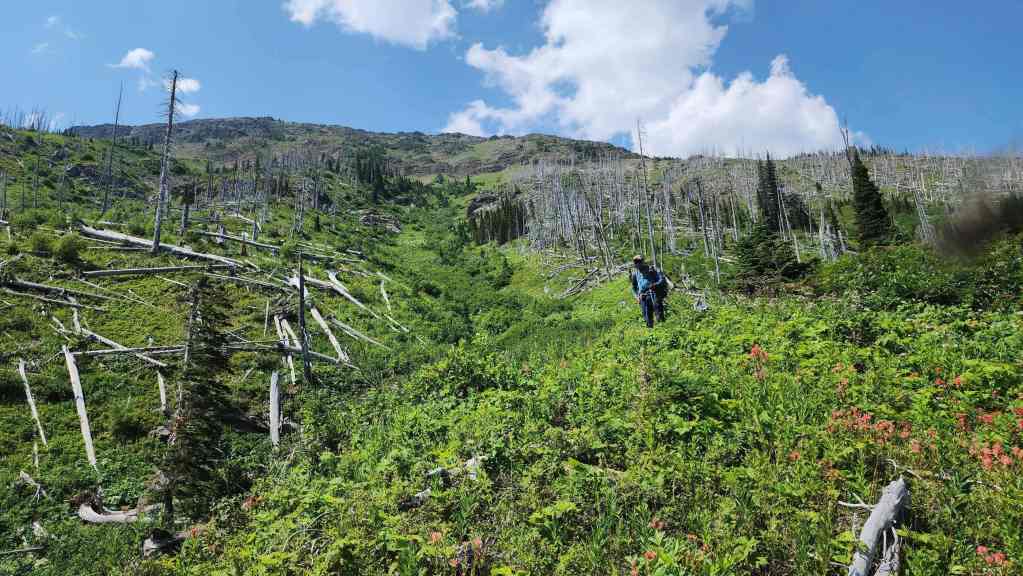
We initially climbed above the washout with the intent of regaining the trail…
However, Dave got the bright idea that we should start traversing over to the col between SE4 and S4. 😂

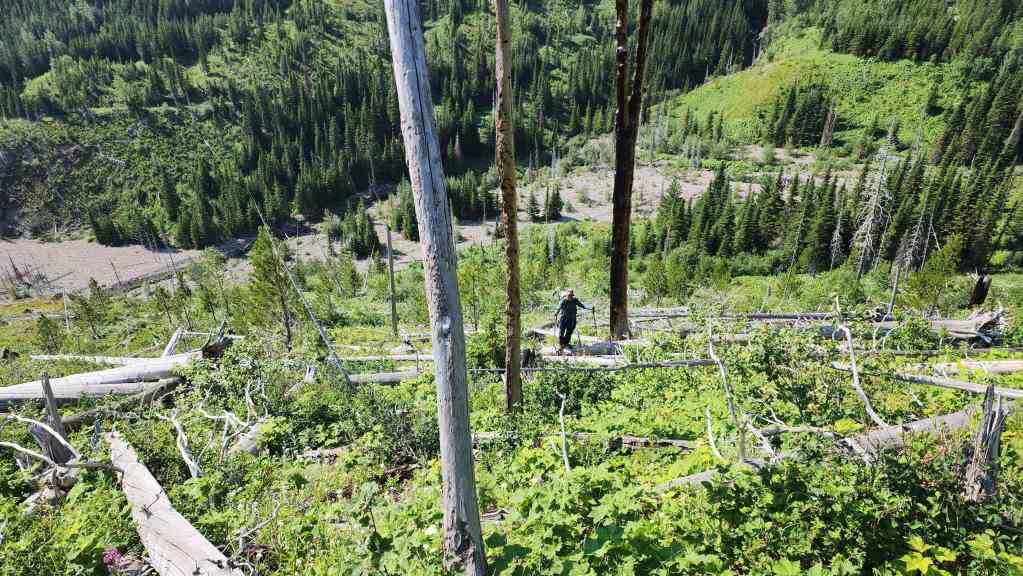
The initial slope on SE4 was covered in deadfall and vegetation. A sign of things to come. (Photo by Drew Nugara)

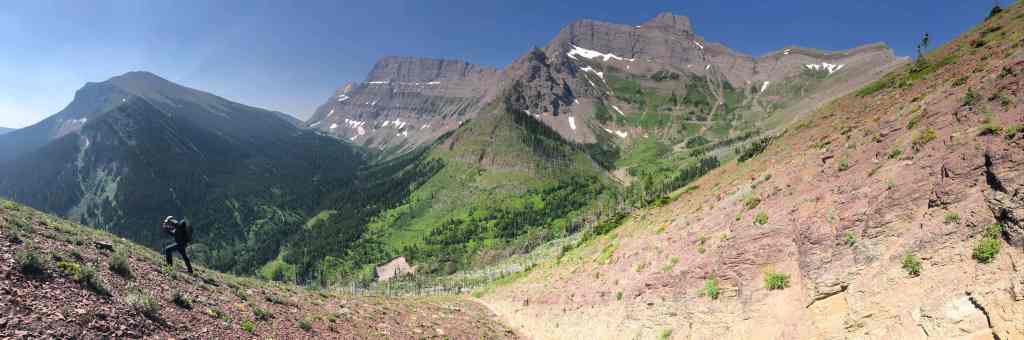
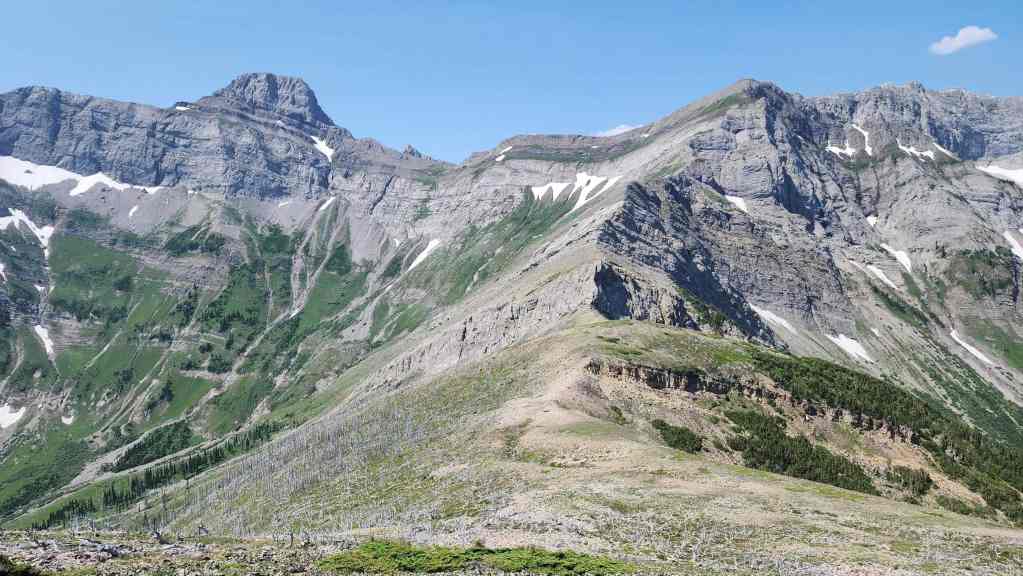
Our view into the valley beneath N1 (left) and S4 (right of centre). Our intended route was to go up the slope beneath S4, with the perceived crux being the slabs near the top. (Photo by Andrew Nugara)

Oh man was it getting warm and with no wind, it soon became stifling. 😯 (Photo by Andrew Nugara)
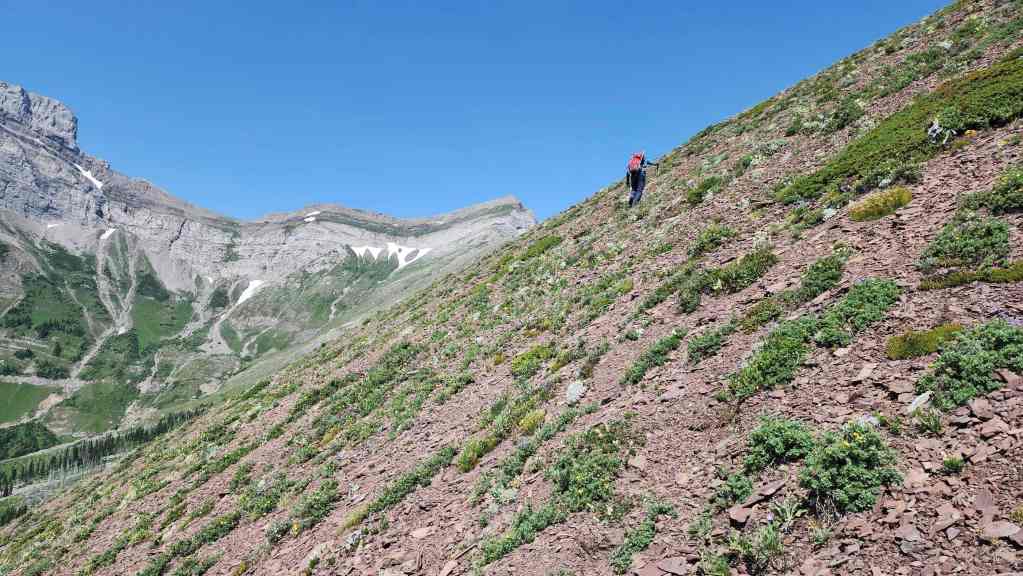
Continuing our traverse across the lower section of SE4.

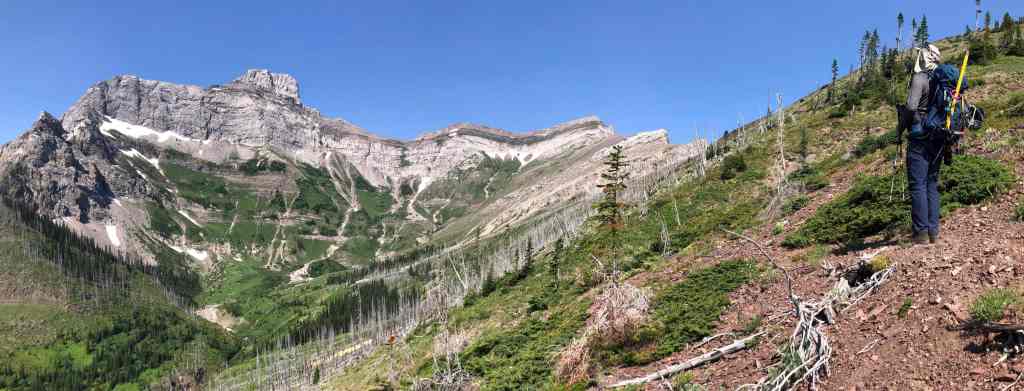
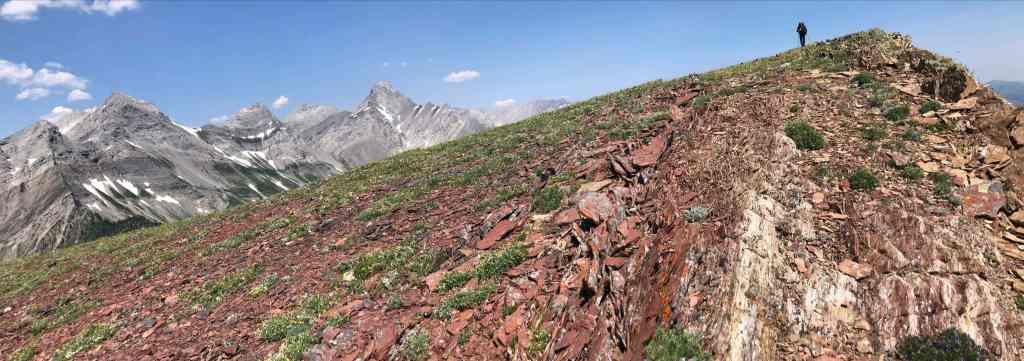
A better look at N1 (left of centre) and S4 (right). If we could get onto the ridge, we’d not only see if we could reach the actual summit of S4, but then traverse over to N1 and if necessary, traverse the bowl on the other side until we reached what I’d previously noted, was a more gradual west approach onto the summit.

It grew increasingly smoky to the east and to the south. Centre E3 is on the right.
Nearing the col with S4.
Arriving on the col.
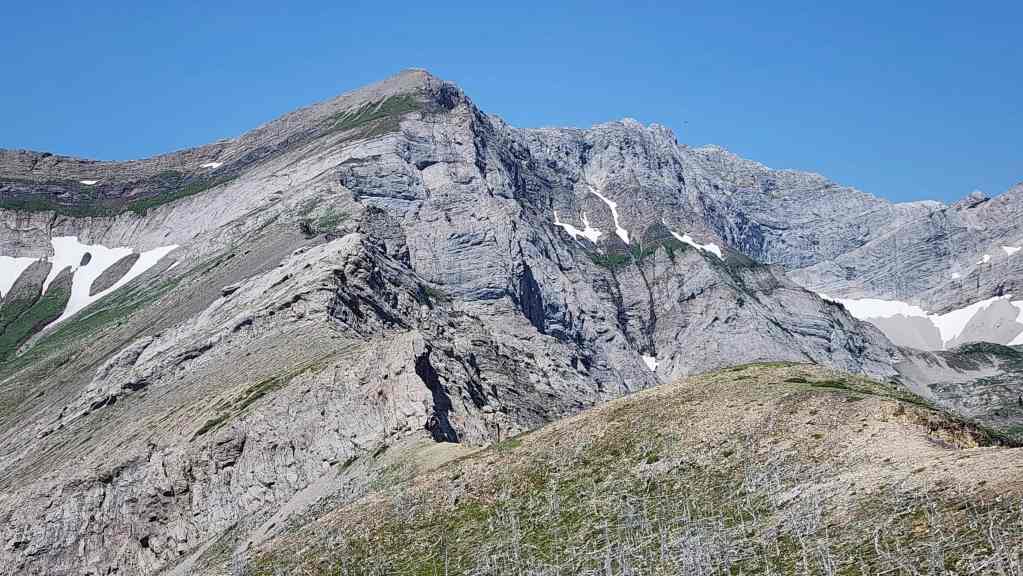
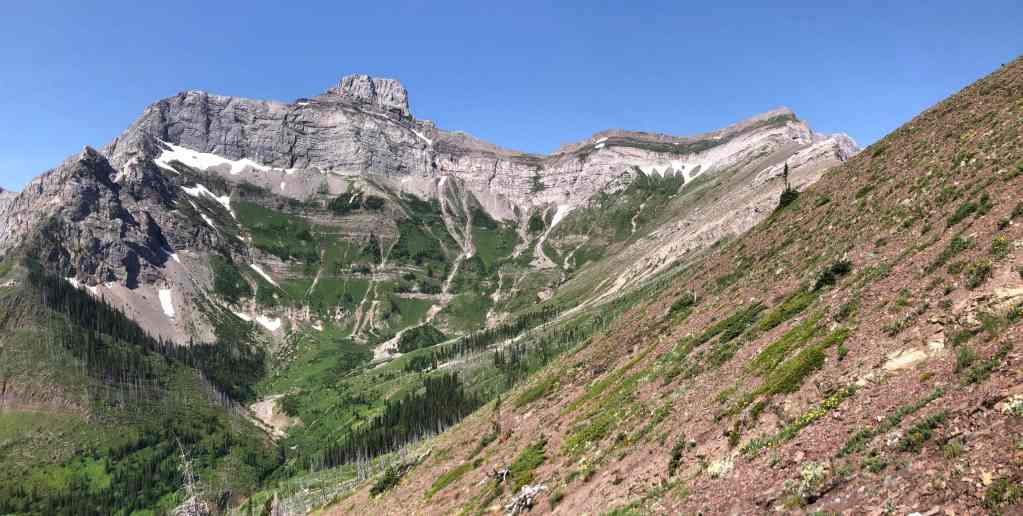
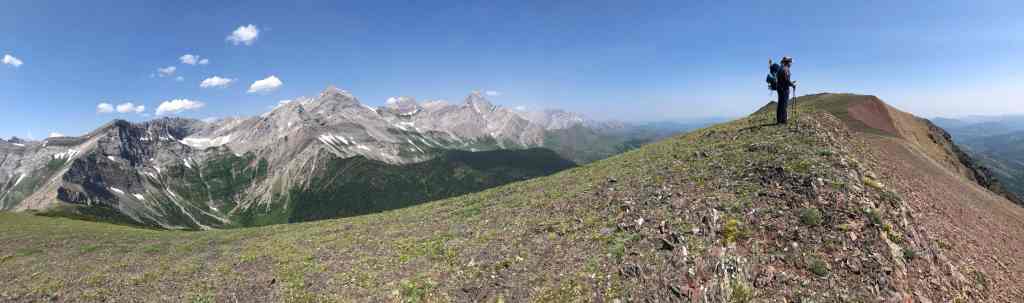
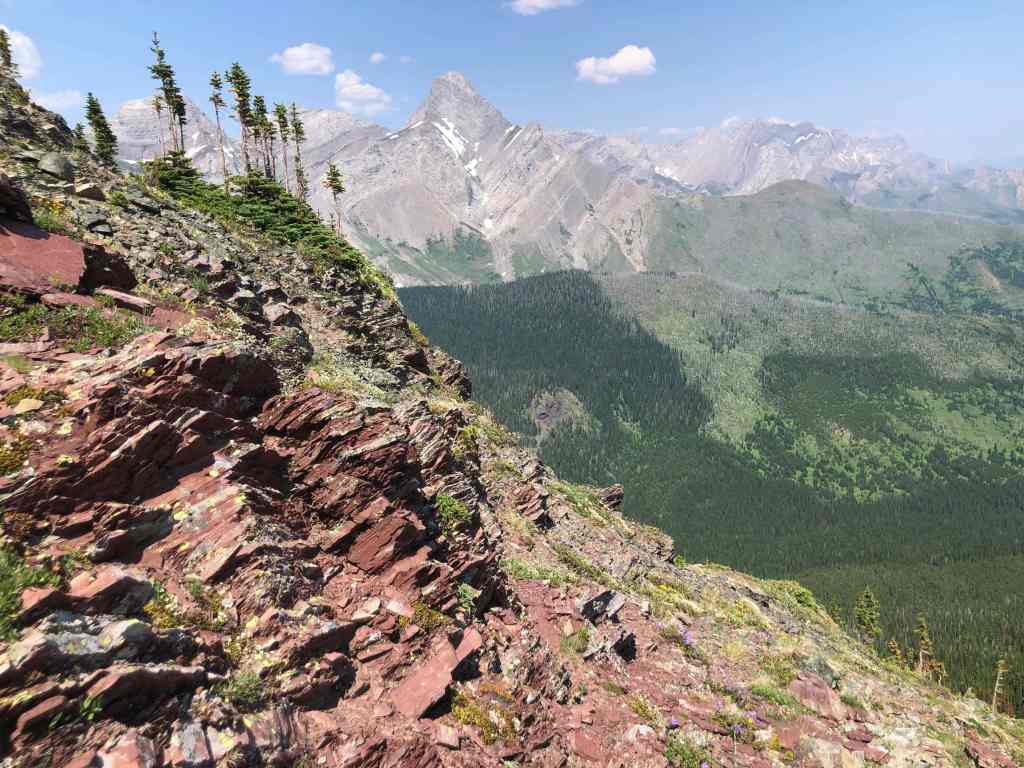
The actual summit of S4 is to the right of centre. Our proposed route would try and find a way onto the ridge where a short patch of vegetation extends halfway down the slabs (left of centre). However, from the col we’d have get past two intervening cliff bands, with the first requiring us to lose a fair amount of elevation on either side, before regaining it. Not really a problem on any other day except today, which happened to be in the middle of a heat wave.

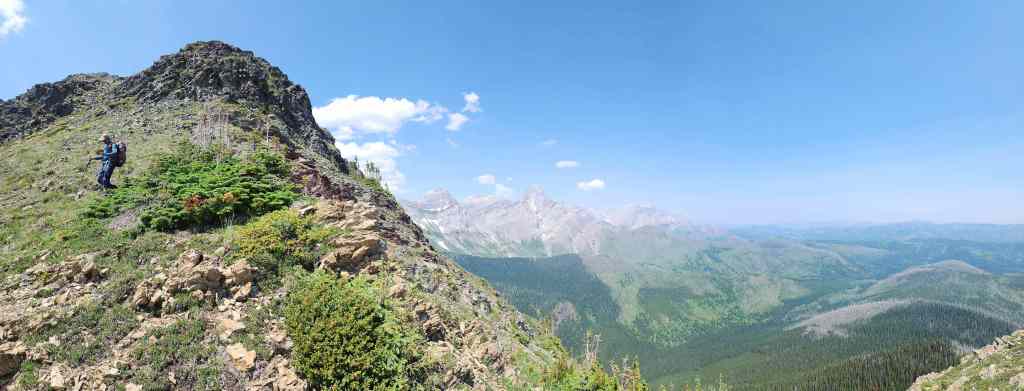
A pano of the col.
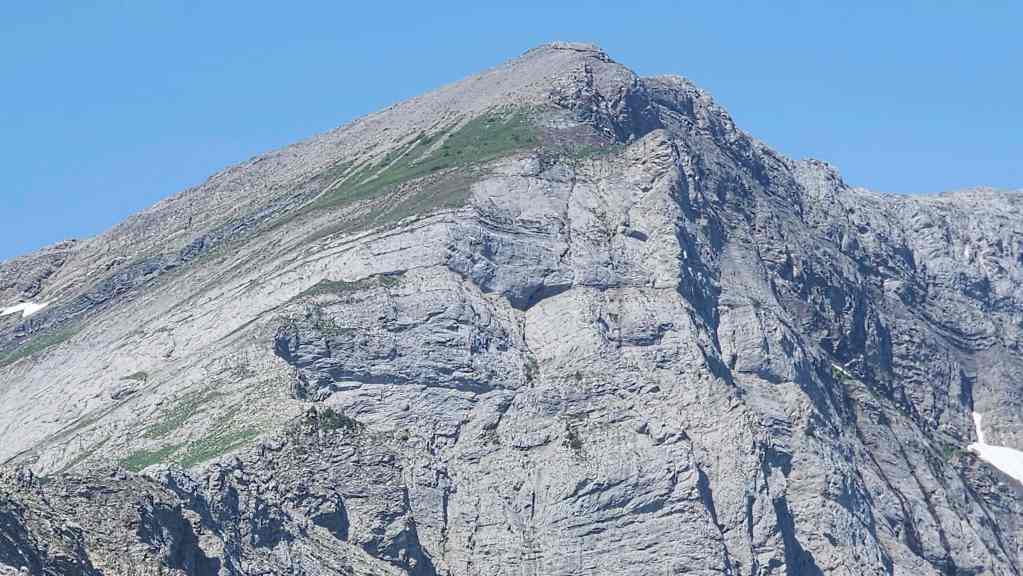
Zooming in our our proposed route onto the ridge and hopefully, S4 and N1. Before the trip, I was fairly certain that it was doable, now I’m almost certain that this route will go. 🙂 A piton might be necessary to assist in down-climbing, but the slab lays back more than I had previously thought the last time I was here.

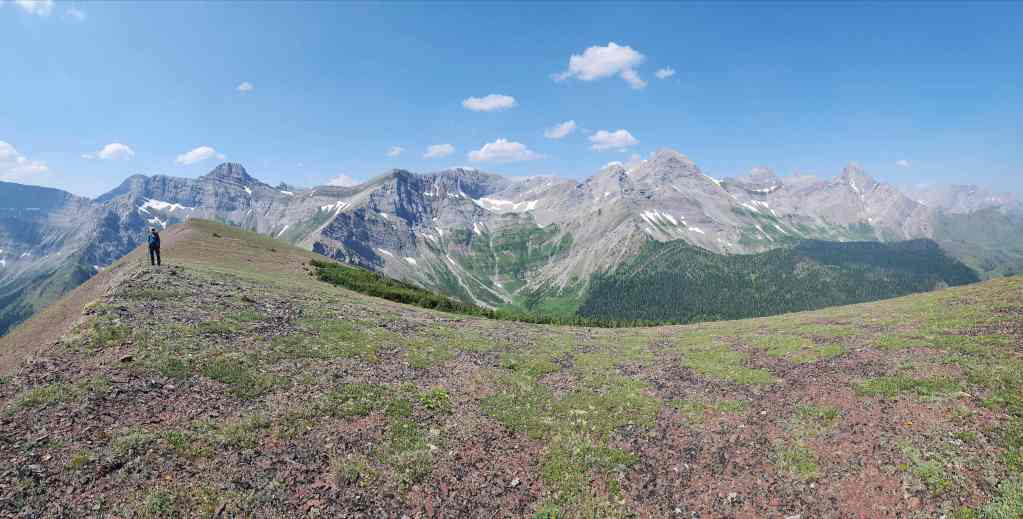
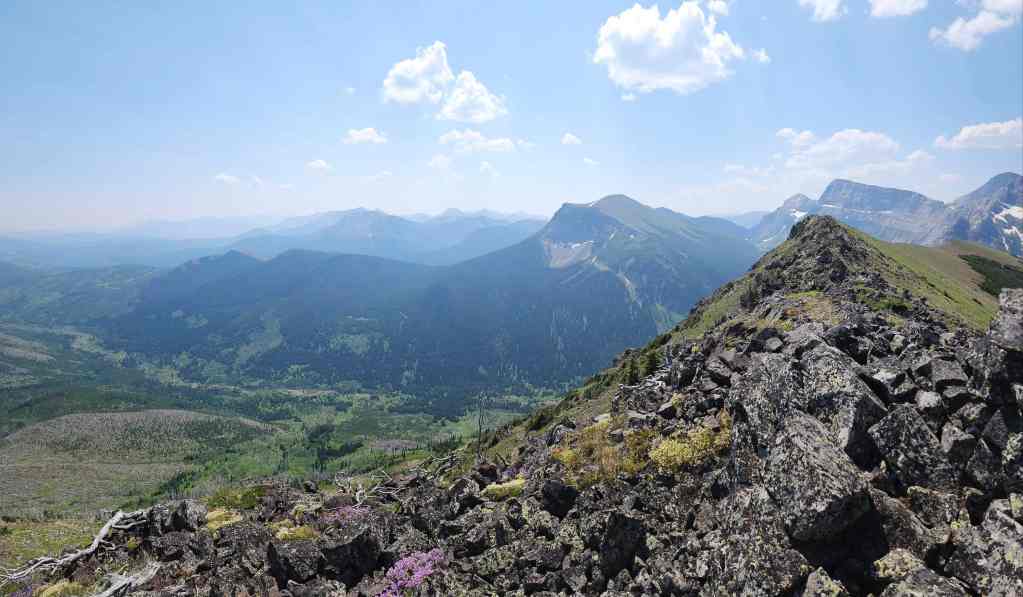
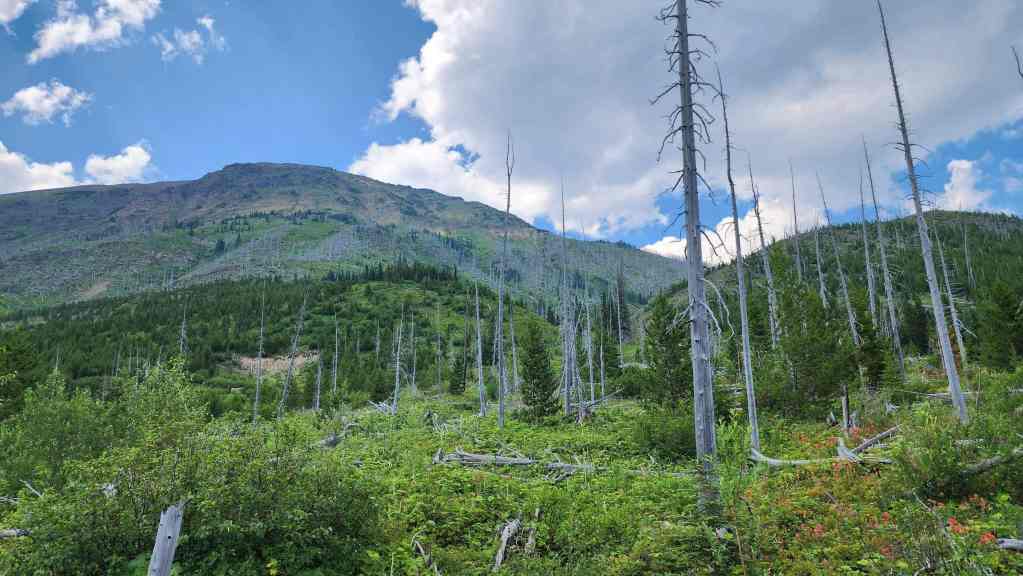
The view to the northwest and Darrah S3 (left), Darrah S2 (left), Darrah S1 (centre), and Mount Darrah itself.
With the morning temperature already in the high 20s, we made the wise decision to forfeit our exploration of S4.
Another look back at the col. This route will go. Of that, I am certain. 🙂 We’ll be back…


Andy’s view of the col. (Photo by Andrew Nugara)
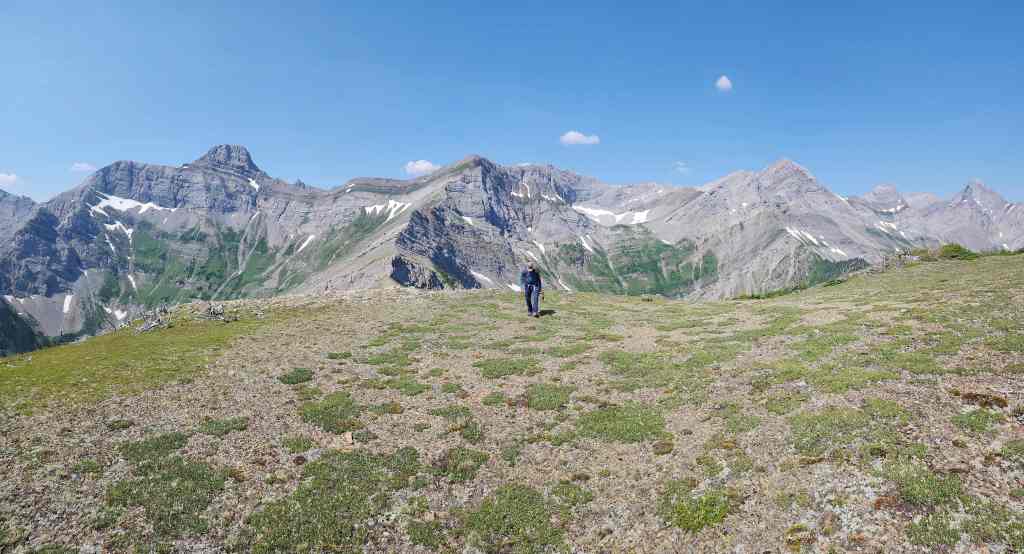

Though we pulled the plug, we decided to tag SE4 again just to say we did something.


Another pano of the col. (Photo by Andrew Nugara)
Though it’s an easy 1.2 km hike (155 m elevation gain) to reach the summit of SE4 from the col, under the extreme heat, it became a chore.

Enjoying a small breeze. You know it’s hot when you find yourself praying for wind in southern Alberta. 😂 (Photo by Andrew Nugara)

SE4 is interesting because it represents where the rock of the Lewis Thrust meets the younger rock of the Flatheads.
Nearing the summit ridge.

Andy’s view of the previous. (Photo by Mr. Nugs)


The view out and along South Lost Creek. (Photo by Andy Nugara)

On the summit ridge. (Photo by Drew Nugara)
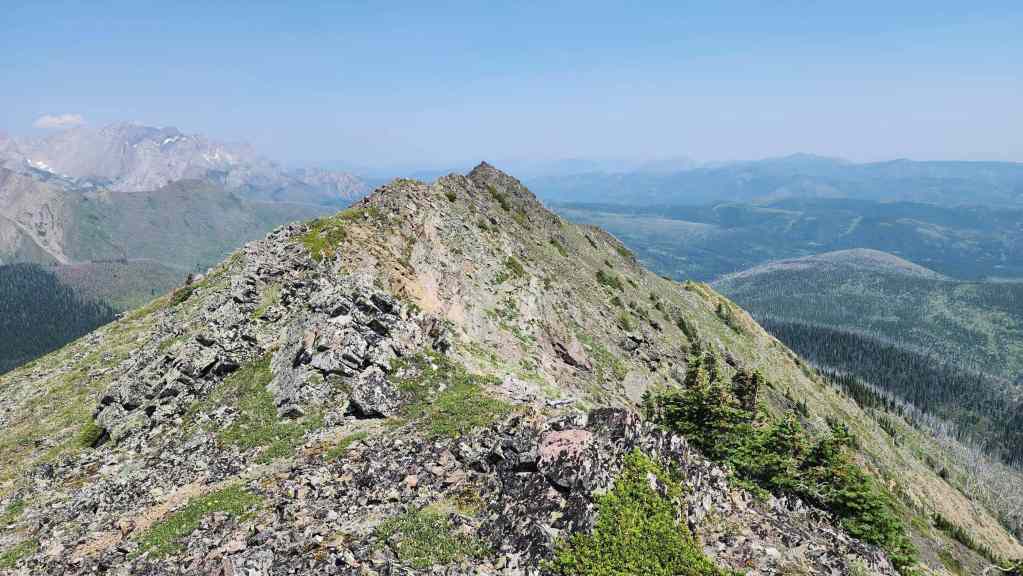
The ridge narrows as it nears the summit.


Yet another great pano by Andy! (Photo by Andy Nugara)
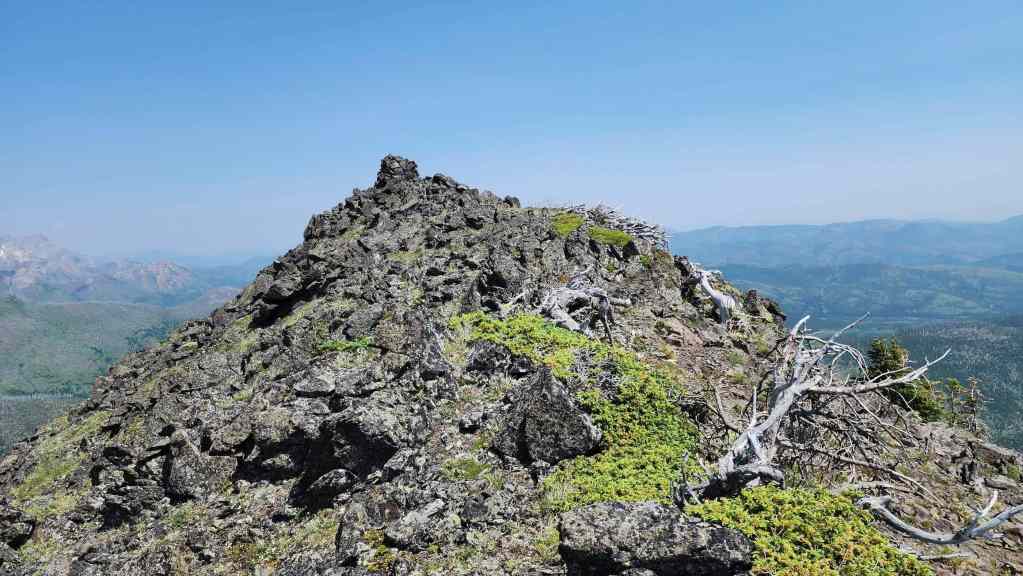
The massive cairn on the summit (2255 m) was probably made by A.O. Wheeler’s survey team in the early twentieth century. Darrah SE4 was more than likely the location of a triangulation or photogrammetry station.


Looking to the southwest…

And then to the northwest.

The view to the east…

And finally to the southeast.

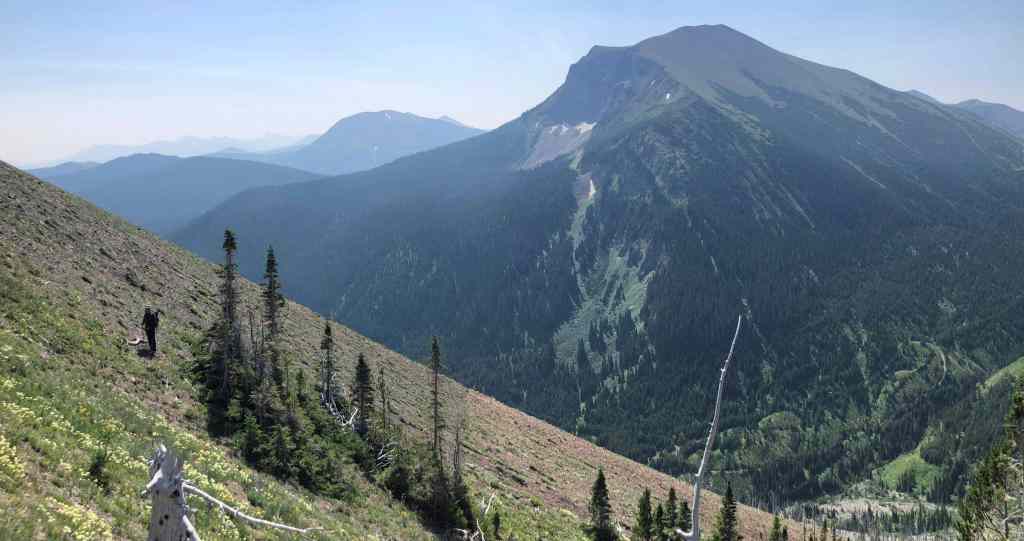
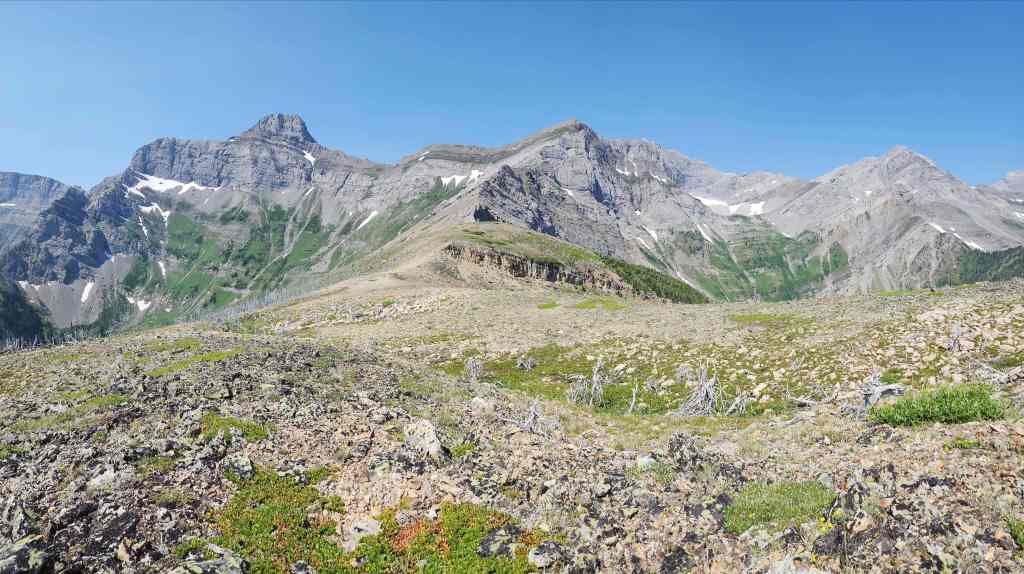
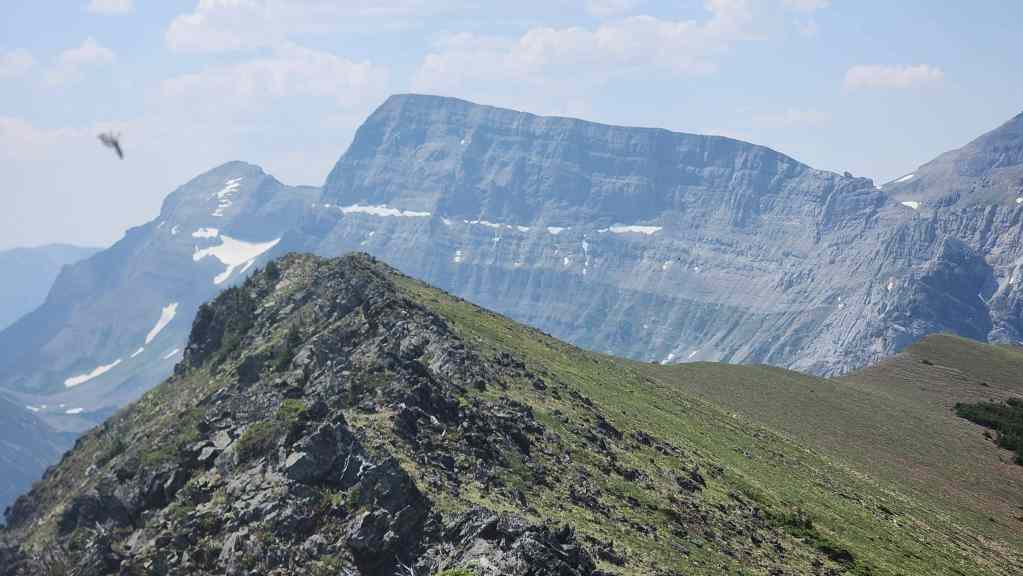
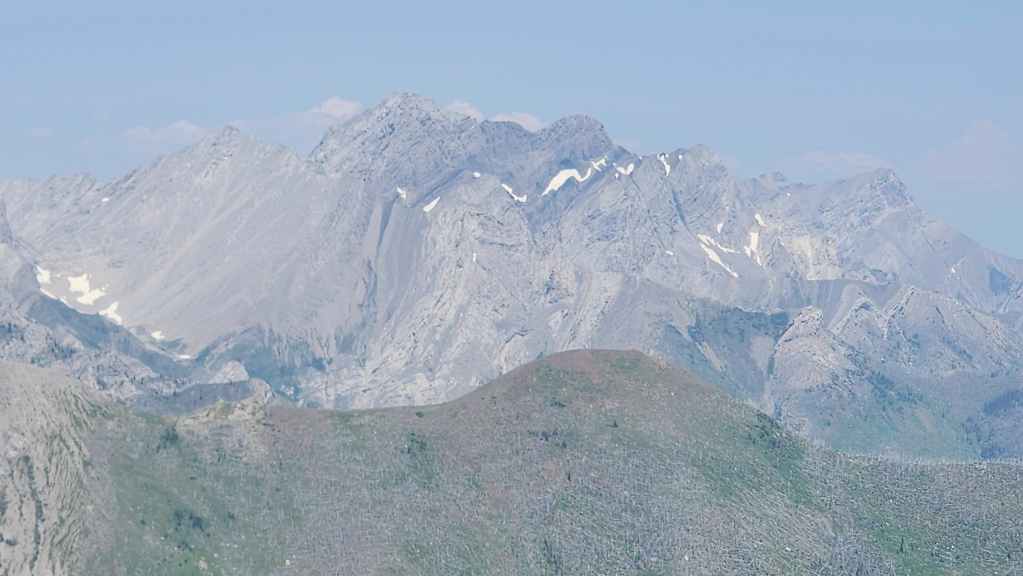
Darrah S4 (right) and its col with SE4.

Now looking at Centre N1.
Centre SE1 (centre) and “South Flathead Peak” (left).
Another look at N1 with Centre Mountain (left) behind it.
Darrah S3 (left), Darrah S2 (centre), and Darrah S1 (right). Like S4, I think there is also a route up S2 and S1 from the east as well. 🤔 If I look closely at this photo there is a possible way up and onto the ridge between both peaks. There looks to be a cliff band, but I bet there is a way around it. Again, I will bring some technical gear when I try just to be sure.
Darrah S1 (left), Darrah SW1 (left of centre), and Mount Darrah (right of centre).
A hazy Mount McGladrey (left) and Ptolemy SE5 (centre).

Okay, so Andy and I decided that when we return to try S4 and N1, we will use the North Lost Creek trail (the same one we used for S3 and SE4 in 2020), and ascend from there.
Why ascend from North Lost Creek? 🤔

Because it looks like you can ascend above the first and possibly the second cliff band from the valley floor.
Gazing across to Centre E3.
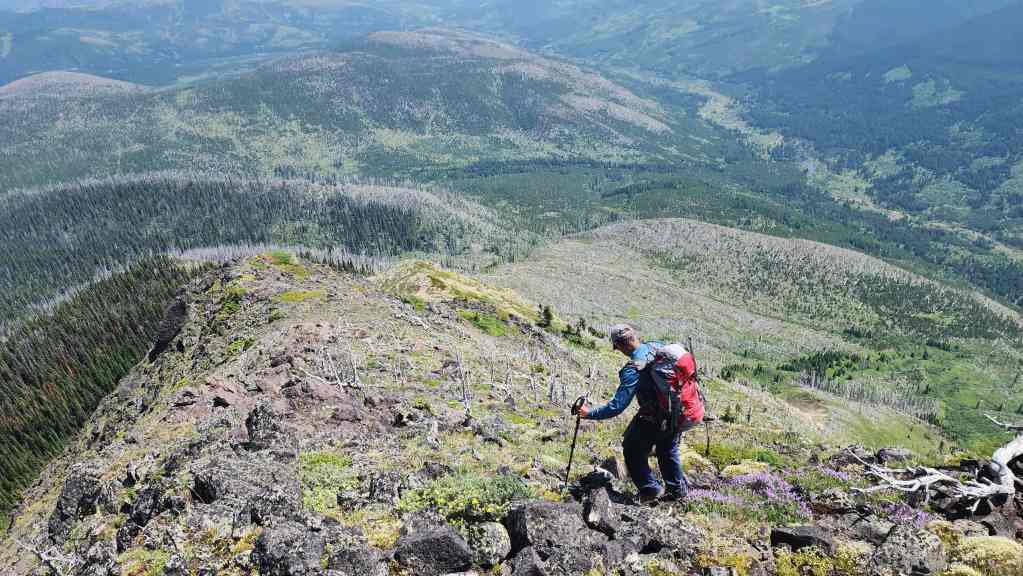
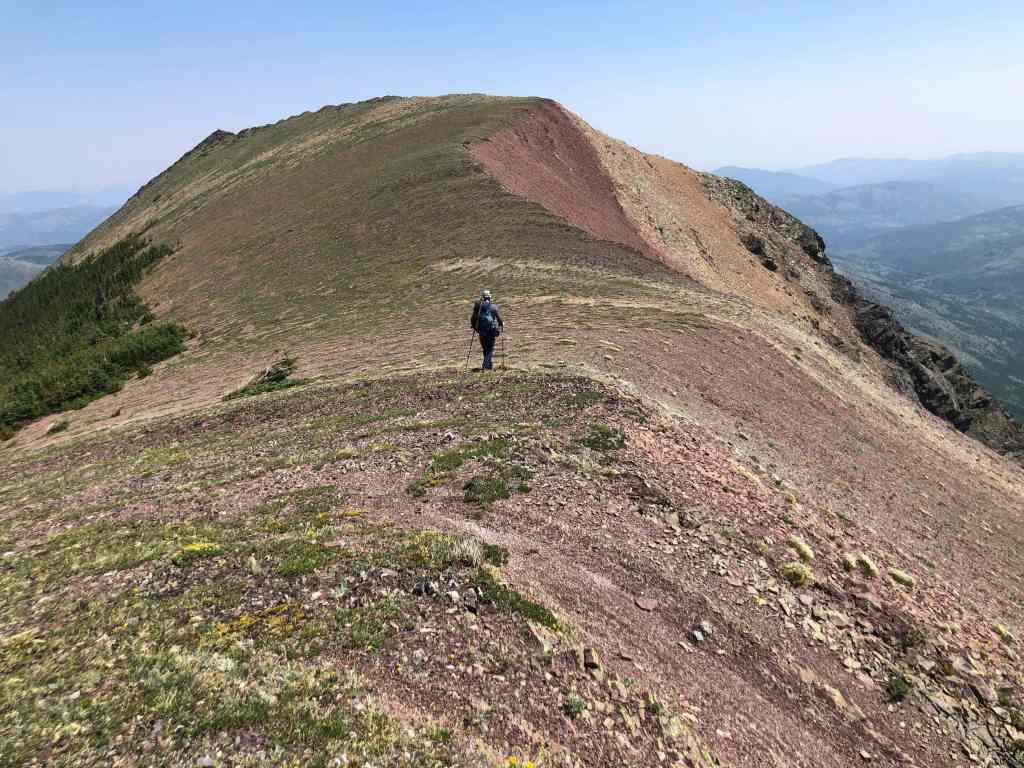
To descend, we decided to head down the east ridge that is located directly beneath the summit.
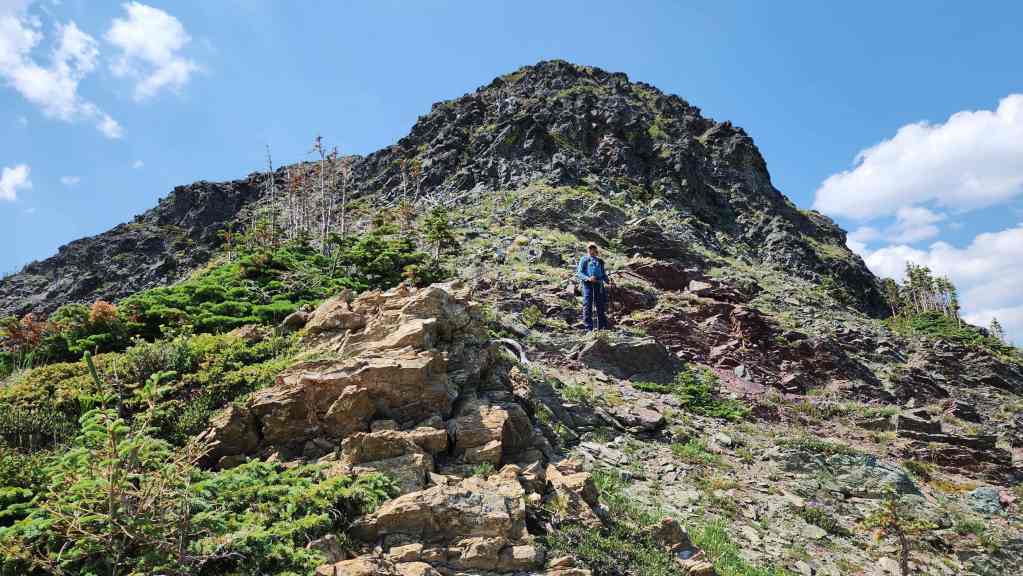
Andy in his natural argillite environment. 😂
Argillite and Mount Darrah. Andrew’s view from the previous photo. (Photo by Andy Nugara)
Looking back to the summit shortly after starting down.


Here’s where we goofed. Instead of sticking to the ridge (left) and its sections of deadfall, we decided to drop into a drainage that looked to be a direct route back to the South Lost Creek trail.
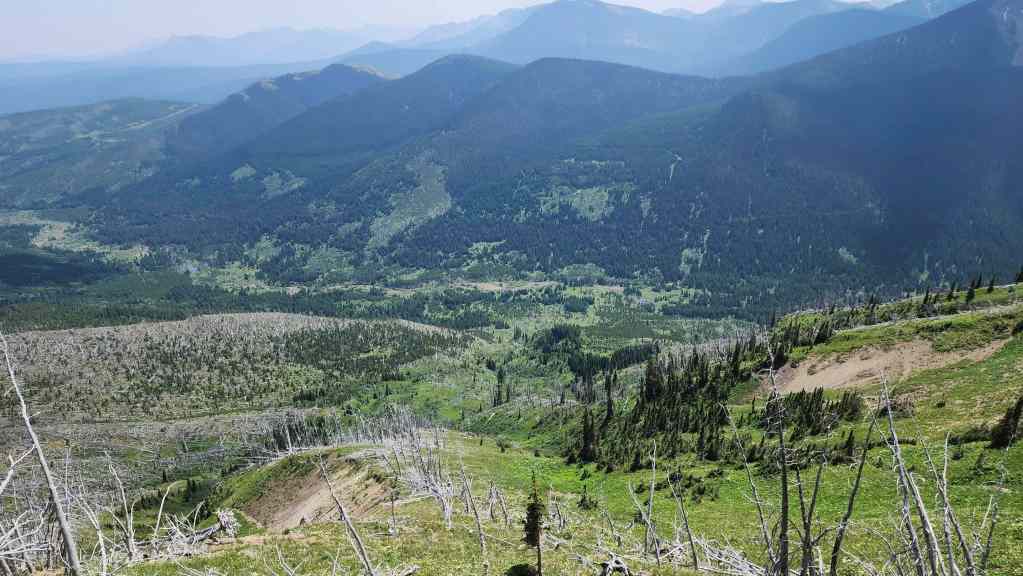
In our defence, the drainage looked pretty tame from here.
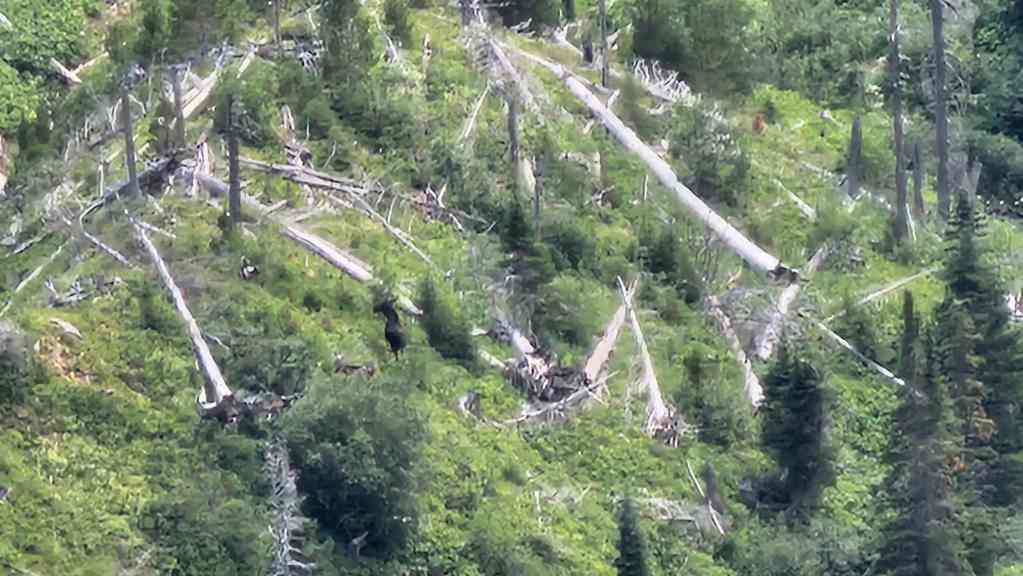
Zooming in on a moose at the bottom of the drainage.
Entering the drainage…
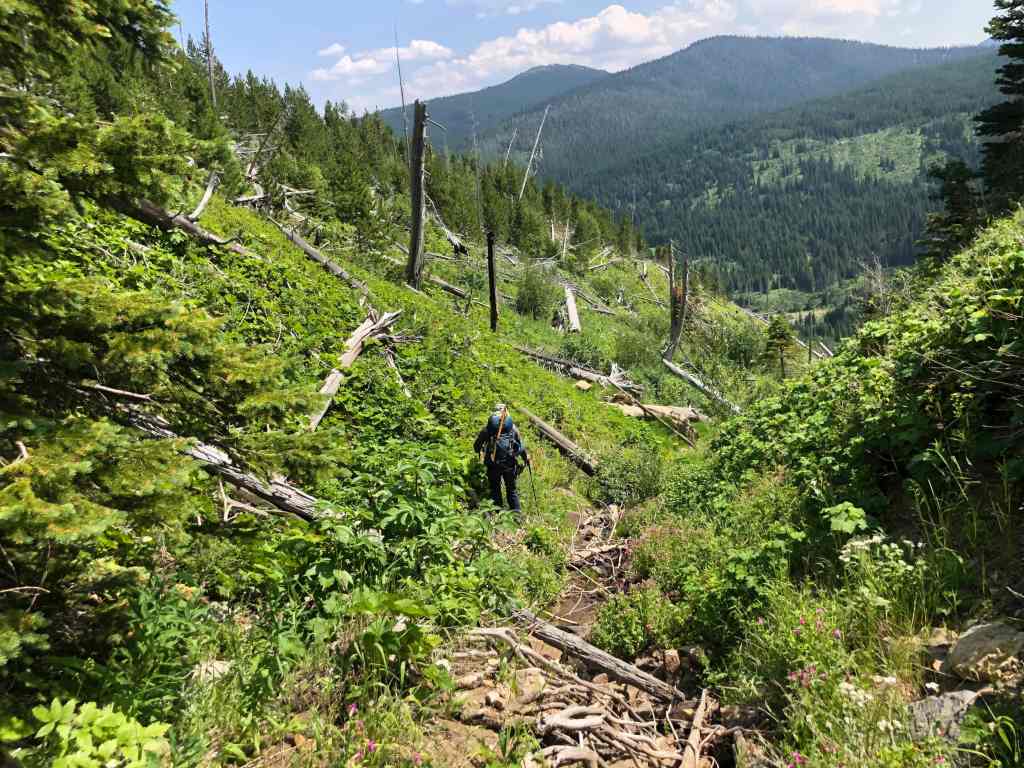
Which ended up being full of hidden drop offs, thick alders, stinging nettles, and deadfall. Lots and lots of deadfall. It was also sauna-like in terms of heat.

Using a large log to escape from the main drainage.
Somewhere below Andrew is a creek… 😂

Out of the drainage and on the small ridge where we spied the moose. I’m sitting down because I’m picking nettles out of my hand. (Photo by Andy Nugara)
Again, it looks pretty benign, but this drainage was awful and this led us to believe that the valley underneath N1 and S4 would be similar.
Making progress but it was slow going. (Photo by Andy Nugara)

Nearing the bottom.
Looking back from my vantage in the previous photo.

It took us almost 2 hours to descend from the summit and reach the trail. We were exhausted and as soon as we reached the bridge, we stopped and stuck our heads in the water to cool down.

After taking time to cool down in the creek, we retraced our steps along the trail to our bikes.
Thankfully, it was a quick and easy ride back.
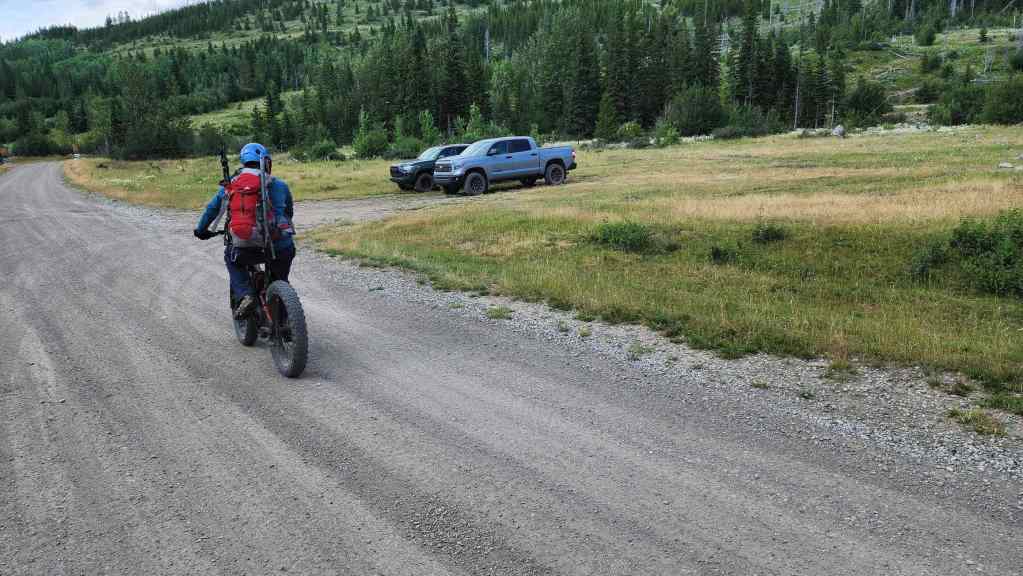
Heading down the final section near the trailhead. (Photo by Andy Nugara)
Covering the final 200 m back to my truck. (Photo by Andy Nugara)
Arriving back at my truck 8 hours after starting. Though we didn’t accomplish what we’d set out to do, given the extreme heat, we made the wise decision to bail on S4 and N1. However, we will definitely be back in the near future now that we have even more information and a game plan. For another trip, I’d like to also see if there is a route up S2 and S1 from the east via the valley to the north of North Lost Creek. There is a trail into it… 🤔 Anyways and as always, a HUGE thanks to Andy for another awesome day in the mountains!