⚠️ Hiking and scrambling are inherently dangerous activities. Please read my Disclaimer. ⚠️
After a busy, but joyous summer that saw one of my sons get married – congratulations Nathan and Chantelle! – it was nice to be back in the mountains. Unfortunately, the seasons seem to be mixed up, with summer proceeding directly into late fall and bringing with it, temperatures more suited to early November. My original plan was to explore the mountains near Elkford, BC, but another miserable forecast forced me to look further south, where Spotwx indicated the possibility of more tolerable weather on Otokomi Mountain in Glacier National Park.
That being said, the drive from Lethbridge to the Carway-Piegan border crossing did little to inspire confidence, as I picked my way through thick fog all the way to Cardston. Here, the fog suddenly lifted and my vehicle became buffeted by a strong west wind. In the distance, I could see an ominously dark and menacing sky camped over Waterton and north Glacier. When the border guard asked me why I was travelling to the U.S., I pointed to the swirling mass over East Flattop Mountain, and remarked that I was going, “up there.” Chuckling, he said, “Well good luck with that, ’cause I think winter has arrived.”
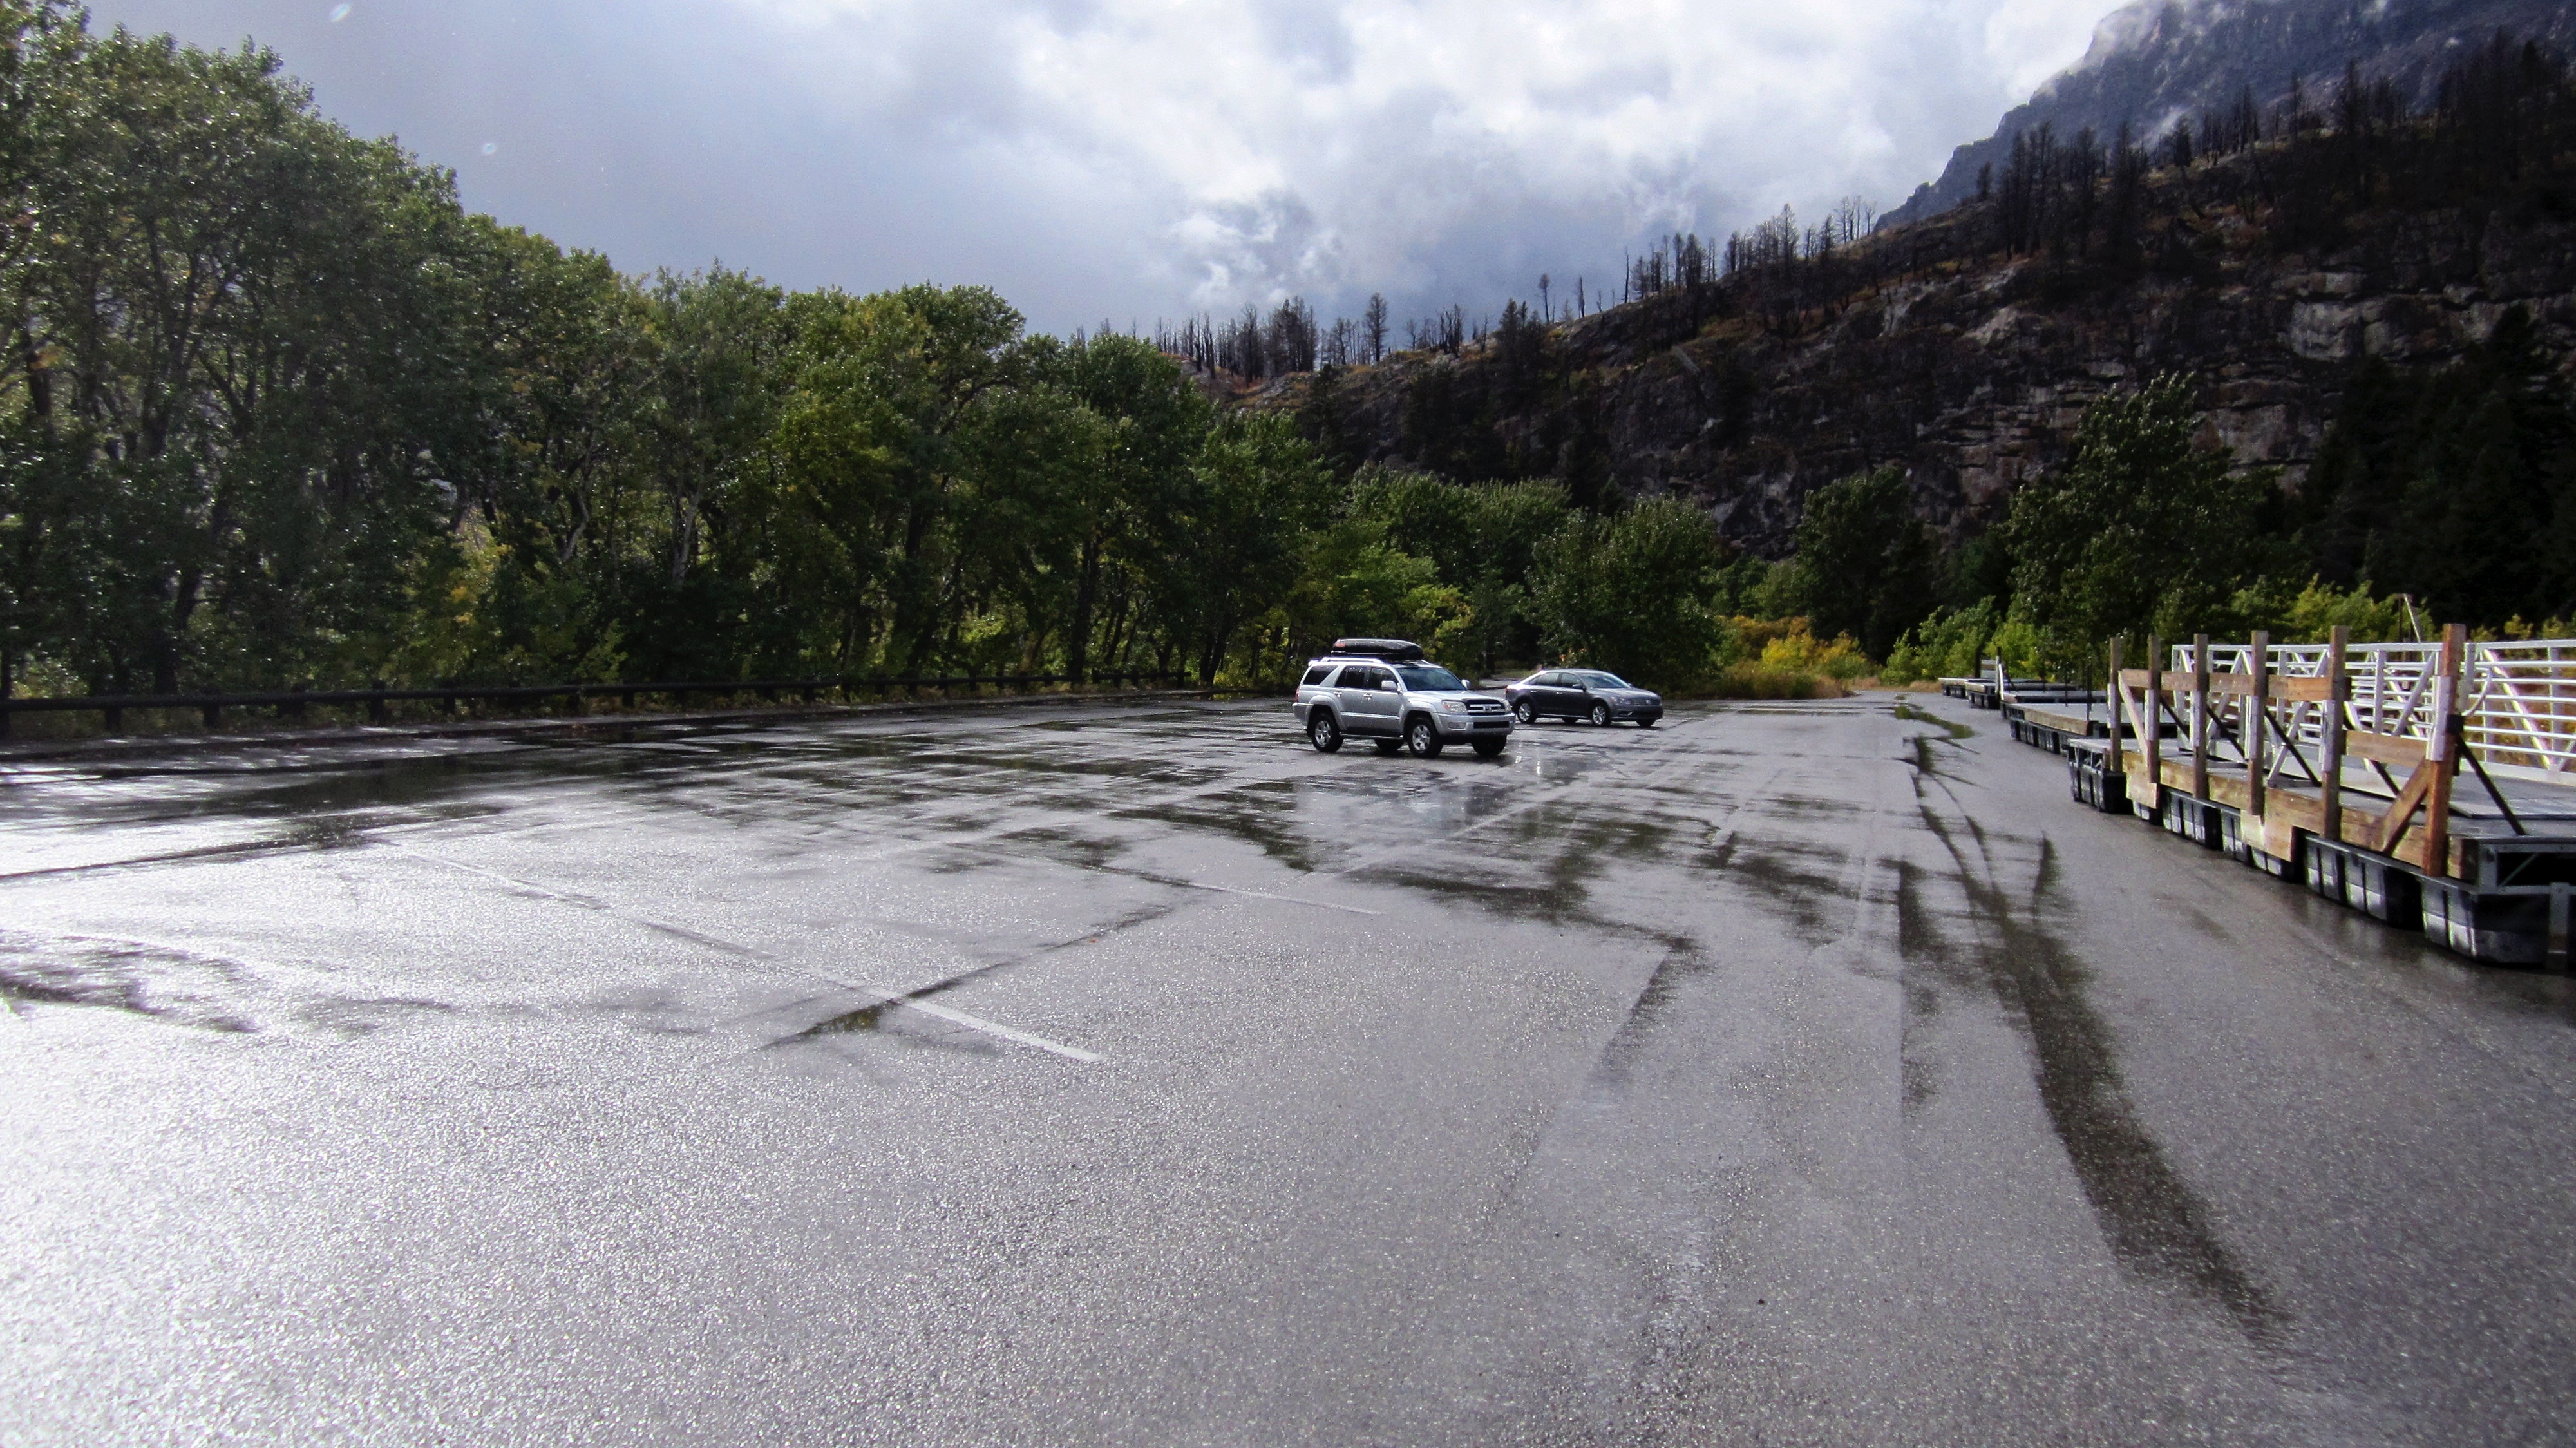
The rain began as soon as I entered the Park and after finding the Rising Sun Campground closed for the season, I parked across the road at the boat launch where I sat for 30 minutes deciding what to do. Fortunately, the rain began to dissipate and a small patch of blue sky emerged -which would end up being the pattern for the day. The really nasty weather seemed to hang like a pall over nearby Goat Mountain, lashing out occasionally across the valley. I could live with that.
I chose Otokomi after reading separate trip reports from 2013 by Sonny Bou and Bob Spirko, who in turn, got the idea from summitpost.org and J. Gordon Edwards’ A Climber’s Guide to Glacier National Park. Though I must say, Bob’s depiction of the ascent route as an “extensive and wholly unappealing talus slope, the beginning of a long, steep ascent with every rock skidding or wobbling underfoot,” motivated me to try and find another way up. So, while standing at the base of the talus slope, I decided to gamble on using the large gap that I could see in the cliffs above me. Not knowing if this route would work (though I’m sure it’s been done before and I just don’t know about it), I was delighted to ‘discover’ a way up the mountain that combined some fun scrambling with great views – when the weather permitted. Unfortunately, though I had planned on continuing on to nearby East Flattop Mountain after summiting Otokomi, my apprehension regarding the stability of the weather made me choose to descend, which ended up being a wise decision as just prior to reaching the trail, the sky grew suddenly dark and a heavy rain began that followed me all the way back to the trailhead.
According to summitpost.org, the mountain was named, “by G. B. Grinnell for Otokomi (Yellowfish), a part Blackfeet Indian who accompanied Grinnell on his early expeditions into this region. Otokomi’s English name was Rose, so Roes Basin and Roes Creek nearby resulted from a misspelling of his name. Early topographers sometimes called this mountain “Whitefish” Mountain probably an erroneous translation of “Otokomi.”
In the end, this was a good trip and I feel thankful that I was able to exploit a window in the weather to at least get Otokomi under my belt. I was shocked when I looked at my time when I got back to the trailhead and saw that I had completed the entire 10.7 km trip in only 4 hours and 6 minutes! I knew I had deliberately set a quick pace because of the weather, but I wasn’t expecting it to be that quick, as it seemed so much longer given the rather tedious hike from the first false summit to the actual summit. Hmmm, maybe this is why my body seemed unusually achy at the end of the day – though this was easily remedied by a good soak in the hot tub. 🙂

To get to Otokomi Mountain from Lethbridge, drive south to the Saint Mary entrance to GNP and follow the Going-To-The-Sun Road for ~9km until you reach the turnoff for the Rising Sun Campground and Cabins. The Rose Creek trailhead begins next to the campground’s store, however, on this day, the entire campground was closed for the season and I ended up having to park ~400m down the road at the boat launch.
Shortly after starting, the trail comes to a junction where the Rose Creek trail continues to the left (signed). I followed the trail for ~2.1km (from the trailhead) until I came to the hairpin bend described by Sonny. Here, I left the trail and proceeded to climb the slope located to my right. This led to the crest of a small spur that I followed through the trees to the start of a steep talus slope. In total it was ~400m from the trail to the beginning of the talus slope.

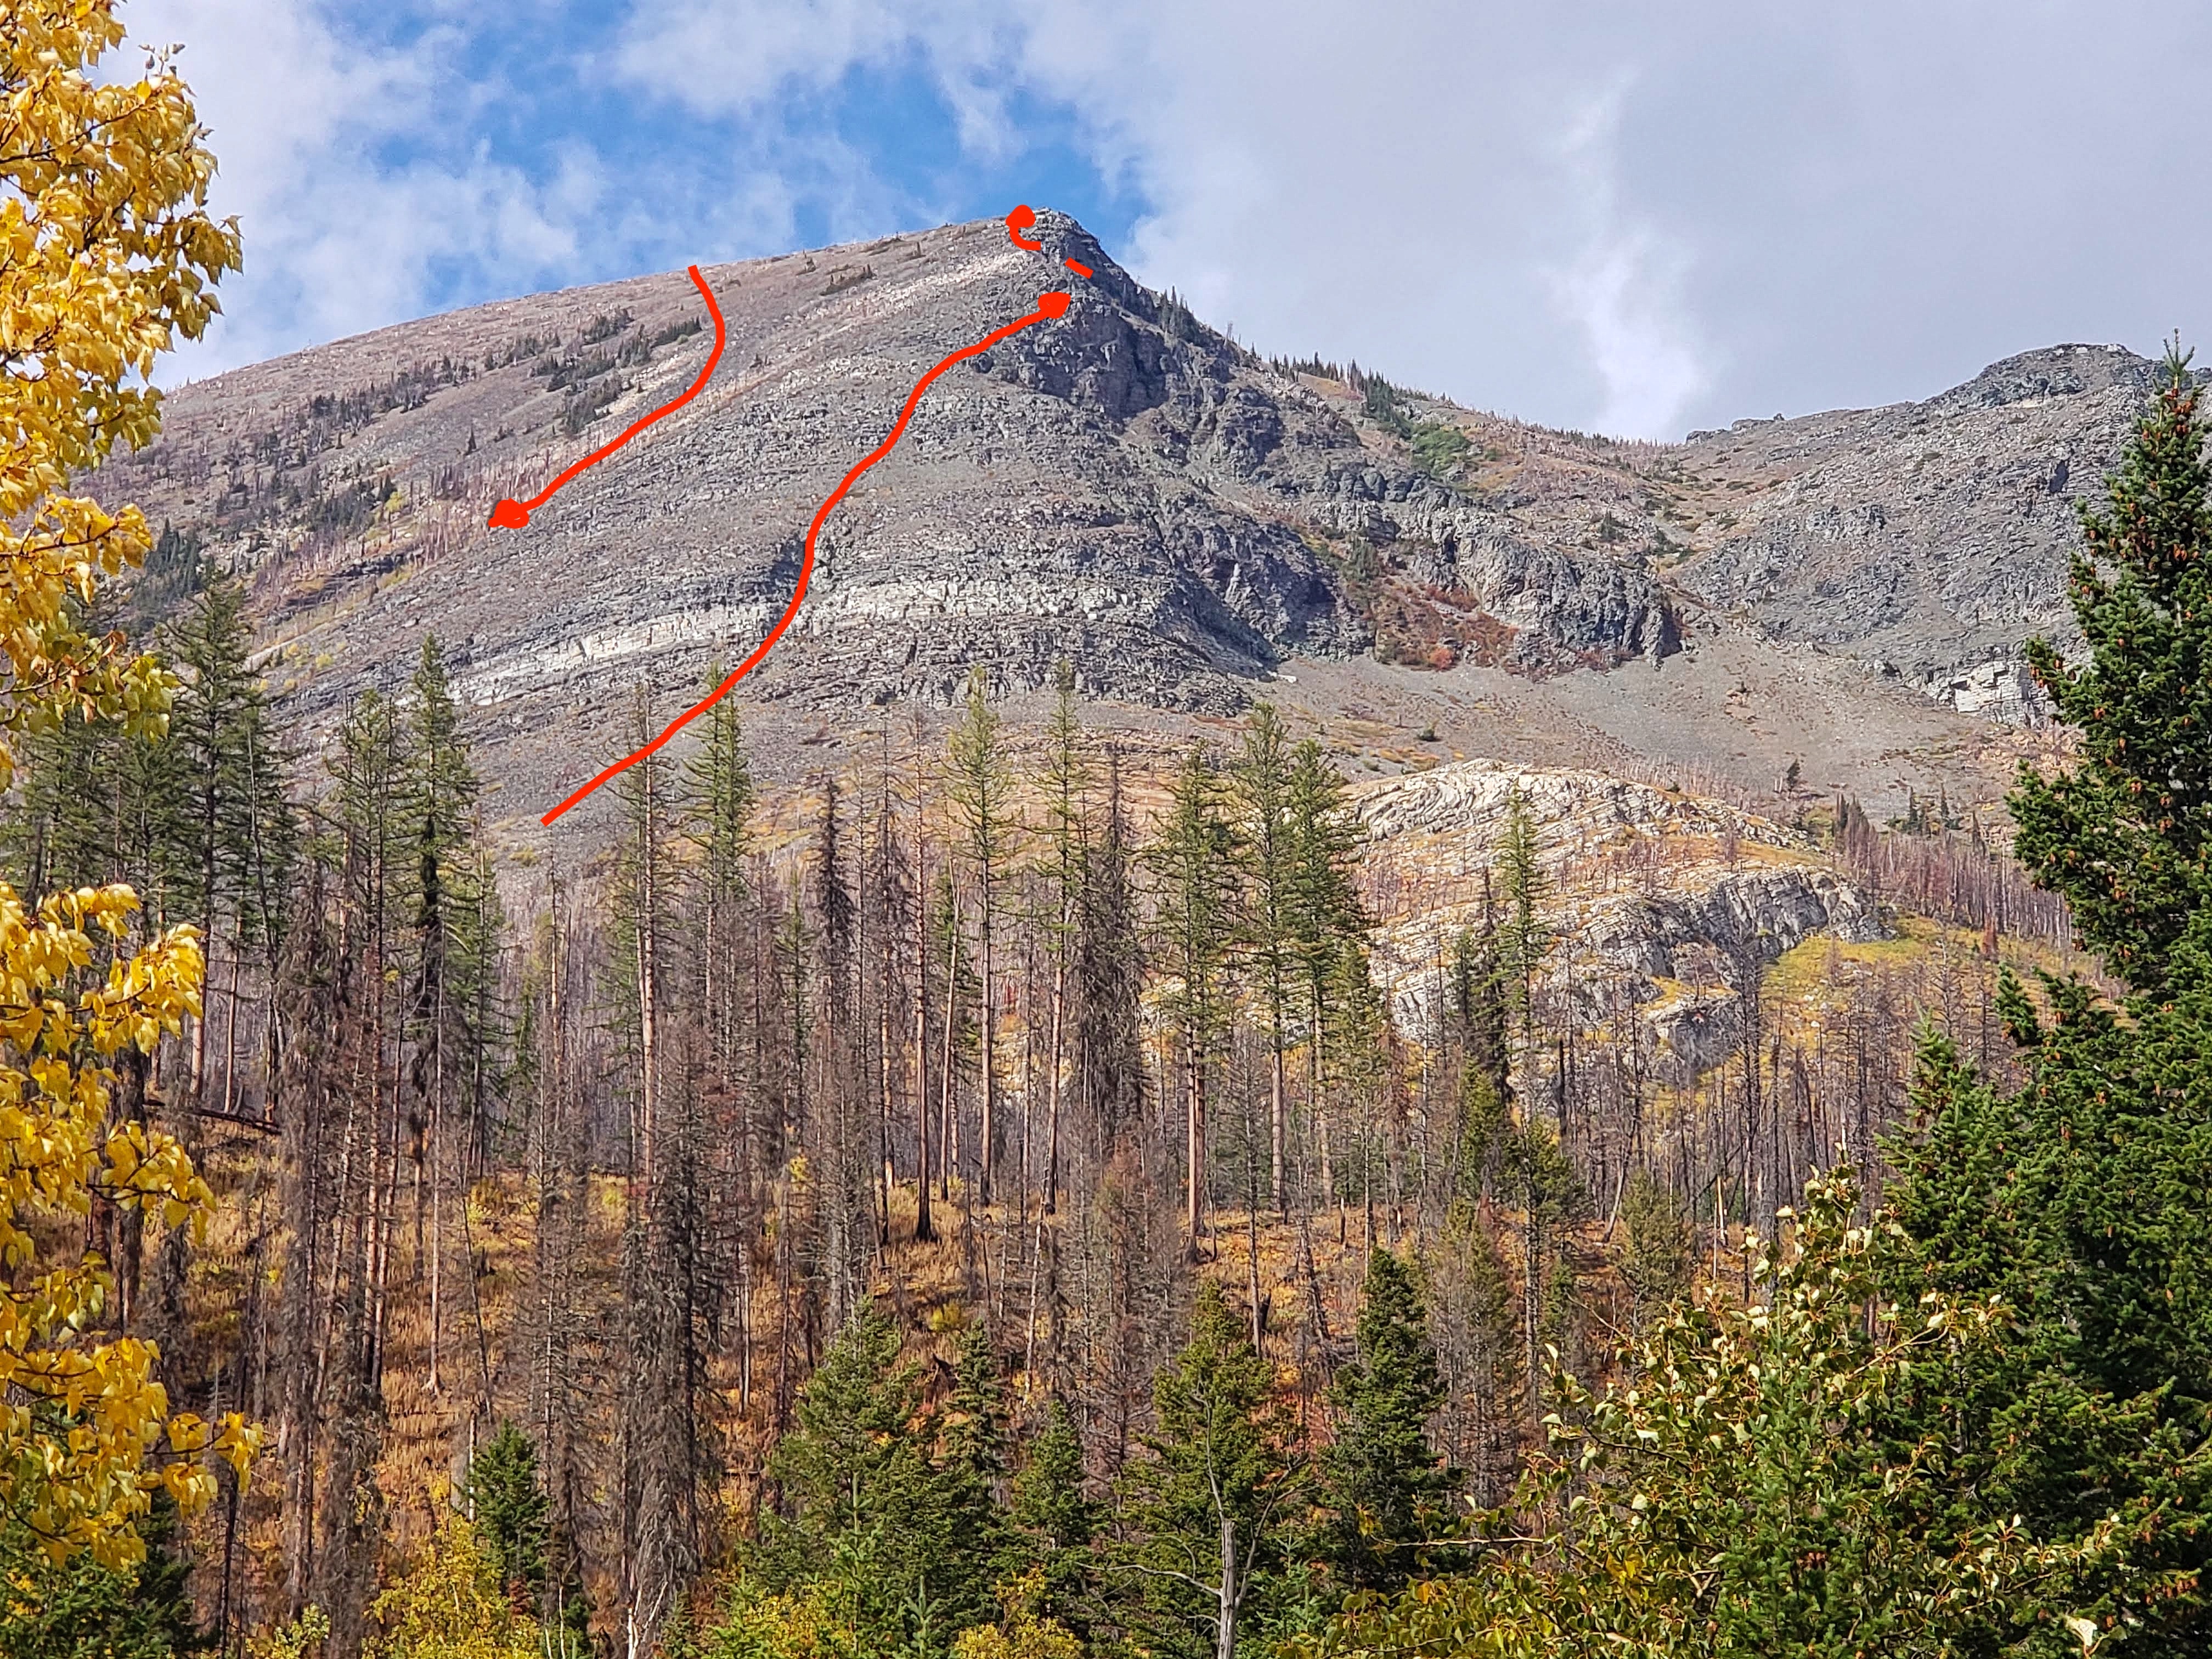
Instead of ascending the slope to climber’s left to avoid the large cliff band as per the other route descriptions, I decided to explore whether I could scramble up what looked to be a large gap in the cliffs (green line on the right). To my delight, it turned out to be an easily scrambled gully that took me up to another set of cliffs. Here, I found another easily negotiated weakness that led me the upper section of the first false summit. Not wanting to have my scrambling for the day come to a conclusion – and wanting further relief from the wind – I proceeded to trend climber’s right and found myself on the mountain’s southeast face, where I encountered no problems in finding a safe scrambling route to the apex of the first false summit. In total, it was approximately ~940m from the start of the talus slope at tree line, to the top of the first false summit. I highly recommend taking this route!
From the first false summit, the fun was over and it became a tedious ~650m hike to reach the top of the more benign second false summit, followed by another ~450m walk to reach a third false summit that is identified by the presence of a large cairn. From the third false summit it was another ~500m walk to reach the actual summit which sits above the connecting col to East Flattop Mountain. With a wicked wind whipping me with snow, I had a short and less than pleasant stay on the summit. I descended using the ascent route described by Bob and Sonny (green line on the left) and immediately could see that I made the right choice by avoiding it on the way up. Yuck! To make matters a little worse, the wet lichen that covered the rocks, made for some interesting moments… Once back at the start of the talus slope, I returned the same way.

From the trailhead, my total roundtrip distance was 10.7km with the actual summit being located close to the 5.5km mark. Total elevation gains were 1089m and I completely the entire trip in a rather speedy, 4 hours and 6 minutes.

The Rose Creek trailhead is well marked and easy to locate. As the campground was closed for the season, I had the entire trail and mountain to myself.

Looking towards Otokomi Mountain from the trailhead, though only the first false summit can be seen (centre). For reference, the campground’s store is located on the right.

Shortly after starting, and just beyond the last set of buildings next to the trail, I encountered a junction where a clearly marked sign directed me to turn left.
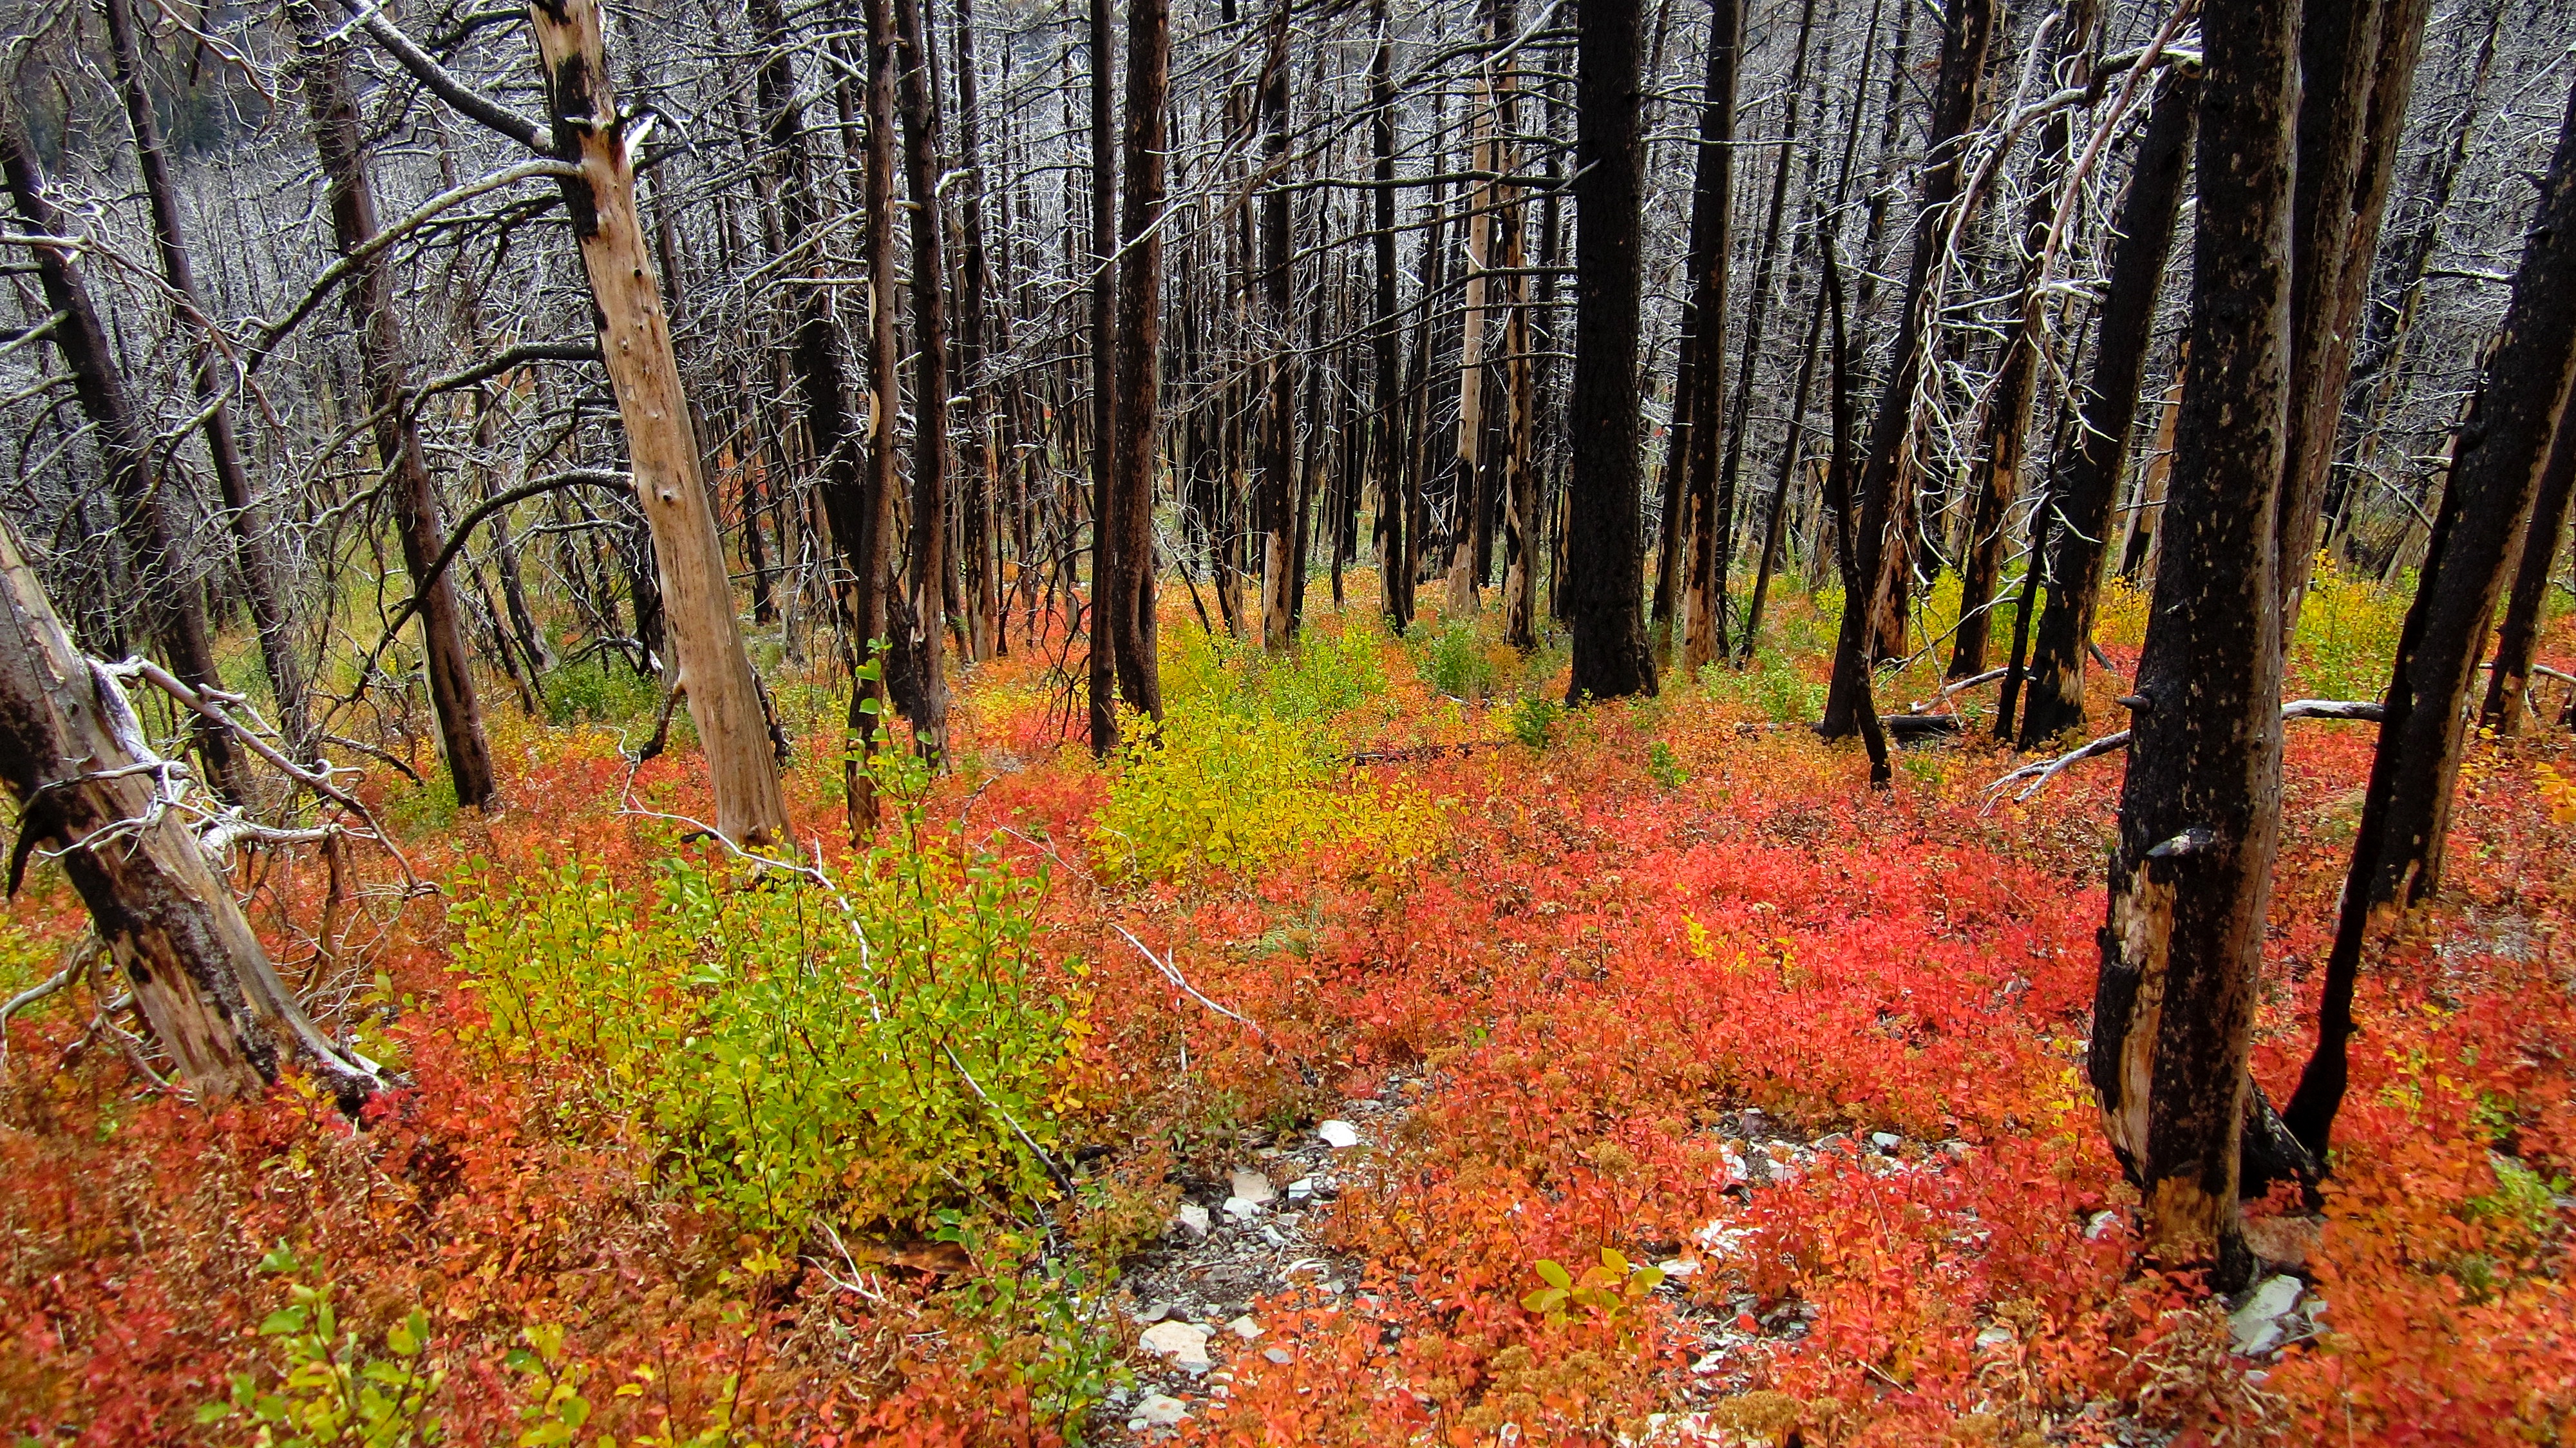
In July 2015, the Reynolds Creek fire burned much of the surrounding forest.
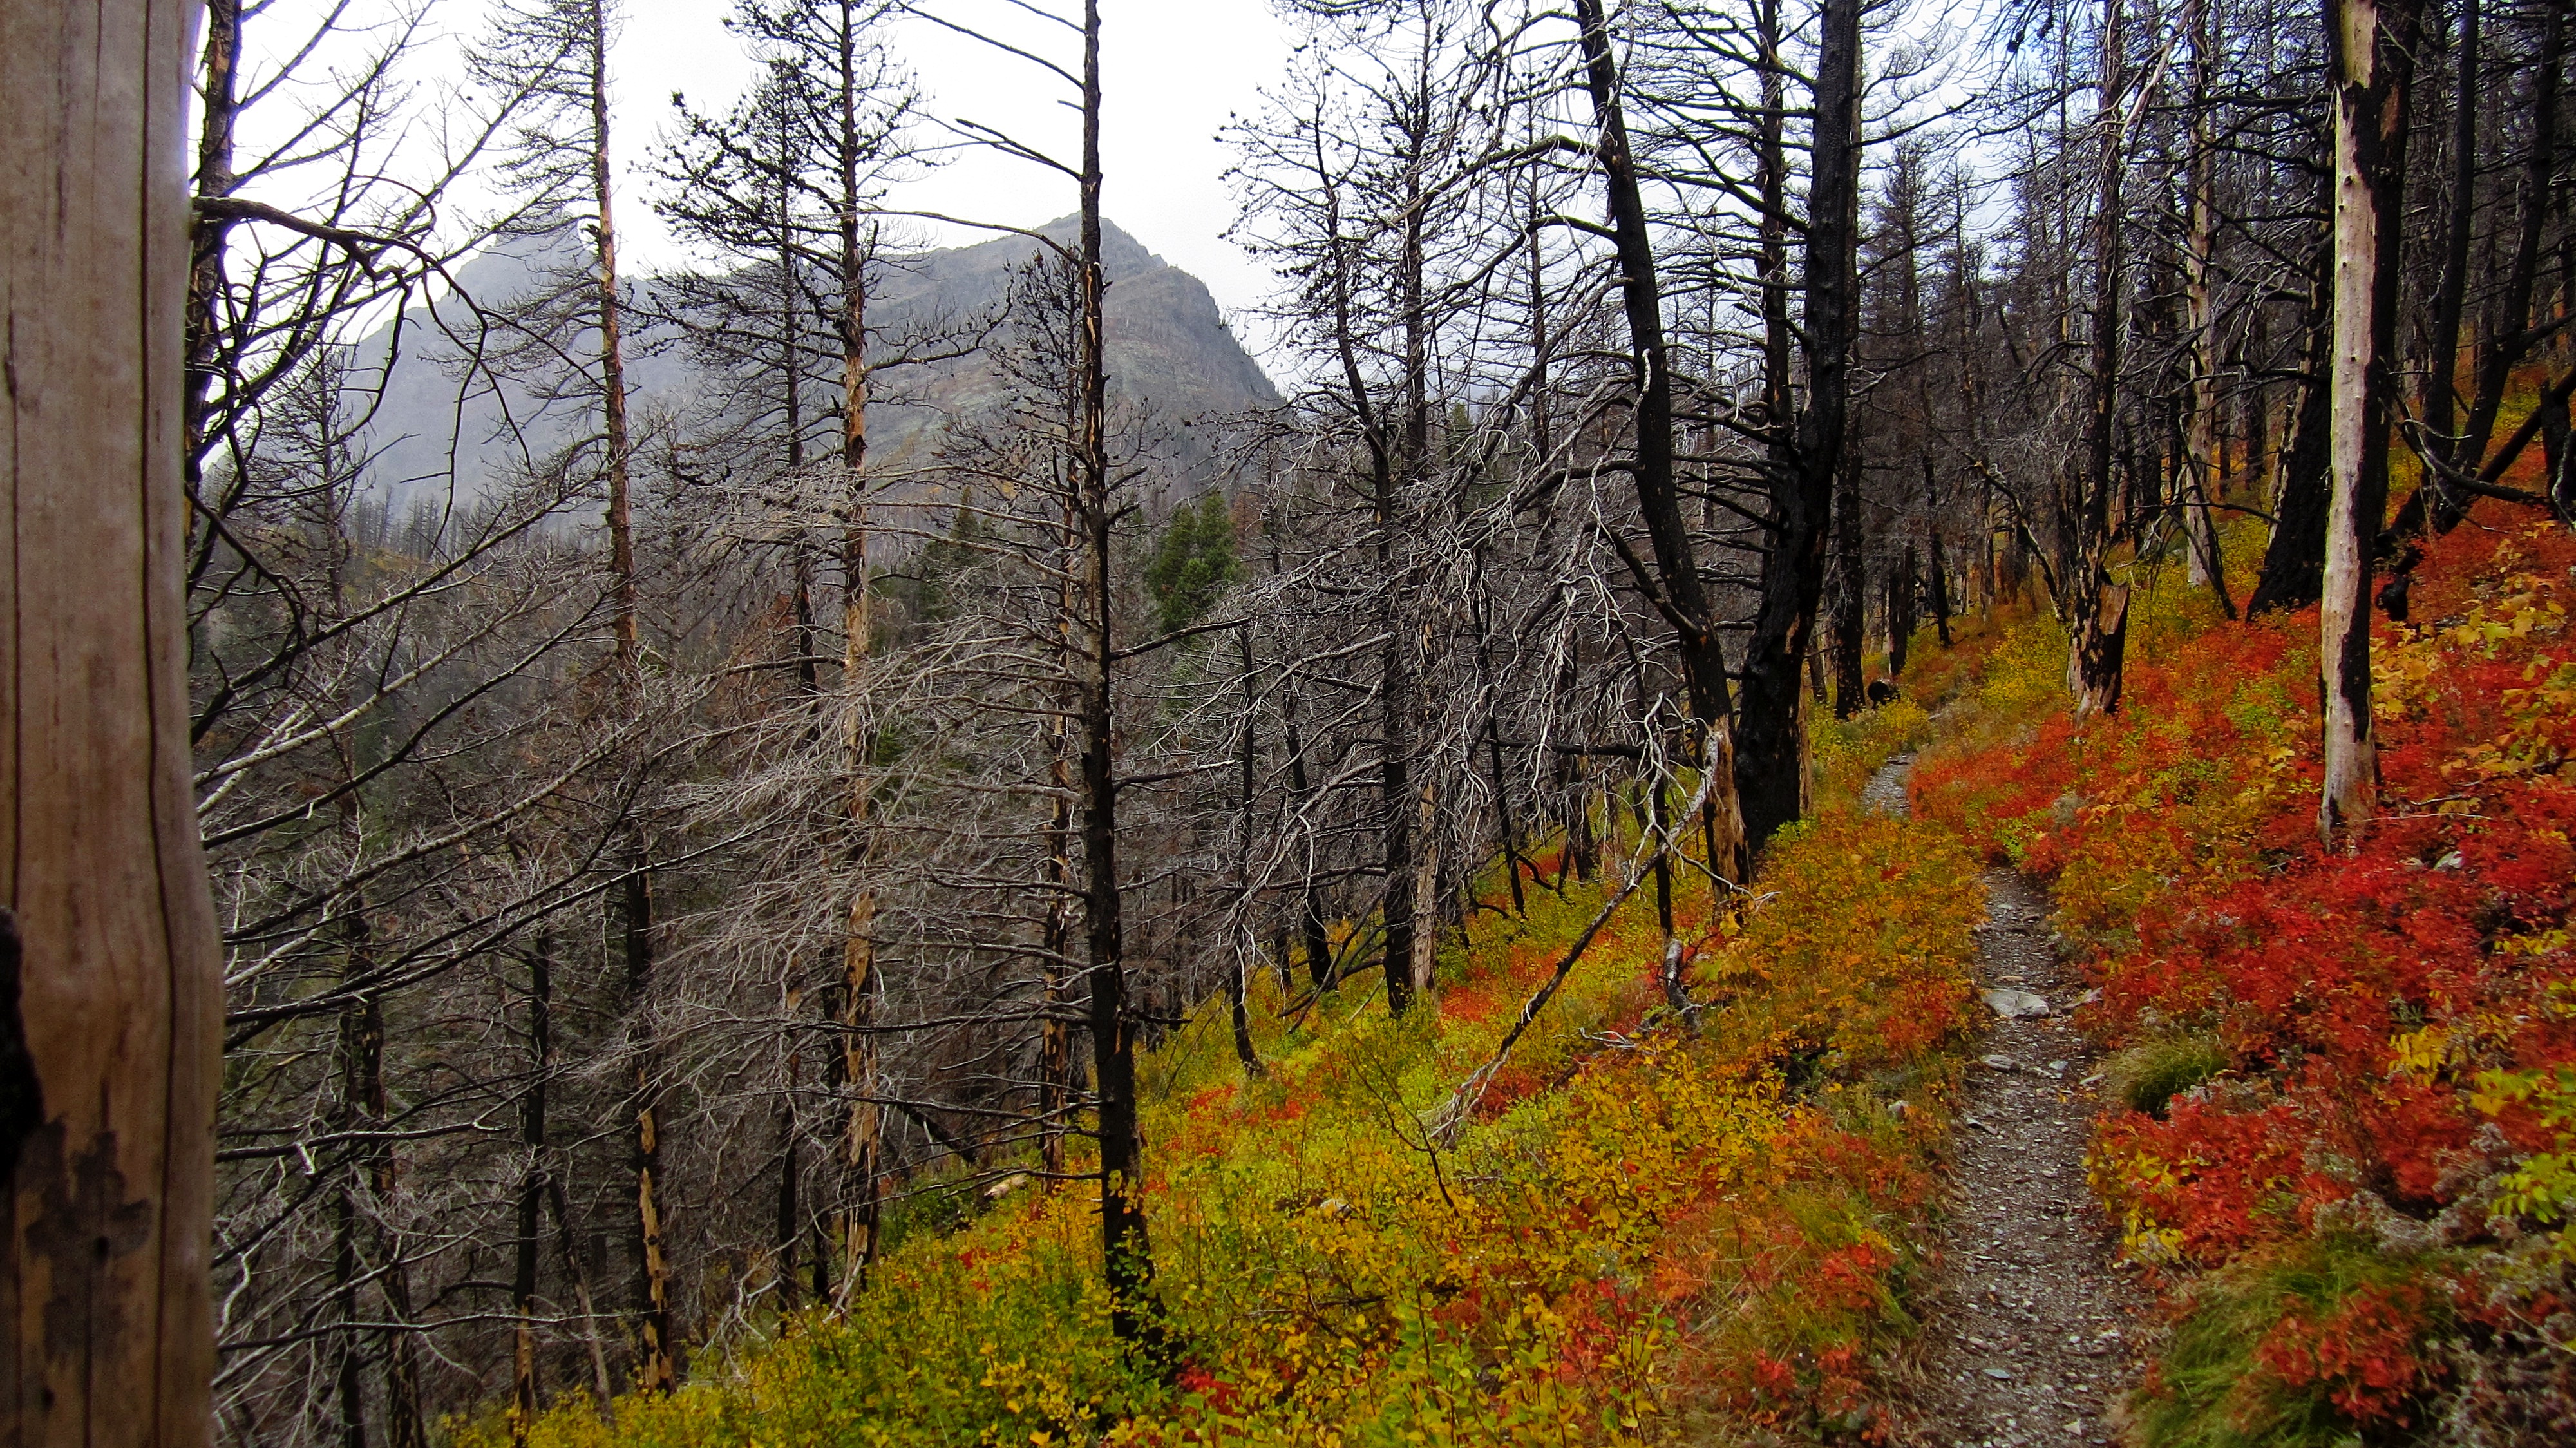
An image of rebirth: a blazing carpet of vegetation adorns the forest floor.

Approximately 2.1km from the trailhead, I came to the hairpin bend described by Sonny and Bob. I then headed up the faint trail the can be seen on the far right, though it only lasts a few metres before it disappears.

Looking back towards the trail from side of the spur.
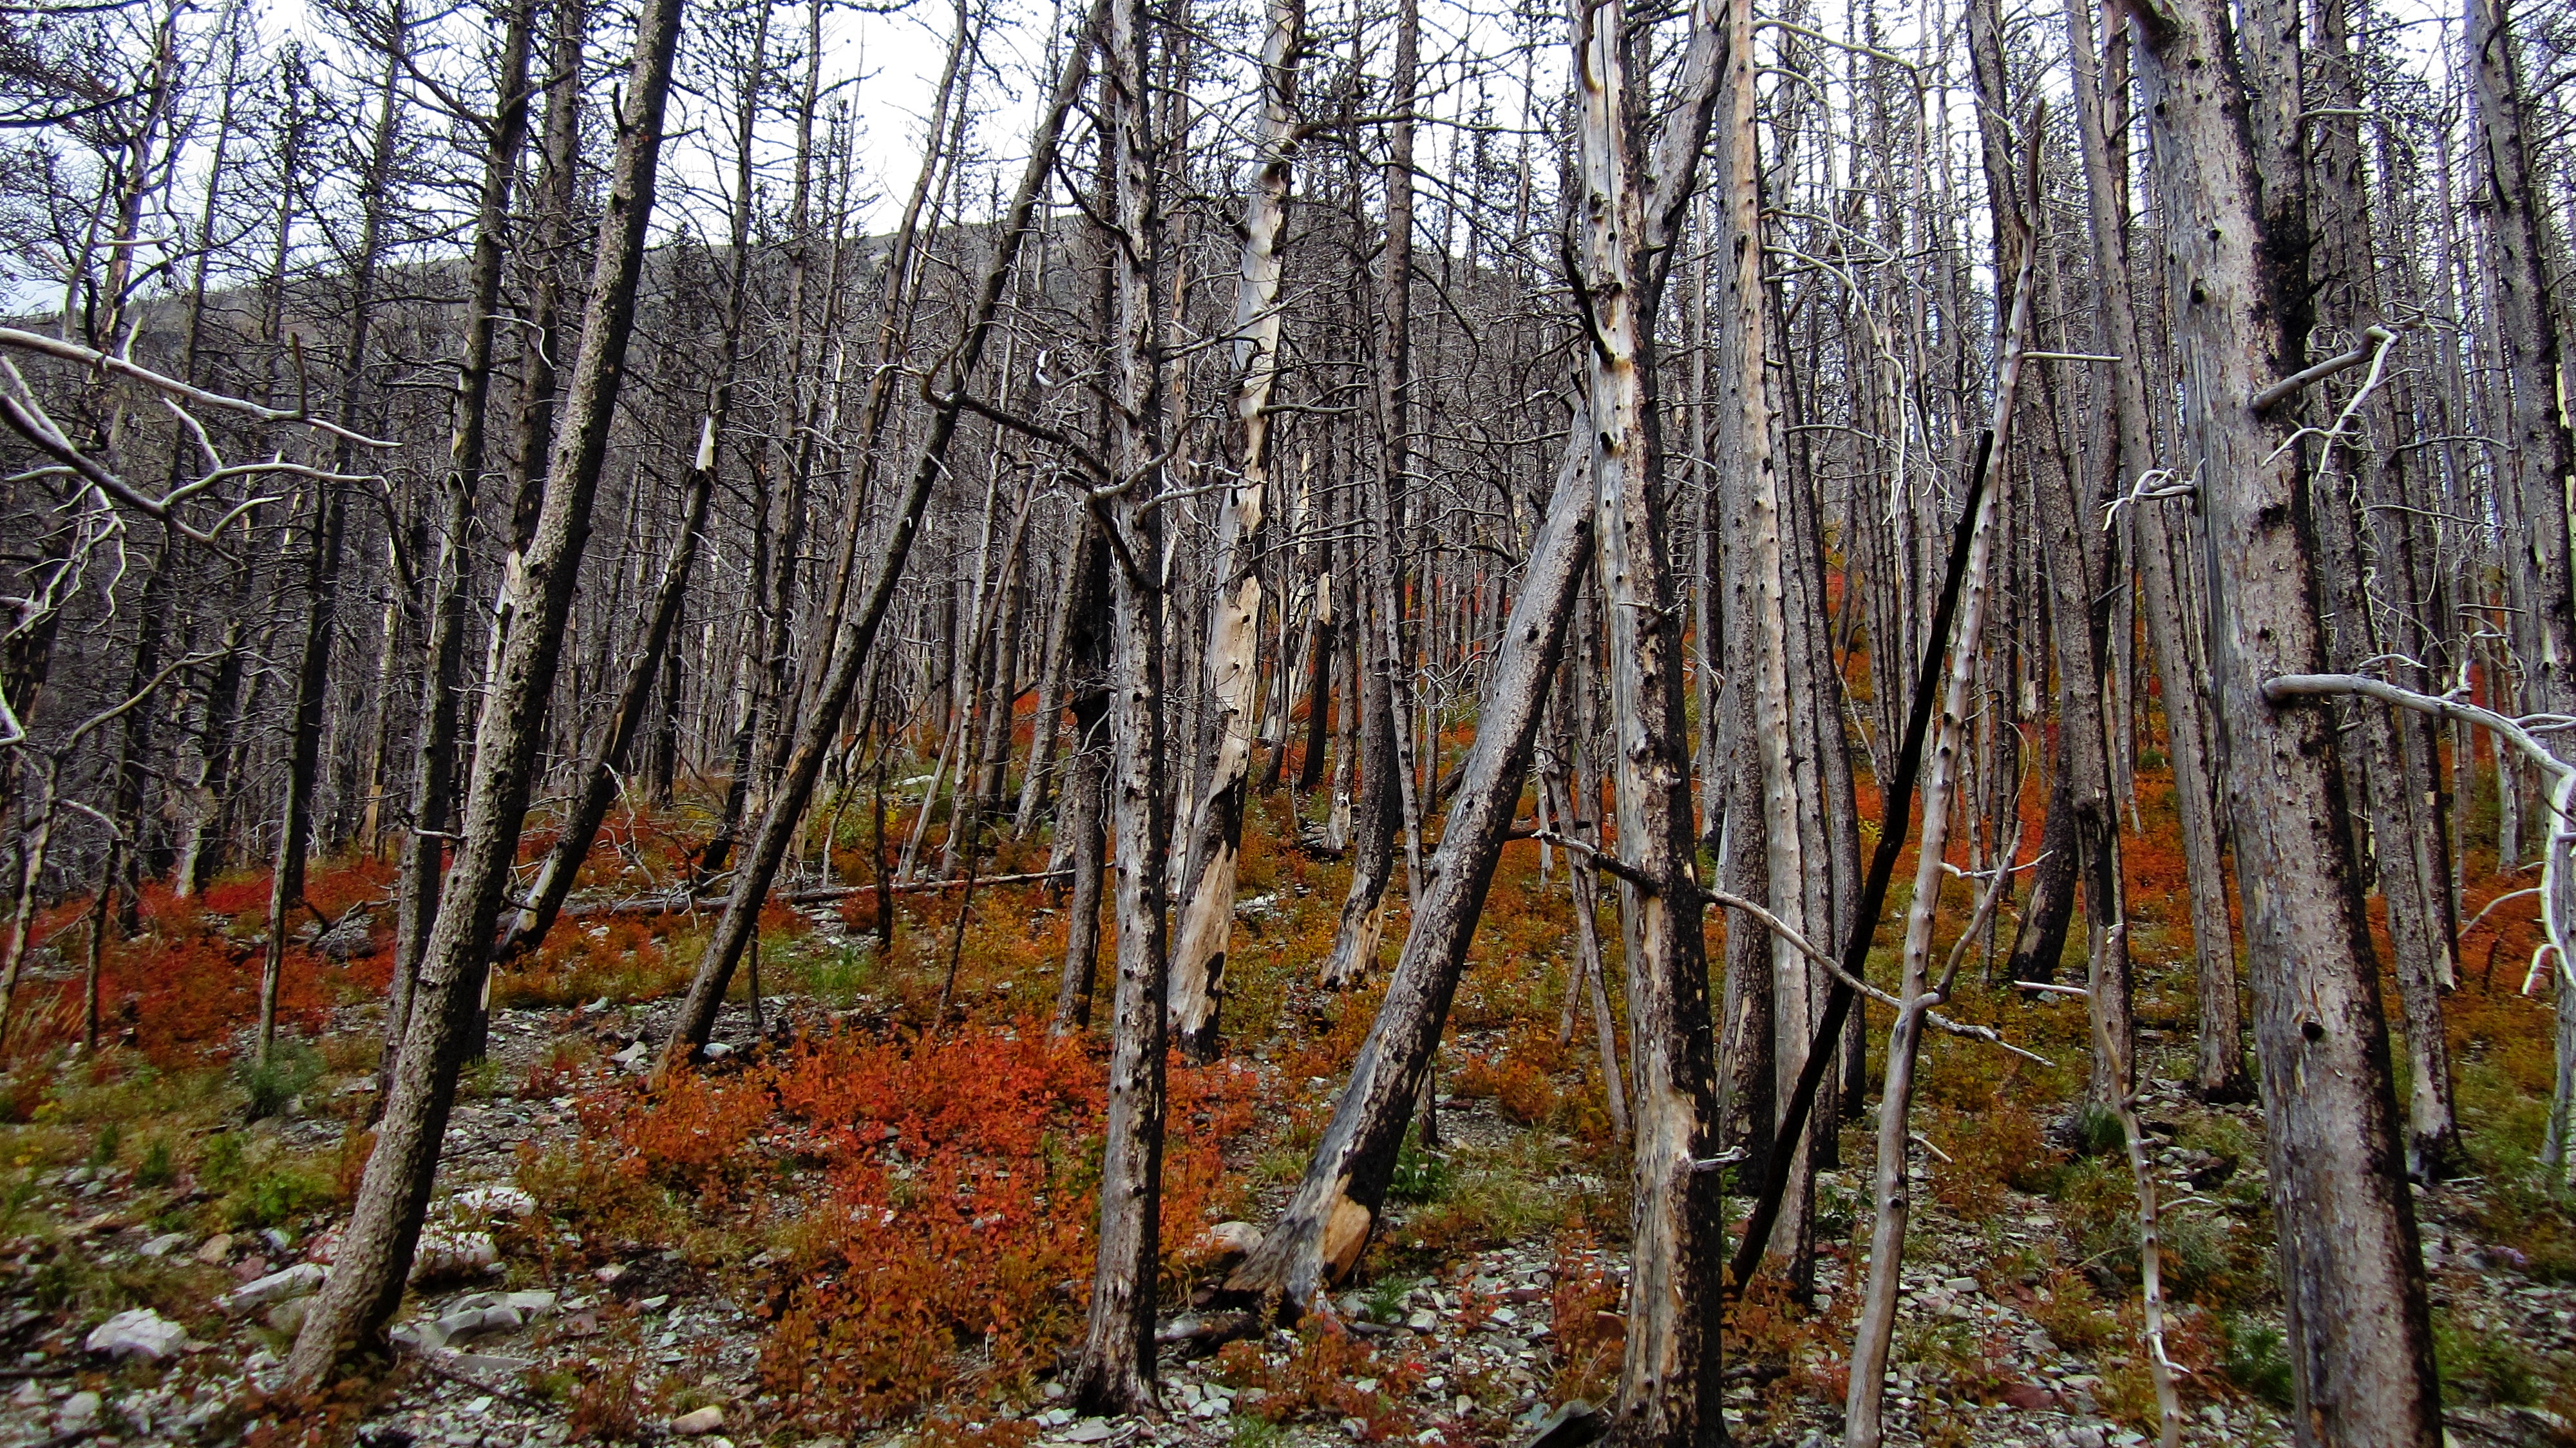
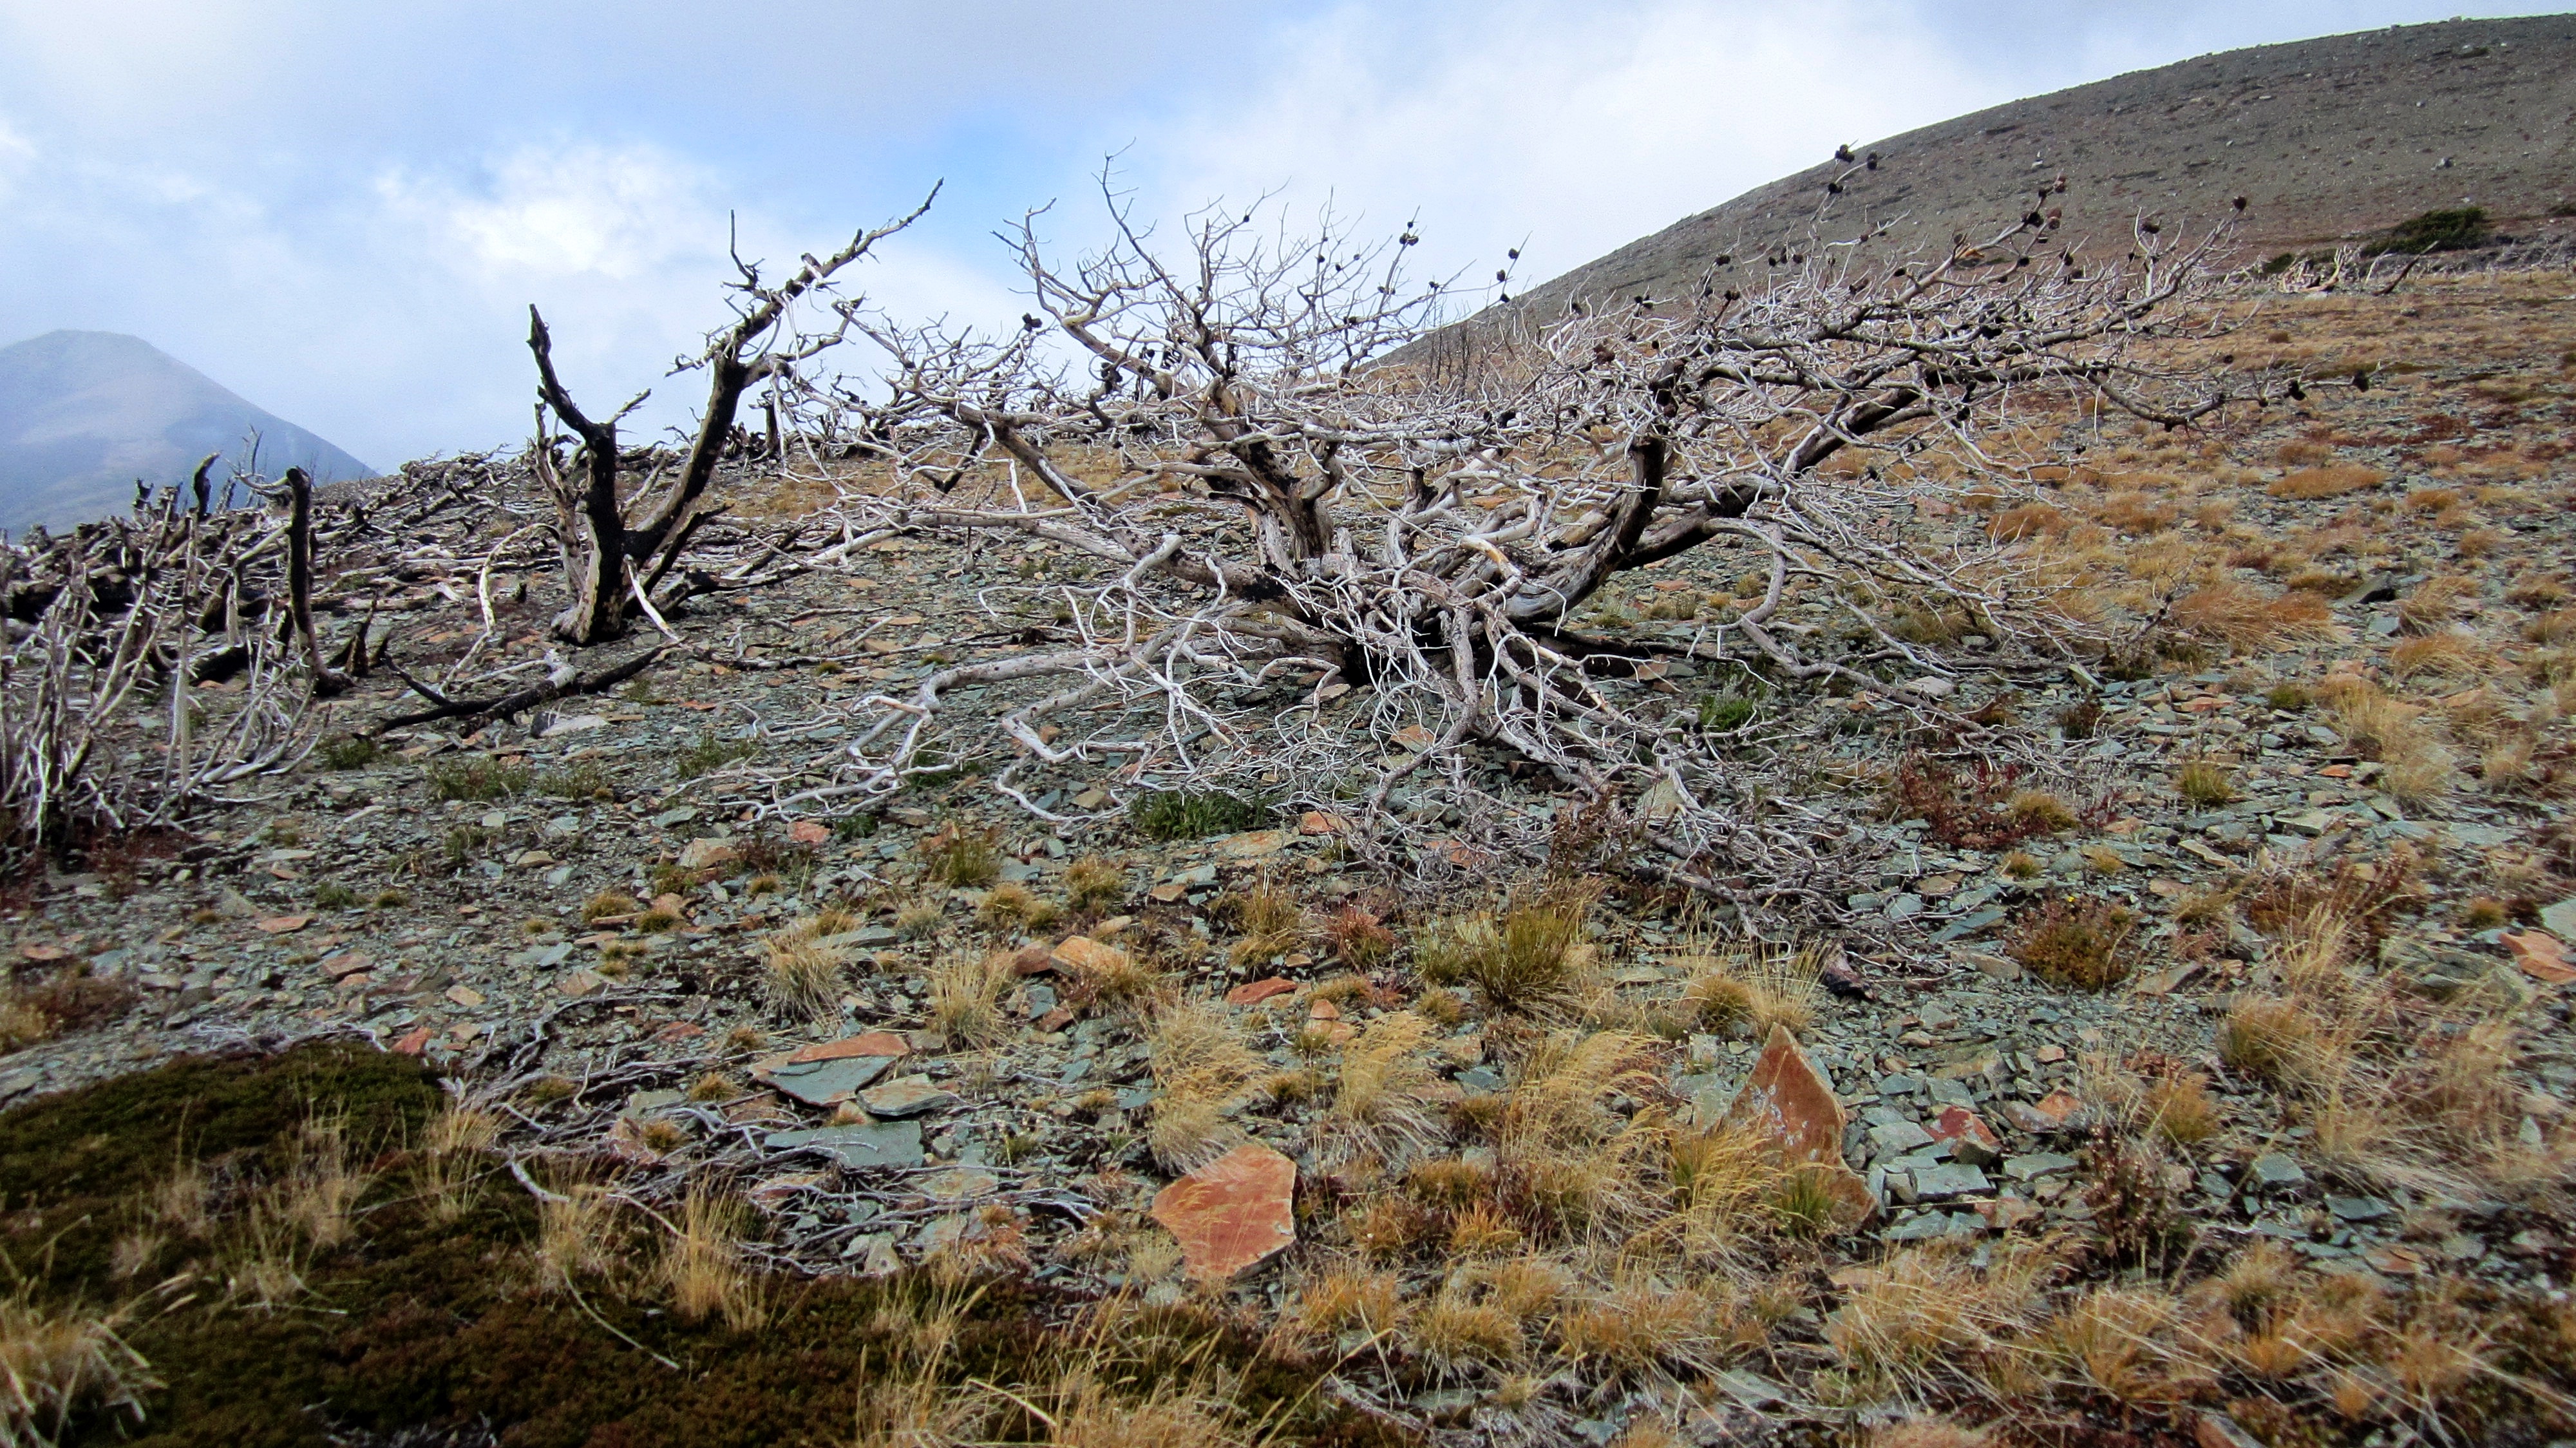
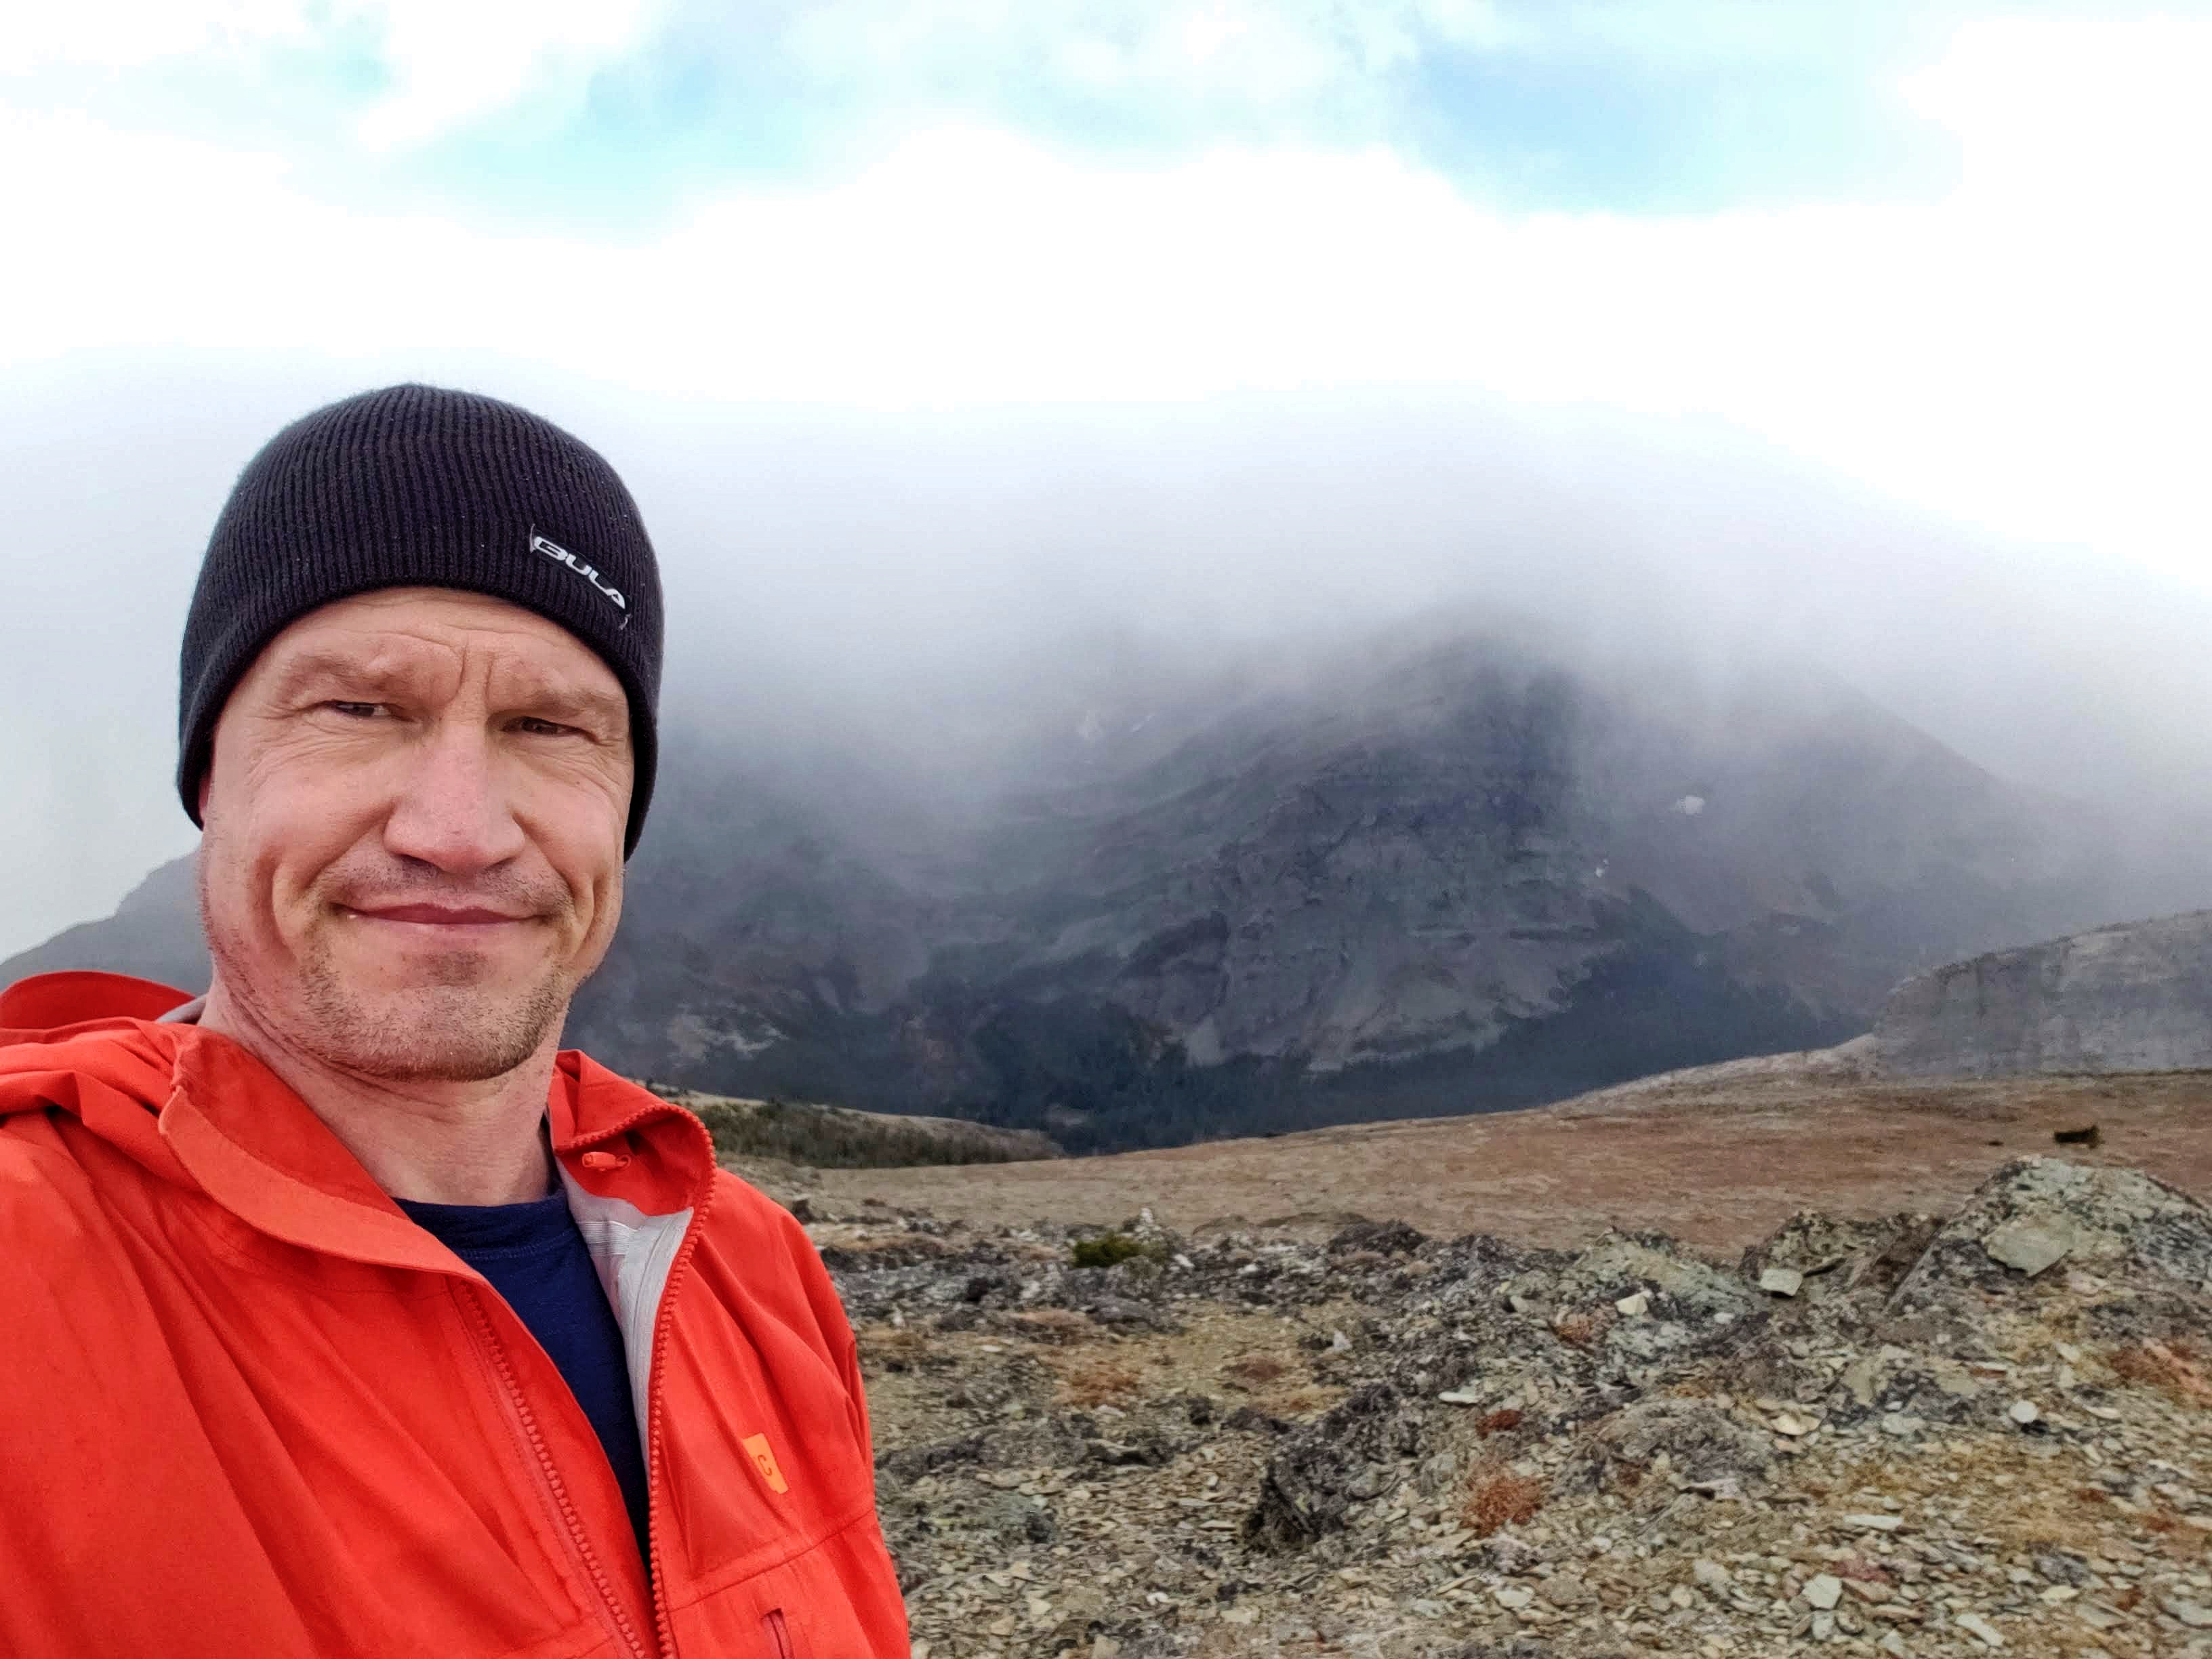
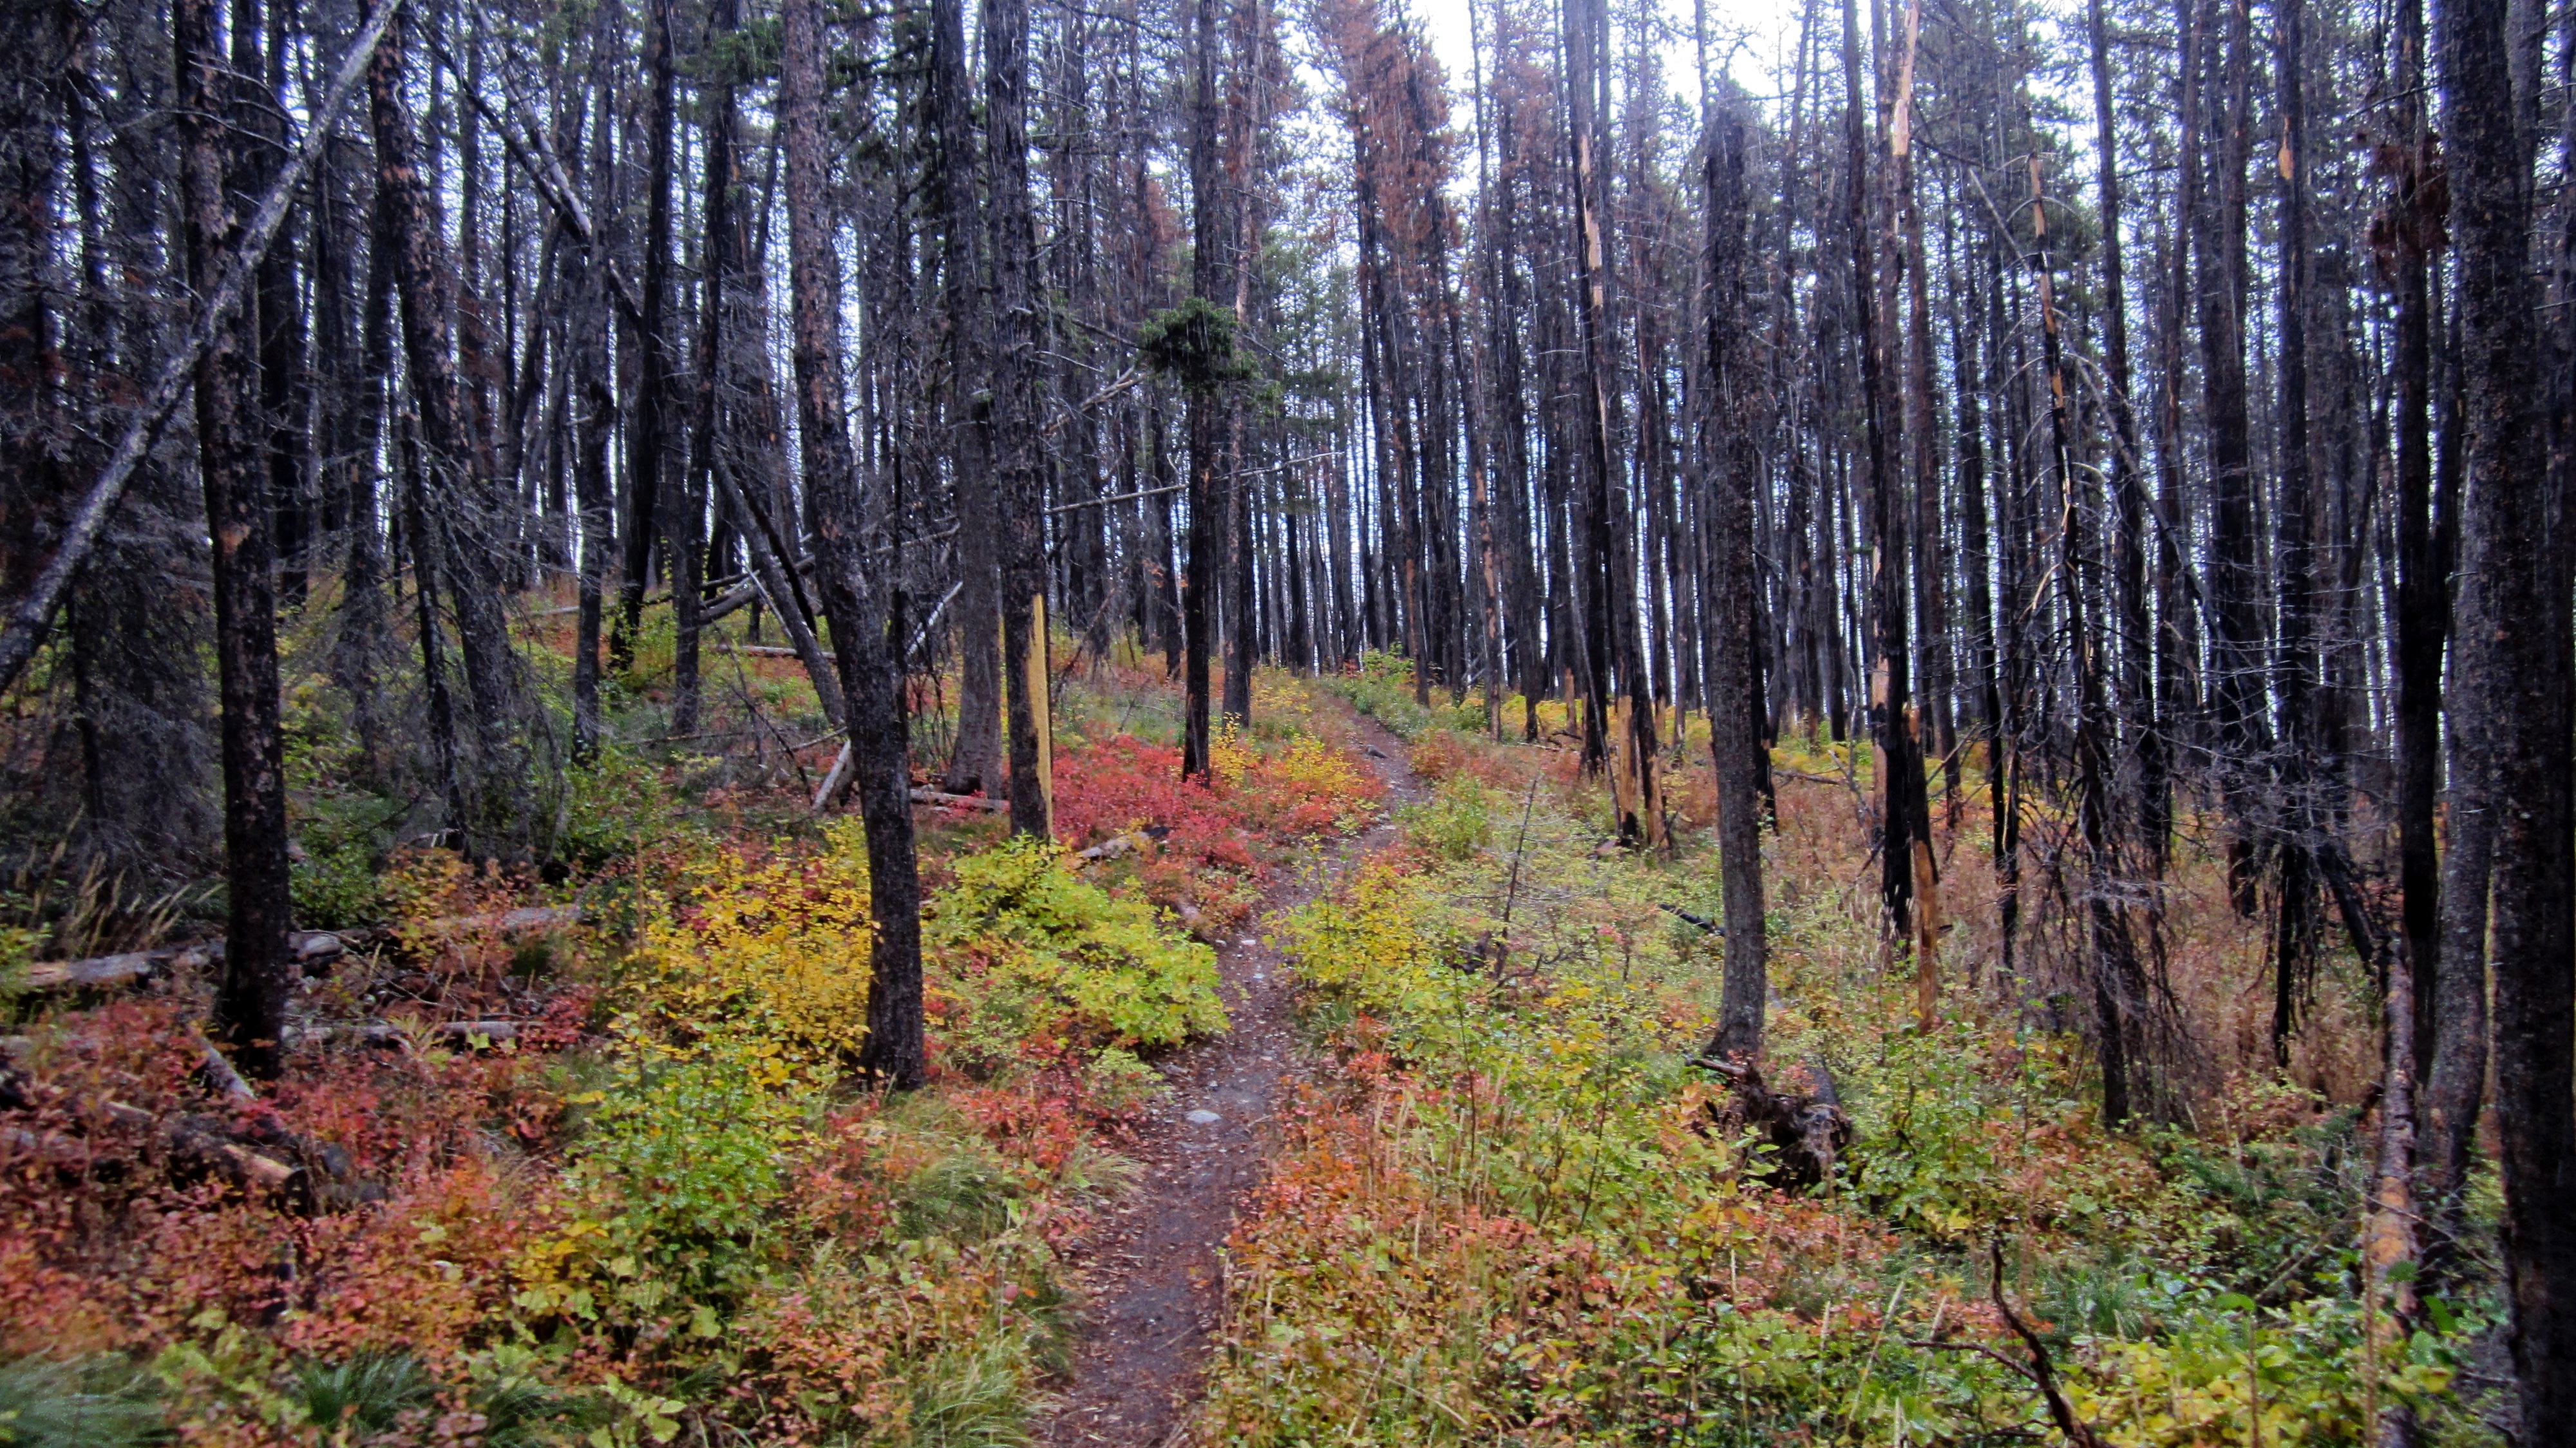
Once on the crest of the spur, it was merely a matter of weaving in and around burned trees to reach the open talus slope. I managed to not get any soot on my bright orange jacket until I was on my way back, when I inadvertently brushed up against a tree that left long black streaks on my arm and shoulder. Fortunately, I didn’t see anyone who may have thought I was an escapee from the halloween store… 😉

After hiking for ~400m from the point where I left the trail, I arrived at the base of a steep talus slope – emphasis on the word ‘steep’. While the route used by others avoids the cliffs by heading to climber’s left (my descent route as marked), I decided to try and find a scrambling route by heading towards what looked like a large gap in the cliffs above me (upper right).

Drawing closer to the gap and not knowing if it would be usable.

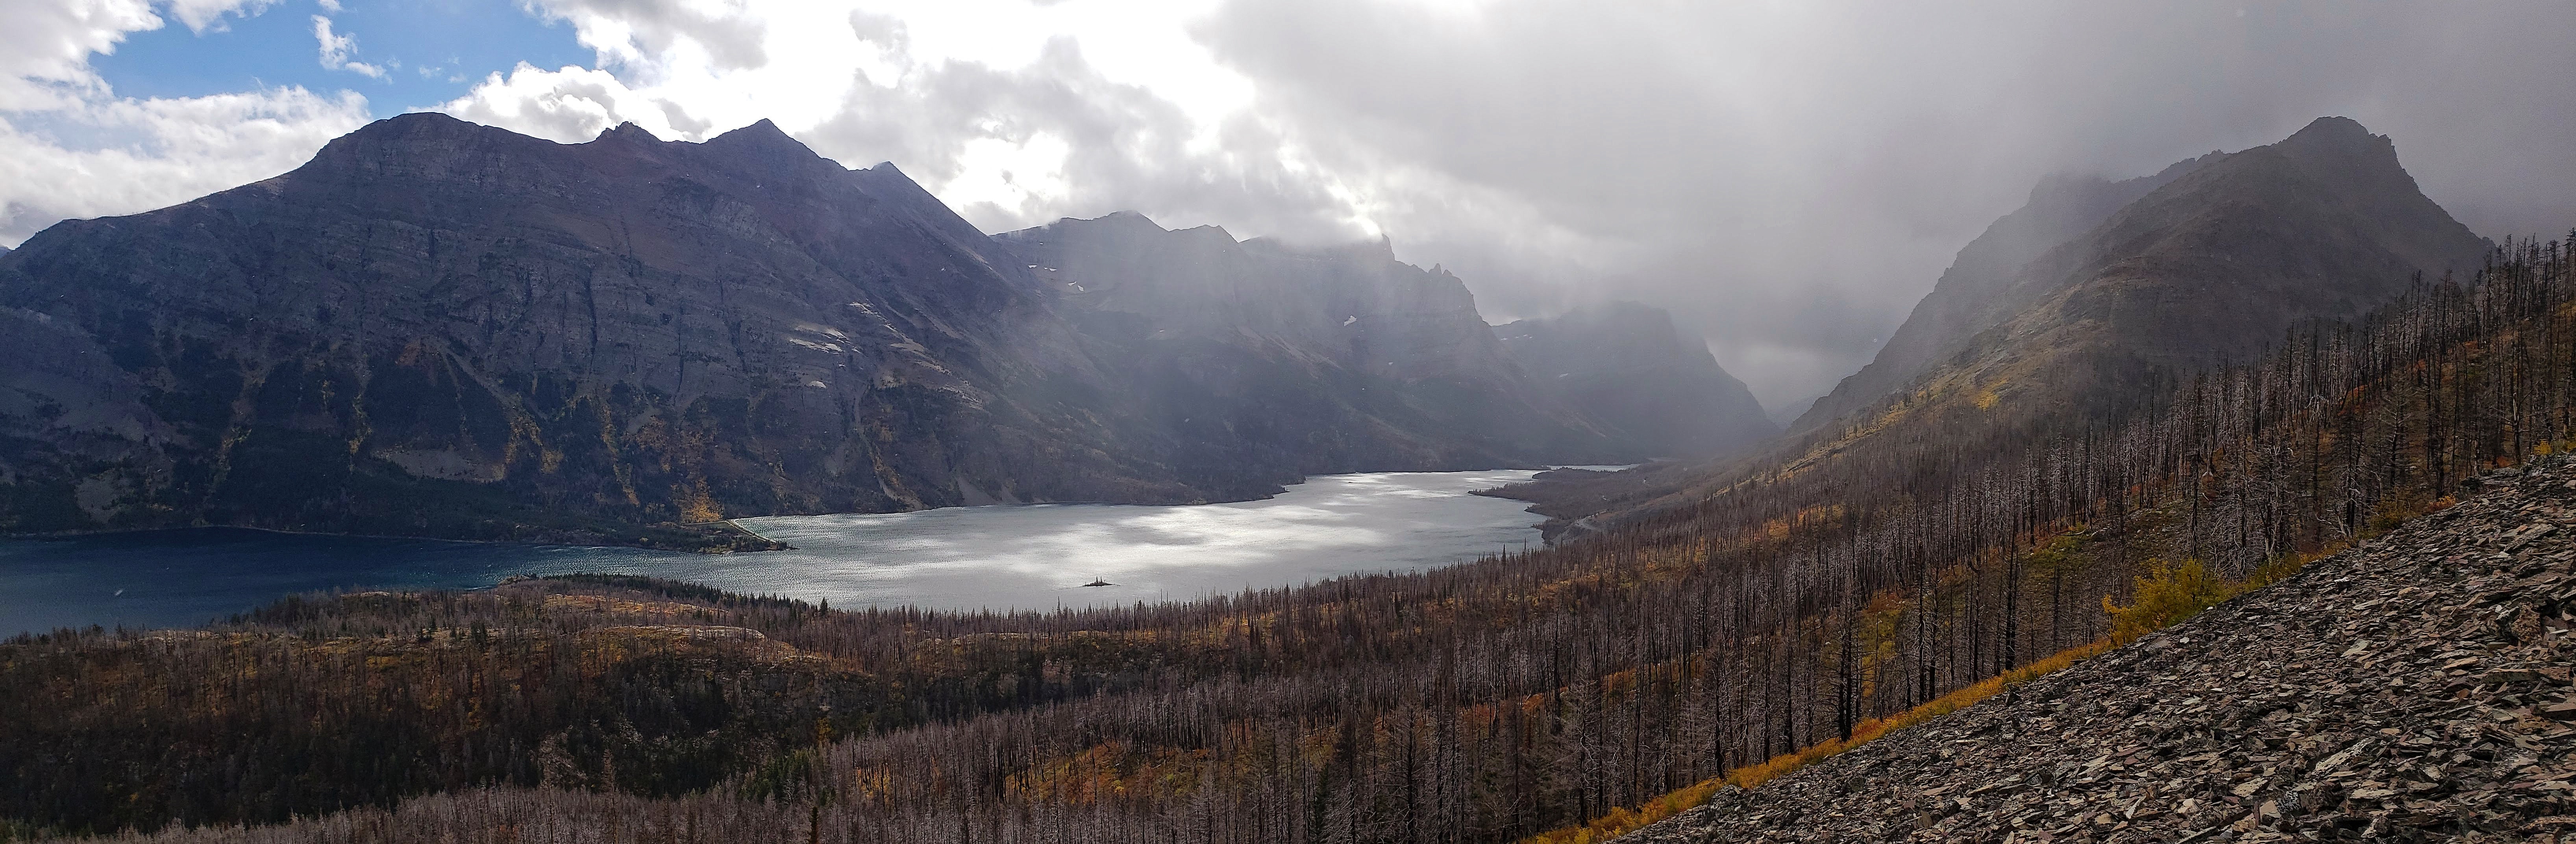
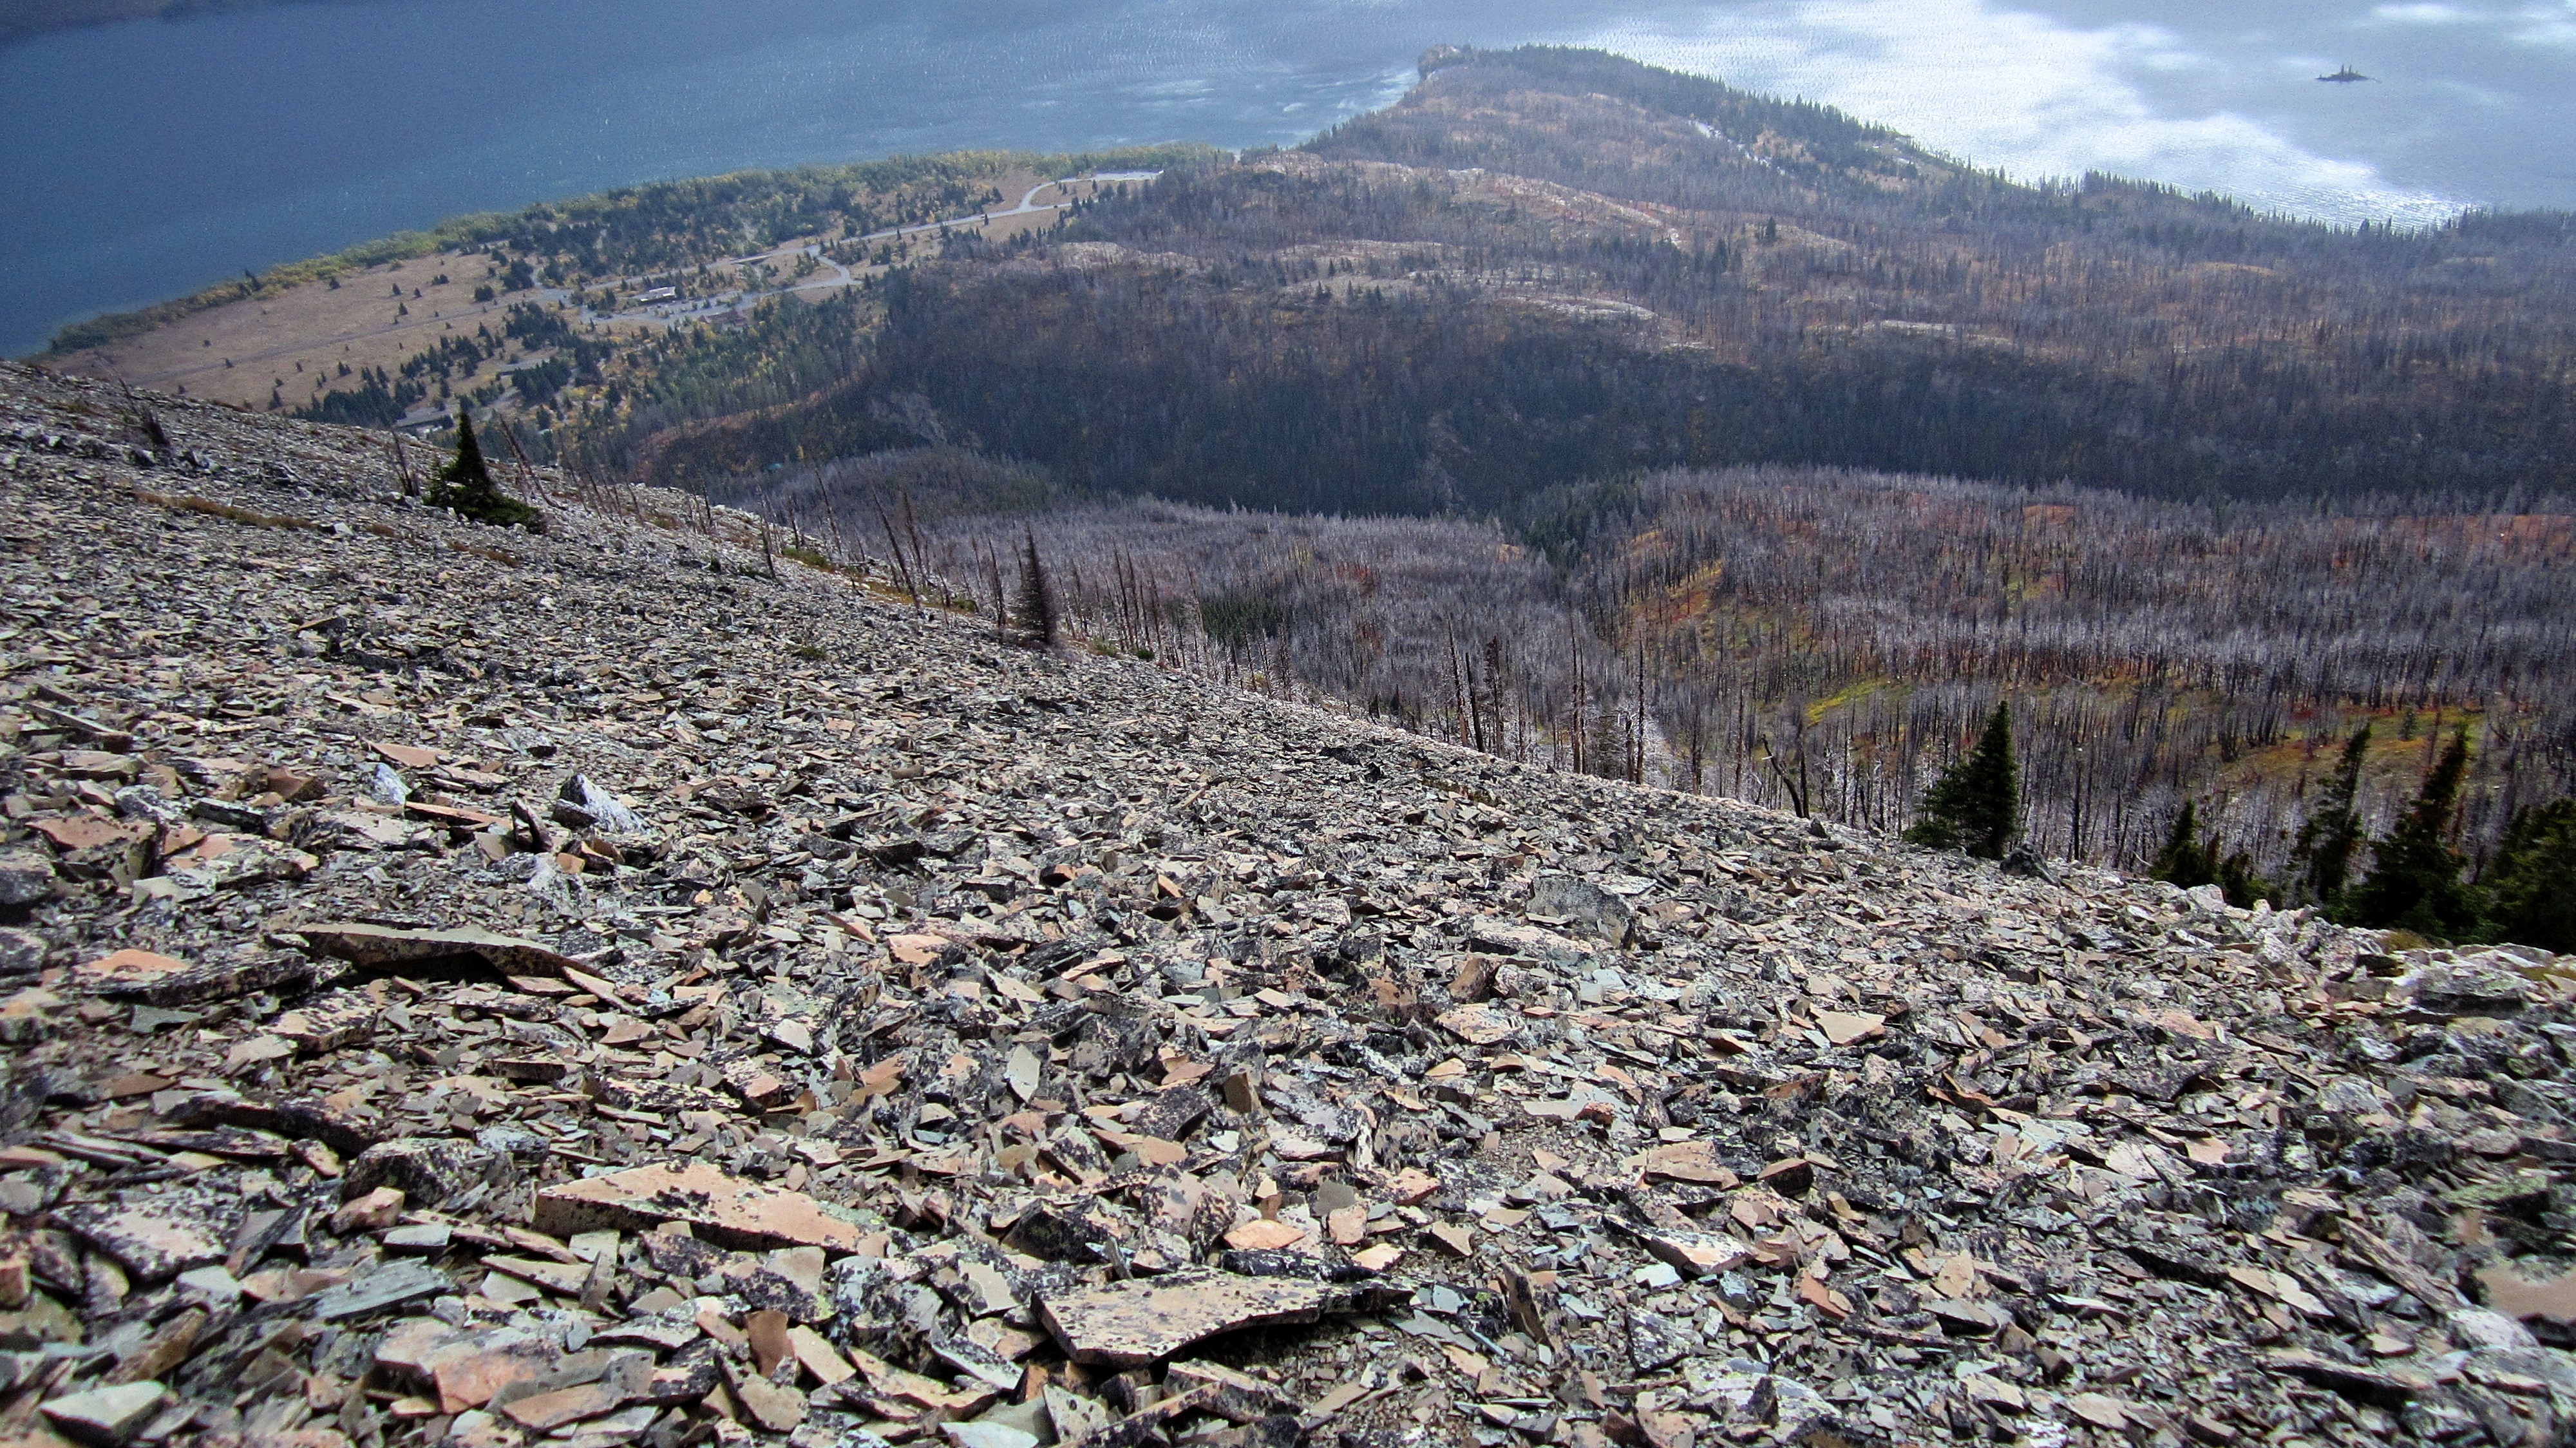
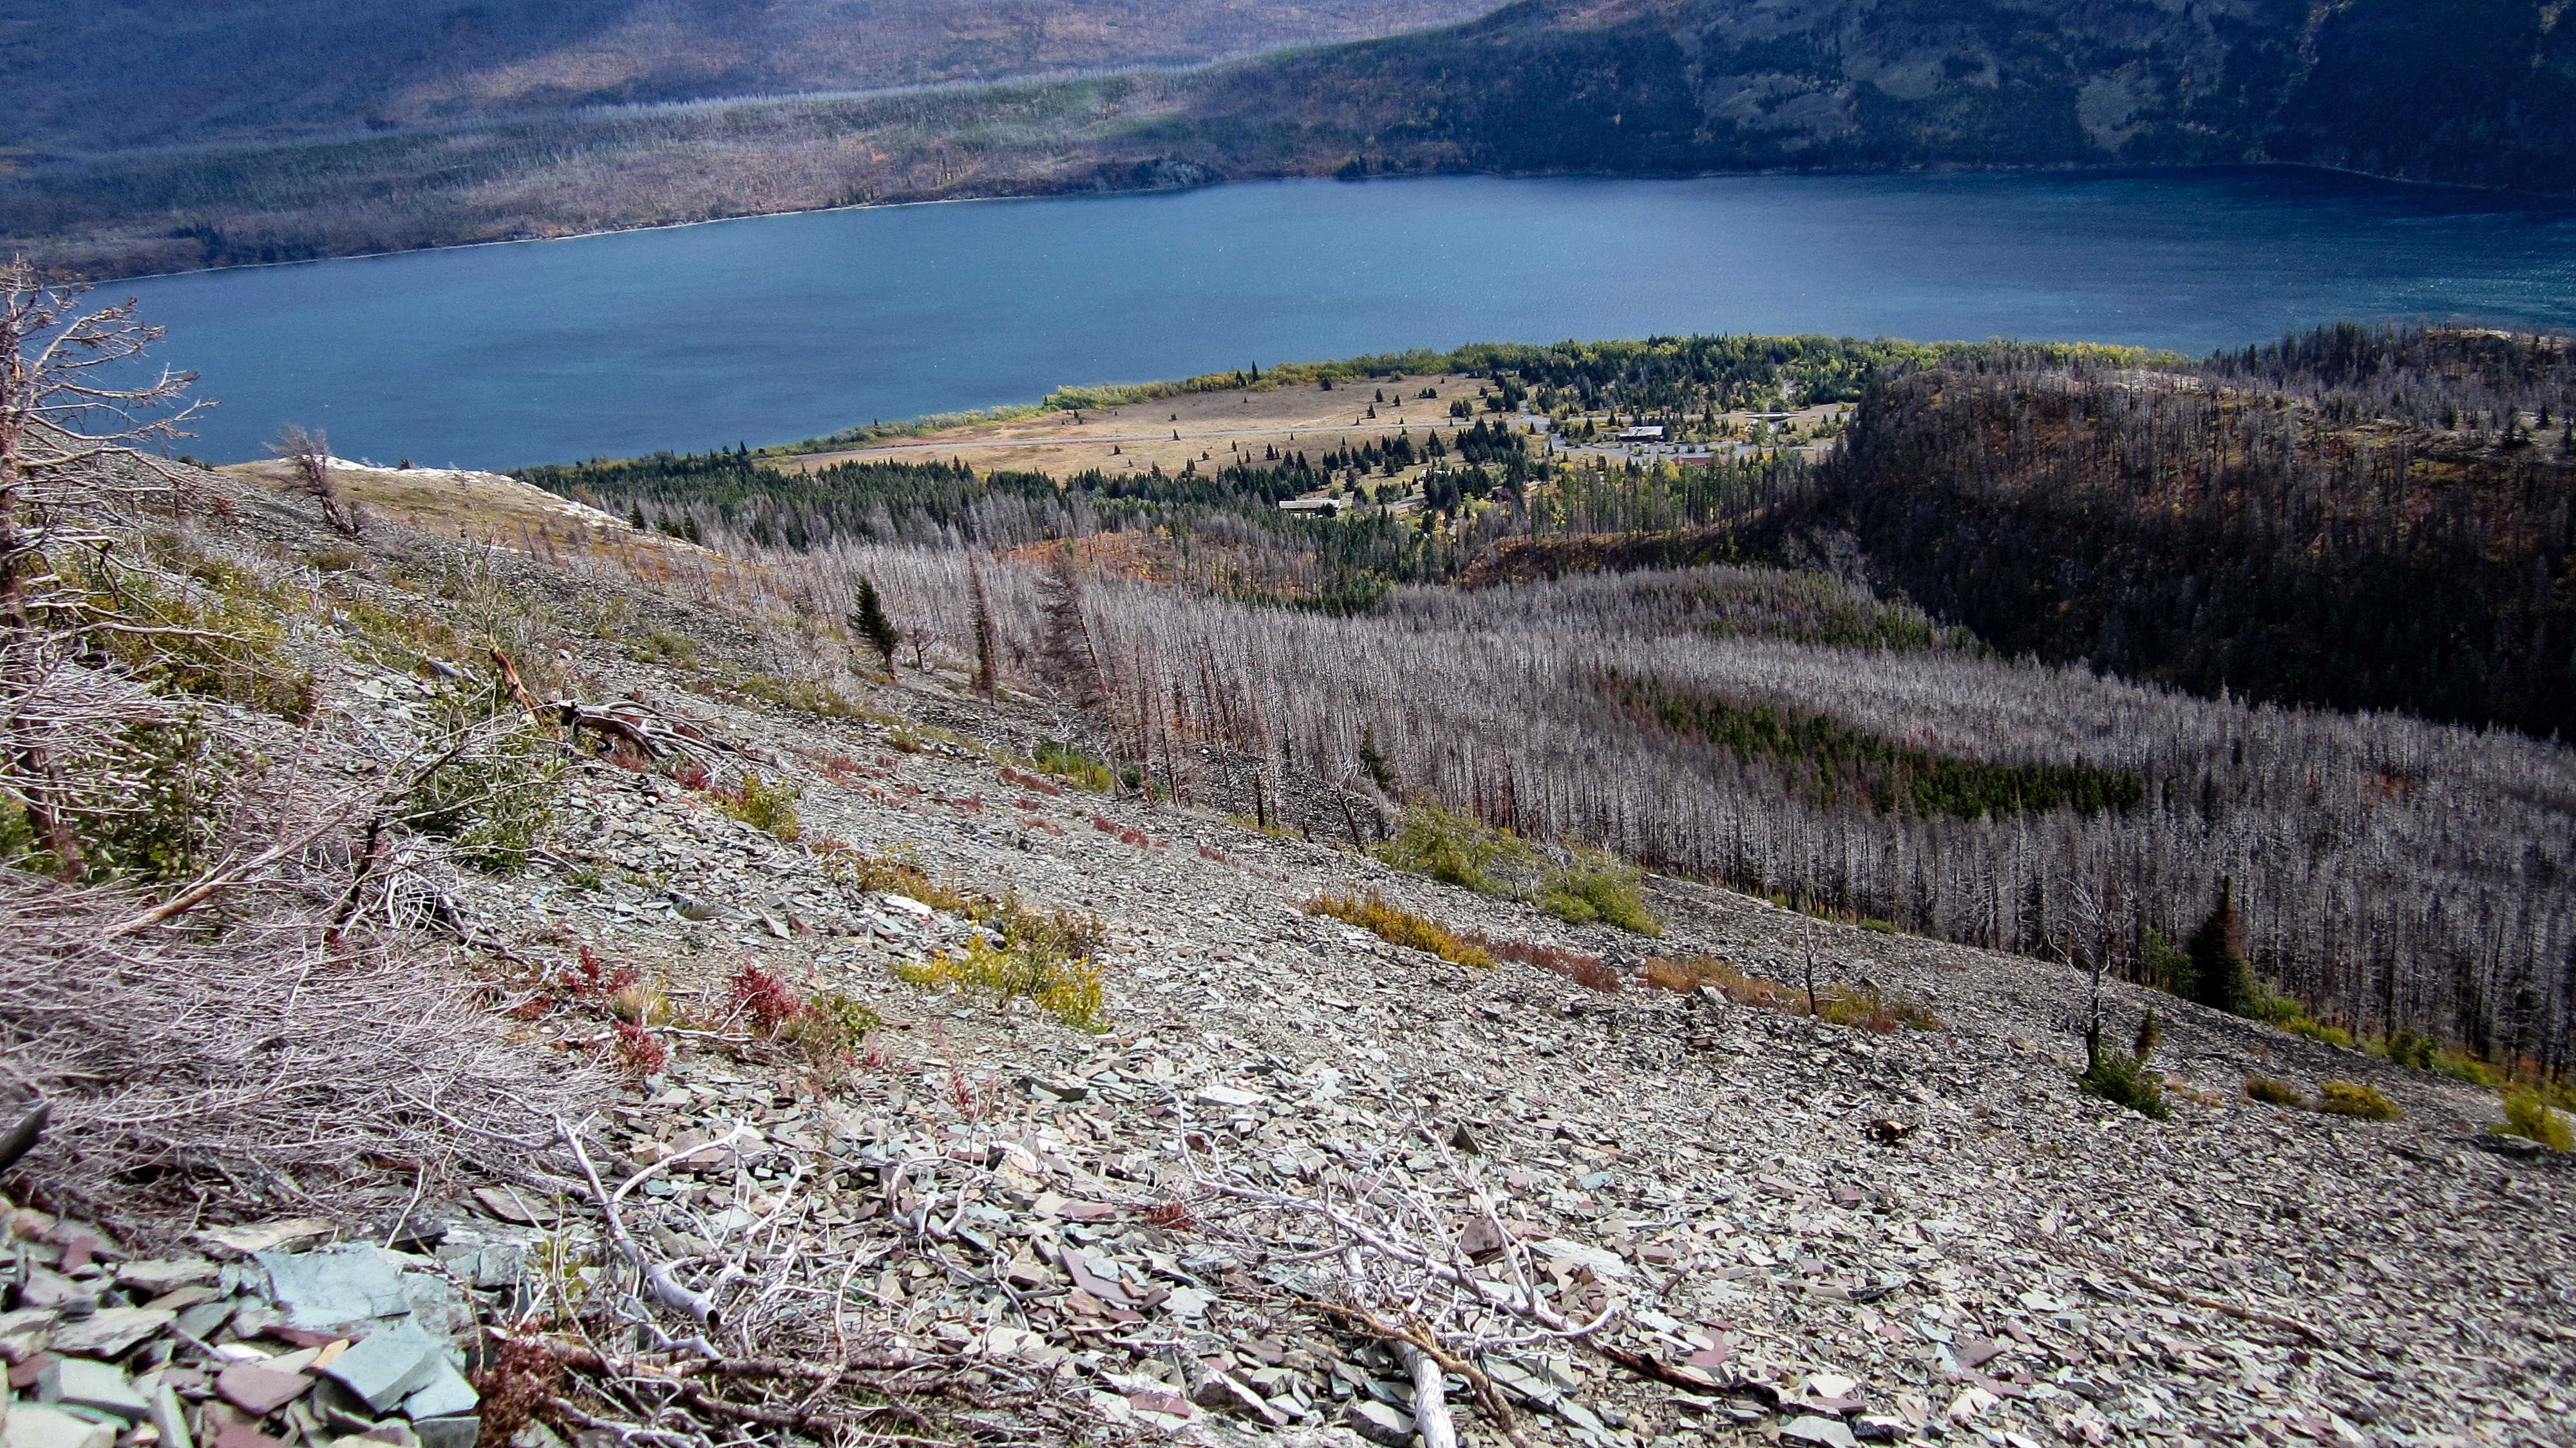
Once on the open slopes, the views began to open up. On the far right is the summit of Goat Mountain.

Red Eagle Mountain (right of centre) sits across St. Mary Lake.
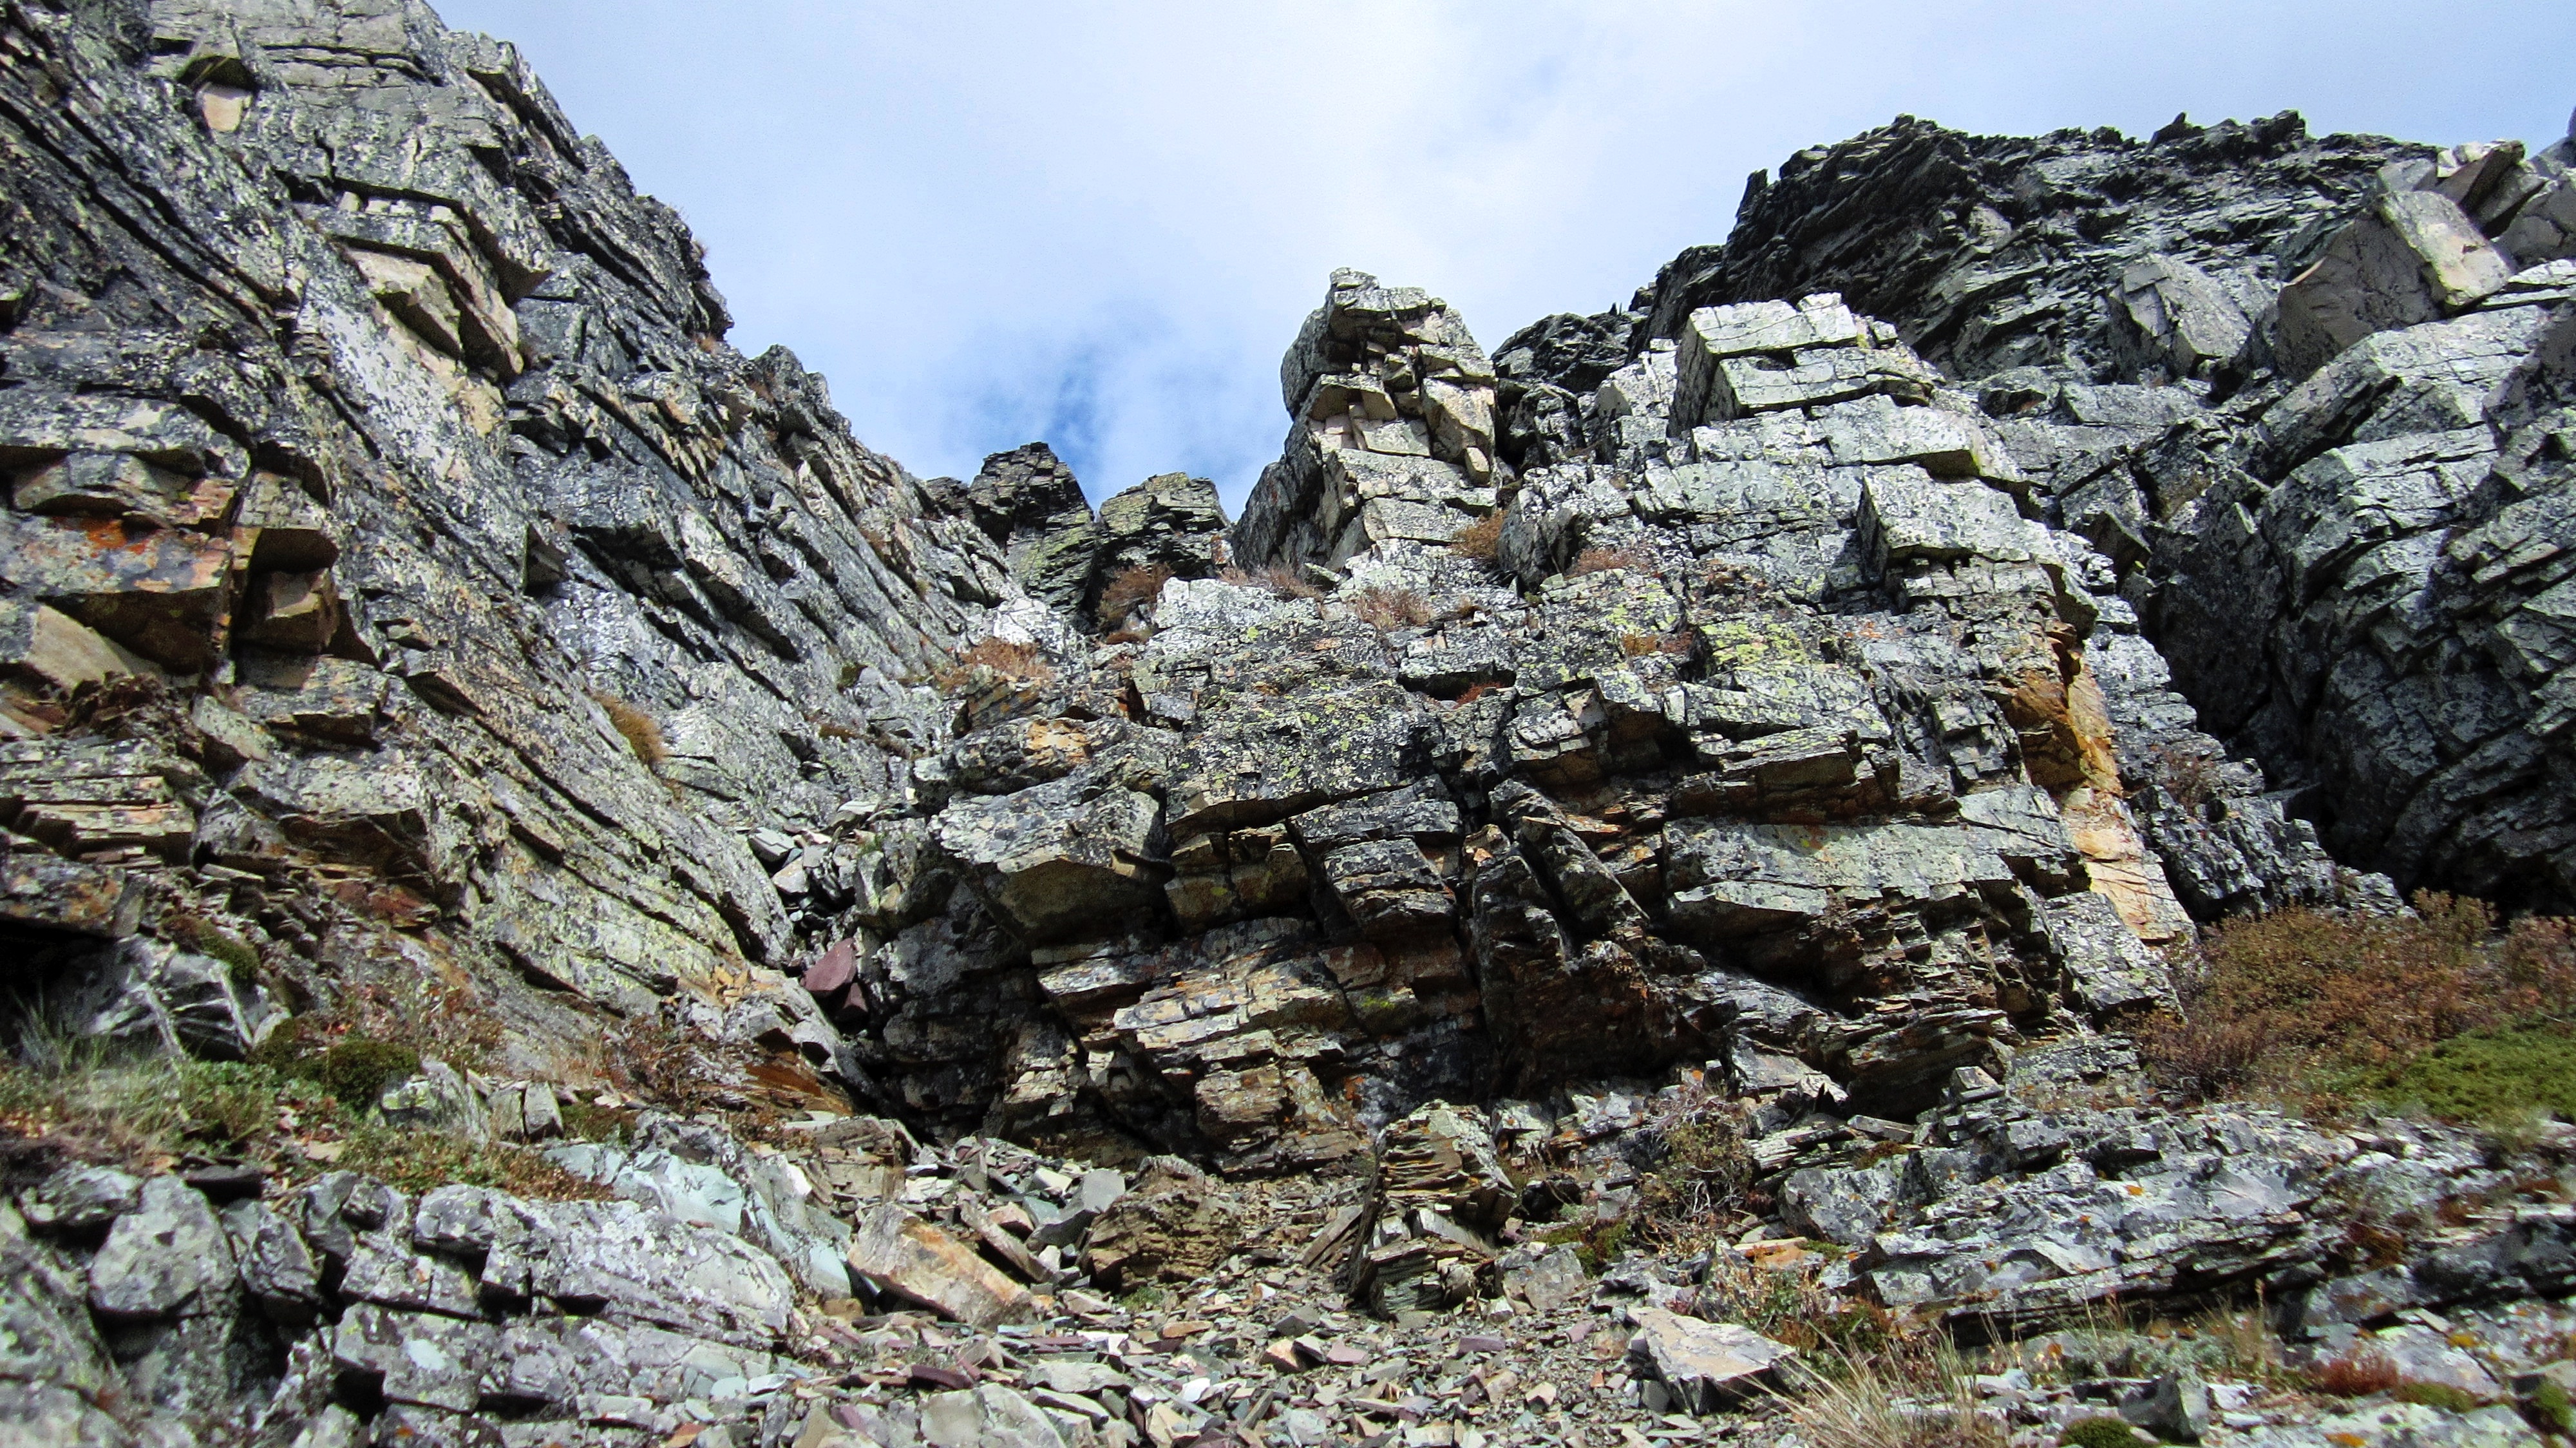
Arriving at the gap. As someone who has a gap between his front teeth, I knew instinctively that this route would prove to be ‘diastematacly’ awesome. 😉 But hey, I’ll give you the ‘space’ to decide for yourselves…

From the entrance, I discovered that it was not difficult to scramble up and into the gap through a small opening located to climber’s left.

Once inside, I discovered that it was actually a good-sized gully that I could easily scramble by sticking to climber’s right. My fear when I looked at the map beforehand and on the approach, was that I would get cliffed-out somewhere inside. I was wholly ready to backtrack and go up the usual route, so I was thrilled to be able to keep going.

Looking down the gully towards the tree line and the beginning of the talus slope.

Above the gully, I encountered another large cliff band. Thankfully, I found a small couloir (top right) that I could use. The terrain is much steeper than it looks in the photo. This particular camera must be a favourite of the flat earth people… 😉

Looking up the short couloir from the base.

Once above the couloir, I had the option to head to climber’s left and hike a talus slope to the top of the first false summit, or to head climber’s right and keep scrambling. I chose the latter.

By heading climber’s right, I discovered several options that allowed me to avoid exposure as I made my way onto the mountain’s southeast face.

By going this route, I had a chance to change up the view and see where it wasn’t beclouded. This is looking to the east with Divide Mountain on the right.

As I worked my way up from the southeast, I trended to climber’s left.
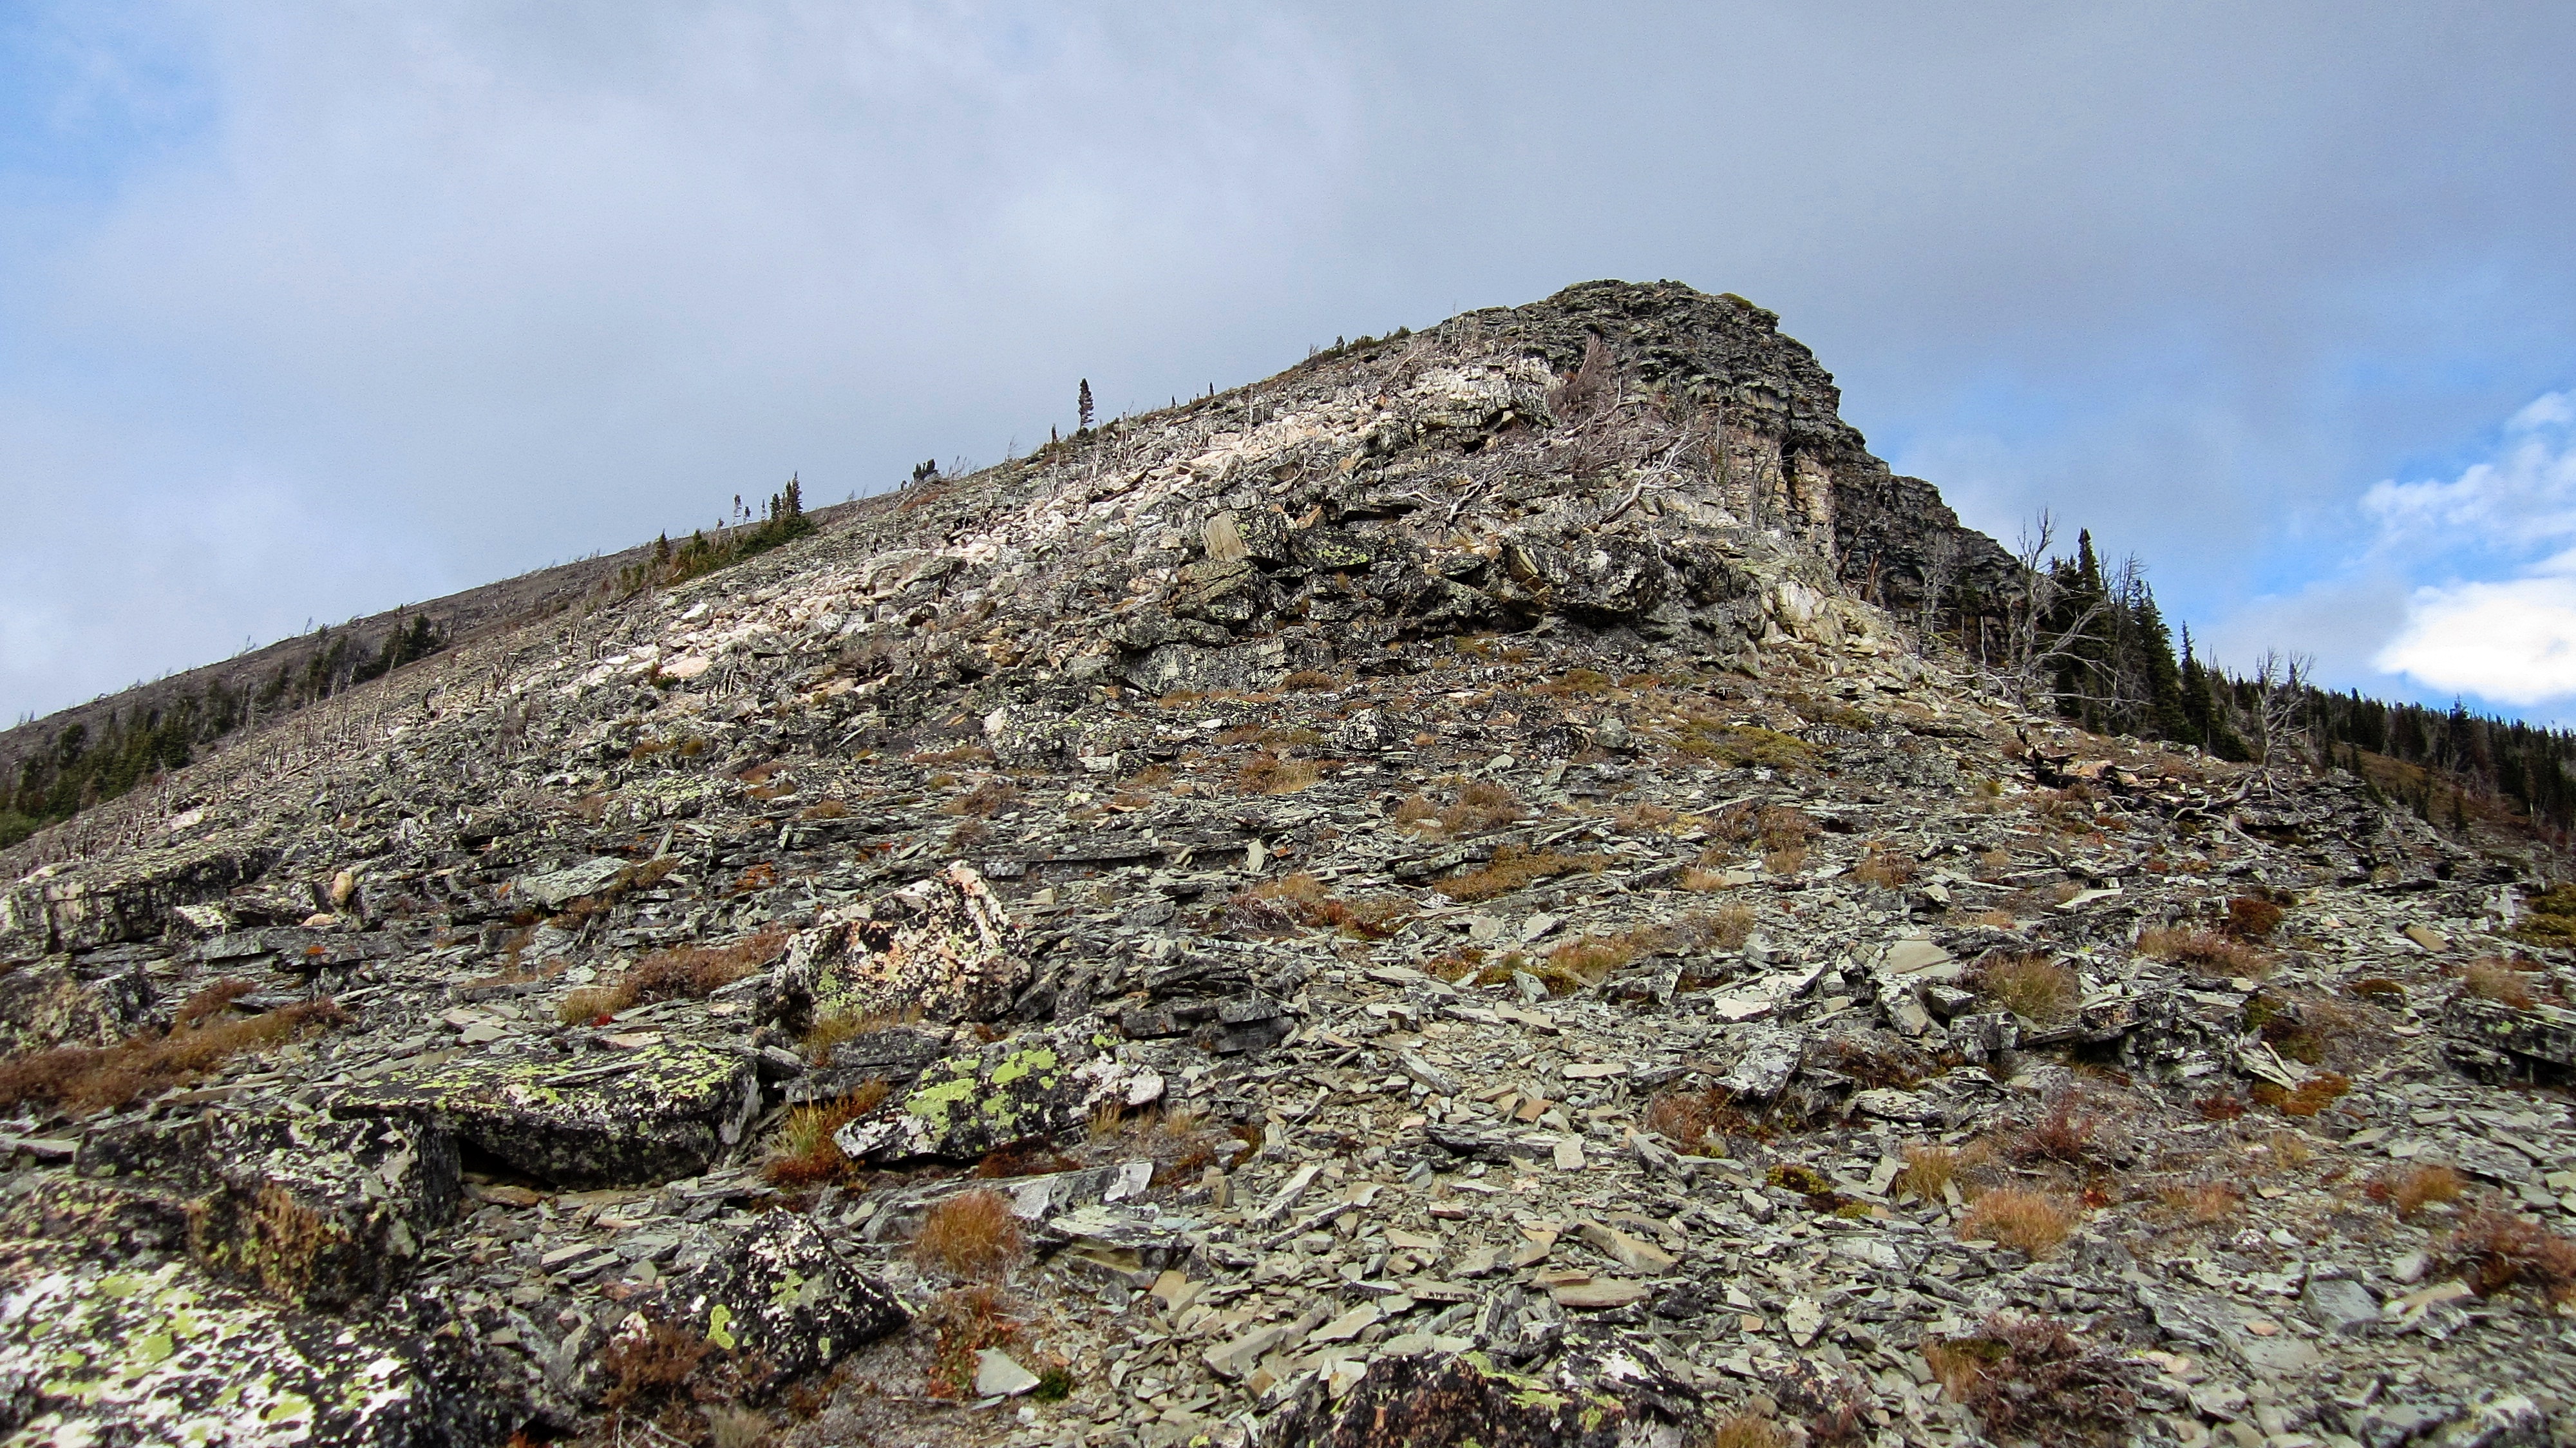
From here I continued straight ahead and onto the top of first false summit.

I also found myself at the point where the intermittent rain was turning to sleet and snow.
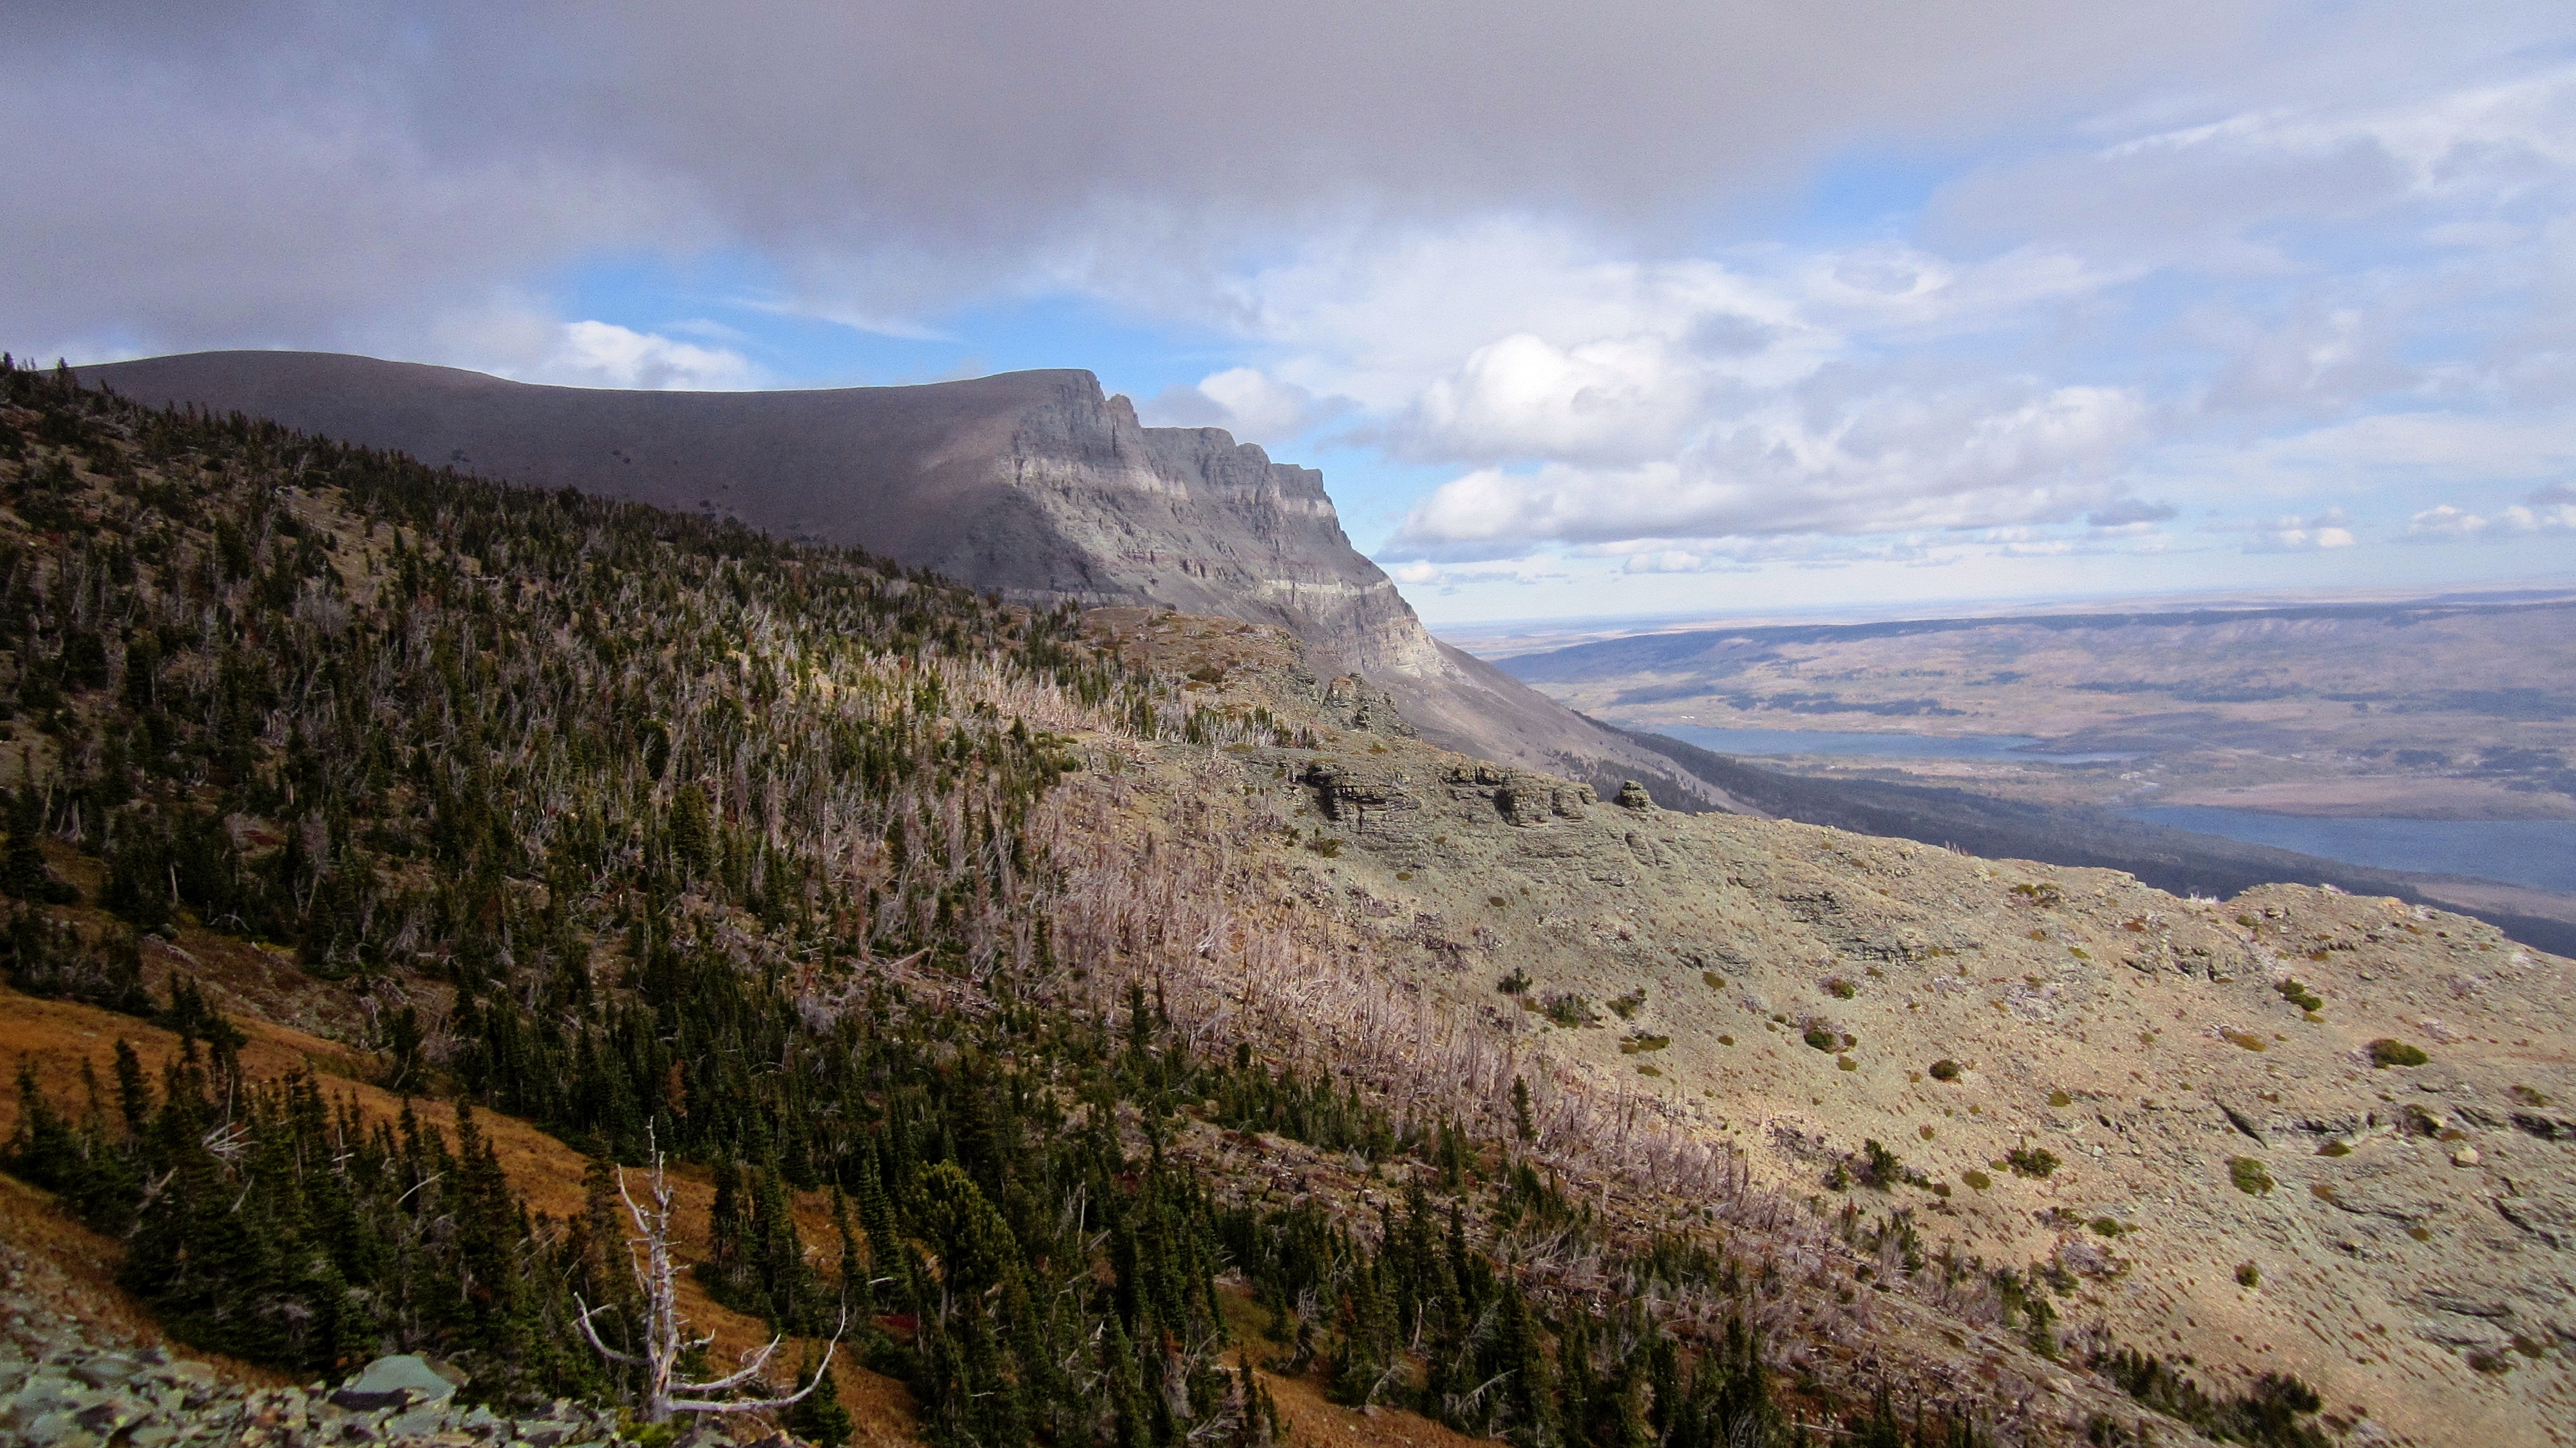
Looking to the northeast from the first false summit at East Flattop Mountain.
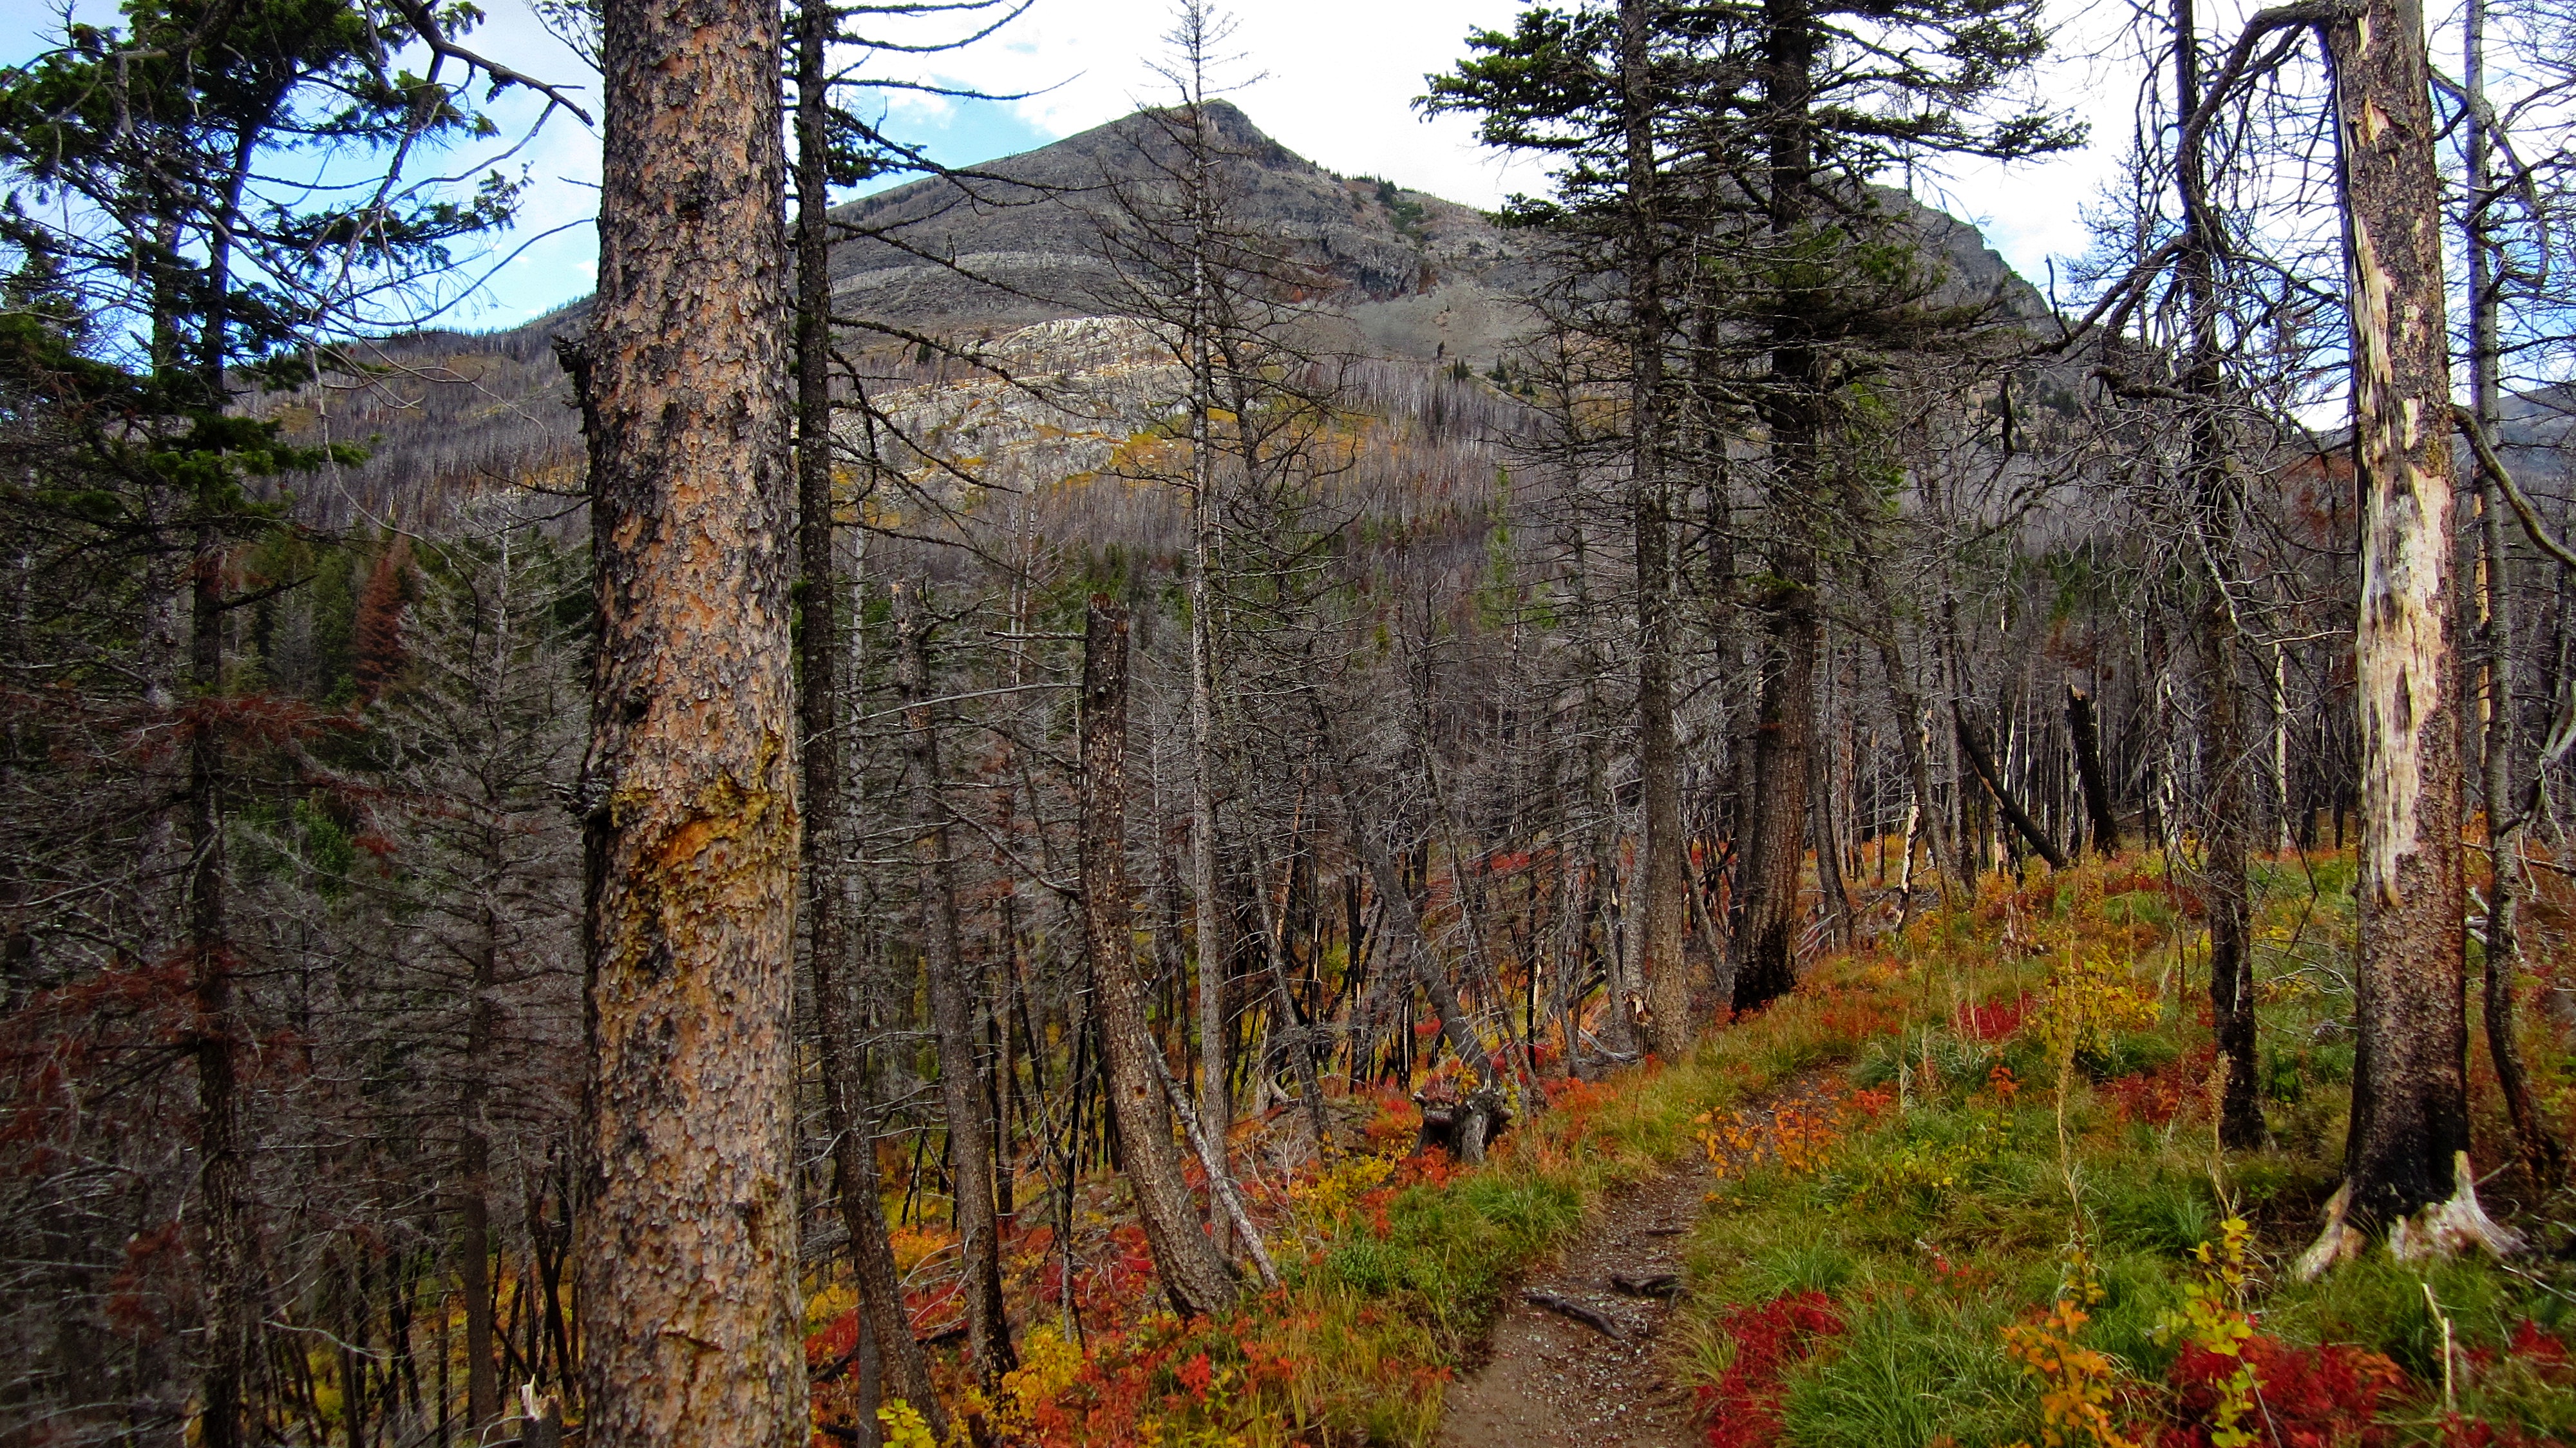
The 2015 Reynolds Creek fire reached almost to the top of the mountain.

Looking towards the second false summit as I begin what seemed like an endless trudge to Otokomi’s actual summit. I know it sounds bad, but I was thankful that I could walk straight through these rows of burned krummholtz as opposed to having to skirt around them.

The top of the second false summit was only ~650m from the first, but with the strong wind and snow, it felt like it was taking forever.

A featureless landscape greeted me beyond the second false summit.

The top of the third false summit is located ~1.1km from the first. I can’t emphasize how long this portion of the hike seemed to take…

A large cairn sits on top of the third false summit – probably because it offers a much better view than the actual summit and because this is the point where people start to go insane.

The actual summit (left) is slightly higher and sits ~500m away to the north. In the background is East Flattop Mountain.

A small cairn marks the official summit of Otokomi Mountain (2418m).

The sun shining on East Flattop Mountain belies the severity of the wind and the constantly changing weather. I almost started down the col to reach East Flattop, but the increasing snow and cloud made me change my mind and head back to the cairn.

Looking to the west, I could barely make out the waters of Otokomi Lake in the centre. The partially obscured summit of Goat Mountain can be seen on the left.

The view back to the south and the cairn on the third false summit.

Back at the cairn and watching as another wave of snow and rain roll in.
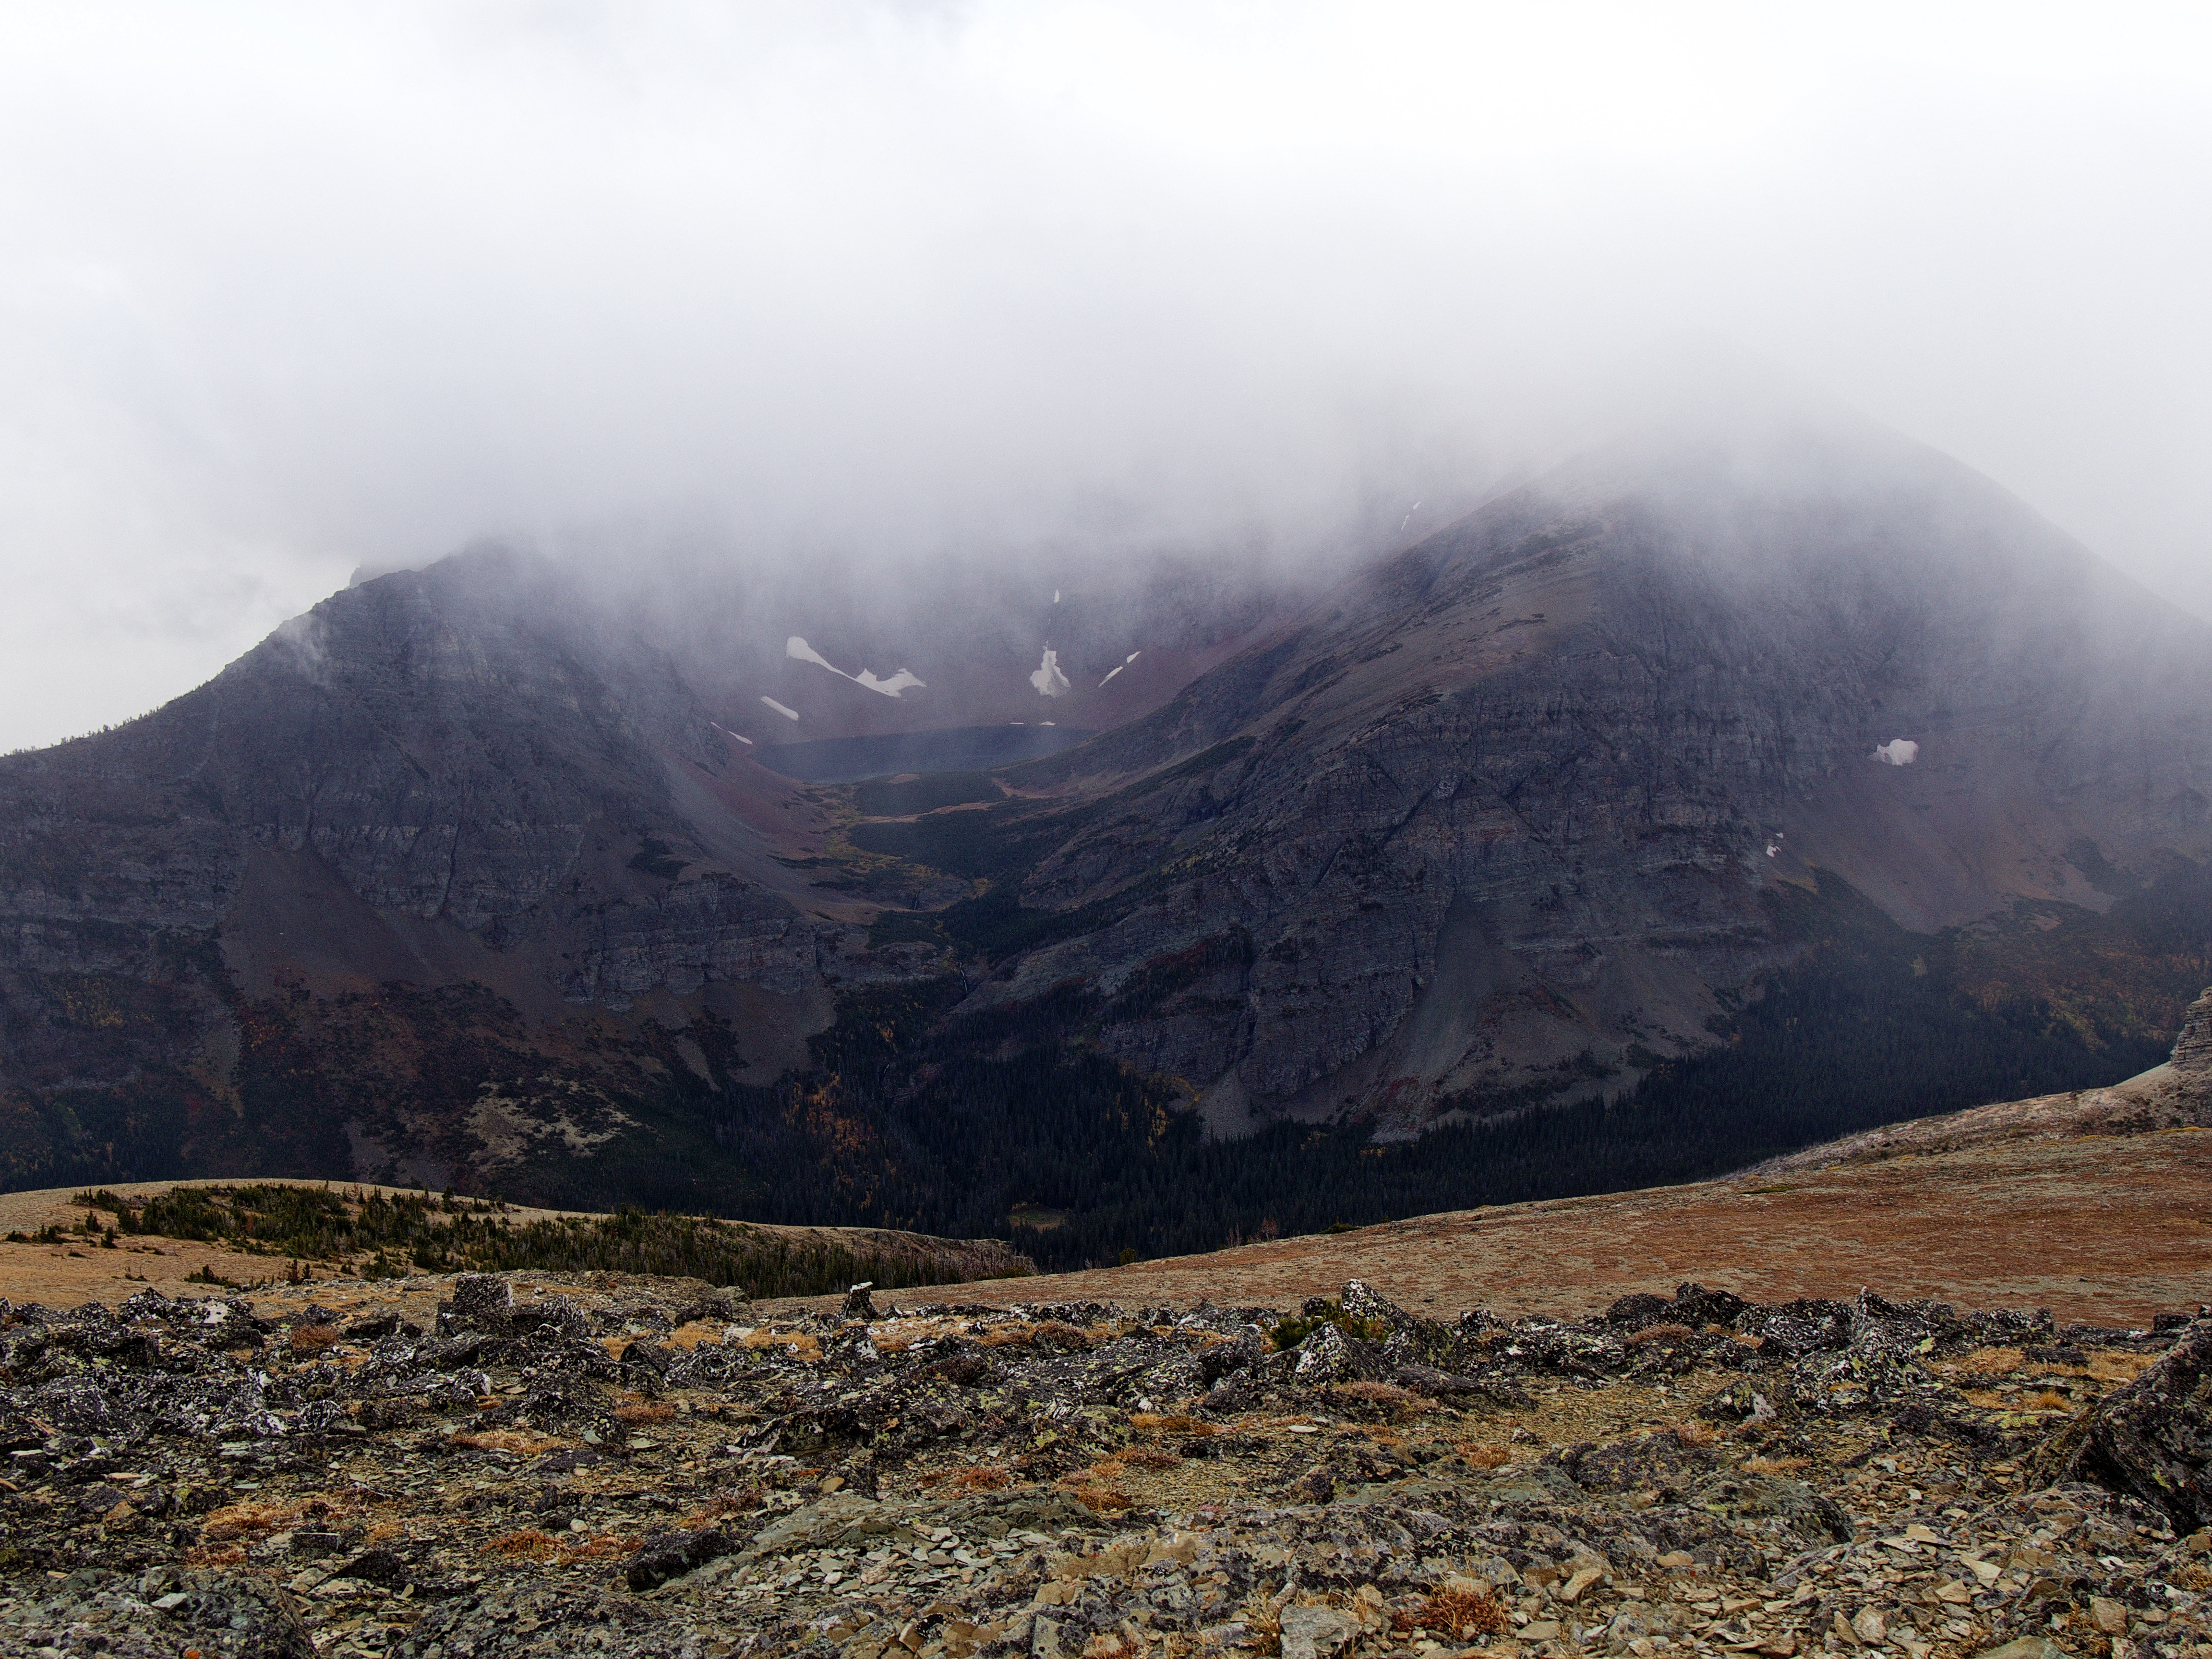
From the cairn, I could see Goat Lake (left of centre) nestled beneath the summit of Goat Mountain. Can you imagine the awesomely scary goatman stories that you could tell to your kids at night if you were to camp there? Bwahahaha!

Otokomi Lake is now completely enveloped. Only the goatman is happy now…

Looking to the northwest at the connecting ridge above Otokomi Lake.
The deciding moment after arriving back at the cairn and determining that the weather was too unpredictable to head over to East Flattop.

Heading back down, though of course the weather changed as soon as I lost elevation…
The nasty talus that I avoided on the way up. The rain and snow had made the lichen-covered rock somewhat slippery.

A partial pano of the view offered from the slopes of Otokomi.
Arriving back at the tree line. I’m glad that chose to explore a scrambling route as I’d much rather descend, than ascend this deceptively steep talus slope.
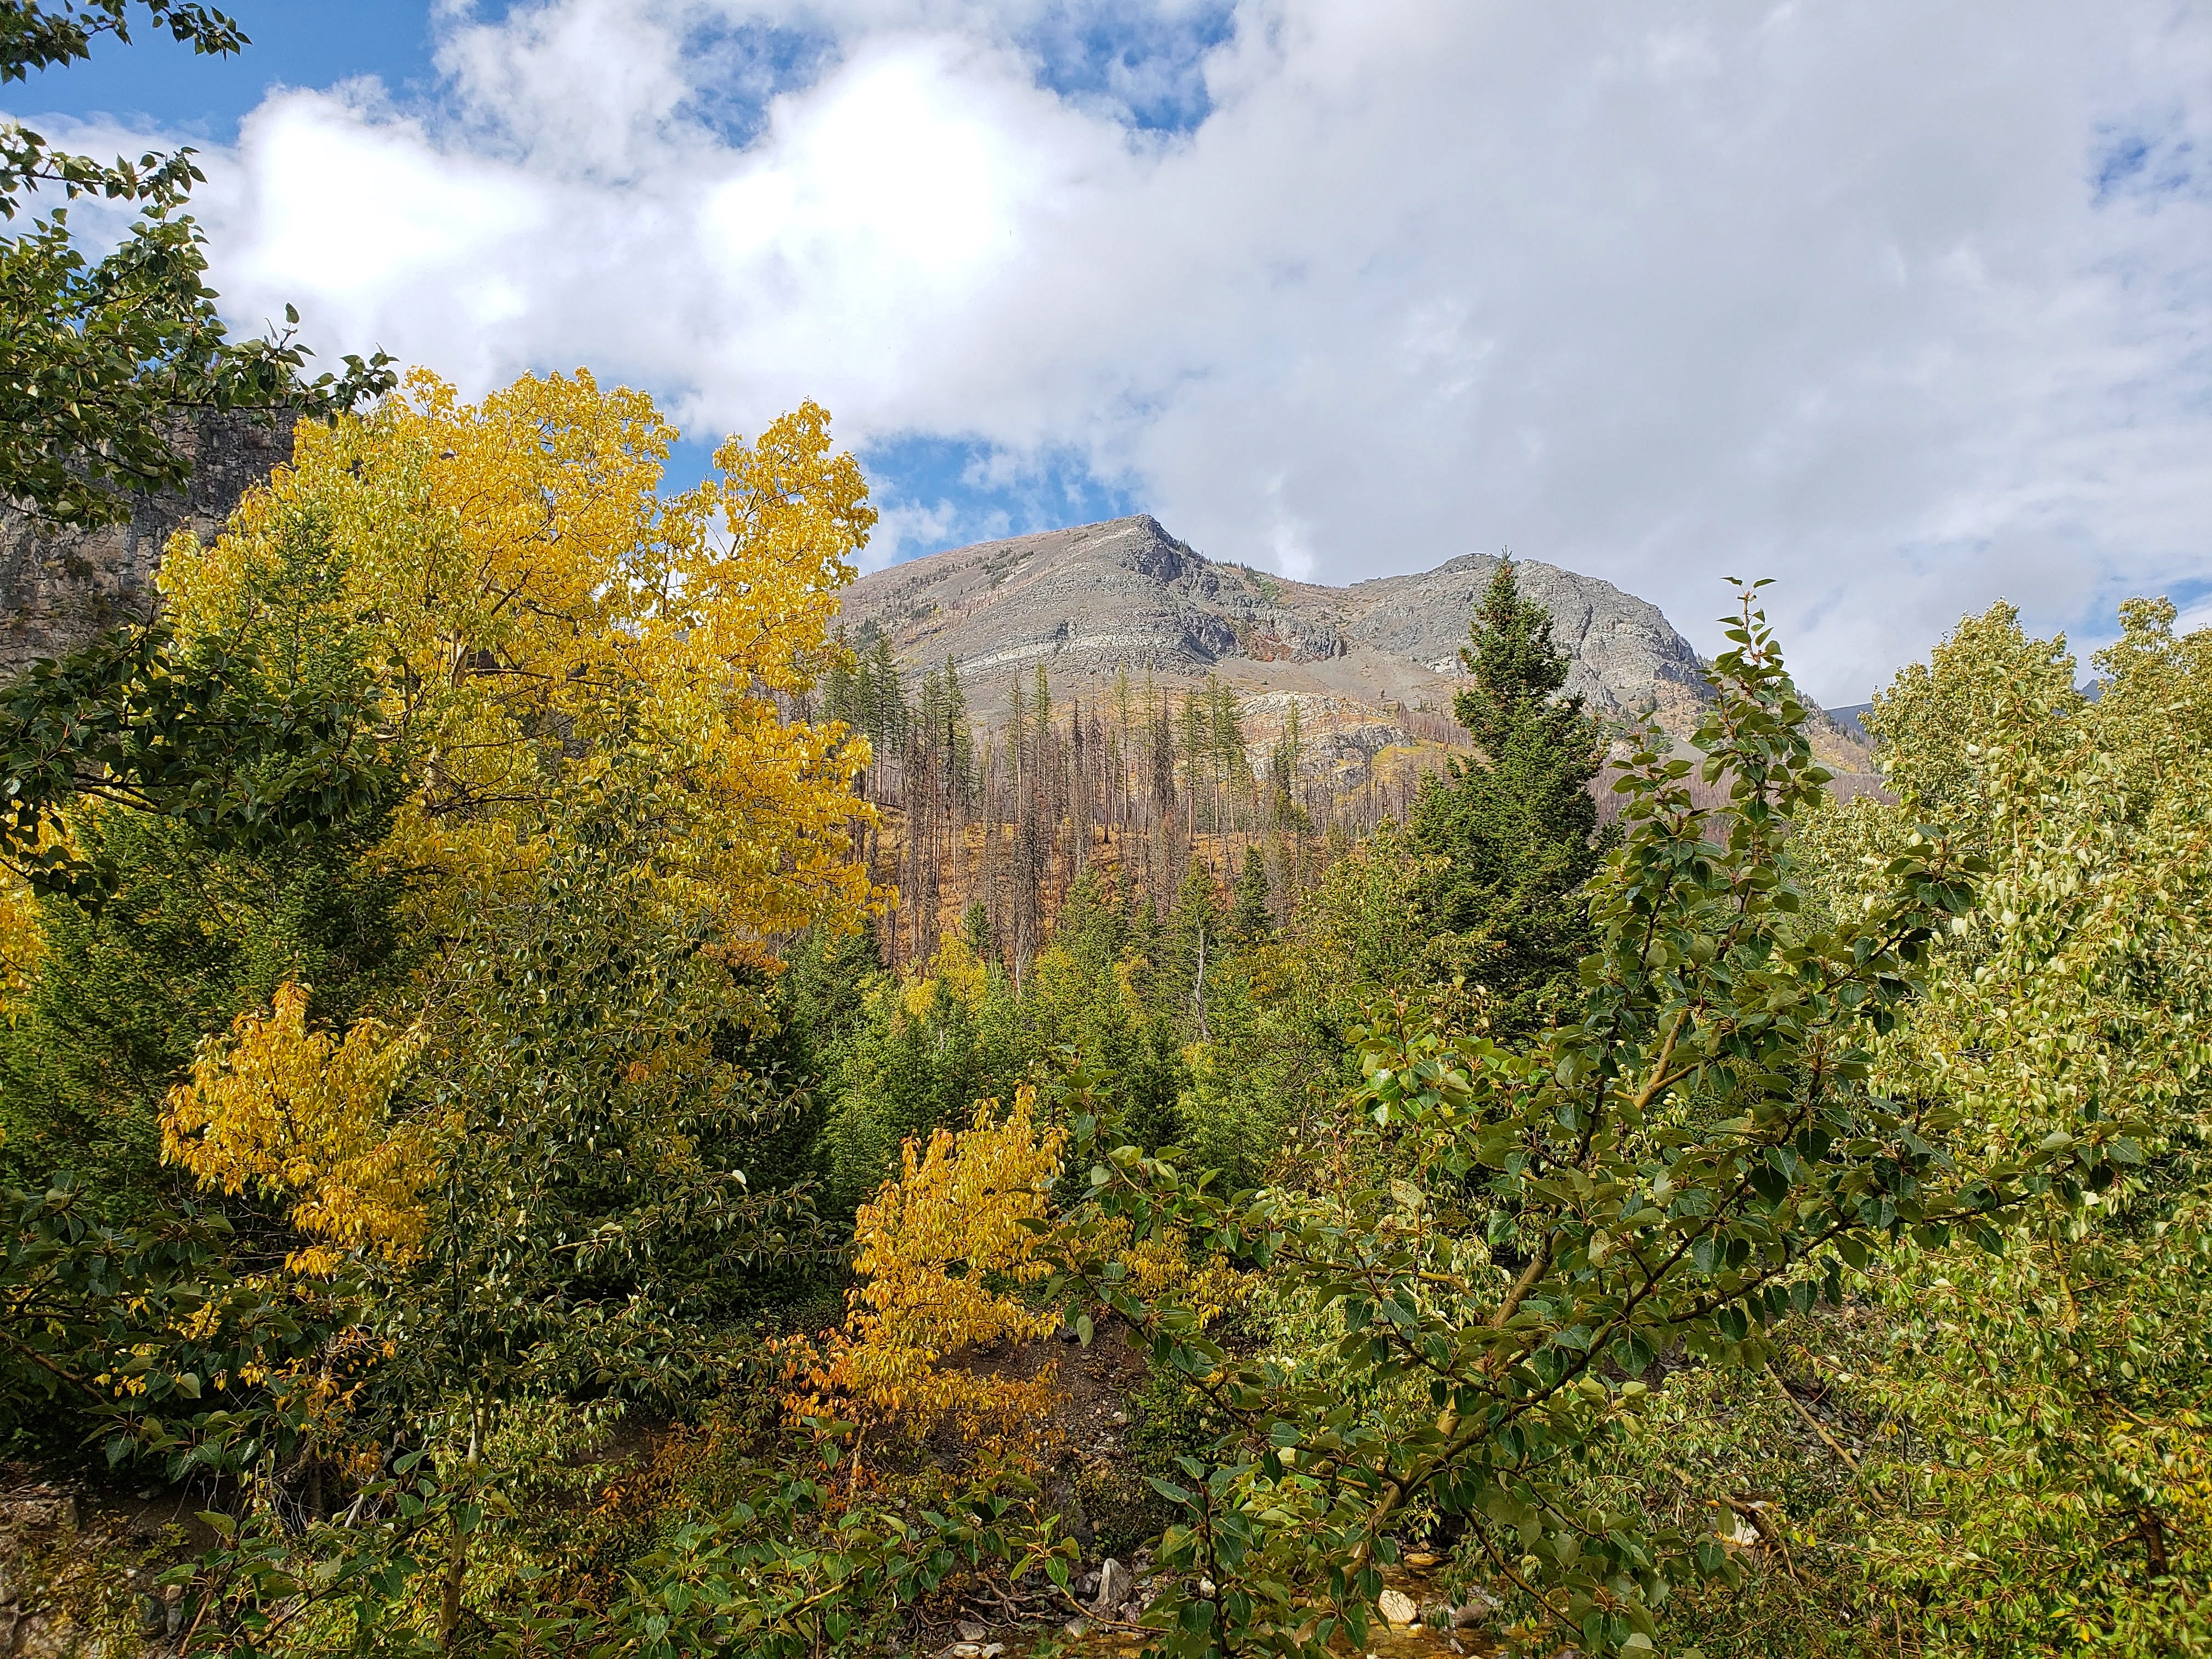
Boom! How’s that for a splash of fall colours?

Just before arriving back on the trail, the skies opened up and a heavy rain accompanied me all the way back to the trailhead.
I didn’t encounter a single person on the trail. Not even a goatman…
And of course just as I arrive back at the trailhead, the sun comes out…
…though it would soon start raining again as I loaded up my 4Runner to go home. When I look back at my pictures, I find myself second guessing my decision not to make the ~2.5km trip to East Flattop Mountain from Otokomi. The pictures definitely make it look more serene than it actually was, but over the years, I’ve learned to listen to my inner voice of caution, so I will leave it at that. I would definitely recommend using my ascent route up Otokomi and then using the talus and rubble slope to descend. I would also recommend including East Flattop Mountain if the conditions are favourable, though in and of itself, Otokomi is worthy destination if you’re looking for a shorter day. Indeed, because of the weather, I booked it up and down the mountain in 4 hours and 6 minutes with very little stopping along the way. All in all, despite the weather, this ended up being another enjoyable day in the mountains.
Books, to see/read it is like to be in a fantastic world,
full of challenges and adventures!