

⚠️ Hiking and scrambling are inherently dangerous activities. Please read my Disclaimer. ⚠️
When I first ascended “Mill Creek Peak” (MCP) in April 2015, it was an unplanned alternative to avoid a sketchy, snow-covered route up Mount Gladstone. Although it was a great experience, the sudden onset of a snowstorm prevented Mark and I from reaching the highest point of the diminutive massif that I’ve nicknamed, “Mill Creek Mountain” (MCM). Fast forward to today, and MCP was once again a last minute alternative. Andrew and I had set out to tackle “Gladstone’s Toe”, but intense chinook winds made the thought of an exposed ridge walk altogether unappealing. We reasoned, rather erroneously, that an ascent of MCM would shield us from the prevailing southwesterly winds until we were on the summit of MCP. We could then endure the wind for the ~1.3km ridge walk to the summit of MCM, before dropping back into the shelter of its north-facing bowl.
At the time, this seemed like a great plan, that is until we discovered that the wind also had a plan – one that involved deflection and compression as it collided with the much higher slopes of Mount Gladstone only to swirl back and assault the north and northwest-facing slopes of the massif. Indeed, there was little escape from the wind, with the odd exception of the ridge between the two peaks, where the south side received shelter from nearby, Windsor Mountain and Castle Peak, thus making it a brief but welcome refuge.
Now, after making it seem an altogether miserable experience, I must say that just as with my first ascent, MCP ended up being well worth the time and effort. Not only did we enjoy some great scrambling on its north ridge, we were also able to reach the higher summit of MCM, thereby completing what I had started back in 2015. This might not sound like much, as the entire massif looks rather insignificant when viewed from the surrounding mountains, but make no mistake, both peaks are excellent destinations that offer multiple routes to the top coupled with immersive views of the surrounding landscape. An ascent on a clear, calm day during larch season would be incredibly colourful!
Once again, it was great to share a mountain with Andrew who had spent the previous day, completing his seventh ascent of Prairie Bluff using yet another route that was new to him – this seriously has to be some kind of record… or affliction. 😉 Be sure to read his trip report for today’s journey up MCP and MCM along with his latest one for Prairie Bluff.
This route uses the same approach that Andrew gives for Mount Gladstone in, More Scrambles in the Canadian Rockies, 3rd Edition.
My description: to get to “Mill Creek Peak” (MCP) and “Mill Creek Mountain” (MCM) from Lethbridge, turn onto the Gladstone Valley Road off of Highway 507 west of Pincher Creek. Follow the road for 13.3km keeping left, and in the process, you will cross two bridges over Mill Creek. At ~13.3 km from Hwy 507 or .6km from the 2nd bridge, turn right. Follow this road for ~1.4km and then make another right turn. Follow this road for another ~1.4km to reach the gas well next to Mill Creek.
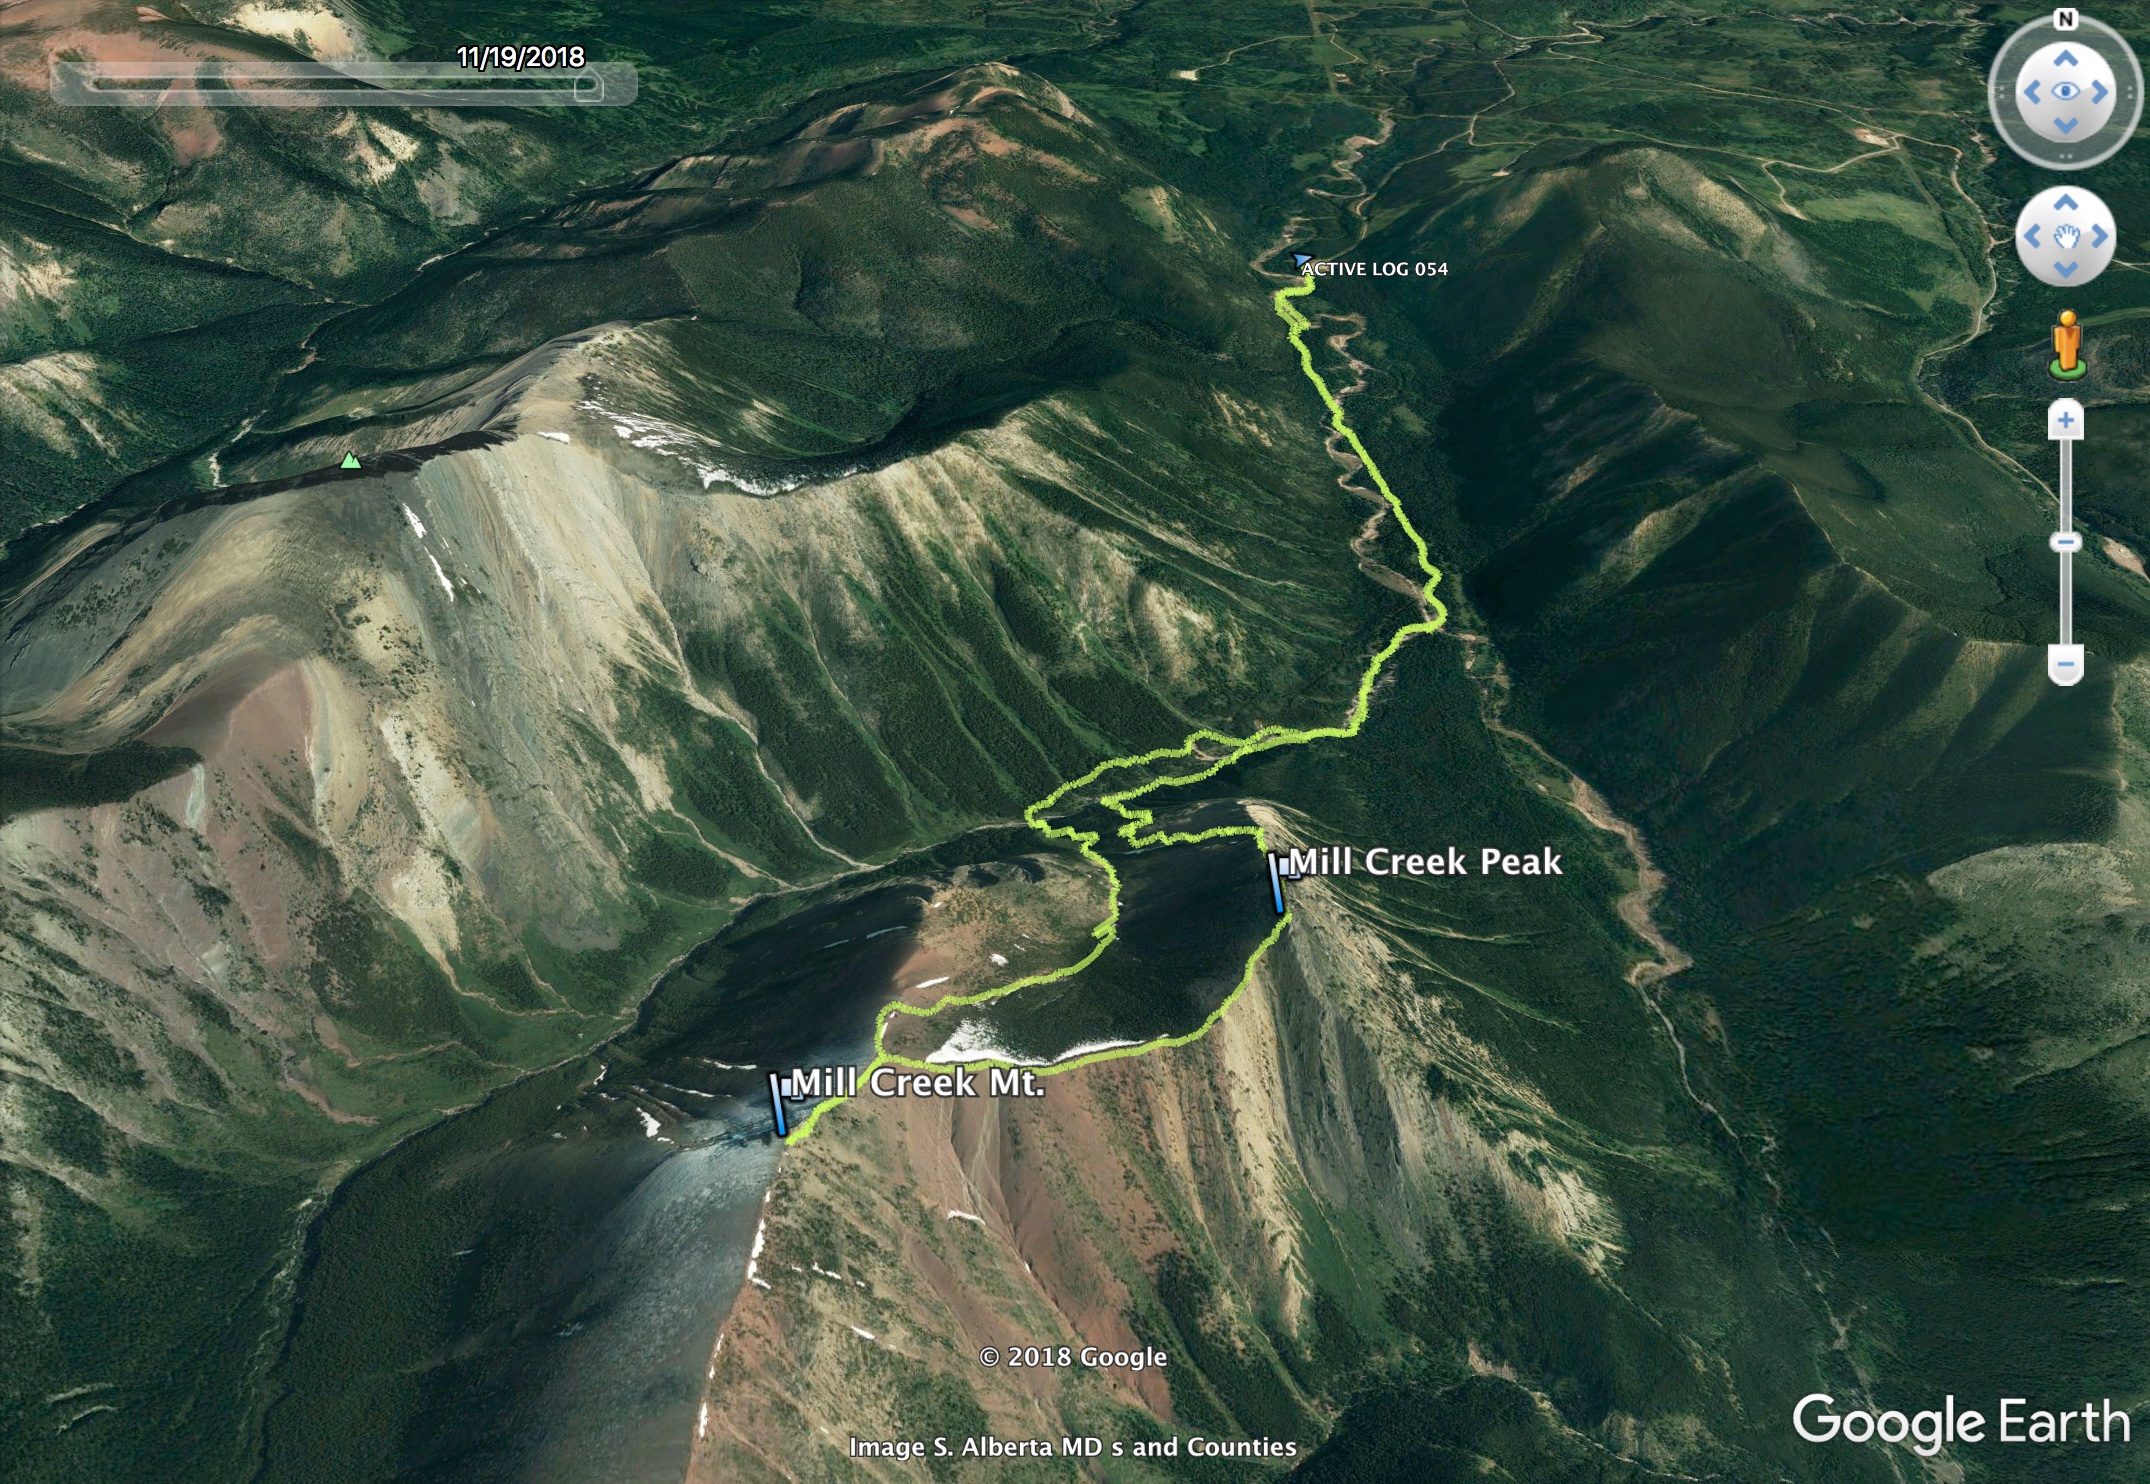
The trail begins in the trees immediately to the west of the gas well. Alternatively, follow a rough section of the road next to the fence to an open embankment above Mill Creek that is located south of the well. Cross Mill Creek – it may or may not have water in it – either on the trail or at the embankment. If crossing at the embankment, head west or southwest until you encounter the trail. You will then cross the creek two more times before the well-maintained trail starts again on the west side of the creek – just after an ‘S’ bend in the creek. Enjoy easy travel along trail (crossing the creek one more time) for another ~2.2km (~2.4km from the well site) until you reach an obvious tributary entering Mill Creek from the west (use the gap between MCP and Mount Gladstone as your visual reference). Leave the trail and follow this tributary for another ~1.5km to reach the base of the second drainage coming off of “Mill Creek Peak” or ~1.7km to the third drainage.
Apparently there’s a trail that leads from Mill Creek along the side of the tributary, but we never thought to look for it and then on the way back, we could not find it. I suspect some portions of it have washed out, but the bulk of it may still be there.

In my 2015 ascent of MCP, we used the third drainage for both ascent and descent. However, on this trip, we decided to avoid some nasty bushwhacking along the tributary by ascending the second drainage as far as we could, and then cutting across to the third drainage. Both ways involve negotiating steep slopes in and alongside the drainages. In the third drainage, you have to bypass a large series of waterfalls and in the second, while easier to ascend, you will eventually come to a very steep set of cliffs. In winter conditions, we did not even consider these to be an option, but in the summer they may be ascendable.
Indeed, depending on your desired level of intensity, there are a variety of ways to the top of both MCP and MCM. To me, the easiest route would use the south ridge that begins at the foot of Castle Peak. This would bring you to the summit of MCM and then, after a short section of scrambling down the summit block, it would be an easy ridge walk to MCP. You could then descend via the third drainage that leads from the bowl, but this is by no means a picnic, so you may want to return roughly the same way.
The second easiest way to reach MCP would be to follow the third drainage into the bowl and then ascend to the col. From here, it would be an easy hike to the summit. Alternatively, you could leave the third drainage in the bowl or just prior to the bowl and ascend the east or northeast slopes of MCM and then do a reverse loop before exiting back out the bowl. It also looks like there could be potential scrambling routes up to MCM if you were to leave the drainage before the bowl. Let me know if you ever try this!
However, if you want more adventure, it’s worth the effort to endure the steep slog up the northwest slopes of MCP to reach the small north ridge that leads to the summit. The scrambling on this ridge is excellent. From the summit it’s an easy ~1.3km ridge walk across the col to MCM. A quick scramble up the front of the summit block brings you onto the summit. For descent, we dropped down the northeast slopes of MCM and into the bowl. We descended using the third drainage, but be warned that the section that bypasses the waterfall (skier’s right or climber’s left) is very steep. Once in the tributary we retraced our route, though we did try and find the trail, but were unsuccessful.

When viewed from the larger, surrounding mountains, these two peaks come across as rather insignificant, especially MCP. However, this couldn’t be further from the truth. The east face of MCP is particularly impressive and the ridge walk between the two is highly enjoyable. At 2165m, MCP is 85m shorter than the actual summit of MCM. As previously mentioned, the most benign way to reach both summits would be via the south ridge at the foot of Castle Peak.

Our total roundtrip distance was 14.7km with total elevation gains of 1014m. The steep slog up to the north ridge of MCP does however, make the elevation gain seem higher. Our total roundtrip time was 8 hour and 12 minutes.
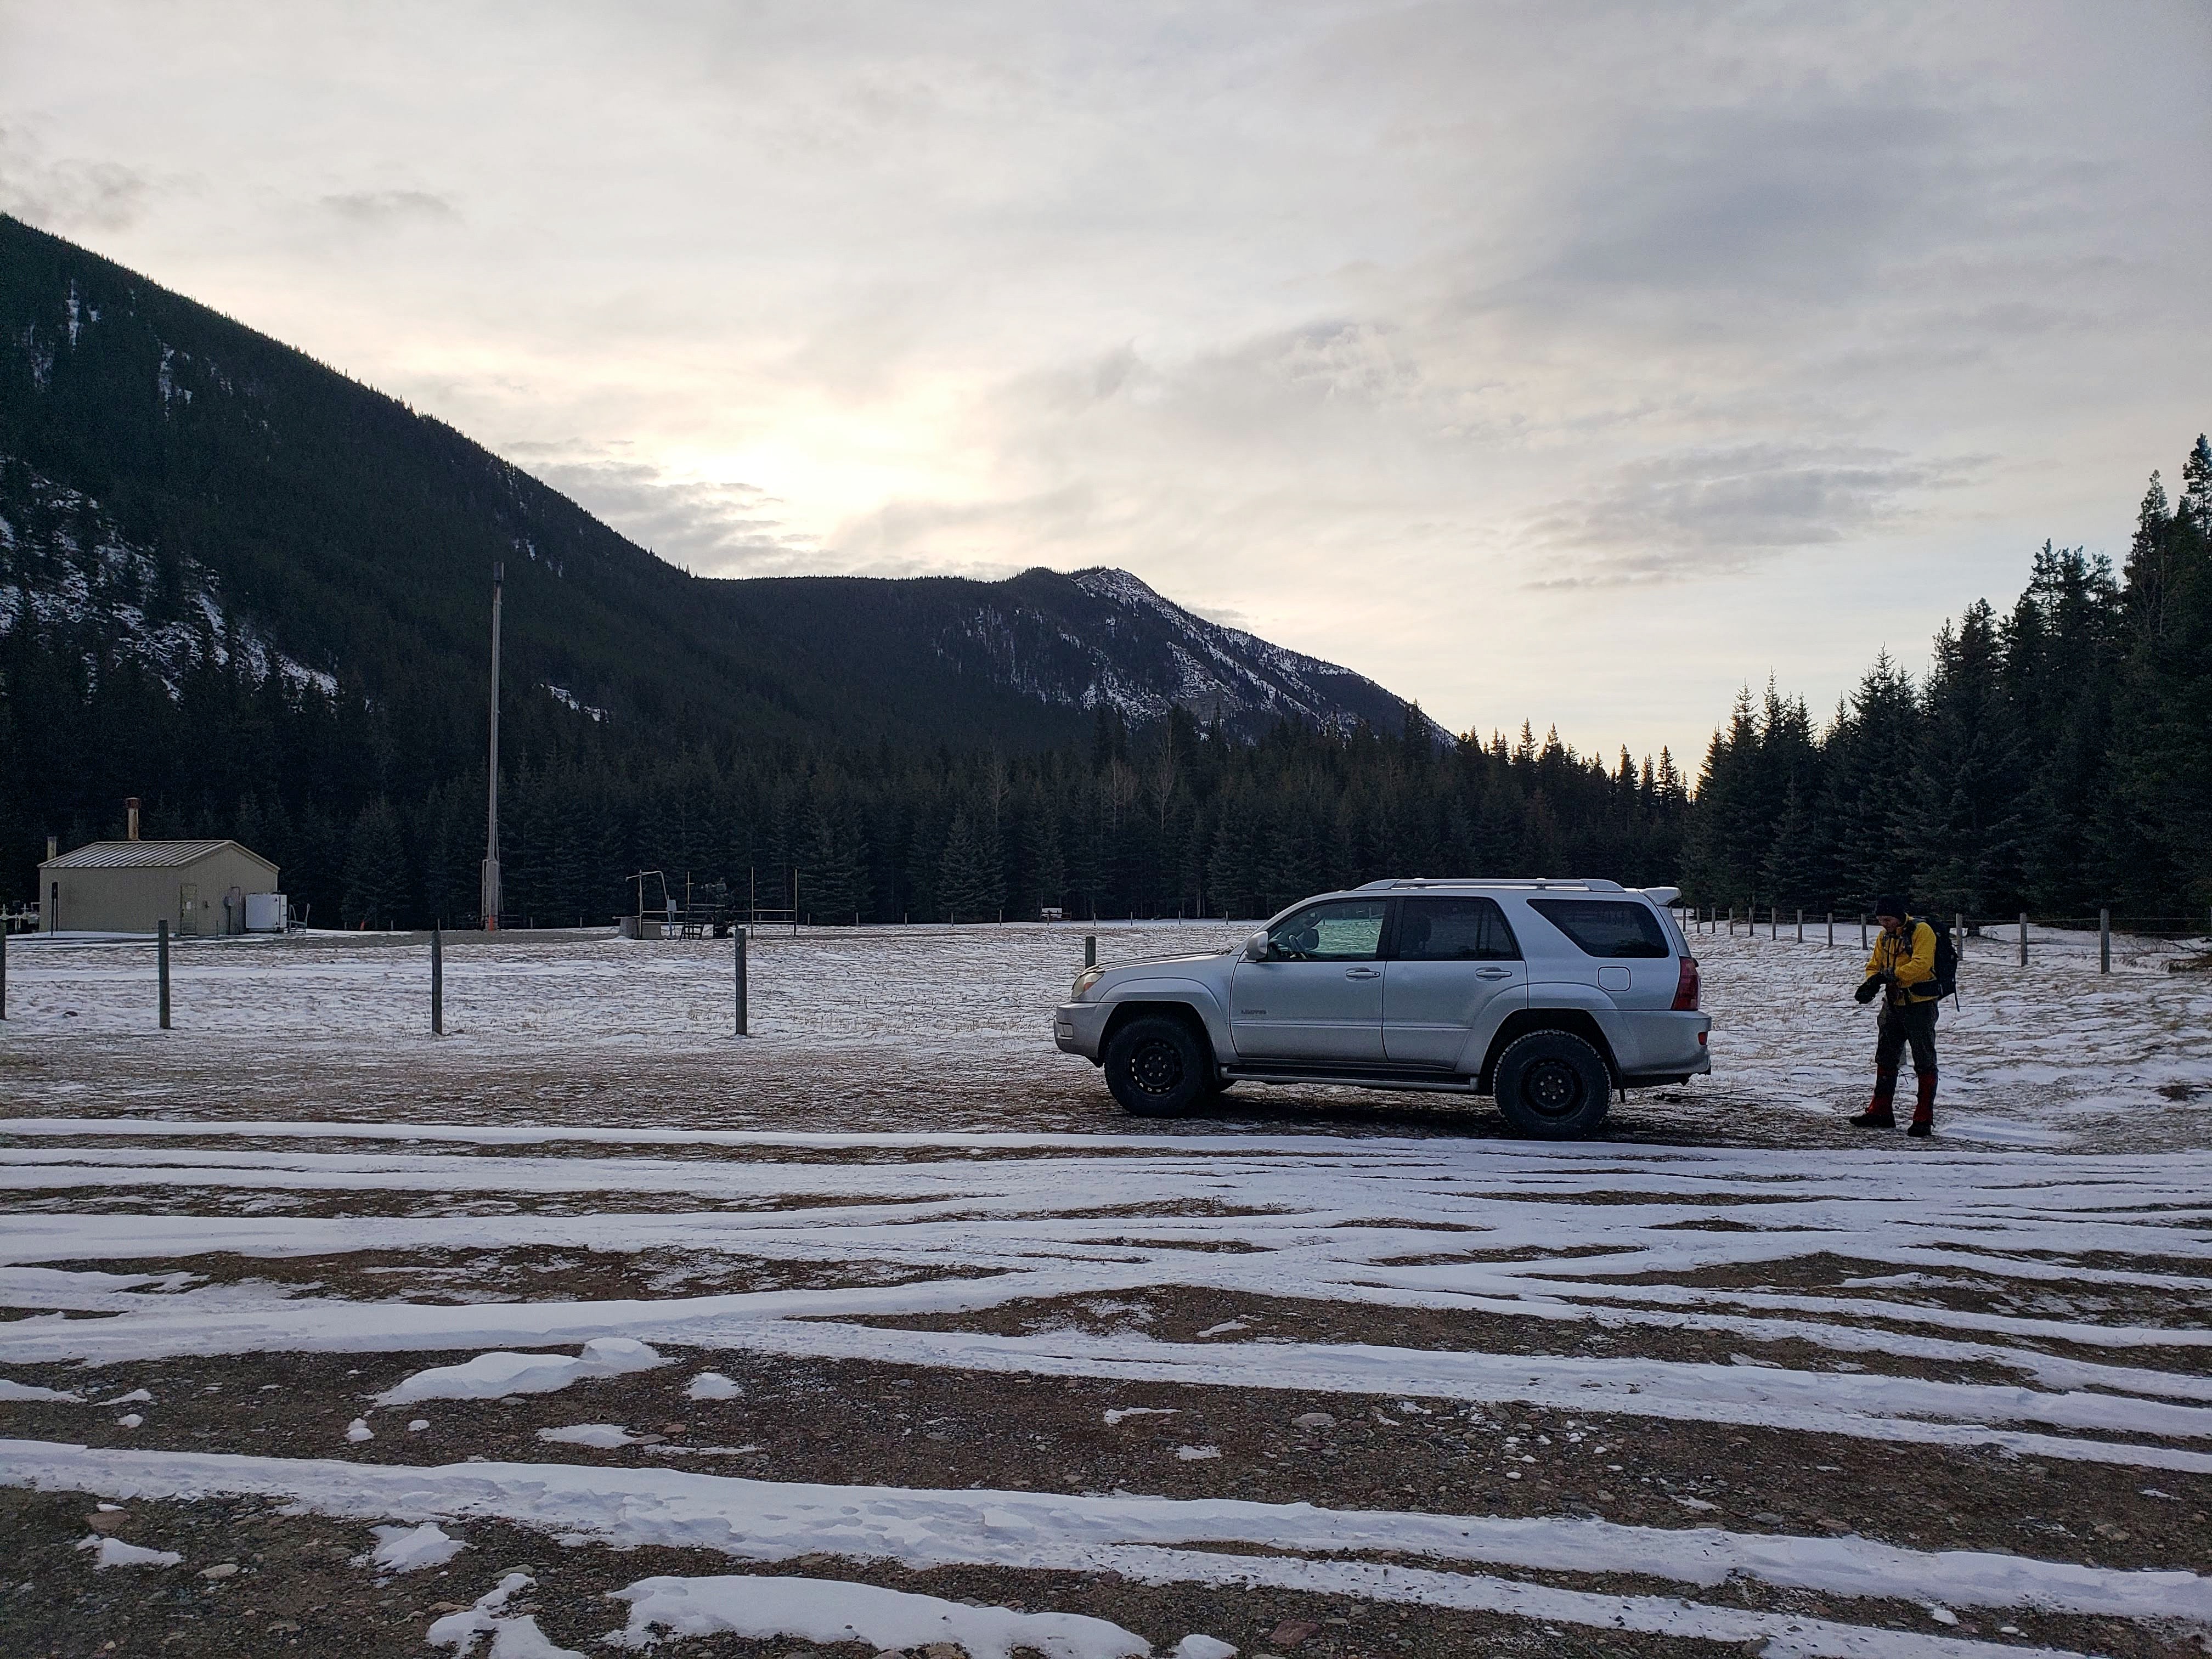
Gearing up at the well site beneath “Whitney Creek Mountain”. Our original plan was to ascend “Gladstone’s Toe”, but fierce chinook winds forced us to change our minds in favour of what we thought would be a sheltered route up the northwest and north faces of MCP – boy were we wrong!

MCP (centre) is visible from the open embankment just to the south of the well site.

Enjoying easy travel along the trail.
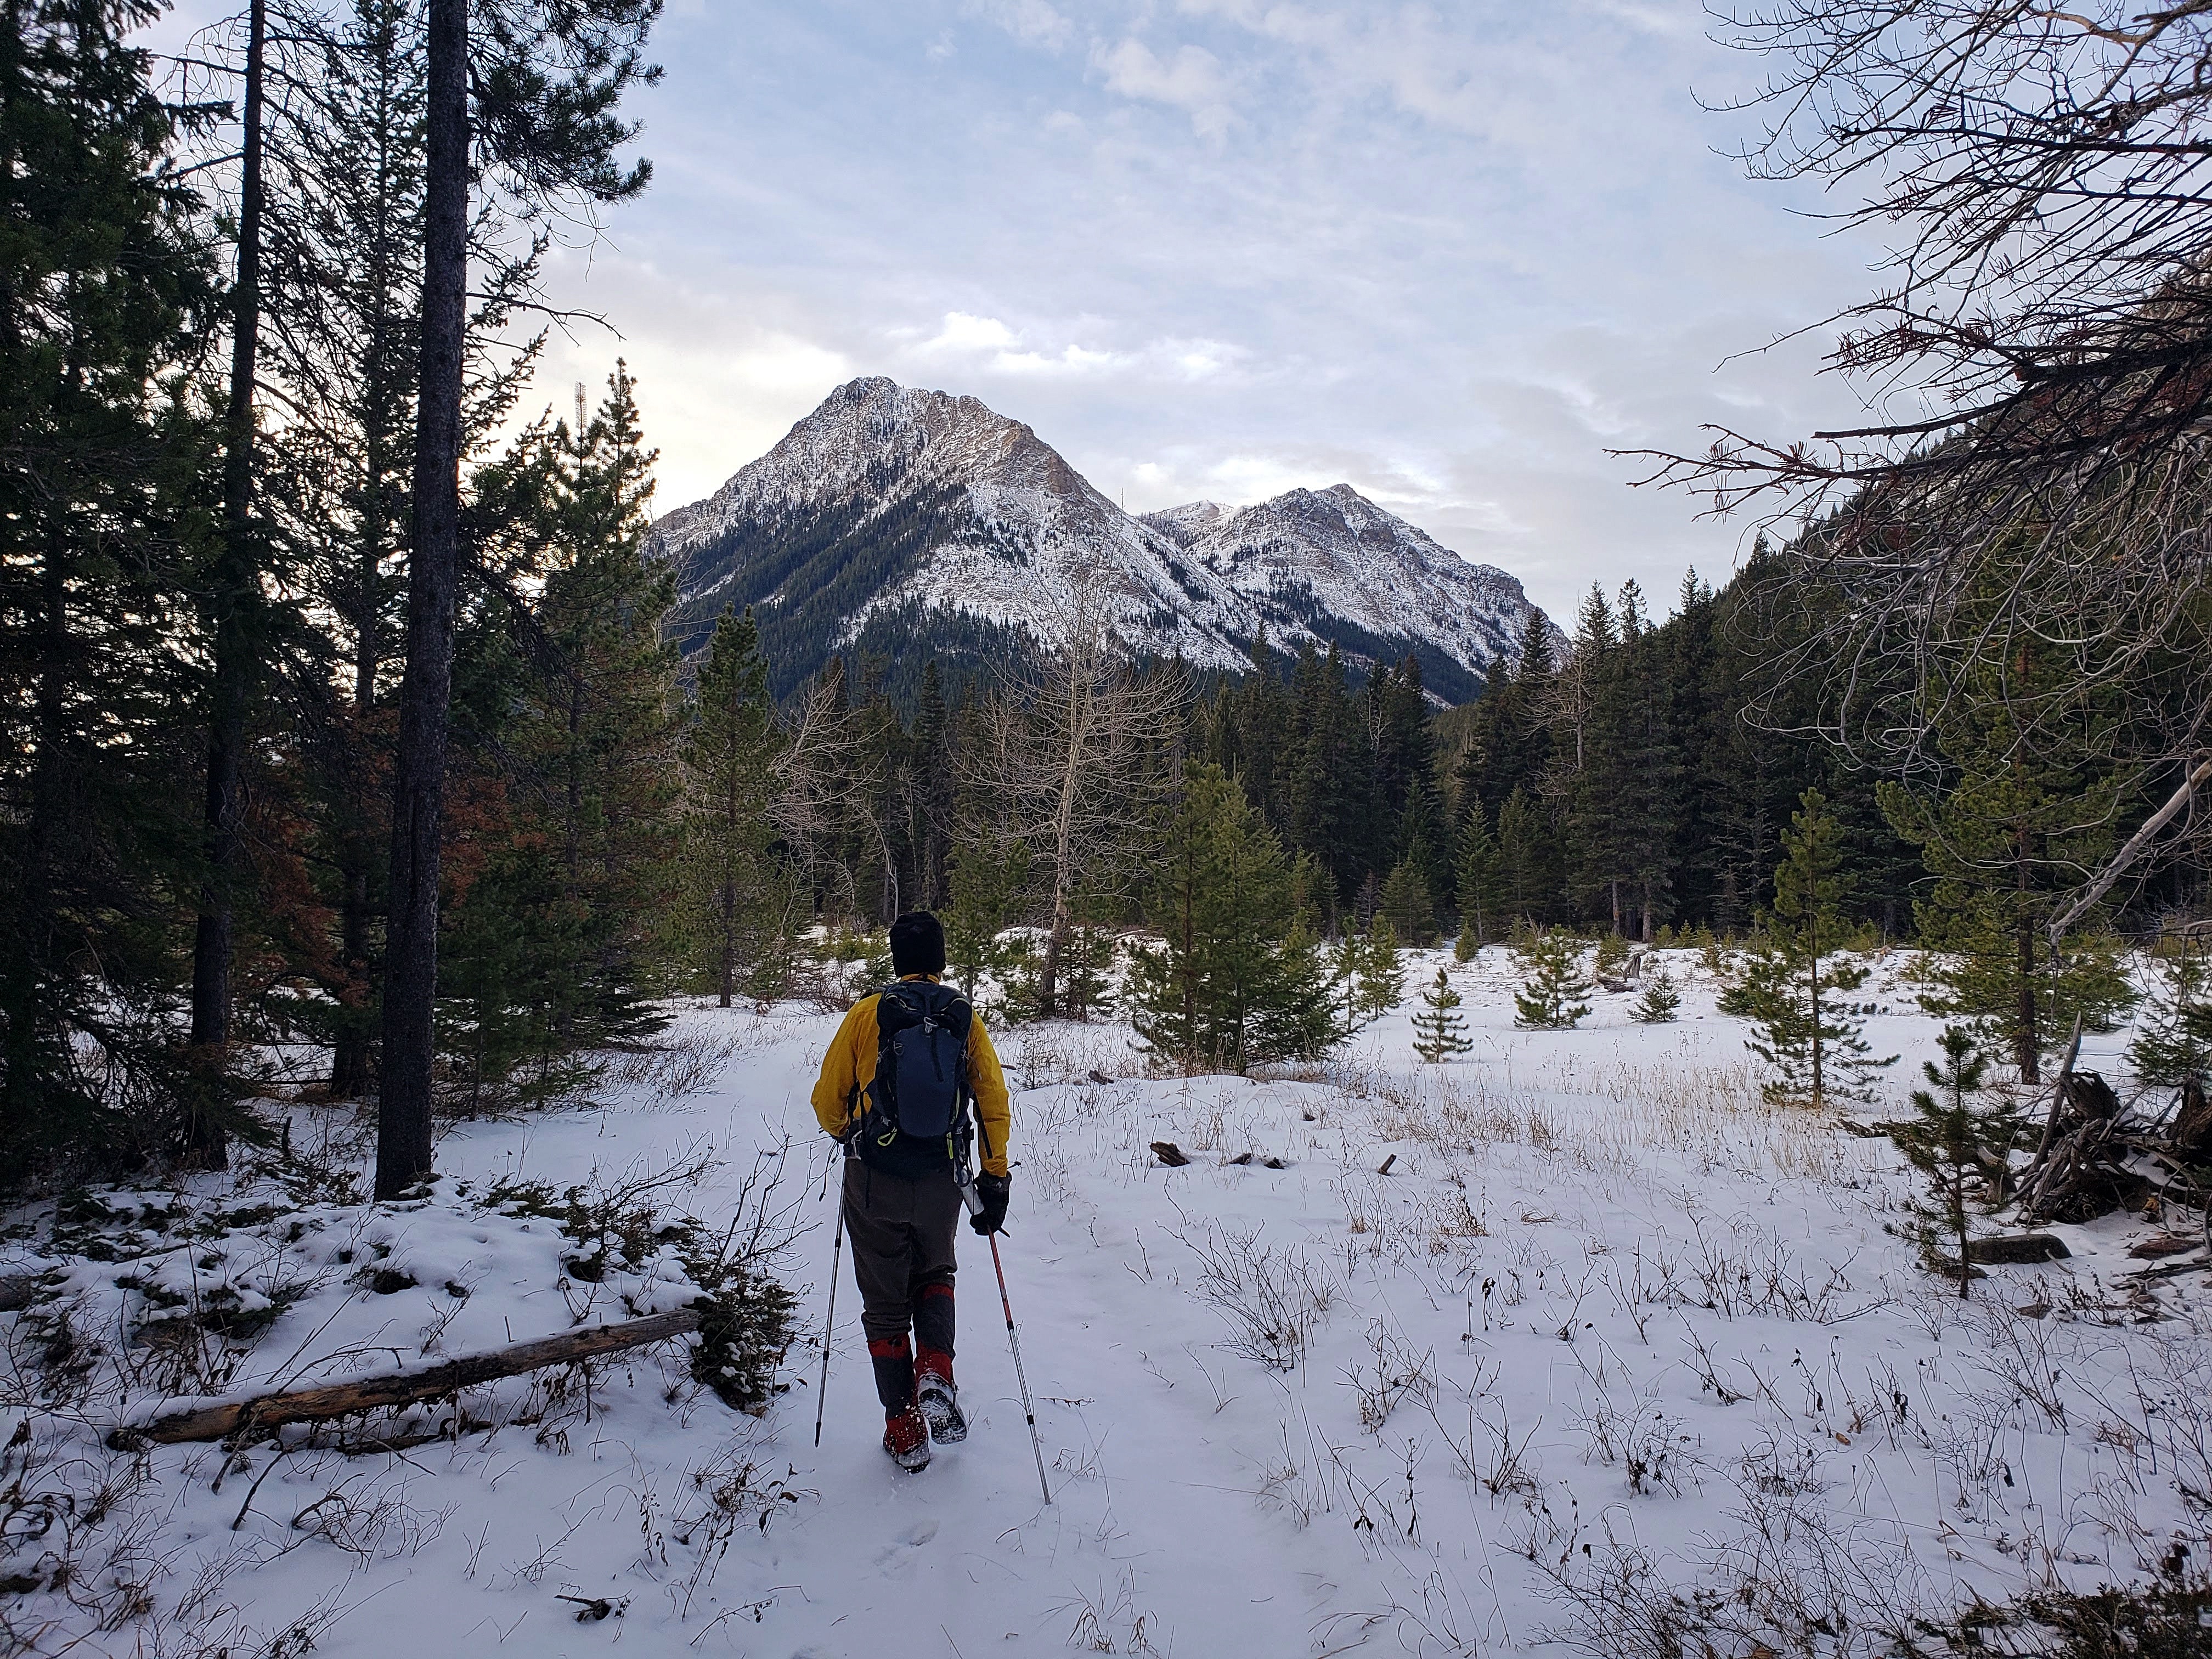
A more comprehensive view of the entire MCM massif from the trail. The summit of MCP is on the left while the actual summit of MCM is hidden behind the ridge on the right.
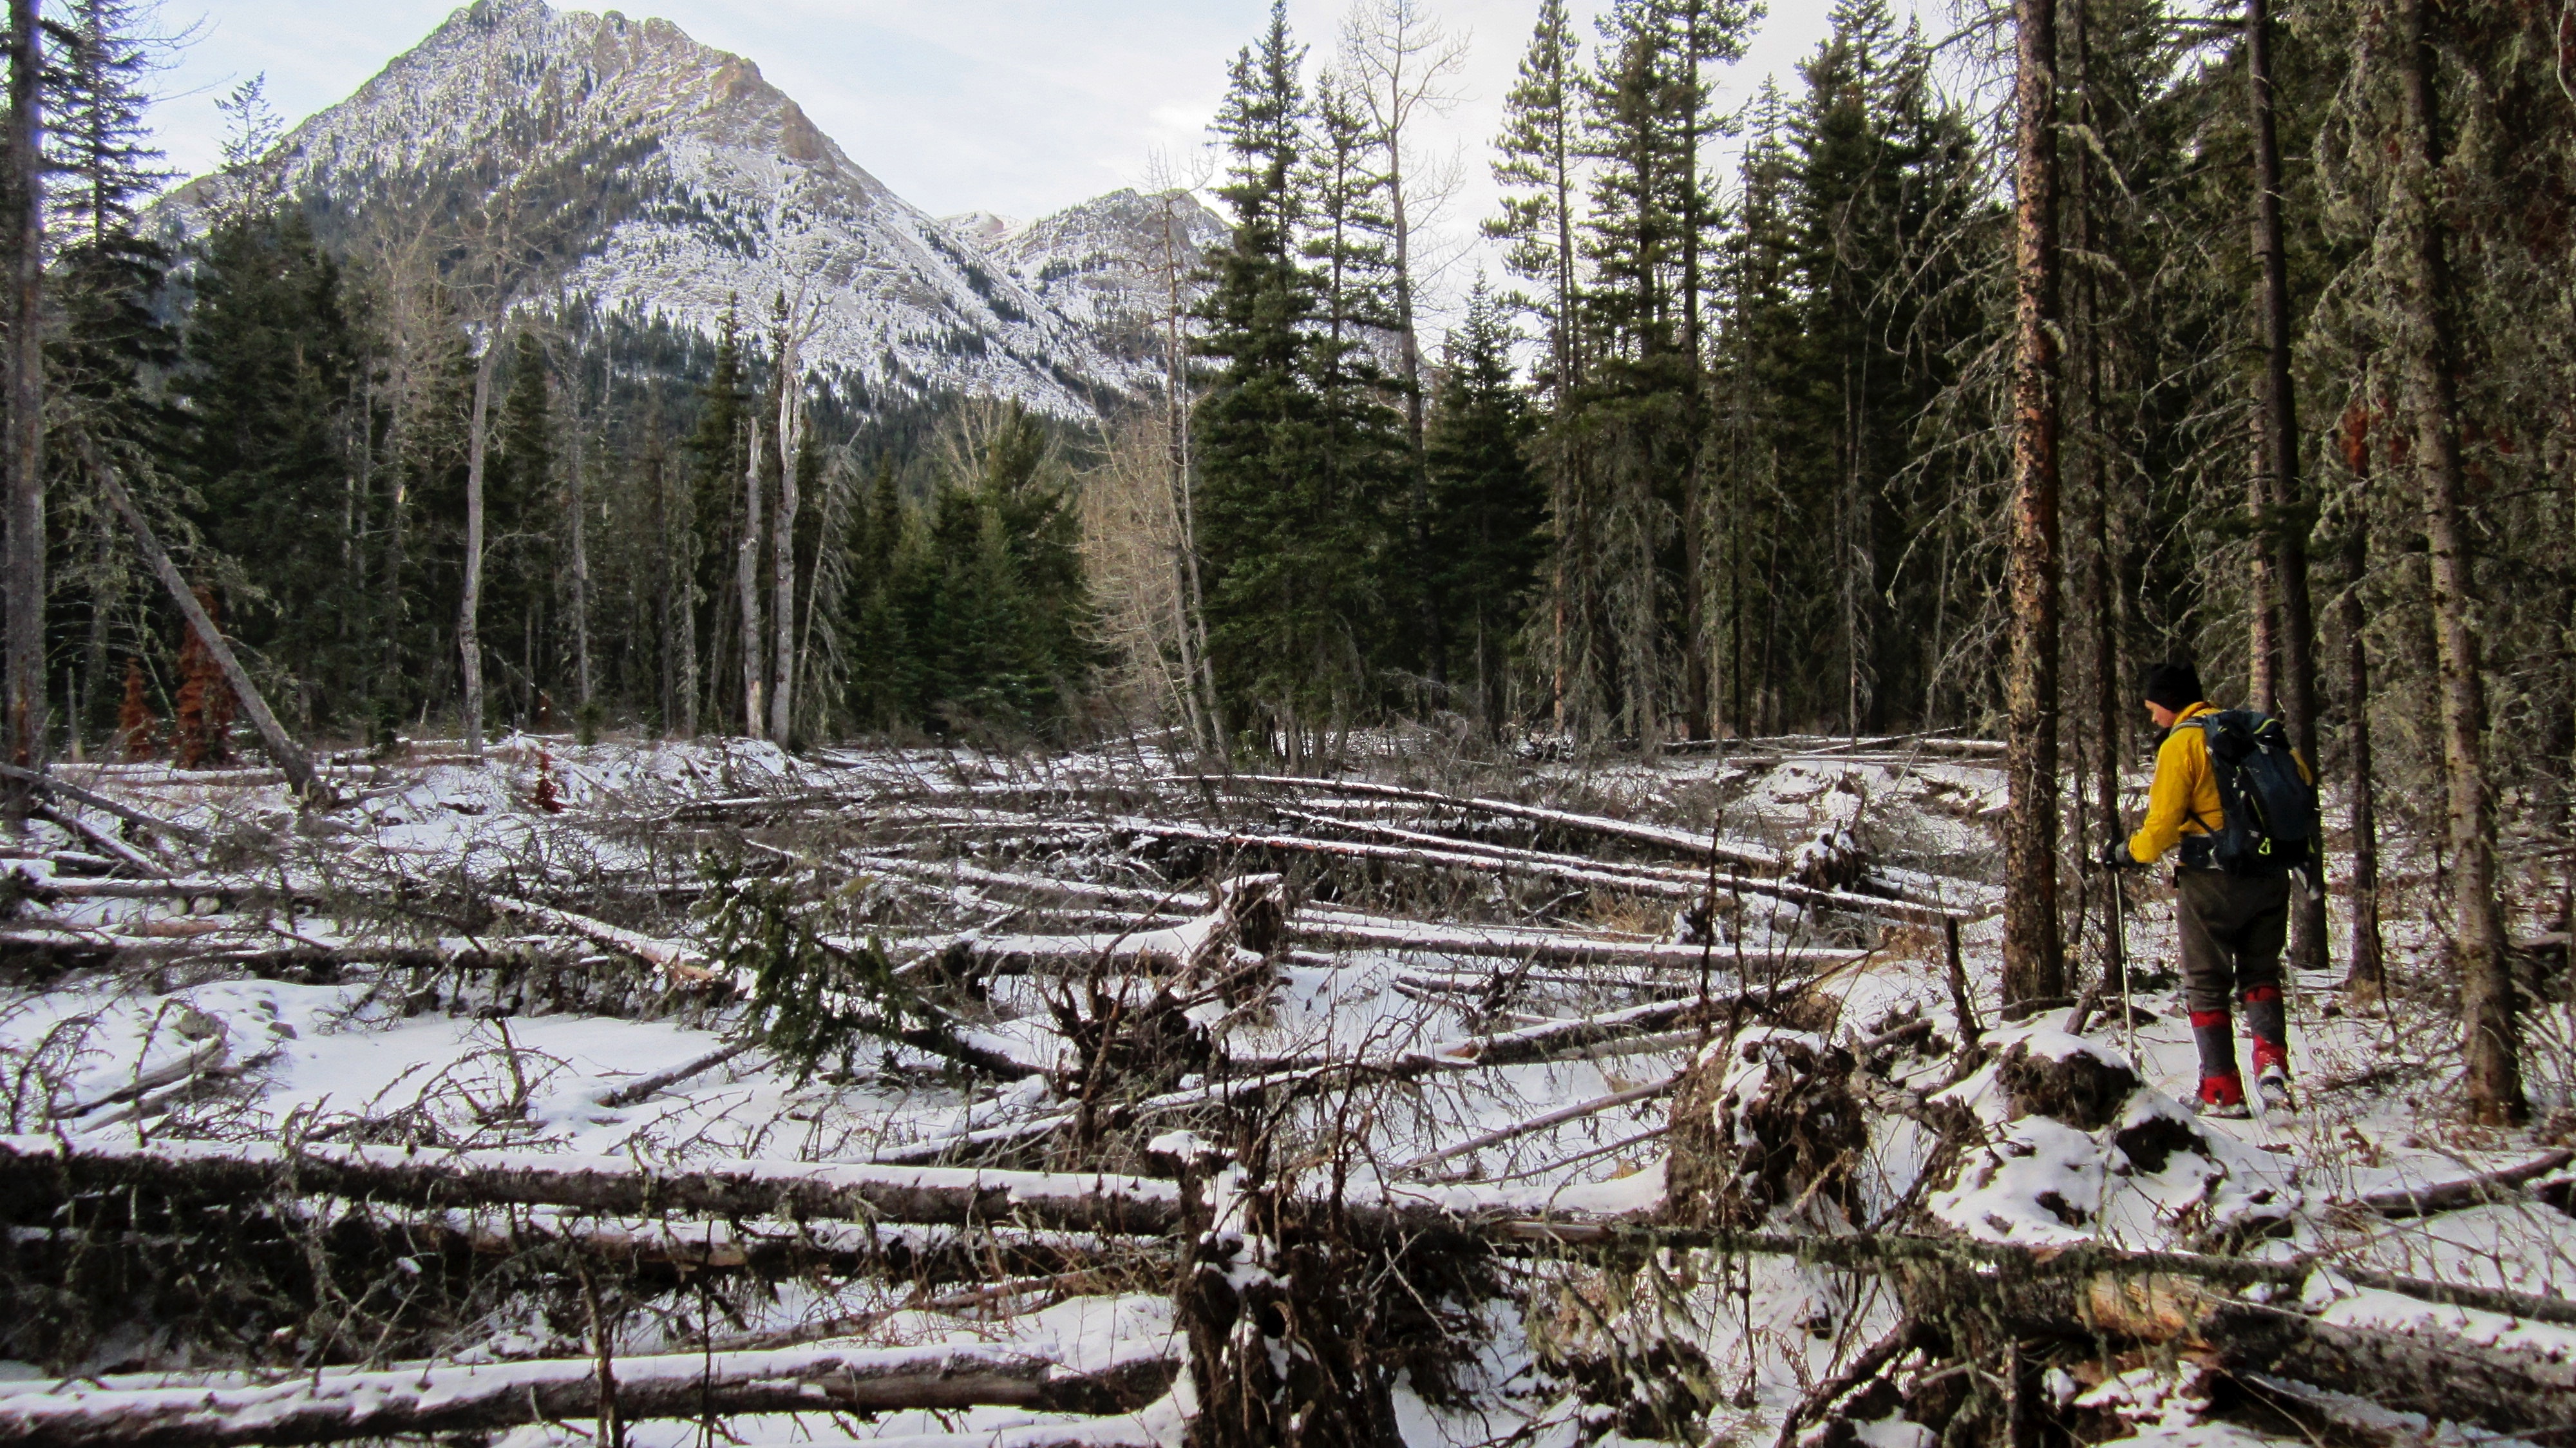
Mill Creek has experienced some wicked flooding in recent years. It would be a little hard to ‘rake’ this forest… 😉

We followed the trail for ~2.4km from the well site before leaving it to follow a tributary (pictured) to the base of MCP. Strangely, while Mill Creek had little to no water in it, the tributary maintained a healthy flow. The trailhead for the route to Mount Gladstone is somewhere around here, but neither of us thought to look for it nor could we find it on the way back.
Apparently, the Castle now offers electrical charging stations in the backcountry! 😉

The gorgeous little tributary.
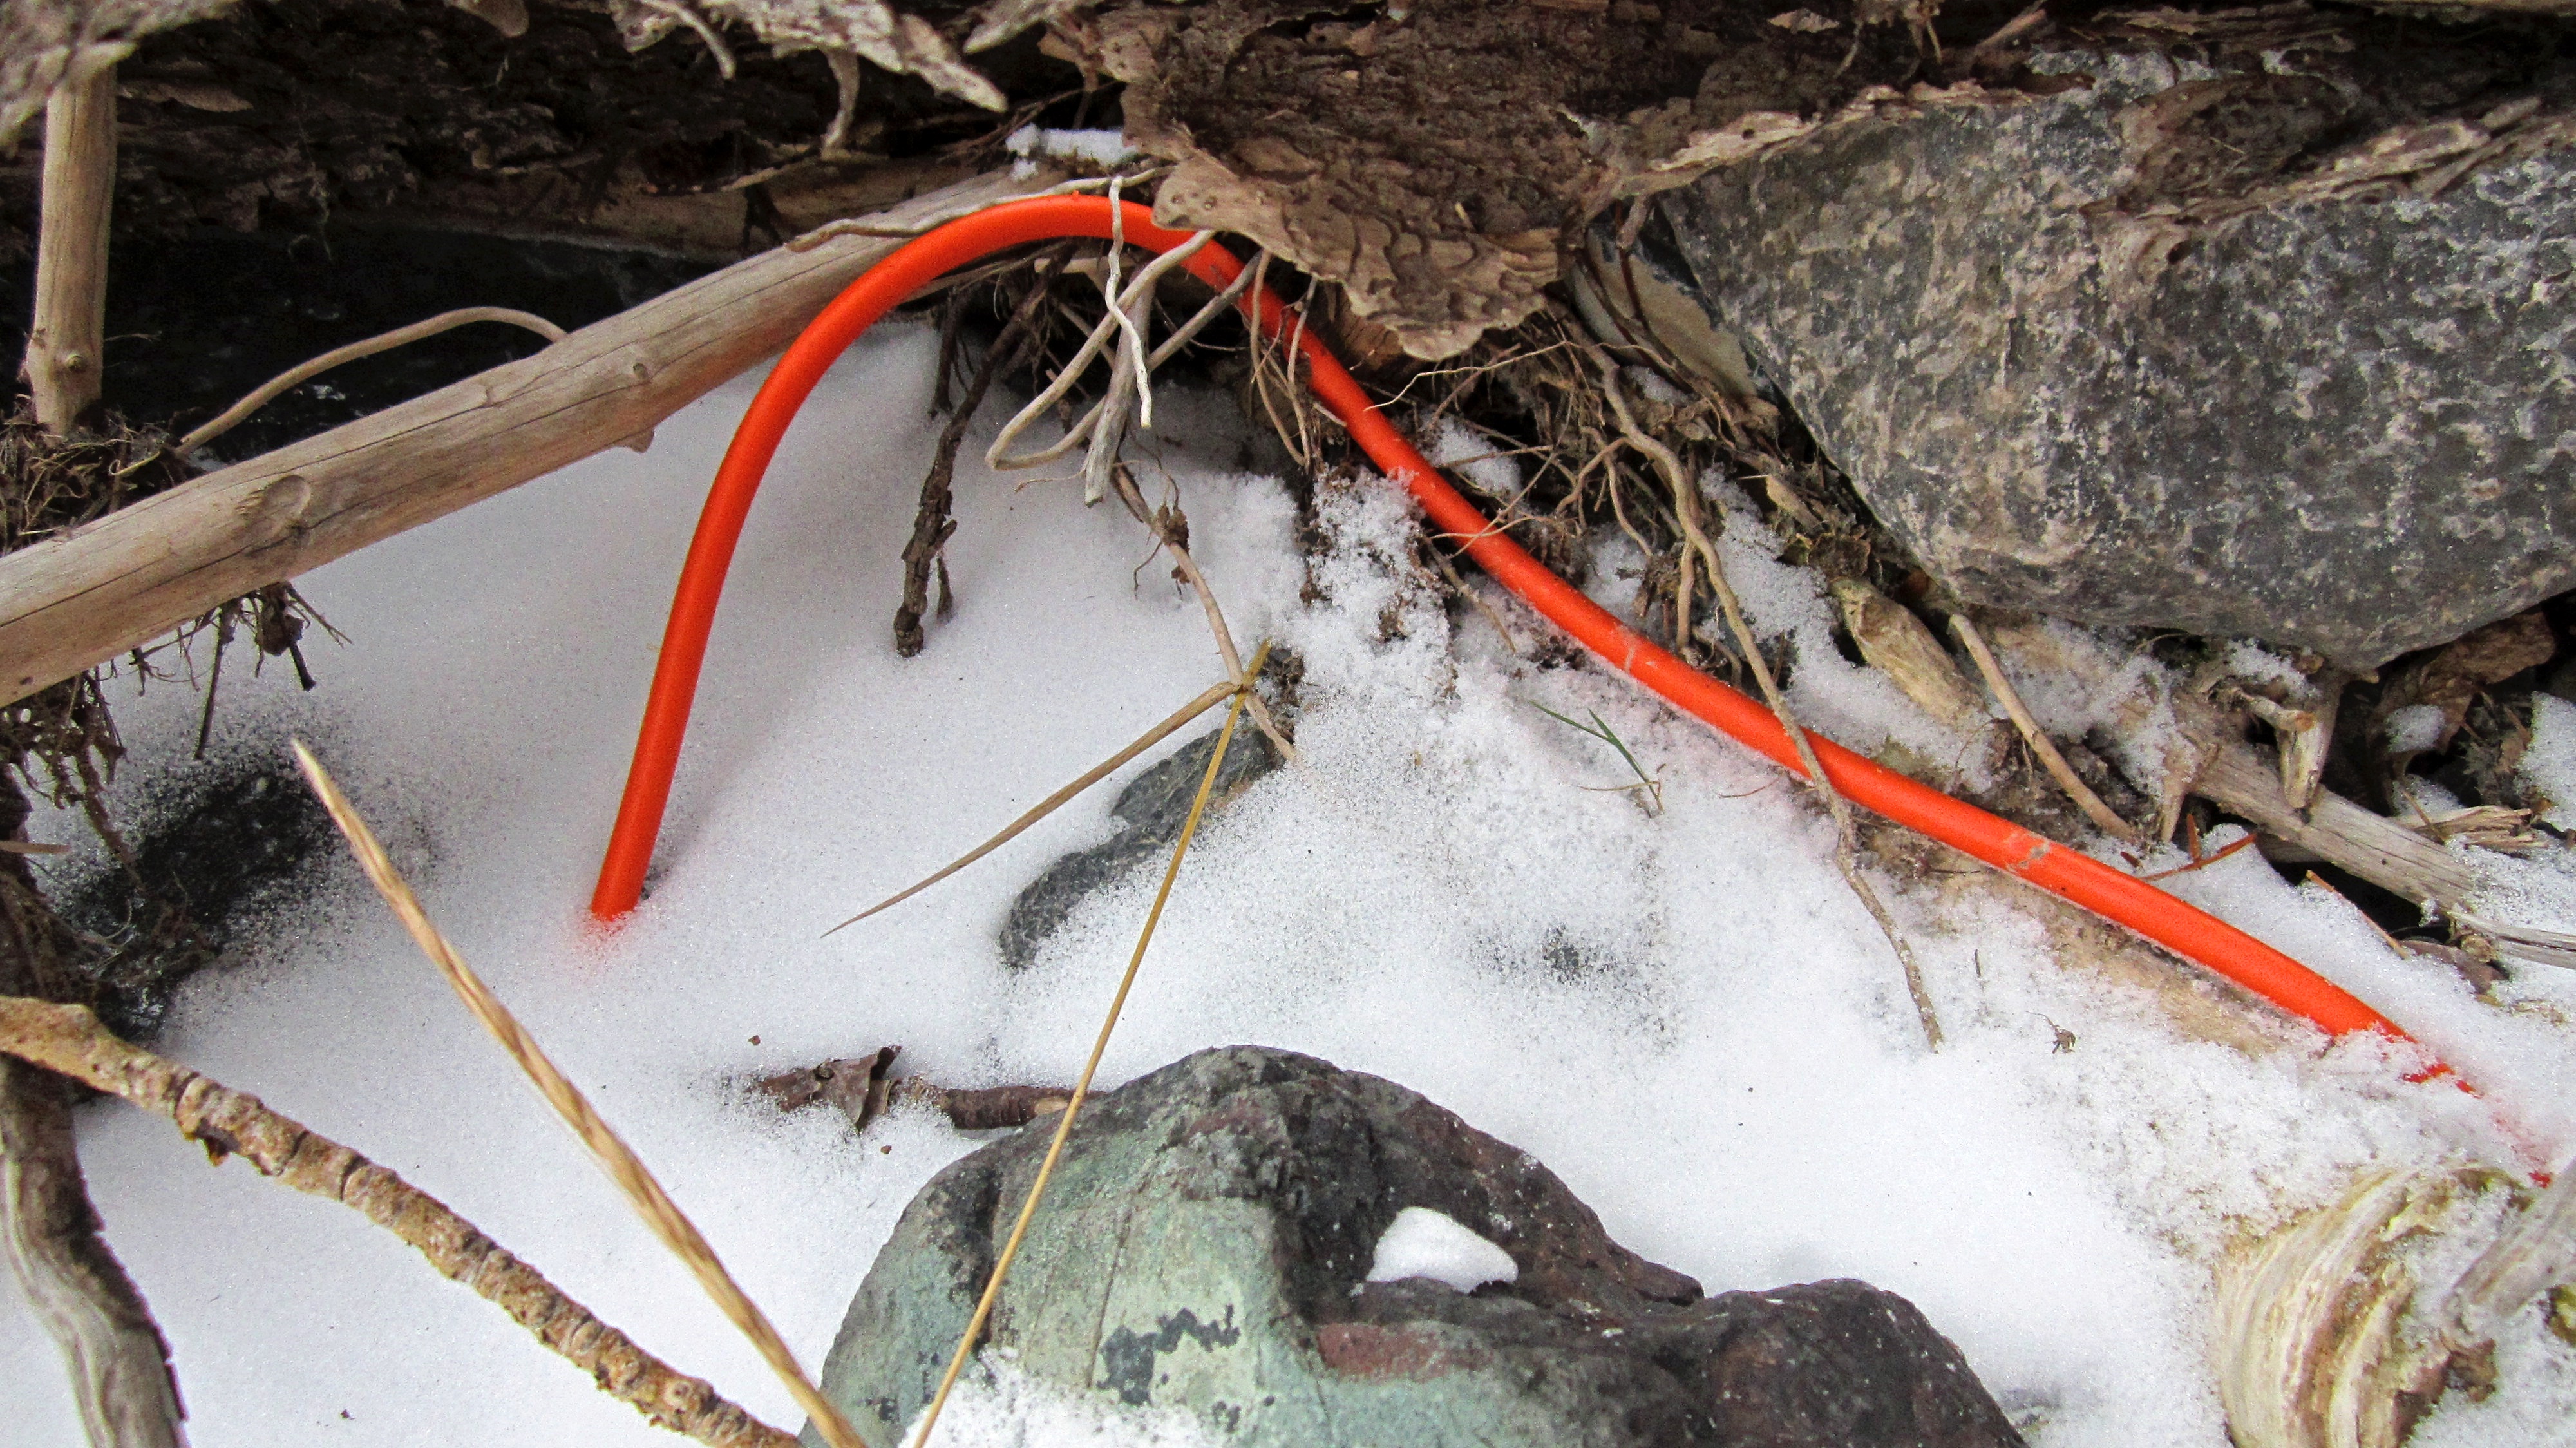
This vegetation had grown straight out of the rock. Either this is the original Chia Pet or the electrical extension cord that we found is being used to shock the landscape into hair raising situations. 😉

At first, travel along the tributary was relatively easy.

Looking down on a small series of waterfalls.

Erosion from flooding, thick deadfall, and locating suitable locations to crisscross the tributary eventually slowed our progress.

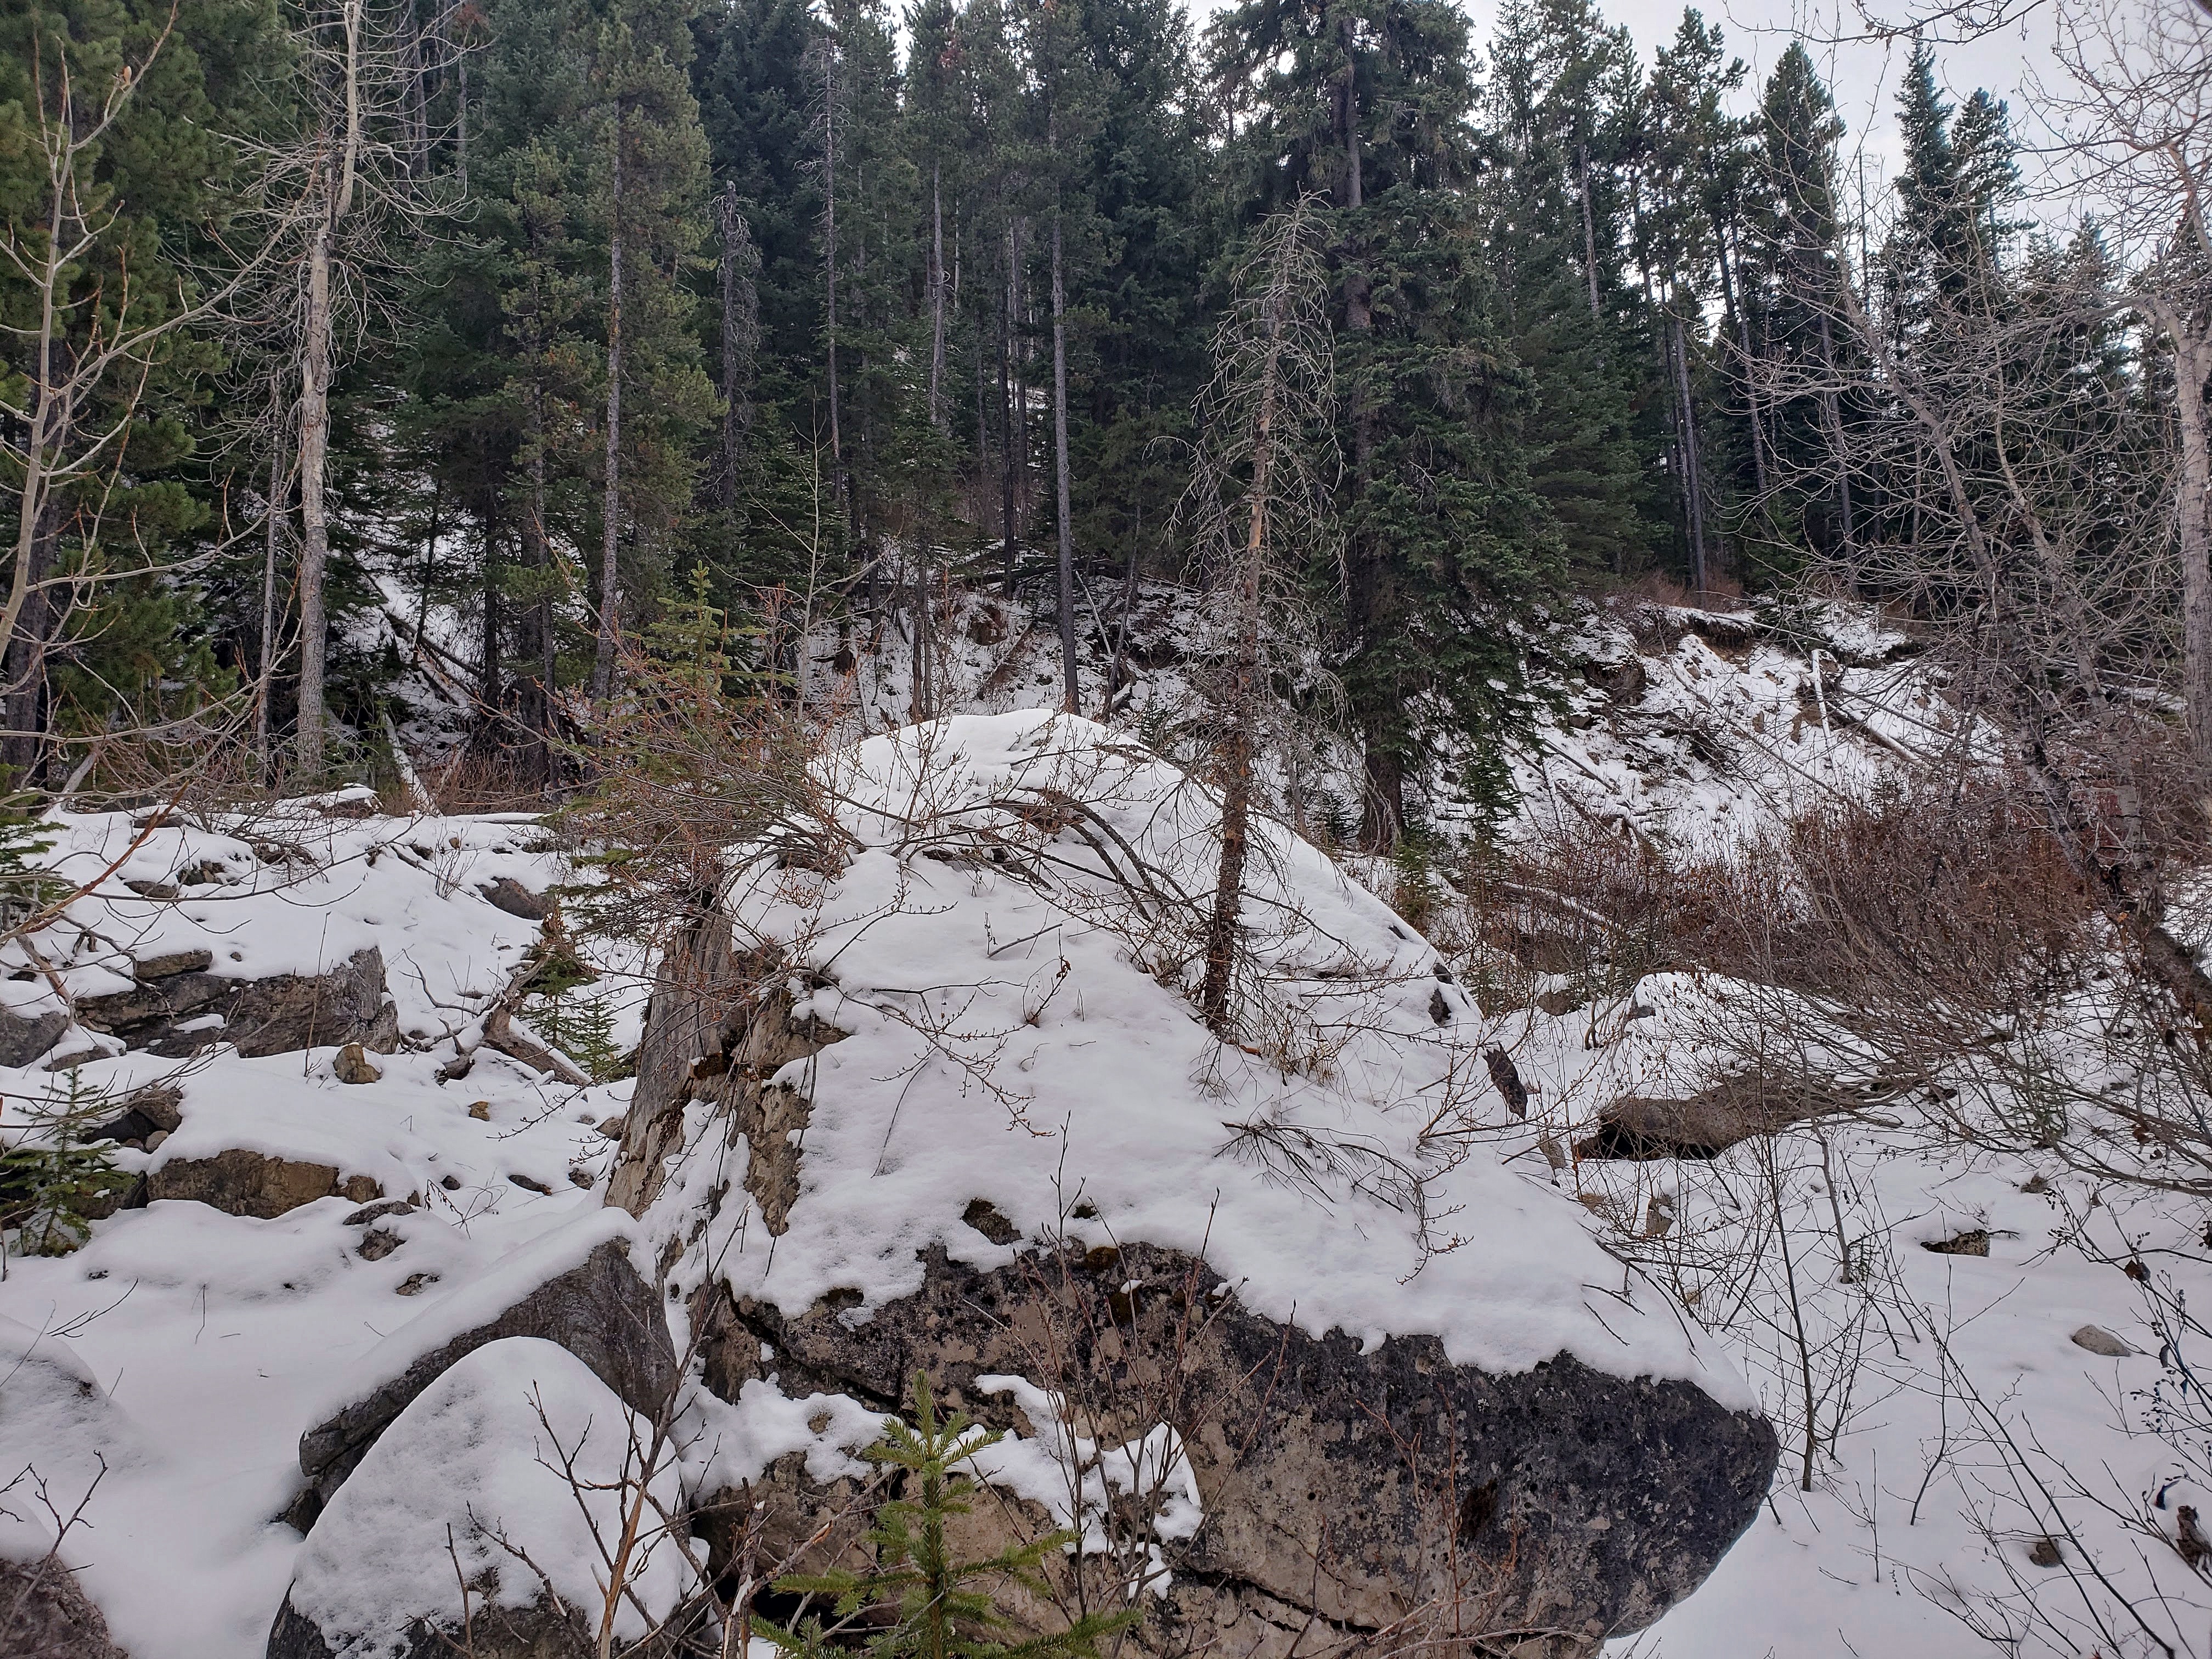
The first (left) and second drainages that lead off of MCP. In my 2015 trip, we used the third drainage (not pictured but located in the gap on the right) for both ascent and descent. Not wanting to prolong our bushwhacking any more than we had to, Andrew and I decided to ascend the second drainage as far as we could before eventually crossing over to either the third drainage and/or more friendly slopes on the northwest face. It would be interesting in summer conditions to see if there was a way up from the first drainage. It looks like there might be, but then again, the terrain is WAY steeper than it looks.
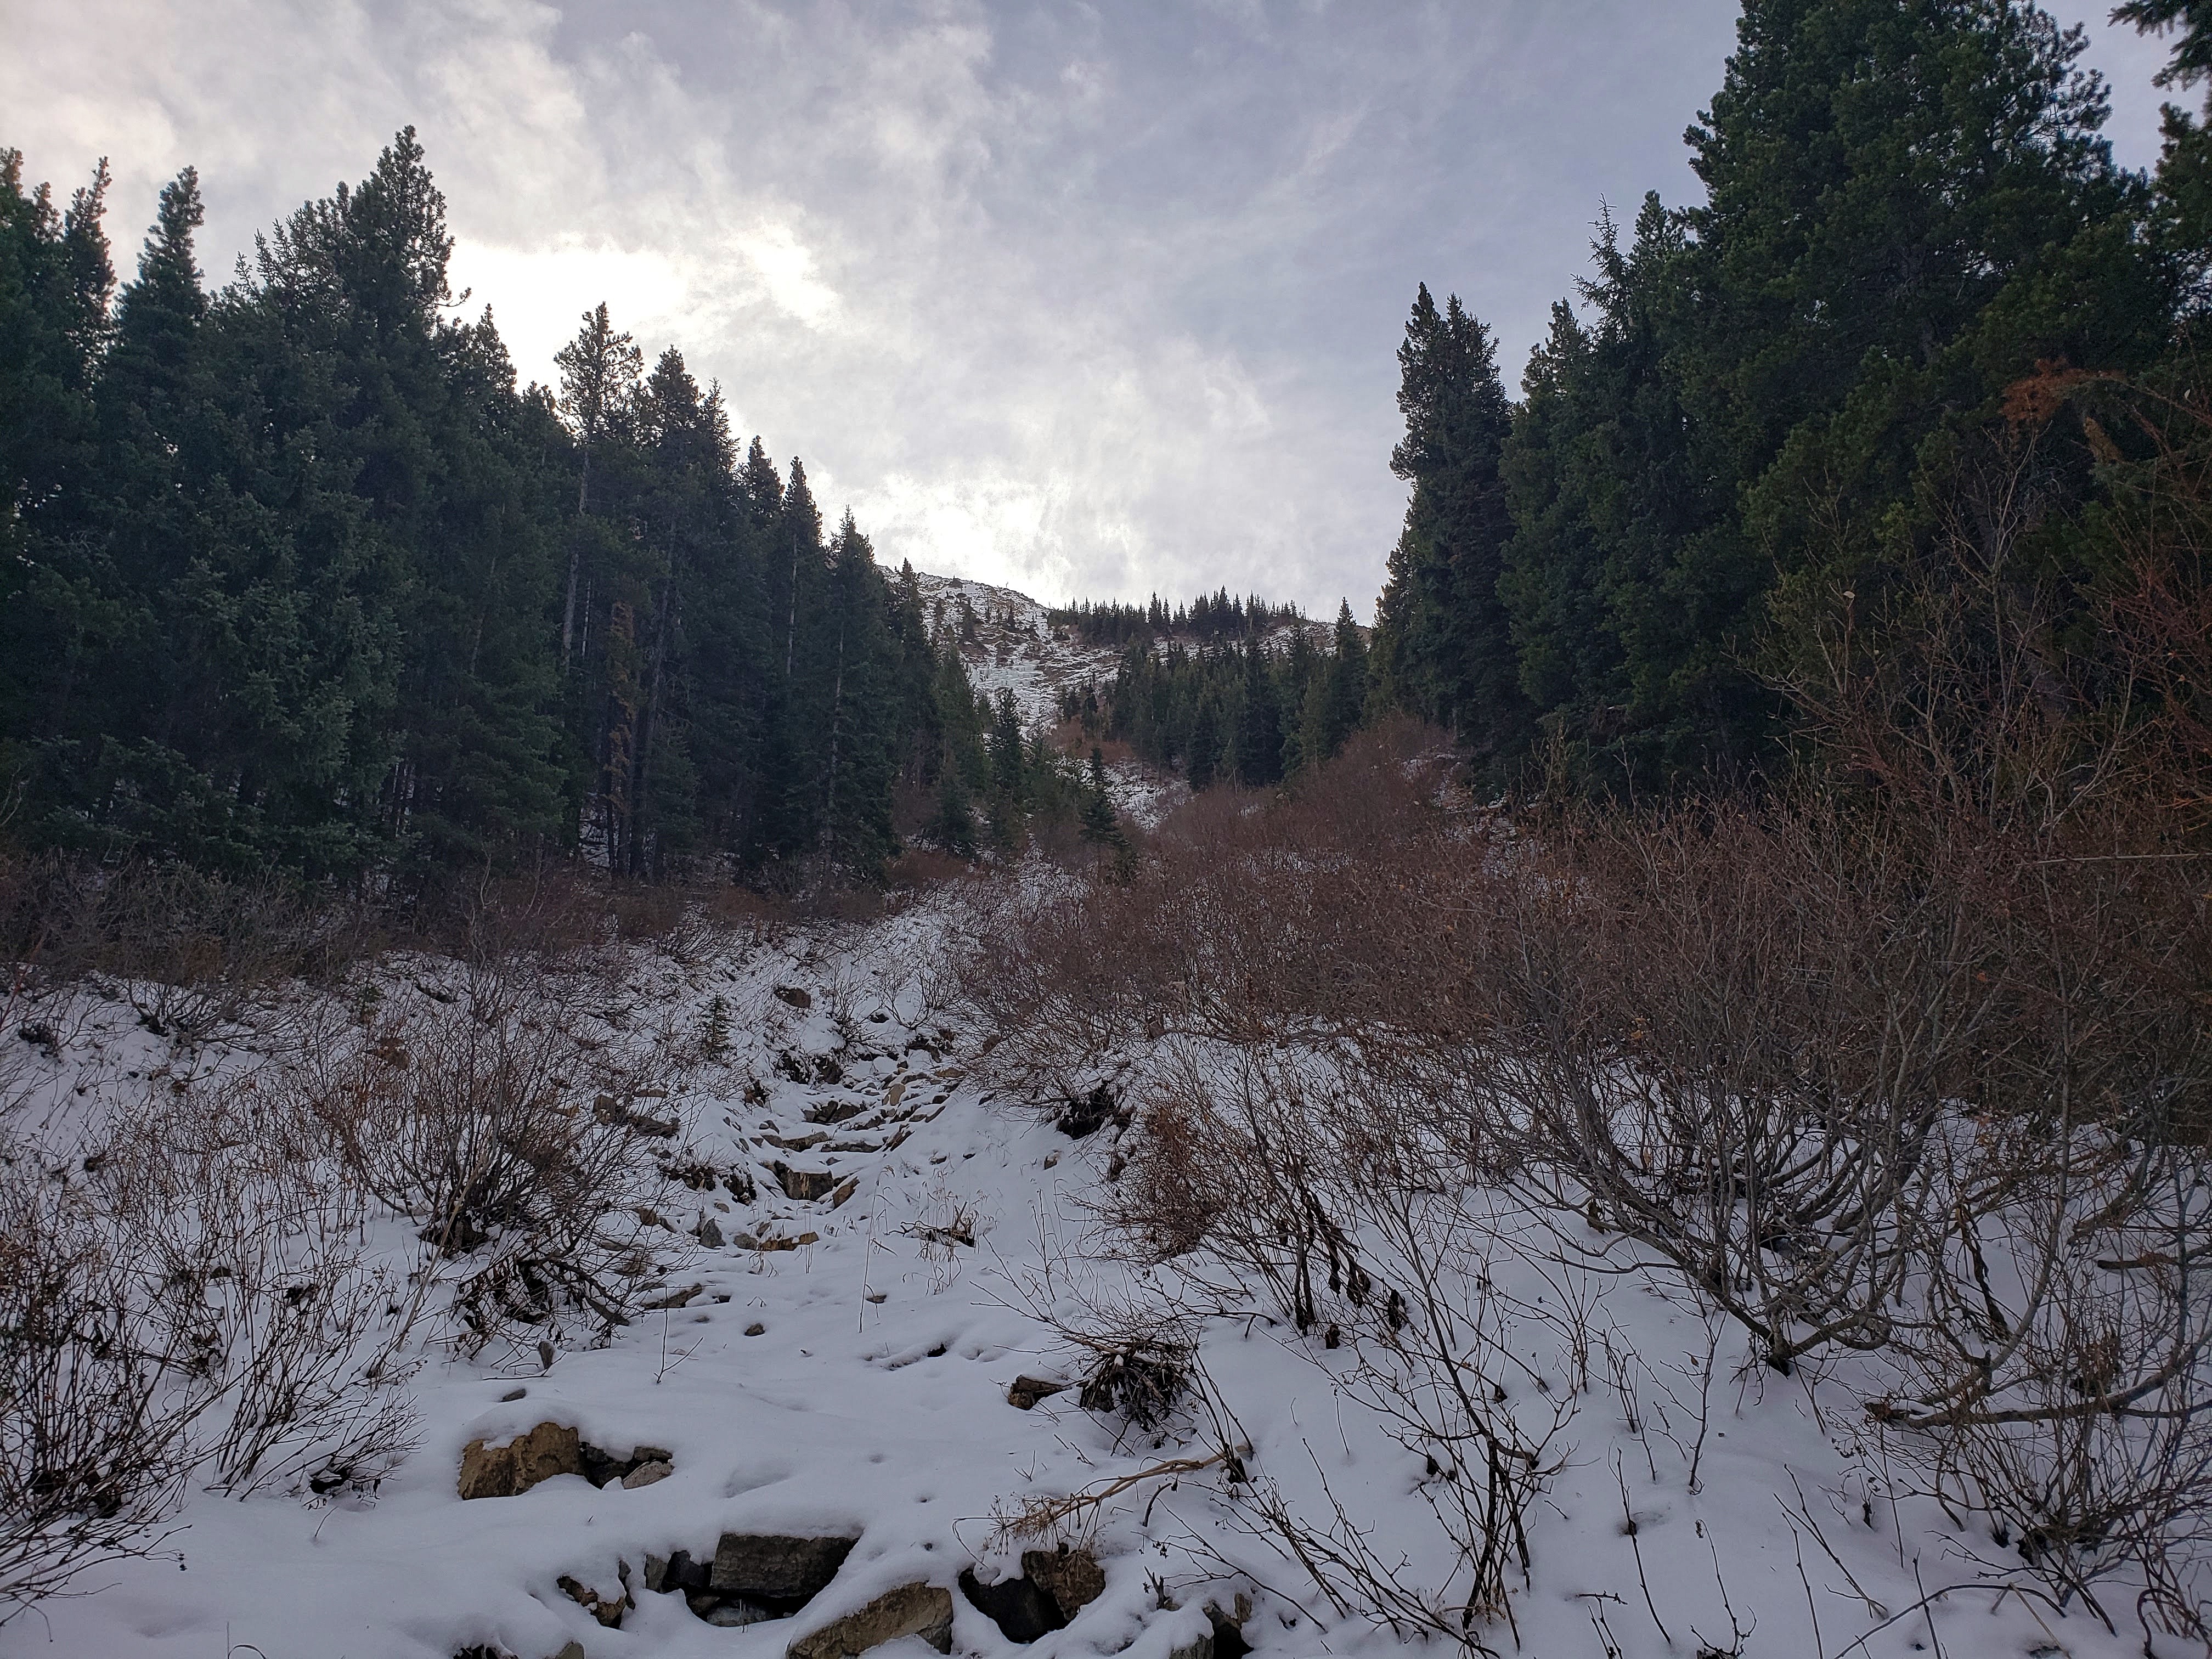
The view from the the base of the second drainage.

The lower section was free of debris and offered decent stepping stones. Having now ascended both the third and second drainages, I found the second to be somewhat easier, though both are steep.
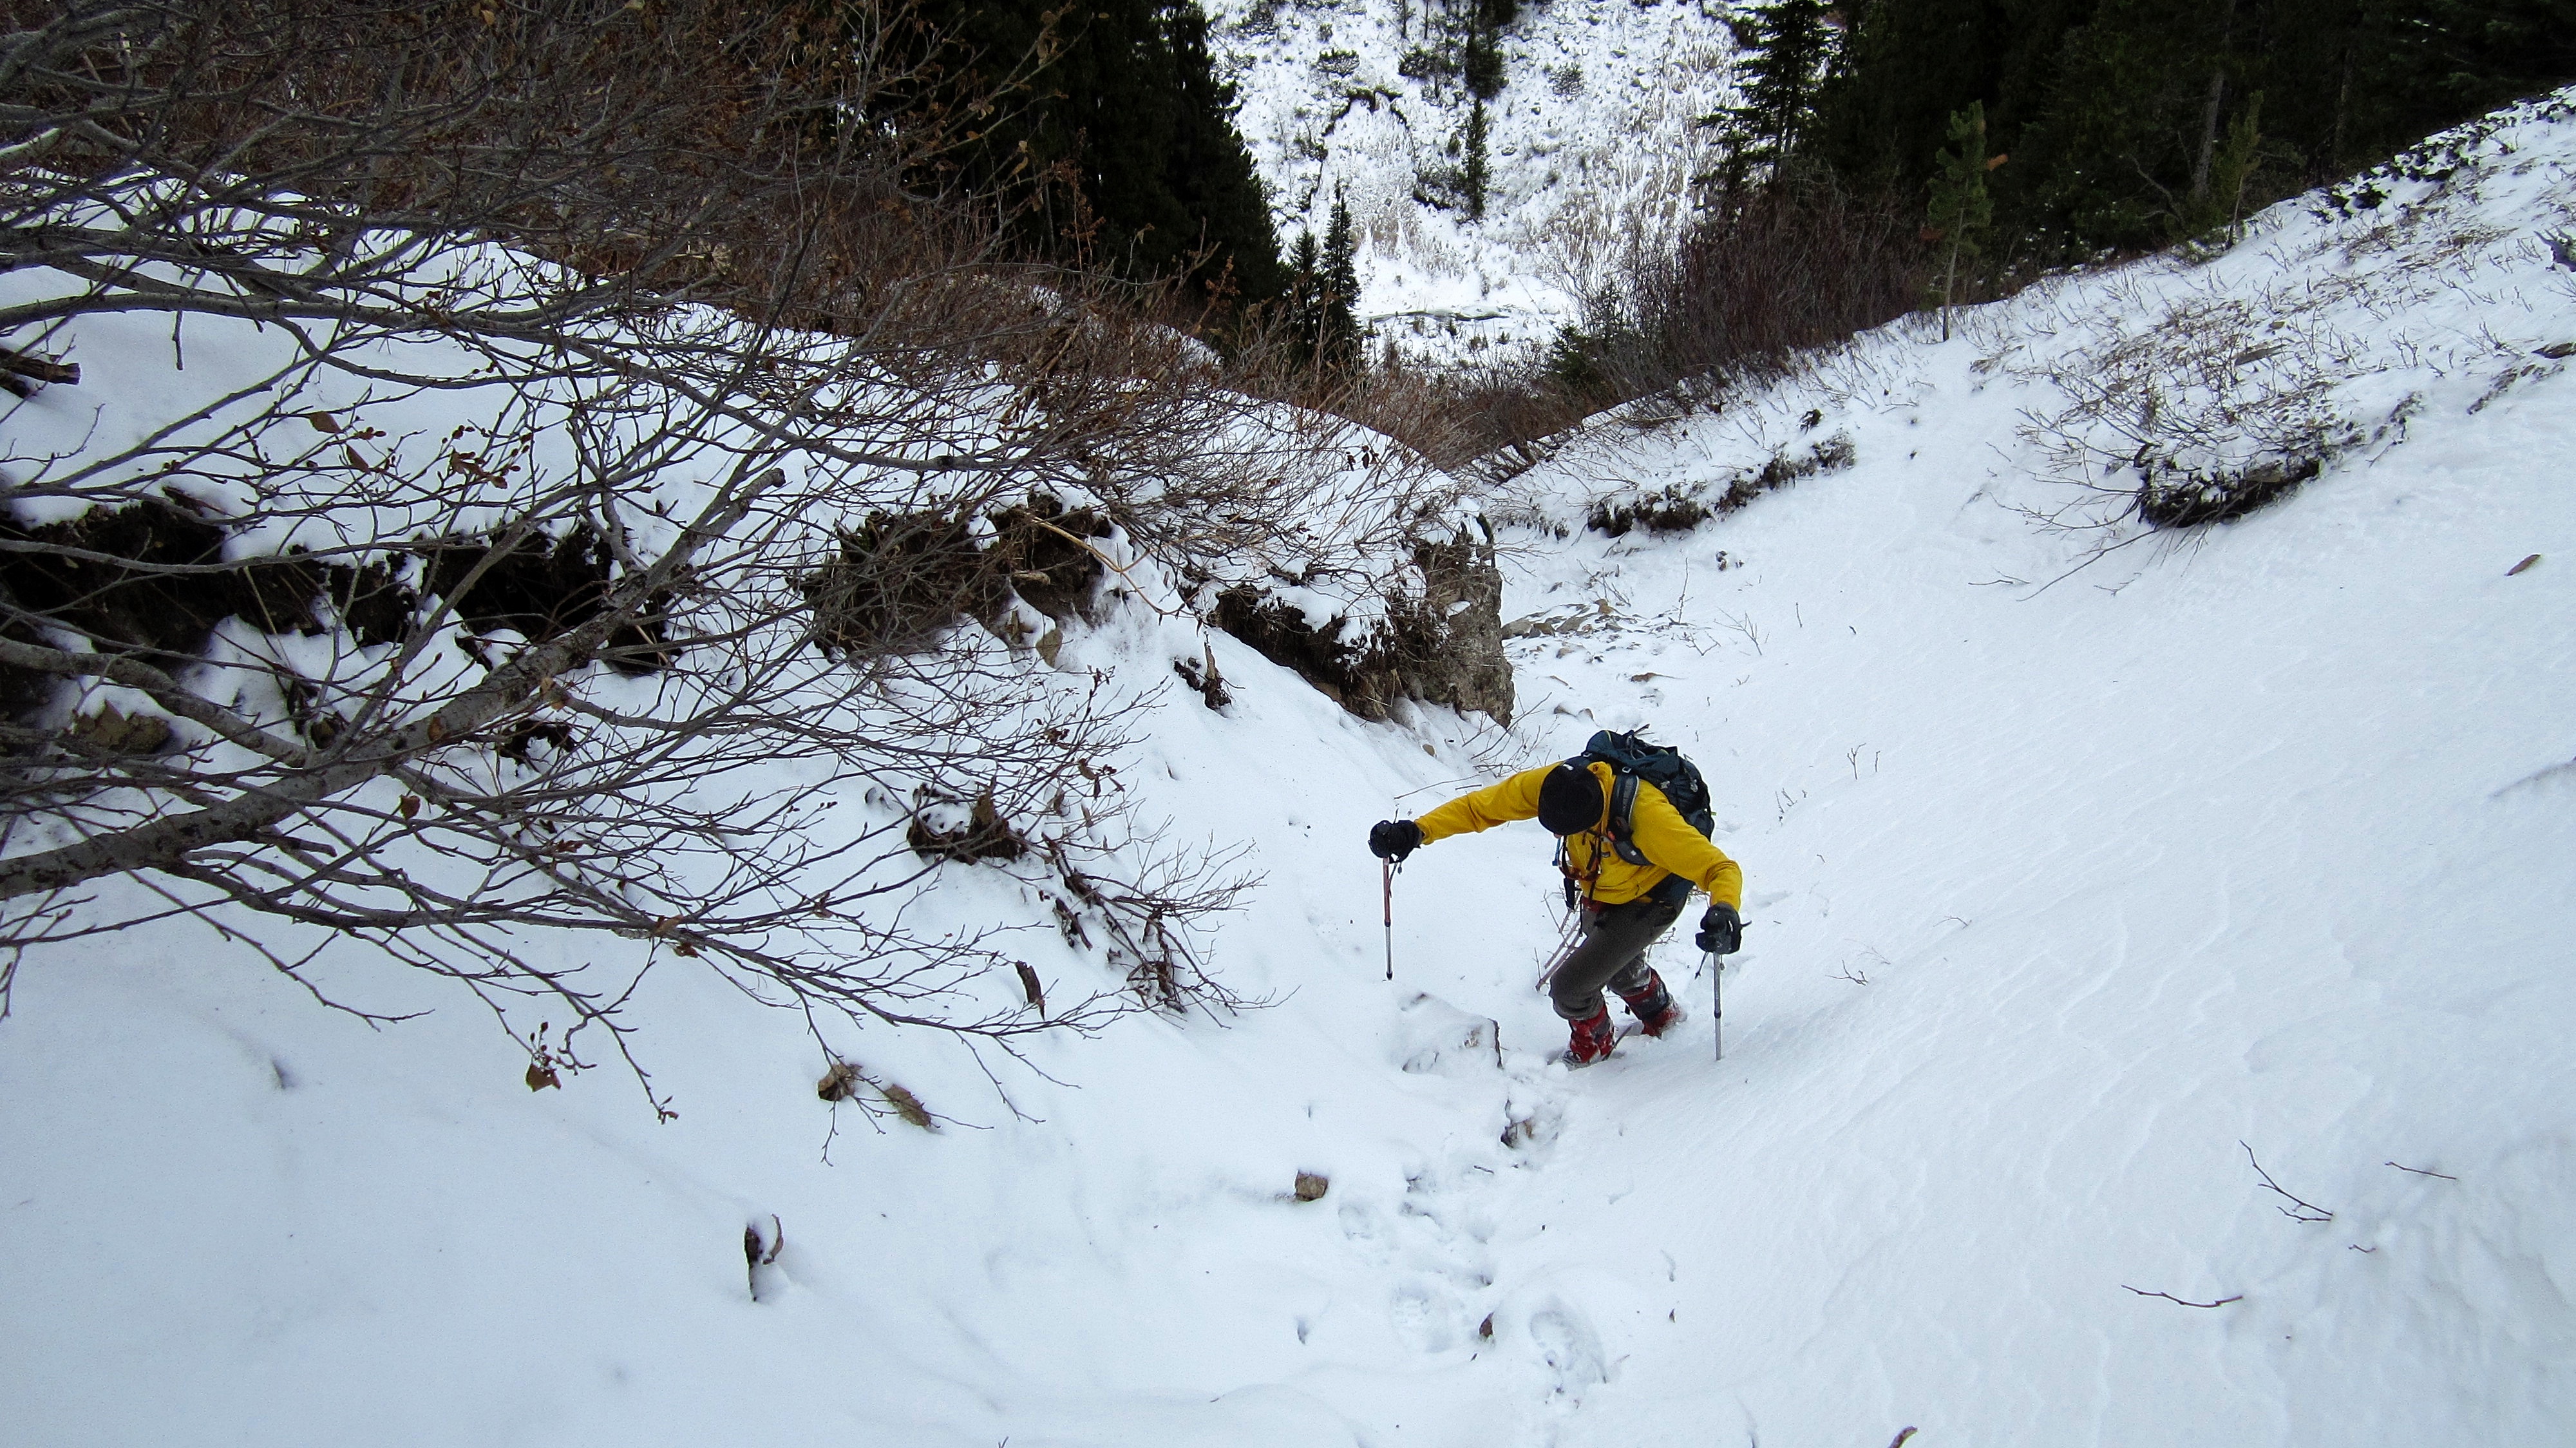
A glance back at Andrew shows how steep the ascent actually was.
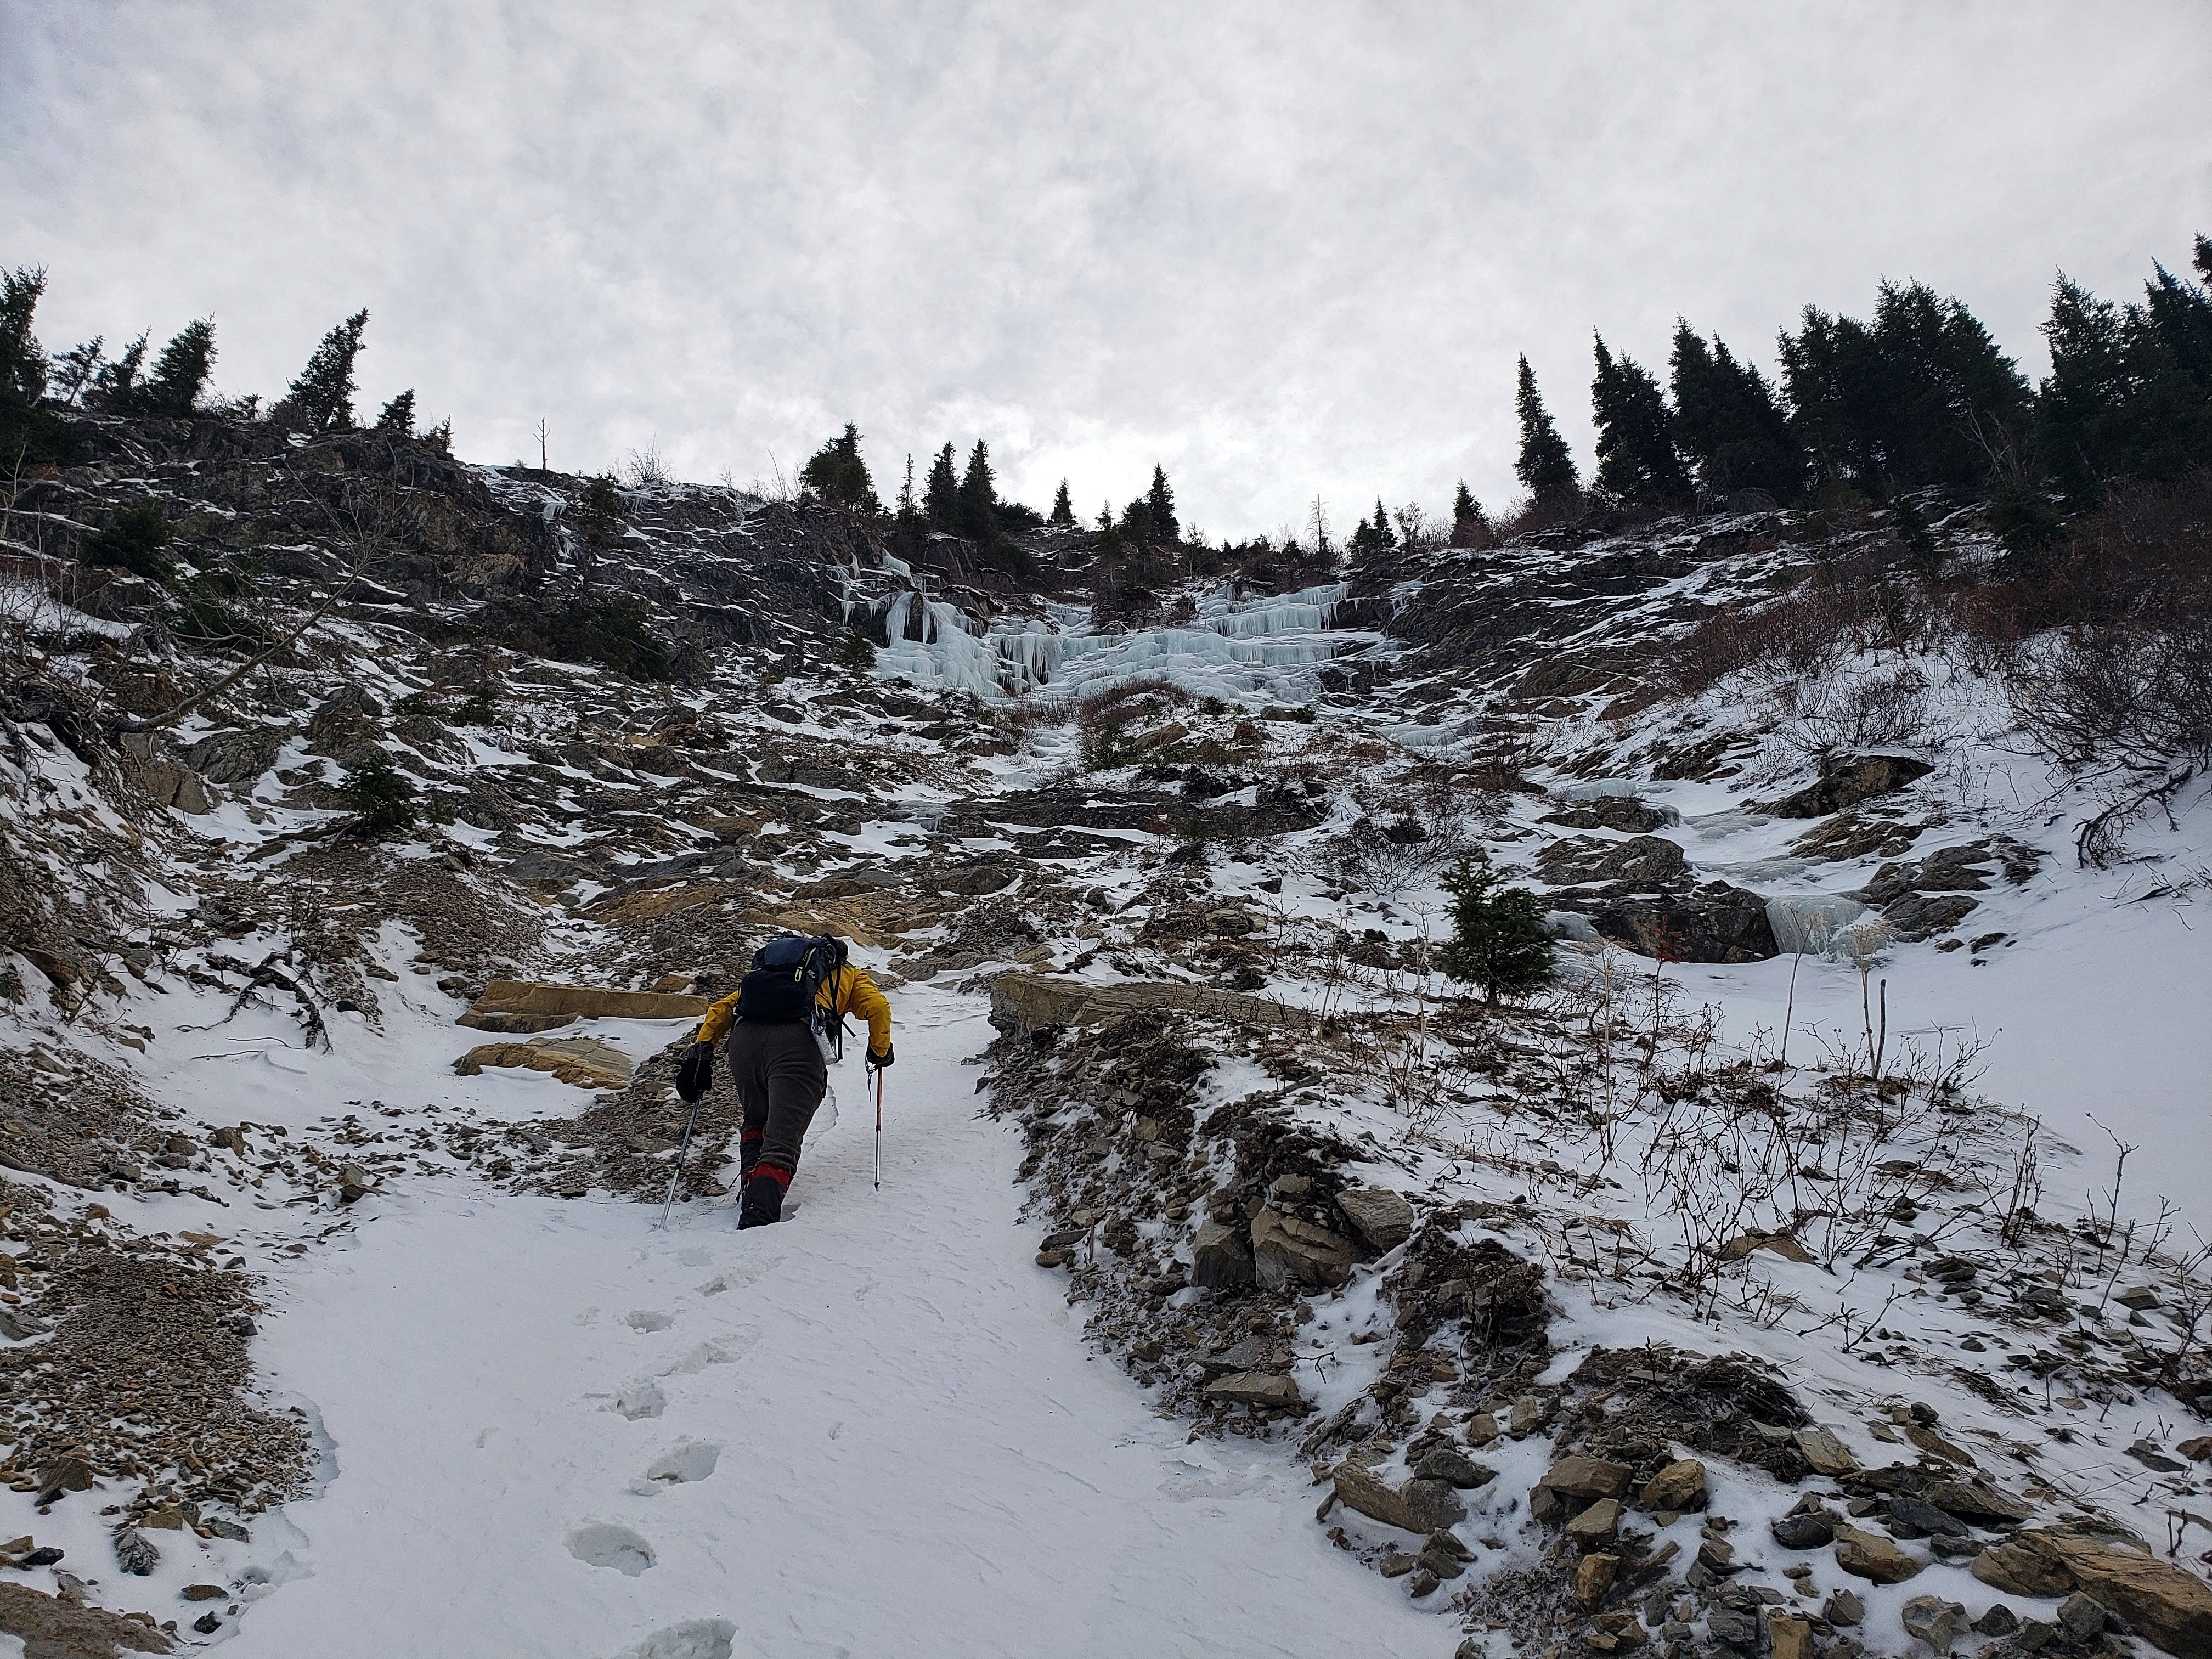
Andrew reaches the base of a small frozen waterfall. This was the highest point that we could safely reach. Again, though it doesn’t look like it, the slope is VERY steep and in winter conditions, there was no chance of even attempting to proceed any further. Indeed, it may even be too steep to try in the summer.
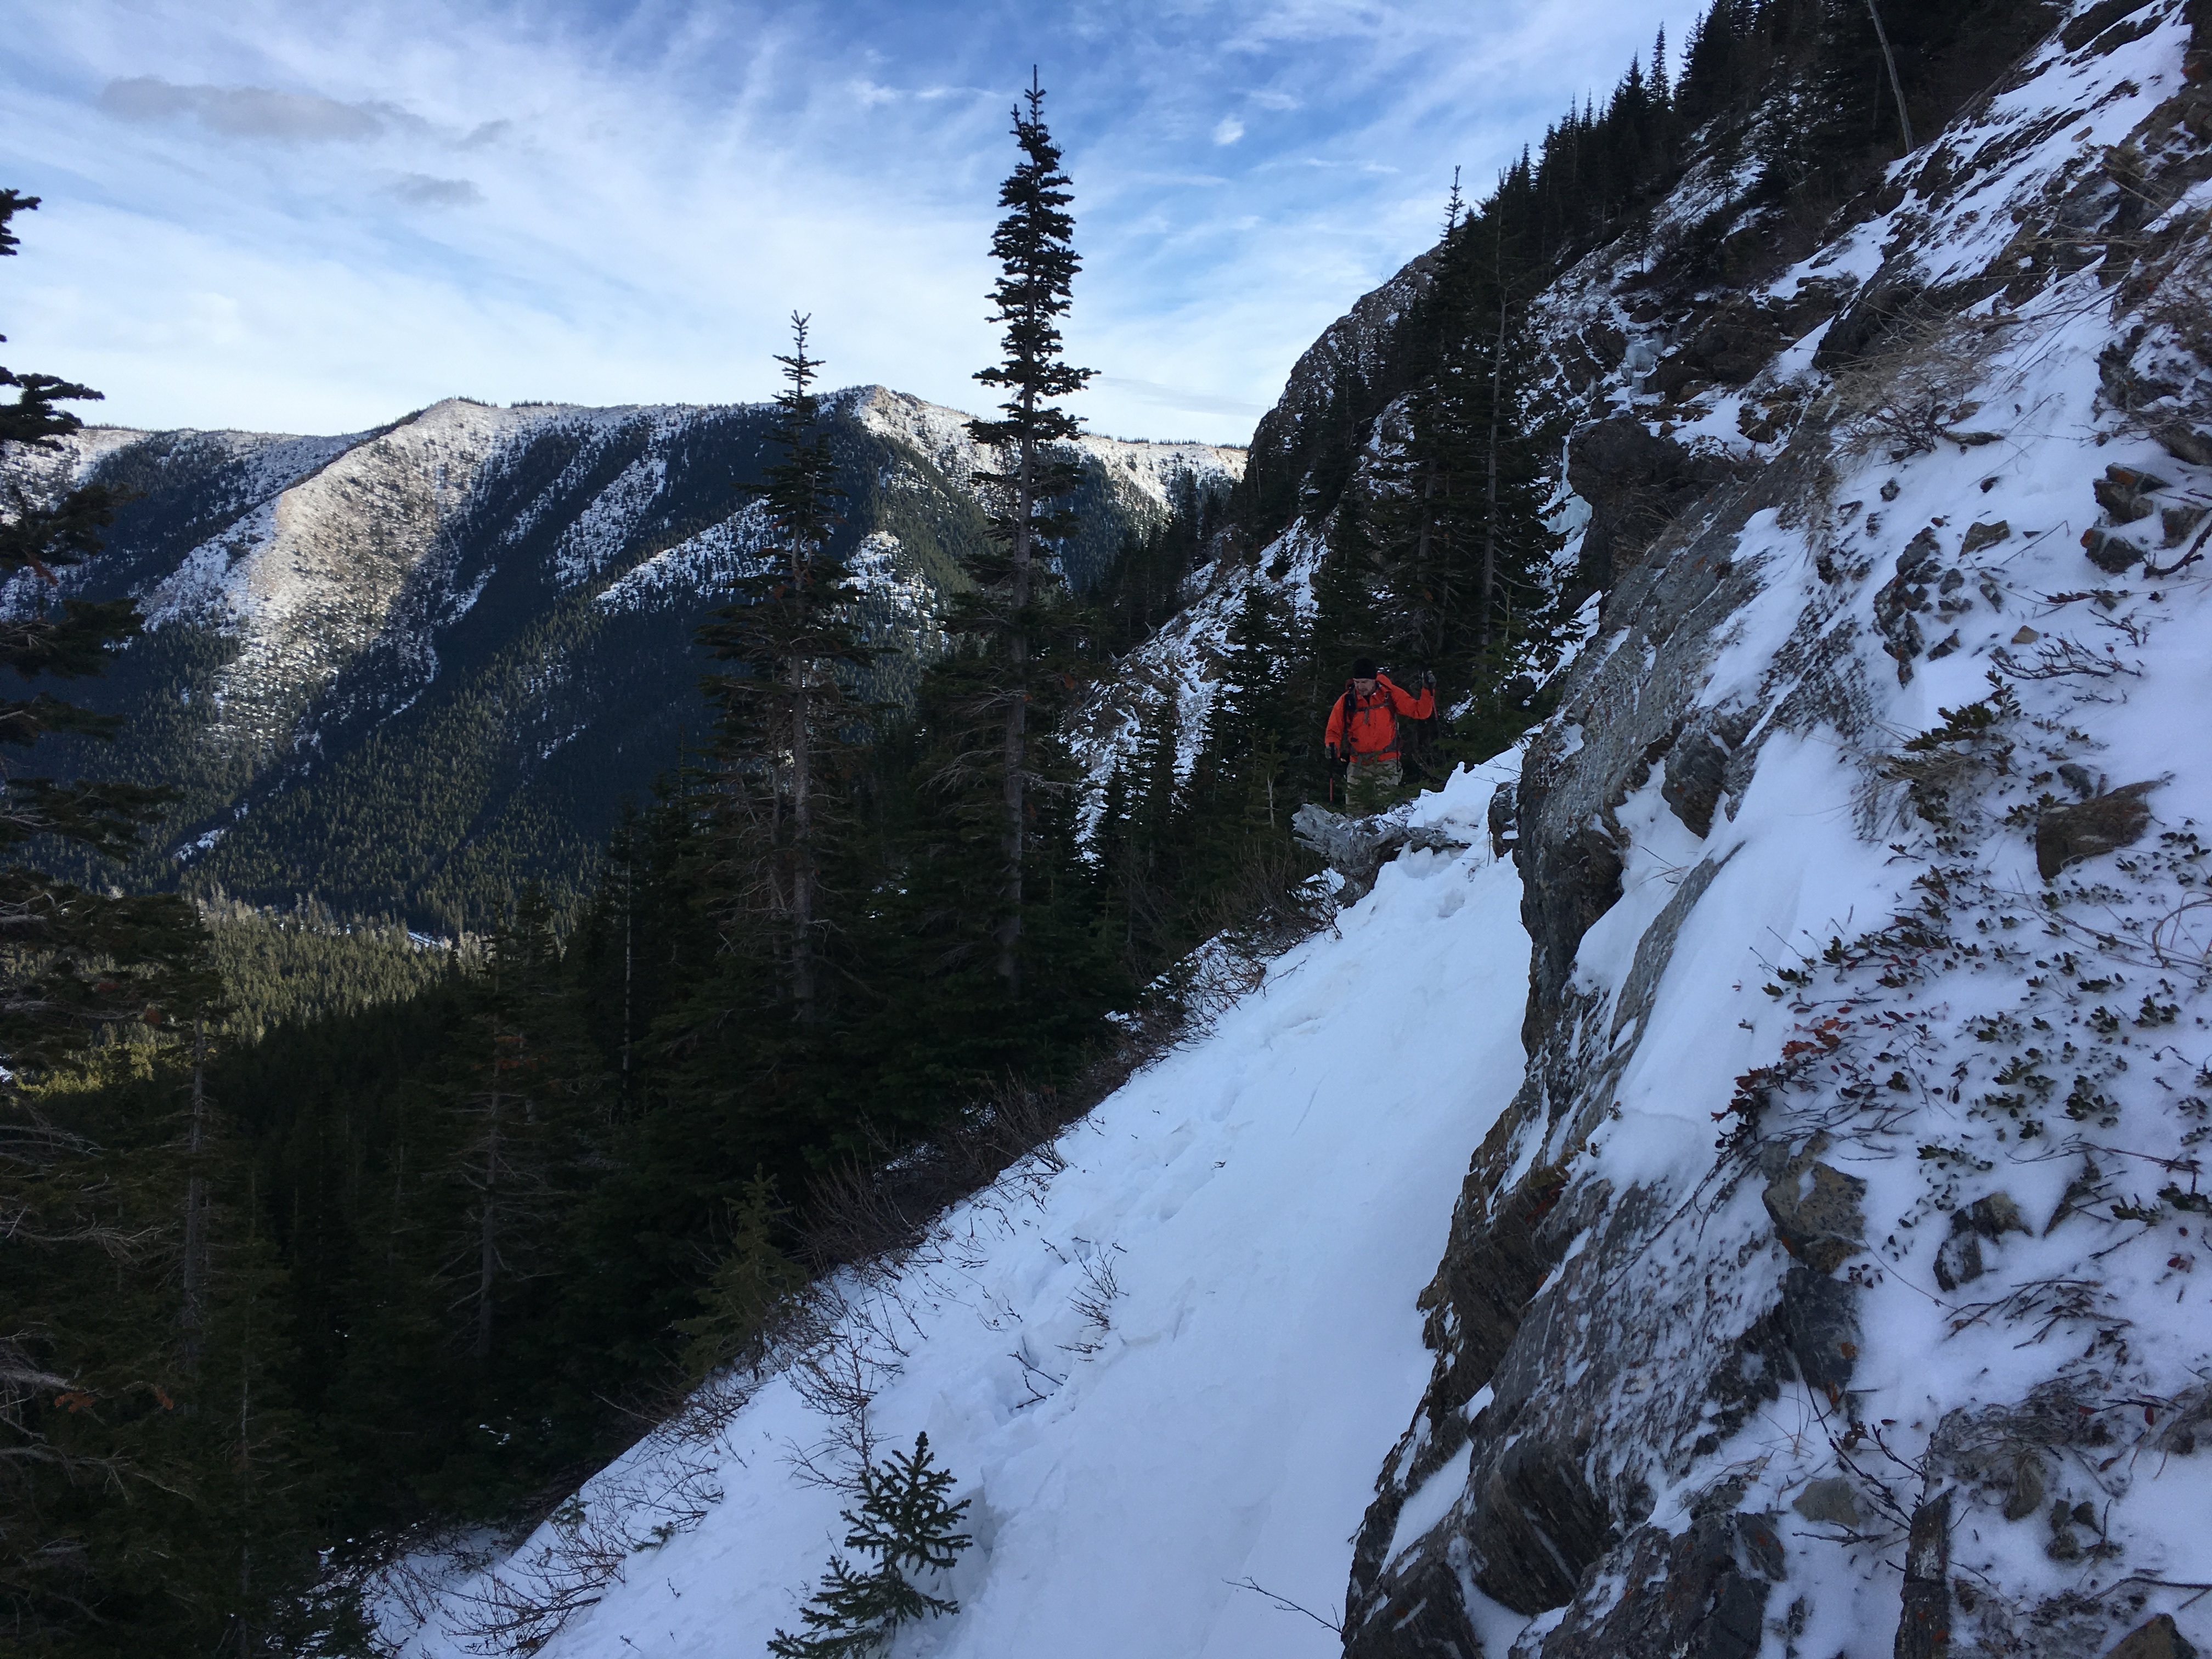
Side-sloping over to the northwest face of MCP. The frozen waterfall from the previous picture is through the trees behind me. (Photo by Andrew Nugara)

Andrew leads the way to friendlier terrain. Behind him is Mount Gladstone.

Looking north at our approach route along Mill Creek. “Whitney Creek Mountain” is in the centre.
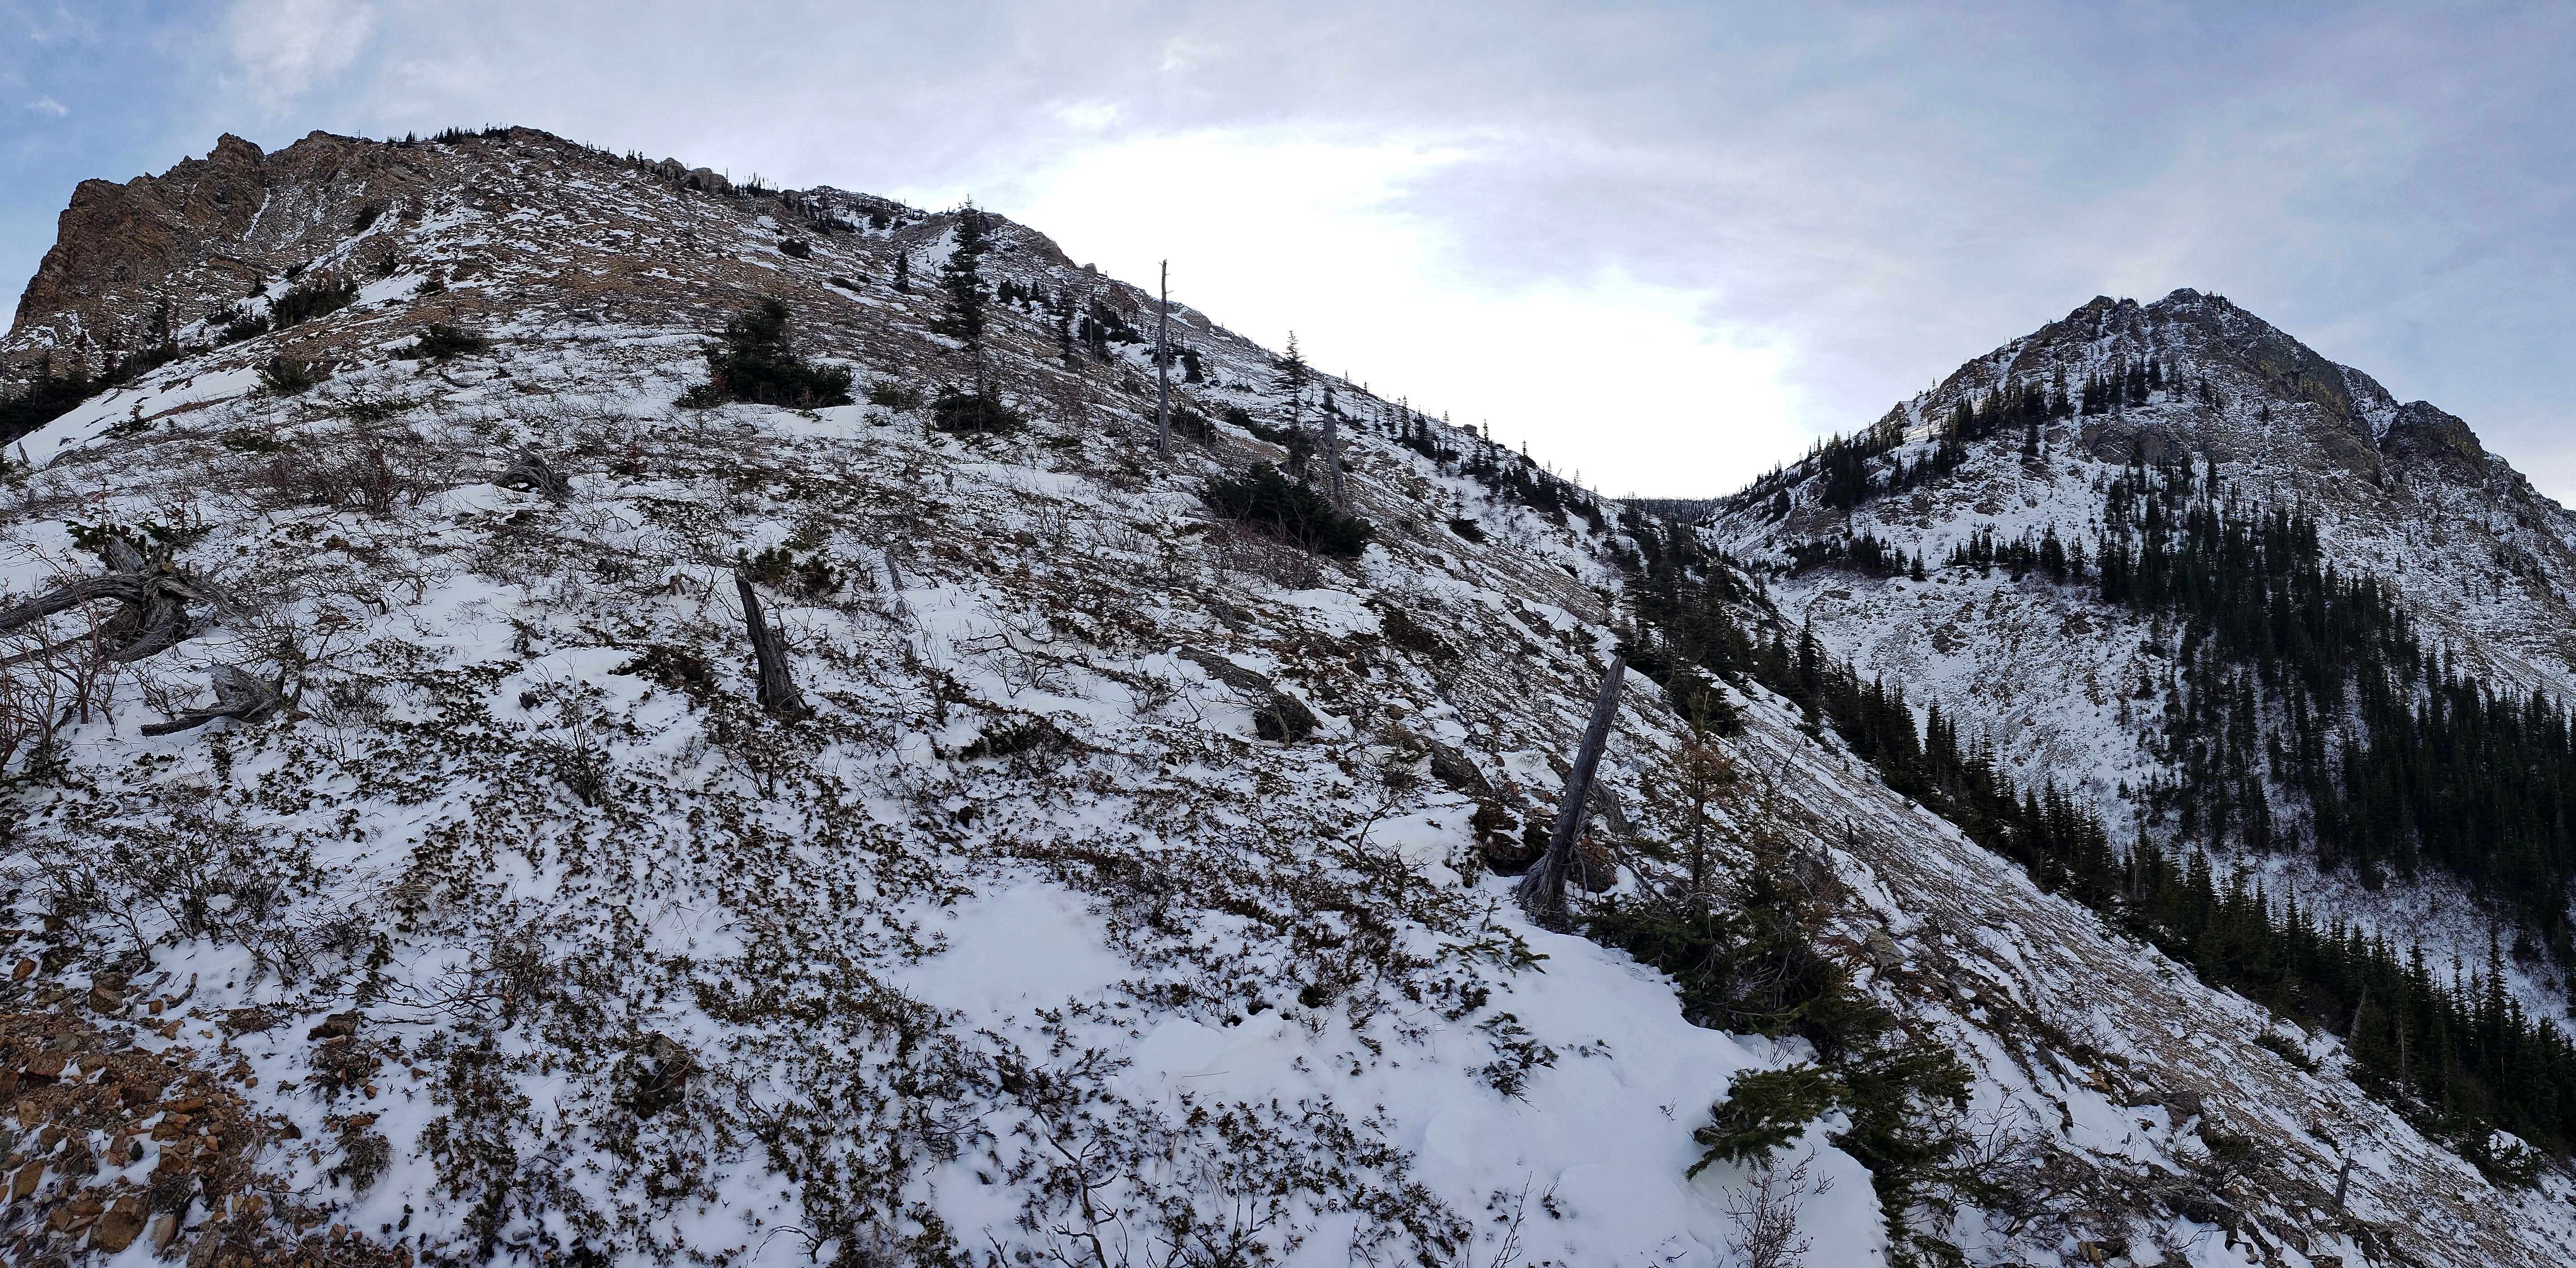
On the northwest face of MCP and looking over to the third drainage (far right). We were still debating at this point whether to head over to the third drainage and ascend MCM first or just slog up it to the north ridge of MCP. We chose the latter. I think there may be possible scrambling routes up to MCM through the east ridge (right). Let me know if you try!

Me: “It may be a steep slog to reach the north ridge of MCP but hey, at least we’ll be out of the wind.” Dwight Schrute: “False! The wind is subject to both physics and geography and as such, you will not be able to escape it.” (Photo by Andrew Nugara)

Our first look at the summit of MCM (right of centre).

Another look at Mount Gladstone.
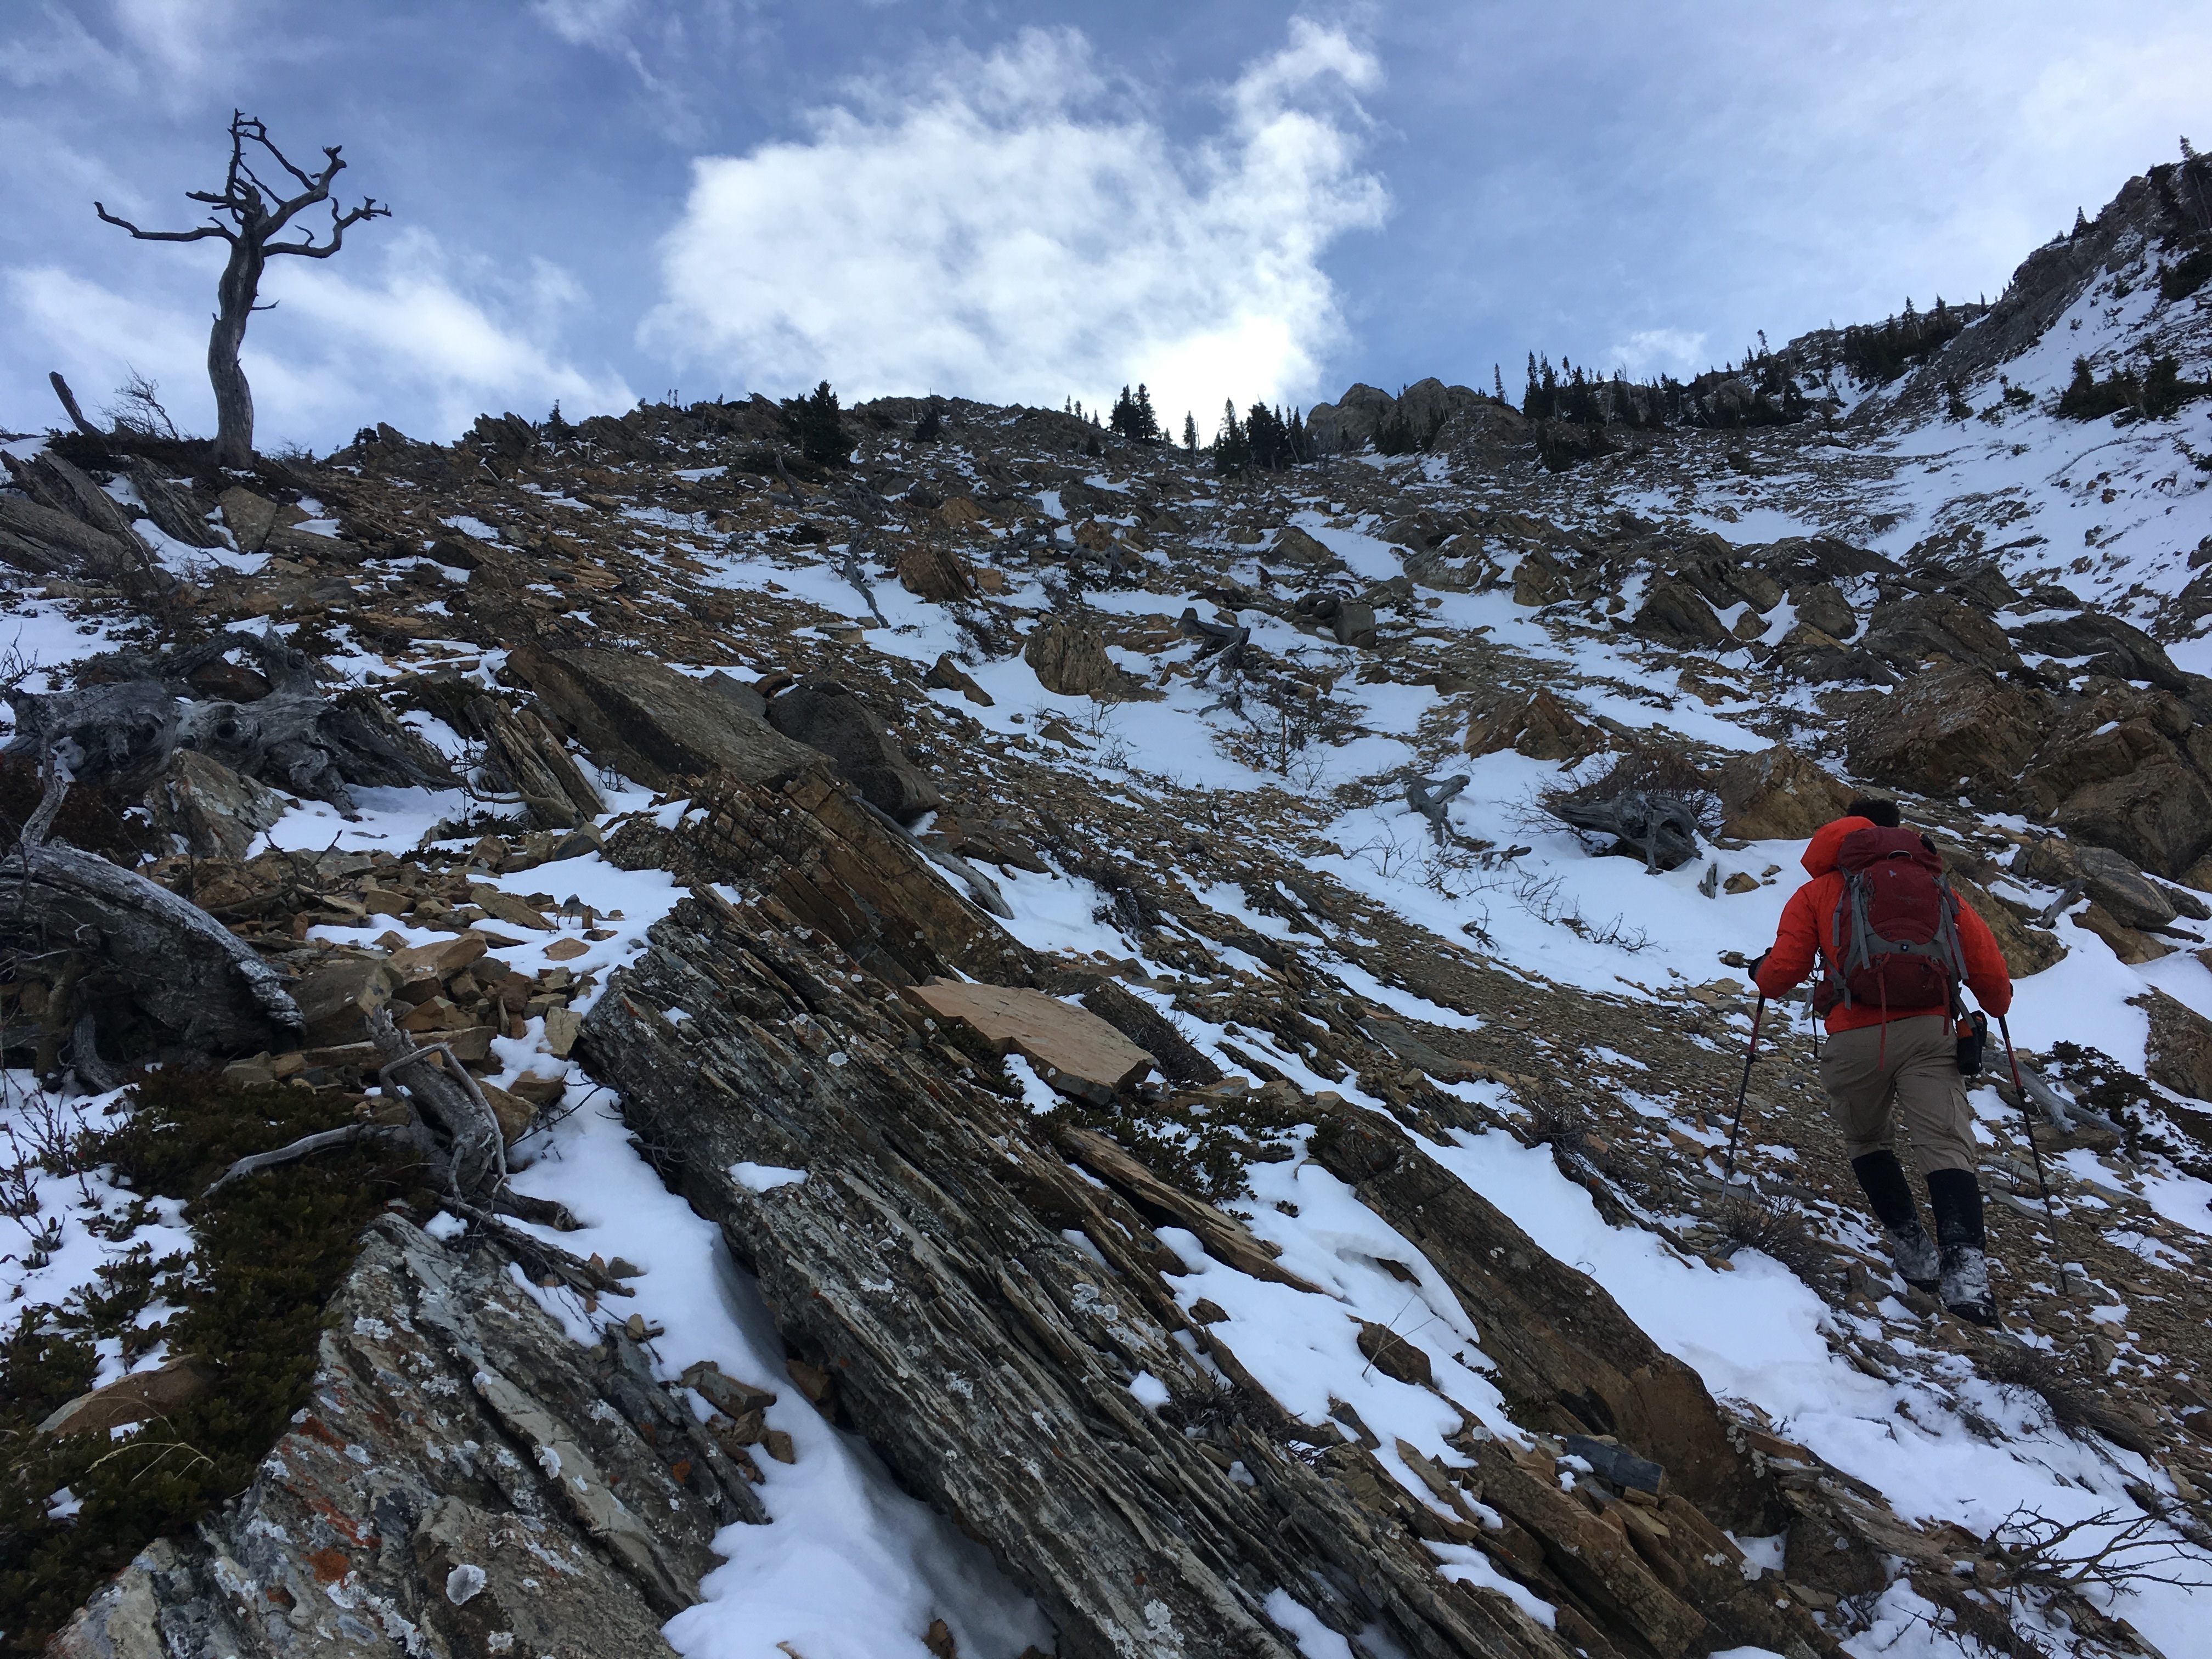
In ideal conditions, I think it would be best to angle climber’s left toward the north ridge as soon as possible; however, we mistakenly kept thinking that we’d have more shelter next to a small drainage (right). (Photo by Andrew Nugara)

Aiming for the rocks in the centre that are located along the north ridge.

Finally off the intermittent scree slope and onto the crest of the north ridge.
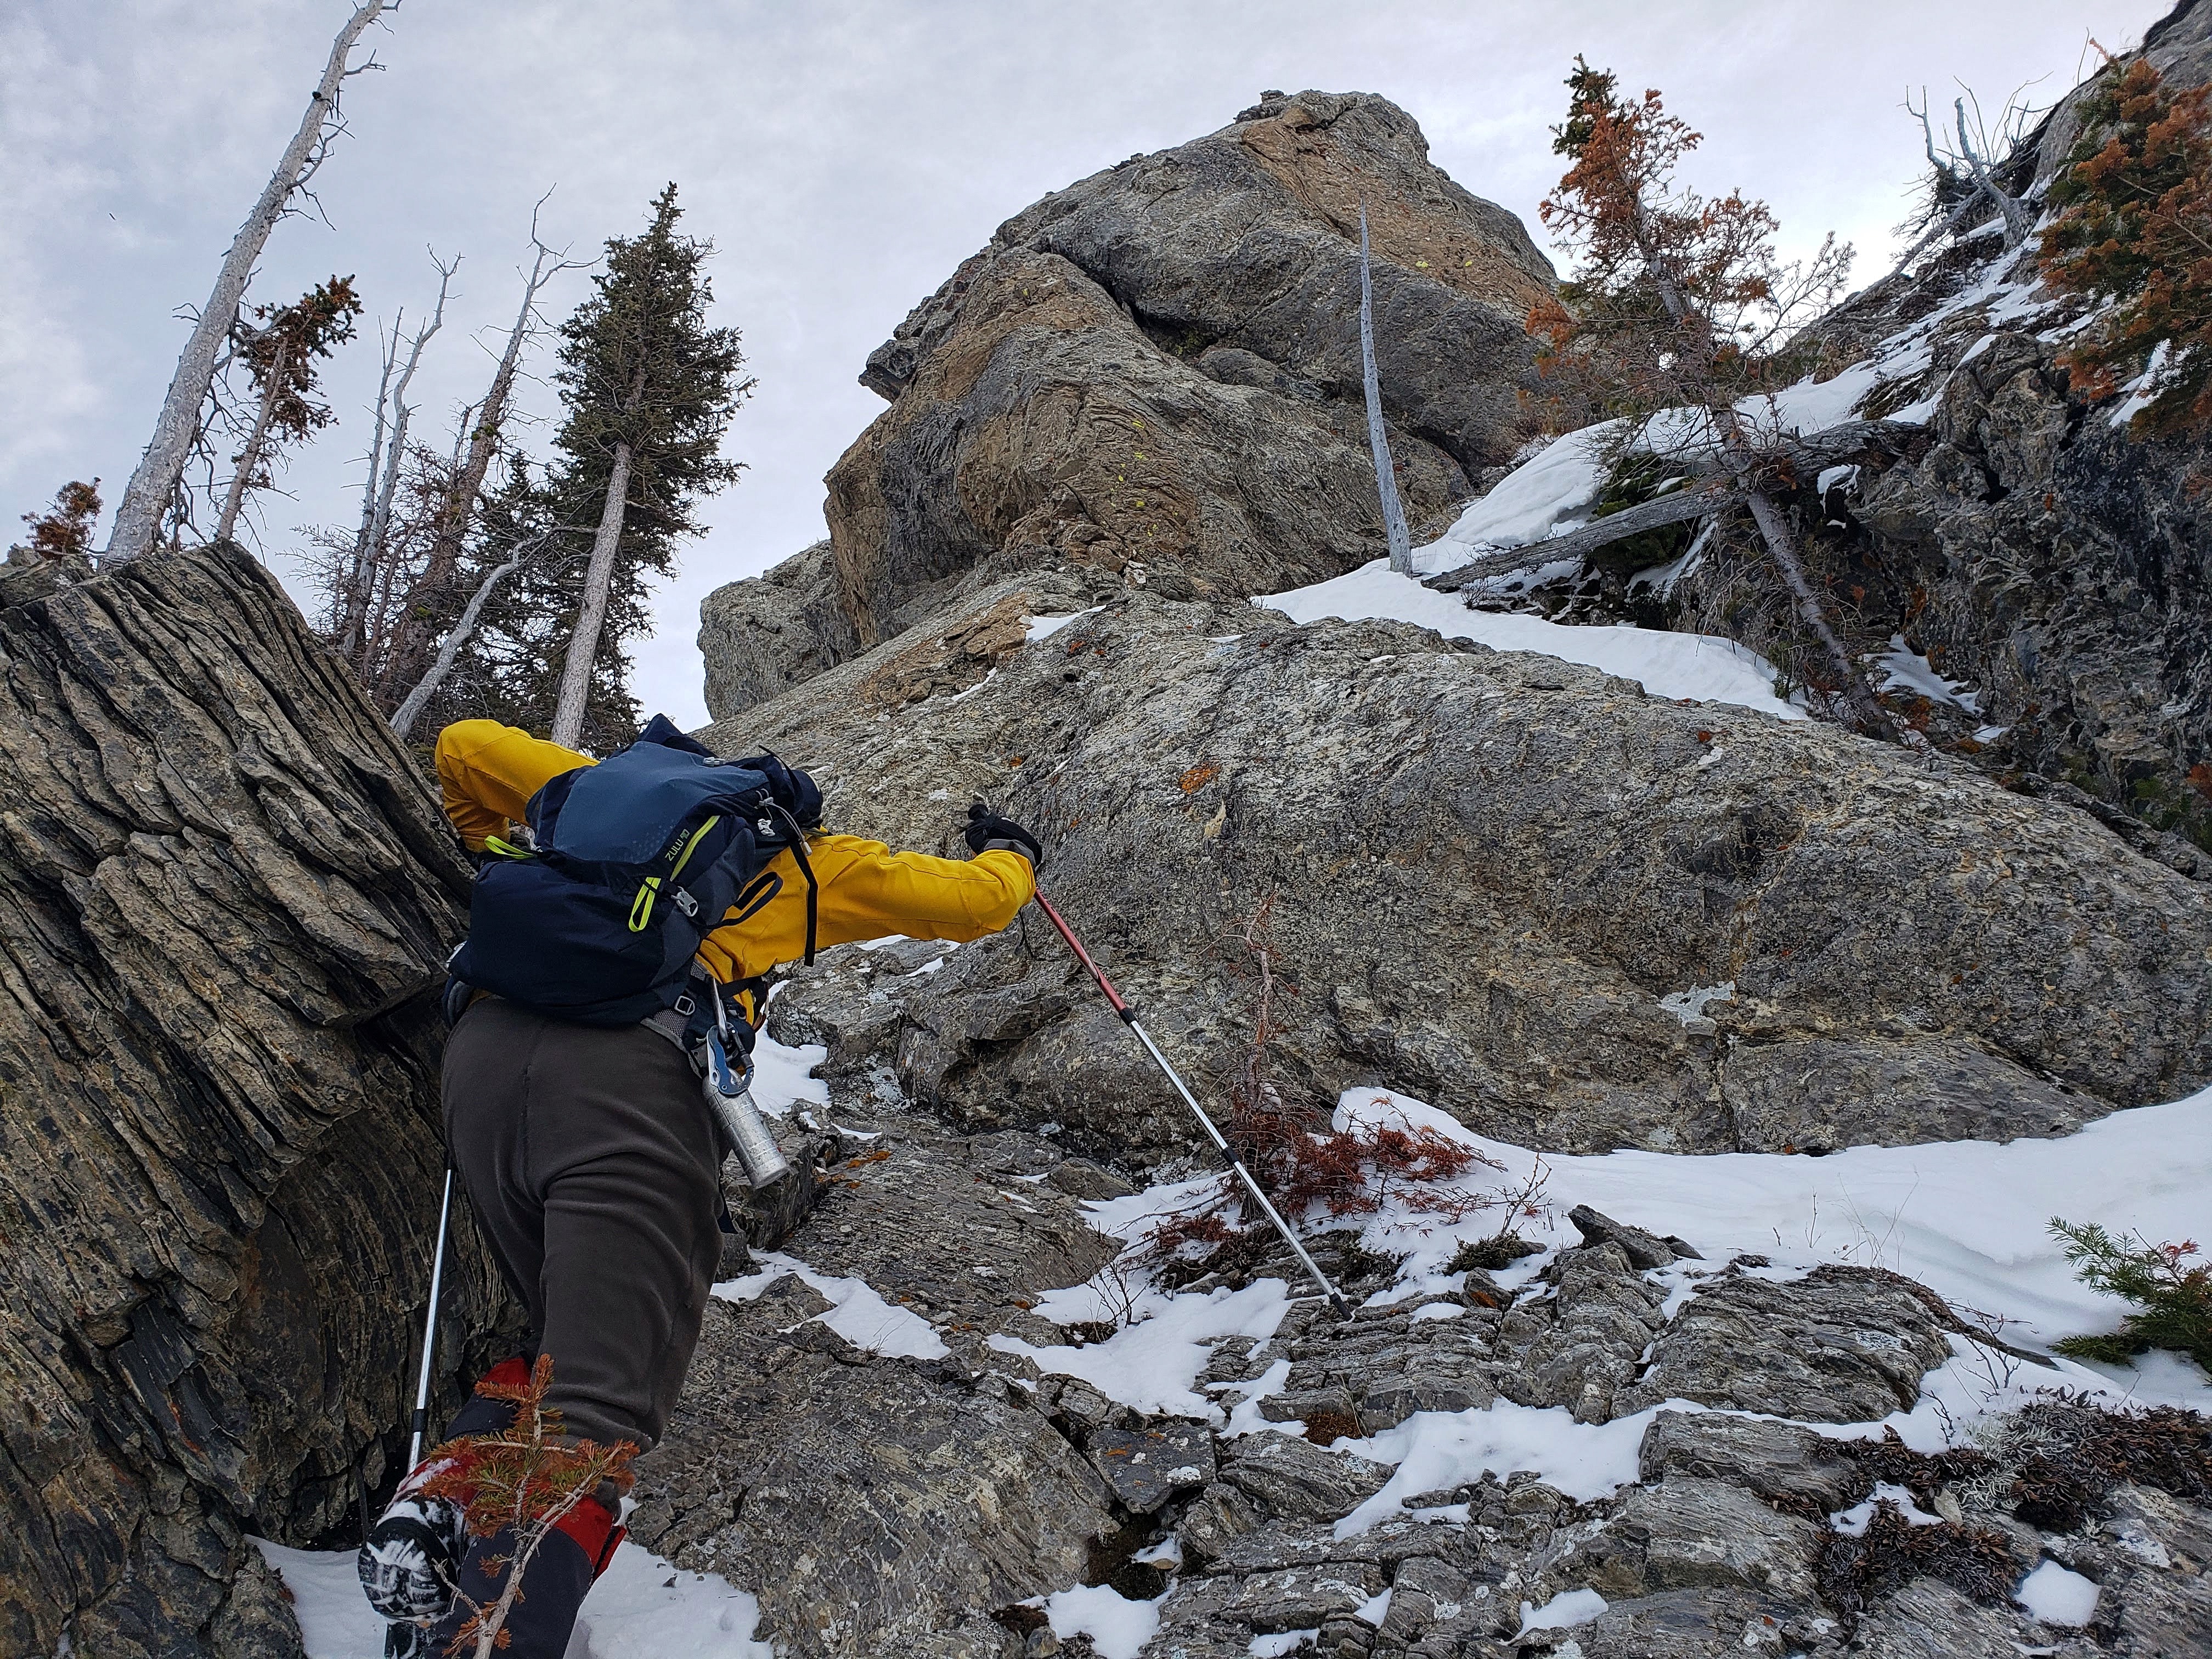
Andrew leads the way through an initial section of scrambling.

This is why it’s worth the slog up to this side of MCP! The north ridge continues like this all the way to the summit (not visible). You can tackle as much as you like head-on or find easier routes to climber’s right.

A great view of Victoria Peak from the along ridge.
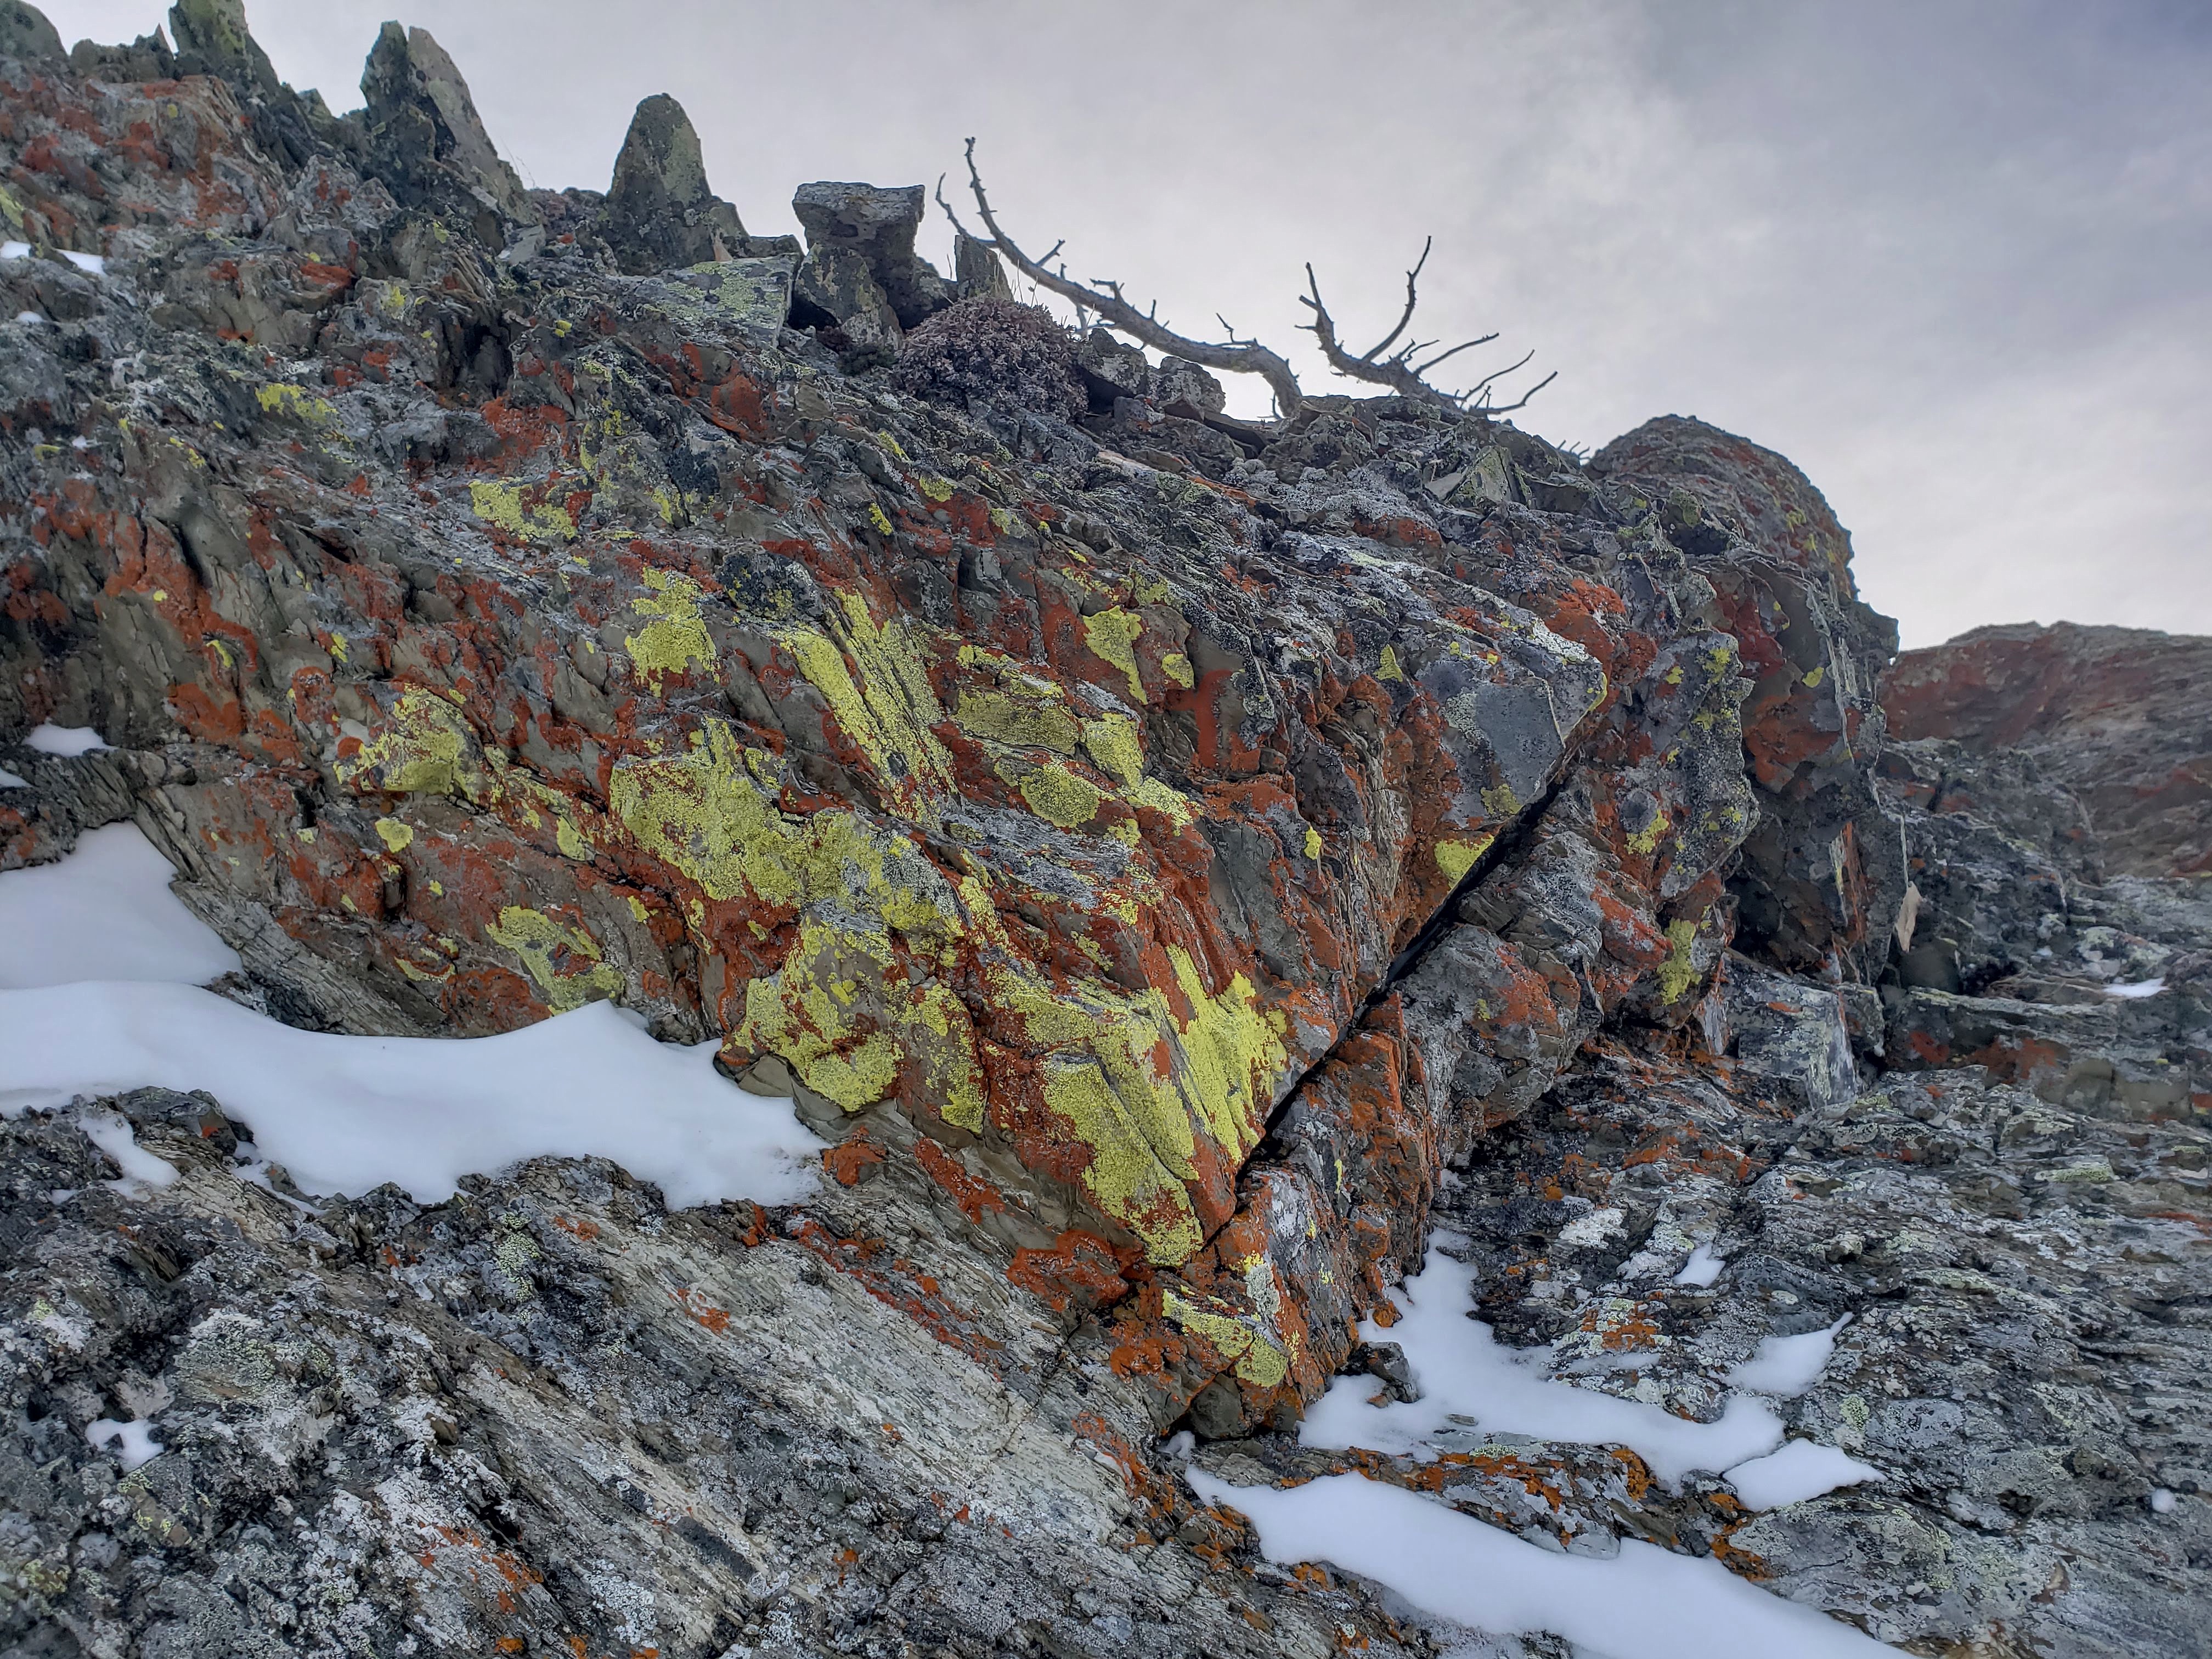
Awesome Castle colours!

Following a series of consecutive steps.

The view back along the north ridge.

A clearer view of the summit of MCM with Castle Peak in the background.

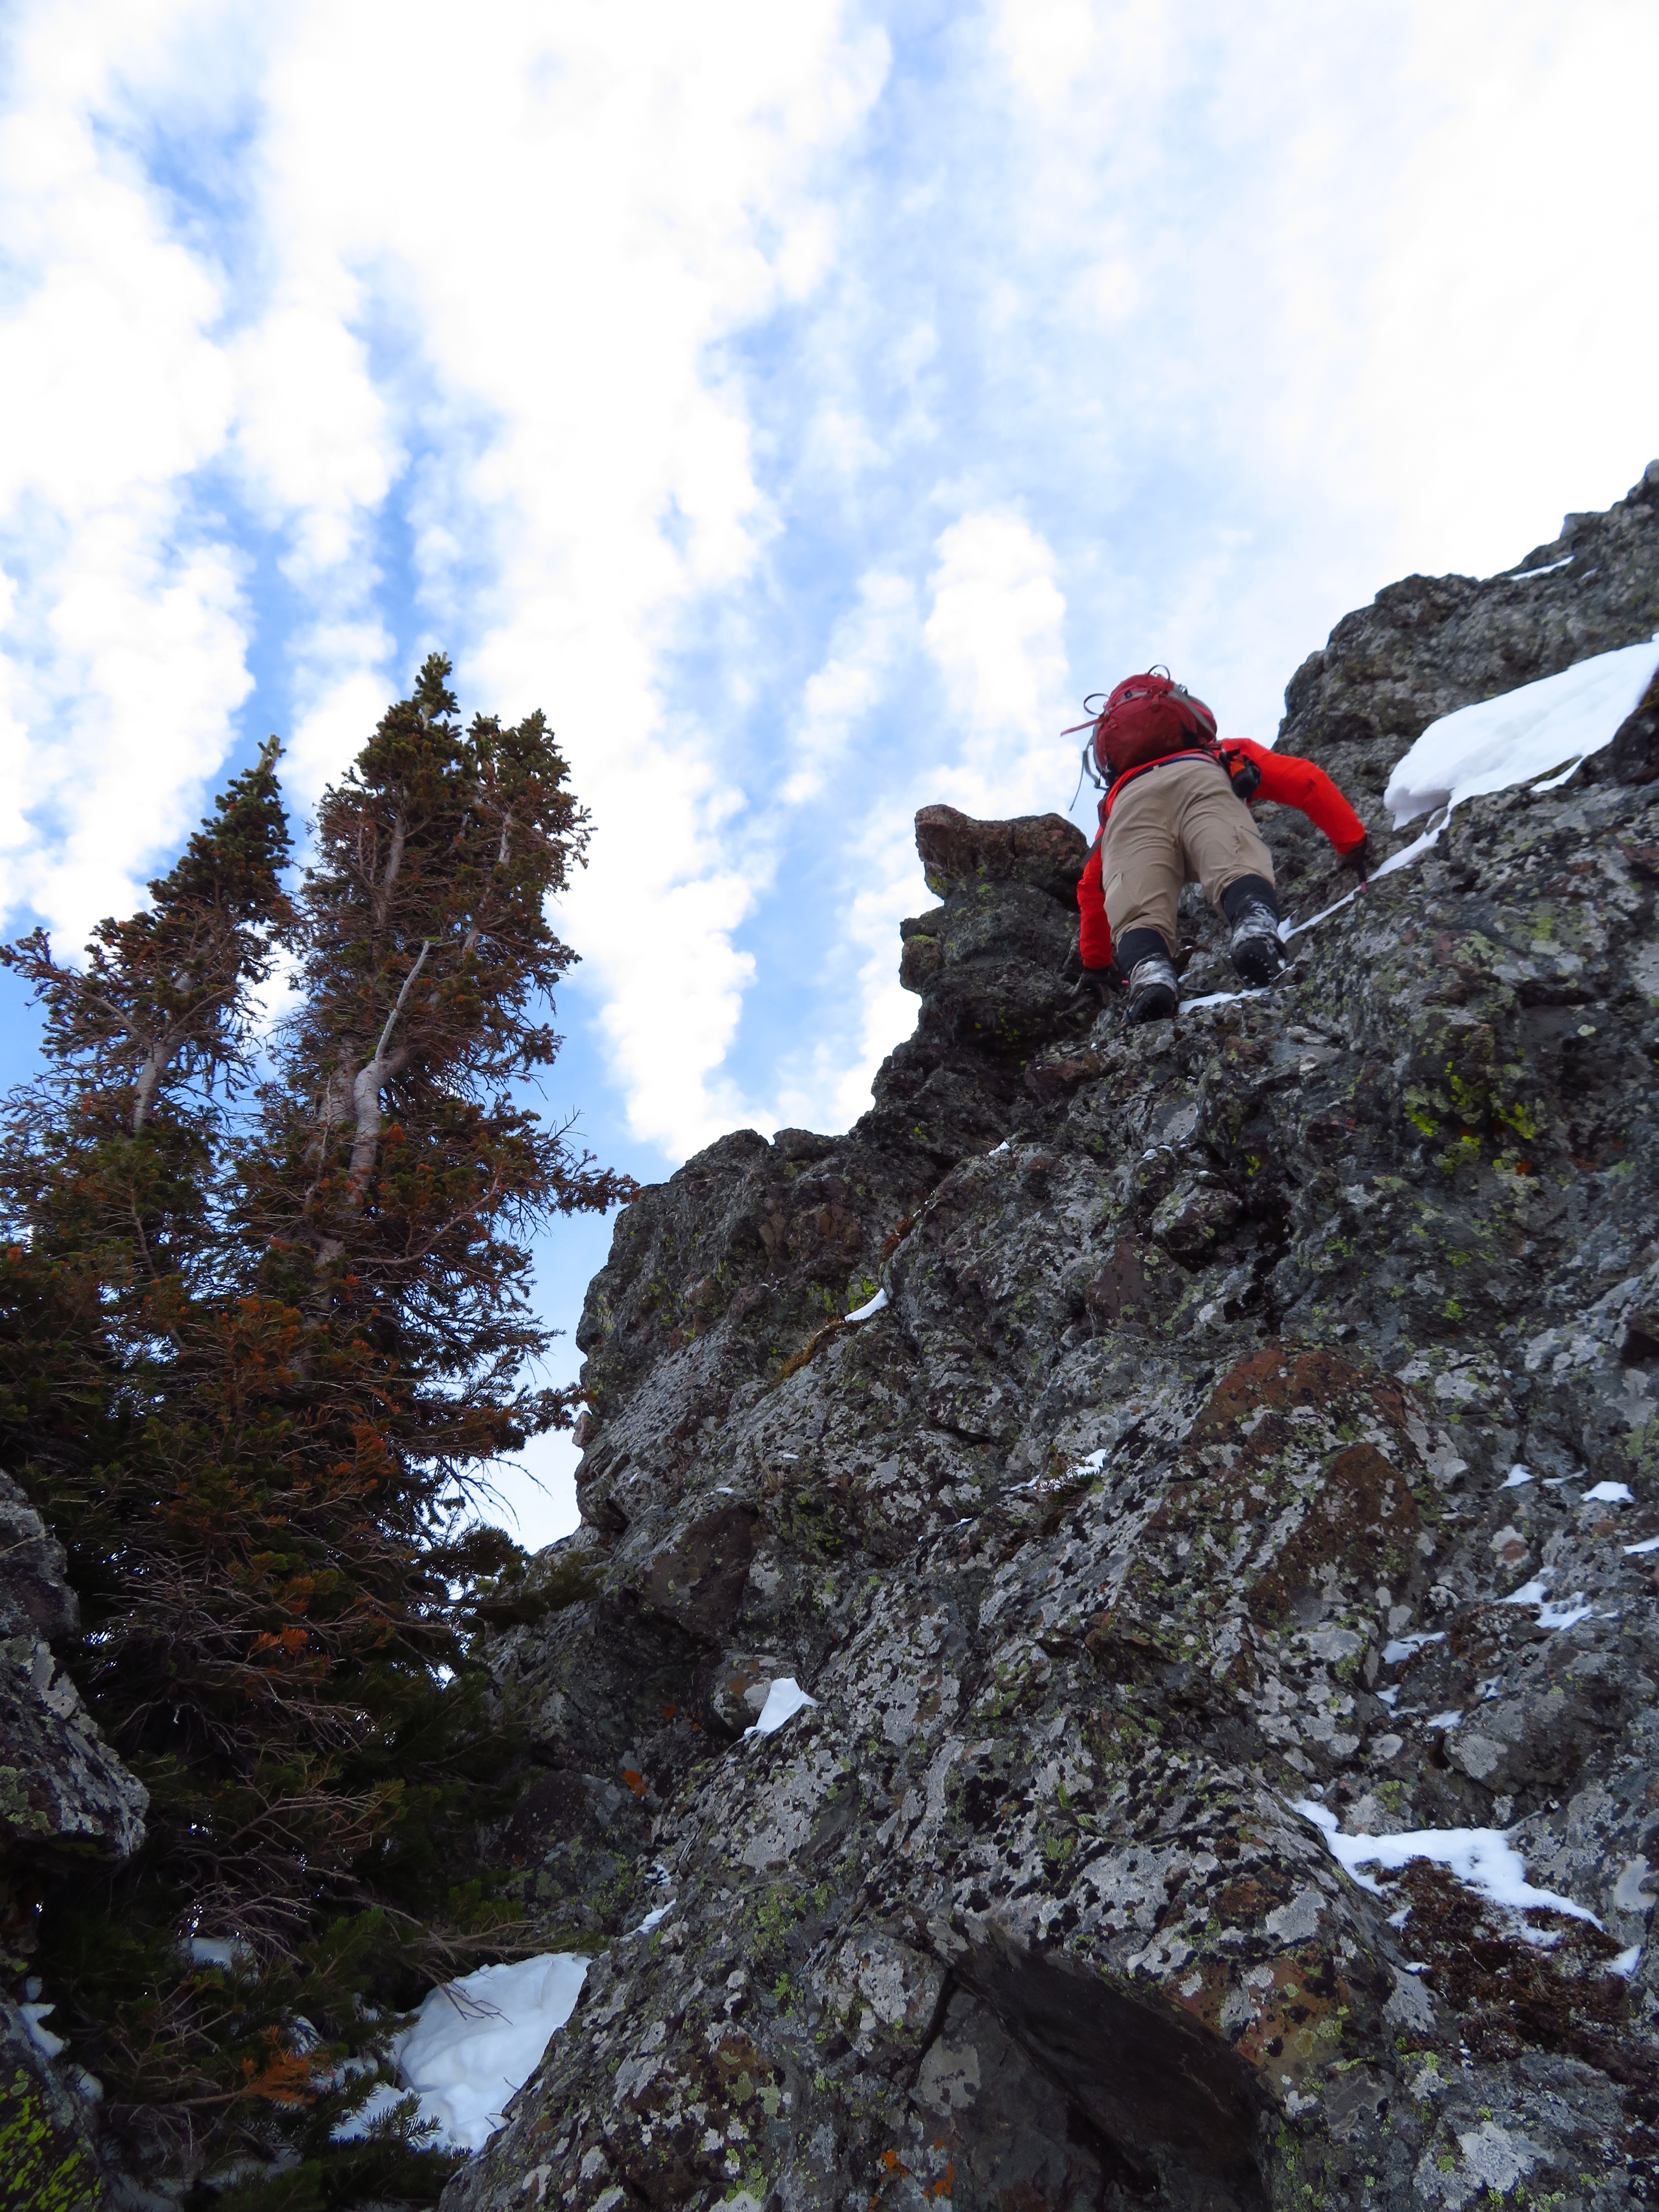
Arriving at a short, but difficult section of scrambling. If desired, it can be avoided descending to climber’s right (route not pictured). Those trees on the skyline are situated in a gap that drops off the east face of the mountain.

Starting up the steep pitch. (Photo by Andrew Nugara)
The rock is solid but a layer of snow made things a bit tricky. (Photo by Andrew Nugara)

Andrew begins to follow me up.

A more comprehensive view back along the north ridge.

Mount Gladstone provides a fantastic backdrop as Andrew makes his way along ridge.

Andrew takes the final few steps before reaching the summit.
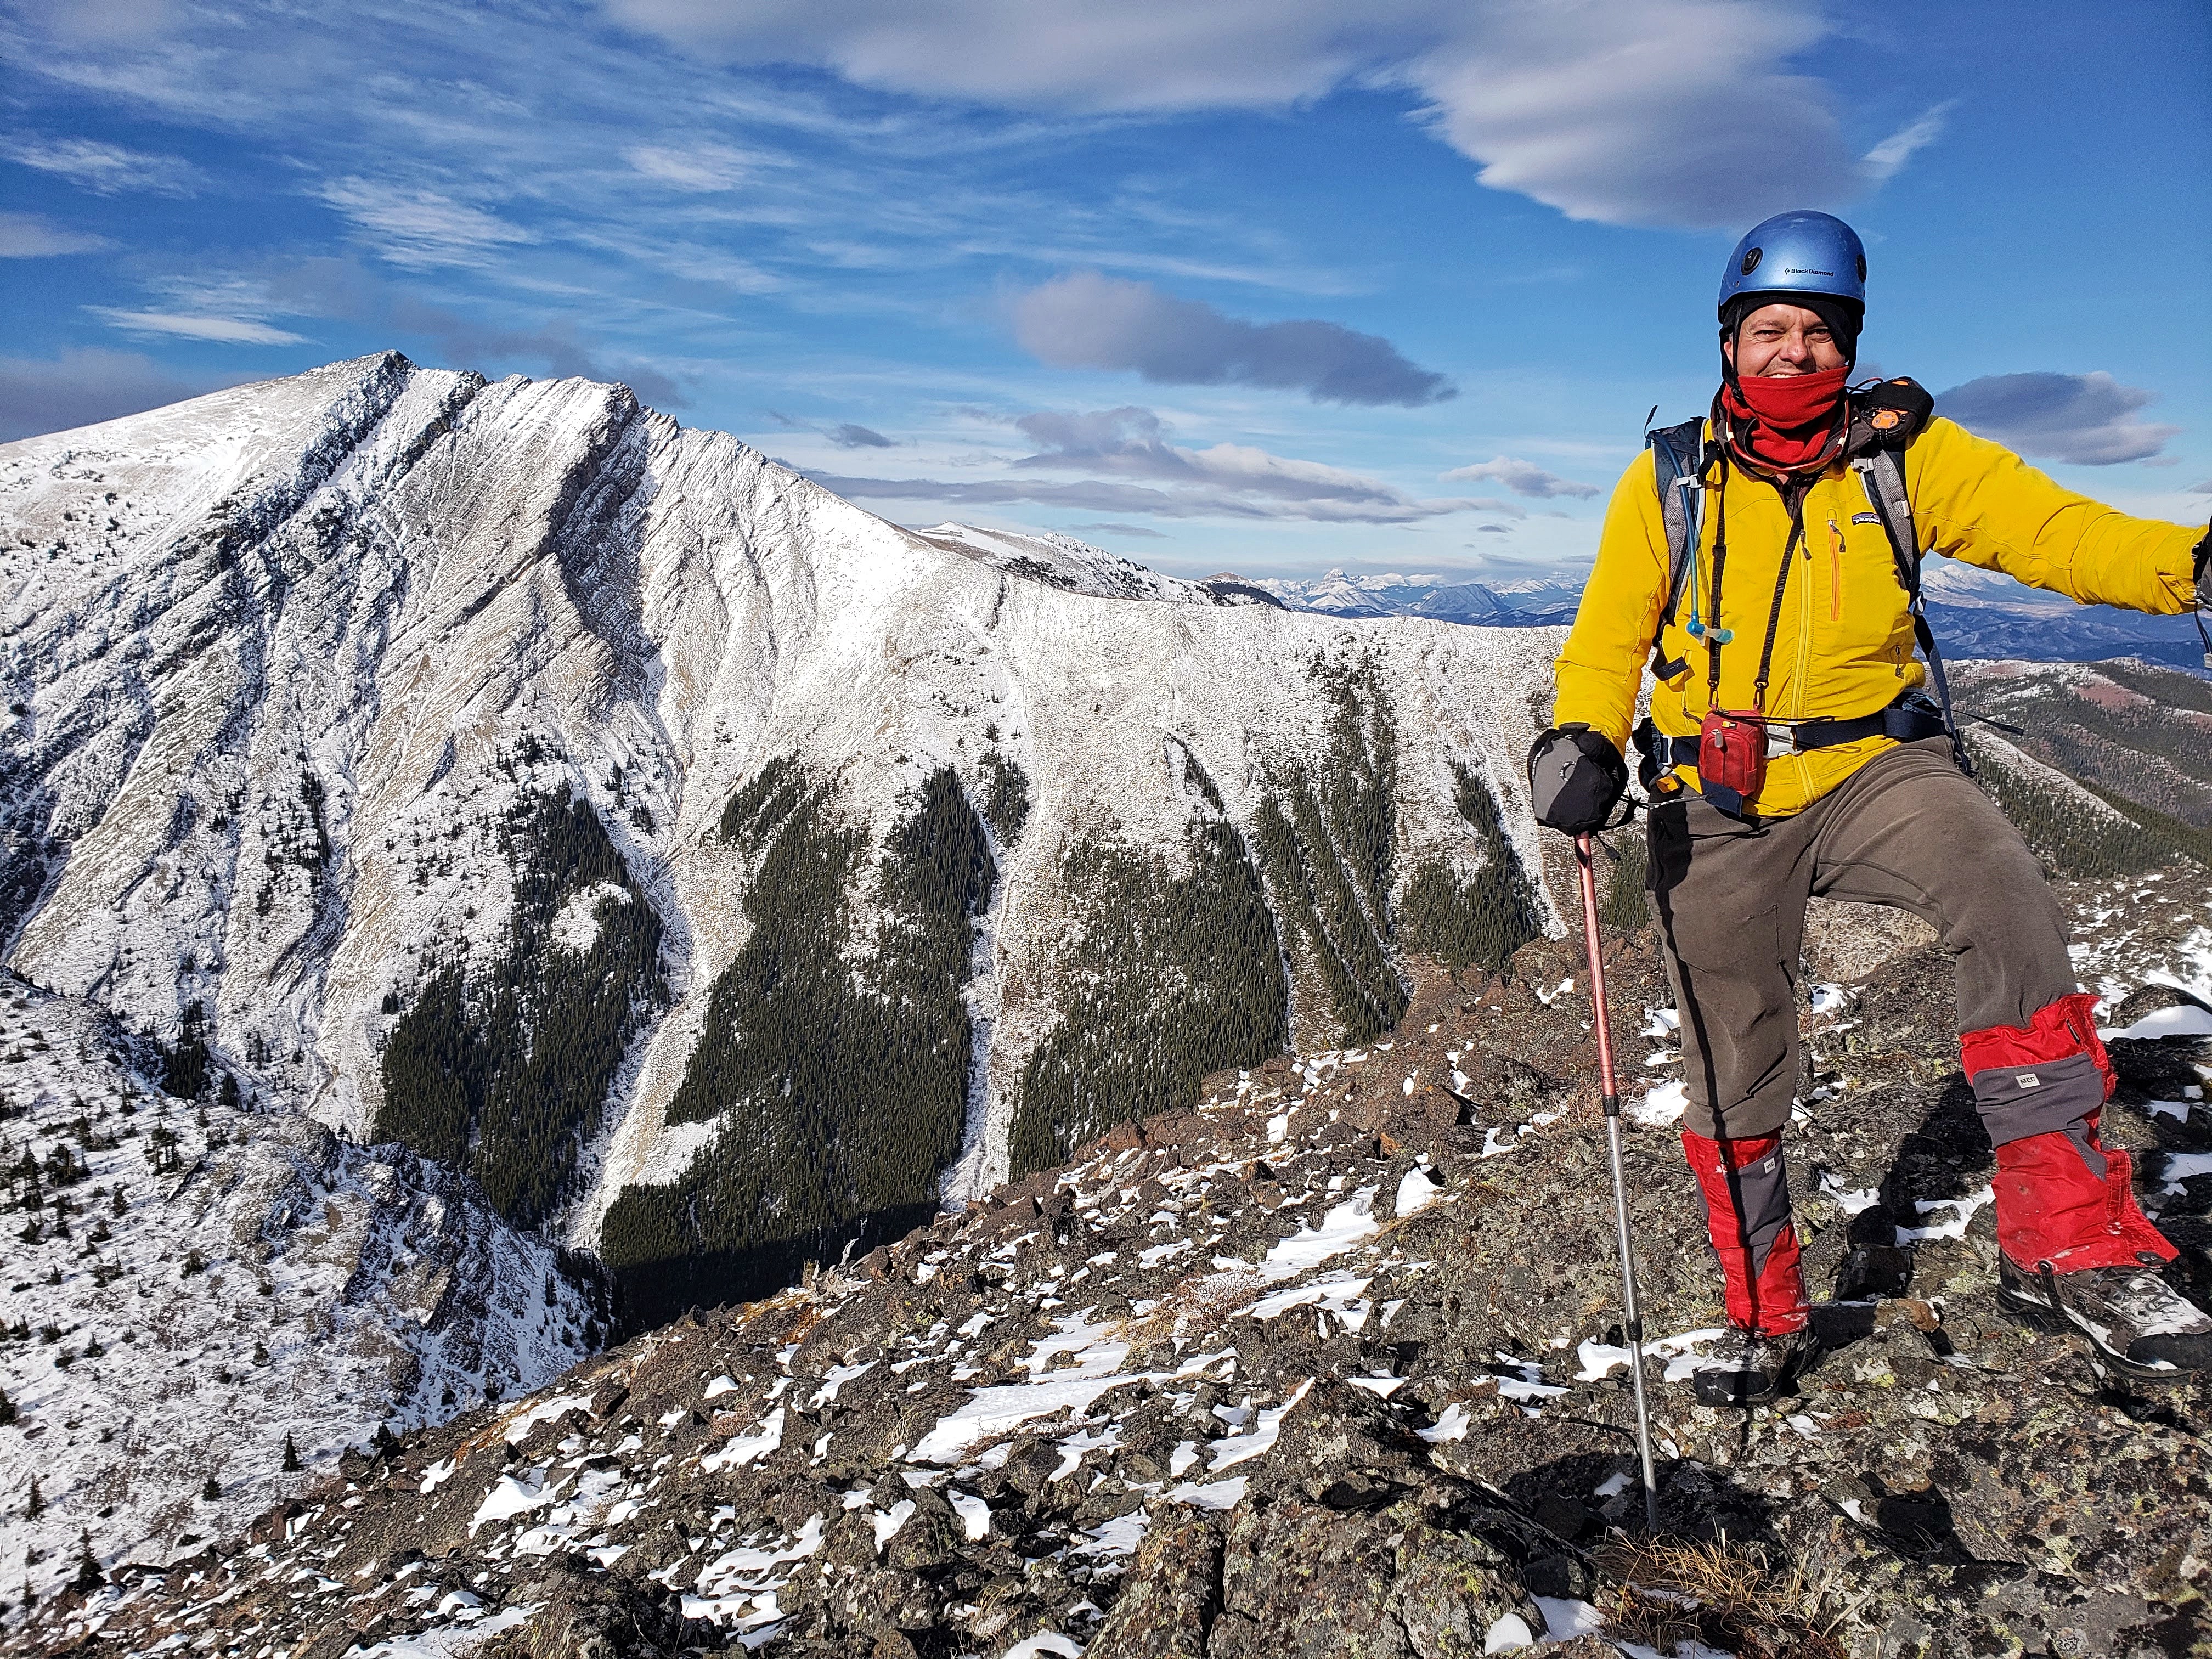
Victory is mine!

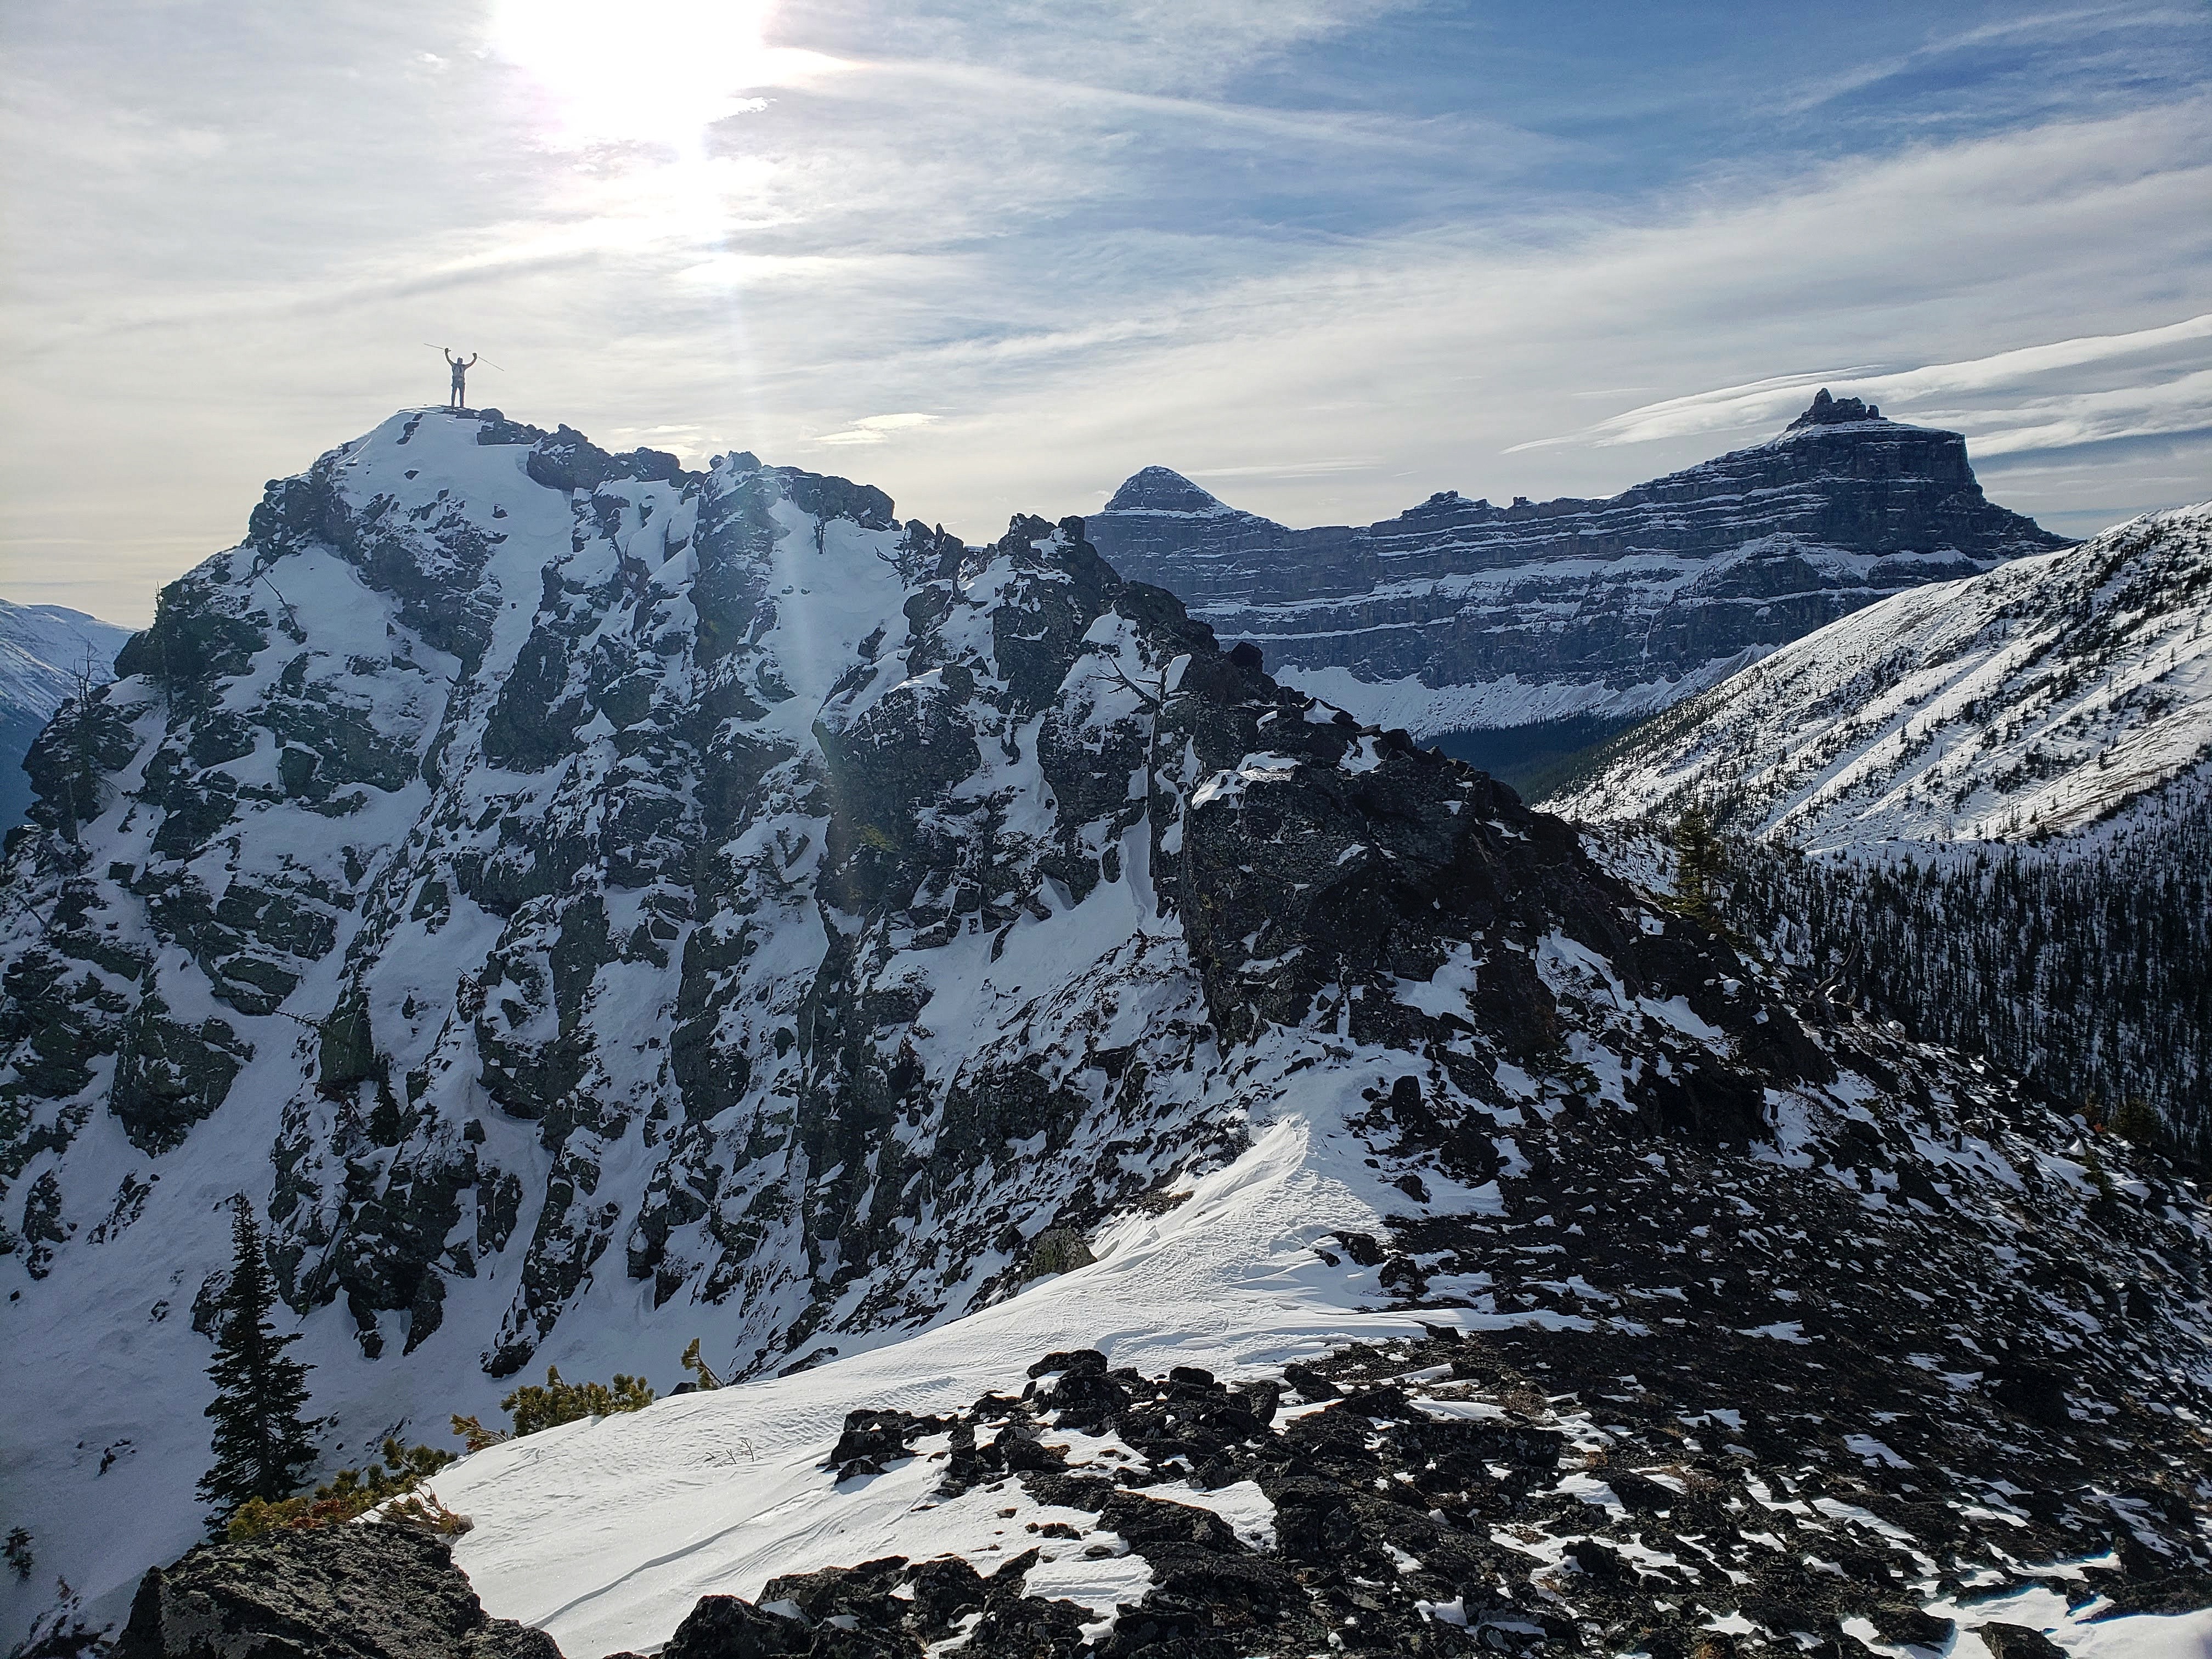
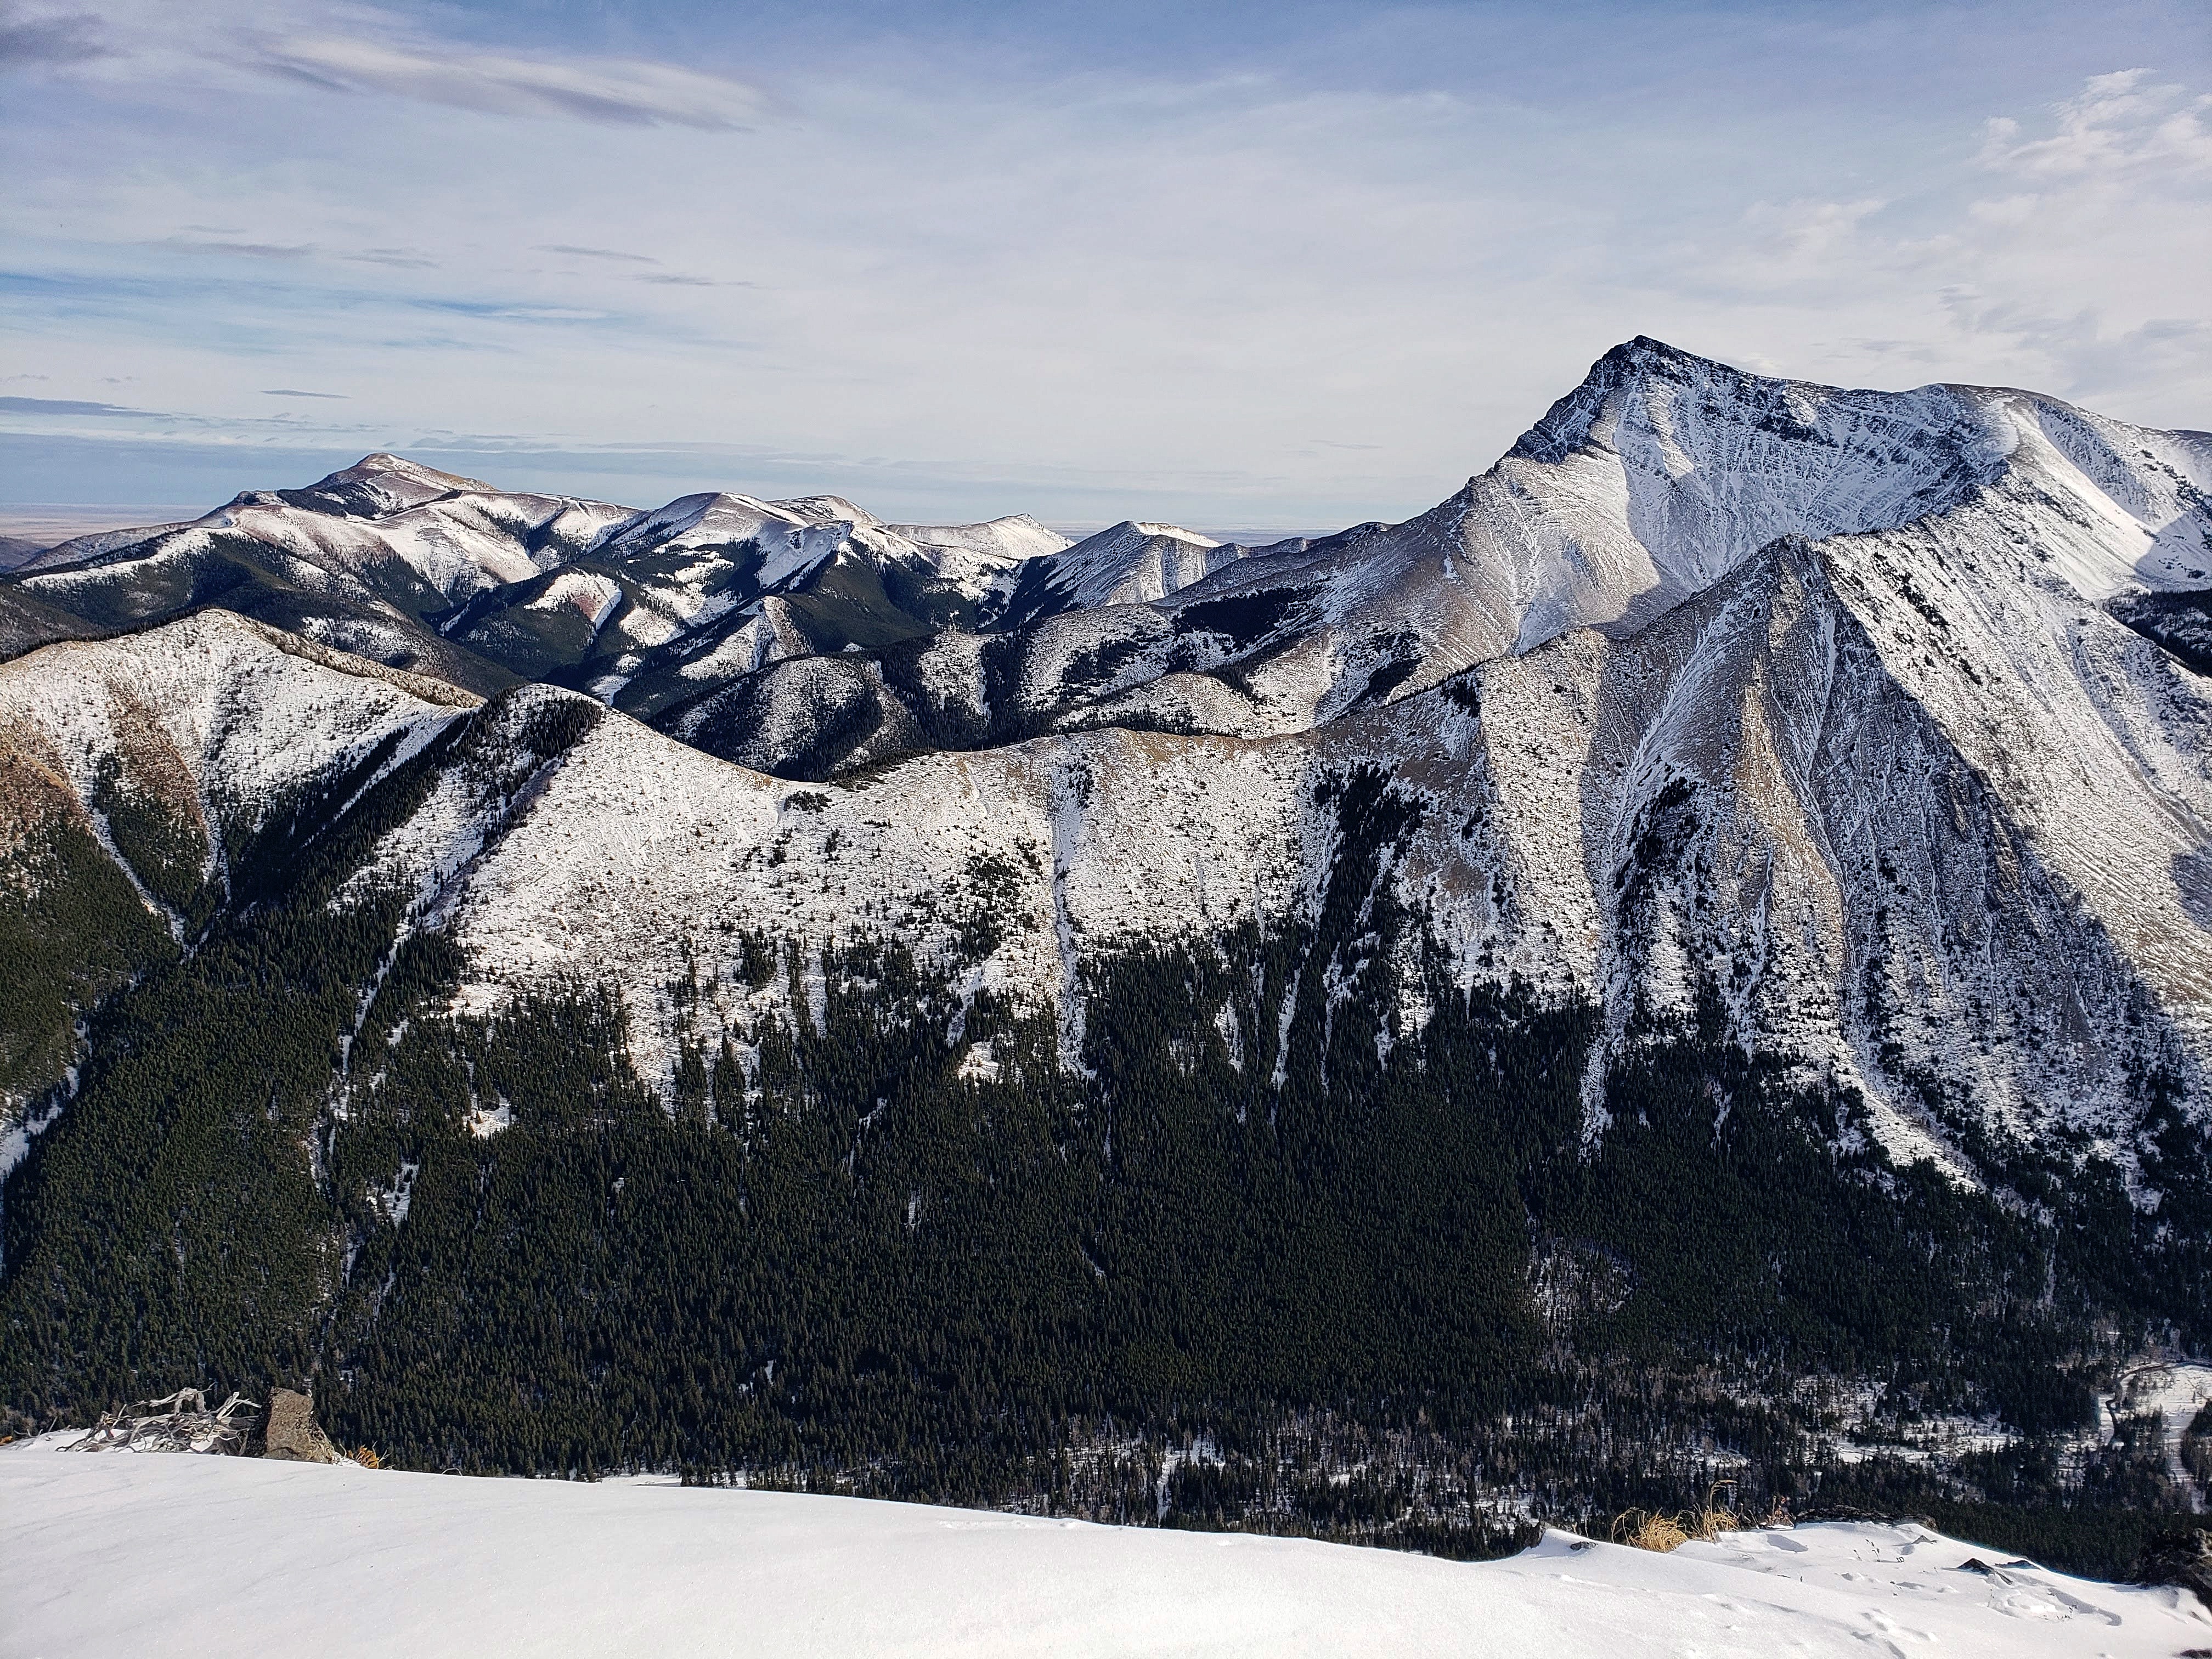
Gazing southwest at Windsor Mountain (left), Castle Peak (centre), and the summit of MCM.
The view south with Victoria Ridge to the left of centre.
Looking east at Prairie Bluff (far left) and Victoria Peak (right)

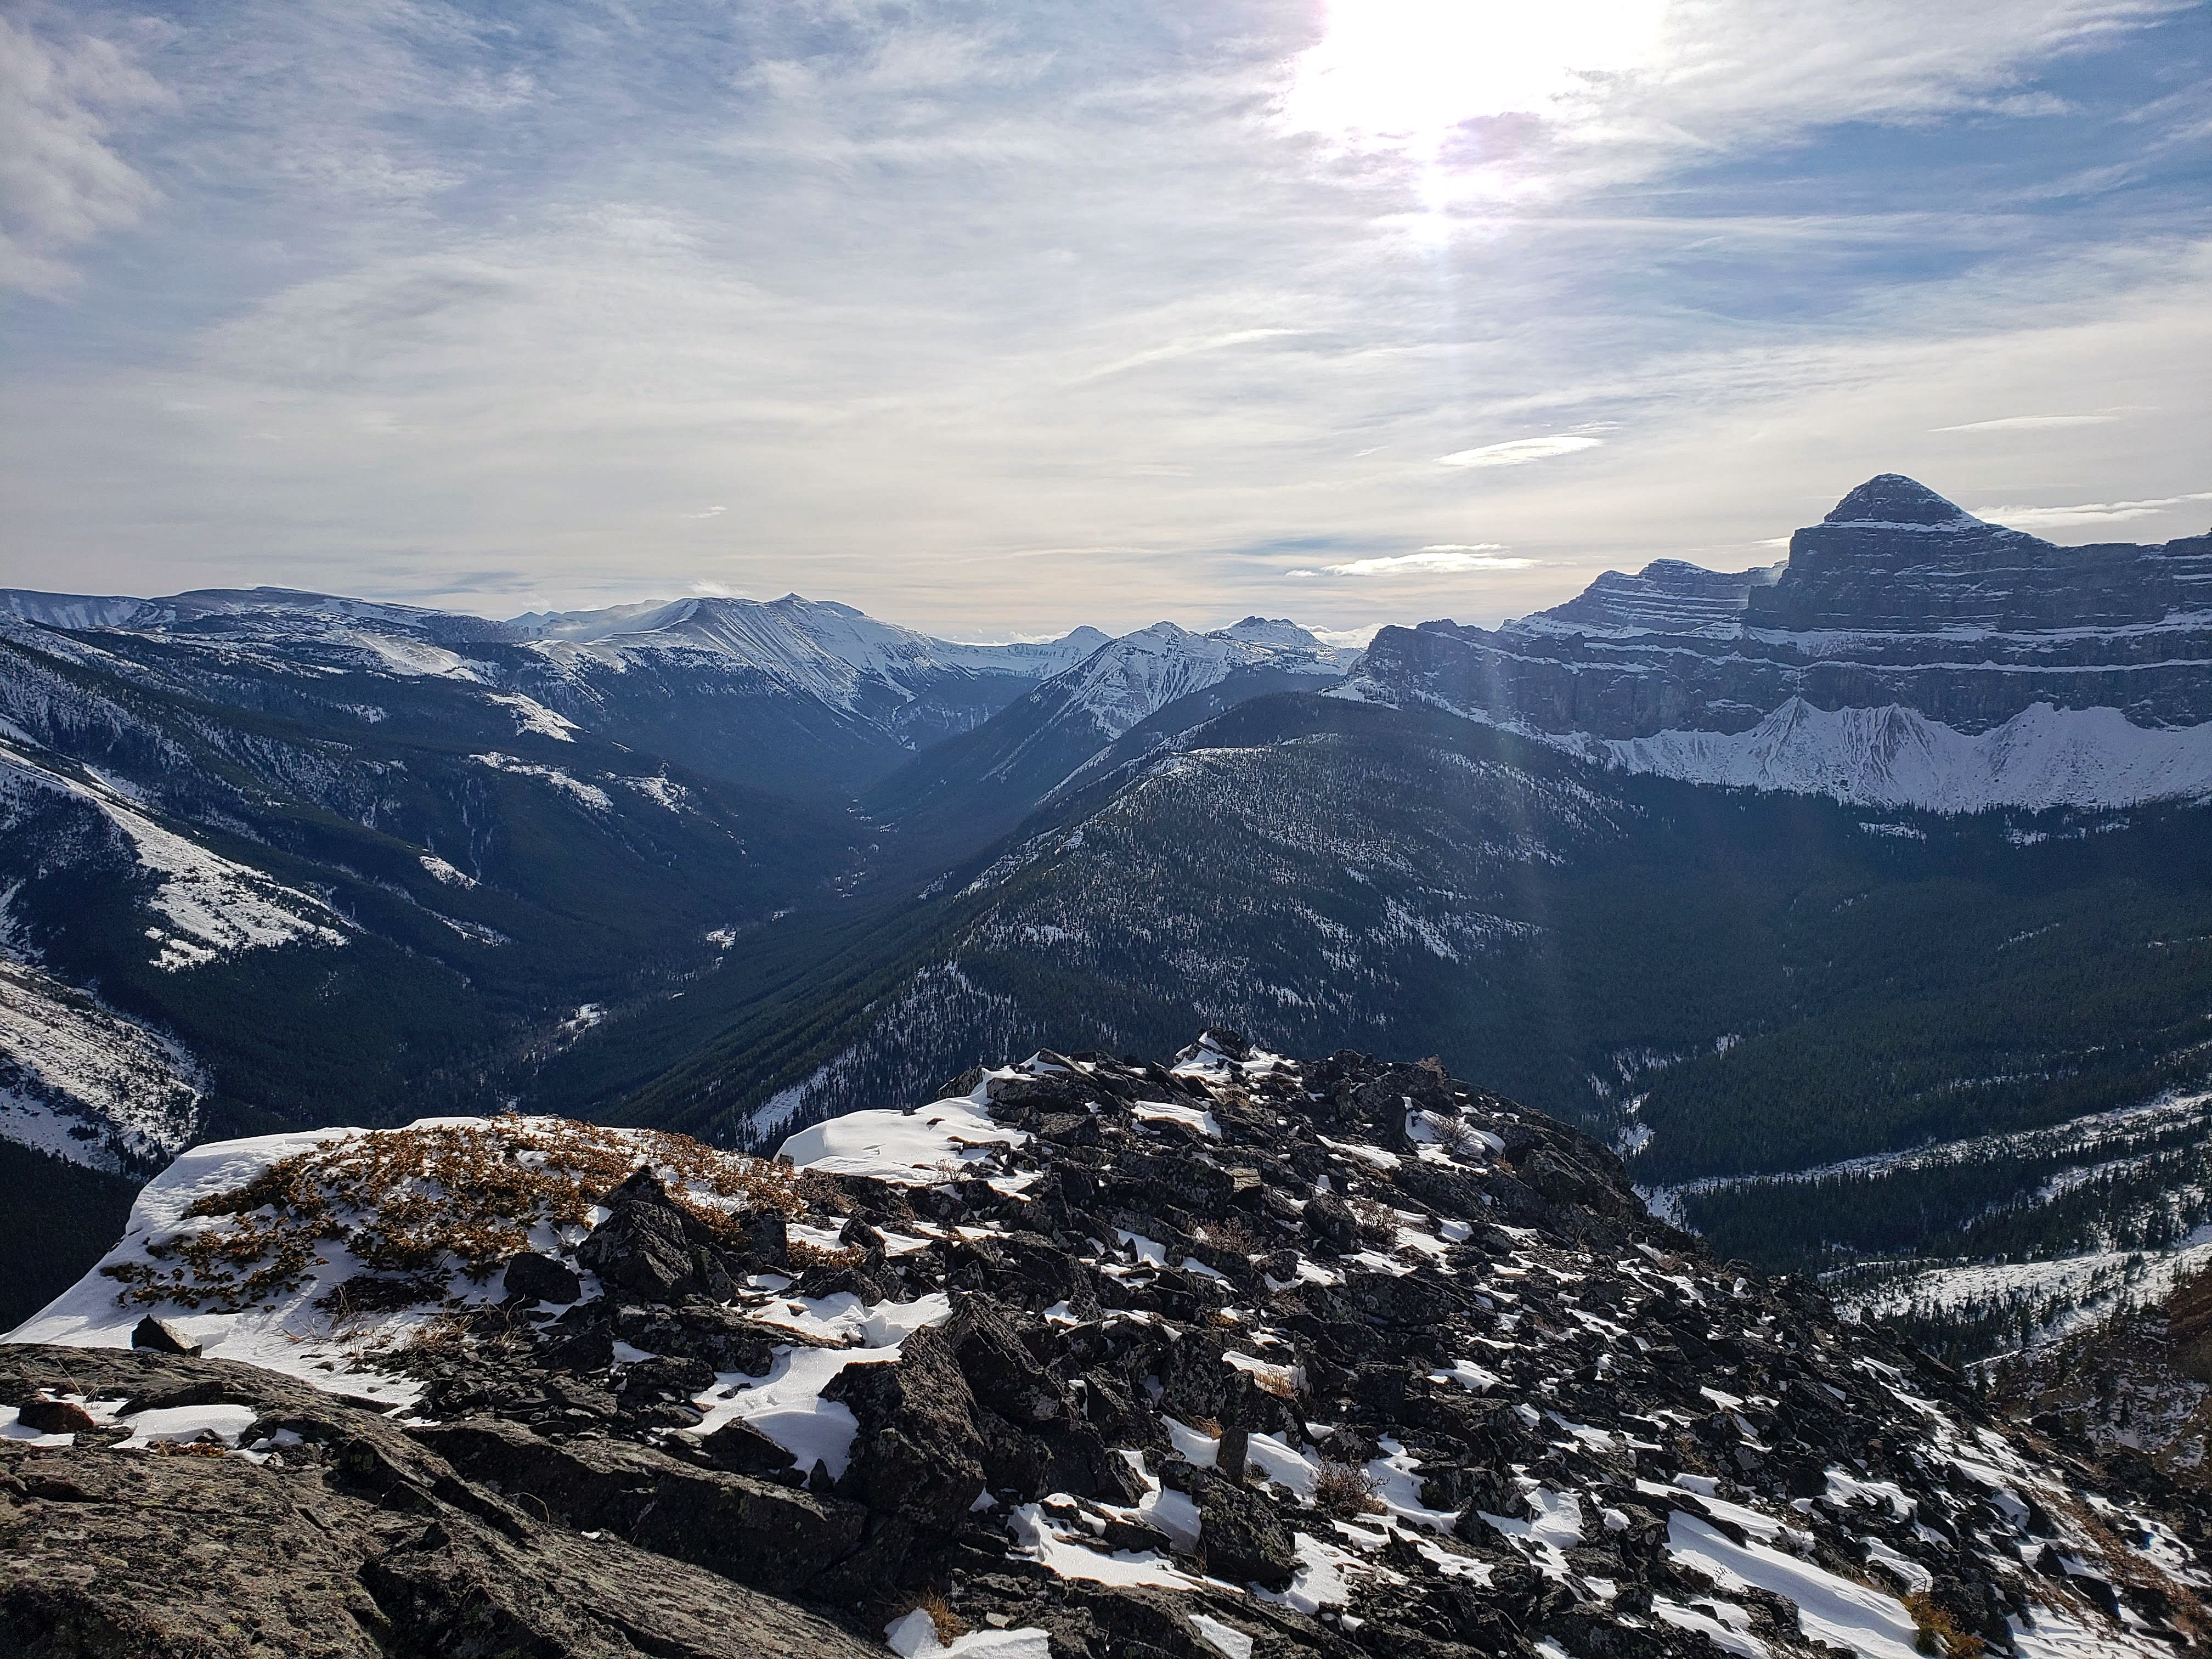
The view north down the valley. A ‘segment’ of “Gladstone’s Toe” is on the far left and “Whitney Creek Mountain” is in the centre.
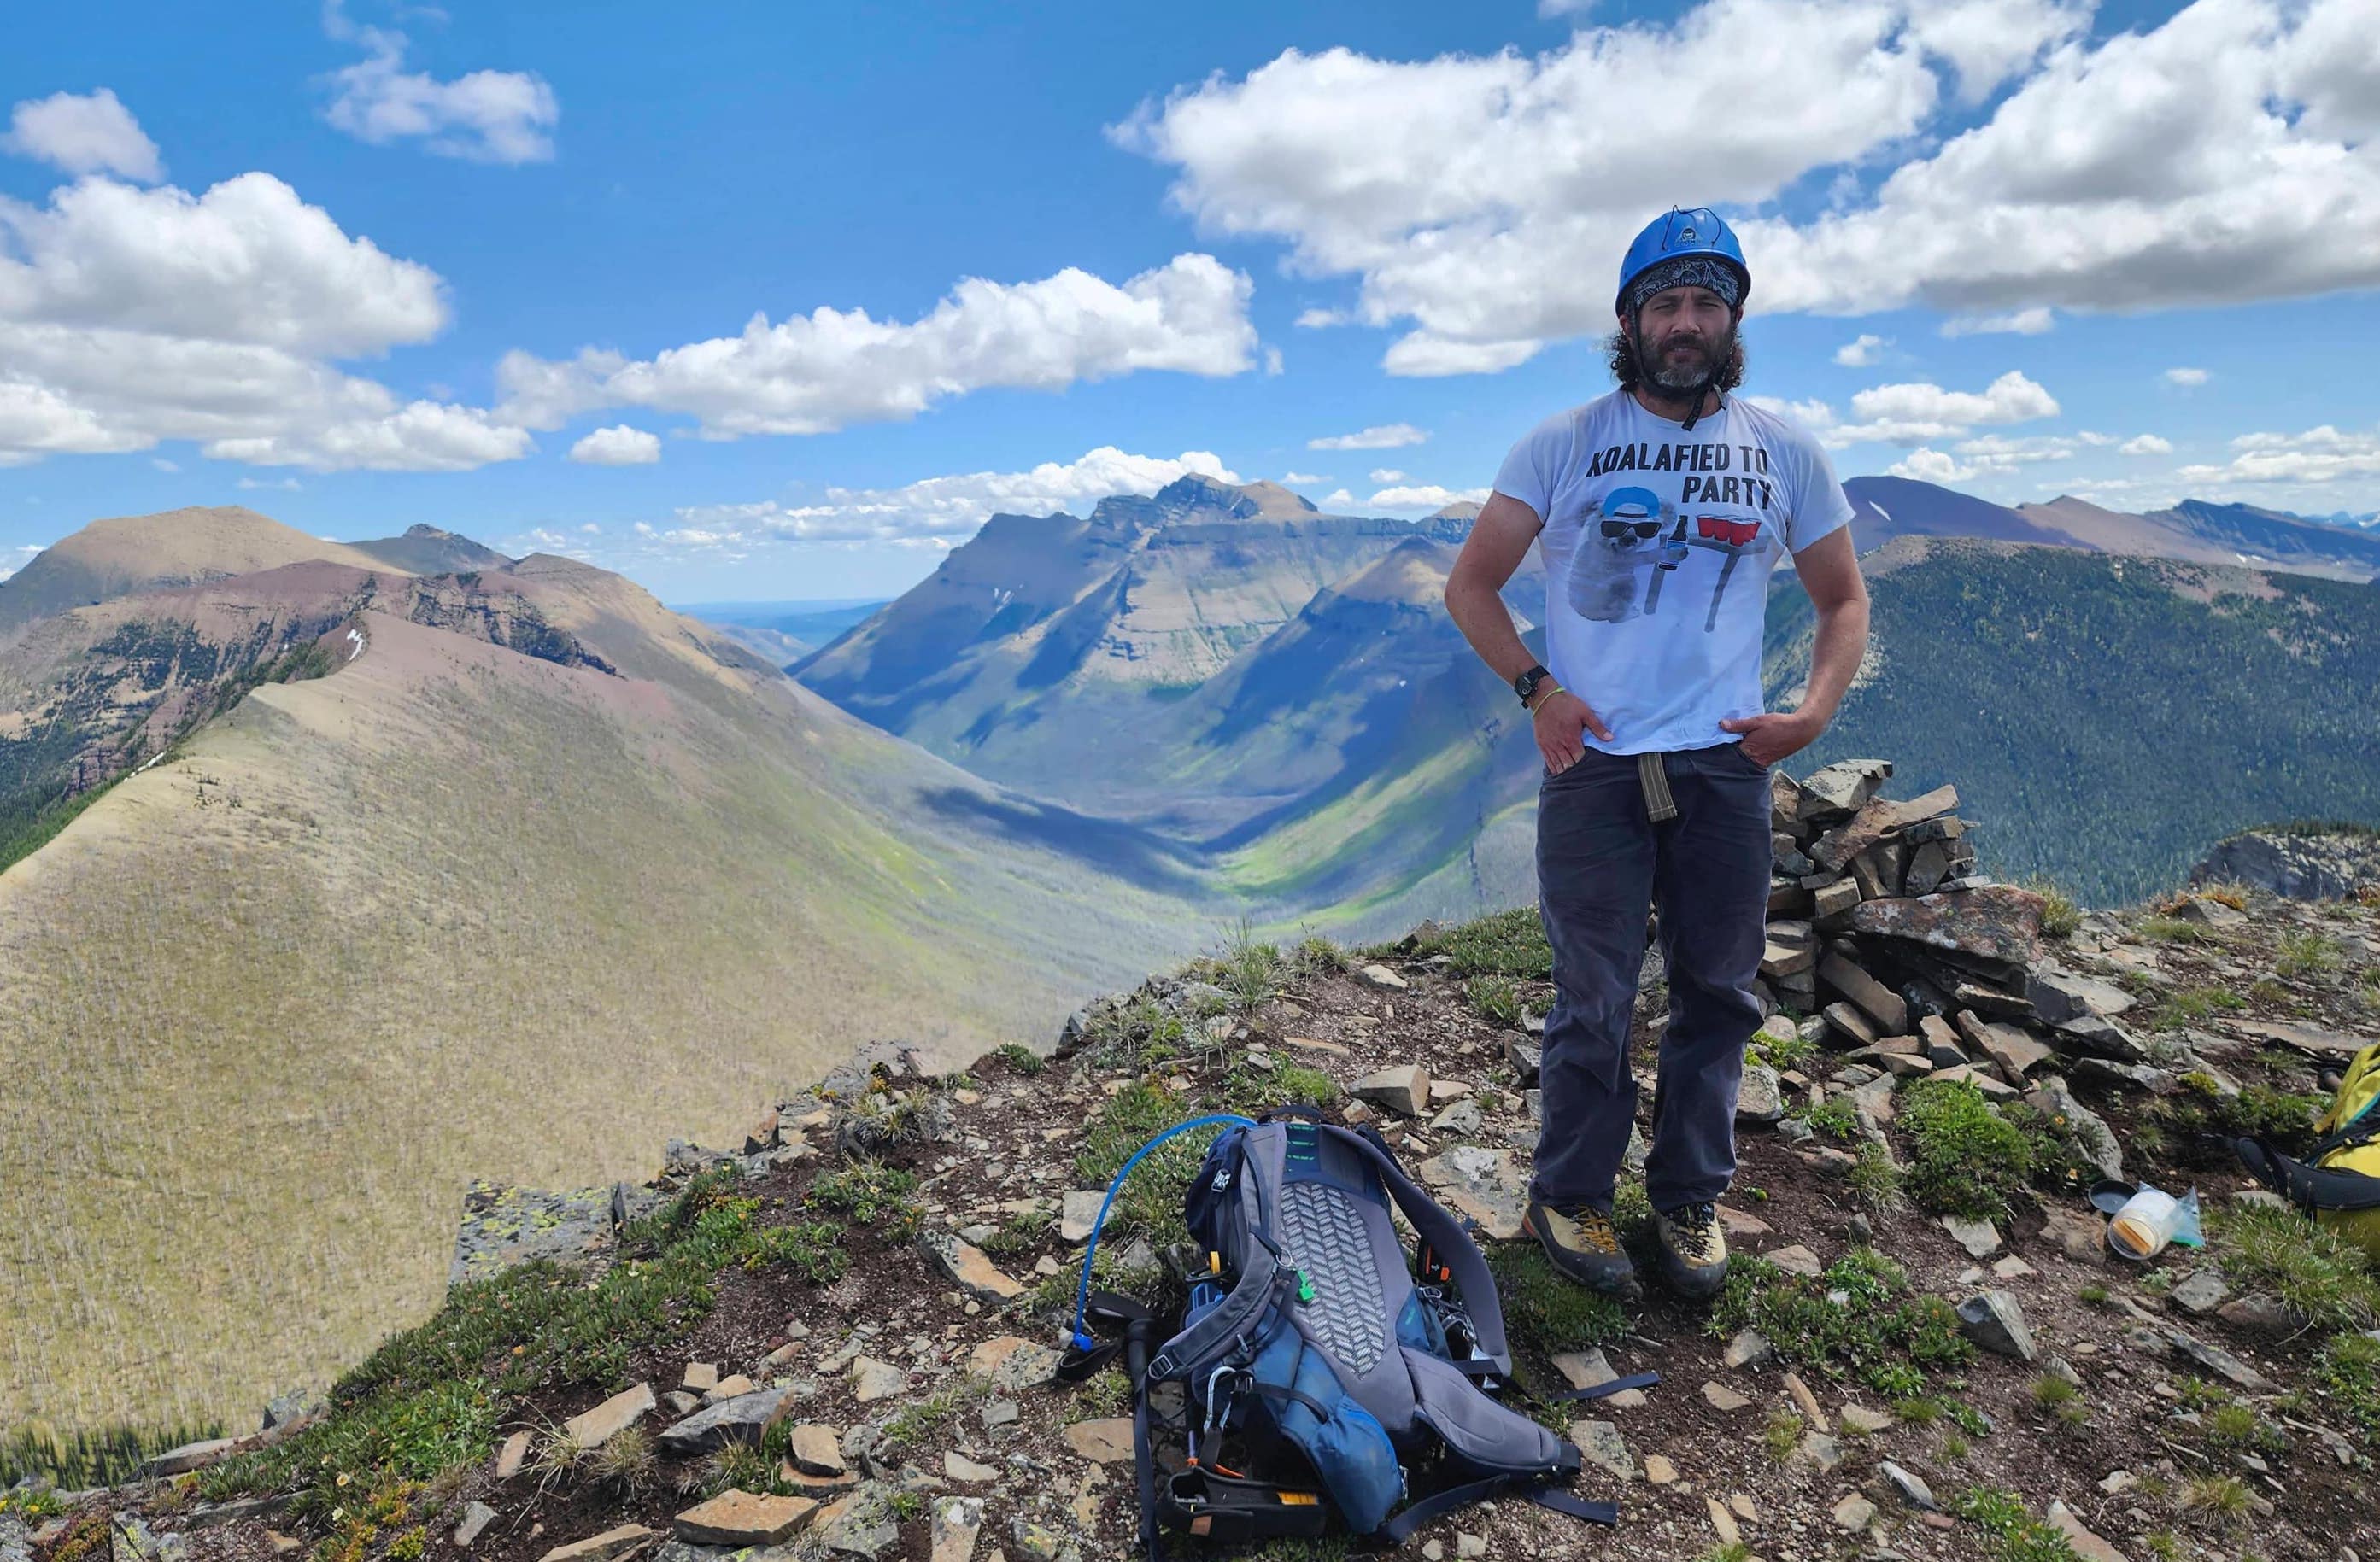
Andrew on the summit of “Mill Creek Peak” (2165m).

My second visit to this neat little summit.

Setting off on the ~1.3km ridge walk to the summit of MCM (right). Click to continue to my trip report for “Mill Creek Mountain”.


Leave a Reply