Third Generation (1983 – 2003)

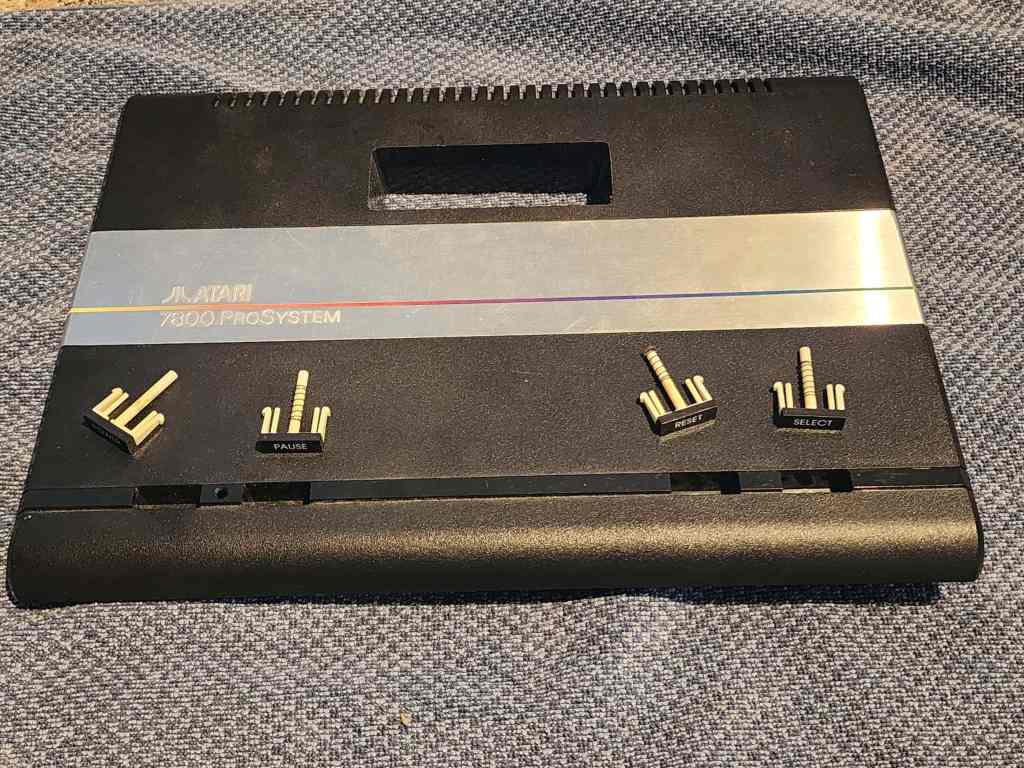
Atari 7800 Pro System (#1)
Years (1986-1992)
Interesting fact: The 7800 was supposed to be the replacement for the 5200, but the video game crash in 1983 followed by Atari’s sale in 1984, put the system on hold until 1986. By the time it entered the market the Nintendo NES and Sega Master System were well-established competitors. (source) The 7800 was backwards compatible with the 2600 game library plus it had its own, limited offerings. It had superior graphics capabilities compared to the 2600 and the 5200, but to save money, Atari used the same sound chip from the 2600. (source)
Condition When Acquired: Non-Functional (DOA)
Current Condition: Fully Functional


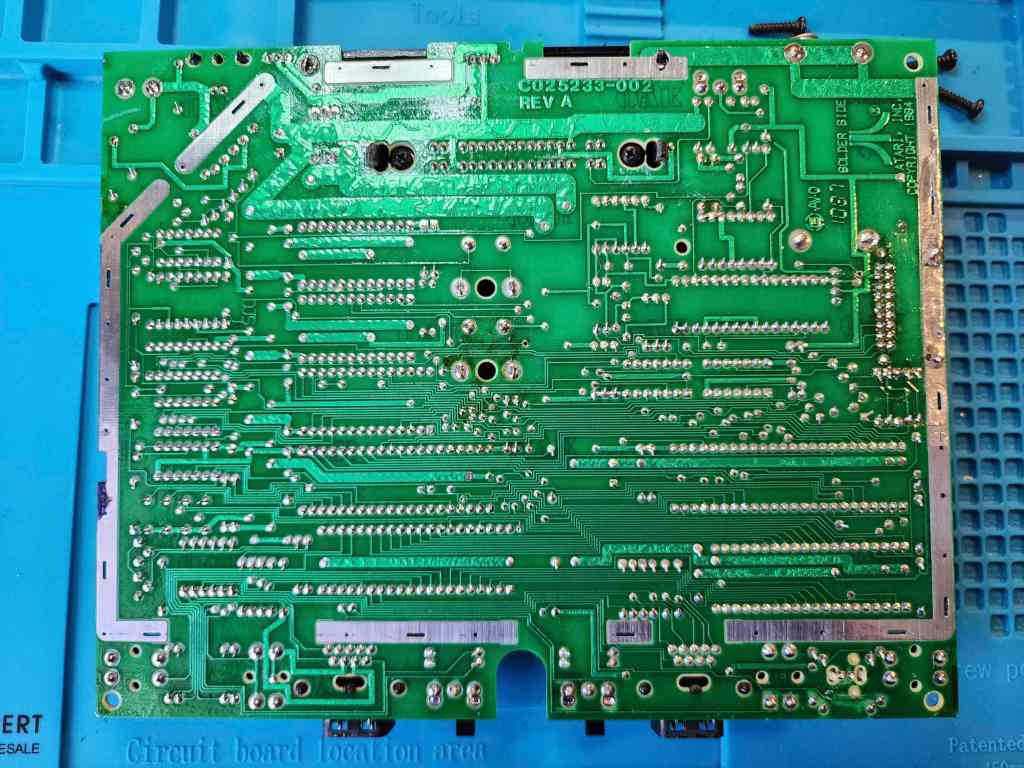
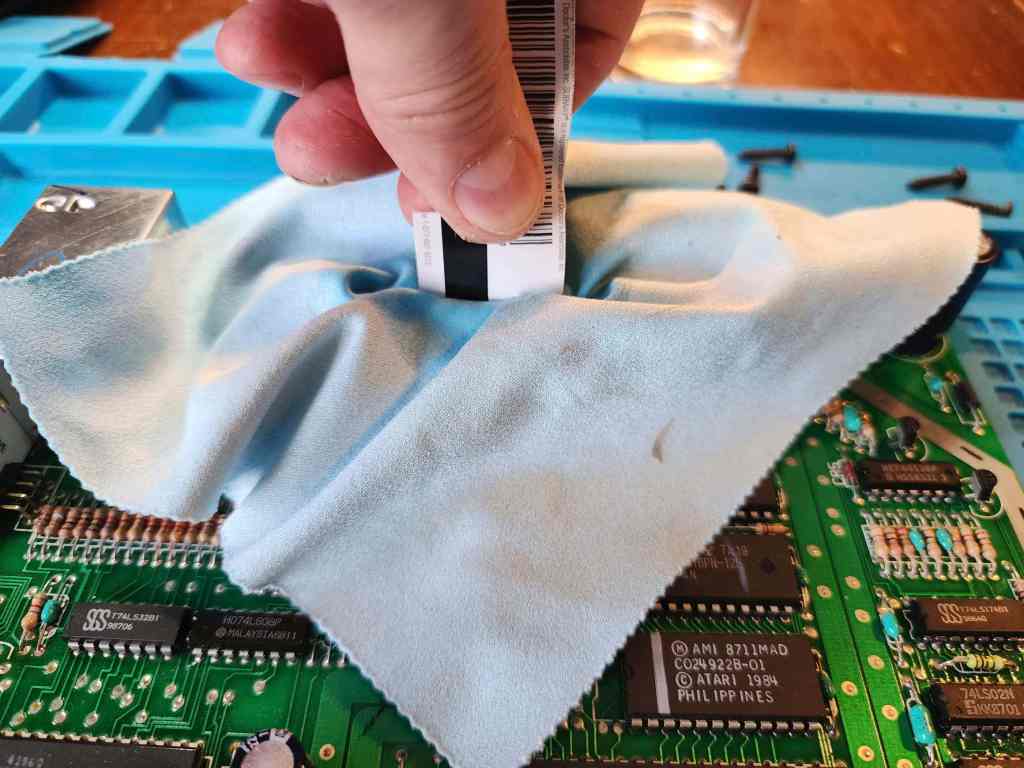
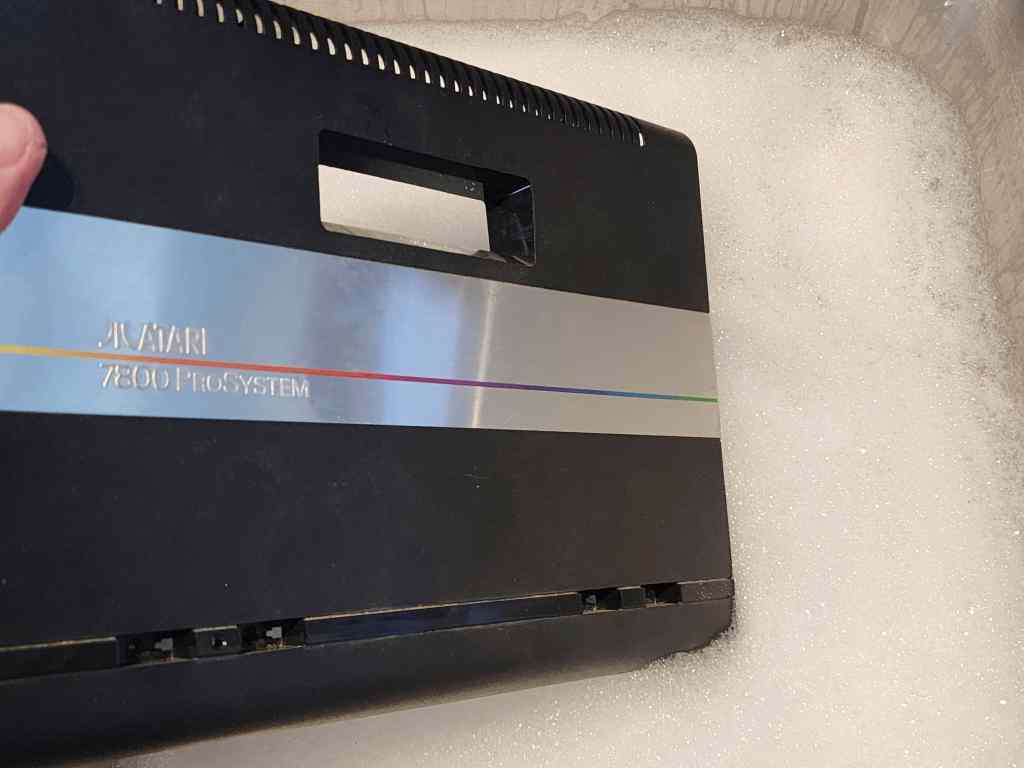
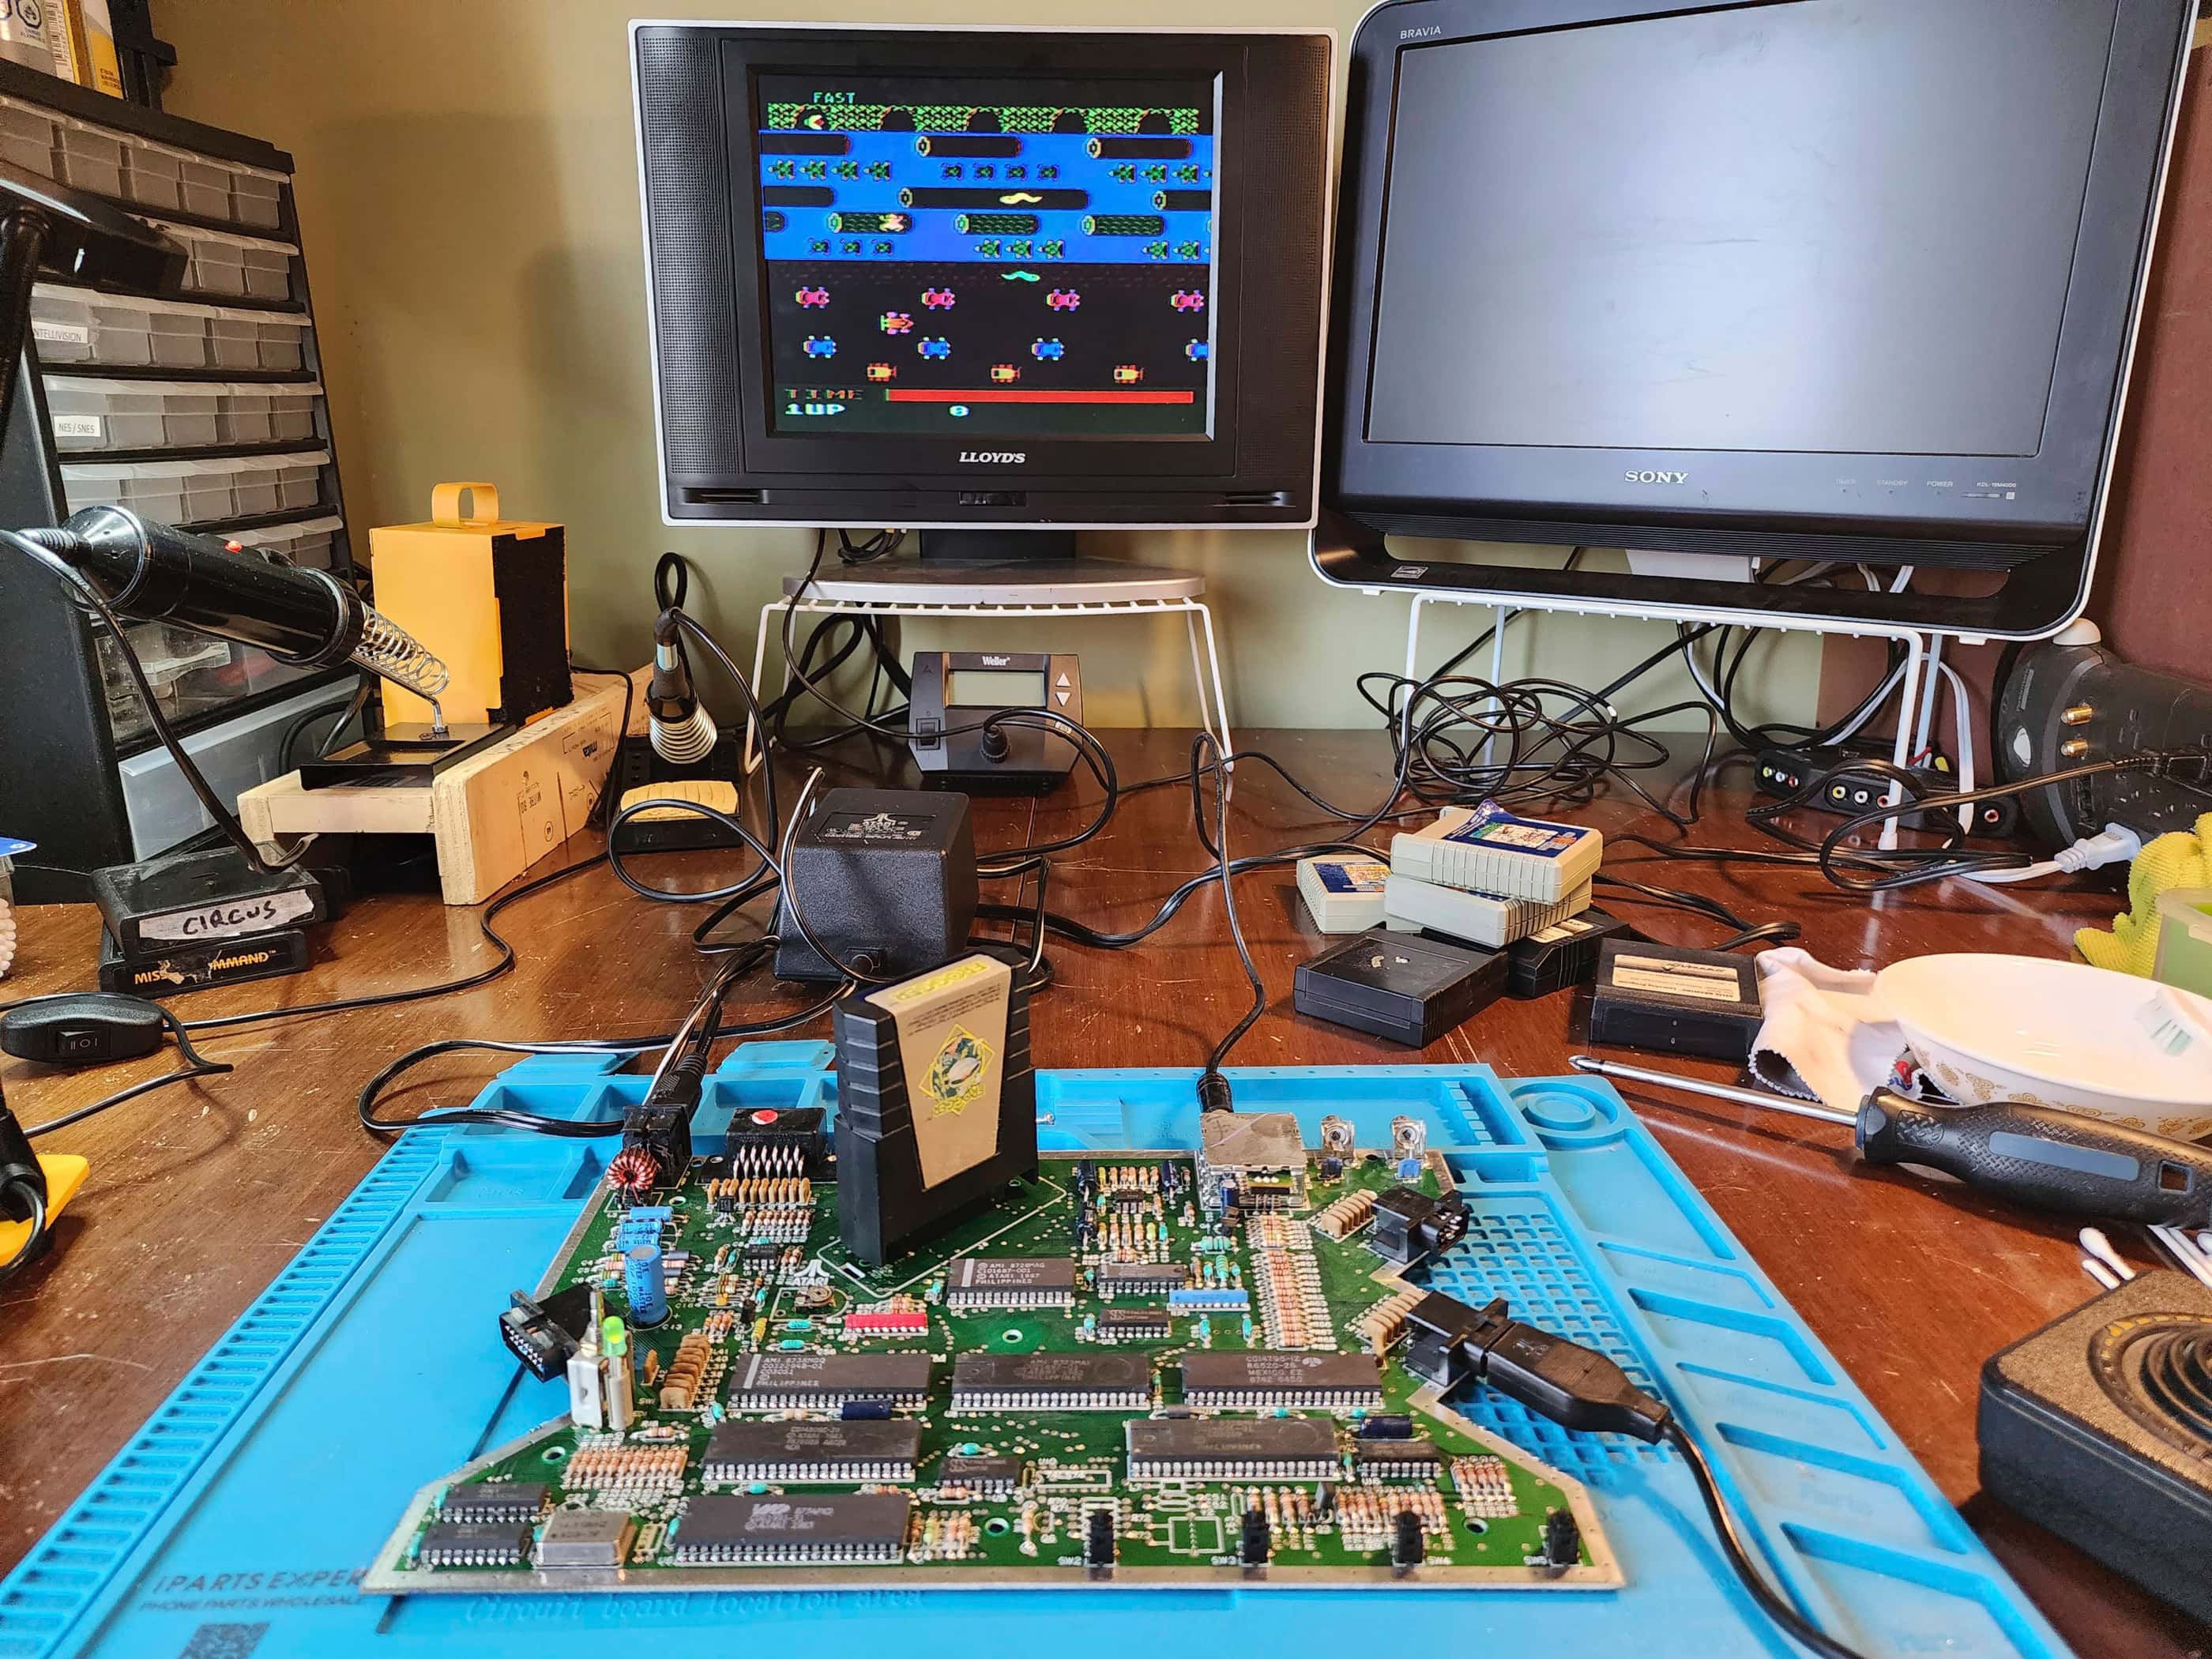
Project Details: Atari 7800s are somewhat expensive to acquire when they are in working condition. I didn’t pay too much for this system, but I was expecting it to be fully functional. Unfortunately, after confirming that the power adapter was working, I plugged in a cartridge and turned the system on, but nothing happened. 🤔 I tried this several more times with different cartridges until finally, Ms. Pac Man, appeared on the screen. That it displayed well with the correct sound was exciting. I had tried the same cartridge earlier and it didn’t work so I set about to find out what was wrong. The unit itself was quite dirty and the only controller that it came with it, though functional, displayed evidence of a previous repair attempt where the cord exited the casing. I took everything apart and gave it thorough cleaning with IPA, with a strong focus on the cartridge slot. I also noted that the 7805 voltage regulator was running hotter than it should, so I replaced it along with capacitor C62 (16v 2200μF) which was looking a bit off or ‘bulgy’. As C61 & C22 (both 16v 220μF) looked good, I left them alone. I then popped in a clean cartridge and powered the unit on. Success! The game functioned well. I tried a couple more cartridges and the unit fired up perfectly every time. The new voltage regulator also ran much cooler than the old one; which I definitely think was on its last legs. I contemplated replacing C61 & C22 but since the unit was working perfectly, I decided to let sleeping dogs lie. I then disassembled, cleaned, and reassembled the controller before testing them. These worked great as well. I gave the unit a detailed cleaning and it now works like it should.
Parts & Products Used: 99% isopropyl alcohol; Chemical Guys Natural Shine; electrolytic capacitors (radial) – 16v 2200μF (1); 7805 +5v regulator (1); thermal paste;

Atari 7800 Pro System (#2)
Years (1986-1992)
Interesting fact: The 7800 was marketed as a budget system and did not include a composite option for connecting to newer TVs, only offering an RF output. (source) The 7800 also was limited in its number of games because Nintendo had a lock on licensing third-party developers to exclusive contracts. To get around this, Atari re-released its own games and tried to acquire the rights to computer-based titles. (source)
Condition When Acquired: Non-Functional (DOA)
Current Condition: Fully Functional


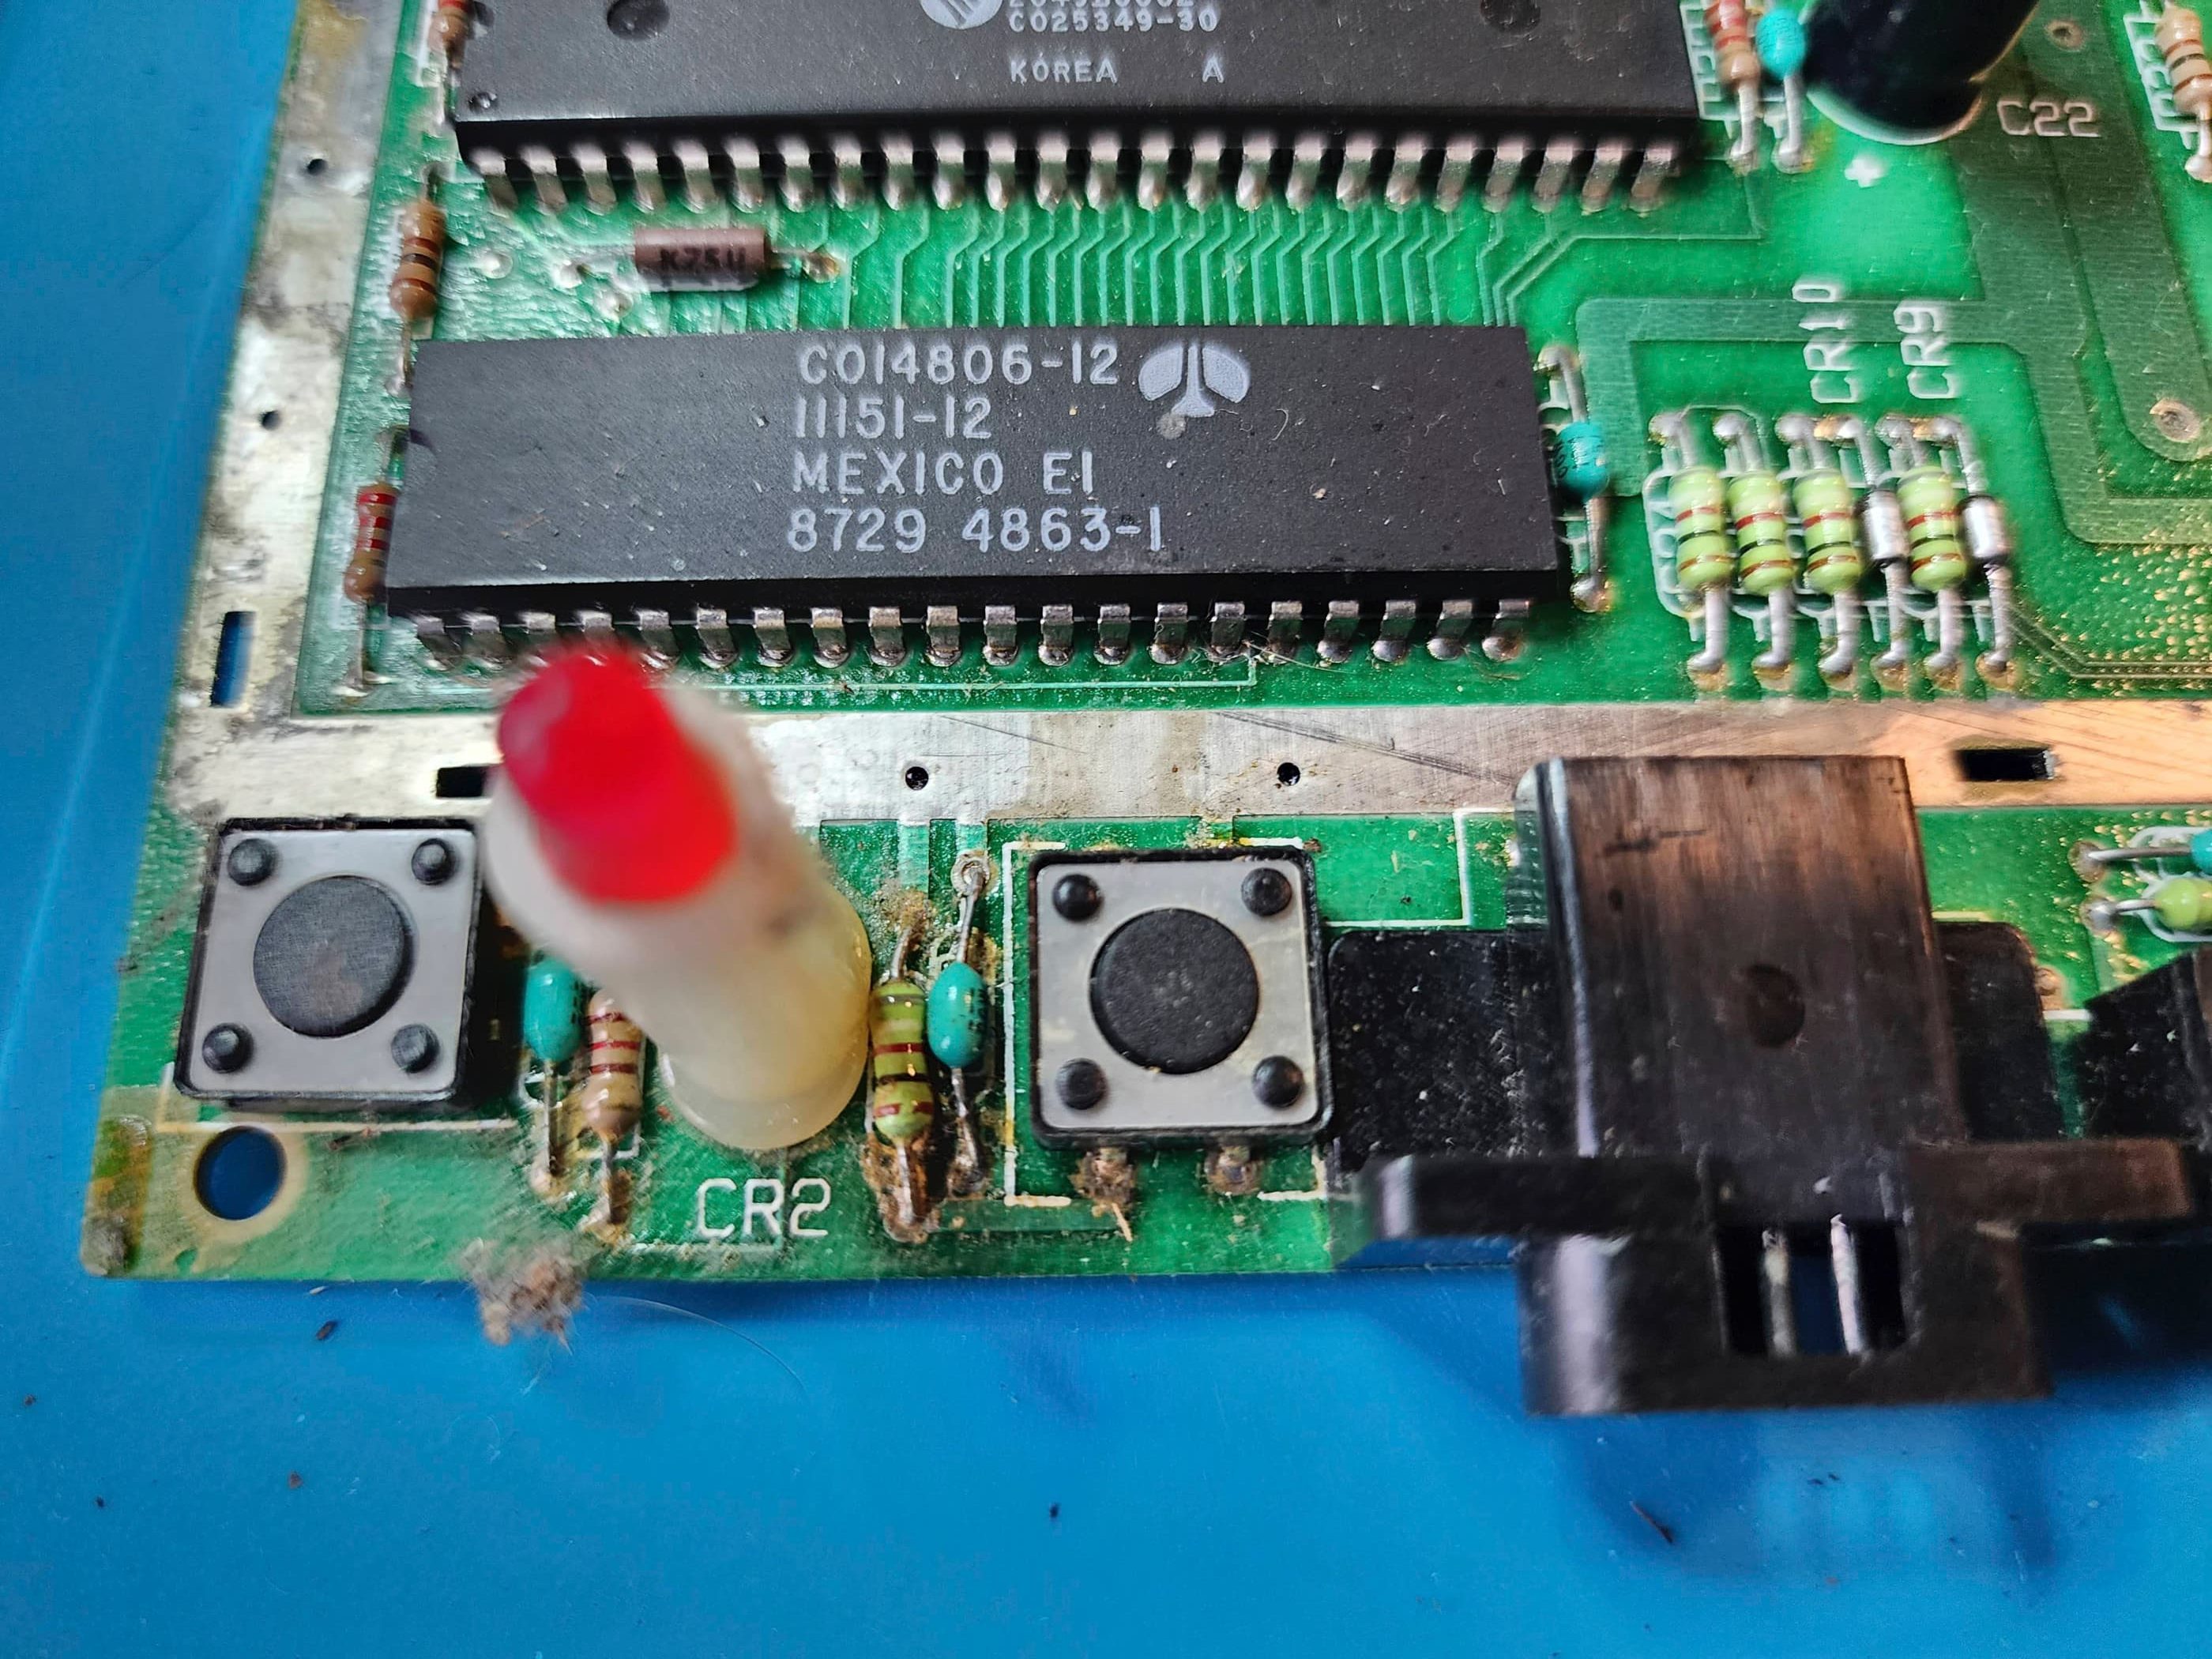


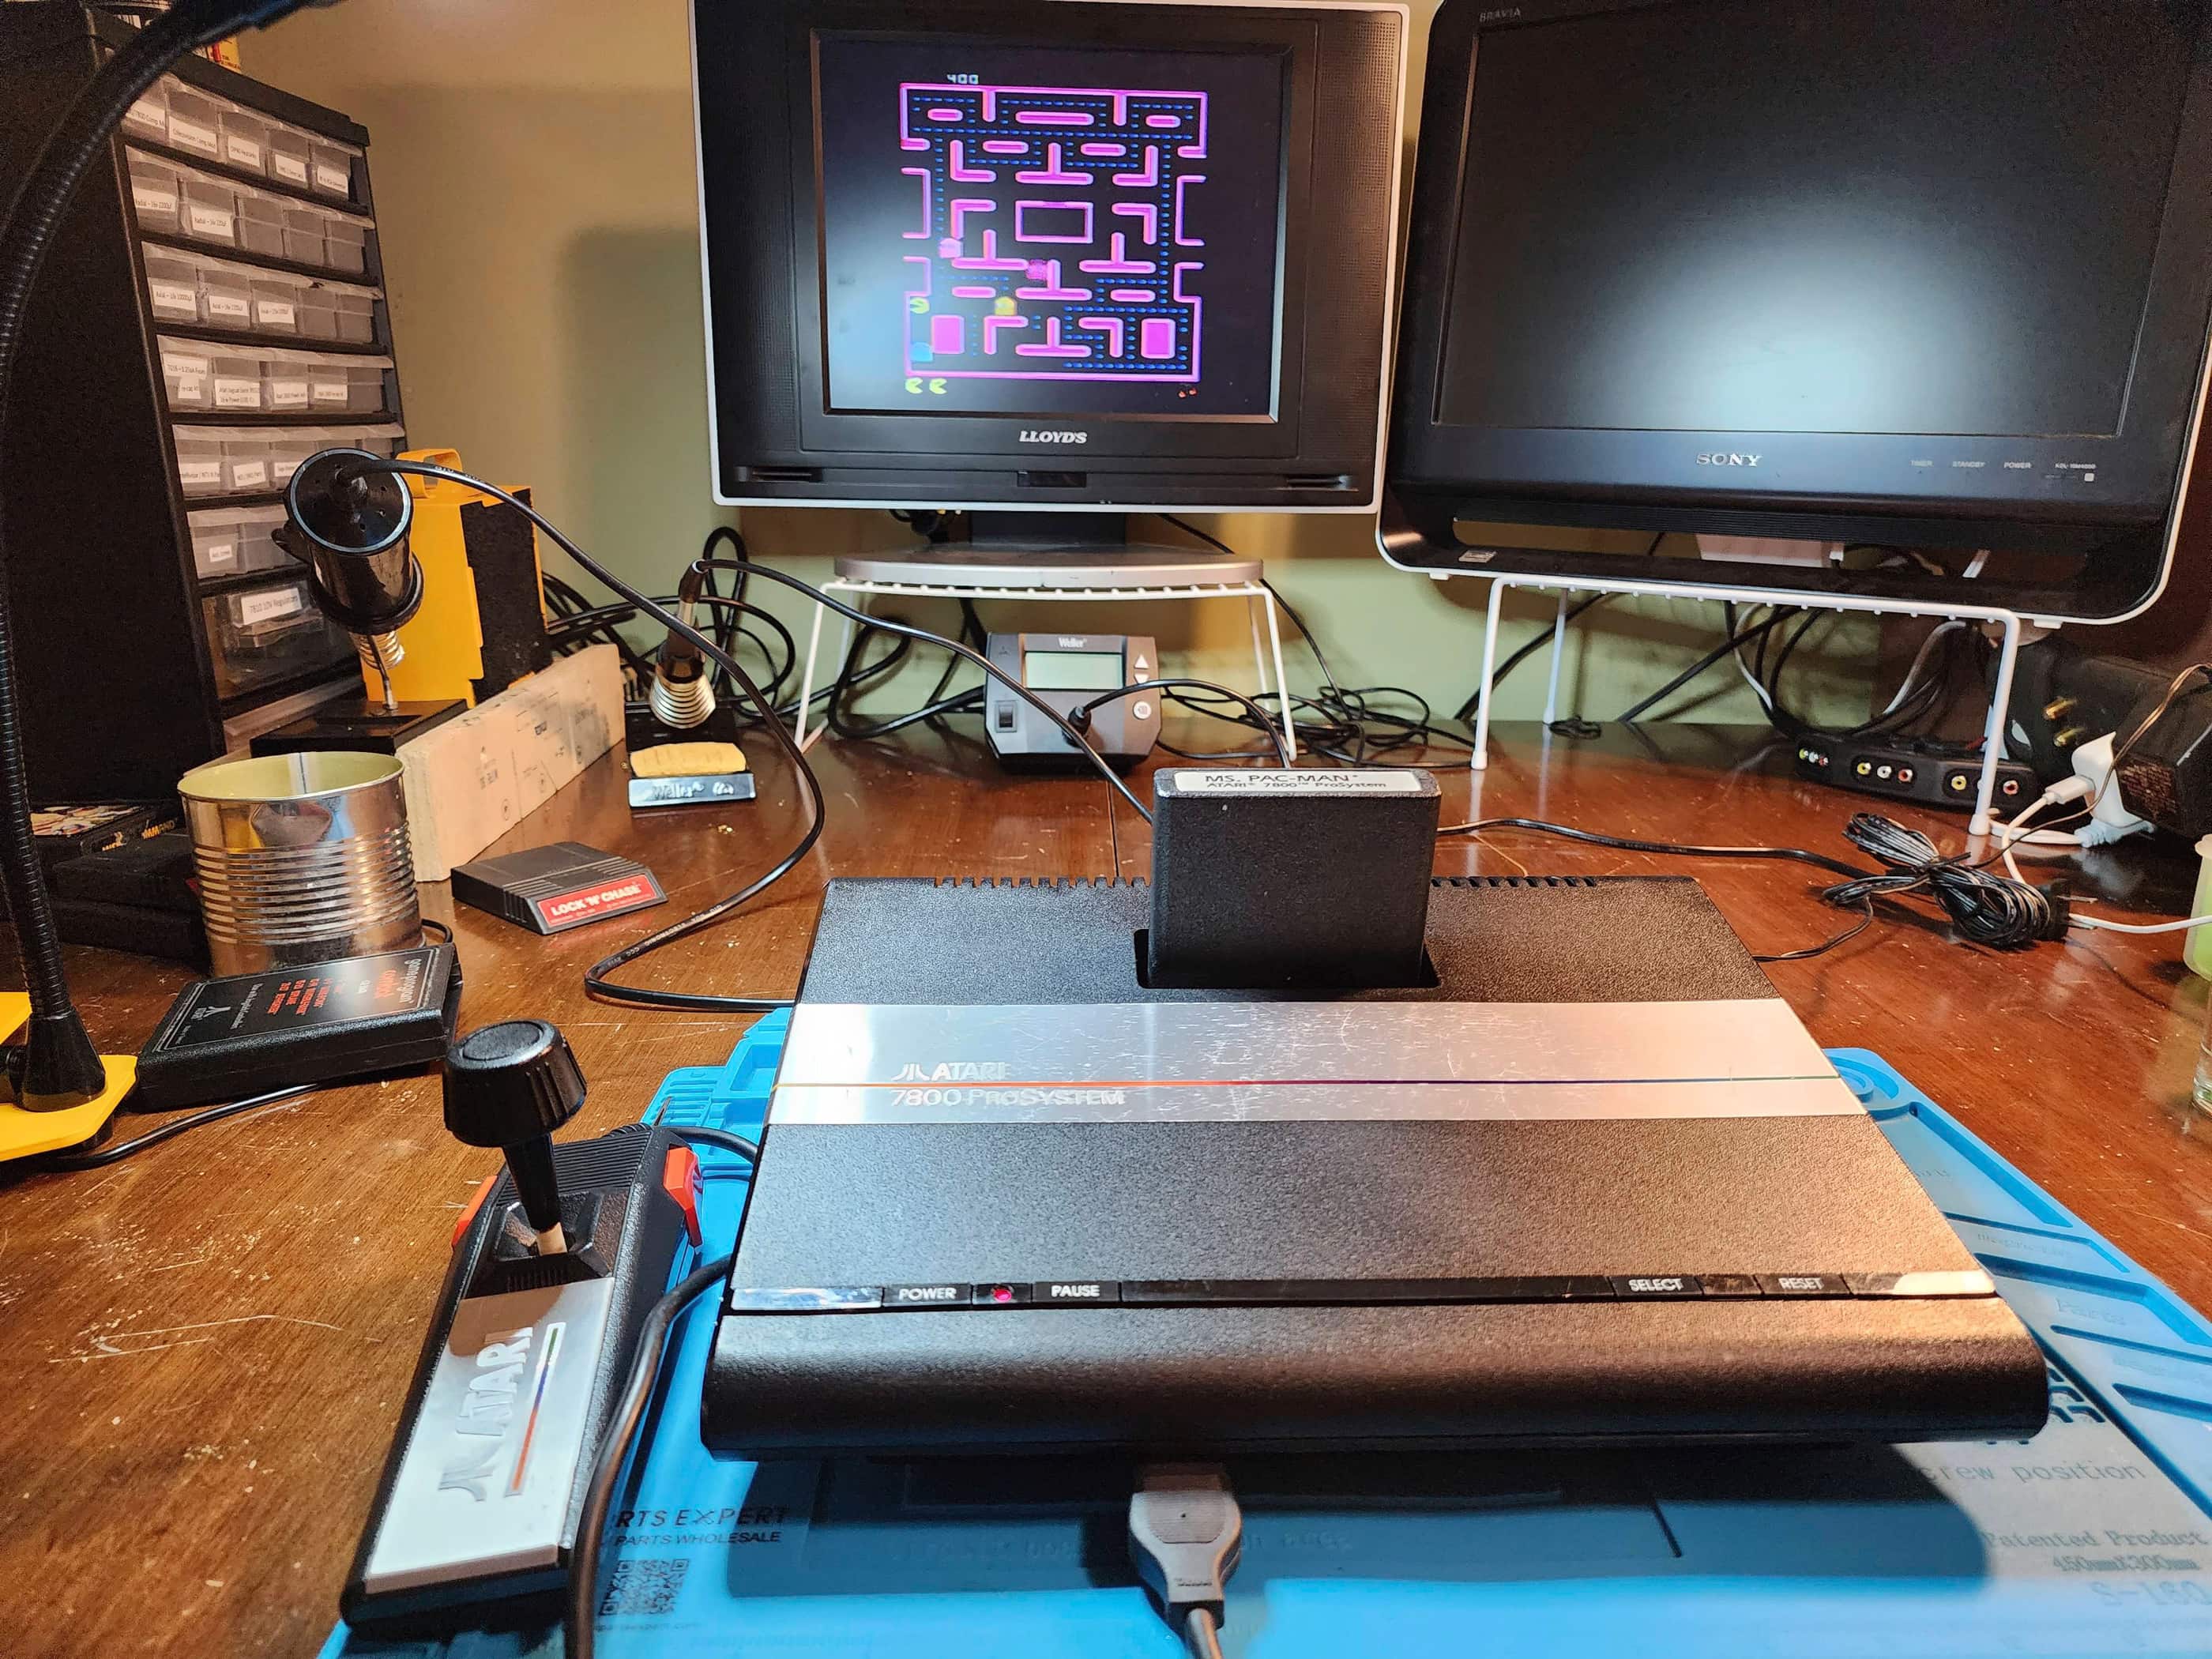
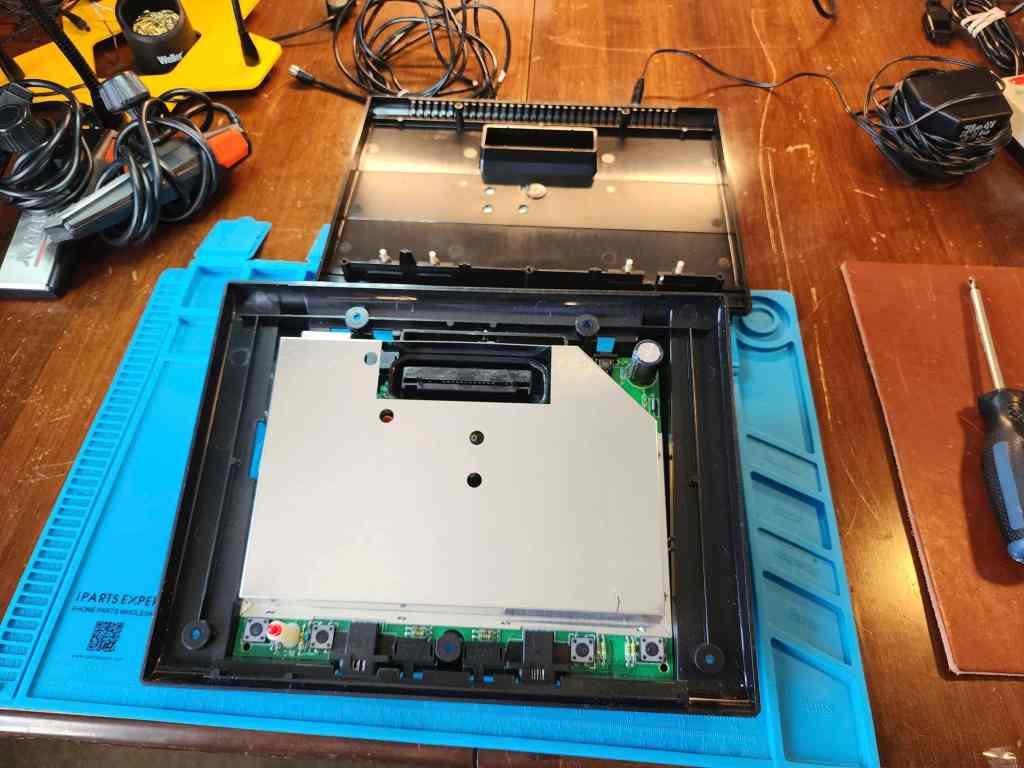
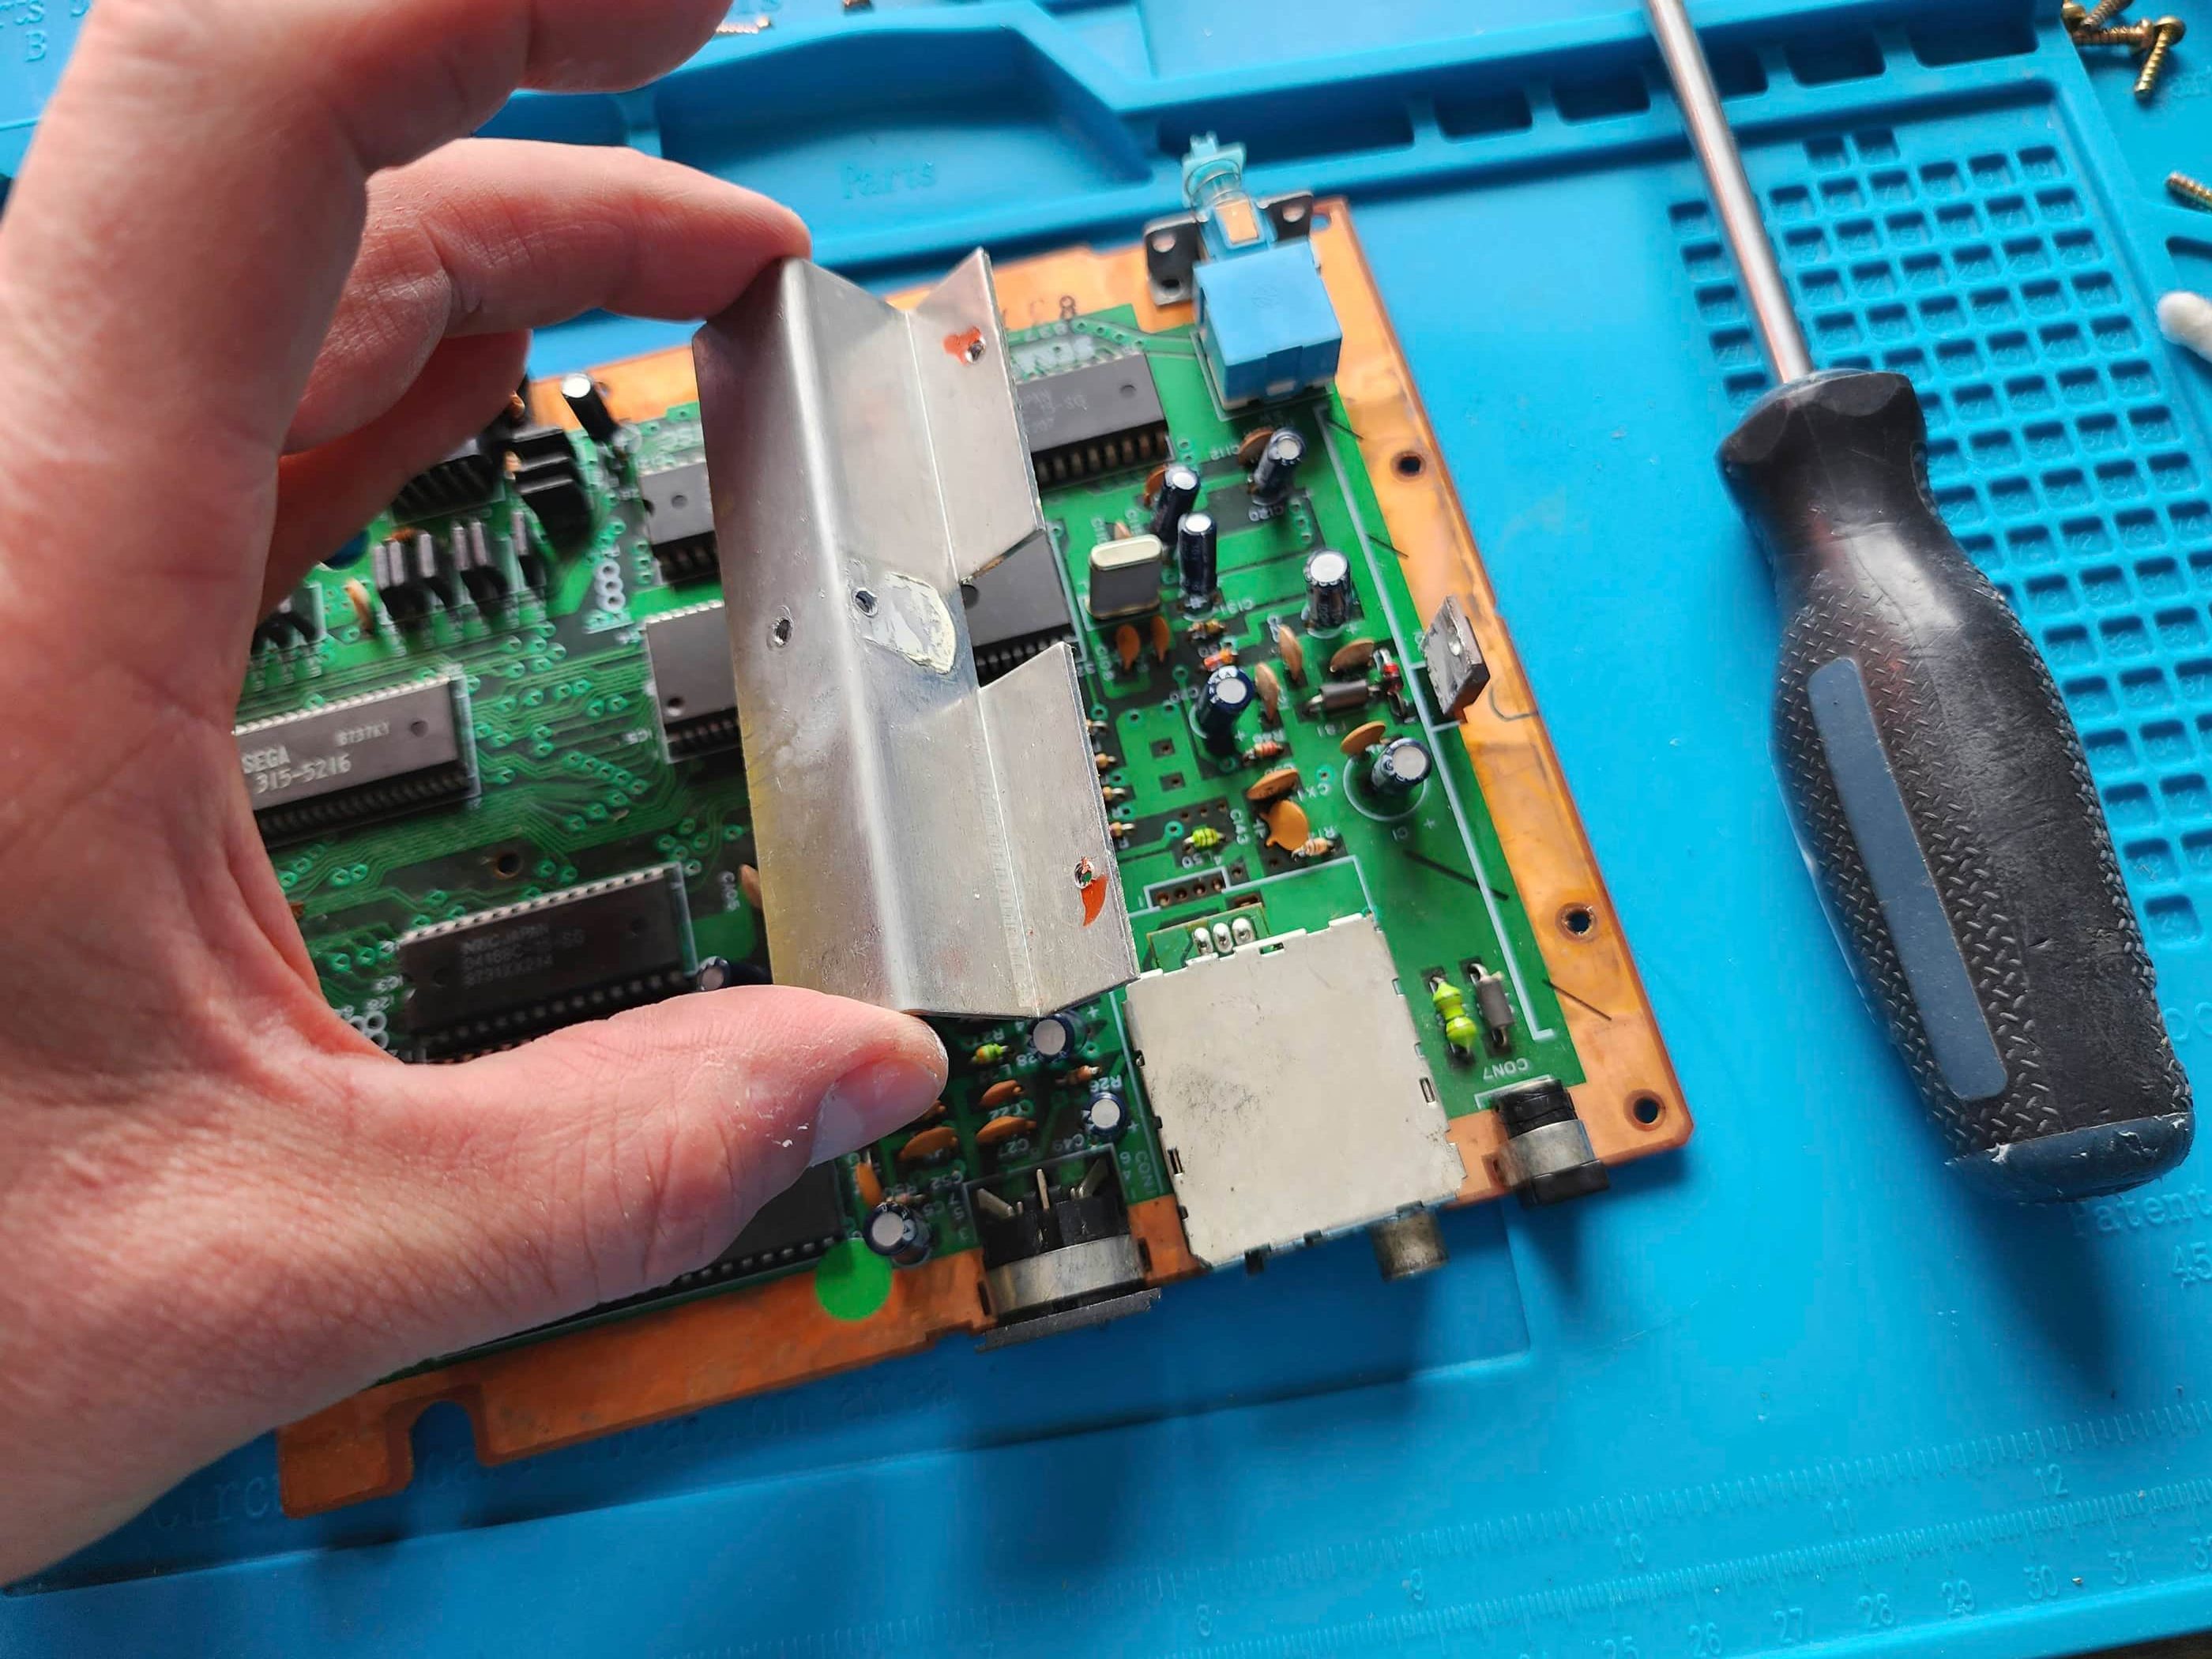
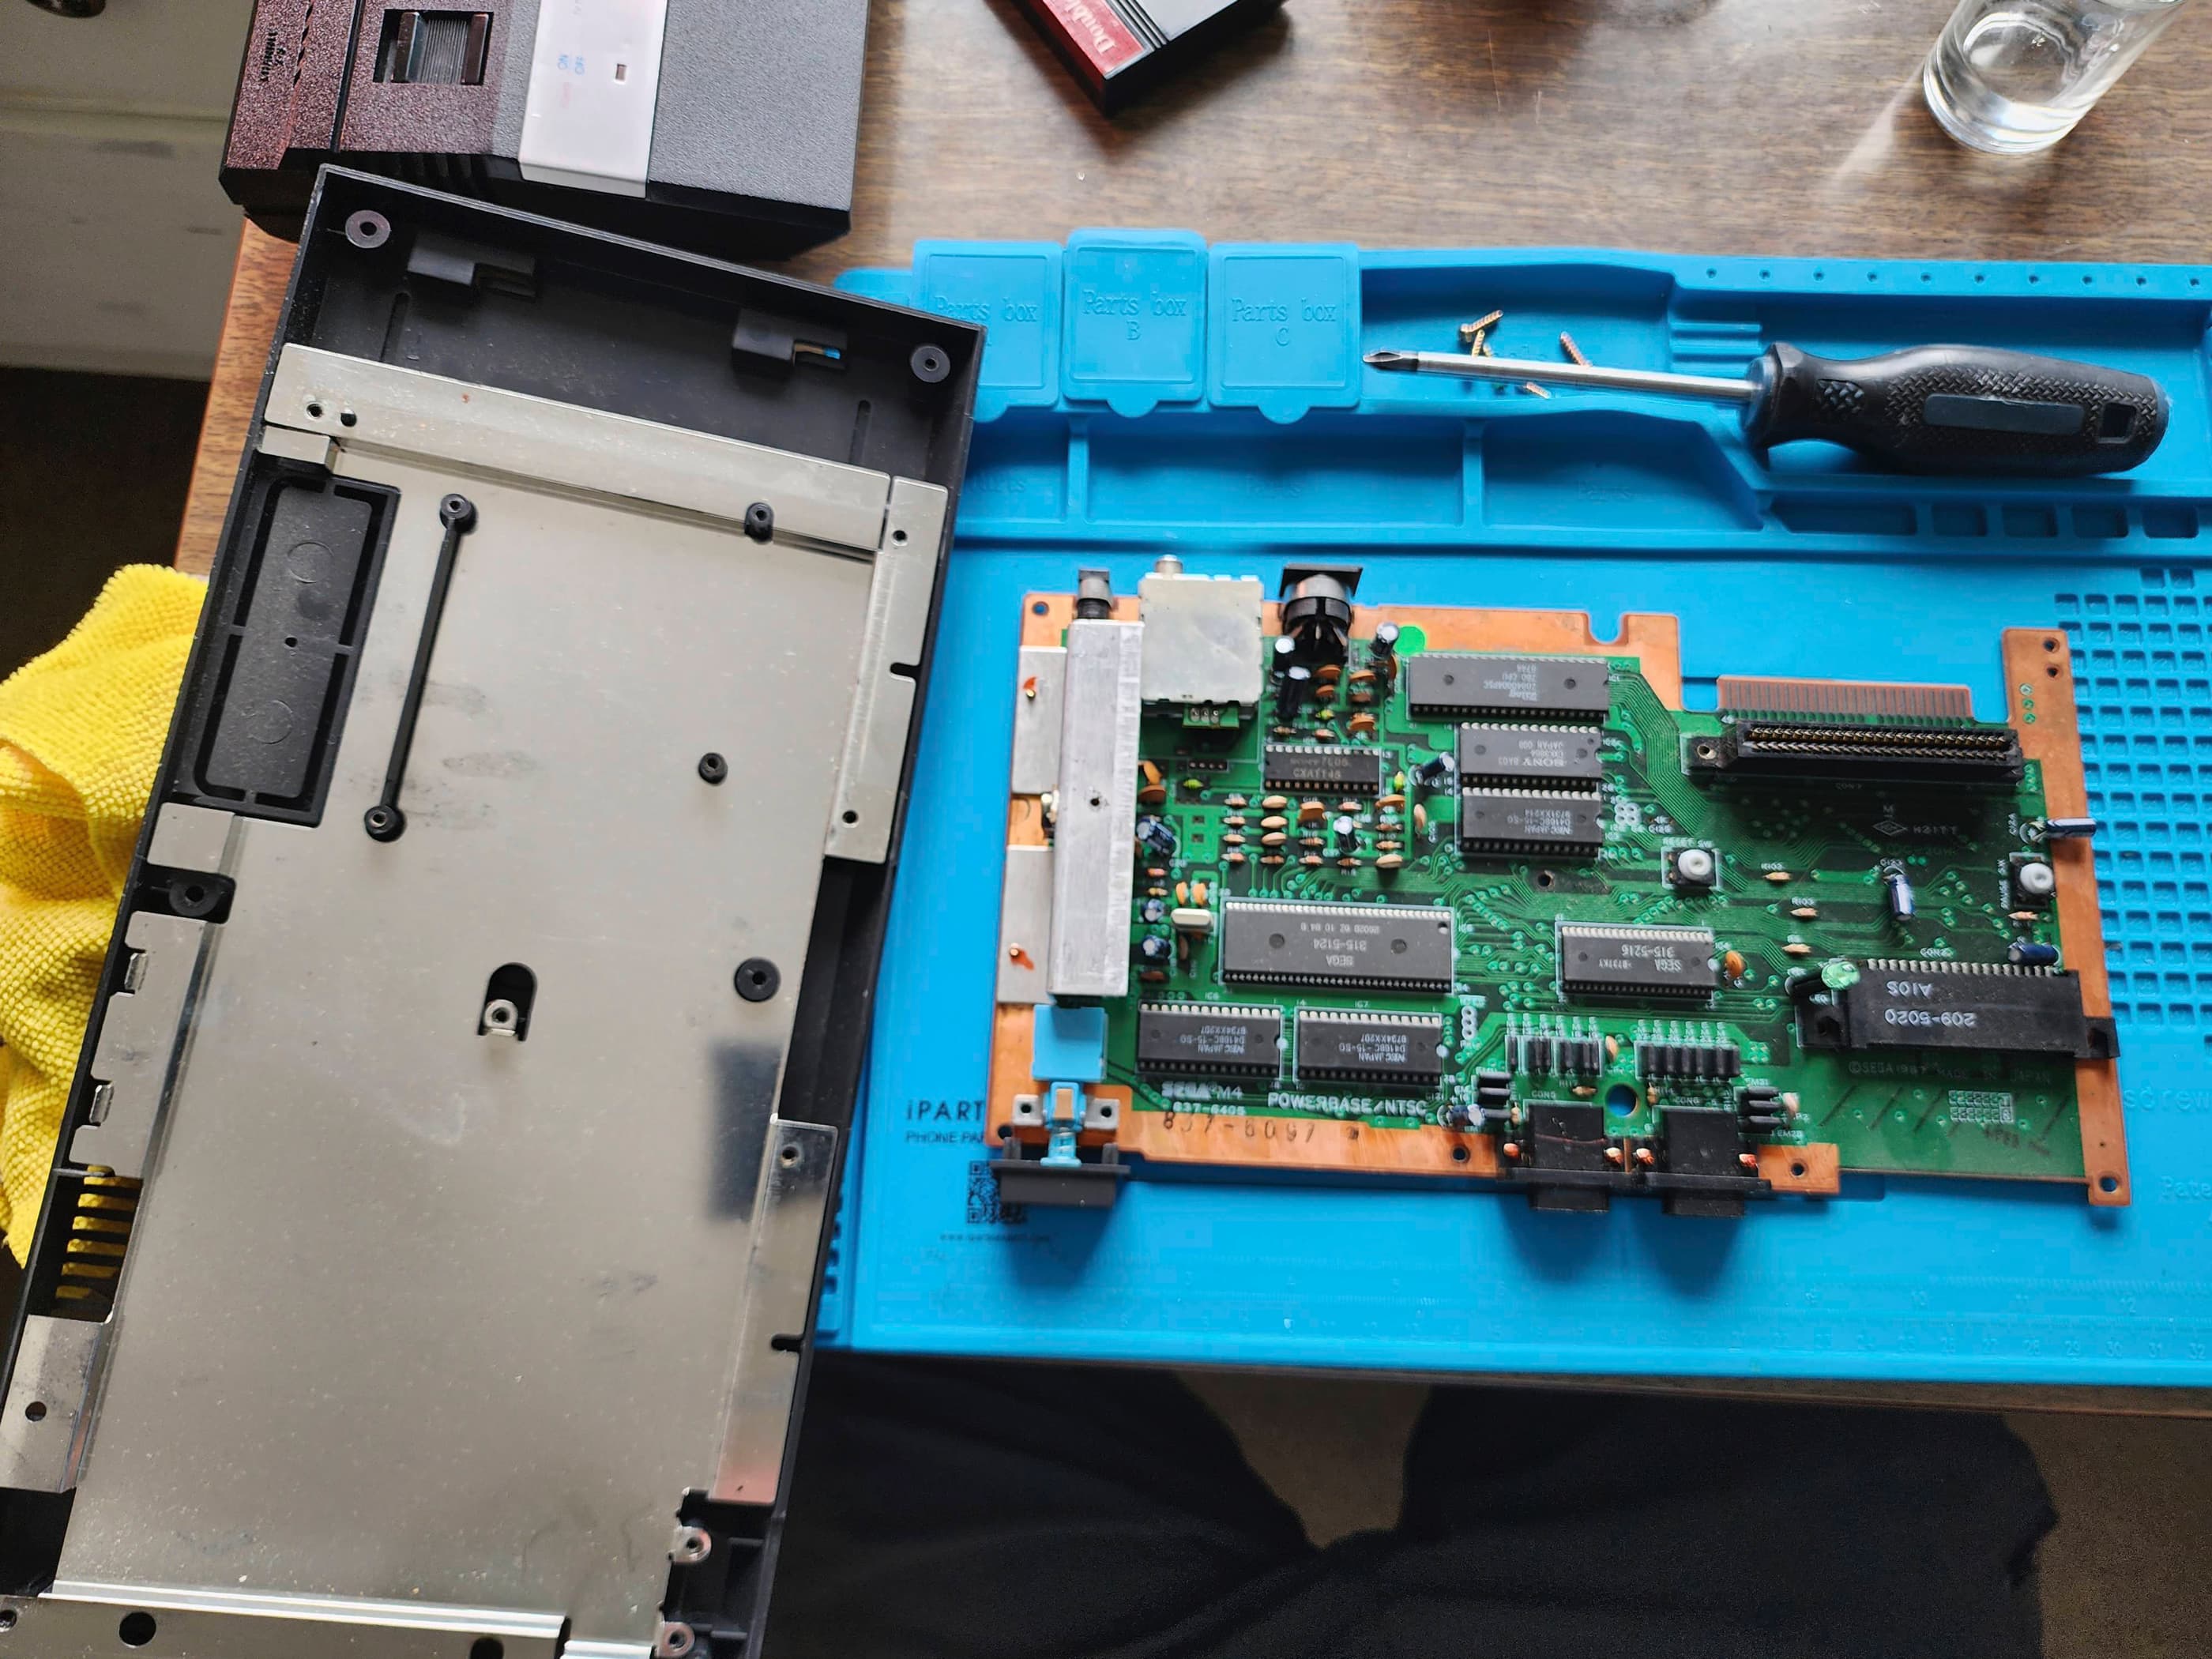
Project Details: Finding this unit for $60 was something I couldn’t pass on. It didn’t include the power adapter or any controllers and came as ‘untested’. As I already had a spare 7800 power adapter, I was ahead of the game. When I turned the unit on, the power light came on but other than that, it was DOA. I tried a few more cartridges with the same result. I then proceeded to take the unit apart to try and find out what was wrong. It was very dirty and so my first task was giving the board a good wash in IPA, including the cartridge slot. I then powered it on and… a grey screen flickered on then quickly disappeared. This gave me hope that there was life in it, so I began voltage testing across the board, starting with the 7805 voltage regulator. As it was receiving and outputting the correct voltages I moved on to other areas. Not finding anything too obvious, I played around with the cartridge slot. I tried to remove the plastic casing as I had in 7800 #1, but this one would not budge off the board. This made cleaning and inspecting the contacts a lot more difficult, but I took the extra time to do it. I powered it back on the Atari logo appeared. Nice! 😀 Even better, Ms. Pac-man played and sounded like it should.
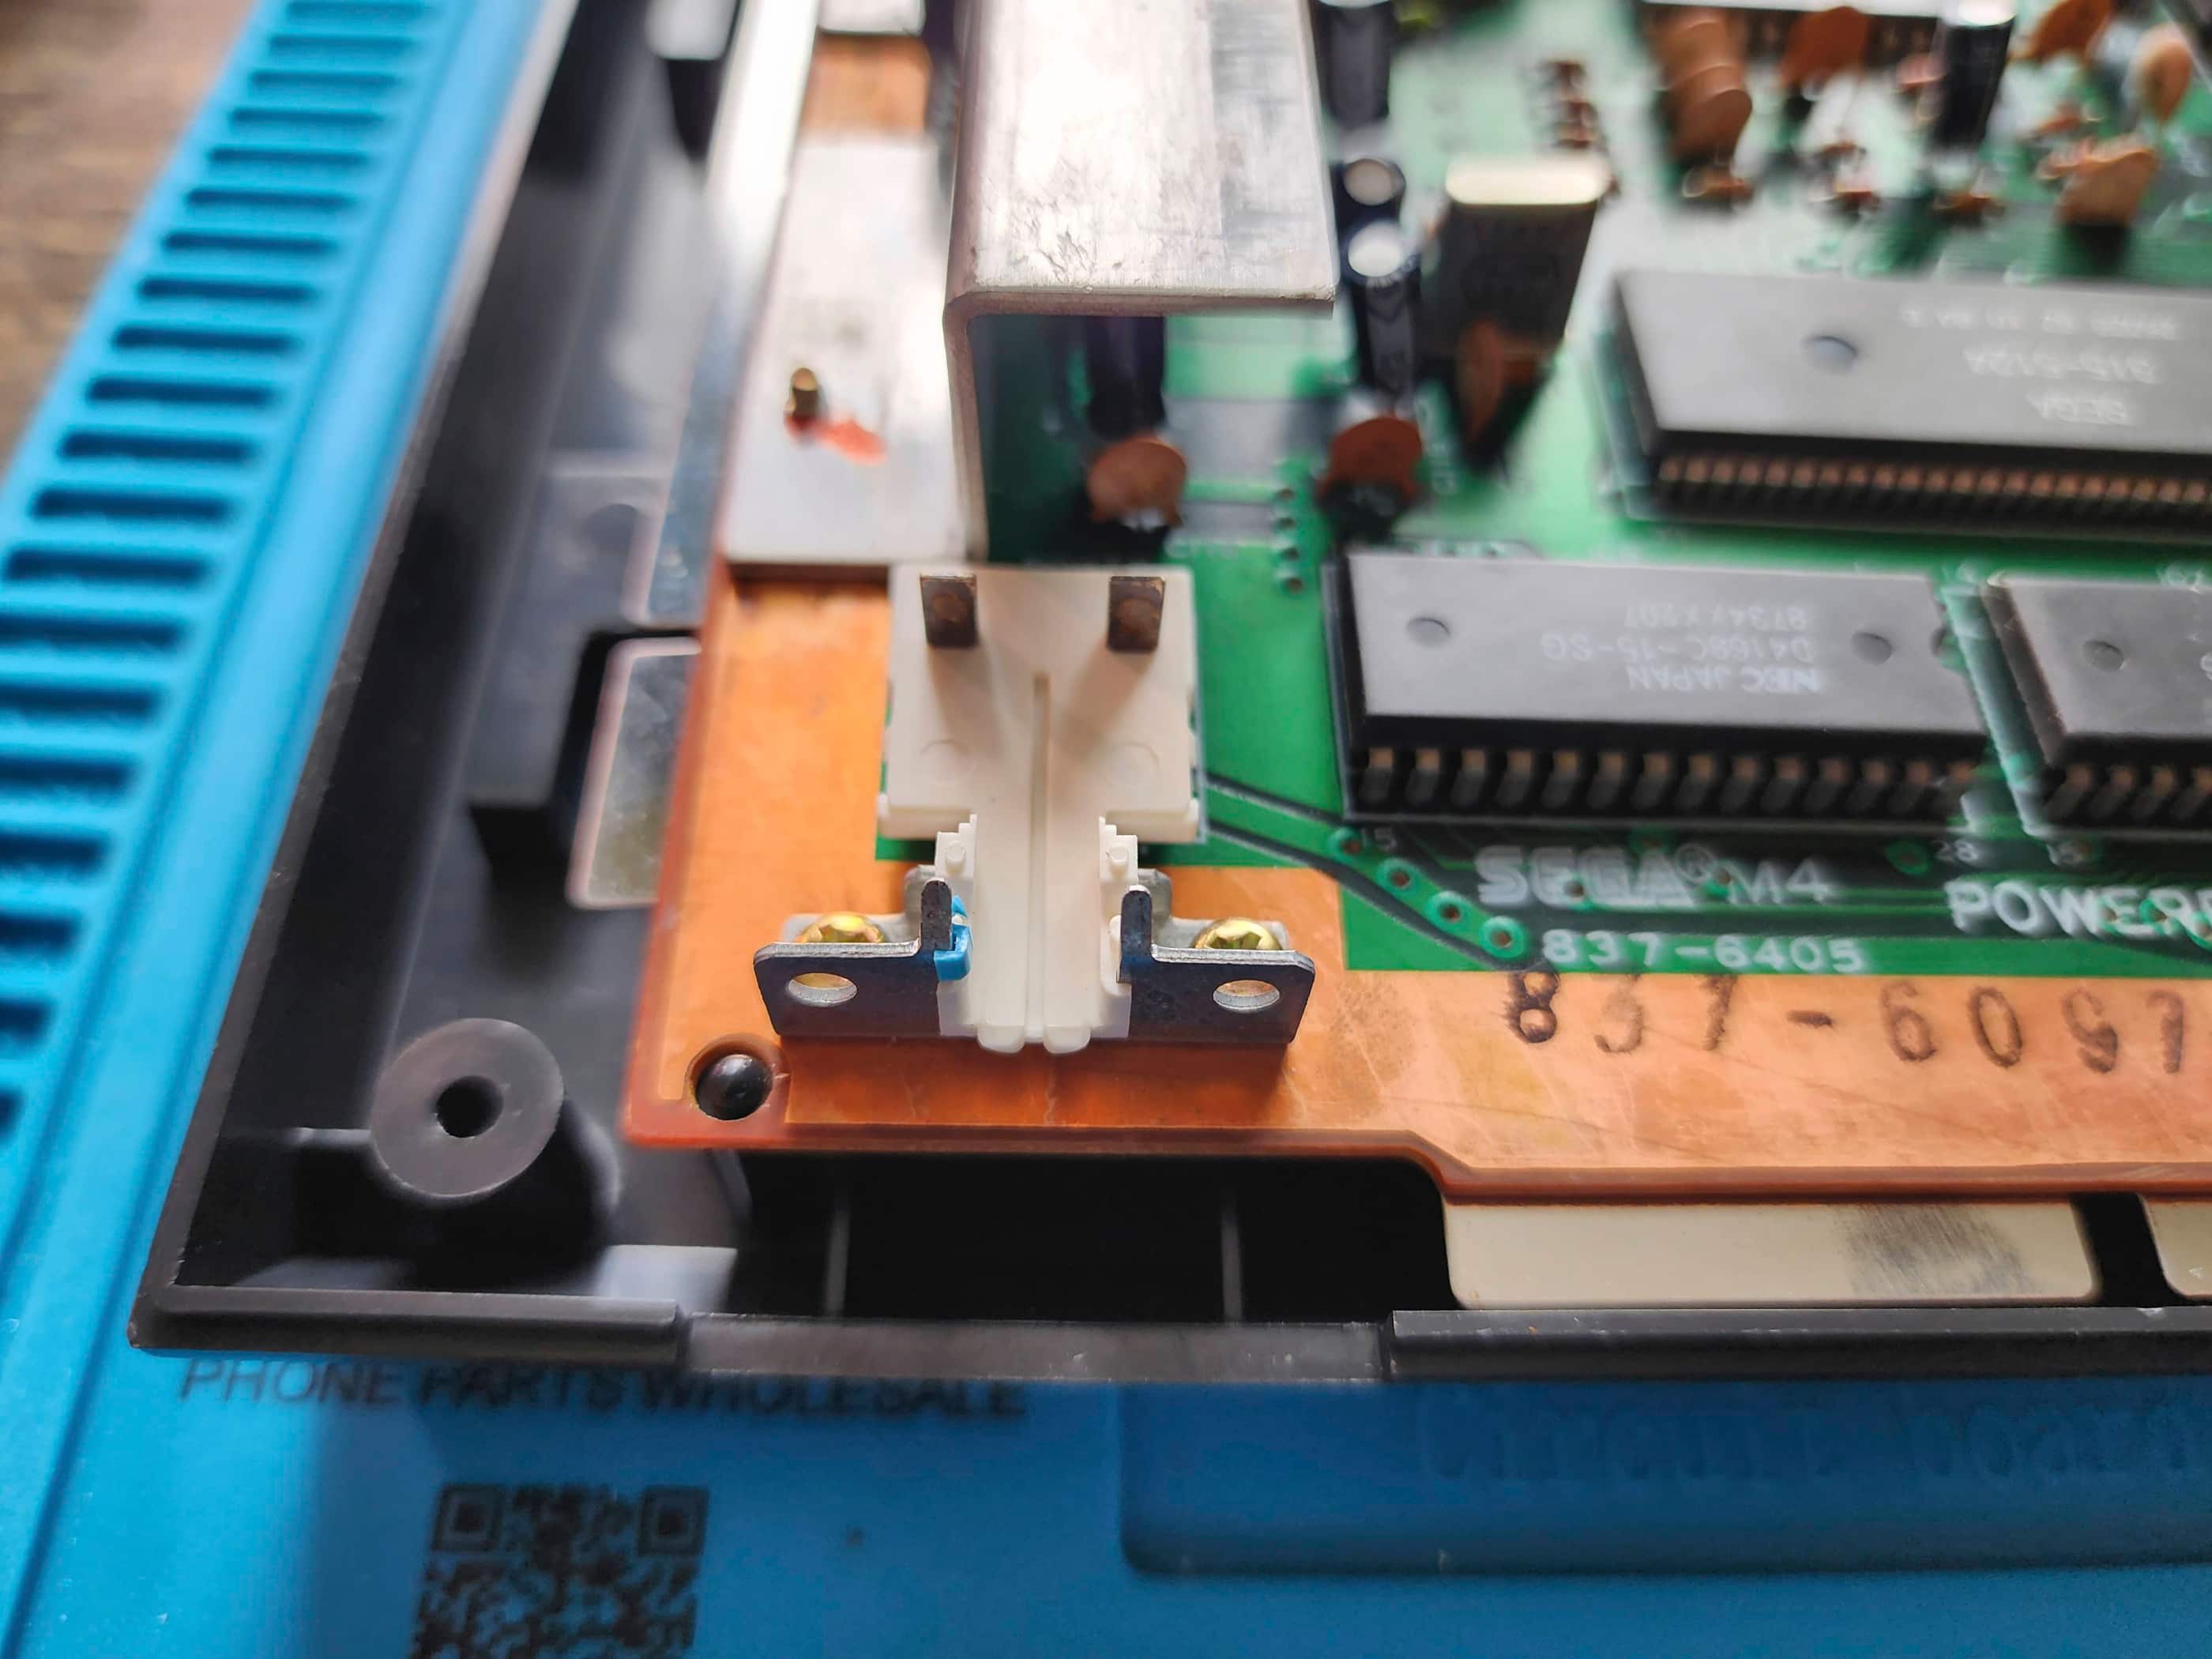
I then turned it off and powered it back on to a grey screen. I reinserted the cartridge (which I had also cleaned before plugging it in the first time), and everything worked. I tried this a couple more times and while I could get the machine working now most of the time, the grey screen kept appearing. This also happened with other cartridges. To make sure it wasn’t a connection issue, I reflowed the solder on each of the pins where it connects to the board. While I was at it, I reflowed the solder on the power button. I then thought, why not just keep going and replace the voltage regulator and recap it just to be sure? So I did that too.
However, while I was desoldering the regulator, a pad lifted off the board. Doh! 🤪 To fix this, I installed the regulator as I normally would, but to cover the gap between the pin and the trace, I cut the leg off another regulator, flipped it so the fat end was down, and bent it into an ‘L’-shape at the point where the thin and fat sections meet. I then lay the fat end flat against the board to span the gap between the trace and the pin, while the thin end pointed up and ran parallel to the pin of the newly installed regulator. I then soldered the fat end to the trace and carefully trimmed the thin end, leaving enough so that I could bend it over the end of the regulator pin. I used a small pair of pliers to ensure the overlap was secure. Next, I soldered the joint together and made sure I flowed it back to the trace.
When I powered the machine on, everything worked until it began to glitch. Crap! 😳 I tested and reflowed all my joints on the regulator and the new capacitors and powered everything on. Success! 😀 To make sure, I ran the machine for and extended period of time while checking temperatures and voltages. It all worked fine. Whew! This is why I’m always reticent to do surgery, but fortunately it was easily fixable. I gave the board another thorough cleaning along with the case. I paired one of my joysticks from 7800 #1 with it, and now the system looks good and functions like it should.
Parts & Products Used: 99% isopropyl alcohol; Chemical Guys Natural Shine; electrolytic capacitors (radial) – 16v 2200μF (1), 16v 220μF (2); 7805 +5v regulator (1); thermal paste; replacement 7800 power supply; replacement 7800 joystick

Atari 7800 Pro System (#3)
Years (1986-1992)
Interesting Fact: The 7800 uses the same case that was designed for the 1983 Sears Video Arcade II / Atari 2800 (source).
Condition When Acquired: Fully Functional
Current Condition: Fully Functional

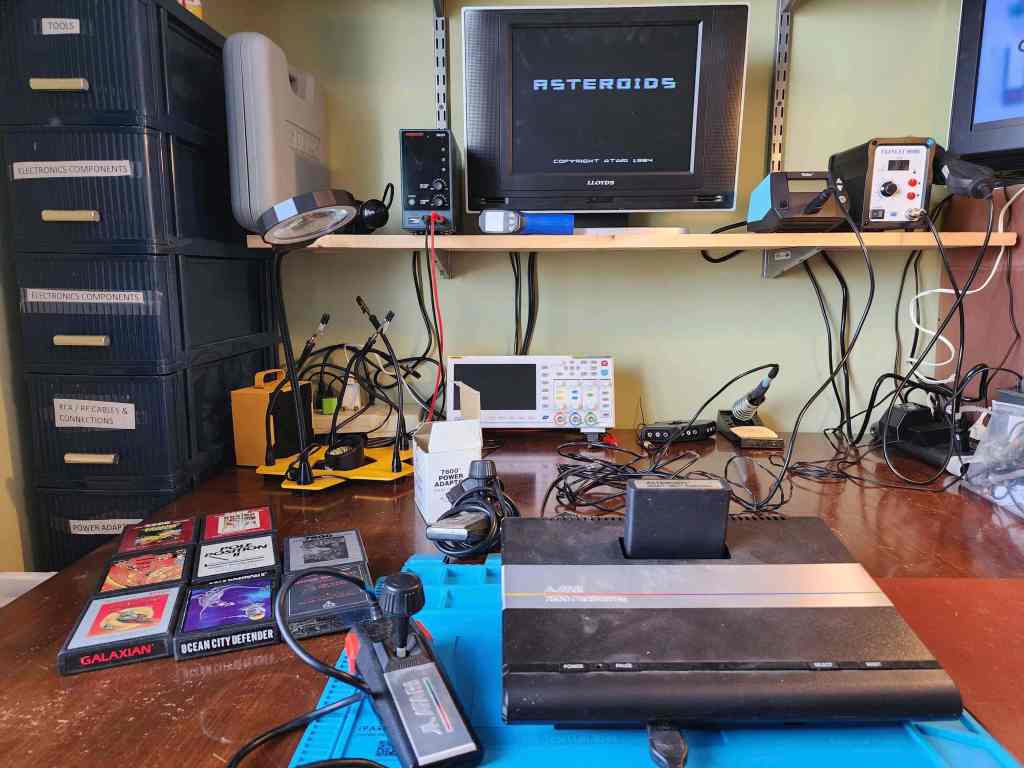


Project Details: I owe a huge thanks to my colleague who texted me one Saturday morning that there was a boxed Atari 7800 for sale at a local swap meet. My wife and I quickly jumped in the car and made our way to the exhibition hall, where I found the 7800 on the back table of a booth for a car restoration company.
It turns out that owner of the company was the original owner of the 7800 and had re-discovered it while doing some renovation work in his shop. It had been a few years since he had tried it, but everything worked. Though it was sentimental for him, he decided to include it as an unrelated item at his booth. That’s when my colleague and her husband came across it.
After agreeing on a price with the owner, I brought the system home for an inspection. Not only did it come in its original box, but it came with the original packing foam, the original power supply, the power supply box, two controllers, and nine different games, including the original pack-in game of Pole Position II.
Though the console was quite dirty, it worked perfectly during my initial testing – just as I was told it would. I then proceeded to take the unit apart and give it a good clean including the cartridge slot. I also replaced all three electrolytic capacitors along with the 7805 voltage regulator. After some thorough testing, I put it all back together.
I then disassembled the controllers and cleaned the contacts and casings. Once this was done, I reassembled everything and thoroughly tested each controller. Everything worked perfectly.
Though this is my third 7800, it is in the best and most complete shape. 😁
Parts & Products Used: 99% isopropyl alcohol; Chemical Guys Natural Shine; electrolytic capacitors (radial) – 16v 2200μF (1), 16v 220μF (2); 7805 +5v regulator (1); thermal paste
Atari XEGS
Years (1987-1992)
Interesting fact: A year after Atari launched the 7800 and re-launched the 2600, they also re-packaged their 8-bit line of computers as the XEGS. Marketed as a game console that was compatible with all the previous Atari 8-bit games and peripherals, Atari also offered a keyboard that allowed the user to run the console as a standalone XE computer. (source)
Condition When Acquired: Fully Functional
Current Condition: Fully Functional


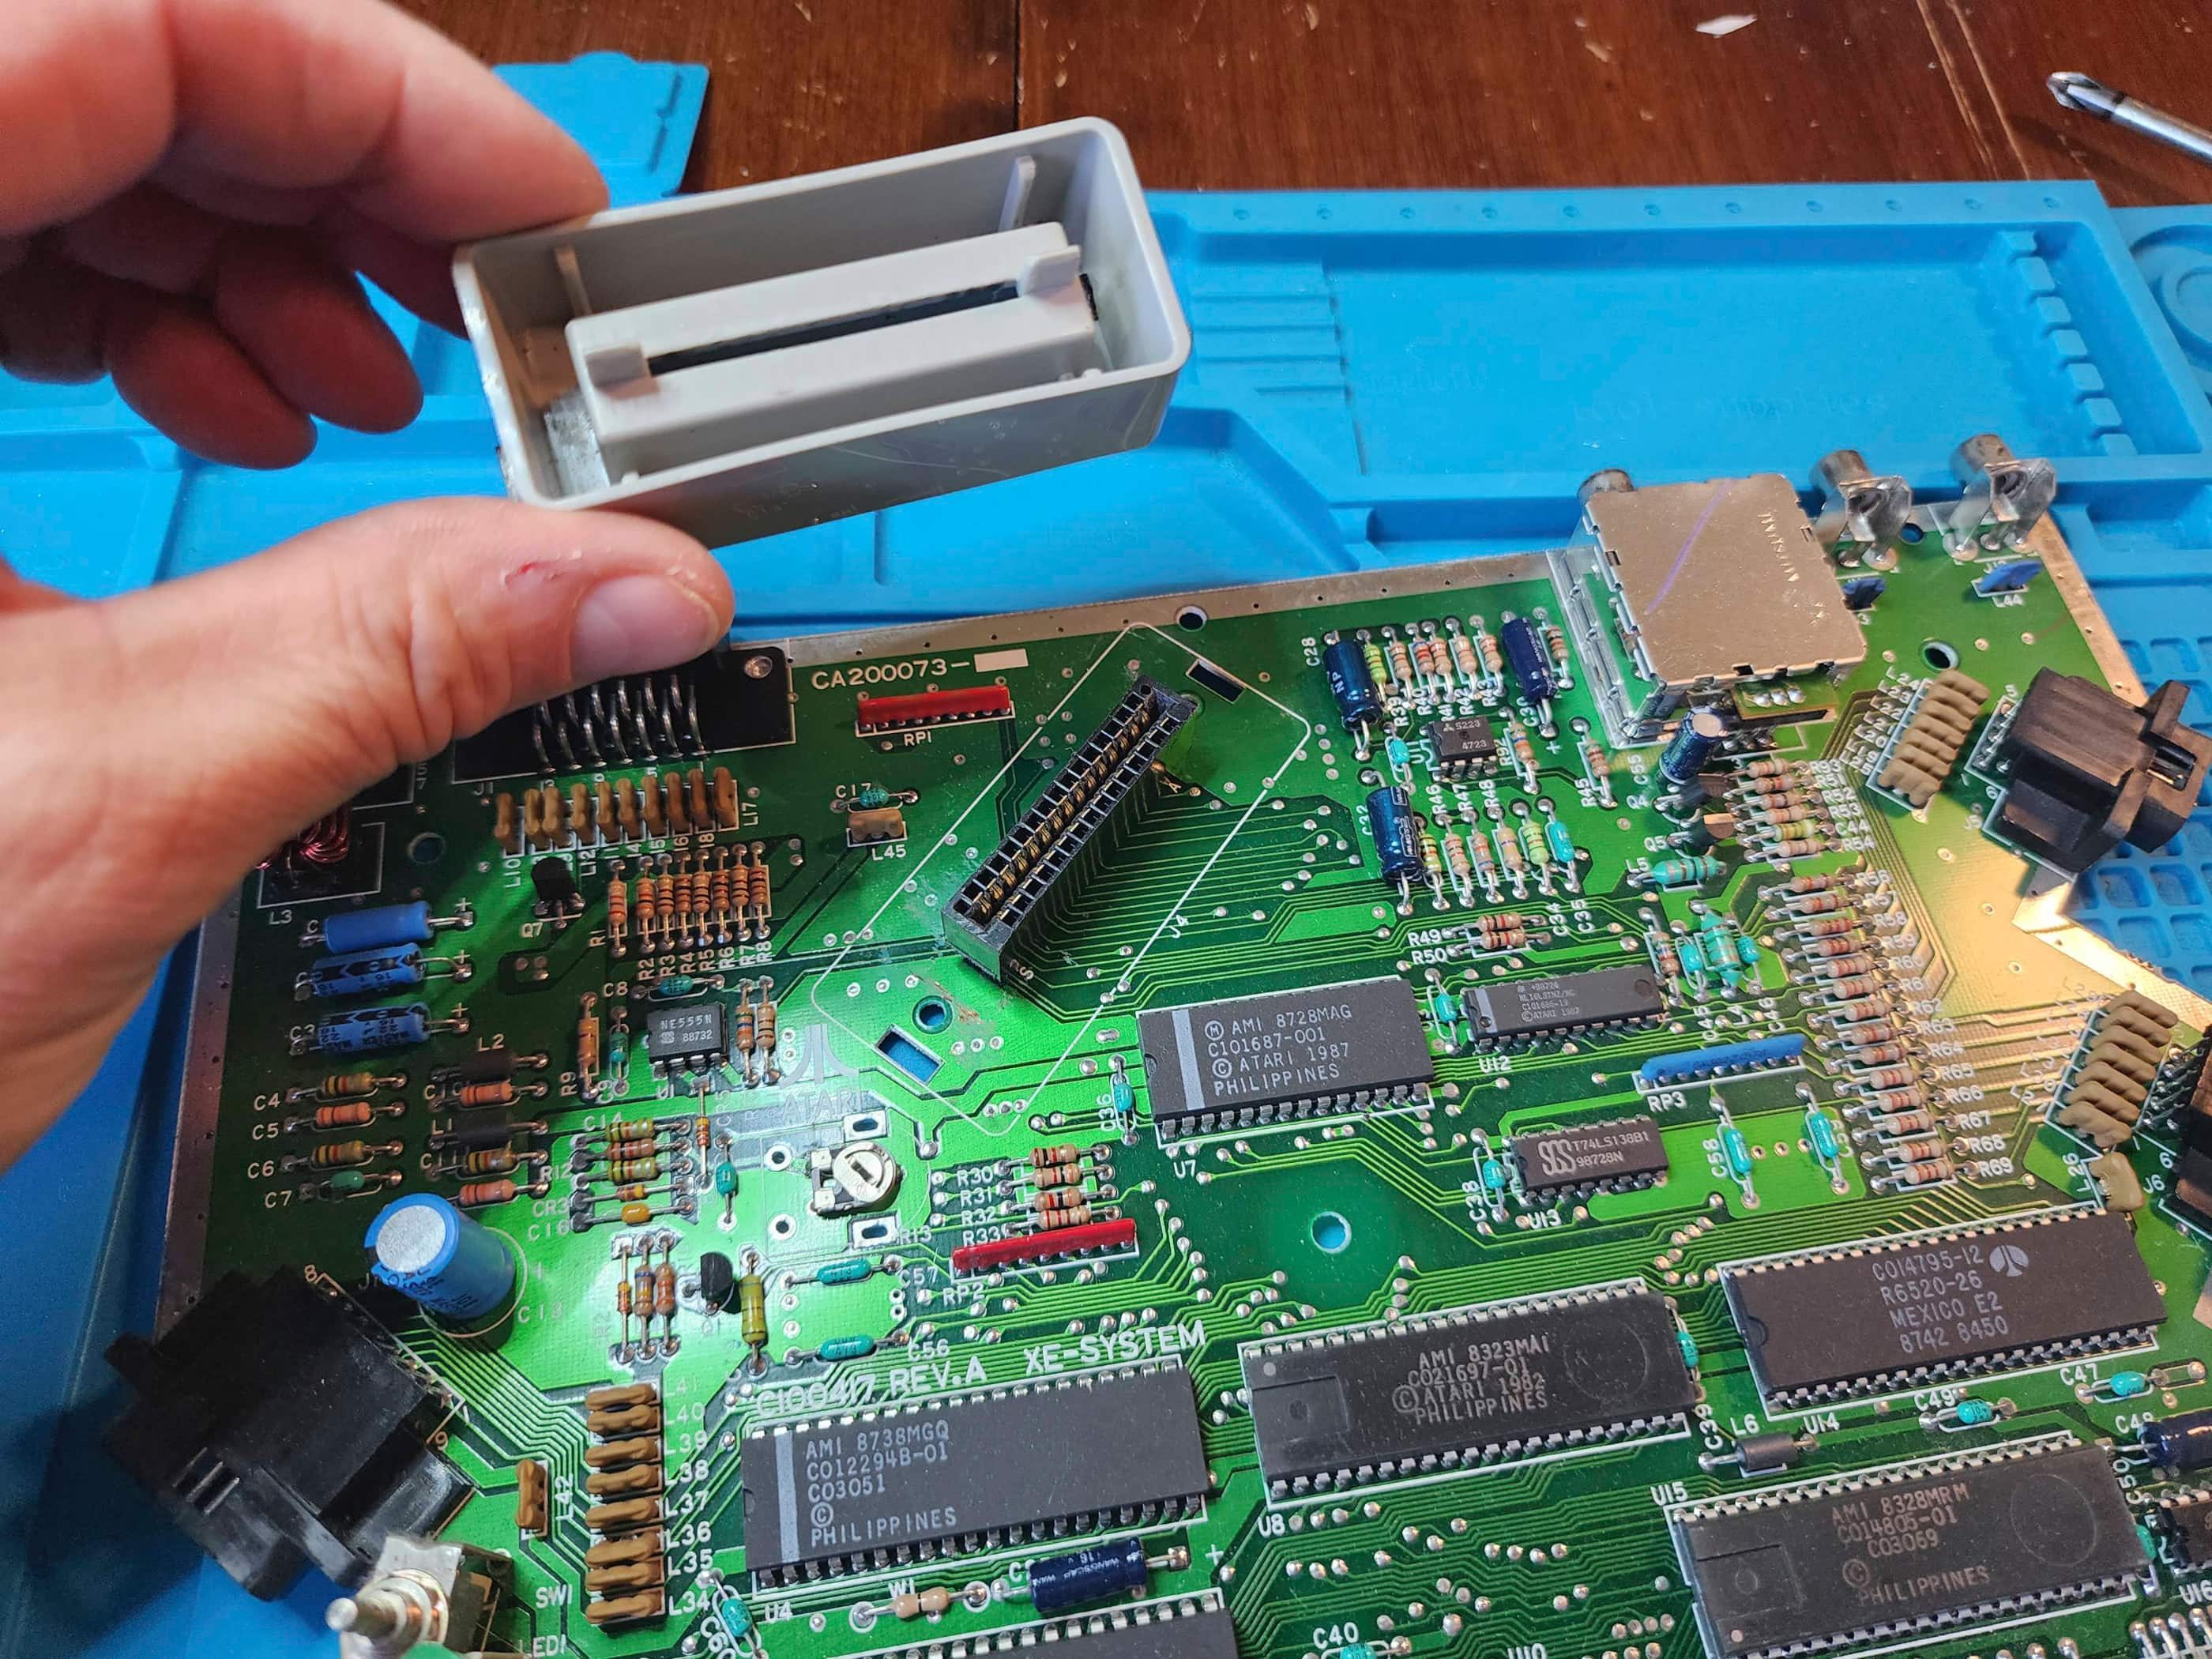


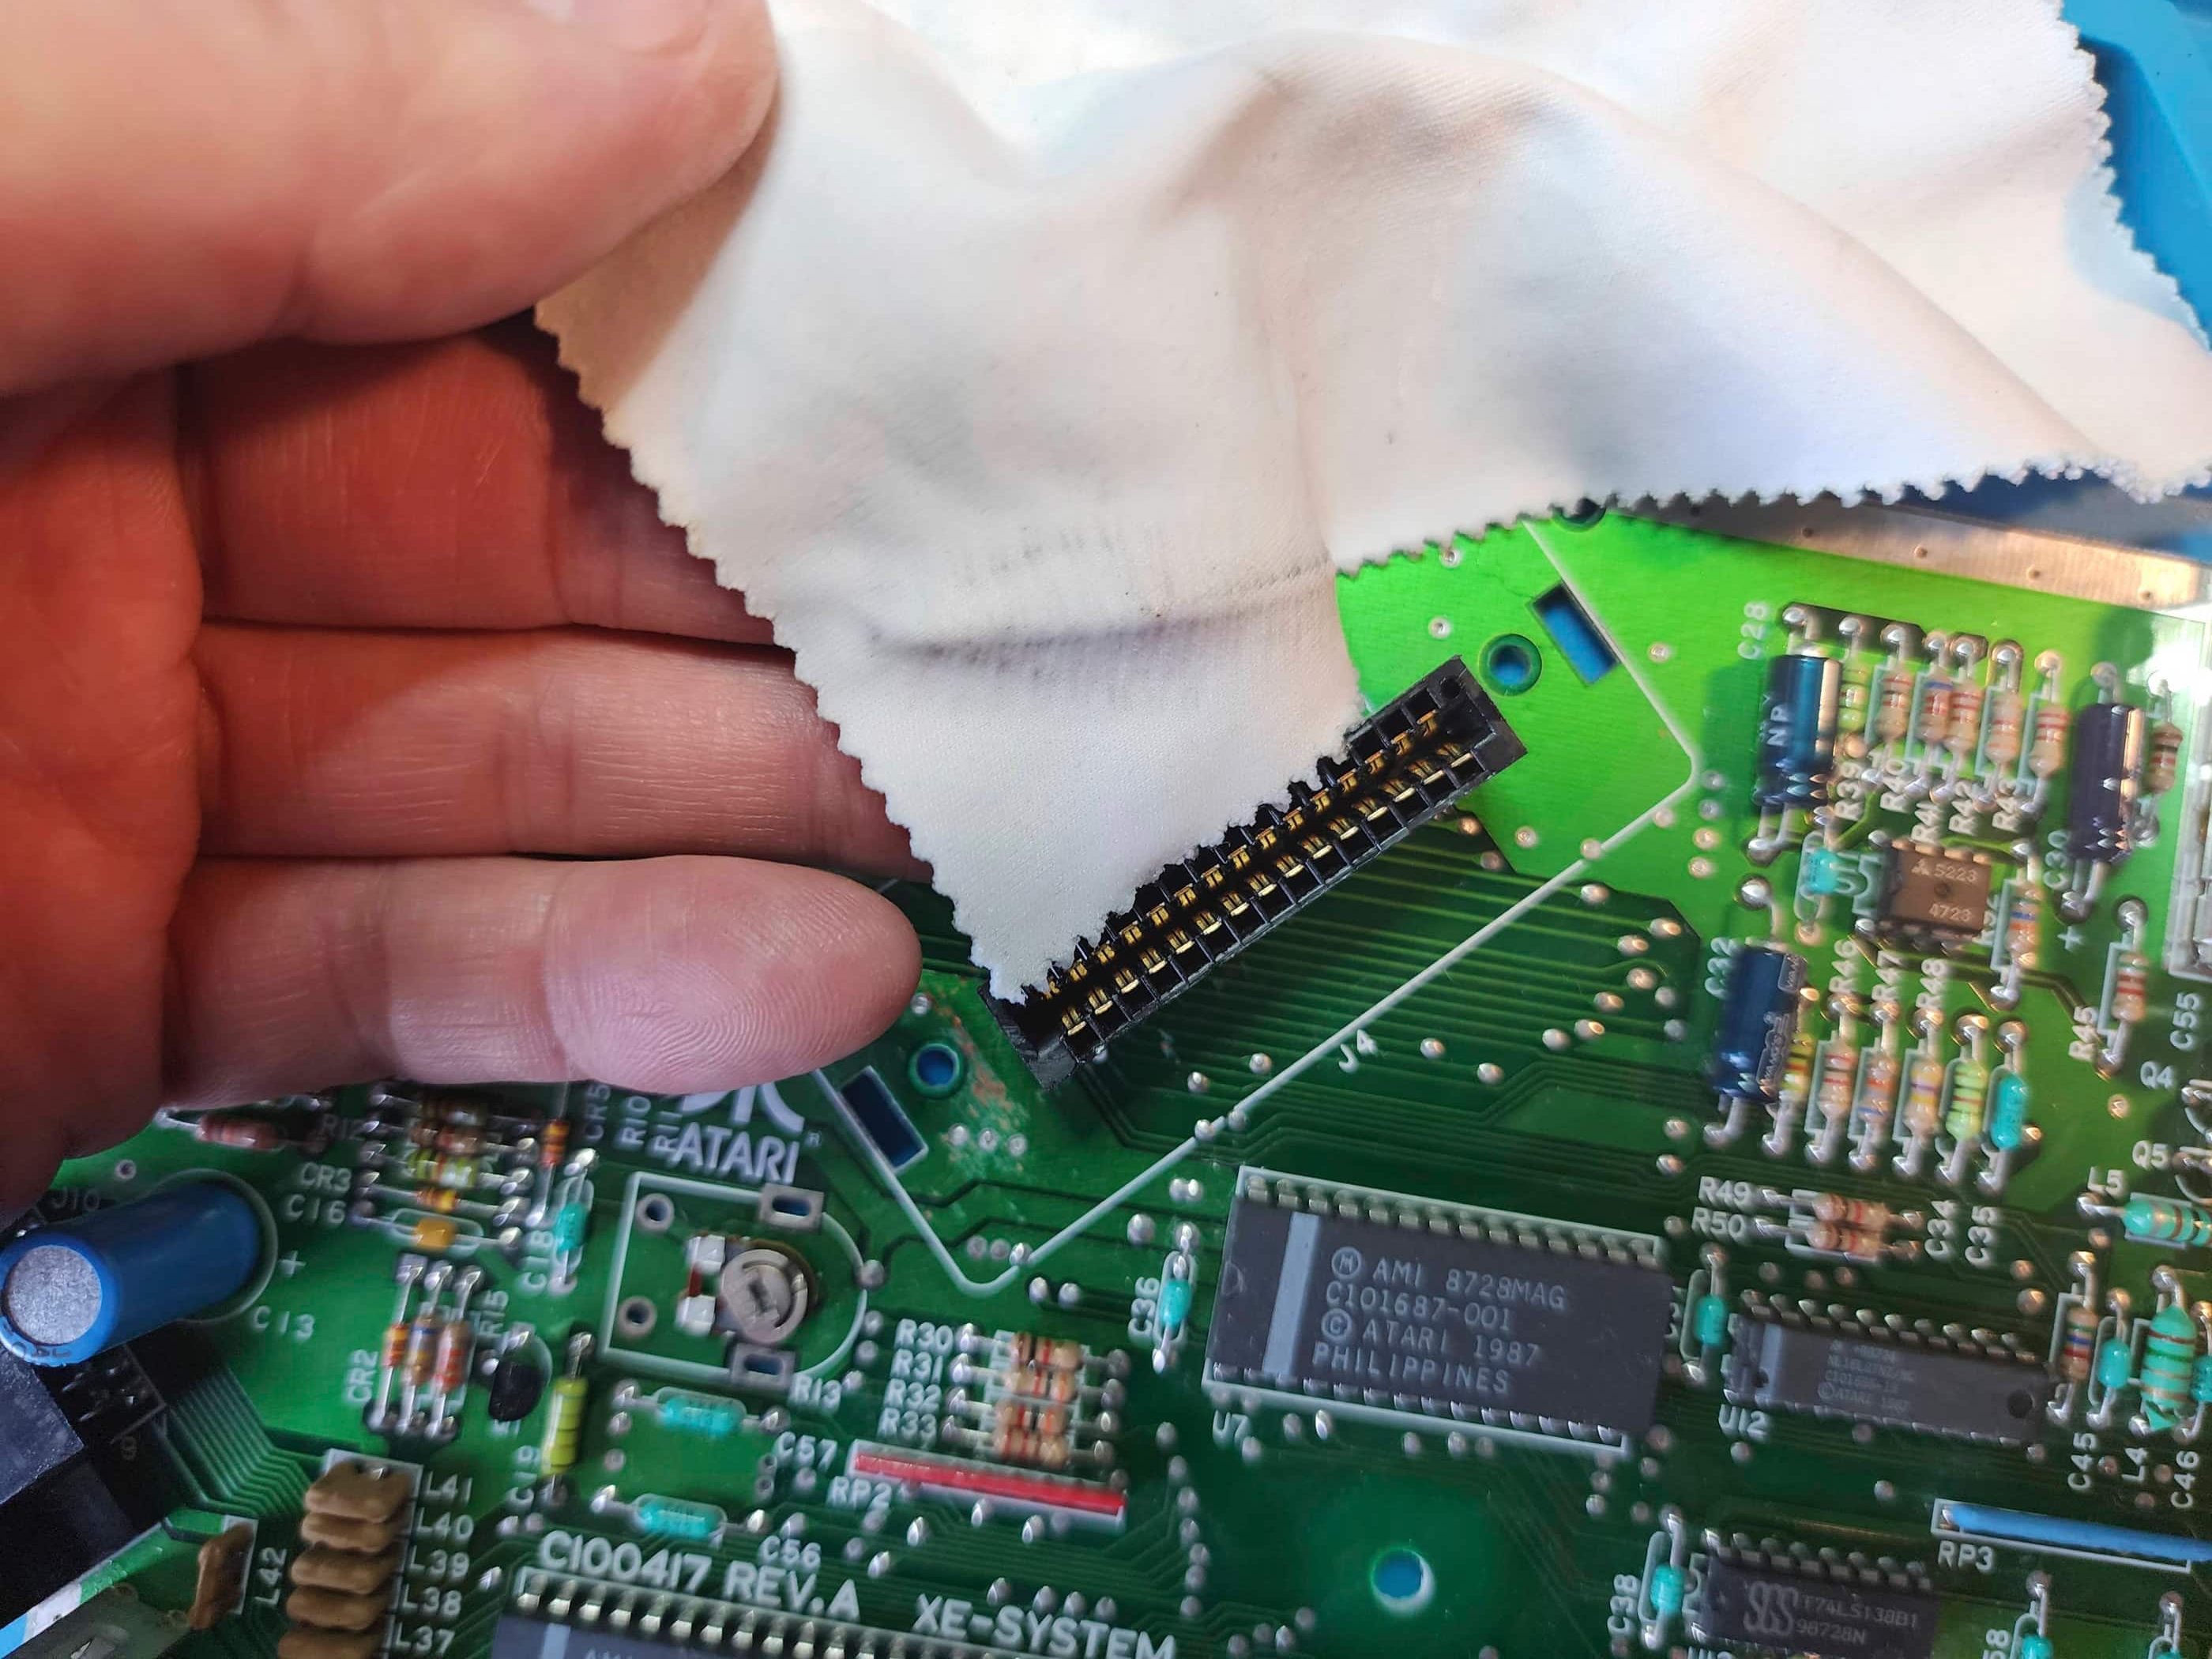
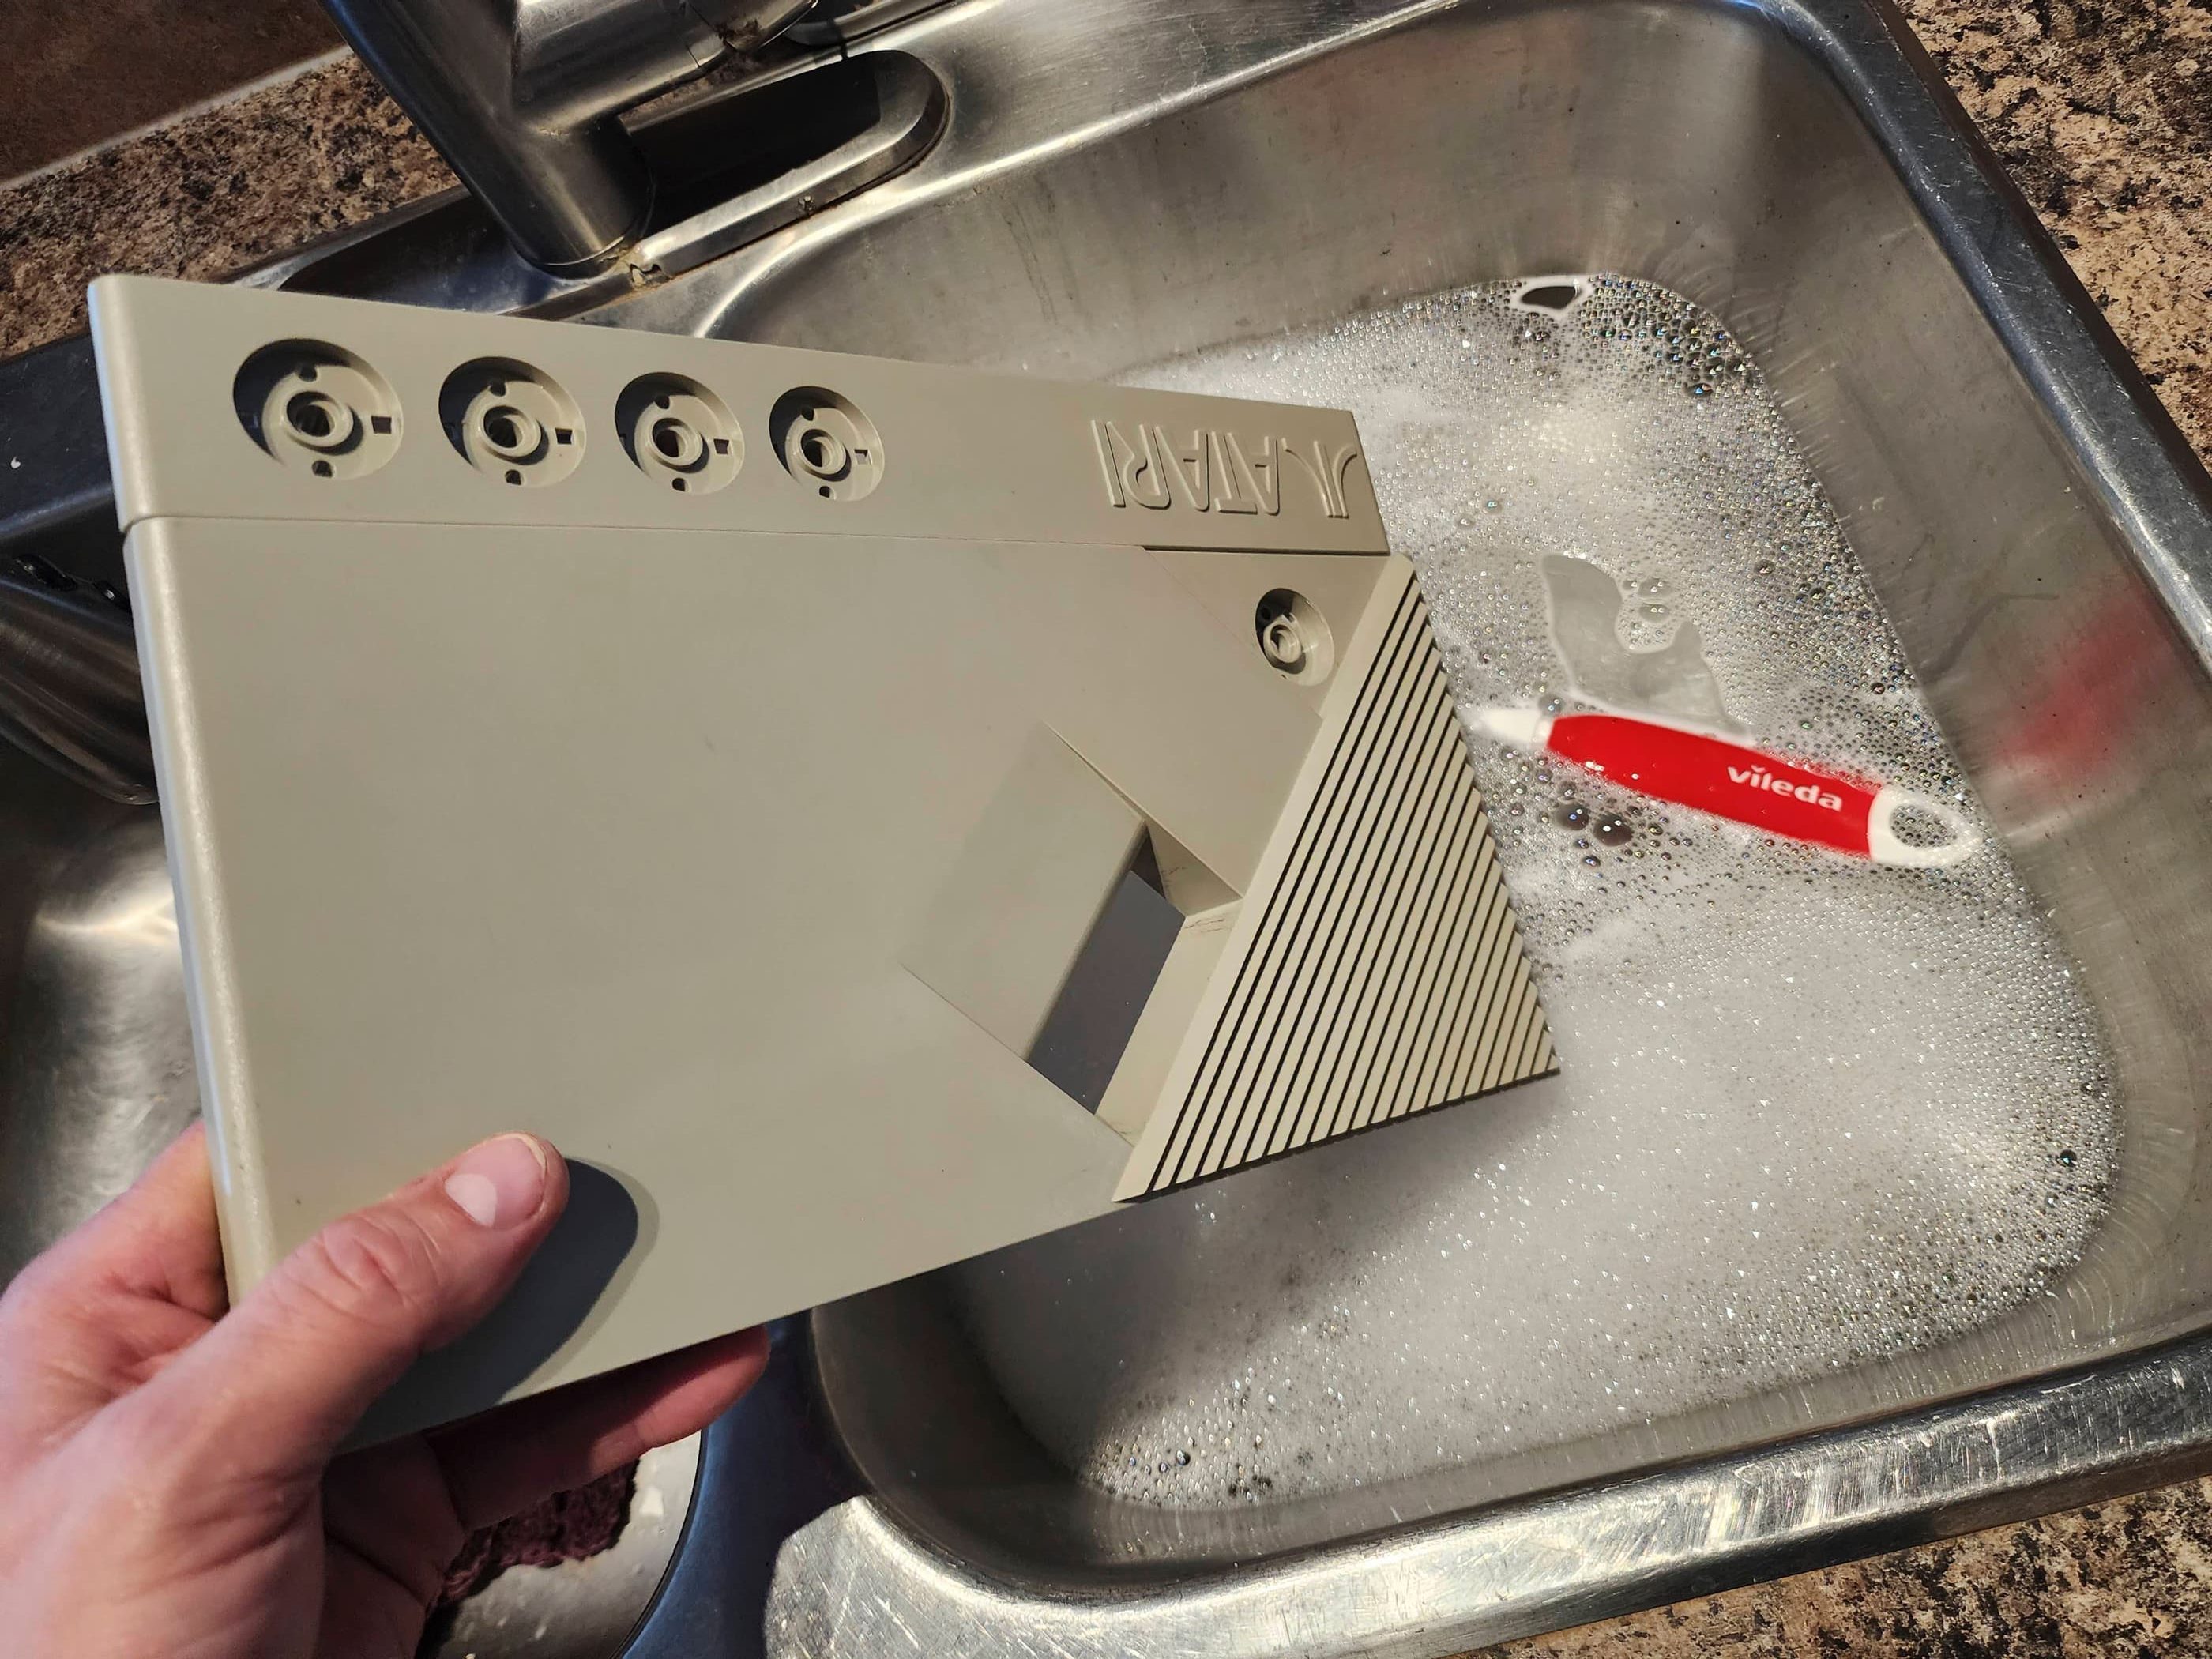


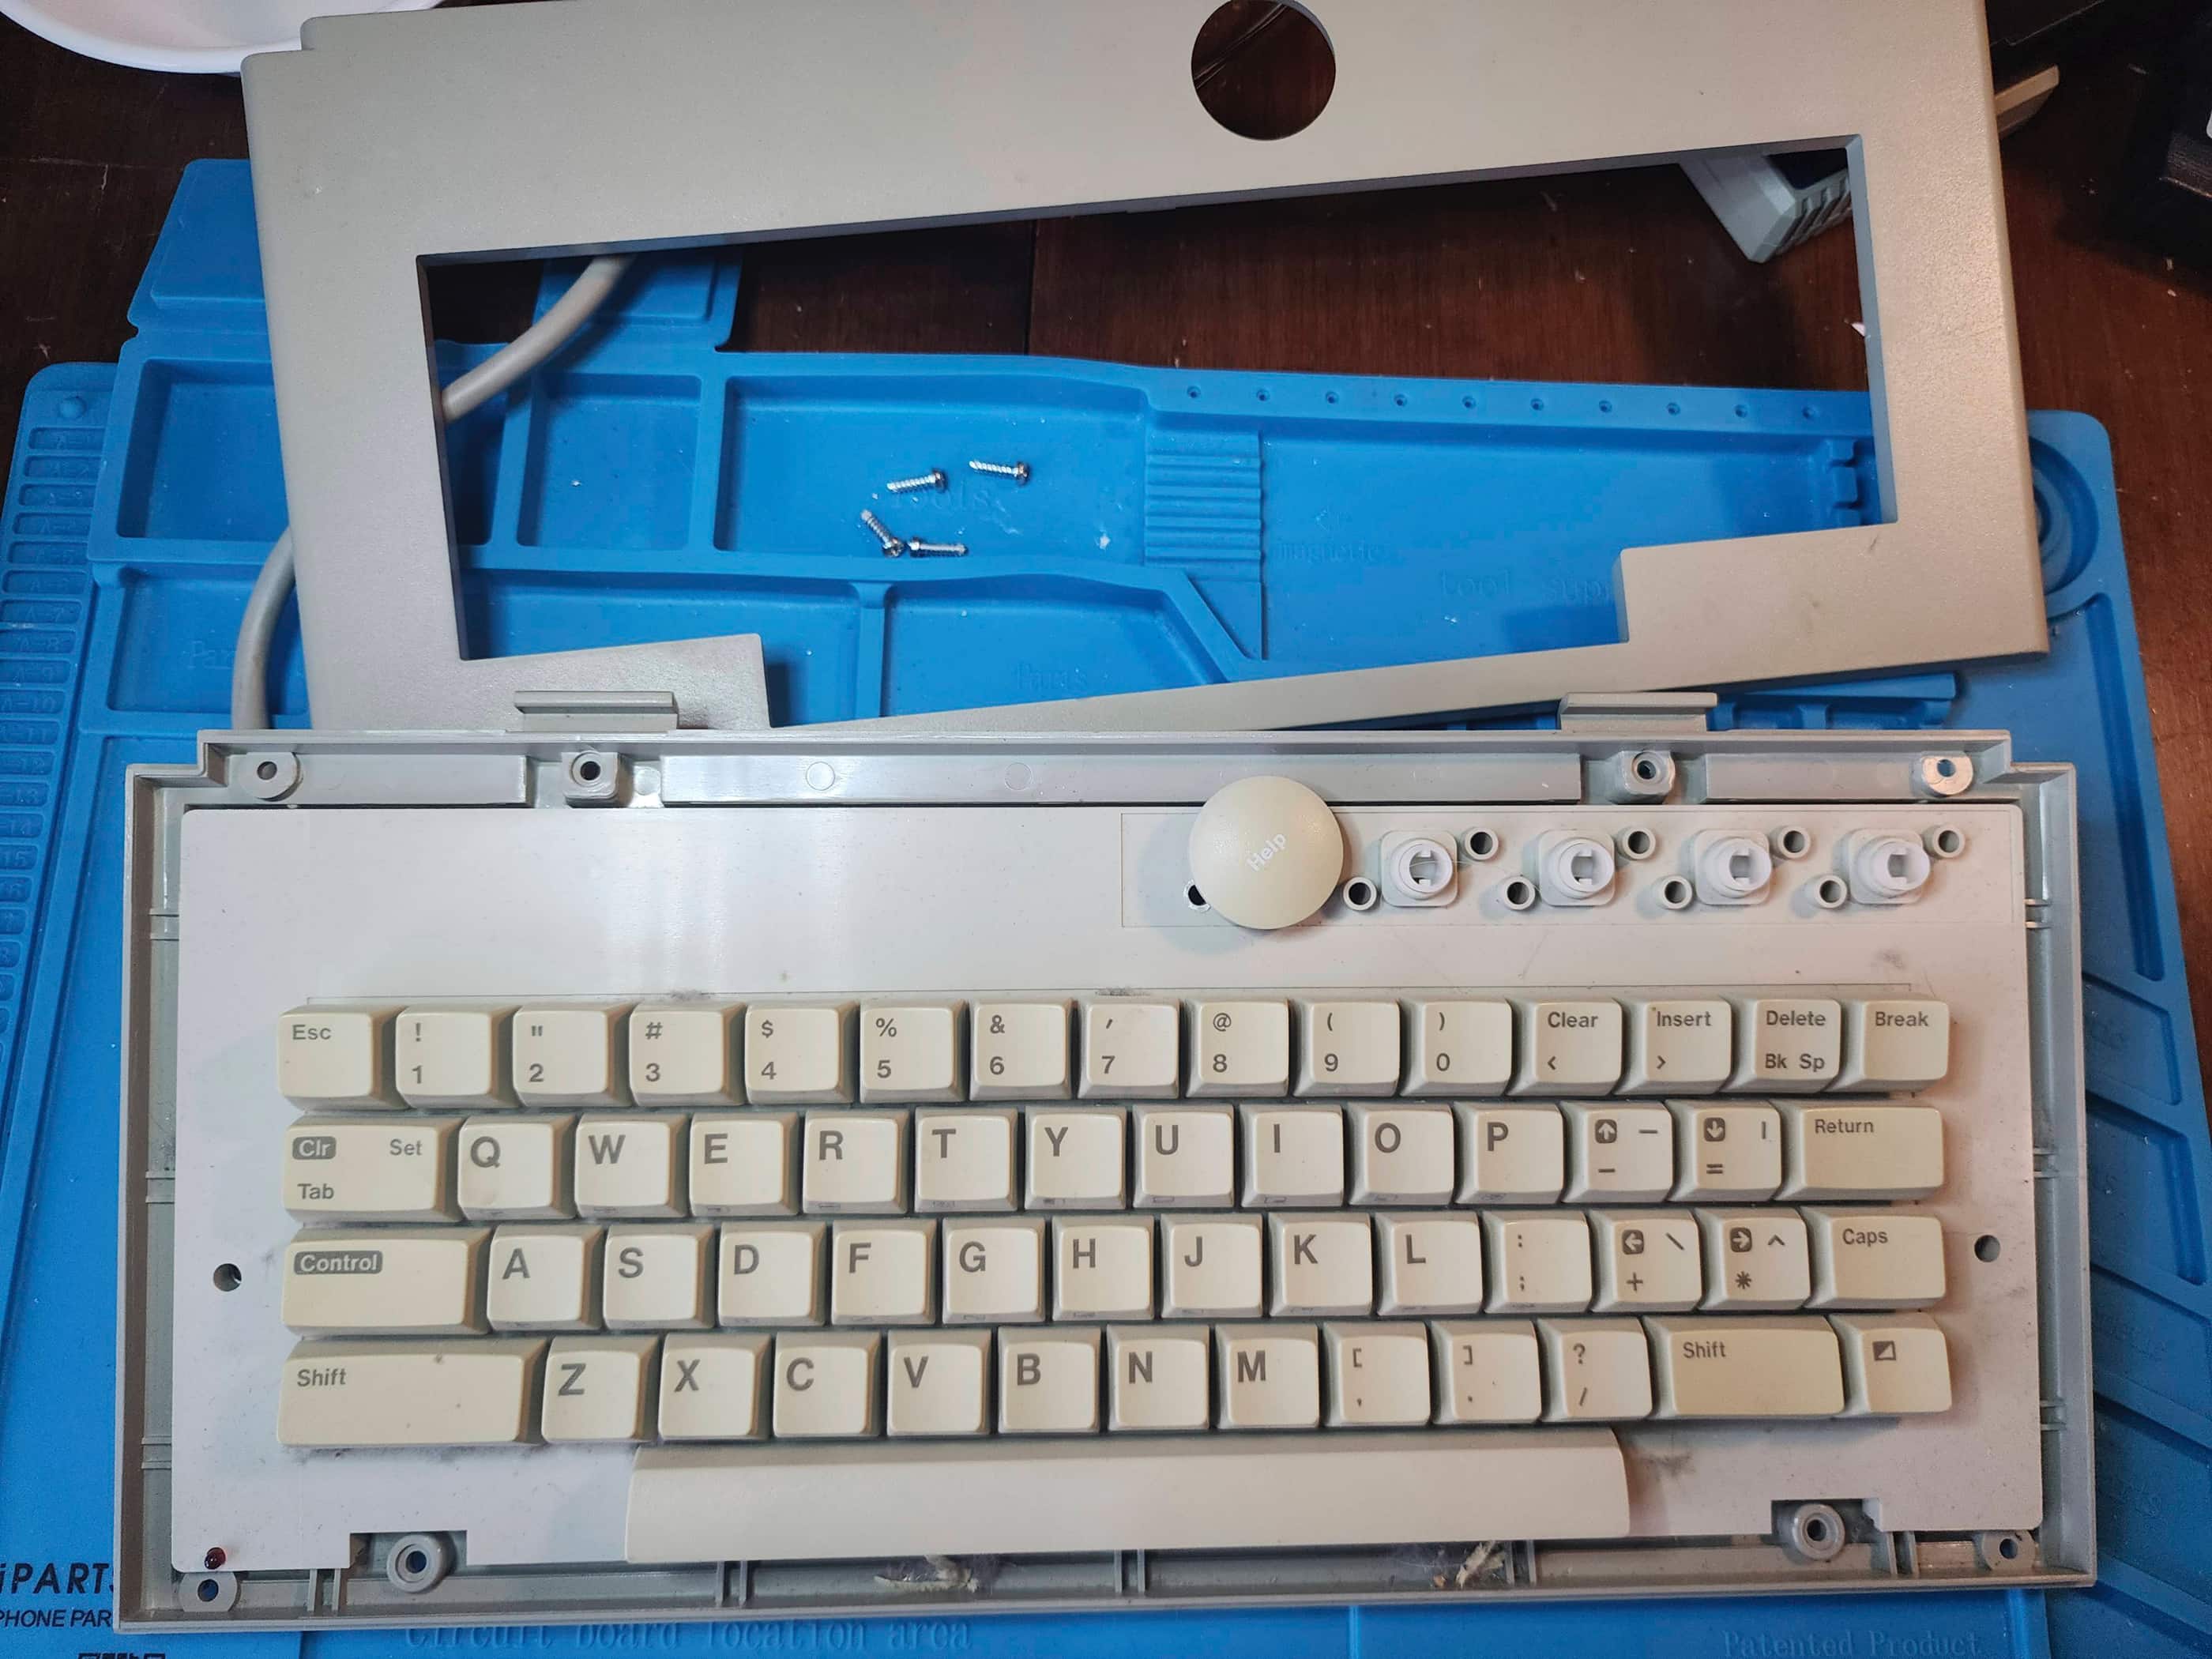


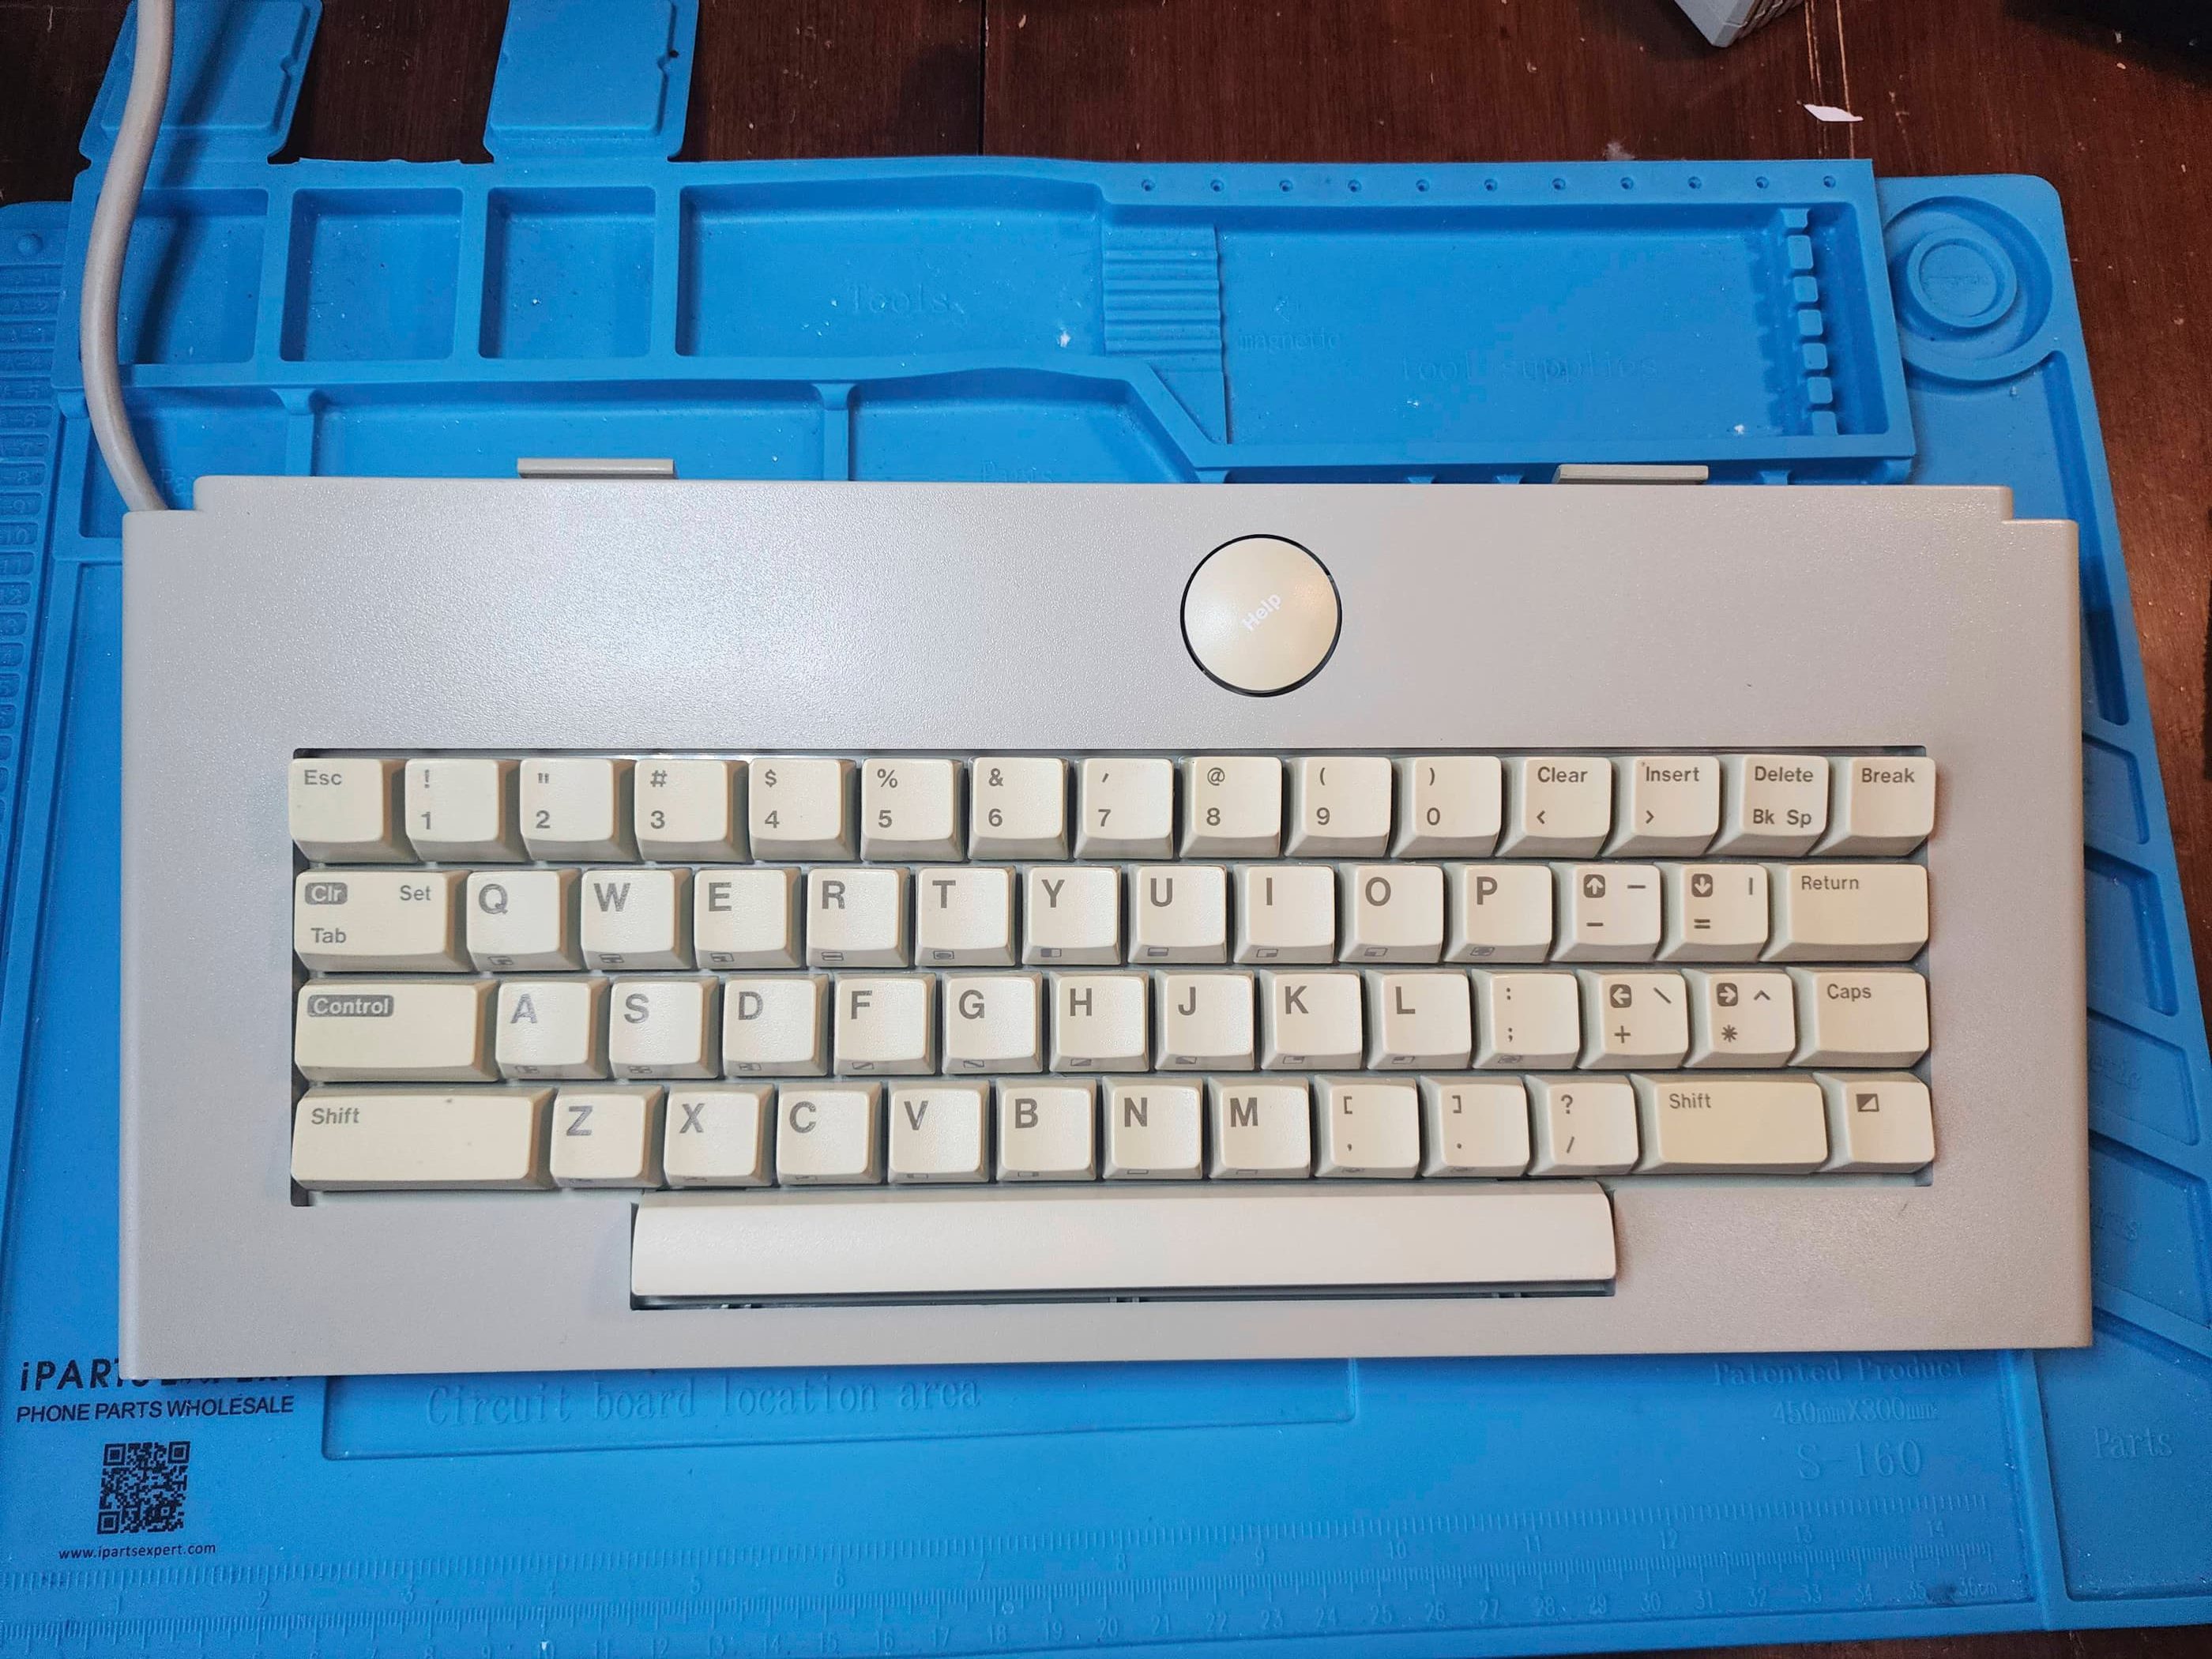


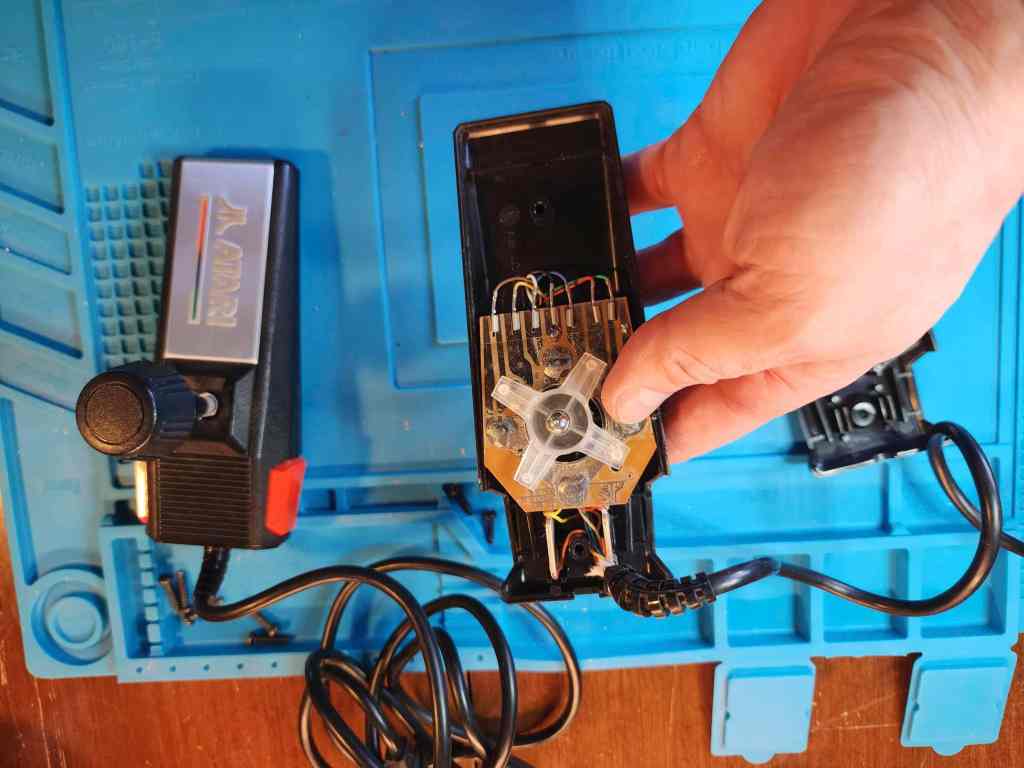
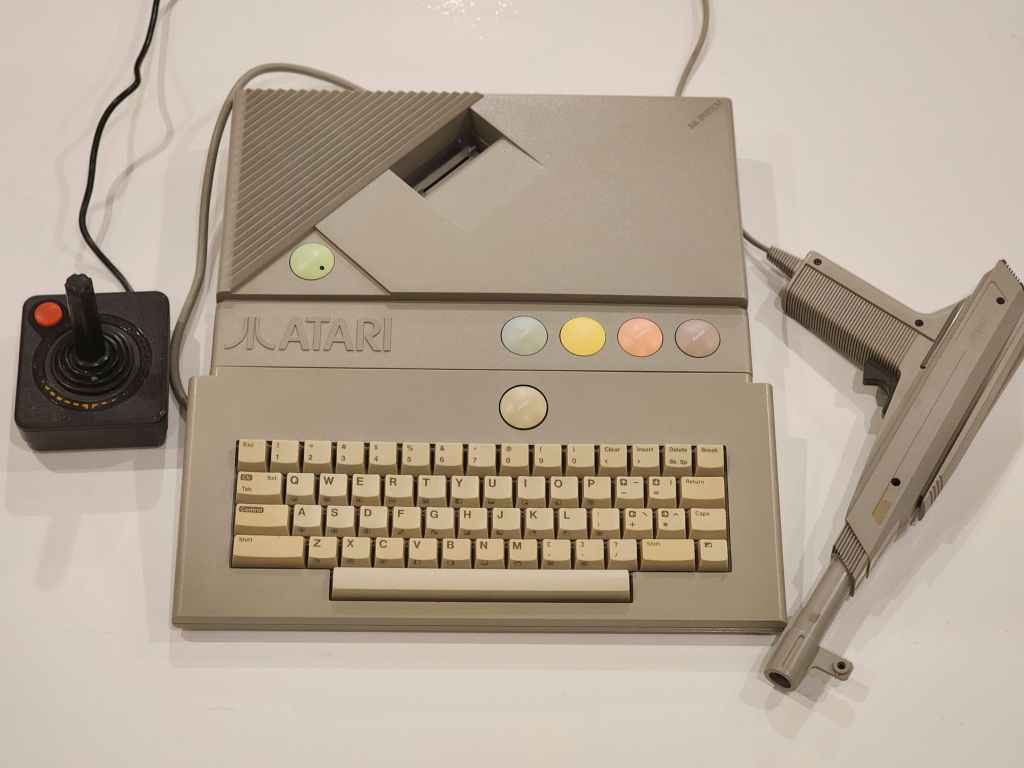
Project Details: I lucked into this working system for a decent price. In fact, I’m still kicking myself for not buying a second that was even cheaper, especially because it came with the matching, white XEGS joystick and not plain black ones like mine. Oh, well. The one I got came with a keyboard and the second didn’t, so I guess that’s a good tradeoff. After an initial test to confirm it was working (it was), I then pulled the unit apart for a detailed inspection and cleaning. It was not too dirty inside, with the odd ~36 year-old dust bunny here and there. The keyboard was horrible however, and that ended up being an outside job with a can of compressed air. Not noticing anything unusual after cleaning the main board with IPA, I then gave the RF shielding, buttons, and casing a good bath. This was followed by a polishing with Natural Shine, and the old console was looking much better. After reassembling the unit, I then began cleaning and polishing the keyboard and light gun. Once they were ready, I tested the system out and everything worked and looked as it should. I guess I’ll have to learn some Atari BASIC to take advantage of its 8-bit computer function. 😁
Parts & Products Used: 99% isopropyl alcohol; Chemical Guys Natural Shine;
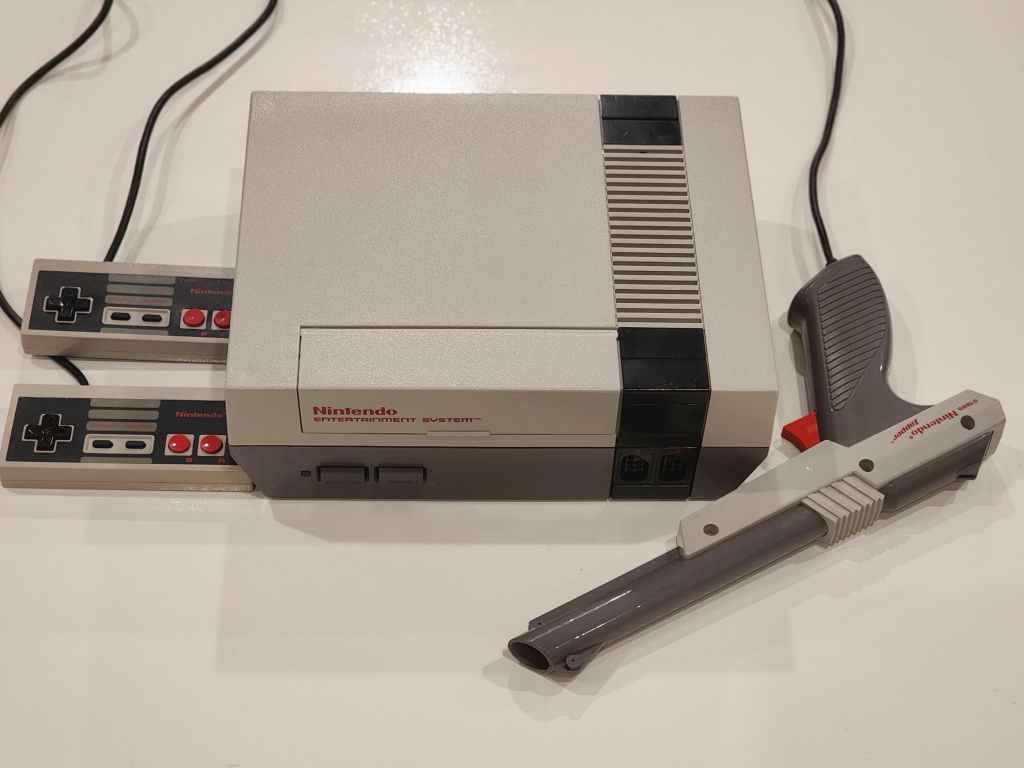
Nintendo Entertainment System (NES) (#1)
Years (1985-1995)
Interesting fact: Starting off in 1889 as a playing card (Hanafuda) company, Nintendo began development of its first video game system in 1975. However, it wasn’t until 1980 when artist, Shigeru Miyamoto, developed Donkey Kong and its protagonist, Jumpman (who later became Mario), that Nintendo took off in the video game world. Developing successful new games also coincided with the launch of their home video consoles, the Family Computer (Famicom) in Japan in 1983 and then the North American version, the Nintendo Entertainment System (NES) in 1985. (source) The NES is credited with resuscitating the North American video game market after the crash of 1983 and establishing the current model of third-party game development (source)
Condition When Acquired: Partially Functional – cartridge slot issues
Current Condition: Fully Functional


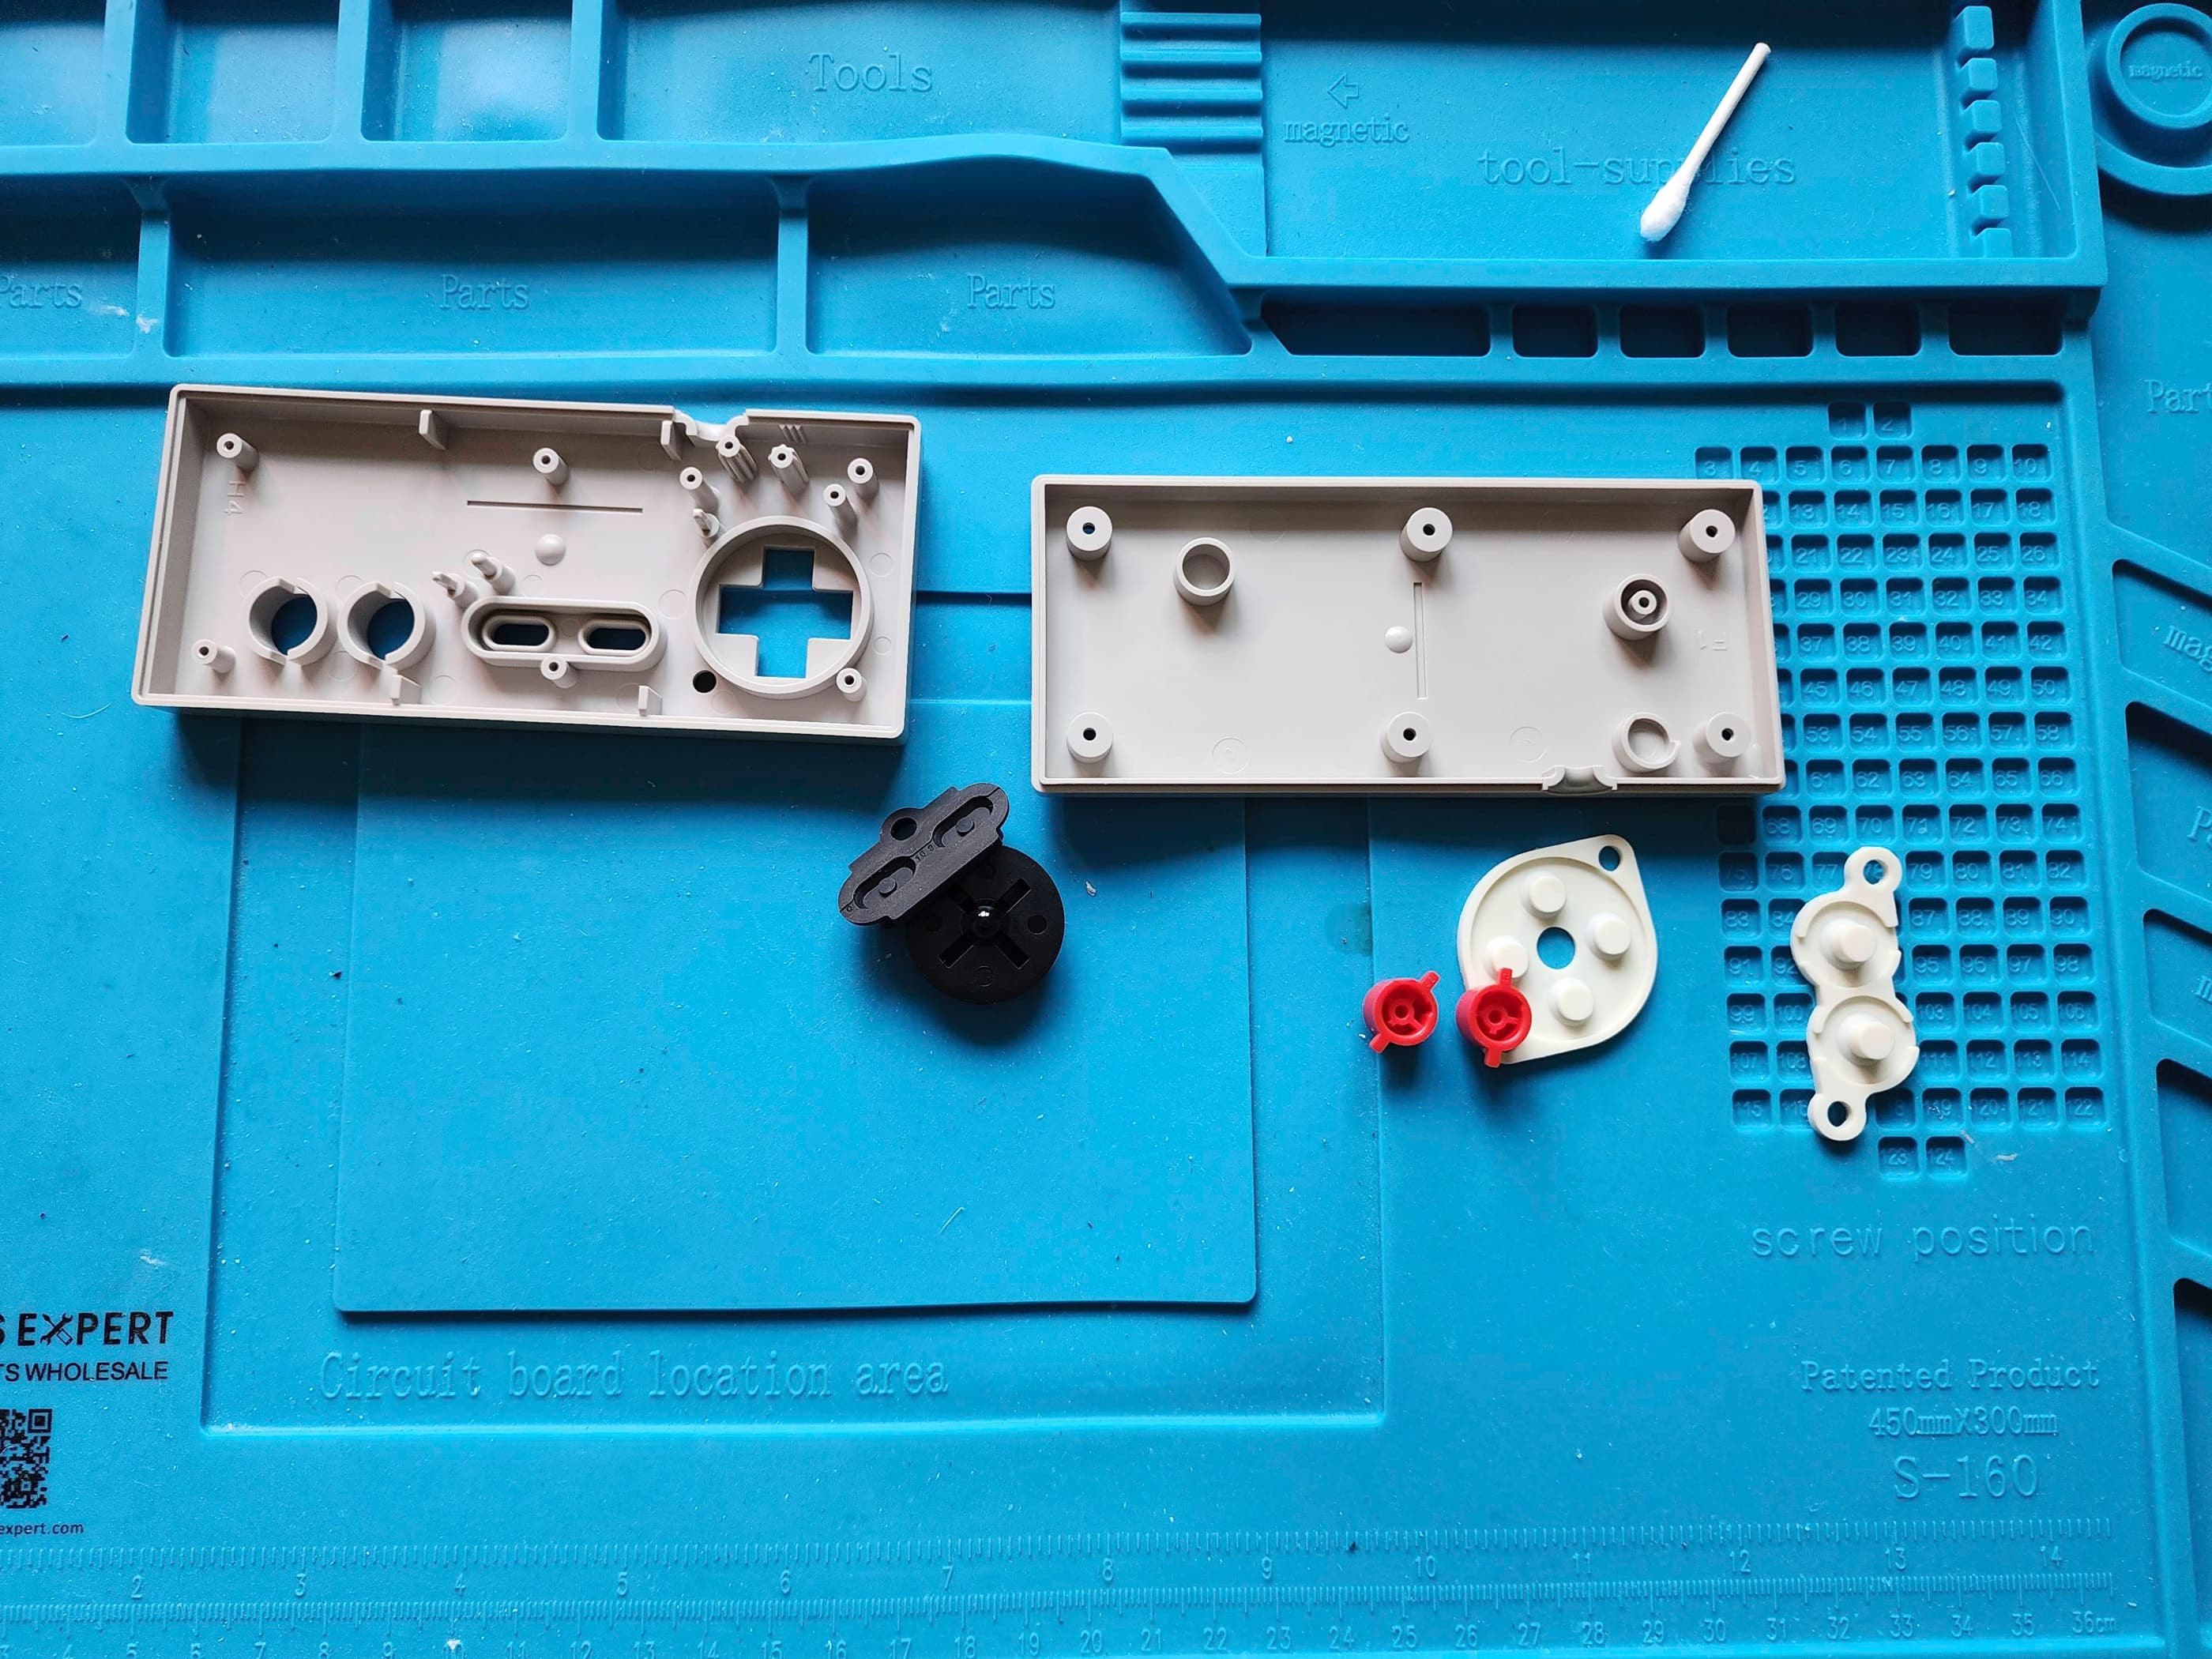
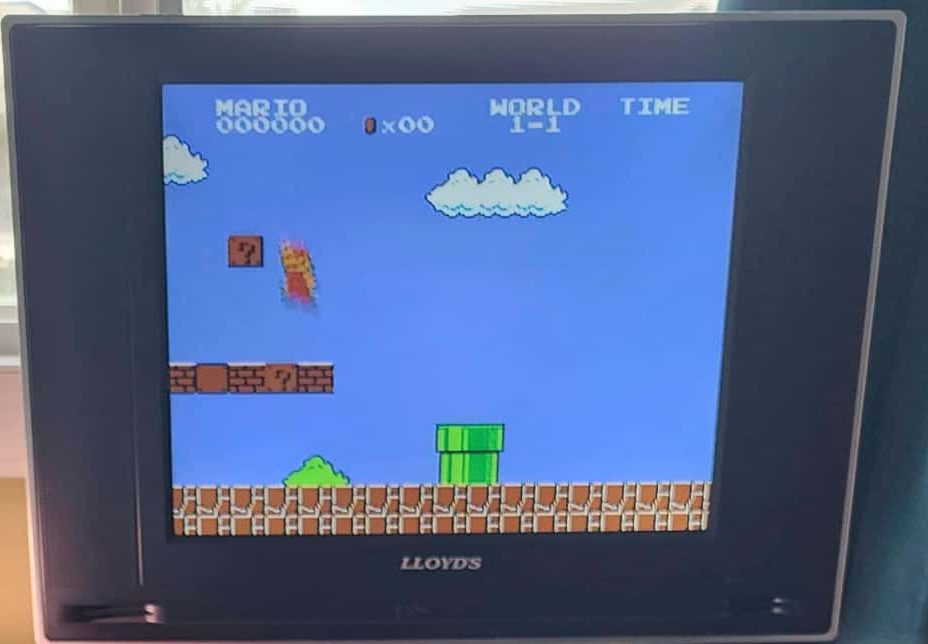
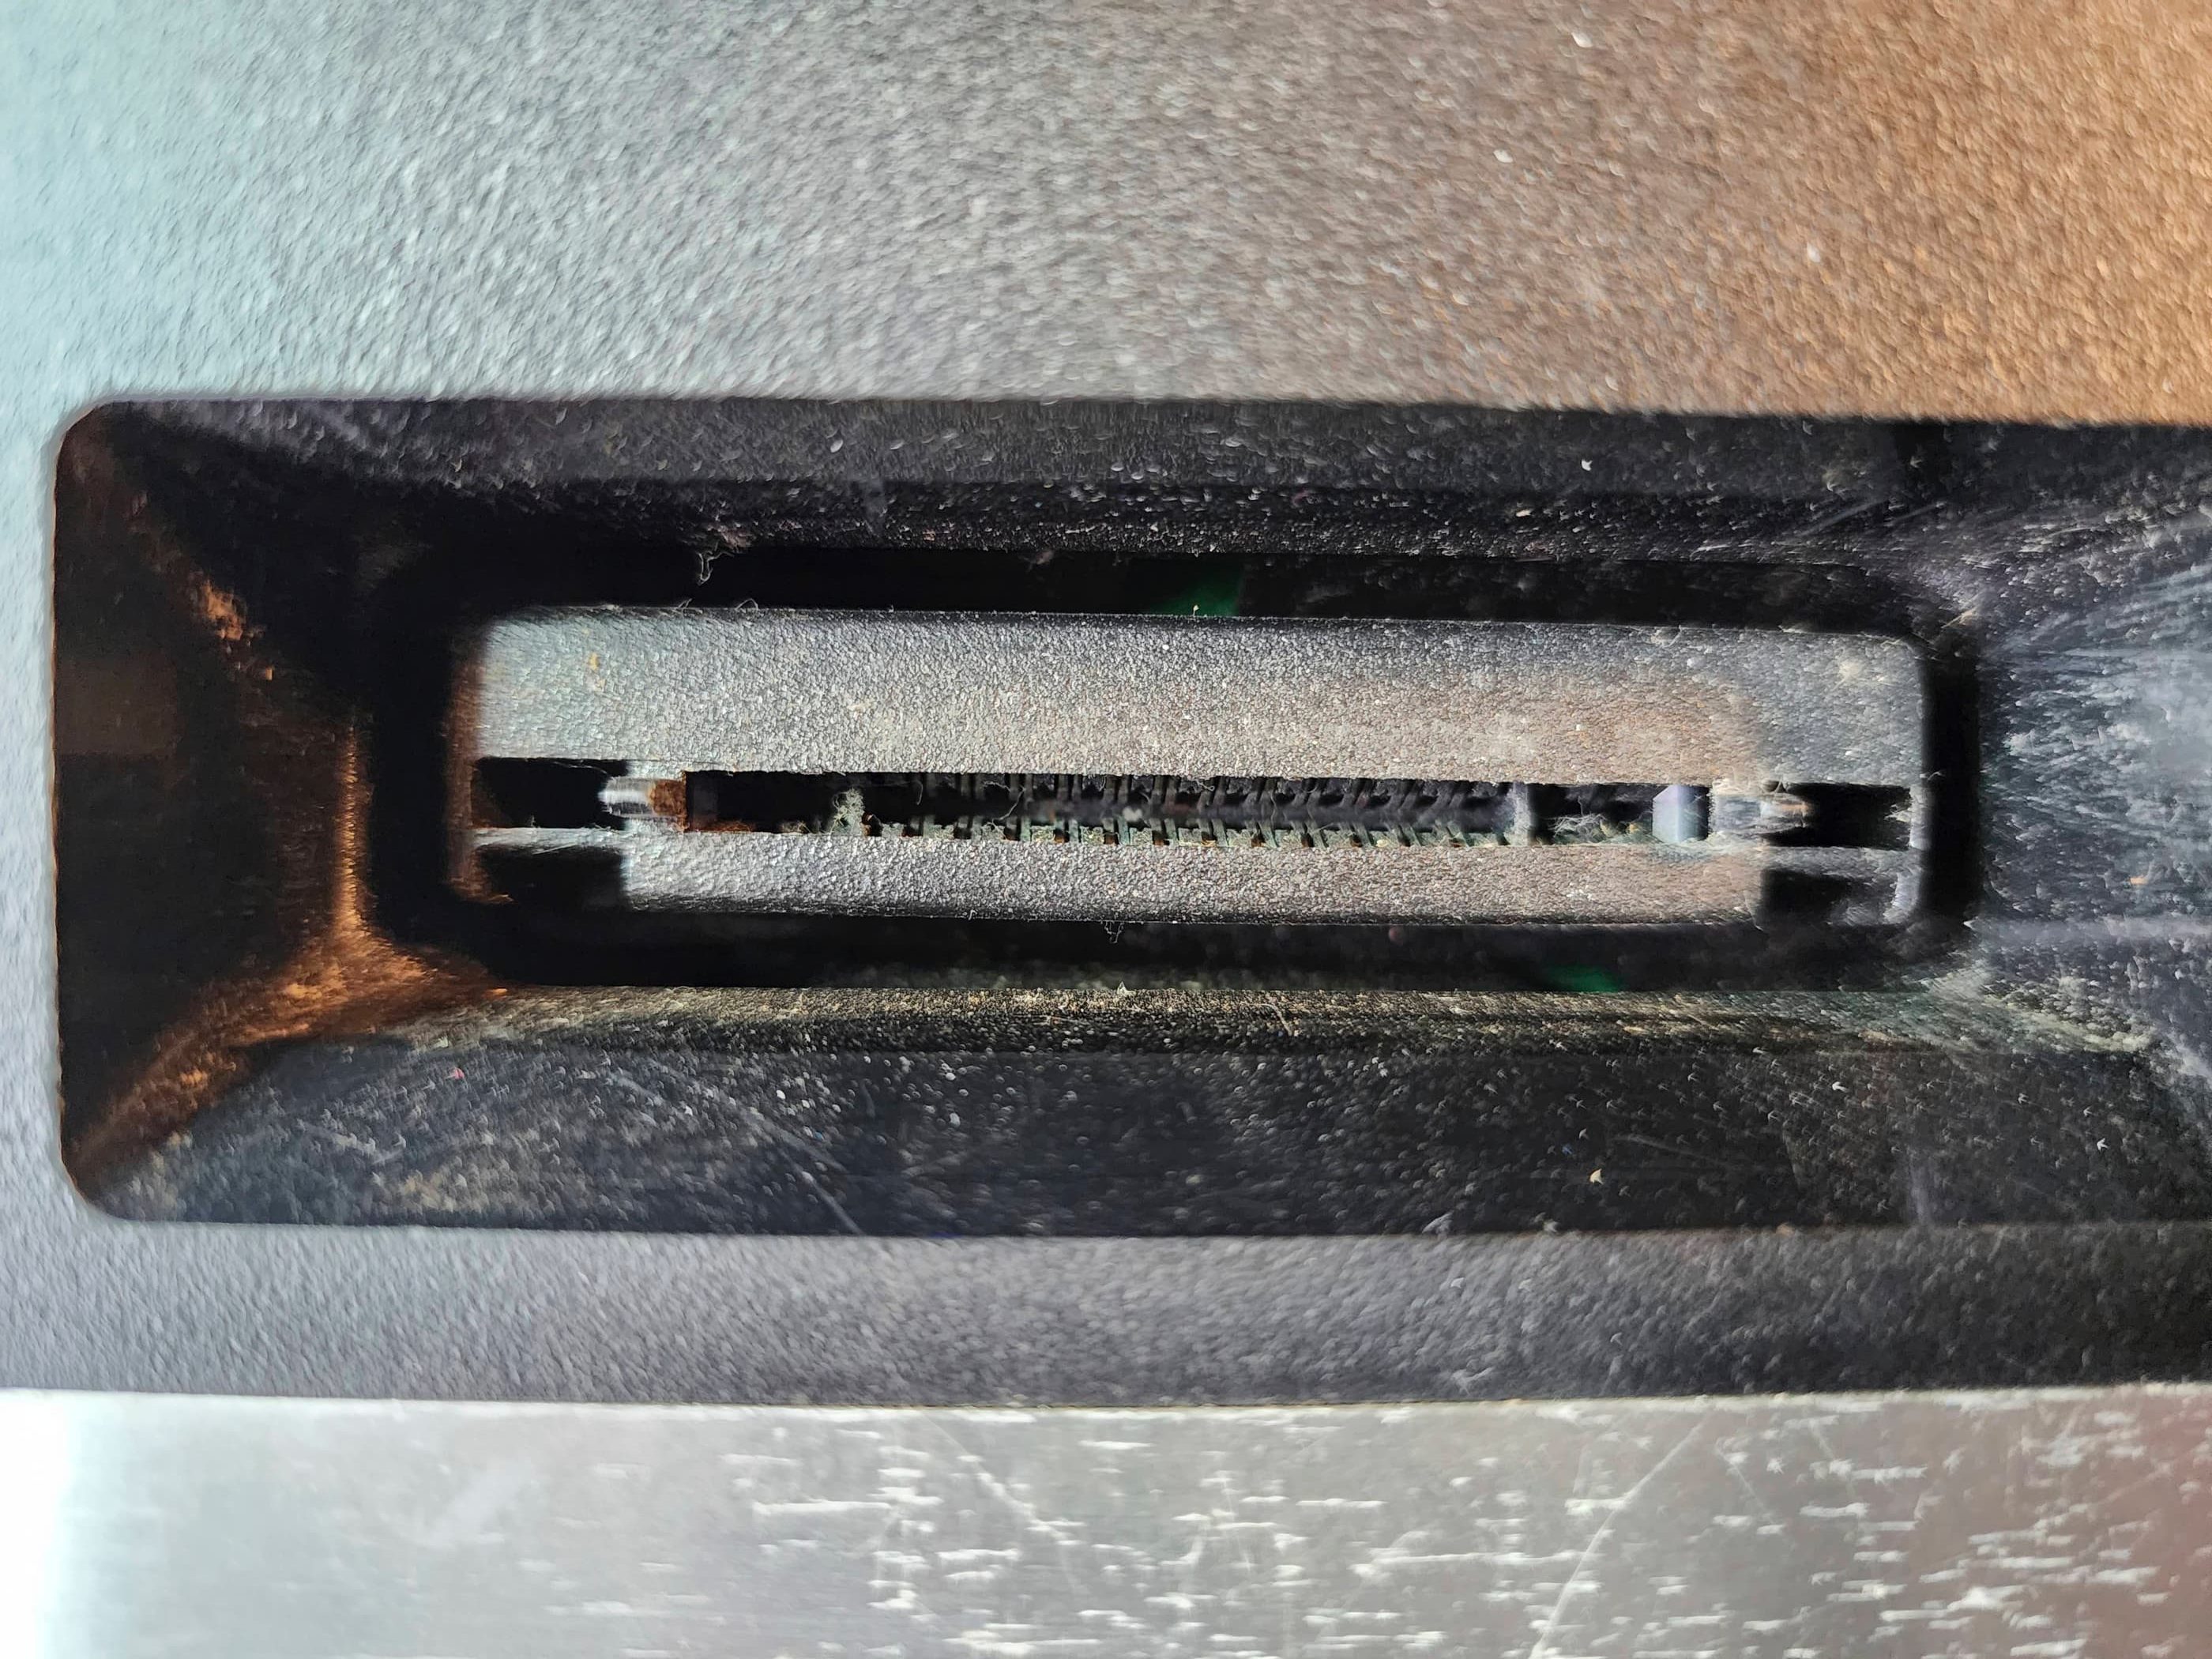
Project Details: This system came to me in relatively good condition, with no yellowing of the case and both controllers. That I still had to blow on the cartridges to get them to work brought me right back to the ’80s. 😂 It also let me know that the 72-pin cartridge connector probably needed work. However, I didn’t end up touching the system until I found NES #2 a couple months later, and that’s when I decided to tackle both units at the same time. In fact, despite it’s outward appearance, the guts of NES #2 were in much better shape, including the 72-pin connector. It was an easy decision to swap the board and connector from NES #2 and put them inside NES #1. Once that was done and everything was clean and shiny, I disassembled the controllers and cleaned those as well. With everything reassembled, I powered the unit on and everything worked beautifully. All I need now is the wood-grain TV cabinet where we kept ours in the 1980s. 😂
Parts & Products Used: 99% isopropyl alcohol; Chemical Guys Natural Shine;

Nintendo Entertainment System (NES) (#2)
Years (1985-1995)
Interesting fact: Nintendo was conscious of the negative image that video games had among the North American public so instead of calling their console a ‘video’ system, they deliberately used ‘entertainment’ in the title. They also avoided having the typical look of a cartridge poking out of a console, by hiding it out of sight to make the console look more professional. (source)
Condition When Acquired: Non-Functional (DOA)
Current Condition: Fully Functional

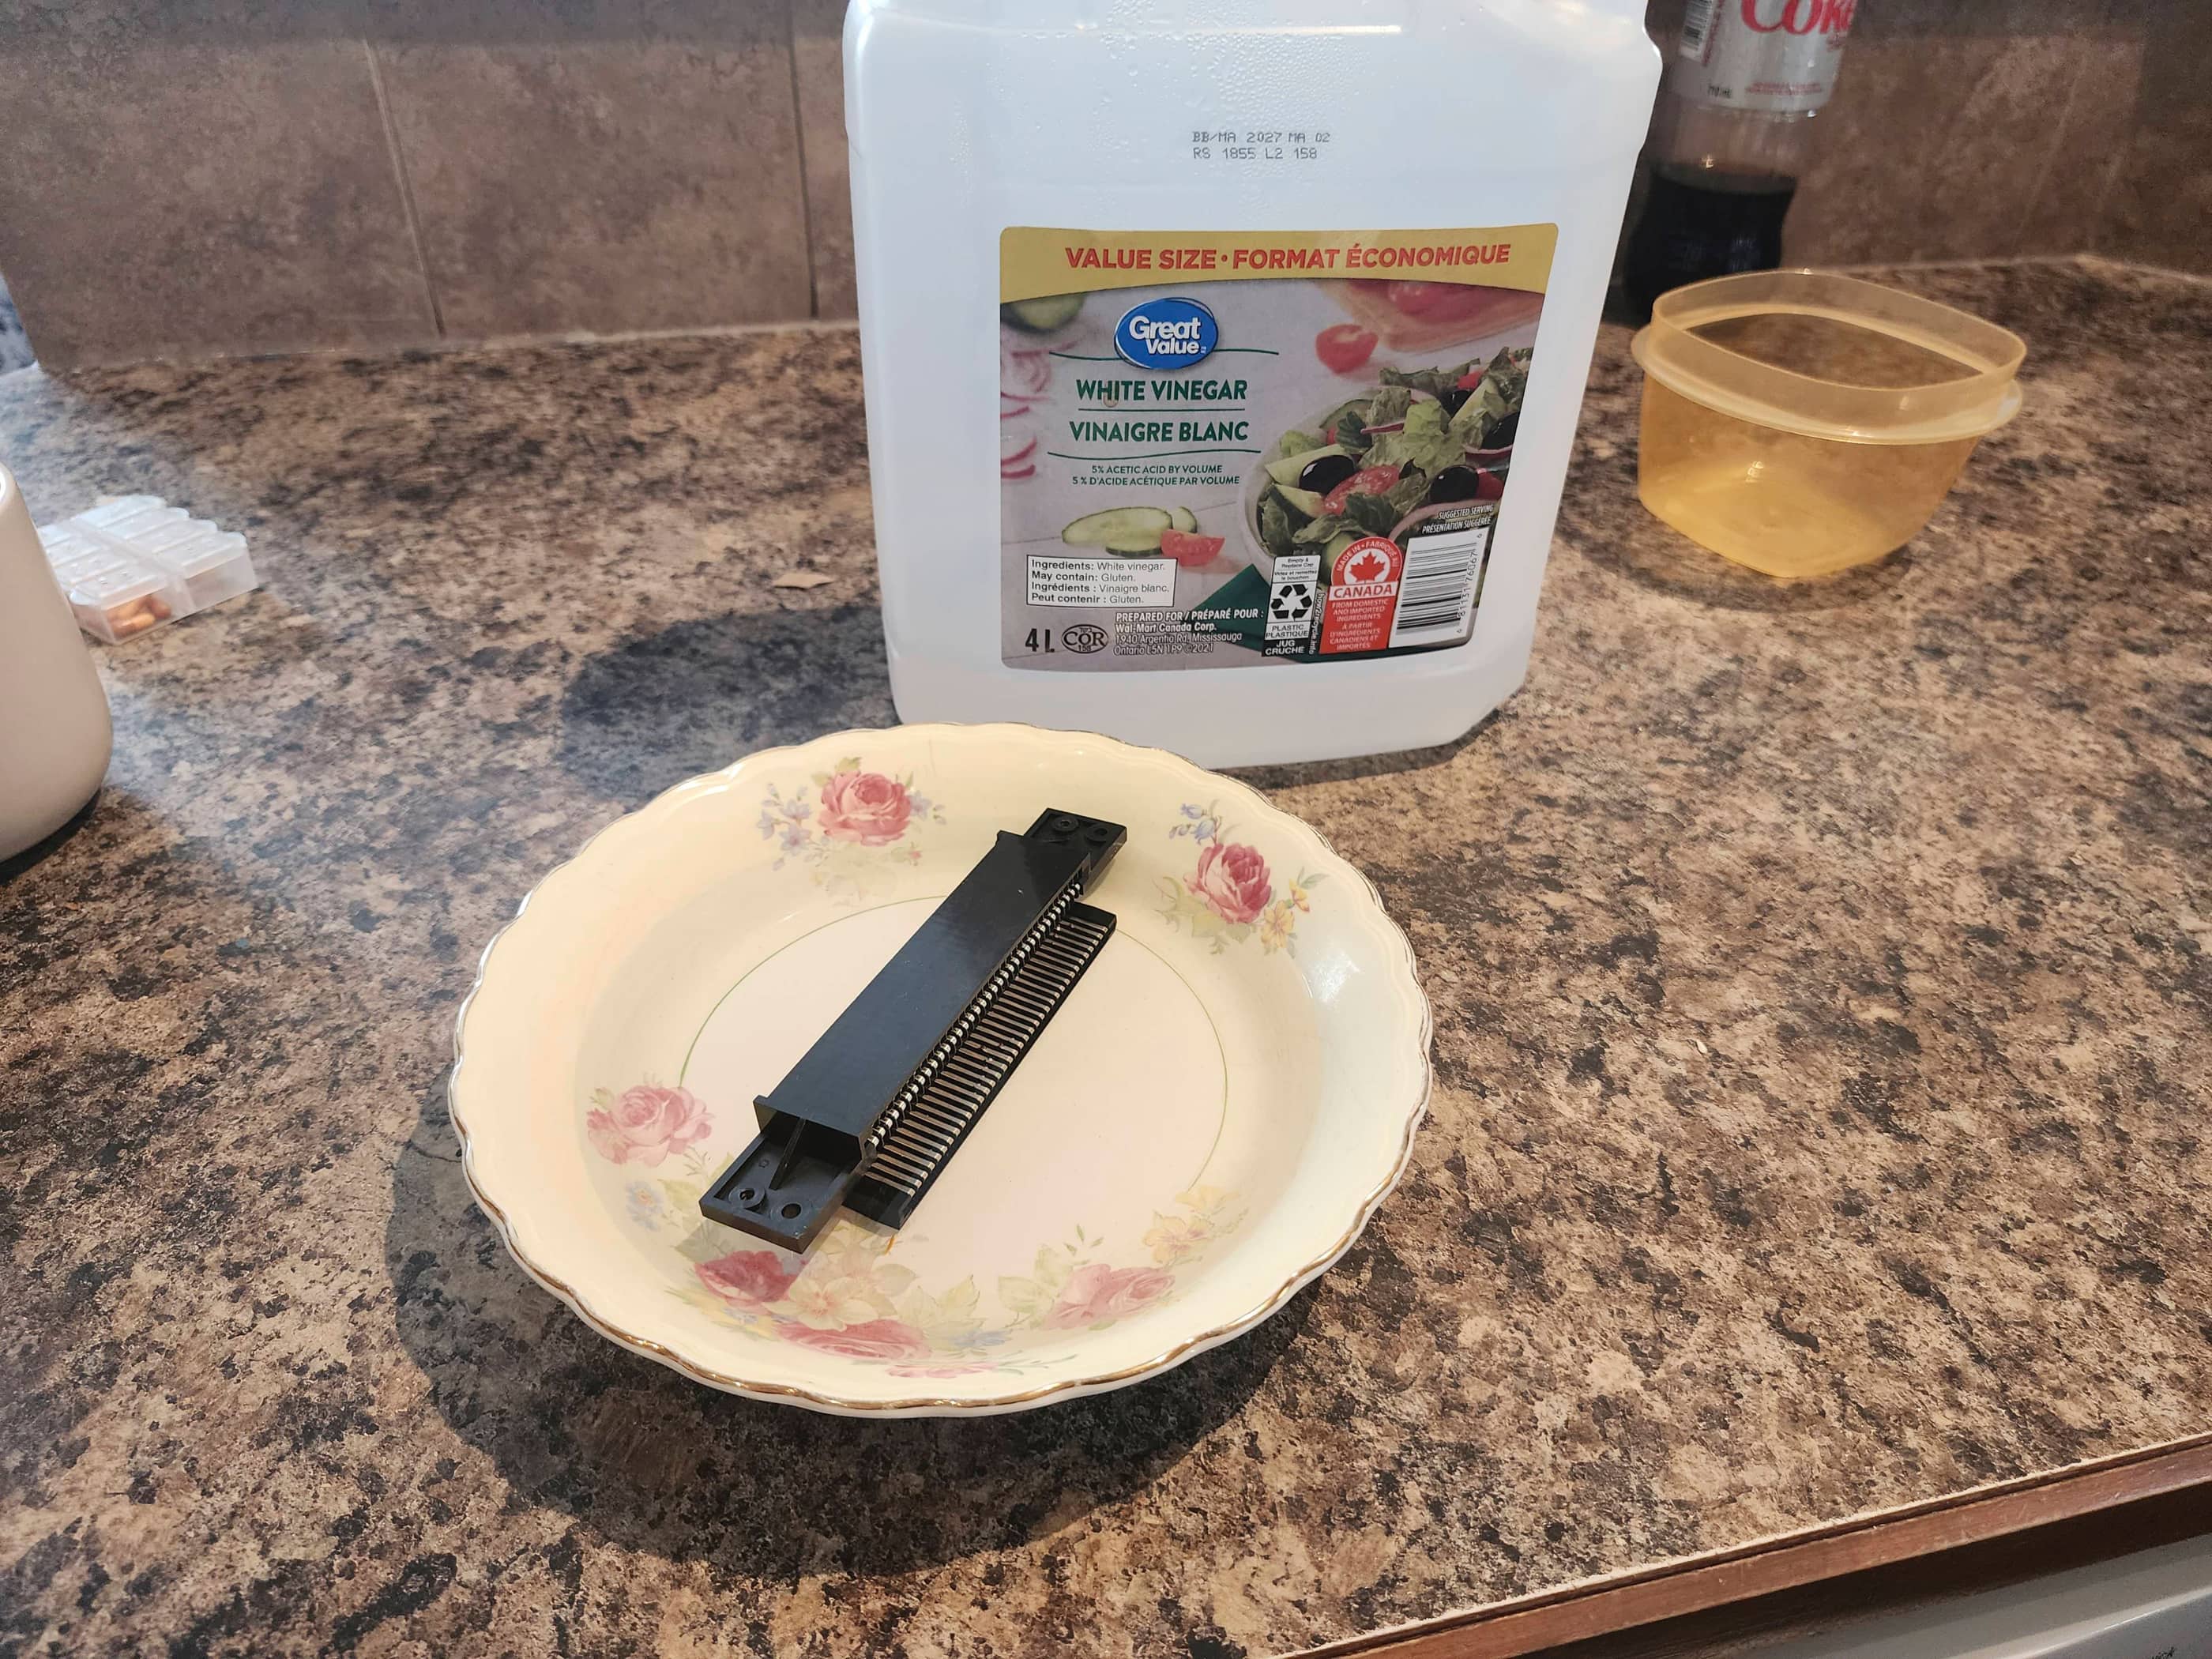

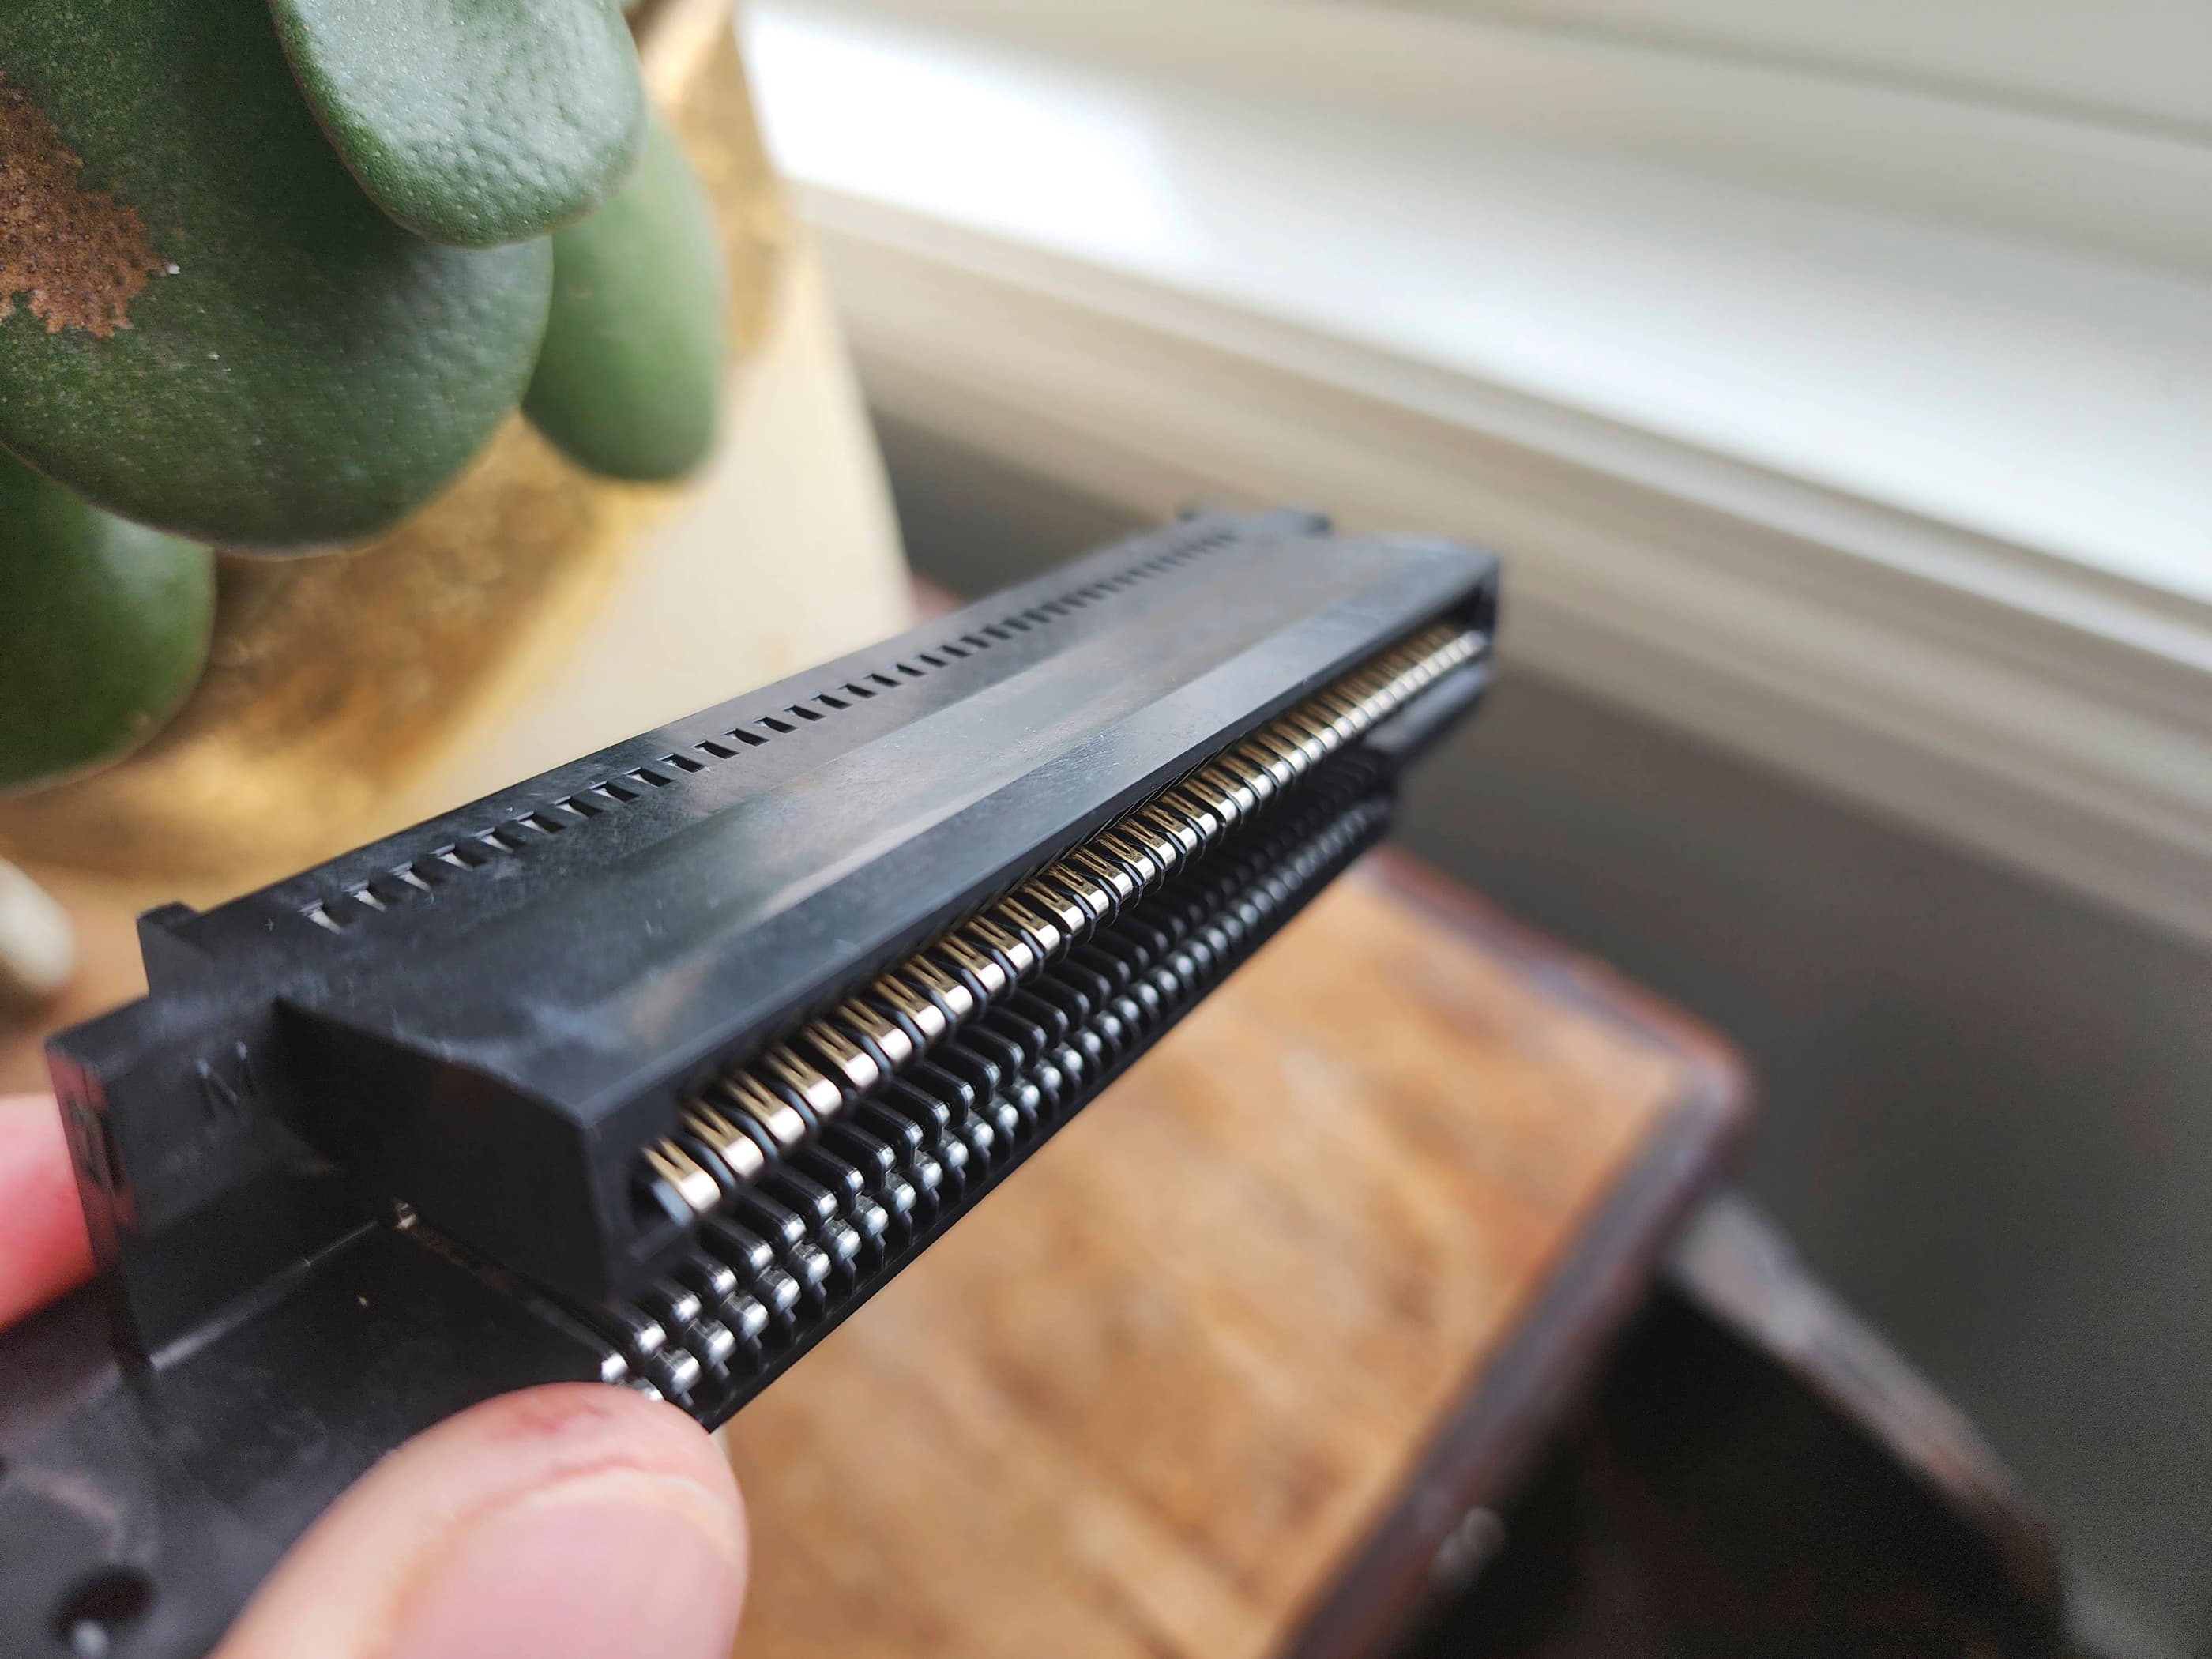

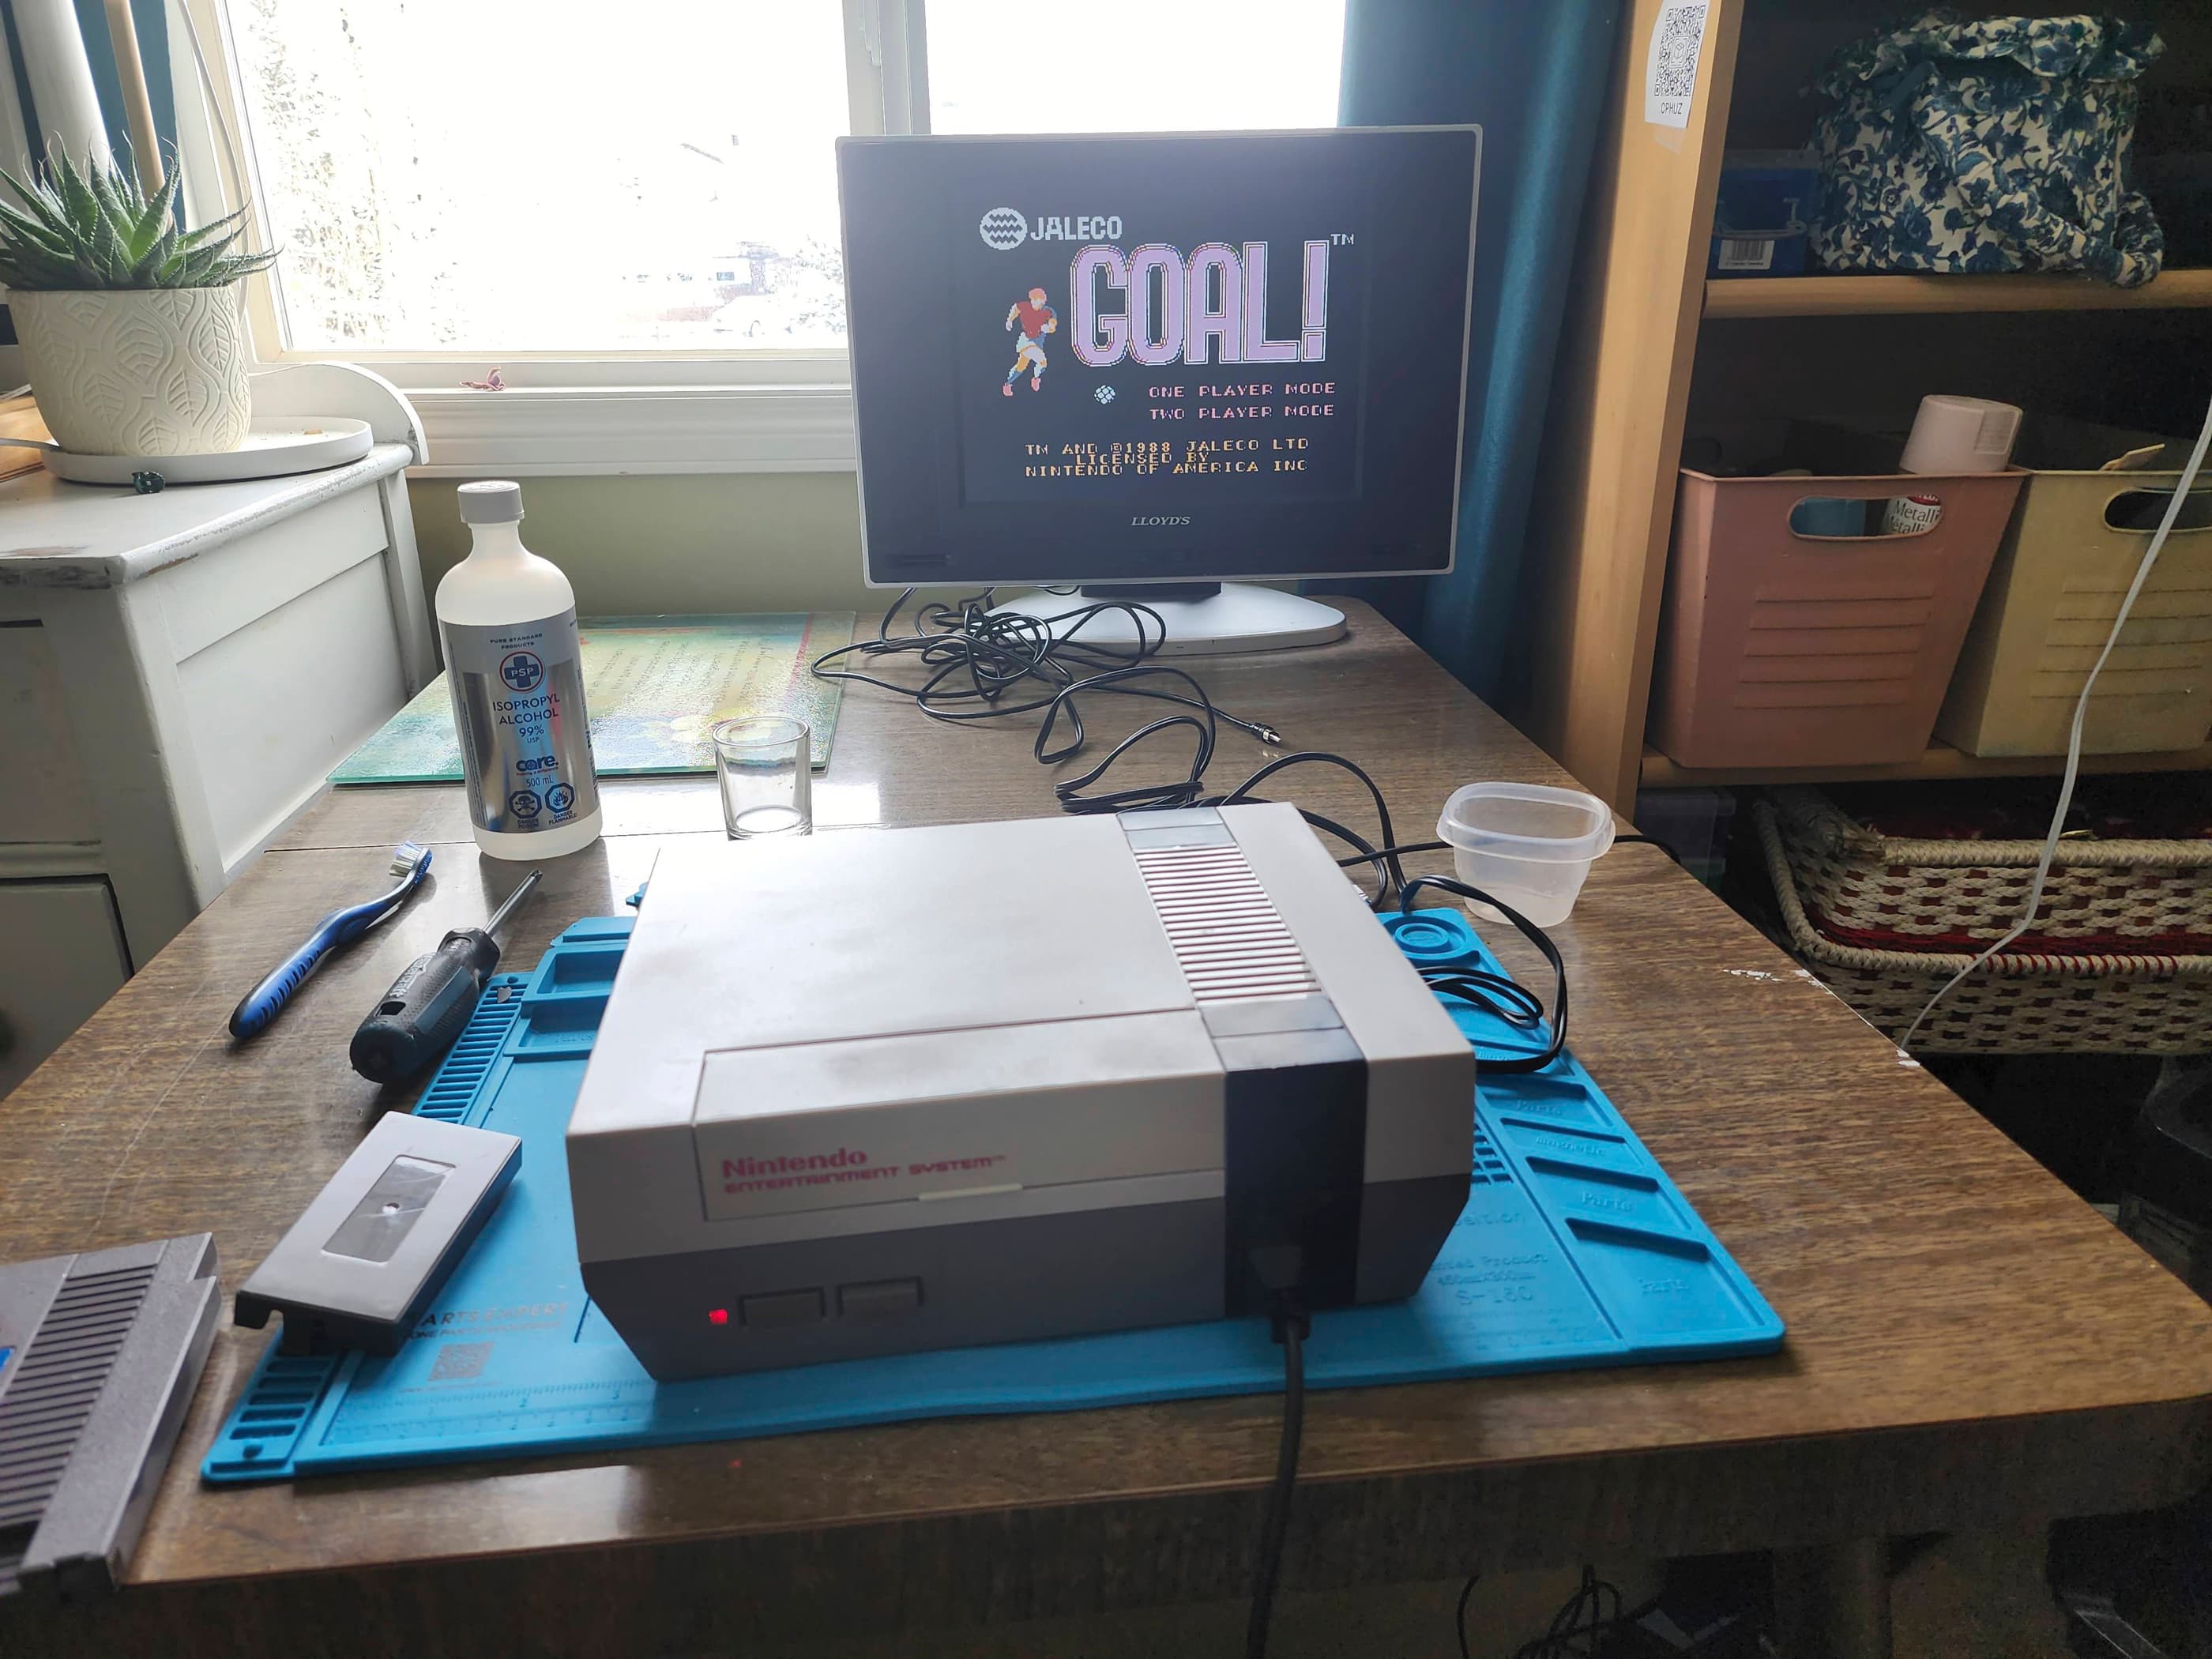
Project Details: I found this at a local antiques show for $45. It was in a plastic grocery bag under a table and the seller had no clue if it worked or not. It was yellowed and in much rougher condition than NES #1, but I had a good feeling about it. I brought it home, put in a cartridge and turned it on and… it was DOA. That is until I found out why. It simply need a new power adapter. That’s always the first place I start testing and in this case it was the reason why it was non-functional. I was really pleased with how it worked and its 72-pin connector’s grip on the cartridges. In fact, I never had a game that didn’t work. As outlined above, I worked on this in tandem with NES #1 and swapped the guts between systems. What I then did, was try and clean the connector including soaking it in vinegar before boiling it in distilled water for 15 – 20 minutes, which many have done with success. That didn’t seem to help as the cartridges had the same blinking screen issue. Before ordering a new one, I thought, ‘Why not try boiling the sucker for longer?’ I then boiled it for 40 minutes in distilled water. Once back on the board, I put in the same cartridge I had just tried. It worked! Then I tried another, and another. They all worked, except for one, which worked intermittently. As I clean all my cartridges with IPA before testing, I figured this wasn’t the issue, but maybe… Anyway, as the rest of my cartridges worked, I thought, good enough for now. If I have to replace the 72-pin connector at some point in the future, I’ll do it, as they are fairly cheap. After I’d finished cleaning it along with a complete cleaning of the controllers, I put everything back together and kept testing it. It still played most cartridges without any problems. It may not look as nice as NES #1, but it works. 🙂
Parts & Products Used: 99% isopropyl alcohol; Chemical Guys Natural Shine; thermal paste;

Sega Master System (#1)
Years (1986-1992)
Interesting fact: Sega got their start in 1940 in Honolulu producing jukeboxes and slot machines and selling them to the US military. Originally called Service Games, they relocated to Tokyo in 1951 and merged with another arcade game manufacturer, Rosen Enterprises, in 1965. The new company called themselves, Sega, which came from the first two letters of Service Games. Sega’s first arcade hit was a submarine game called Periscope and its blue logo from a TV they developed called Sega-Vision. (source)
Condition When Acquired: Fully Functional
Current Condition: Fully Functional
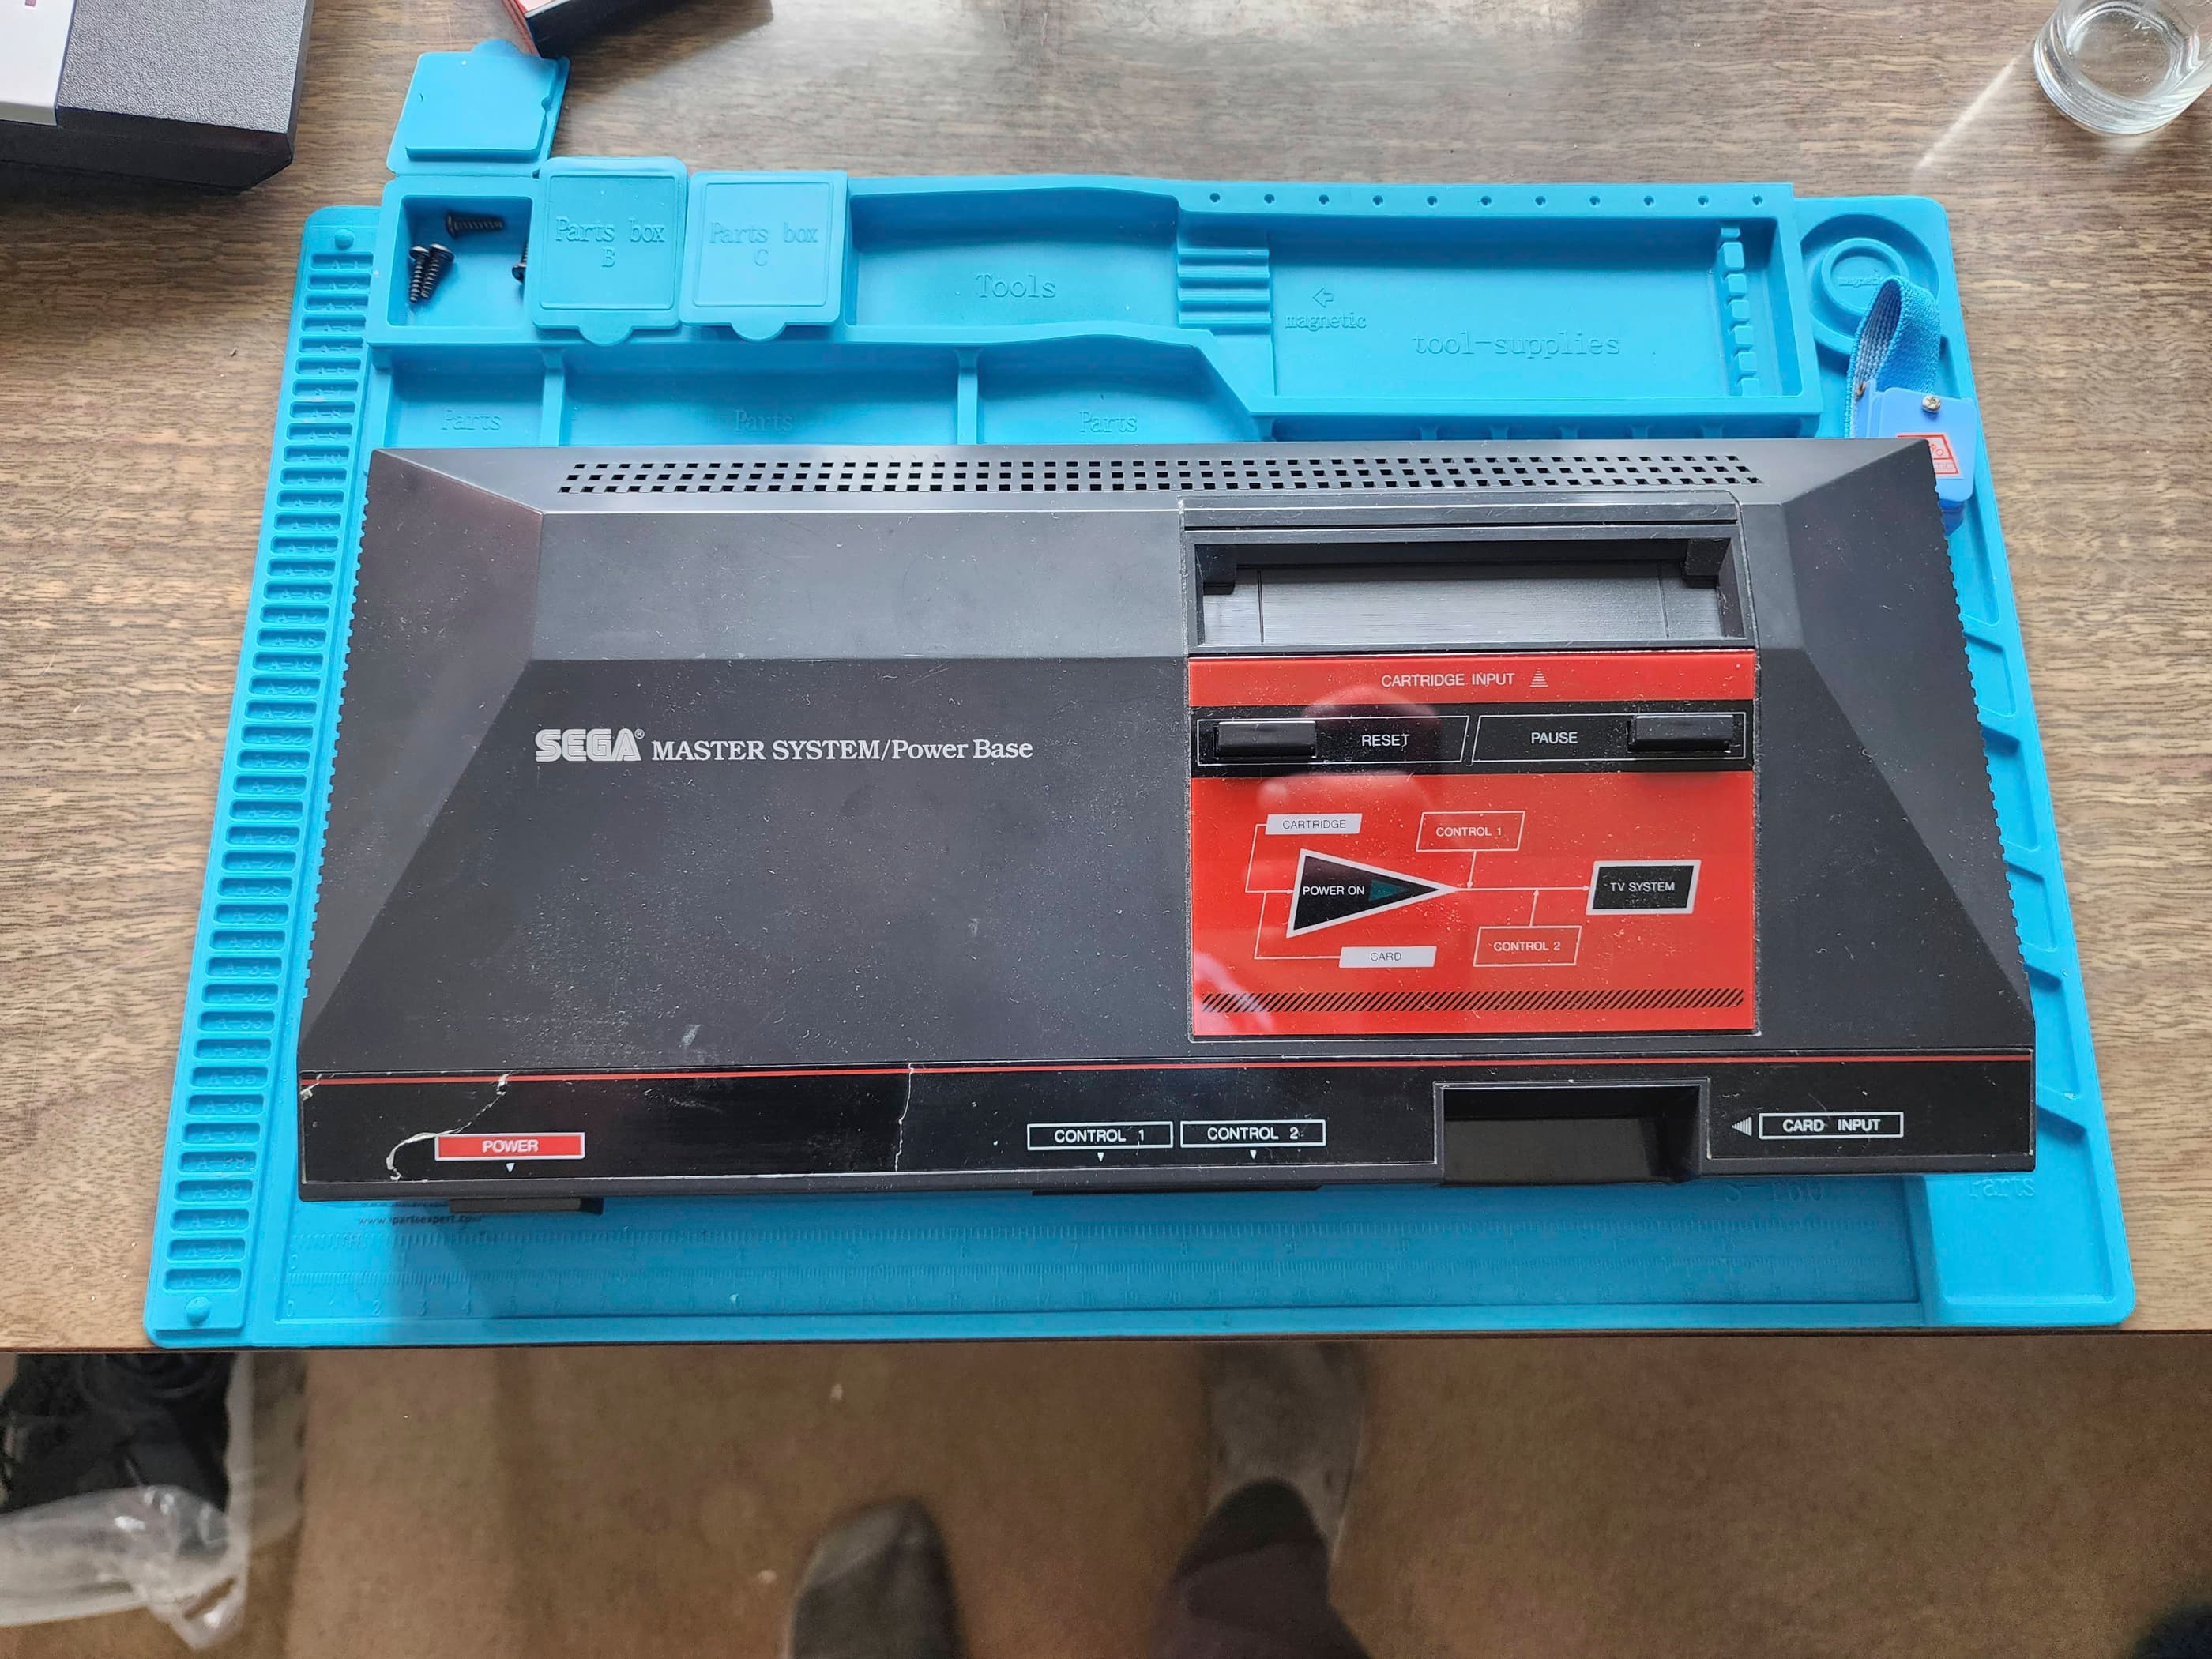

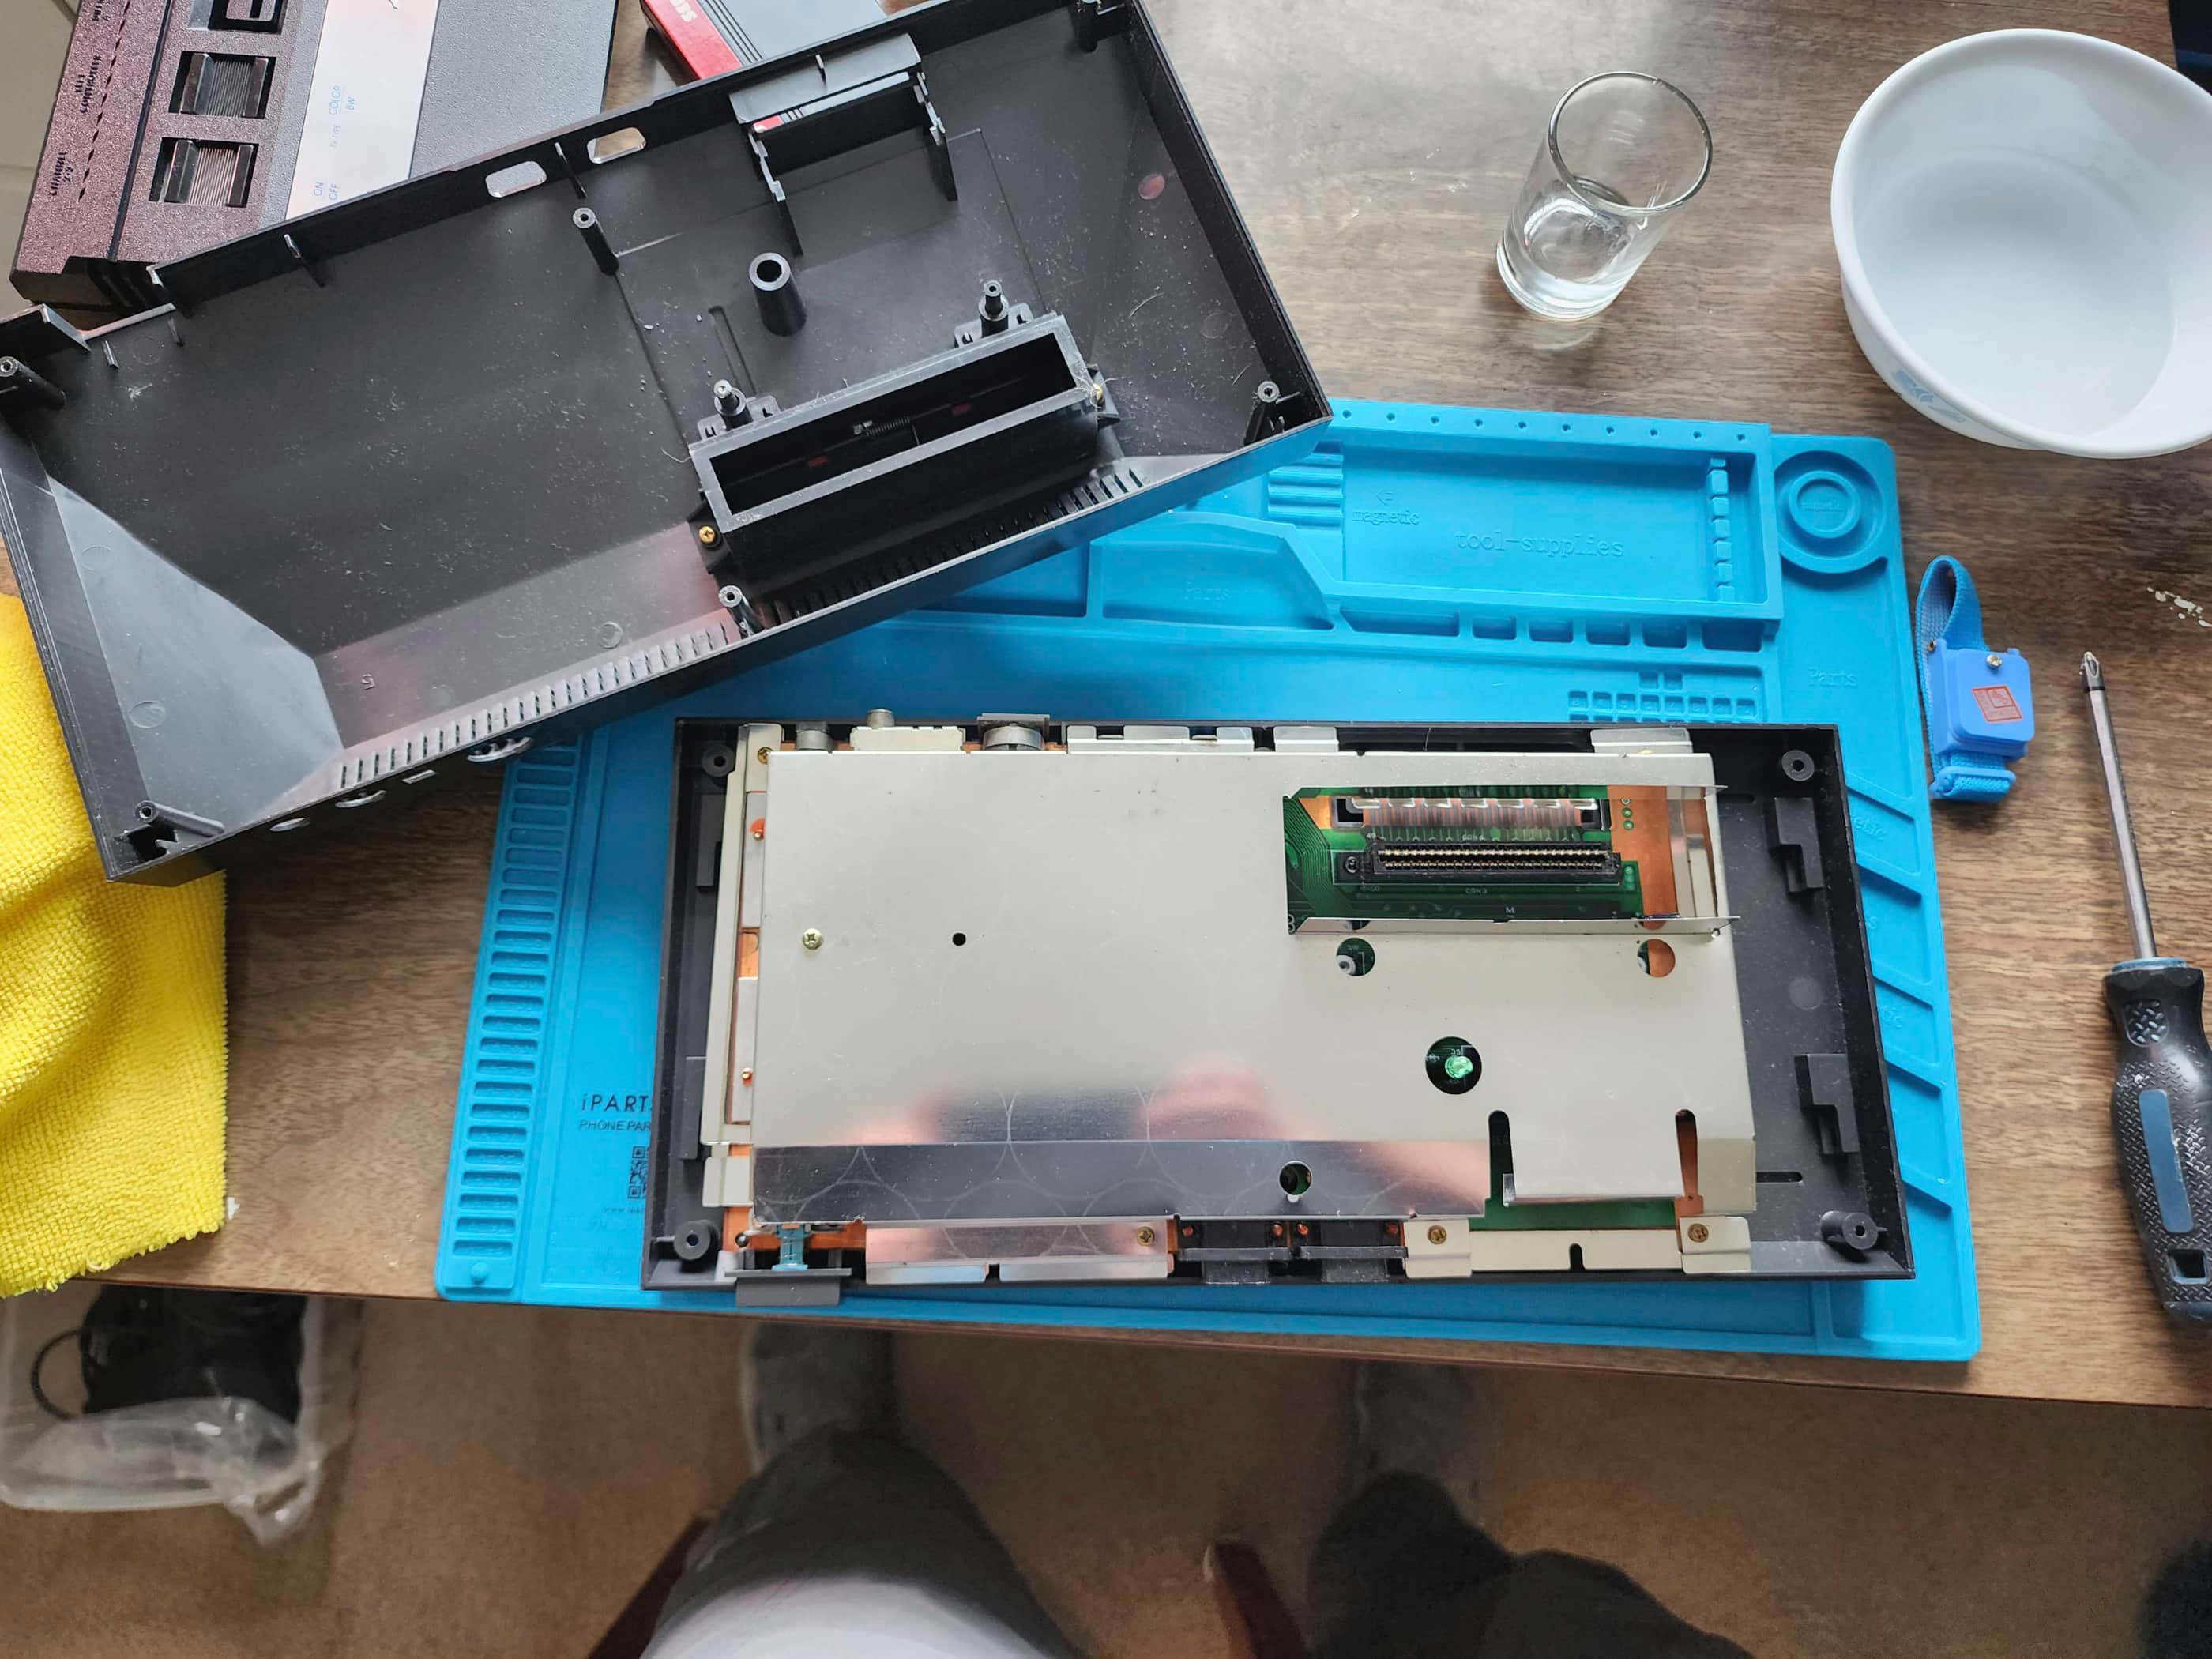


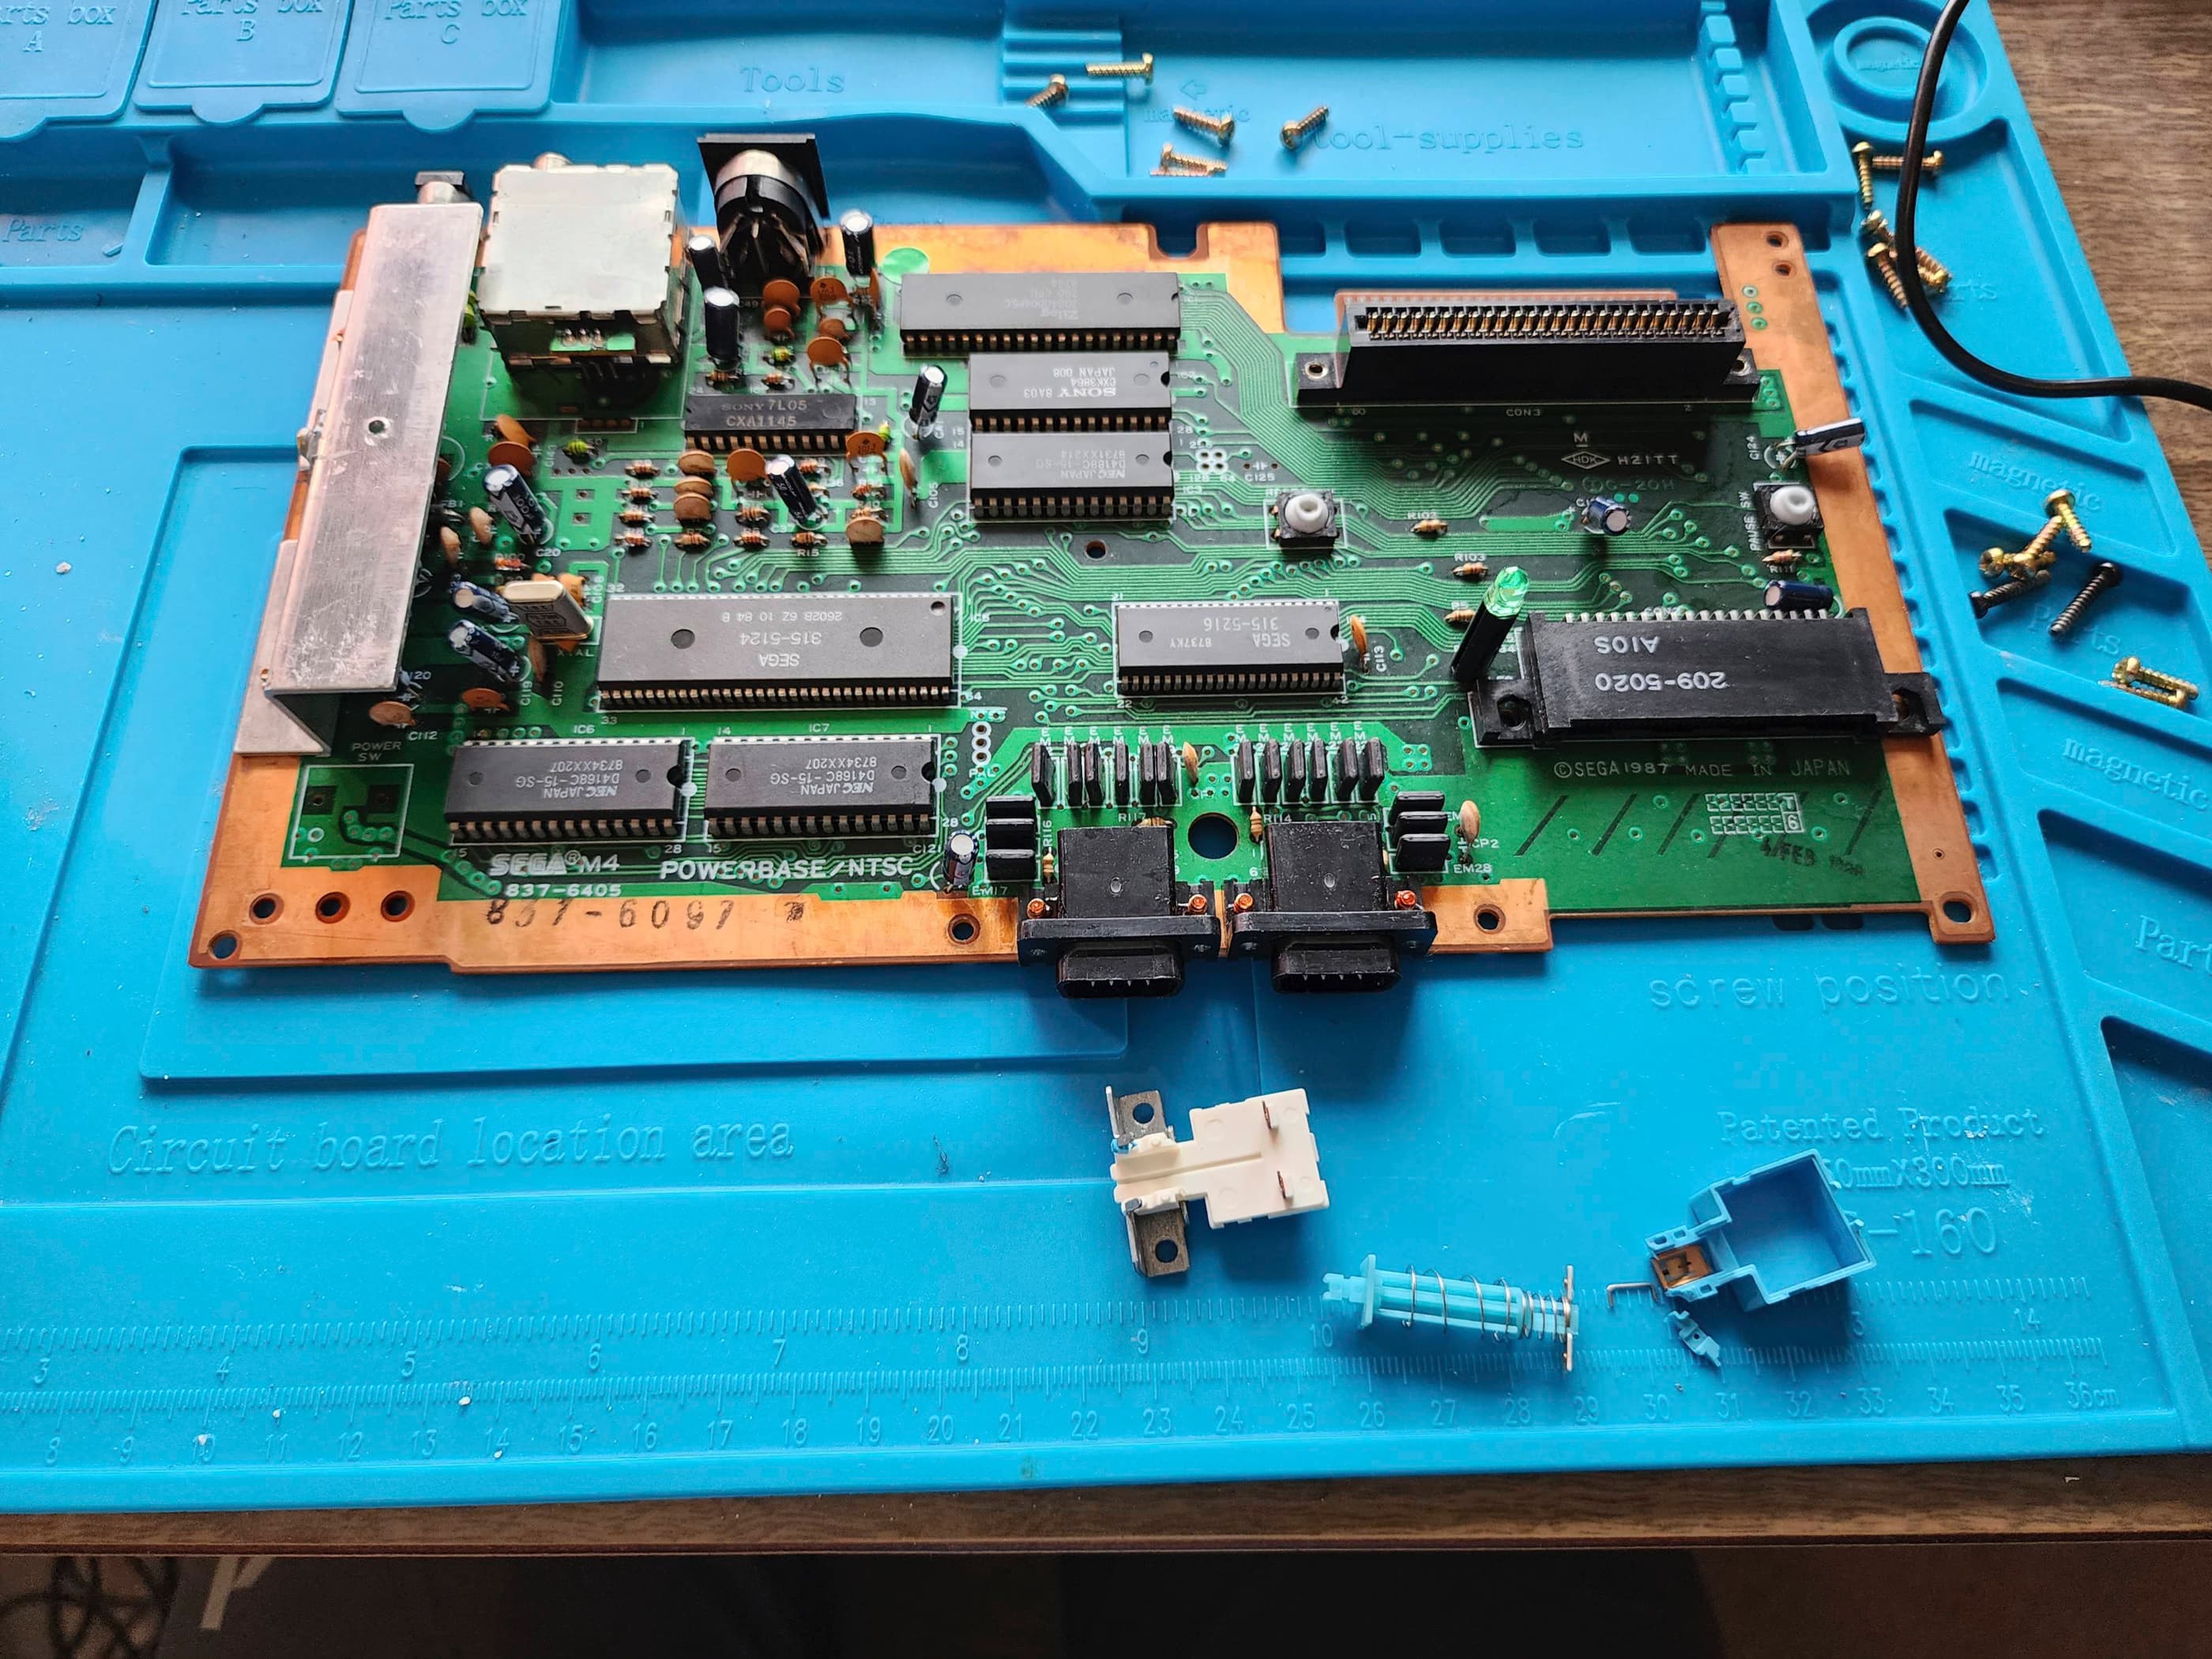
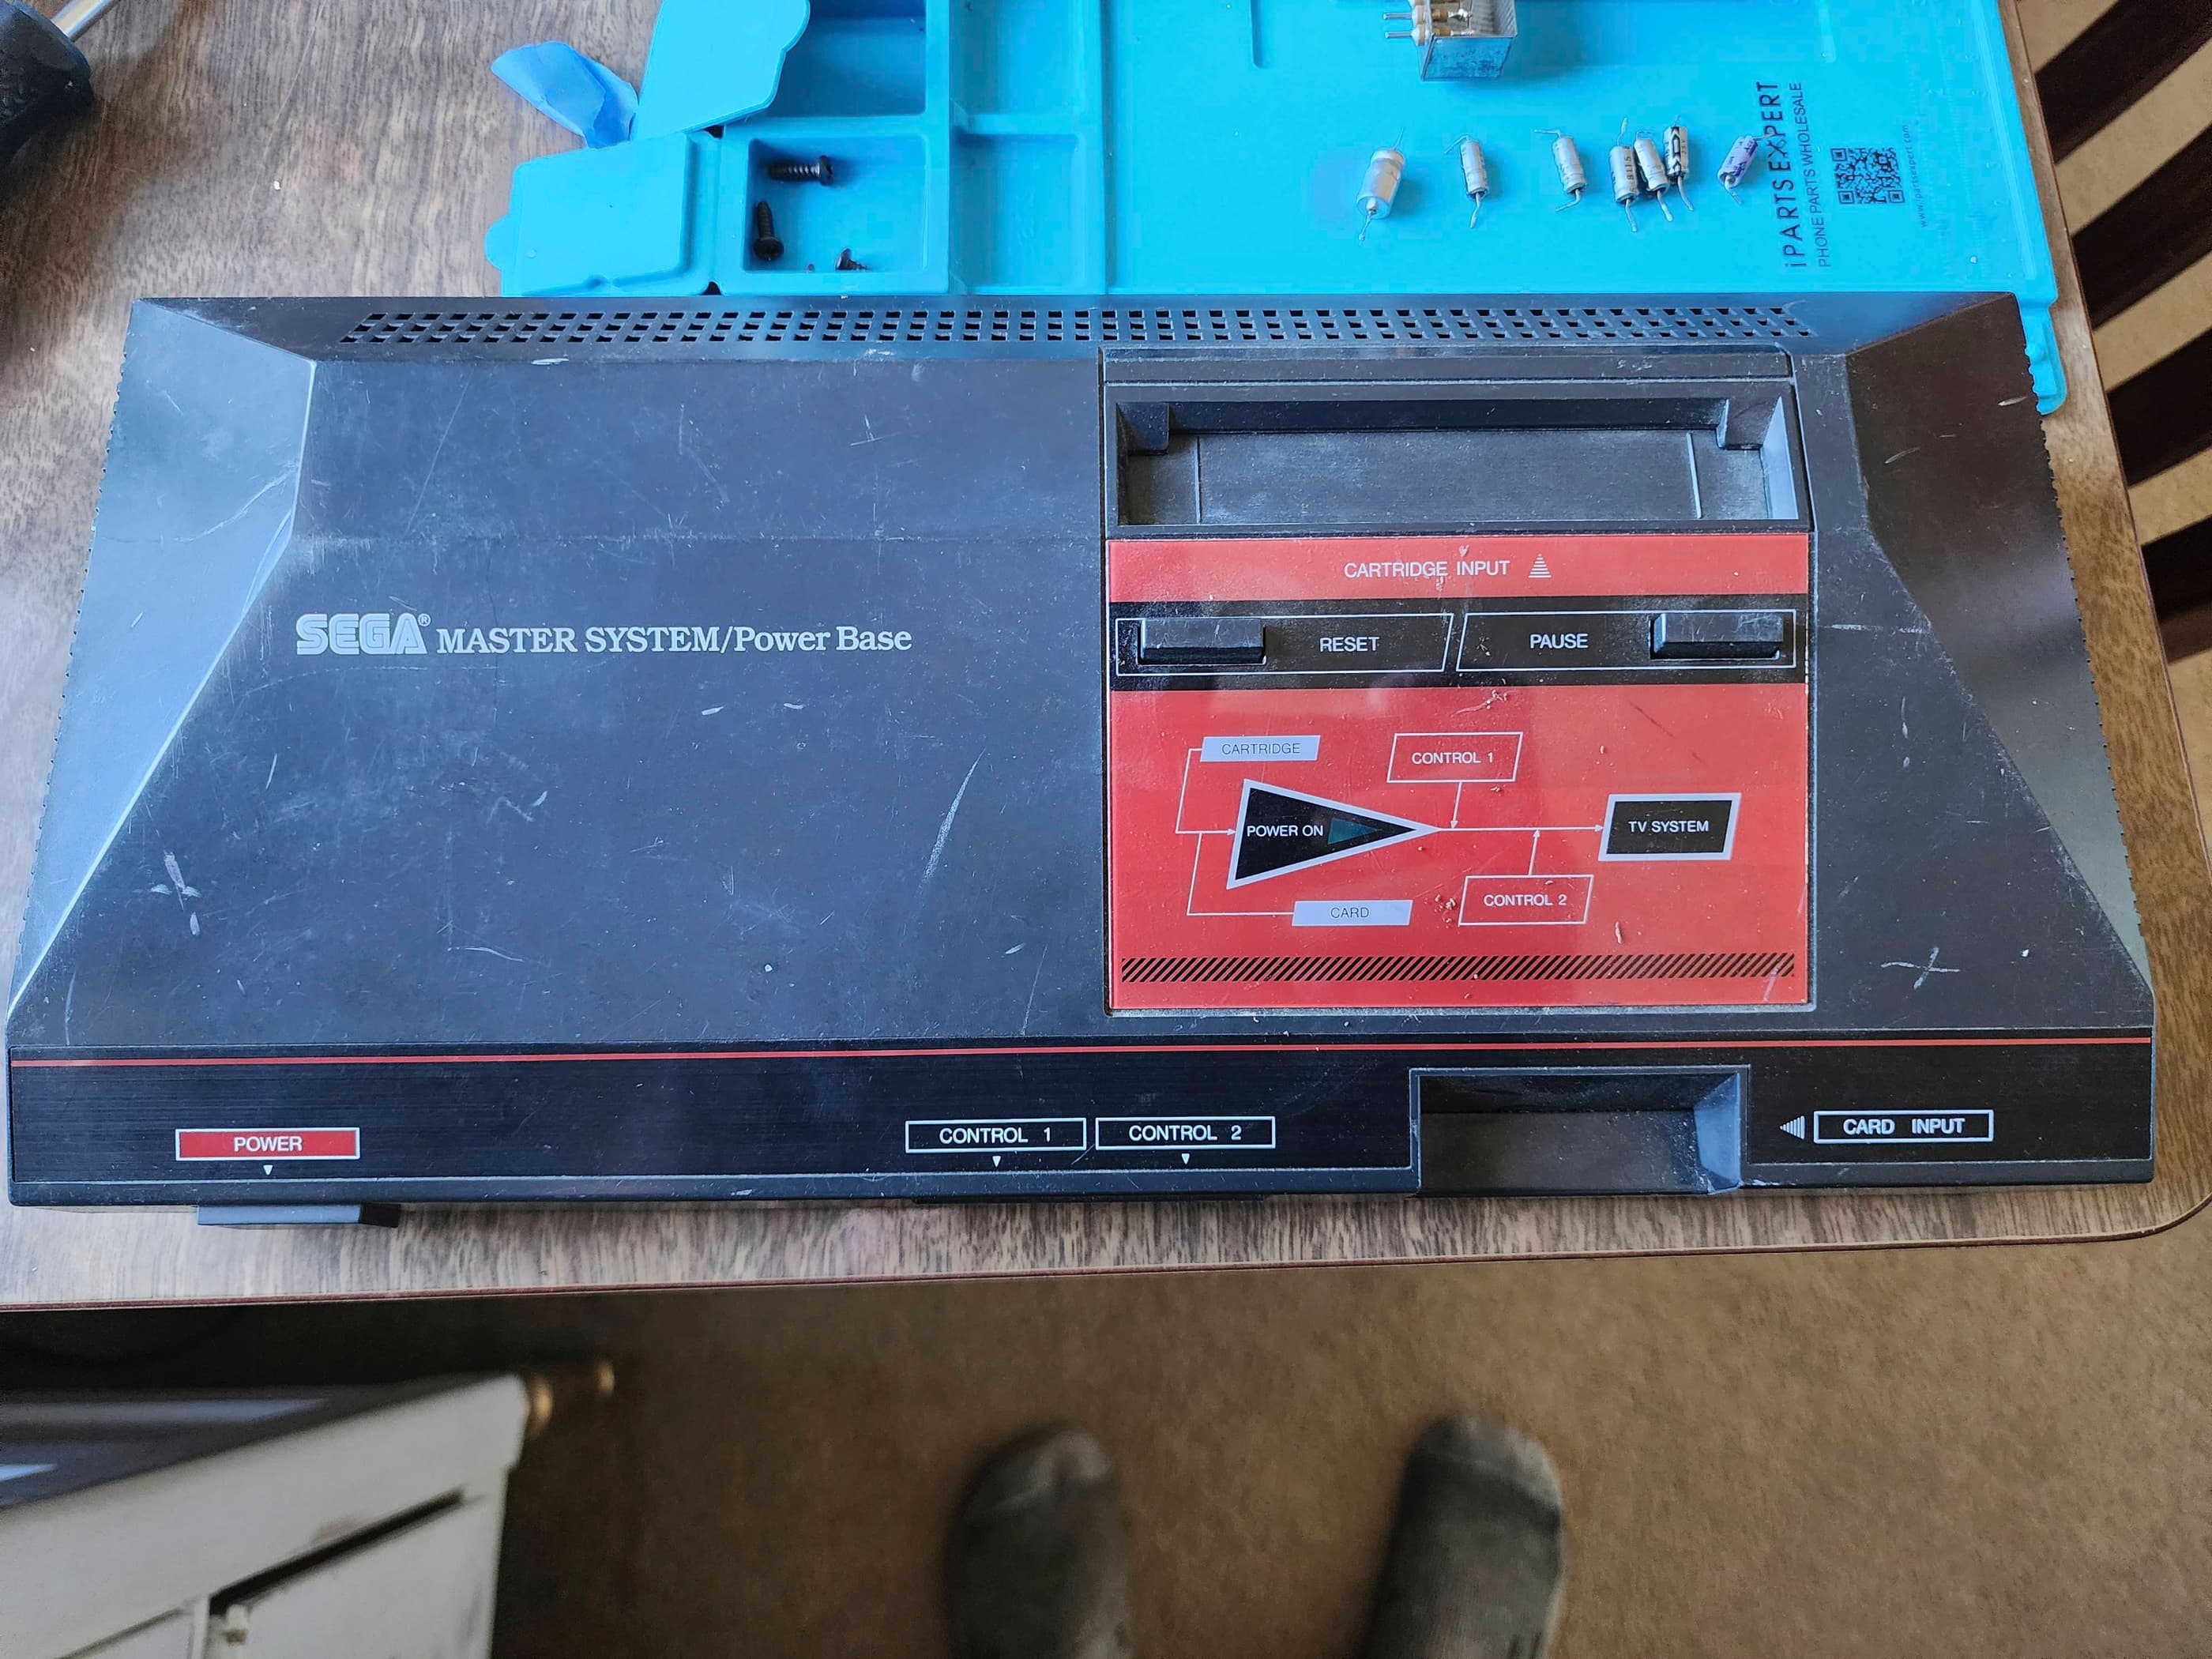


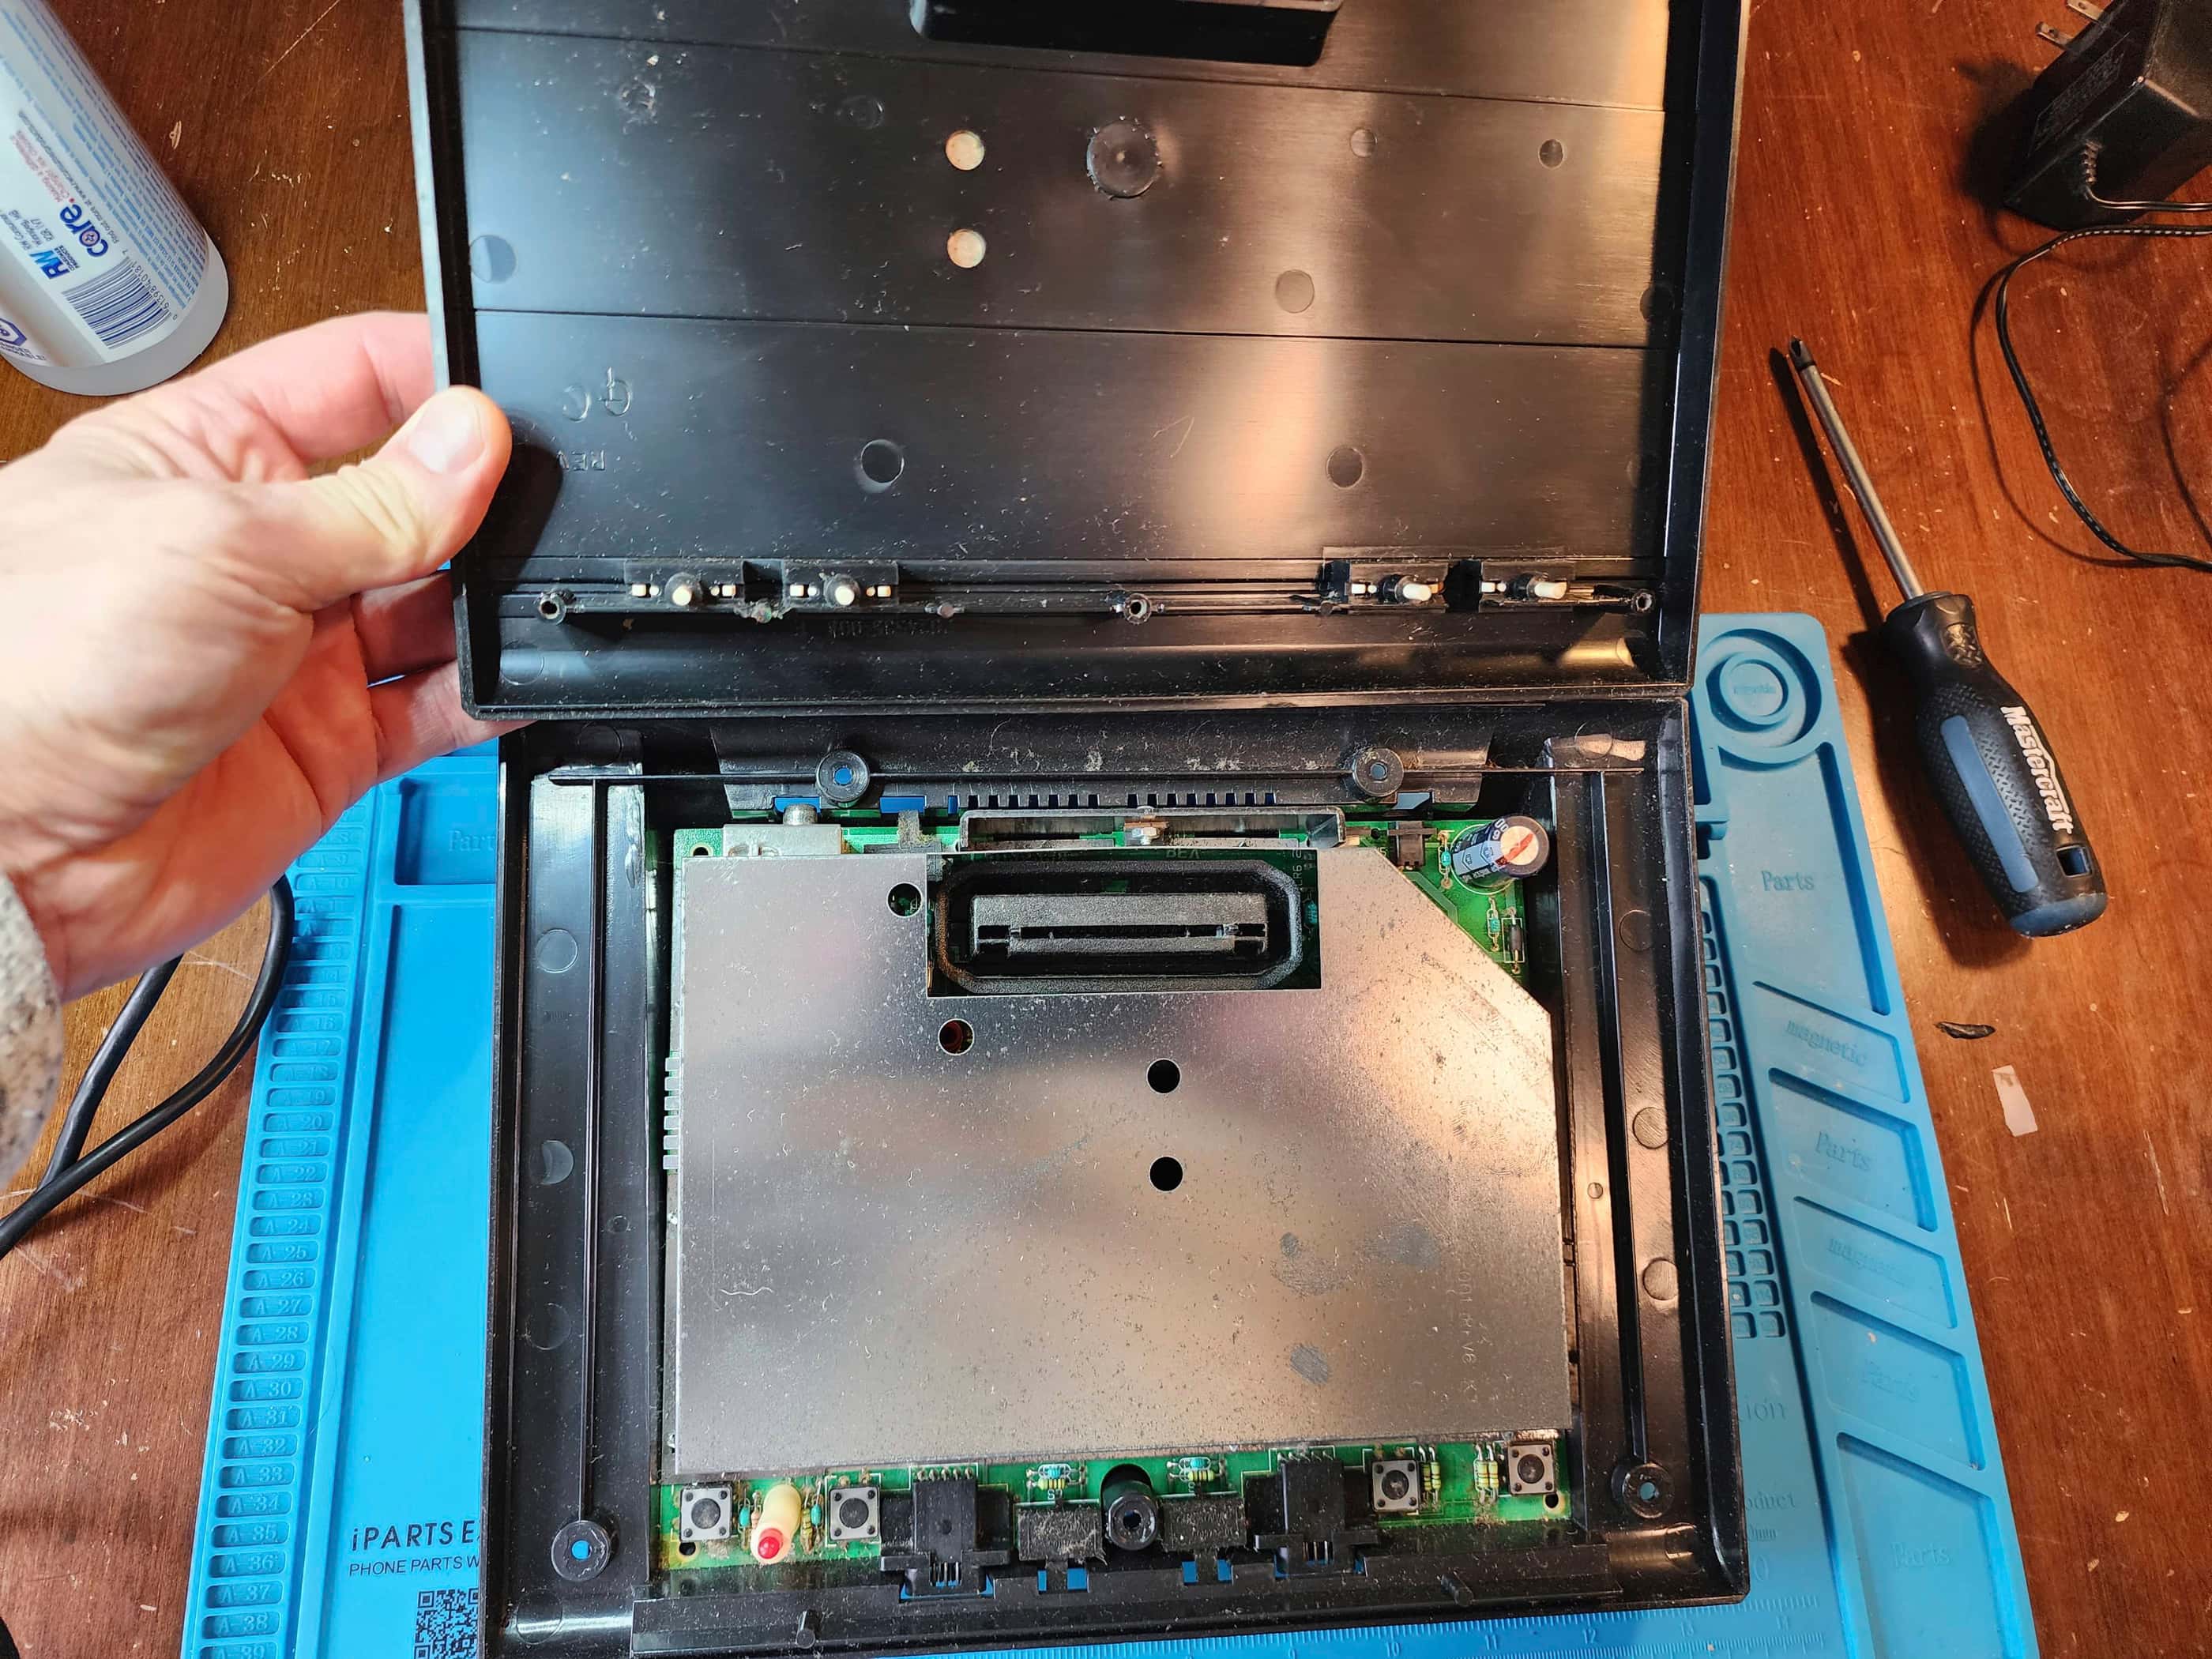
Project Details: I stumbled onto this unit and couldn’t resist. I’d never tried a SMS before, so I was excited to see how it compared to biggest rival, the NES. As it worked when I brought it home, I had fun playing Double Dragon for a few levels. In fact, I liked it more than the NES and its too bad that it never caught on in sufficient numbers to really contend with Nintendo. I also thought the light gun was surprisingly accurate. Anyway, I took the system apart to give it thorough cleaning and inspection. I replaced the thermal paste on the voltage regulator and spent quite a bit of time peeling off the remainder of the original cellophane on the front of the casing. A good polish with Natural Shine restored the original luster.
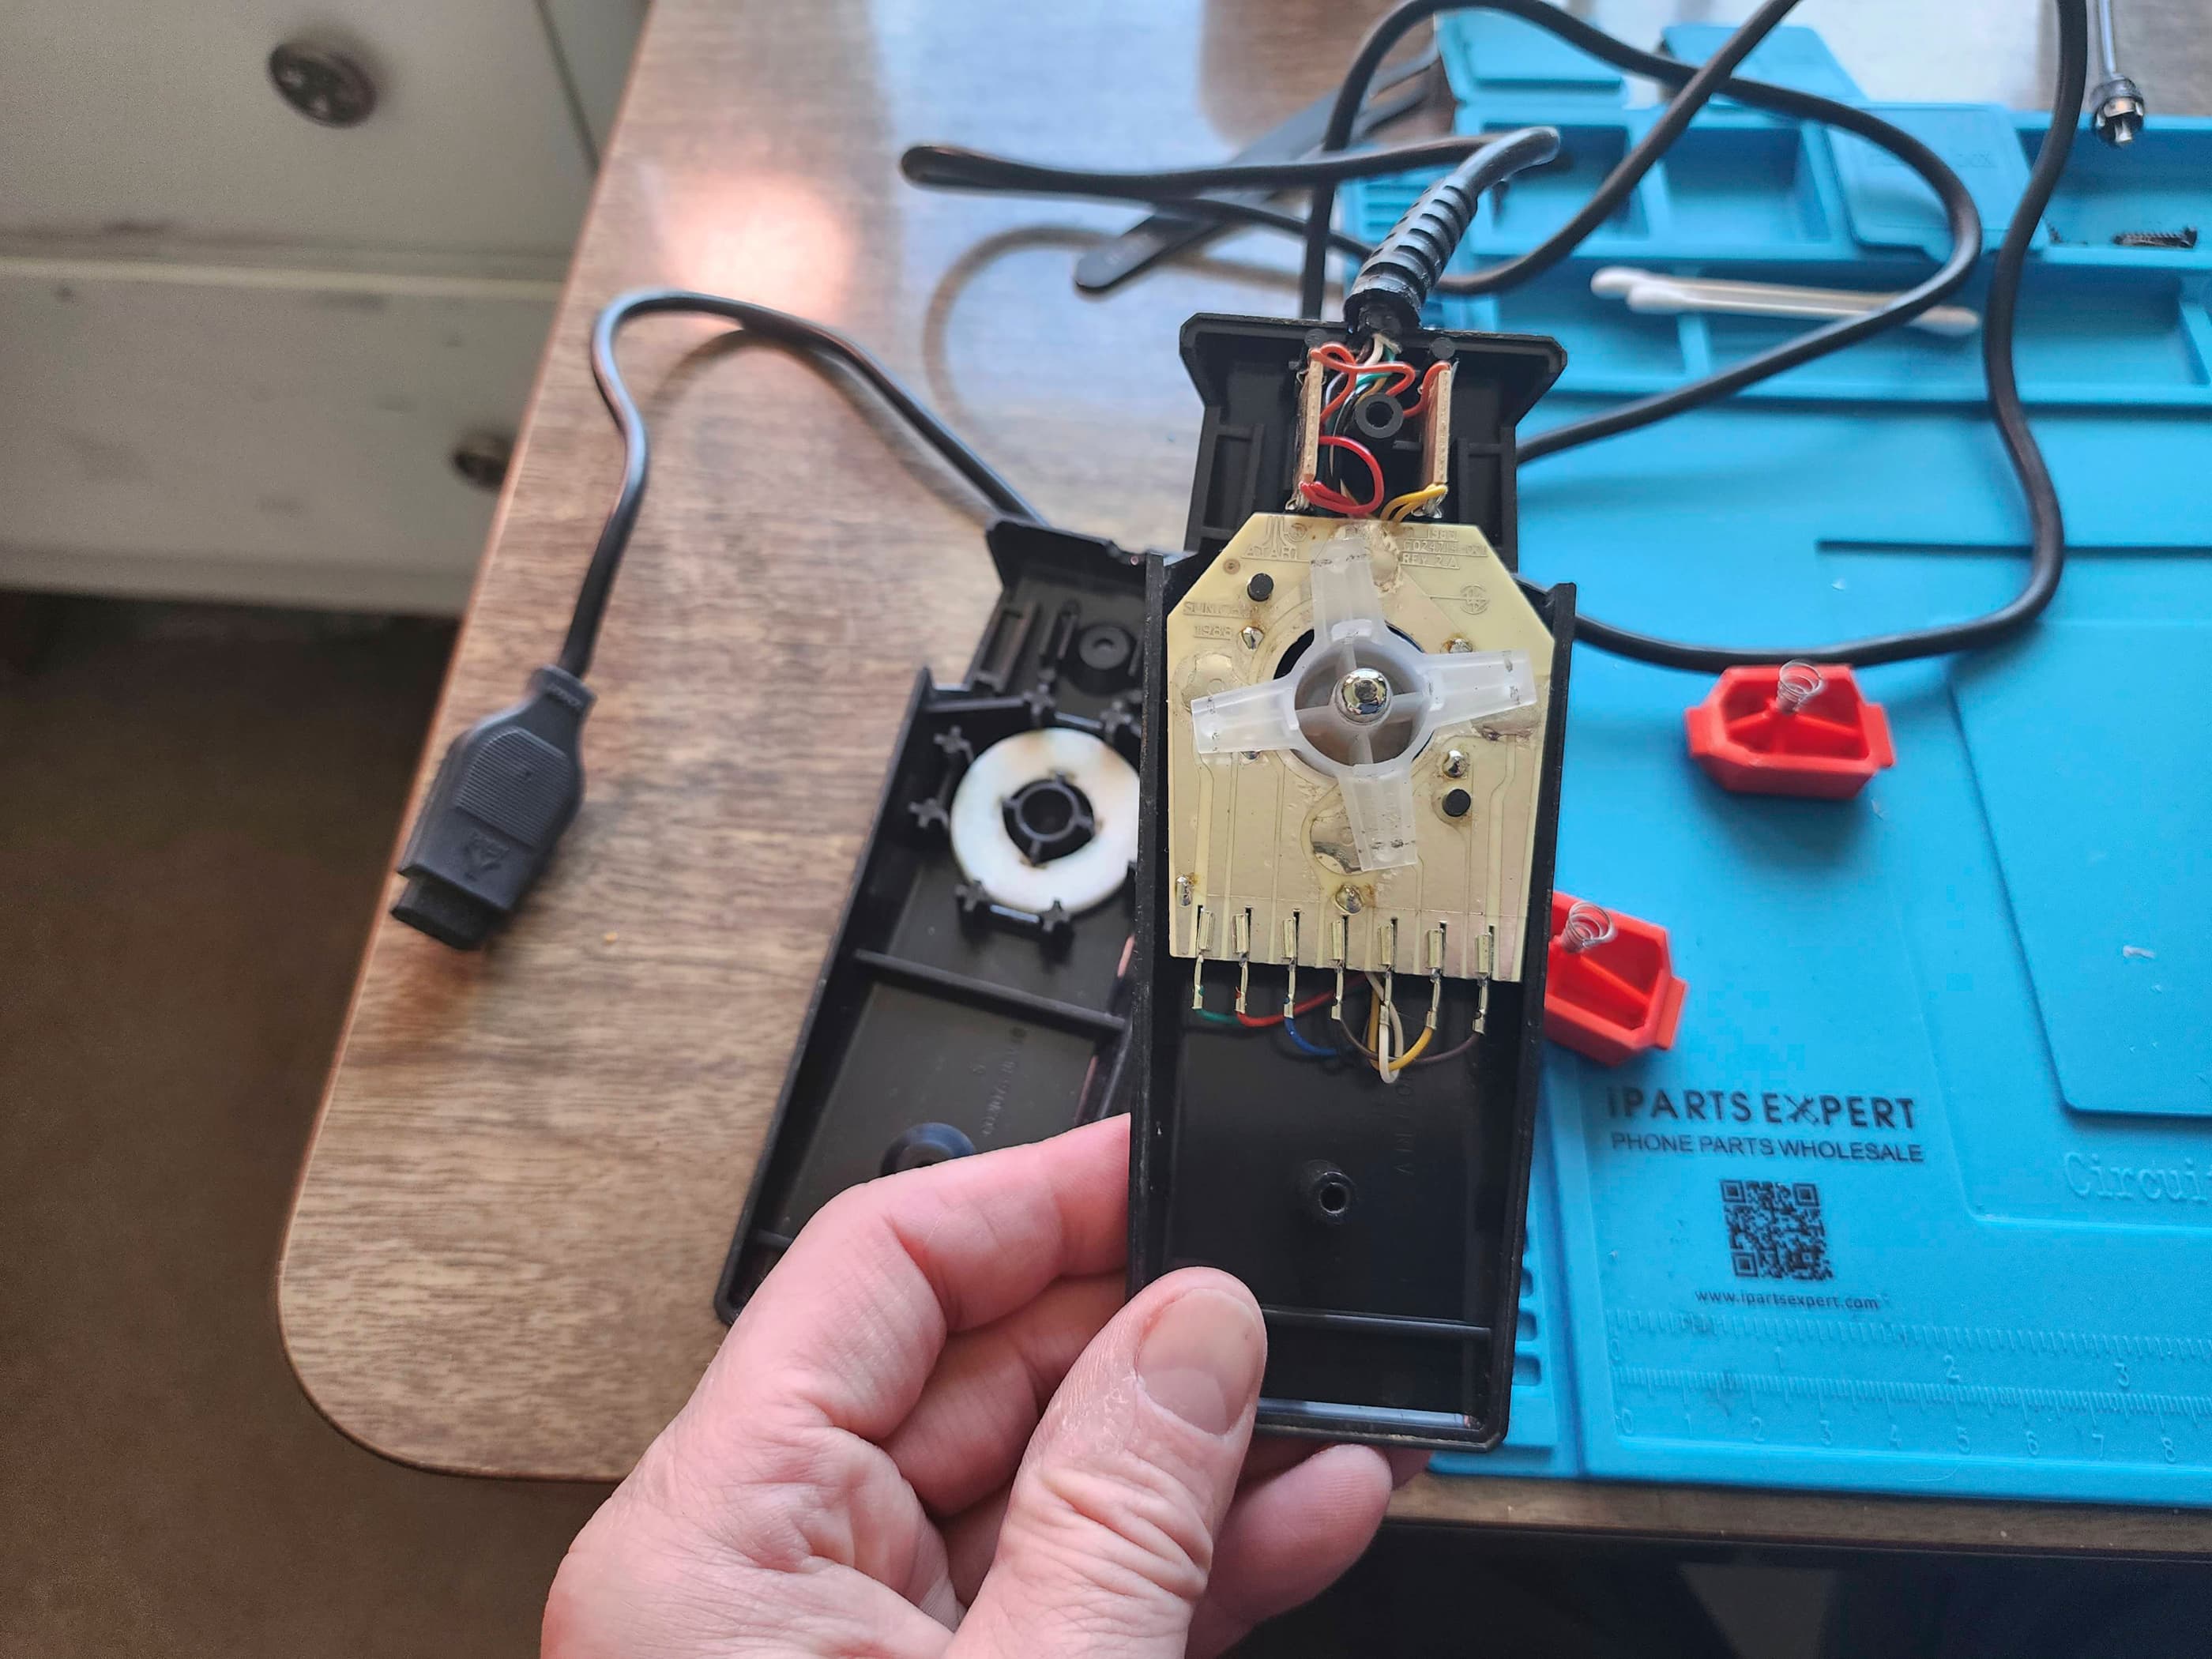
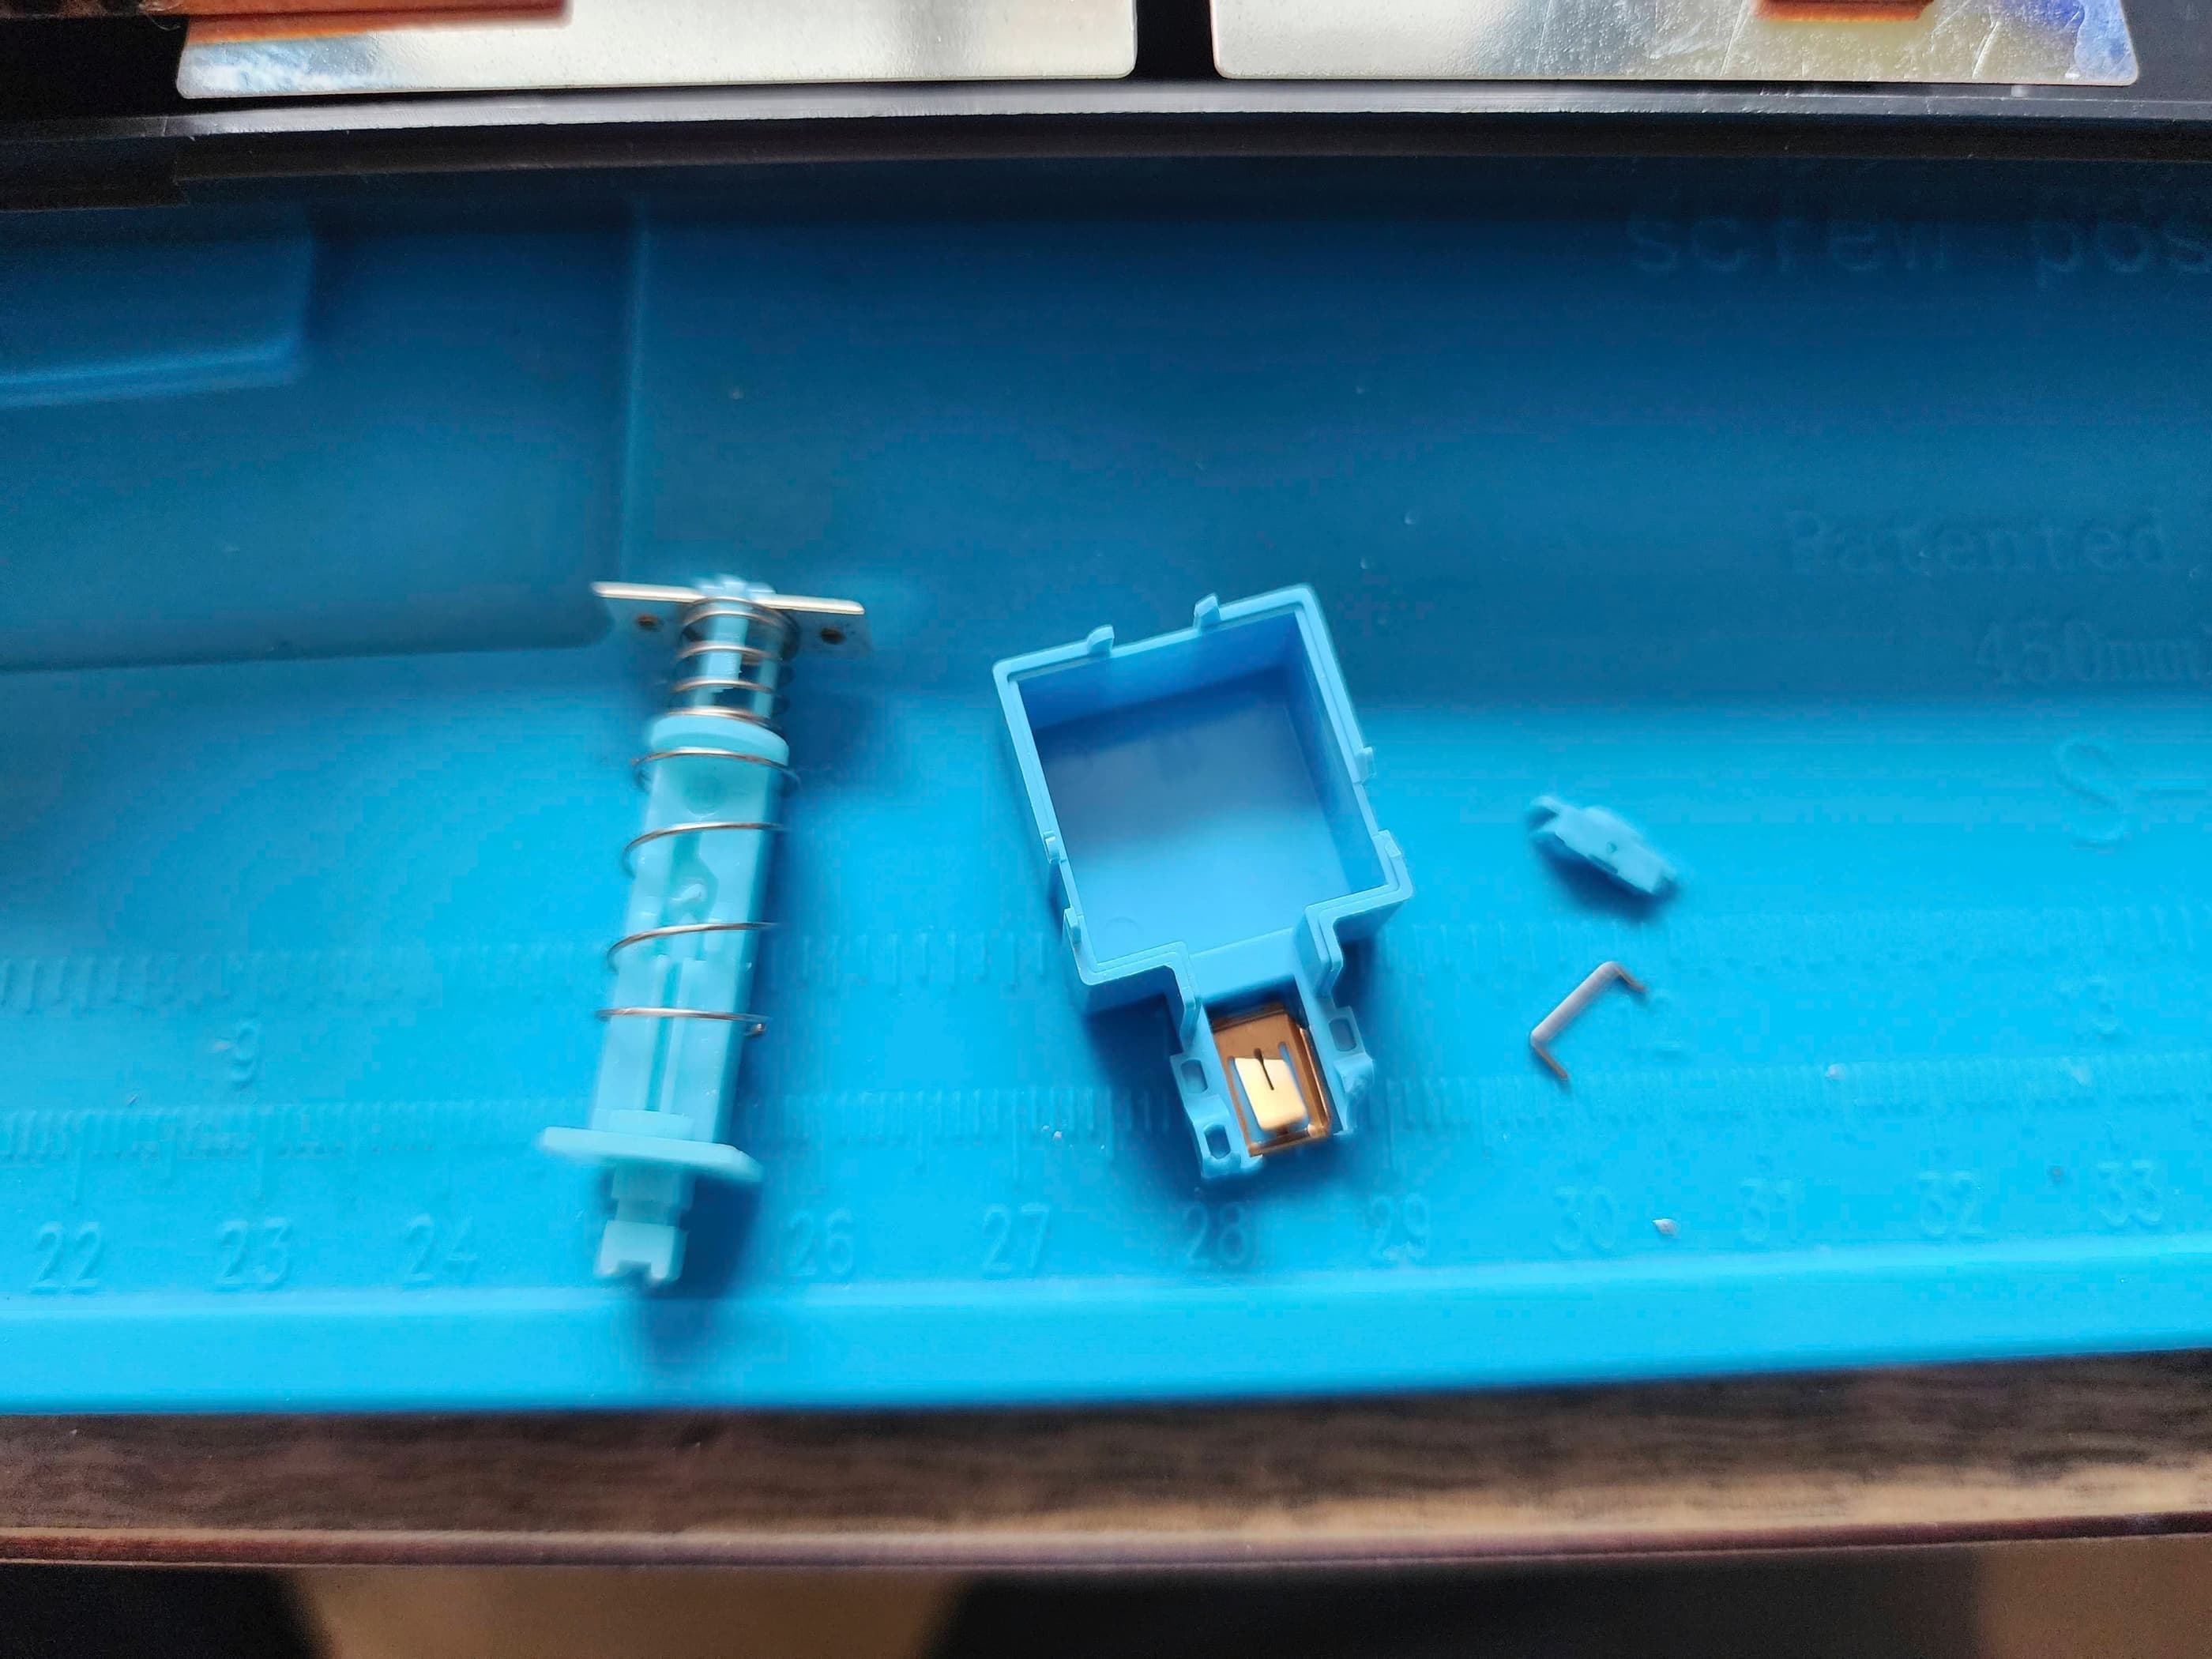
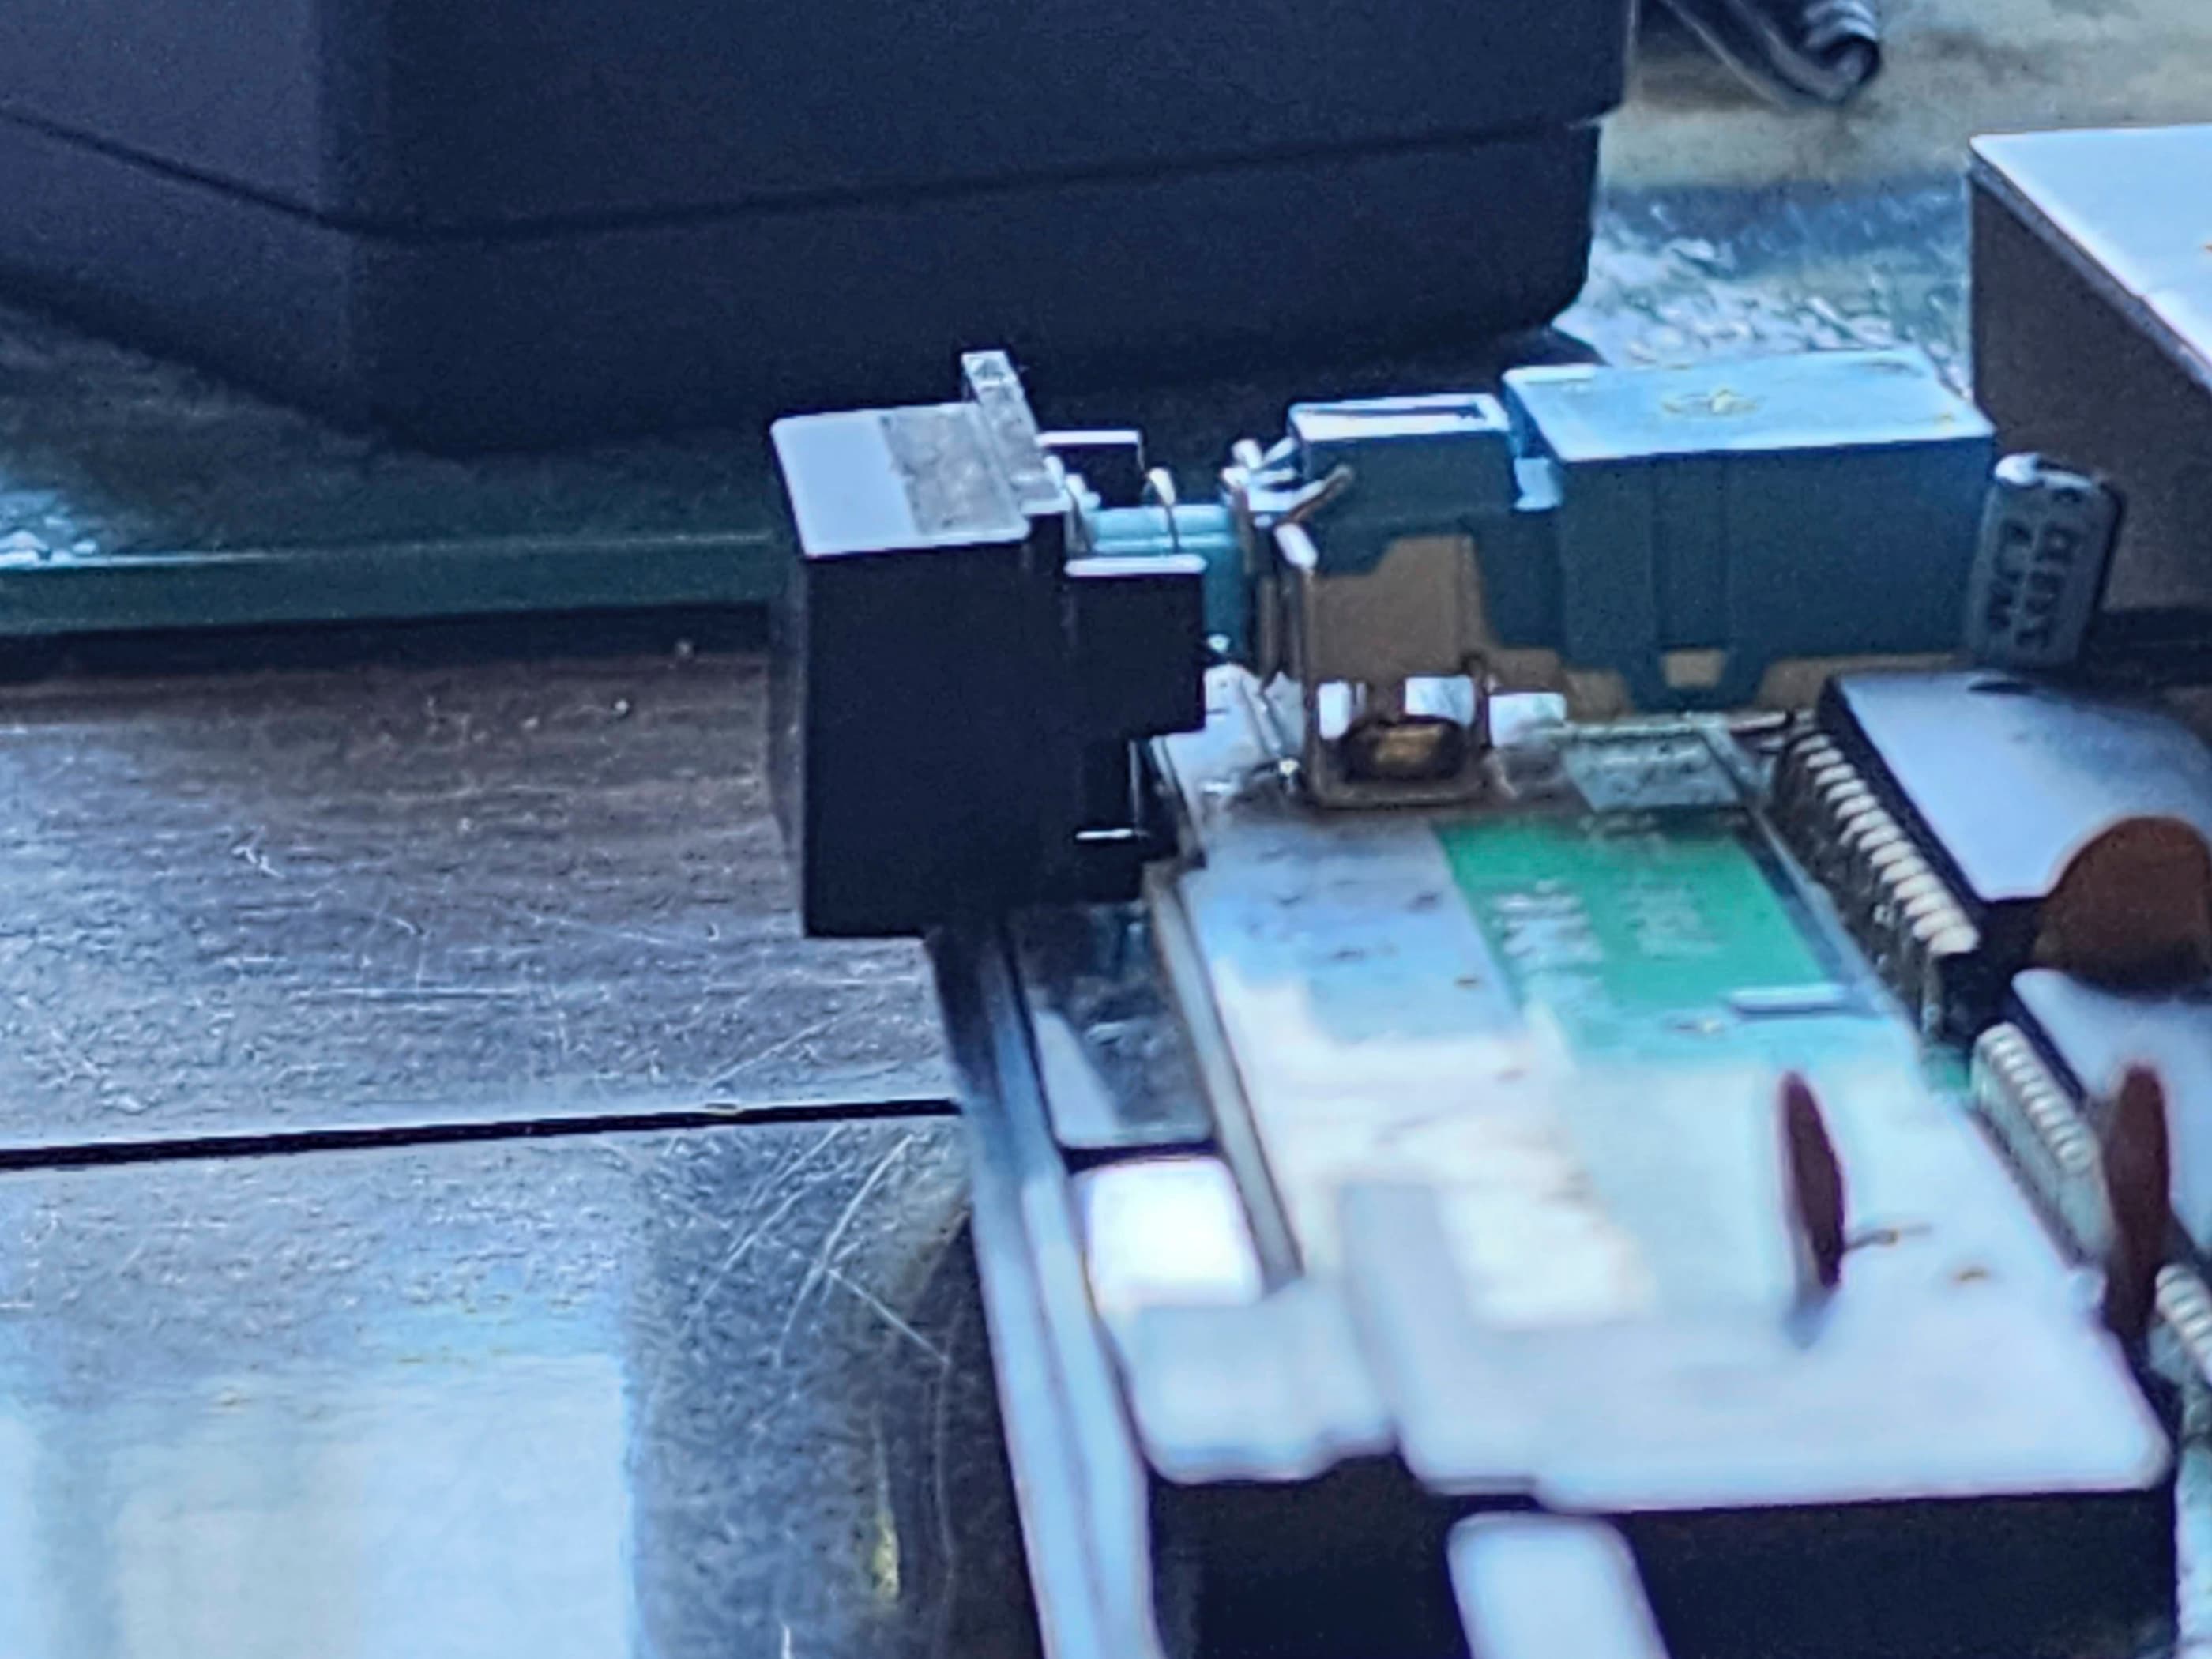
As I was putting the console back together, I heard a small crack and noticed that the plastic covering on the power switch had broken. 😢 As it was not repairable, I’d have to replace the entire part. On further inspection, I could see that the plastic had become brittle with age and the rest of it came apart in my hand. Not able to find a replacement switch from my usual sources, I found an untested console on Ebay for cheap. However, paying more than a few dollars to harvest a potentially brittle power switch was not ideal, but I did it anyway with the hope that the new system worked or could one day be fixed. When SMS #2 arrived, I harvested the switch. I then soldered the new switch onto SMS#1 gave it a quick test. It passed with flying colours. I reassembled the unit and then disassembled, cleaned, and reassembled the controllers. The unit now looks and works great – though I always cringe a little when I press the power switch. 😂
Parts & Products Used: 99% isopropyl alcohol; Chemical Guys Natural Shine; thermal paste;
Sega Master System (#2)
Years (1986-1992)
Interesting fact: Sega released its first home console, the SG-1000, in 1983 on the same day that Nintendo released its Famicom. It then released the Mark III in Japan in 1985 and rebranded it as the Master System for a North American release in 1986. Though it was a more powerful machine than the NES, poor marketing, Nintendo’s control over third-party developers, and the simple fact that the NES owned 83% of the console market, stacked the deck against the Master System. It did however, find success outside North America, most notably in Brazil. (source)
Condition When Acquired: Non-Functional (DOA)
Current Condition: Active Project / Parts System
Project Details: As noted above, I acquired this unit solely for its power switch. It didn’t come with anything except the console and outwardly, it had more than a few blemishes. I opened the case and before removing the power switch, I used the power adapter from SMS#1 to test the system. I also used a clean working cartridge. After powering it on, I was greeted with black screen displaying ‘Software Error’. I tried it again and got to the Sega logo before the screen went green then grey. I couldn’t get it to go beyond this even with a different cartridge. Unsure if this was a ram or chip issue, I at least knew that the power switch worked, so I harvested the switch and packed the unit away until I can one day get to it…
Parts & Products Used: None yet


You must be logged in to post a comment.