
Fourth Generation (1987 – 2004)

Sega Game Gear
Years (1990-1997)
Interesting fact: Codenamed Project Mercury during development, the Sega Game Gear was designed and developed to compete against Nintendo’s Game Boy by incorporating a horizontal ergonomic design and a full colour screen. (source) Based off the Sega Master System, the Game Gear was more powerful than the Game Boy, but this meant that it suffered from power battery life and could only last for 3 to 5 hours on 6 AA batteries while the Game Boy could last for up to 15 hours on 4 AAs. (source)
Condition When Acquired: Non-Functional (DOA)
Current Condition: Fully Functional

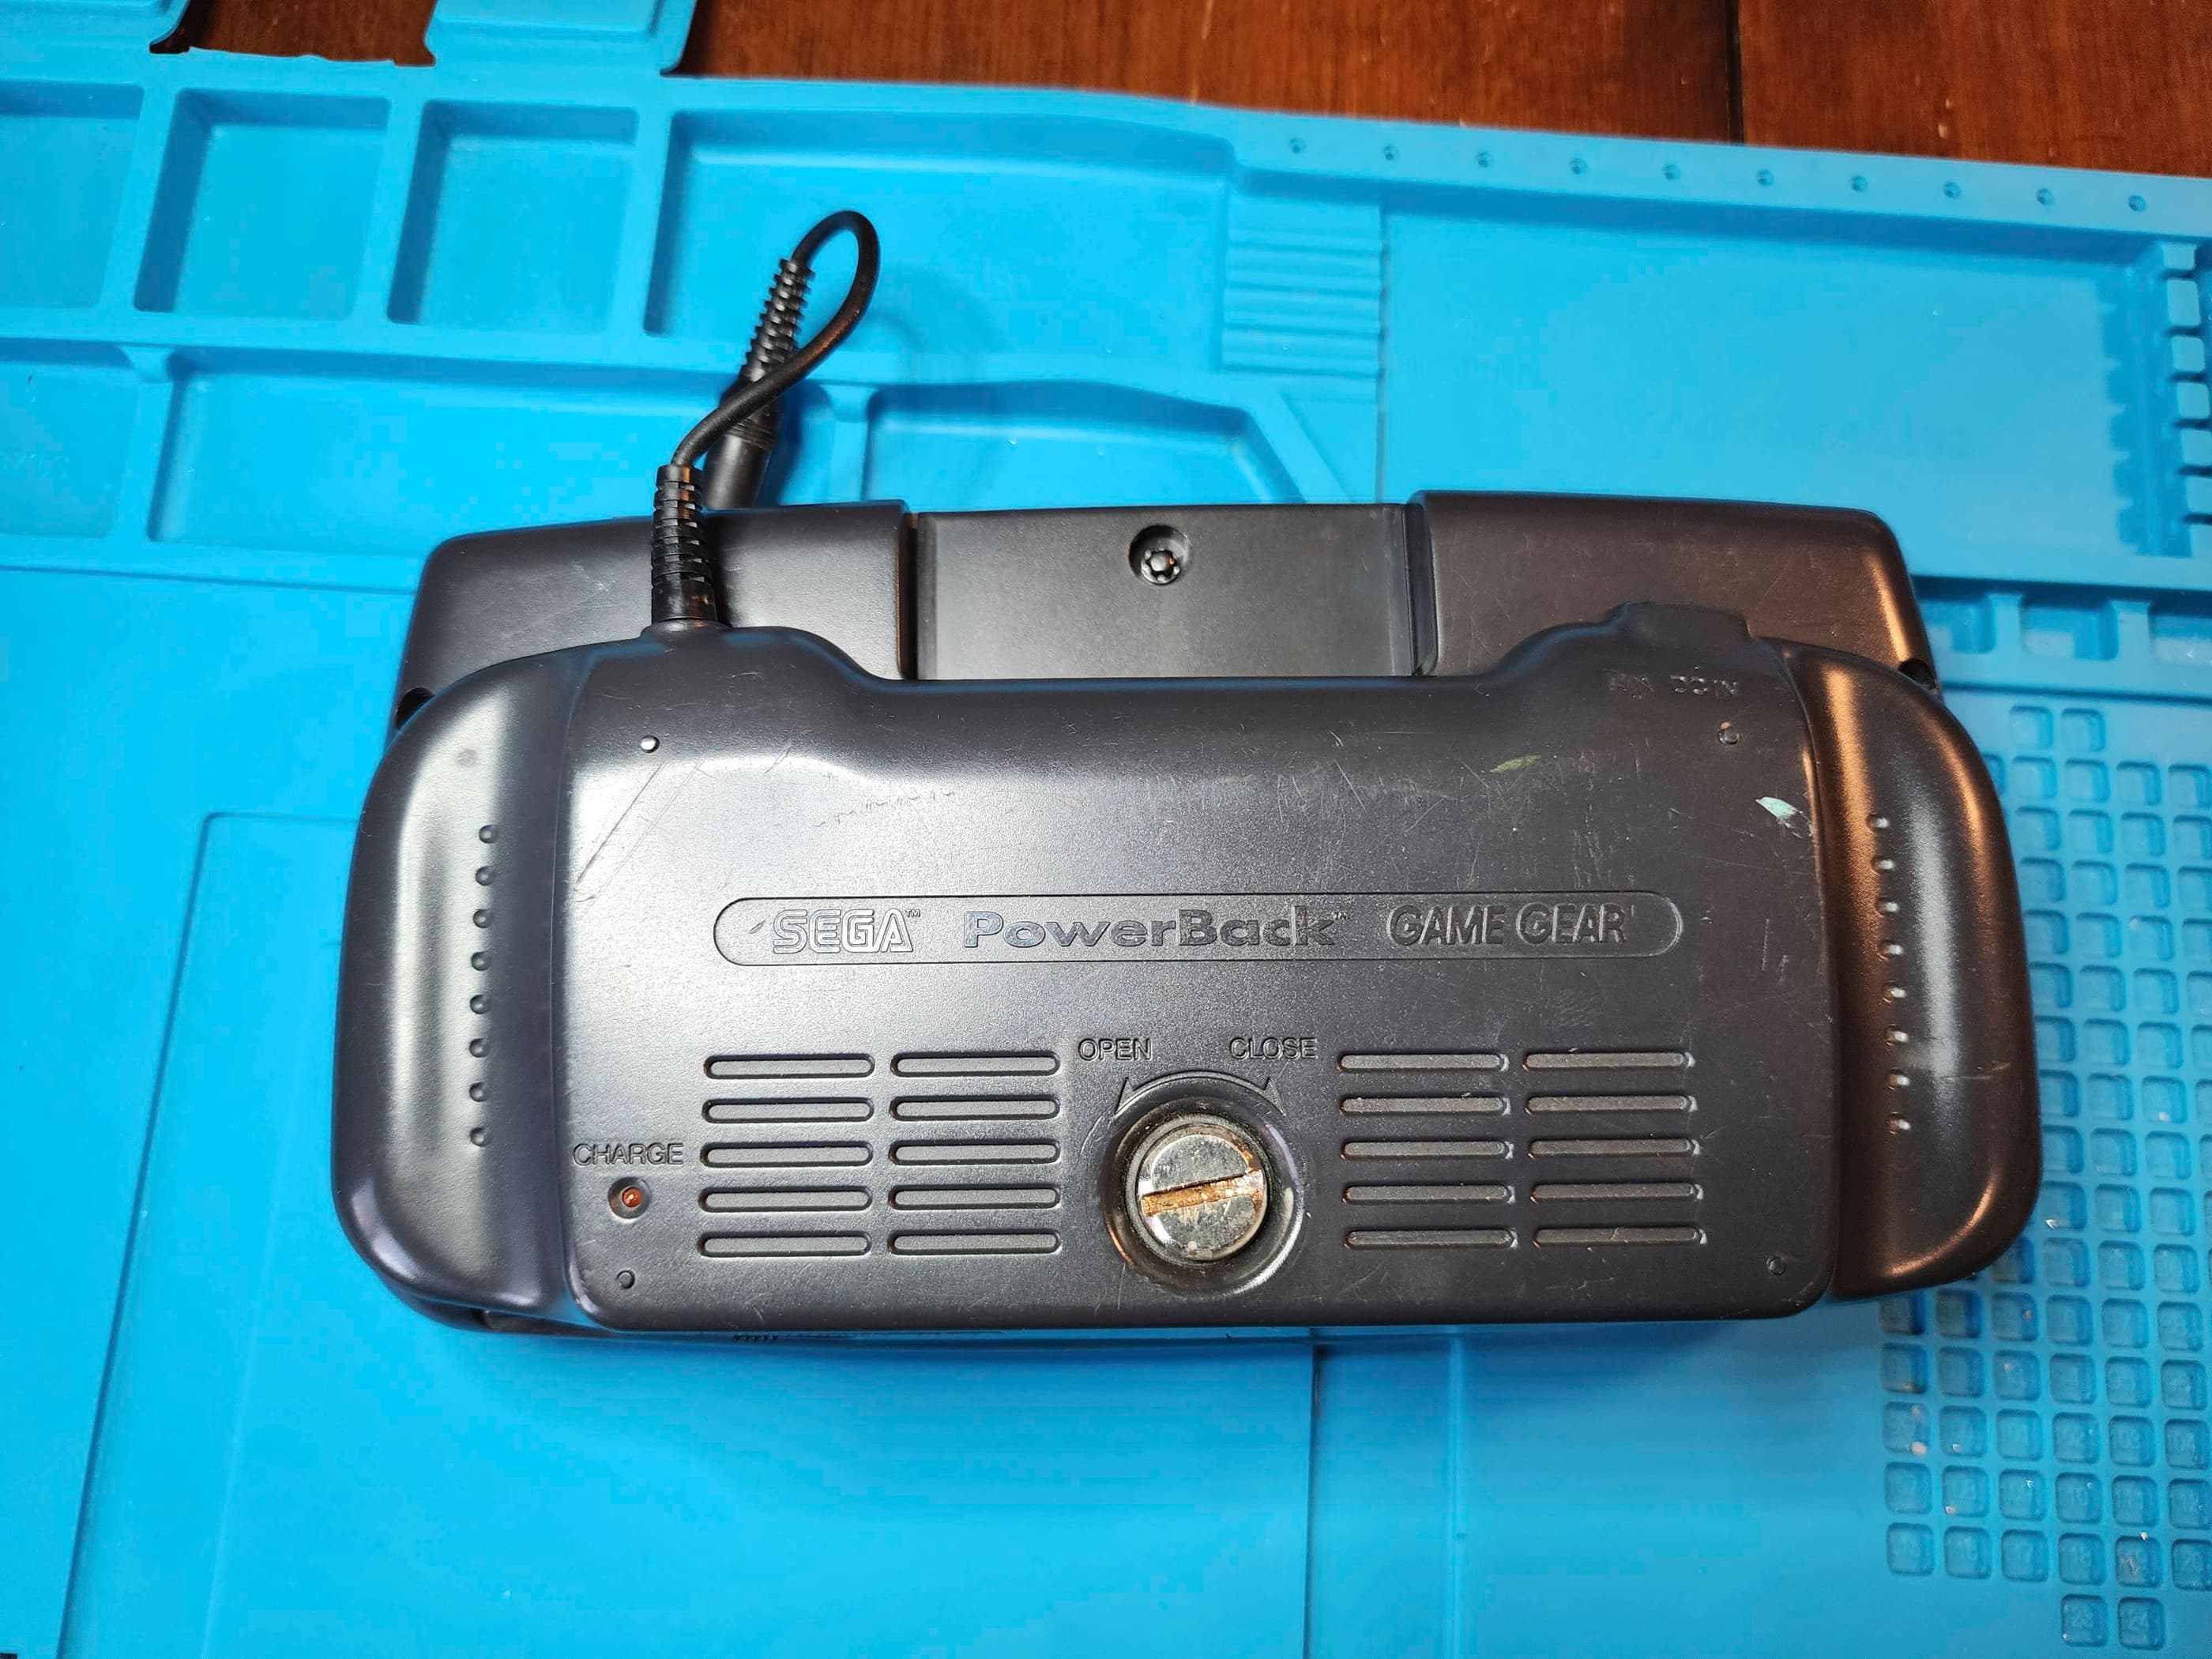


Project Details: A friend of a friend asked me to re-cap his Game Gear, but since I wasn’t familiar with this console, I figured that I’d better find a practice unit. This led me to E-Bay where I found this non-working Game Gear along with a Sega Ni-Cd Powerback, for $40 plus shipping. As it’s well-known that Sega used cheap capacitors for the GG, I was hoping that this unit could be revived with a re-cap.
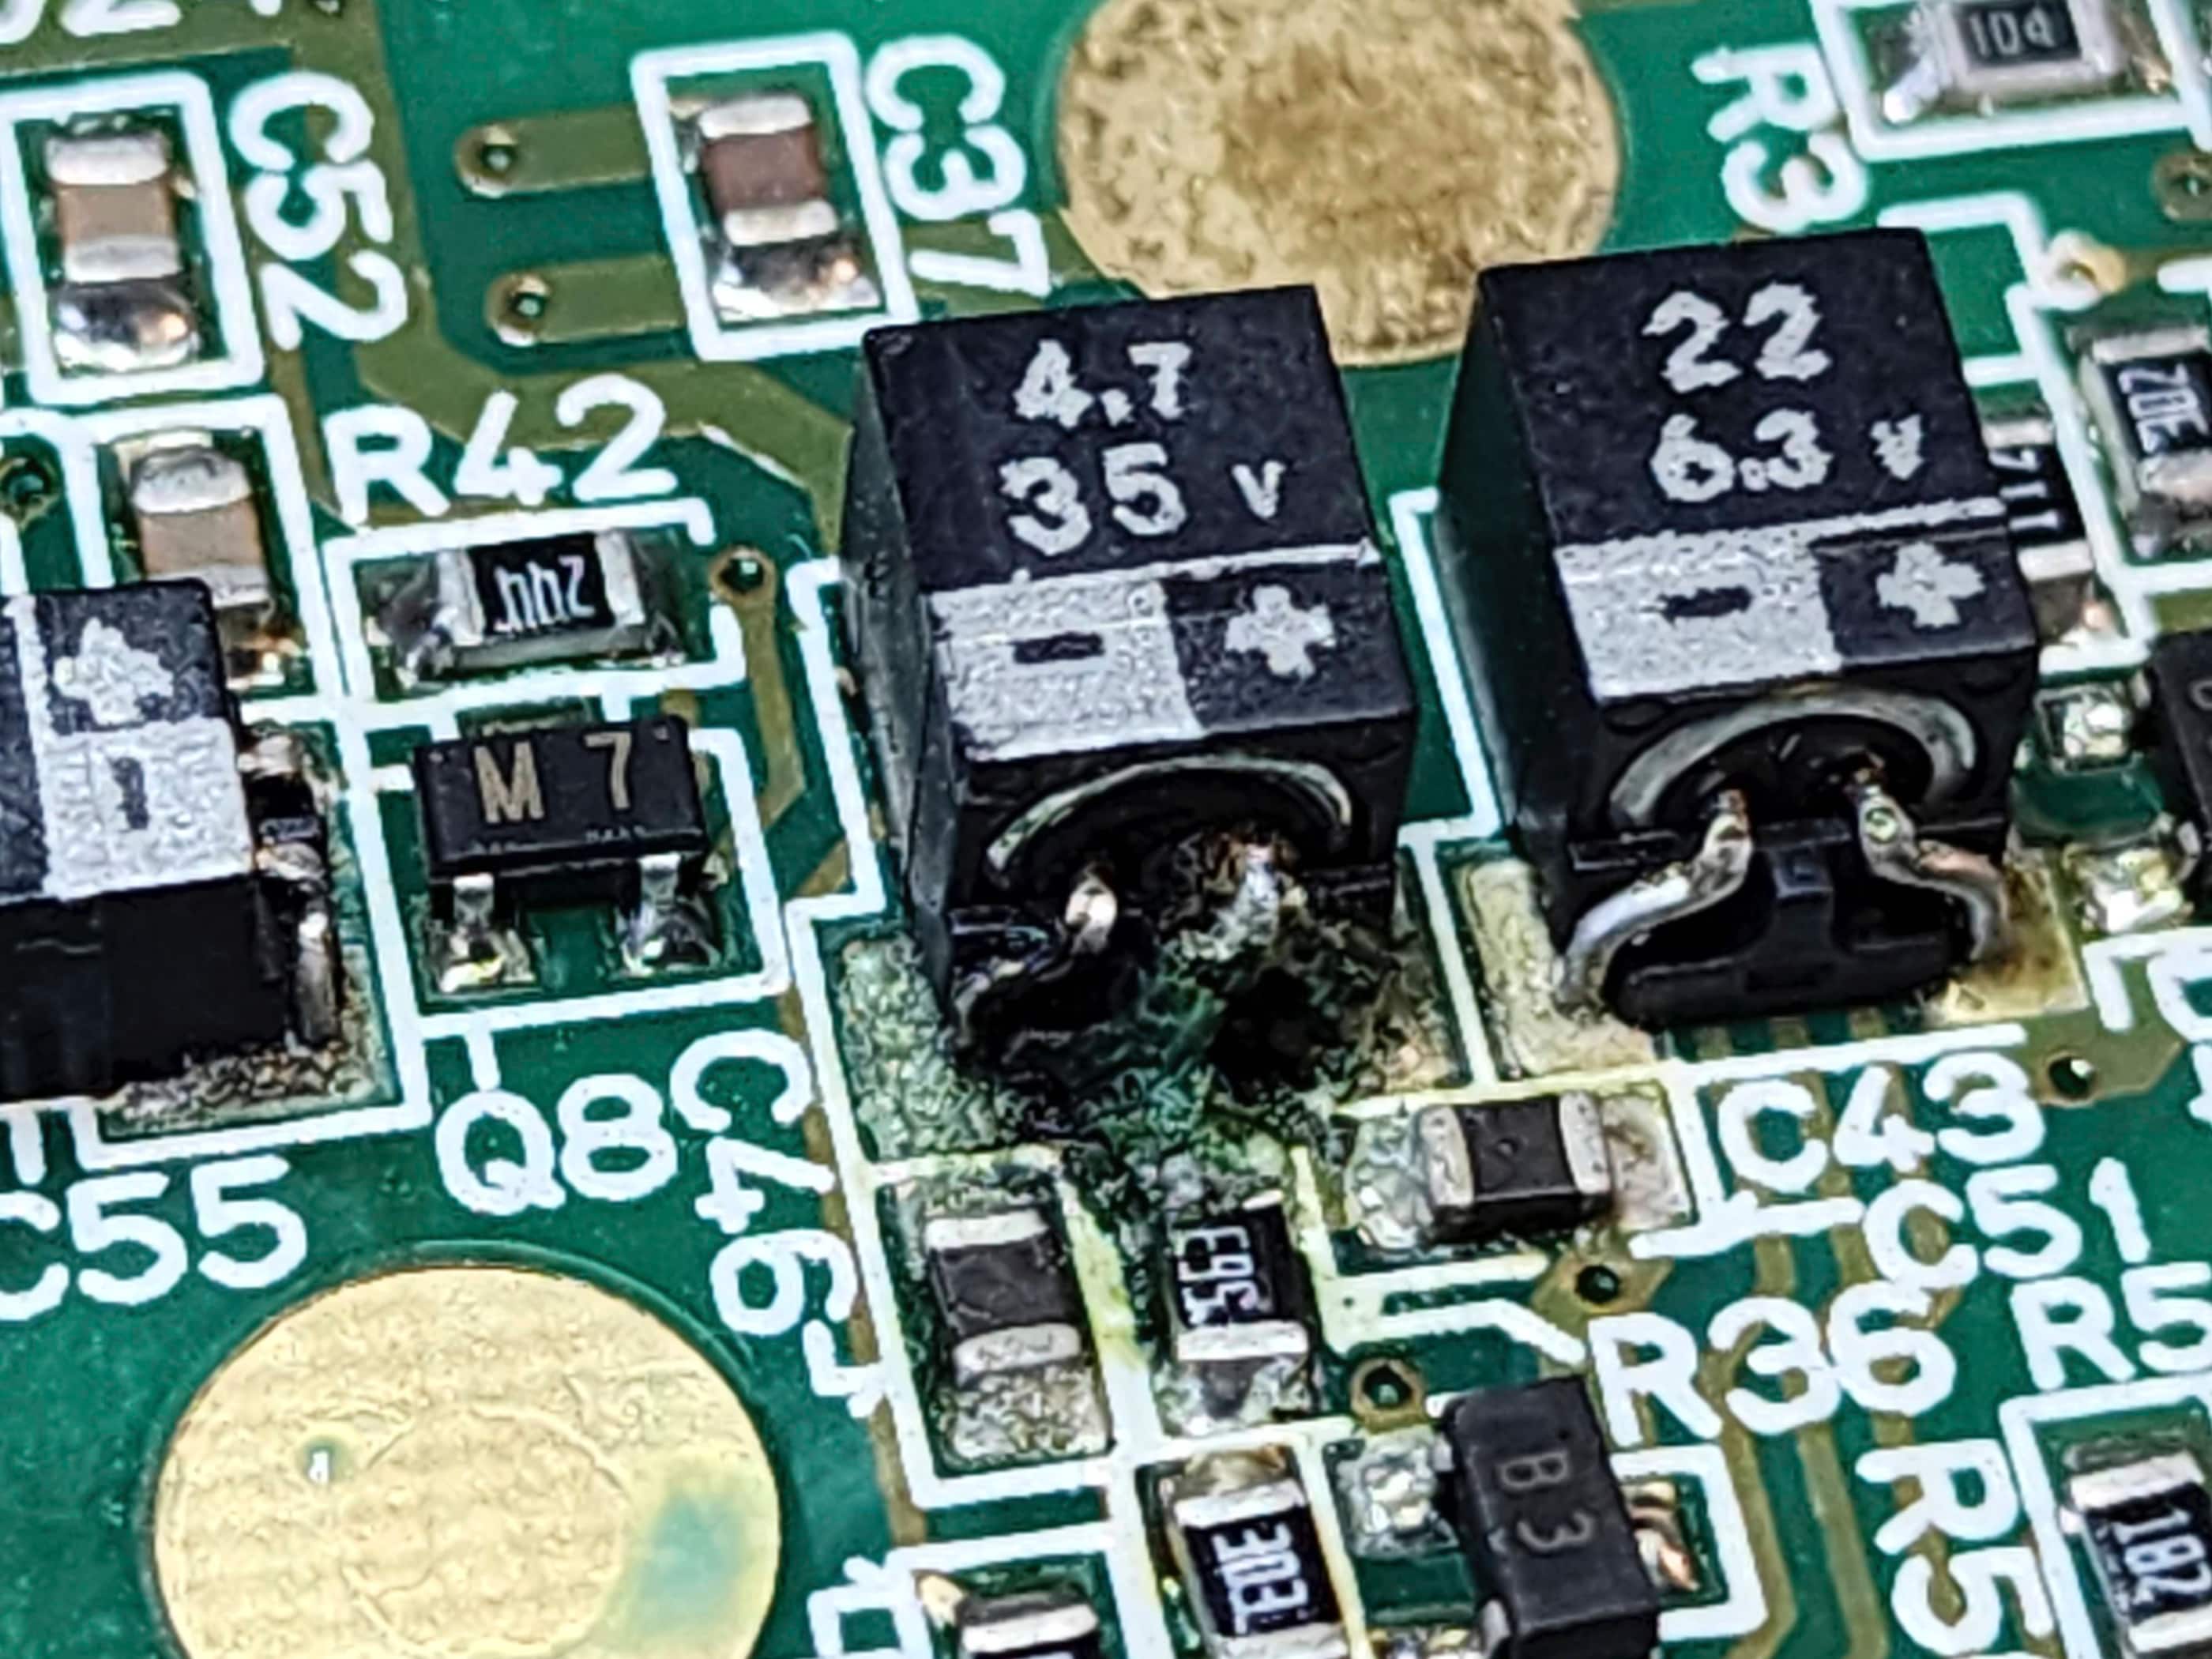
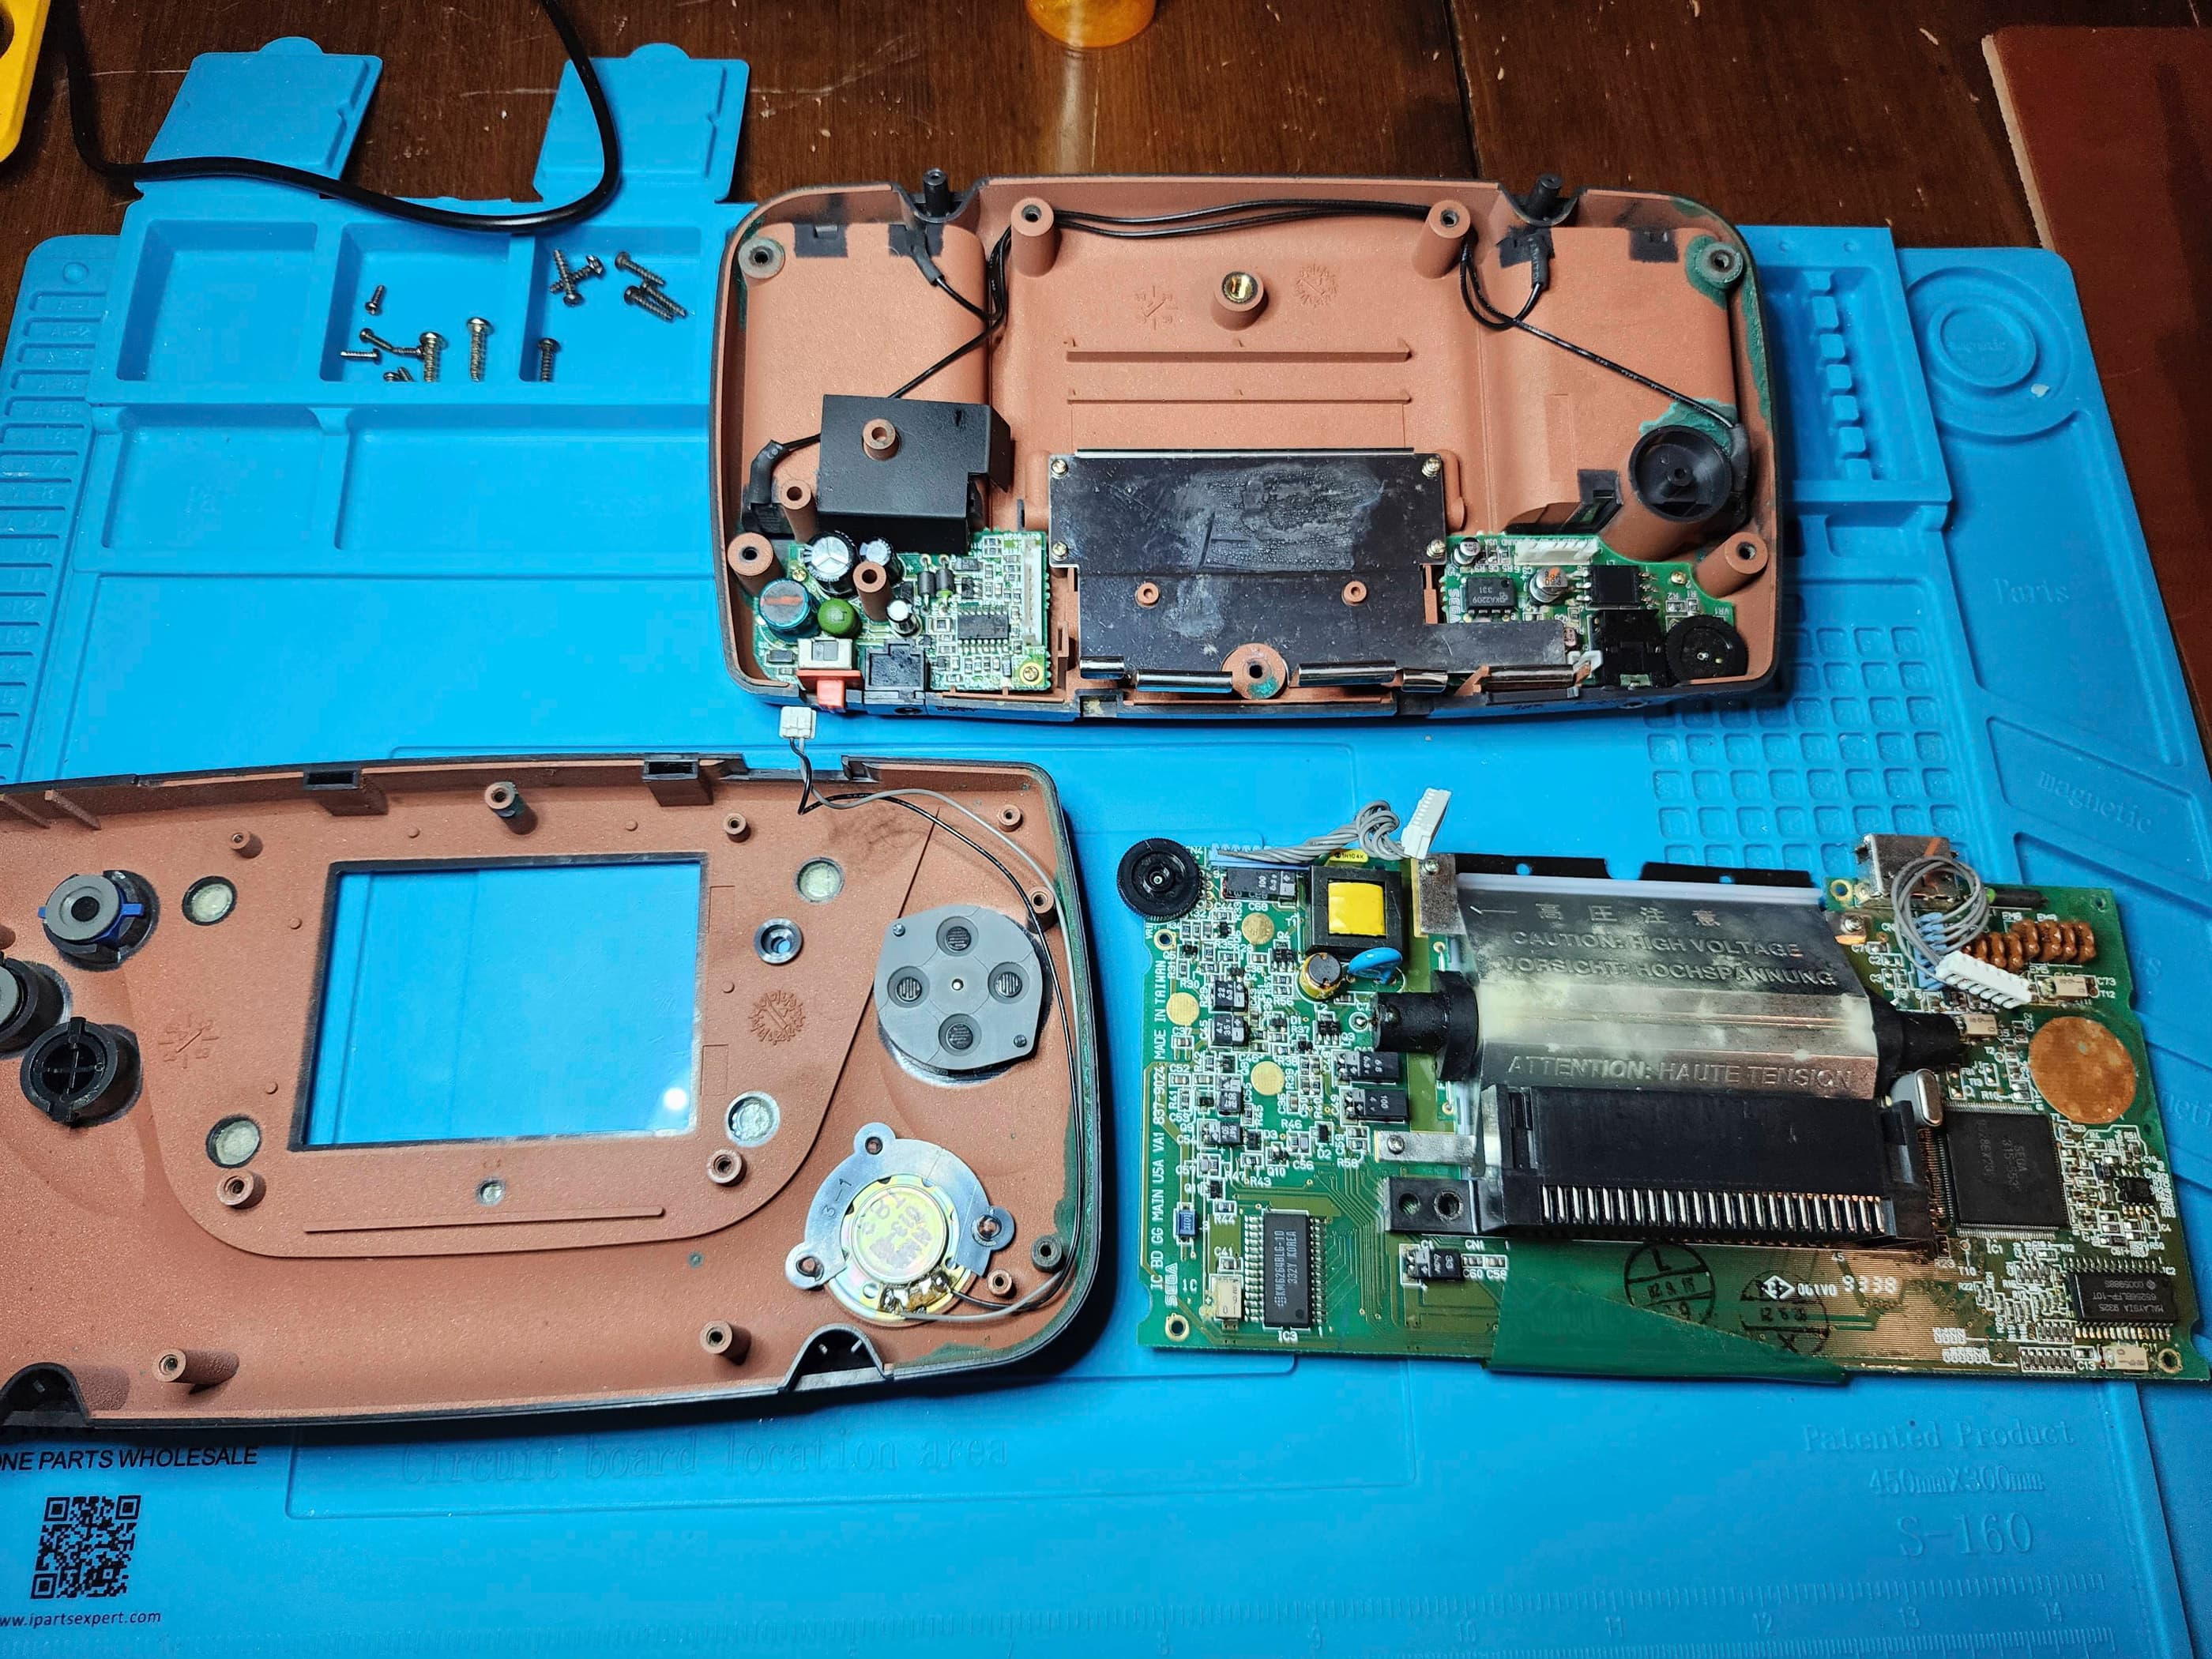
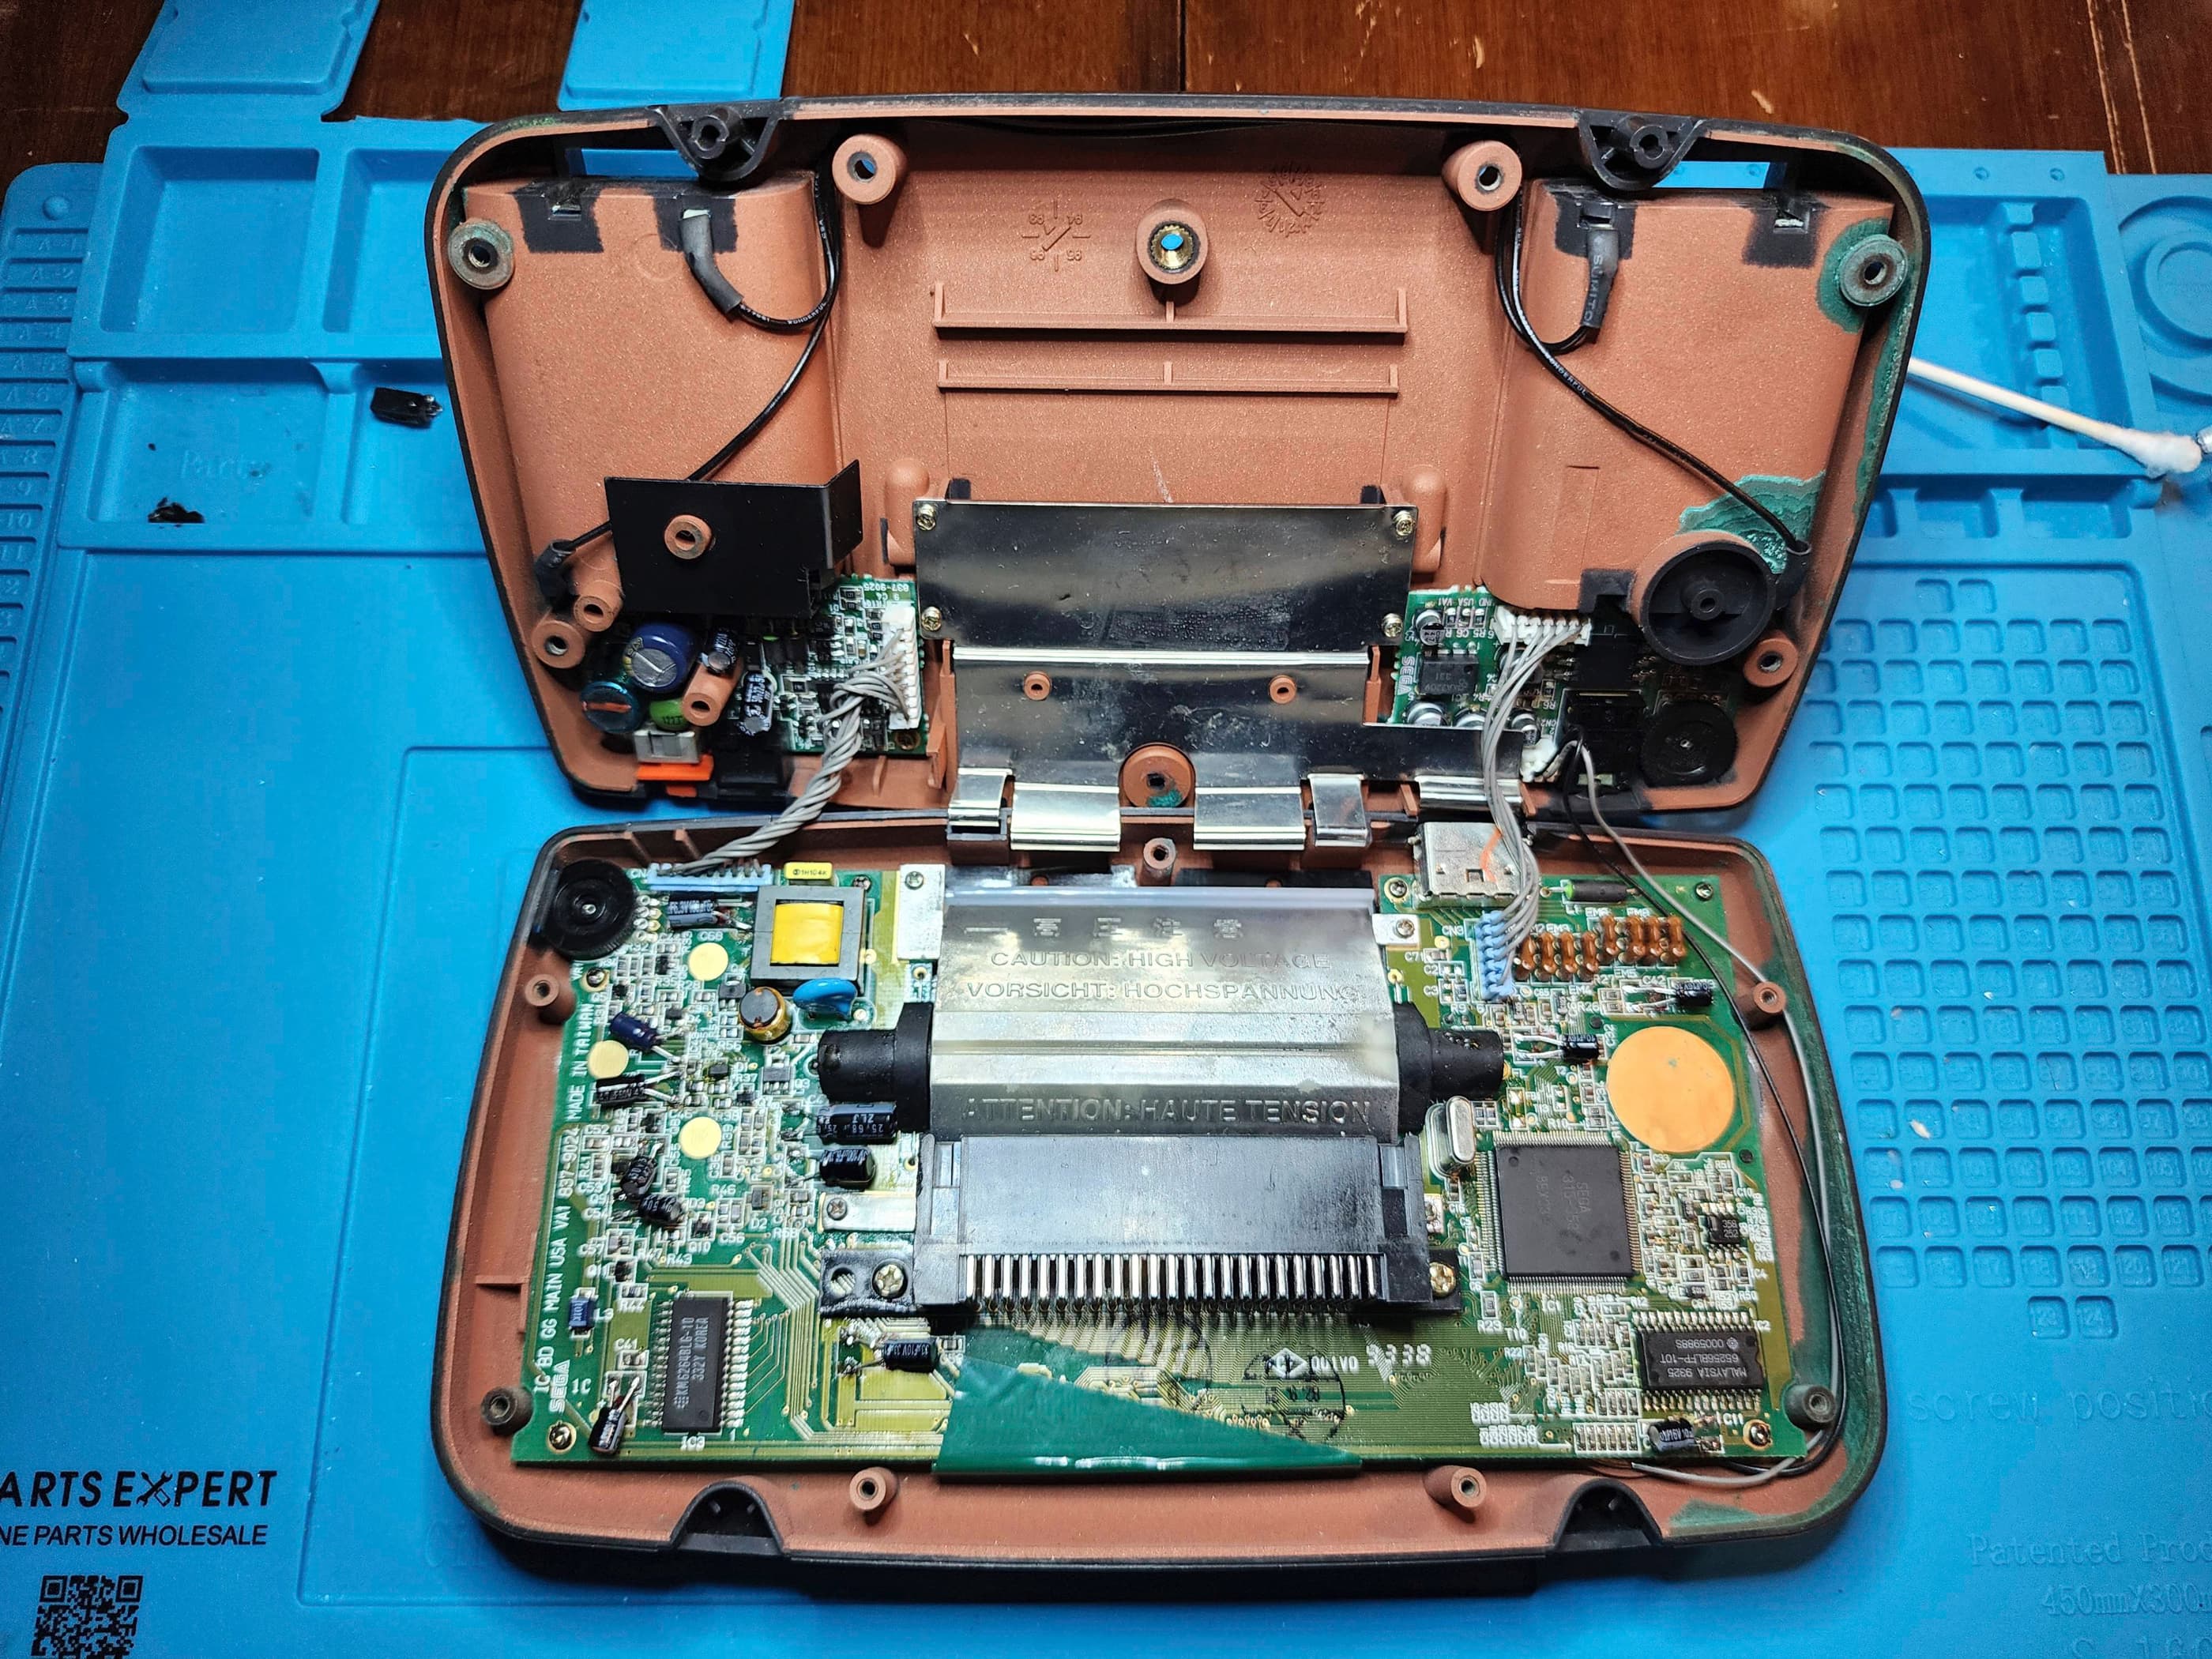
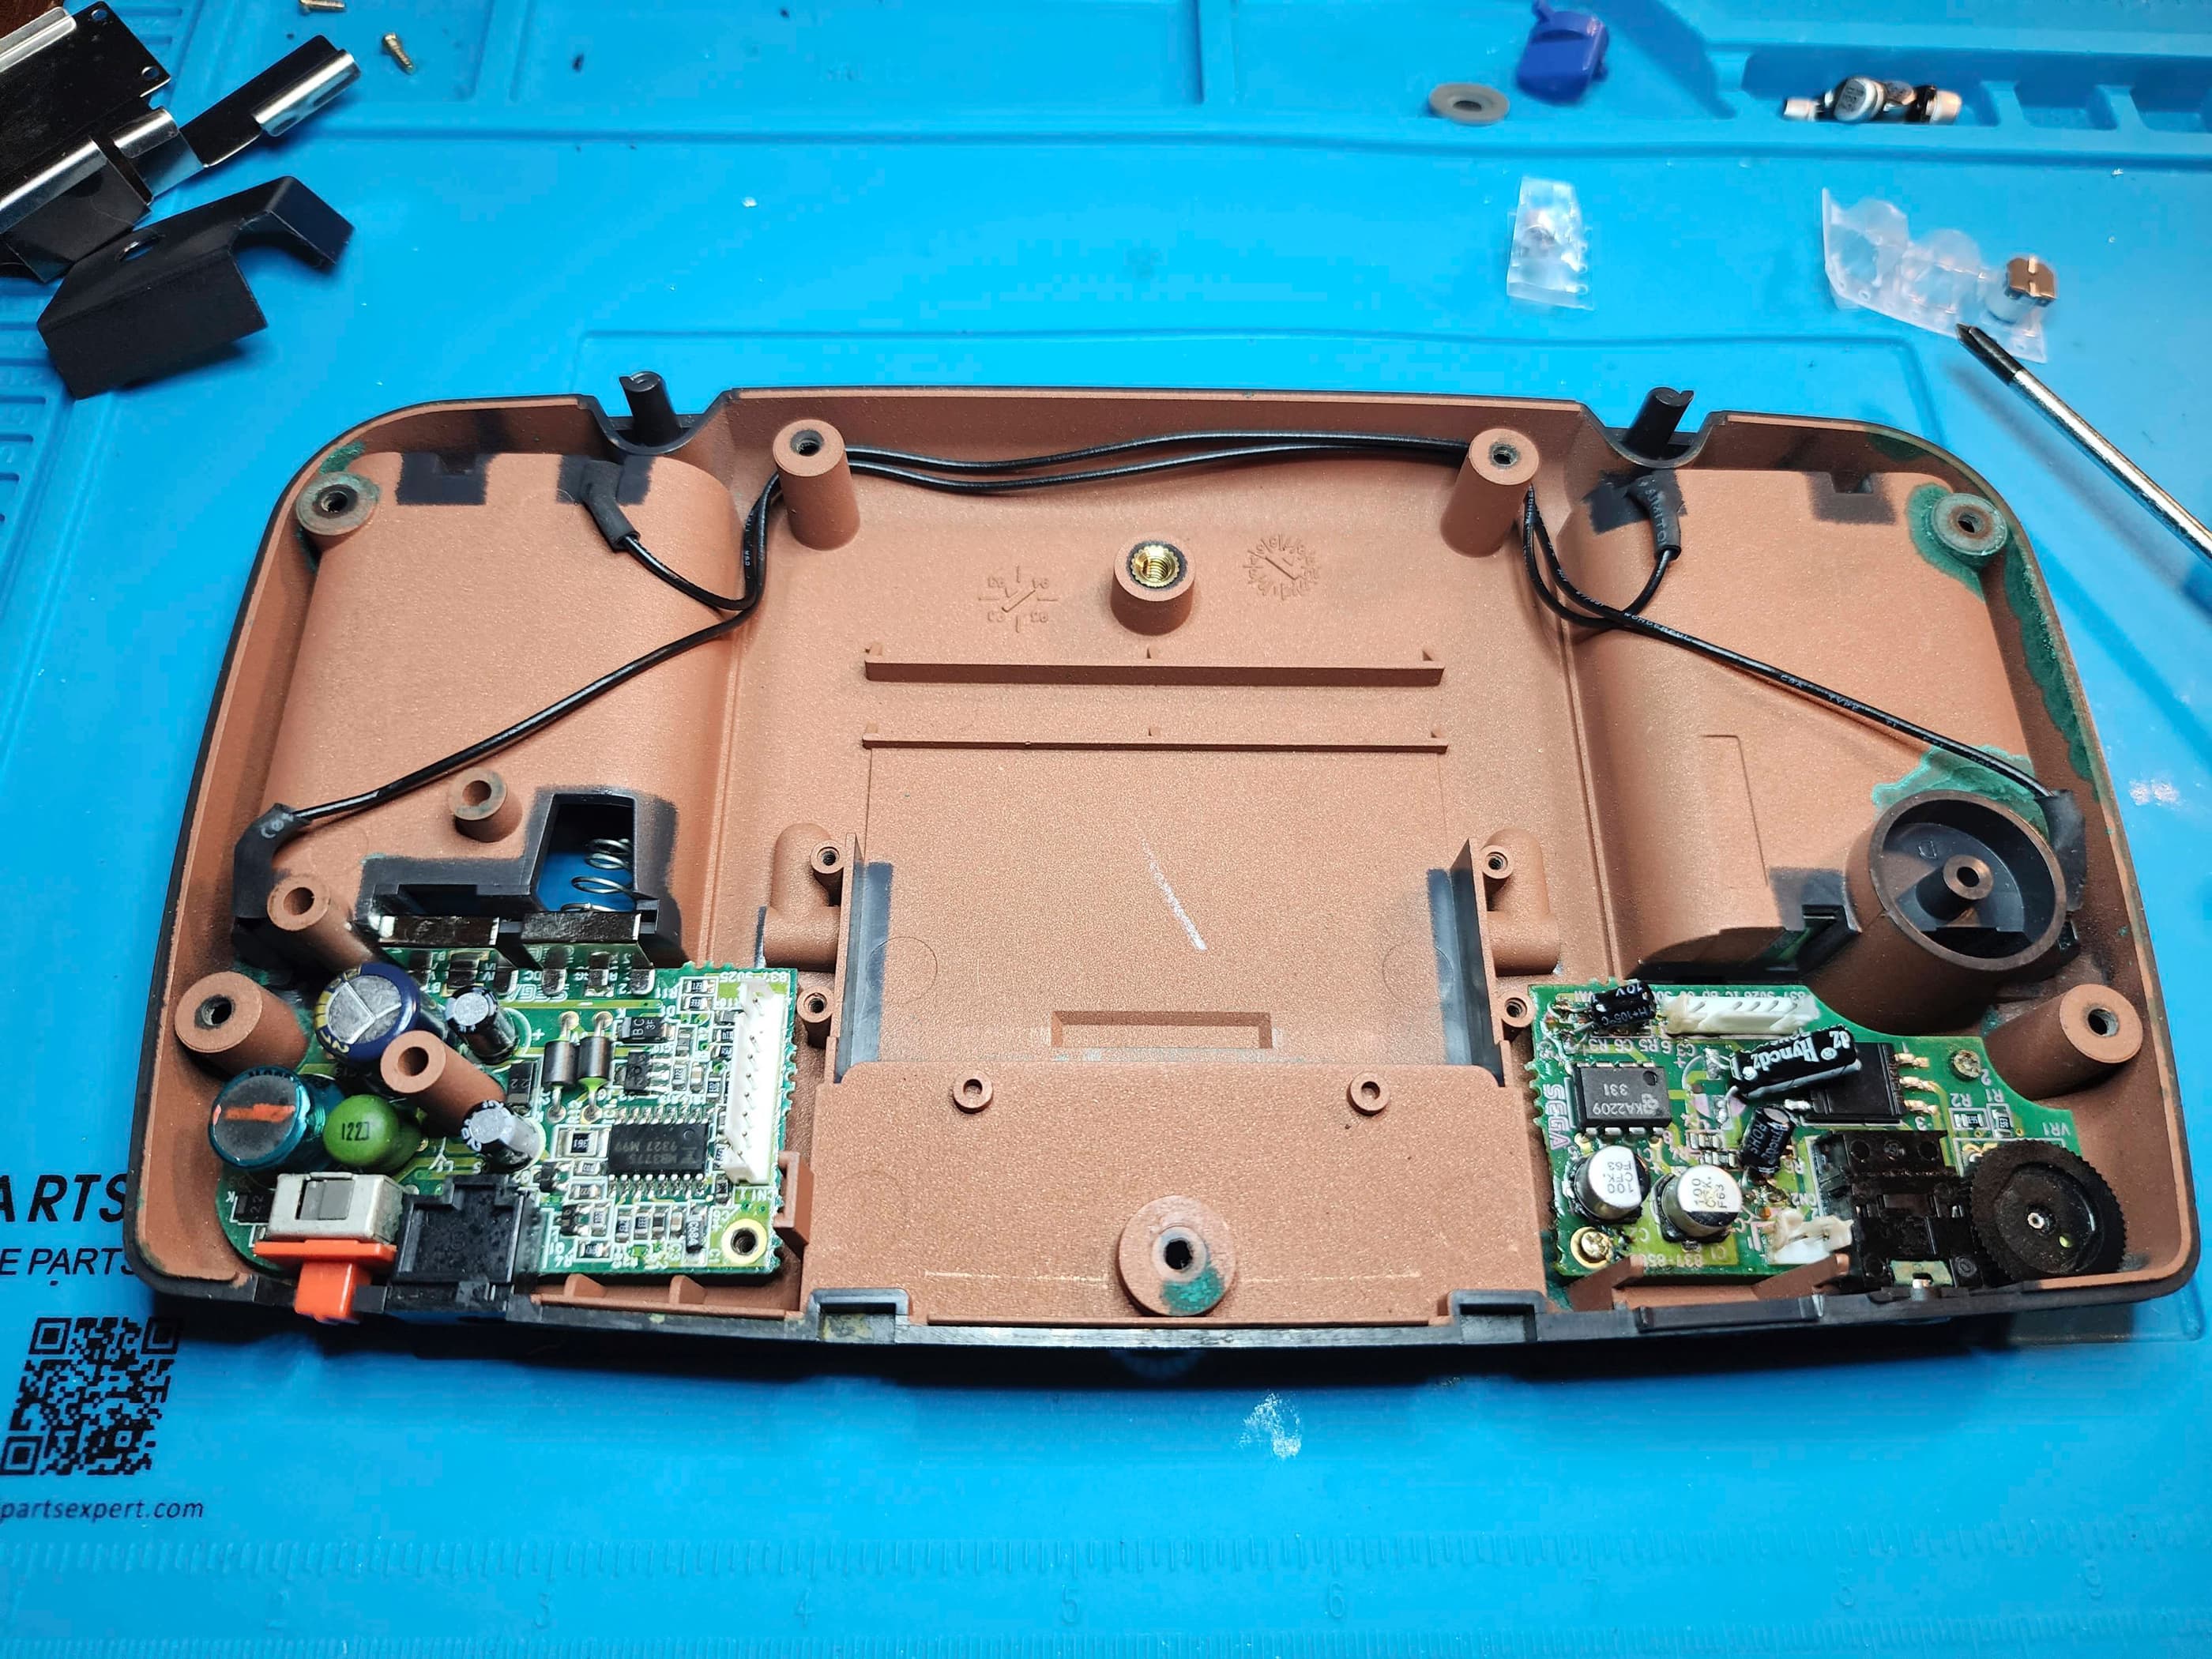
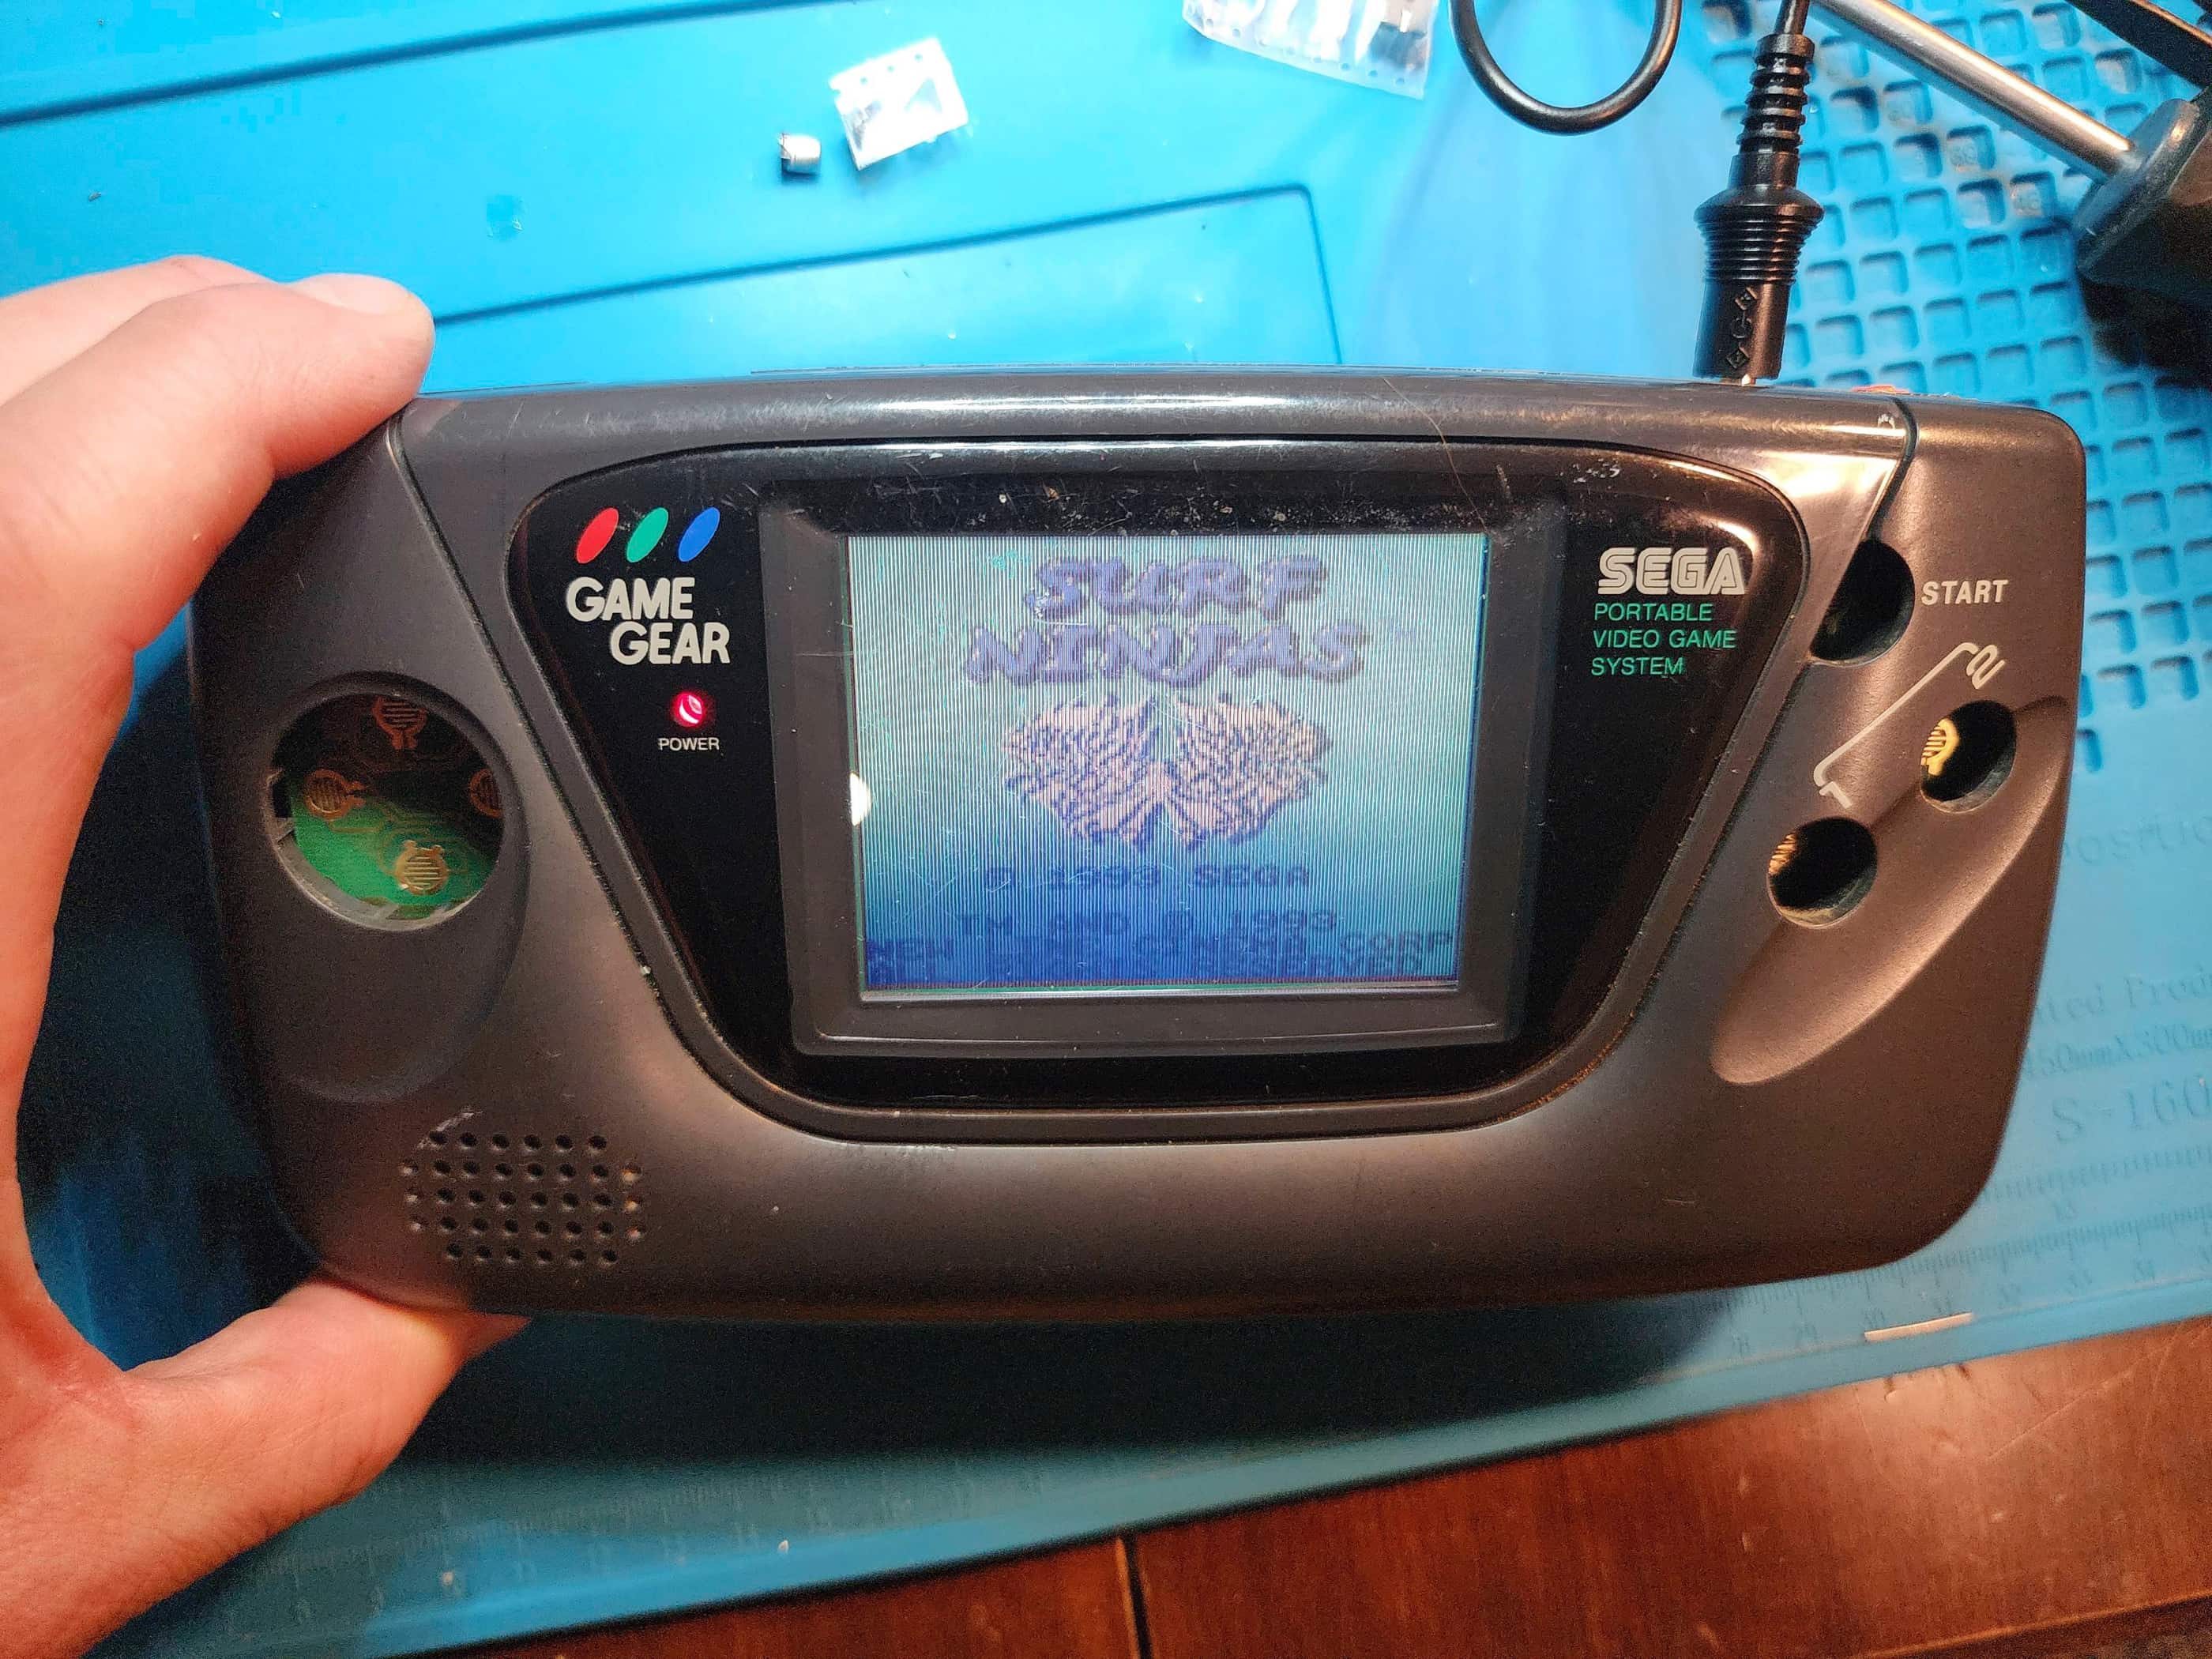
Soon after it arrived, I opened it up and immediately saw that capacitor C46 had leaked onto the board. I also noticed that the screen had a small, semi-circular blemish on the left side and hoped that this didn’t mean that it was also shot. On top of all this, there was a large green stain on the inside of the casing, presumably a faulty battery or two that had, at some point in the past, leaked into the unit. I then noted that the board was version VA1 and then ordered a couple re-cap kits from Console5.
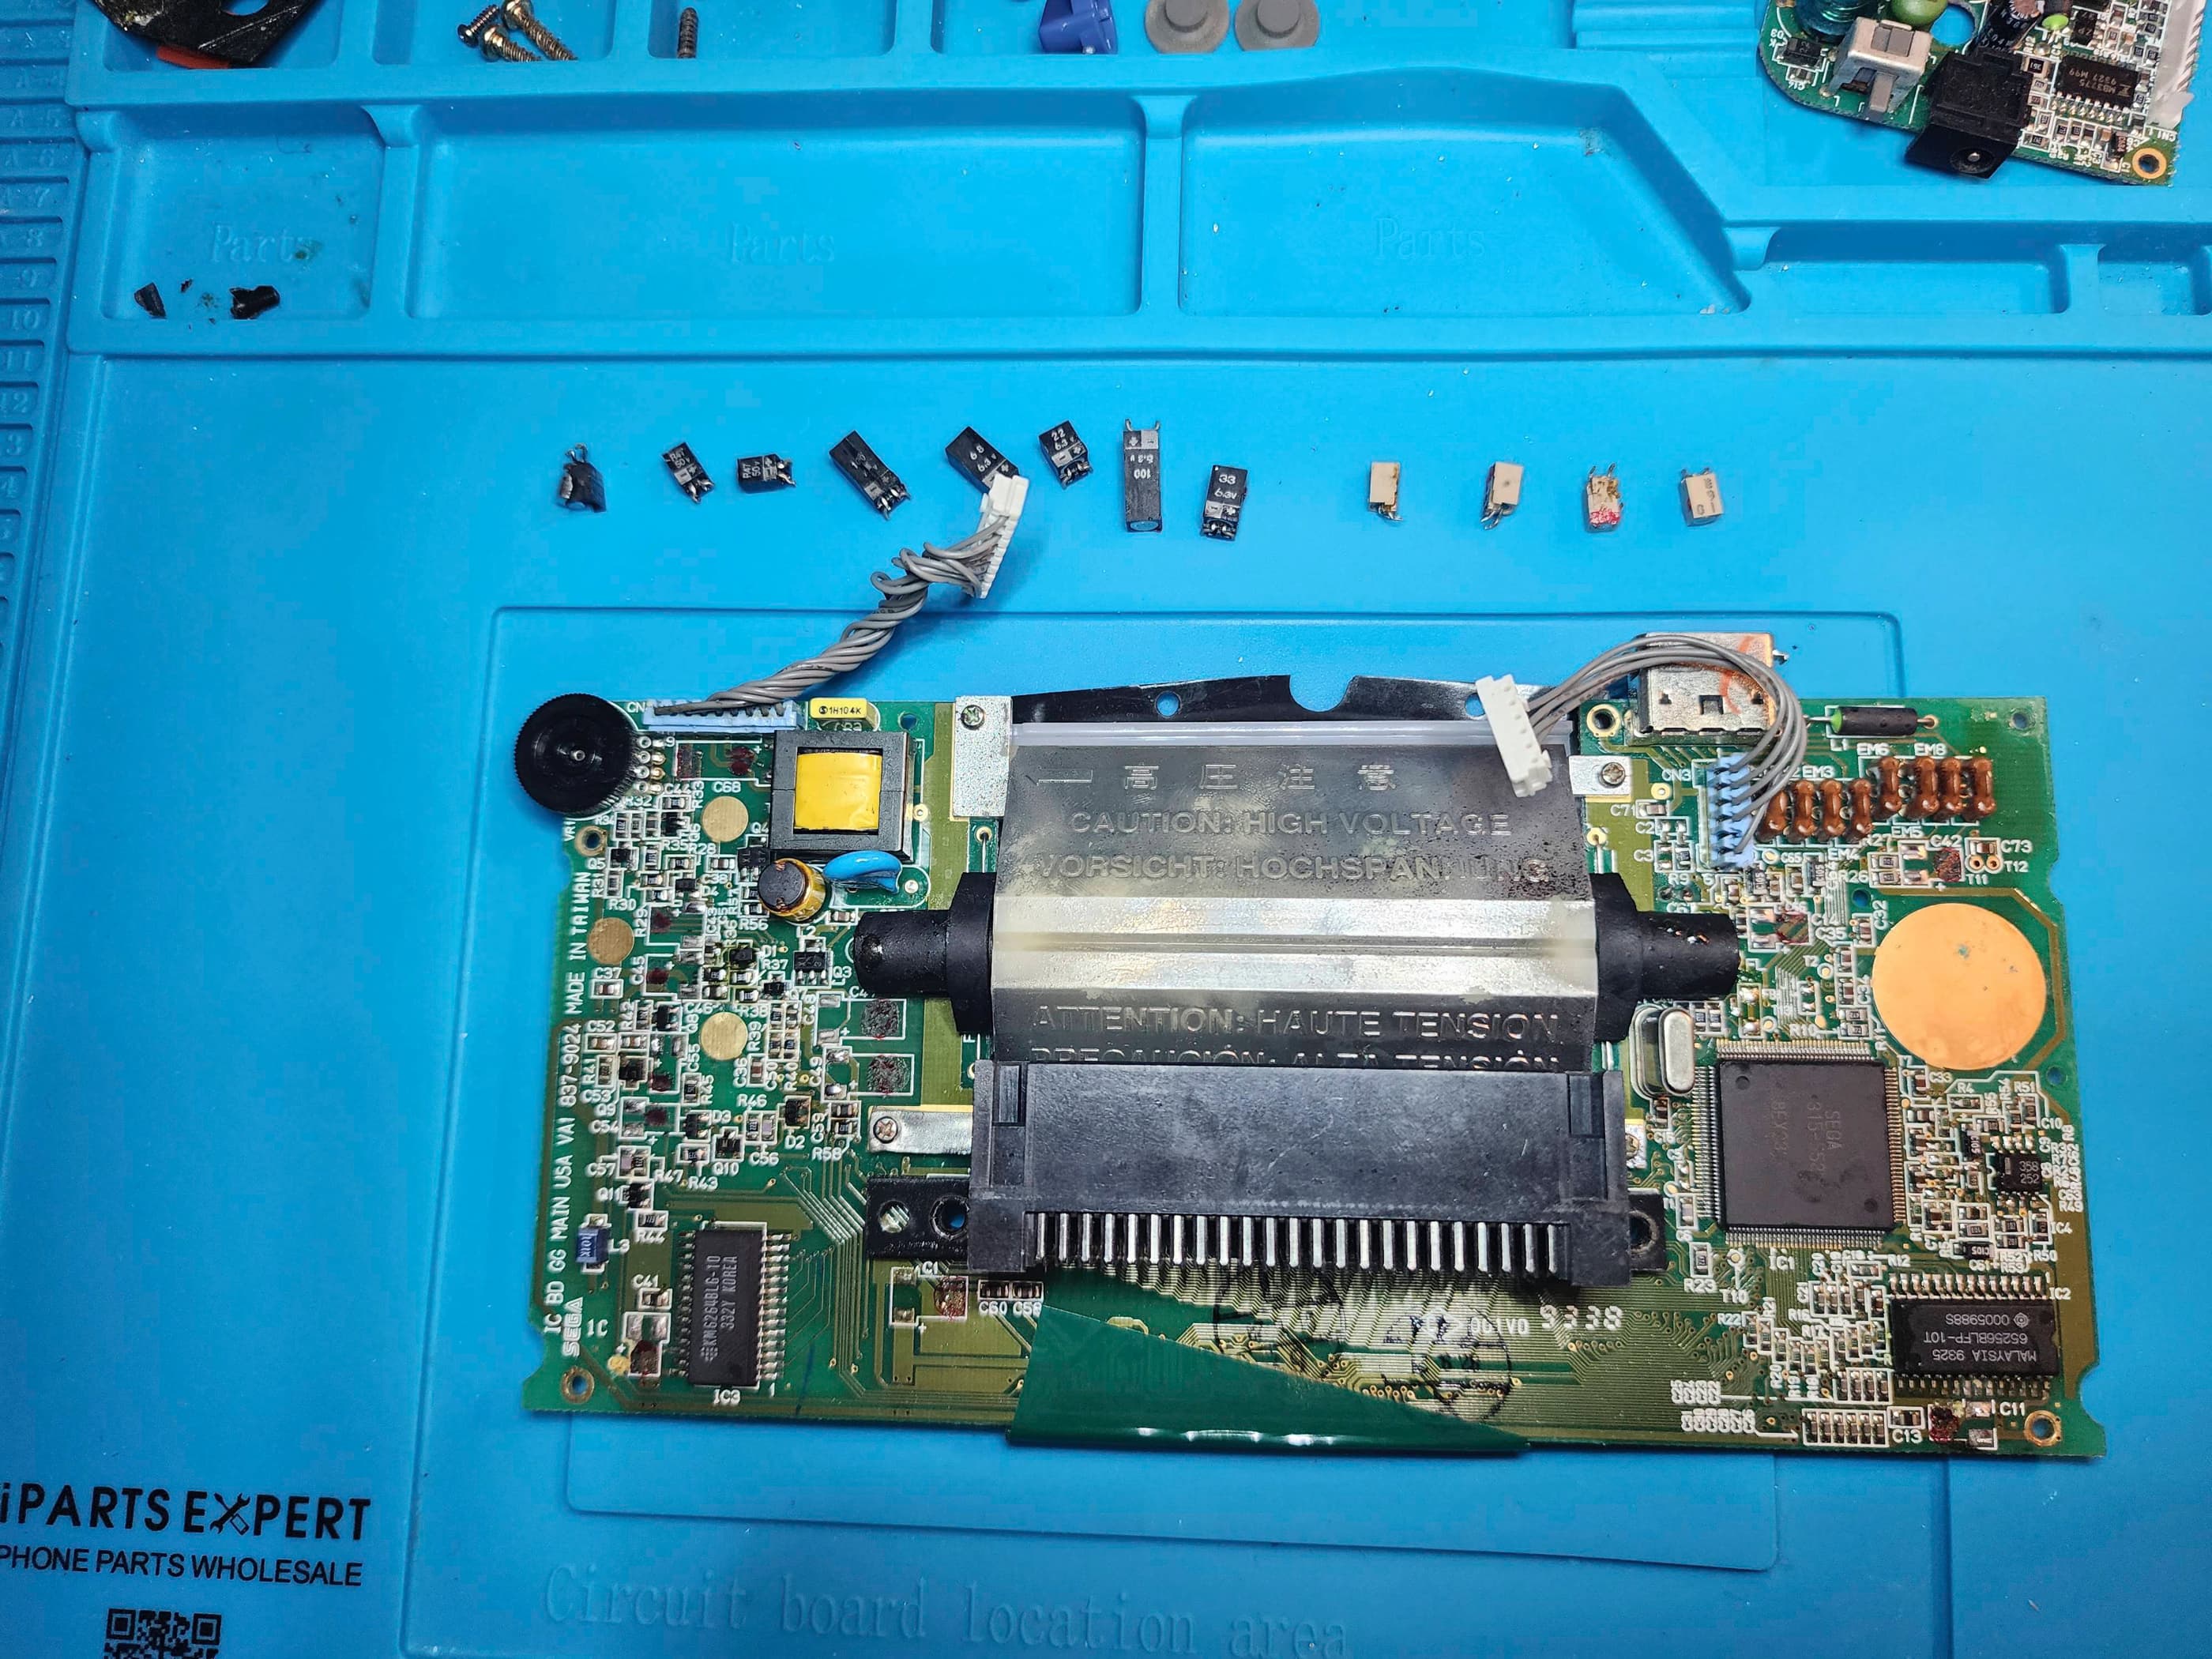
Once the kit arrived, I de-soldered and replaced all of the capacitors on the main board and the power board. As the new caps (except for the sound board) were all hole-through radials and not SMDs, it meant that I had to be creative in positioning them on the board, so as not to have them lay across the copper pads where the two halves of the case come together.
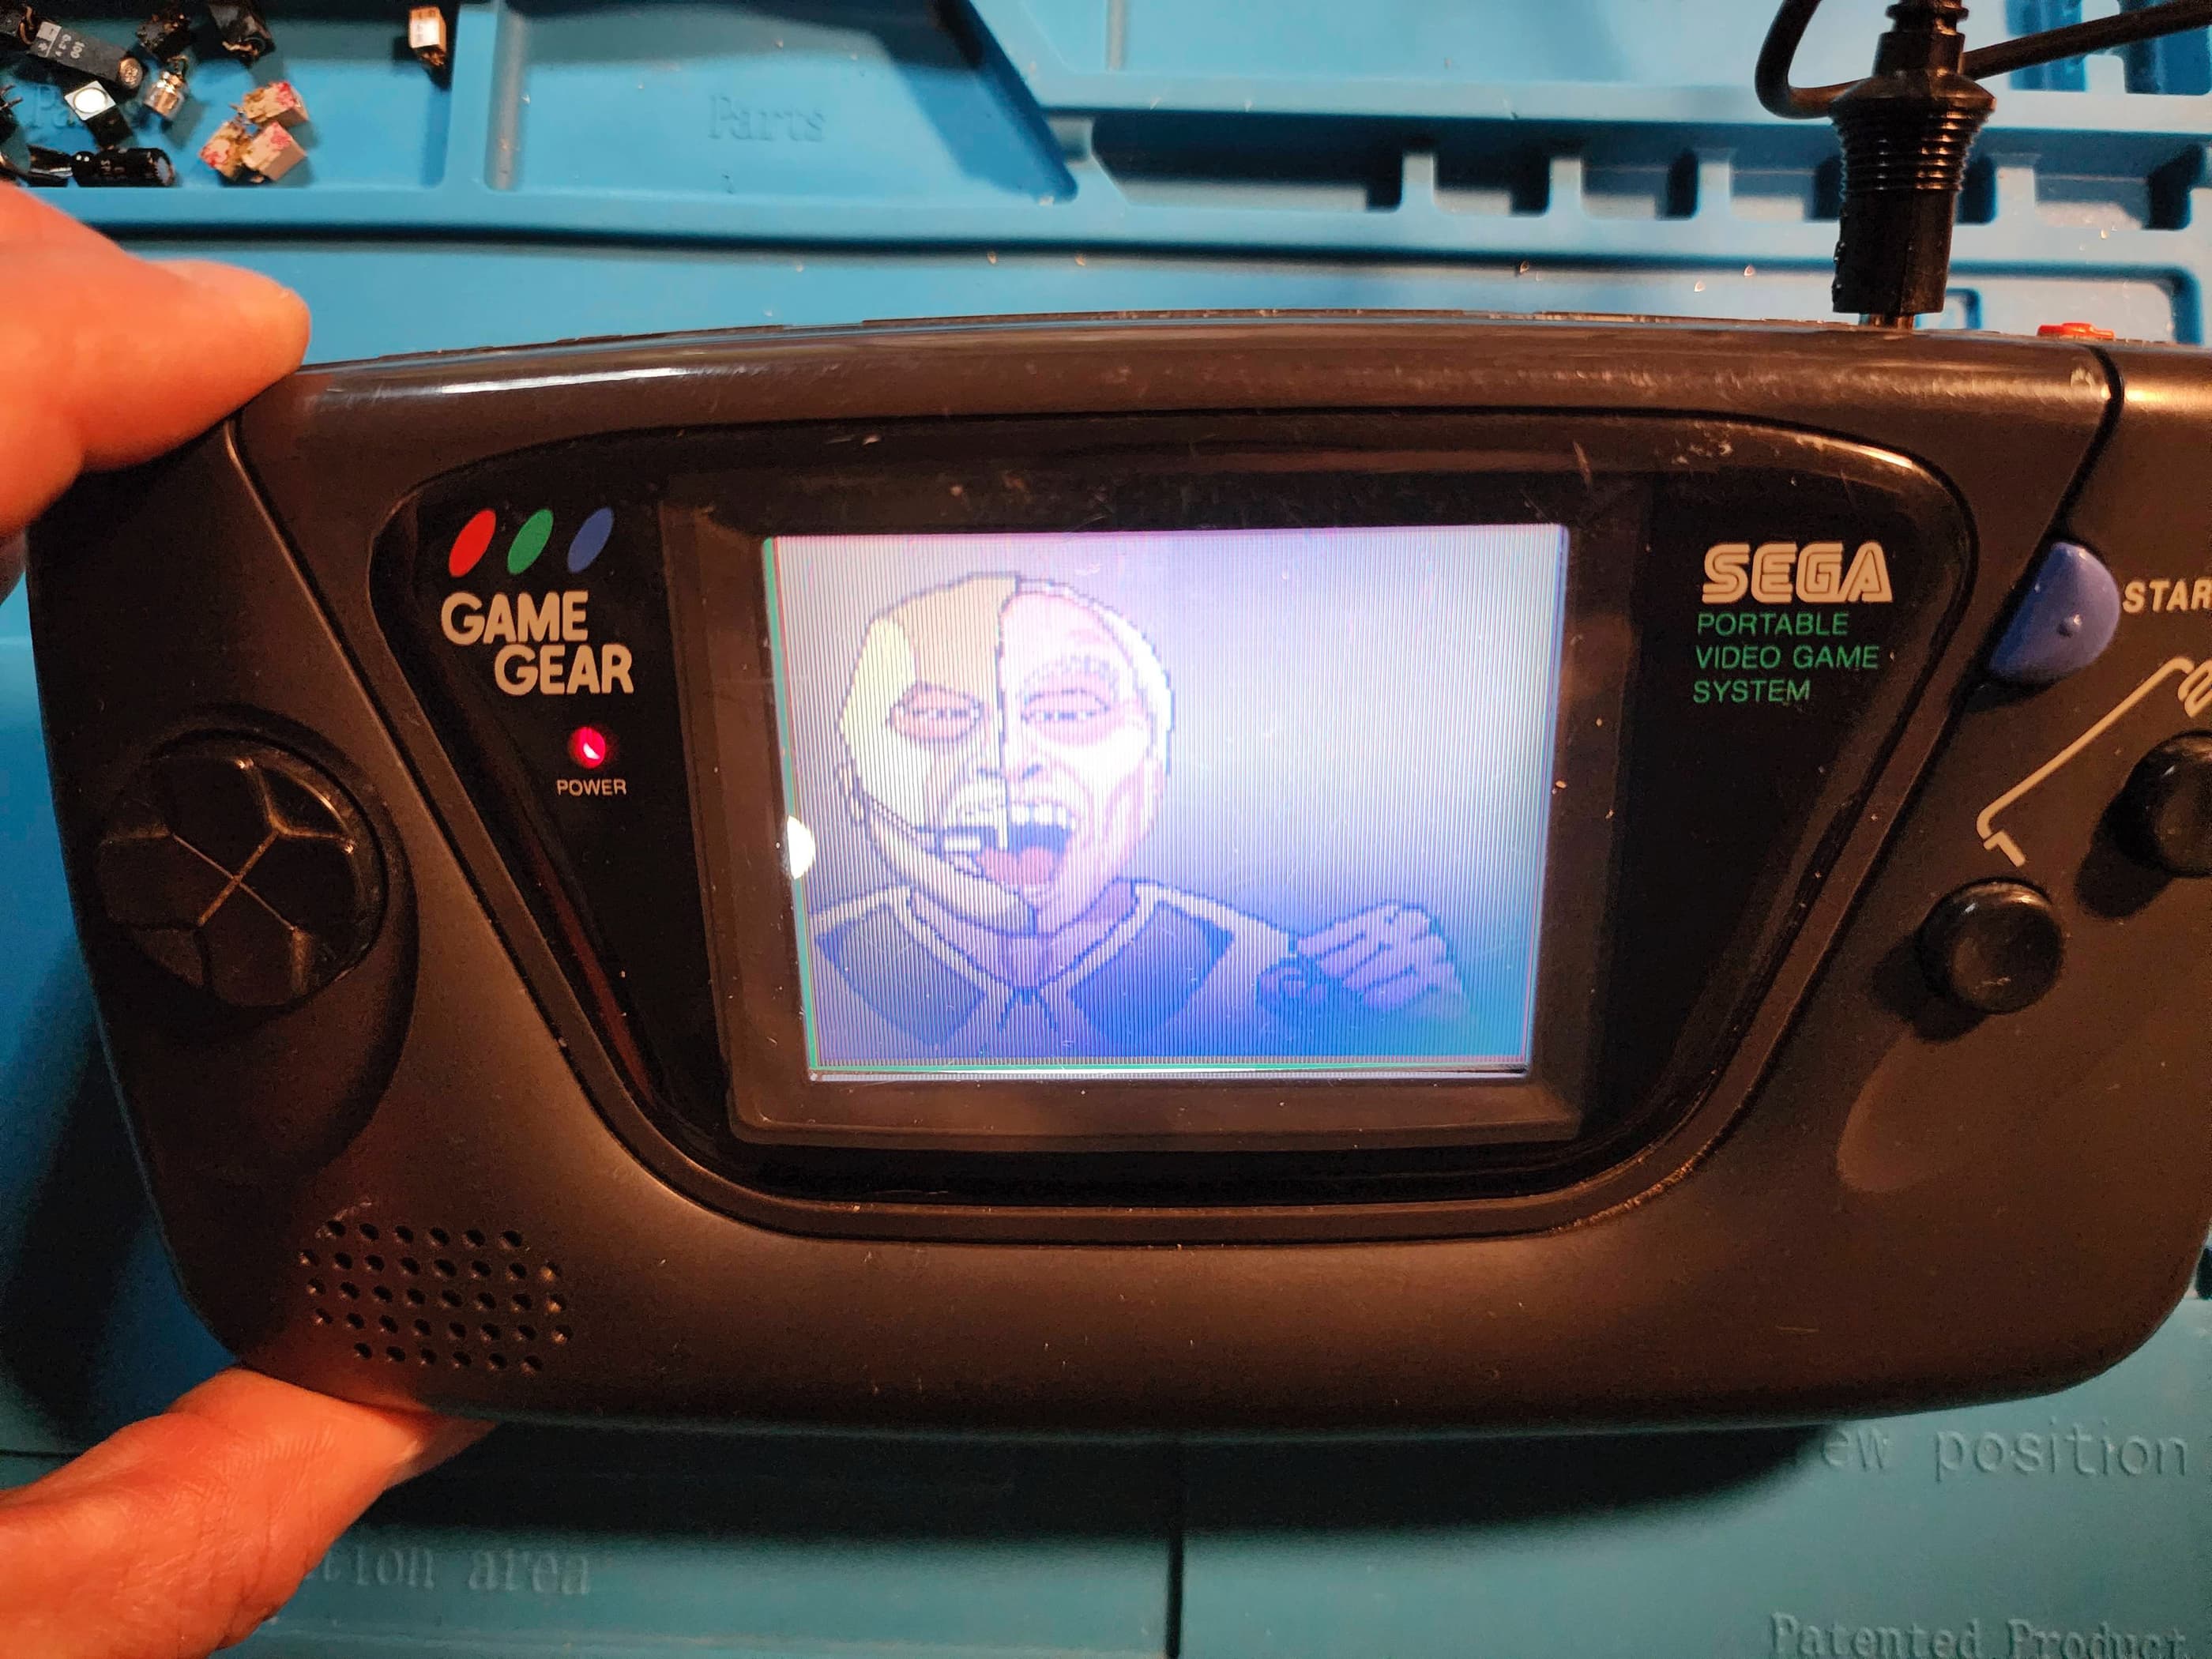
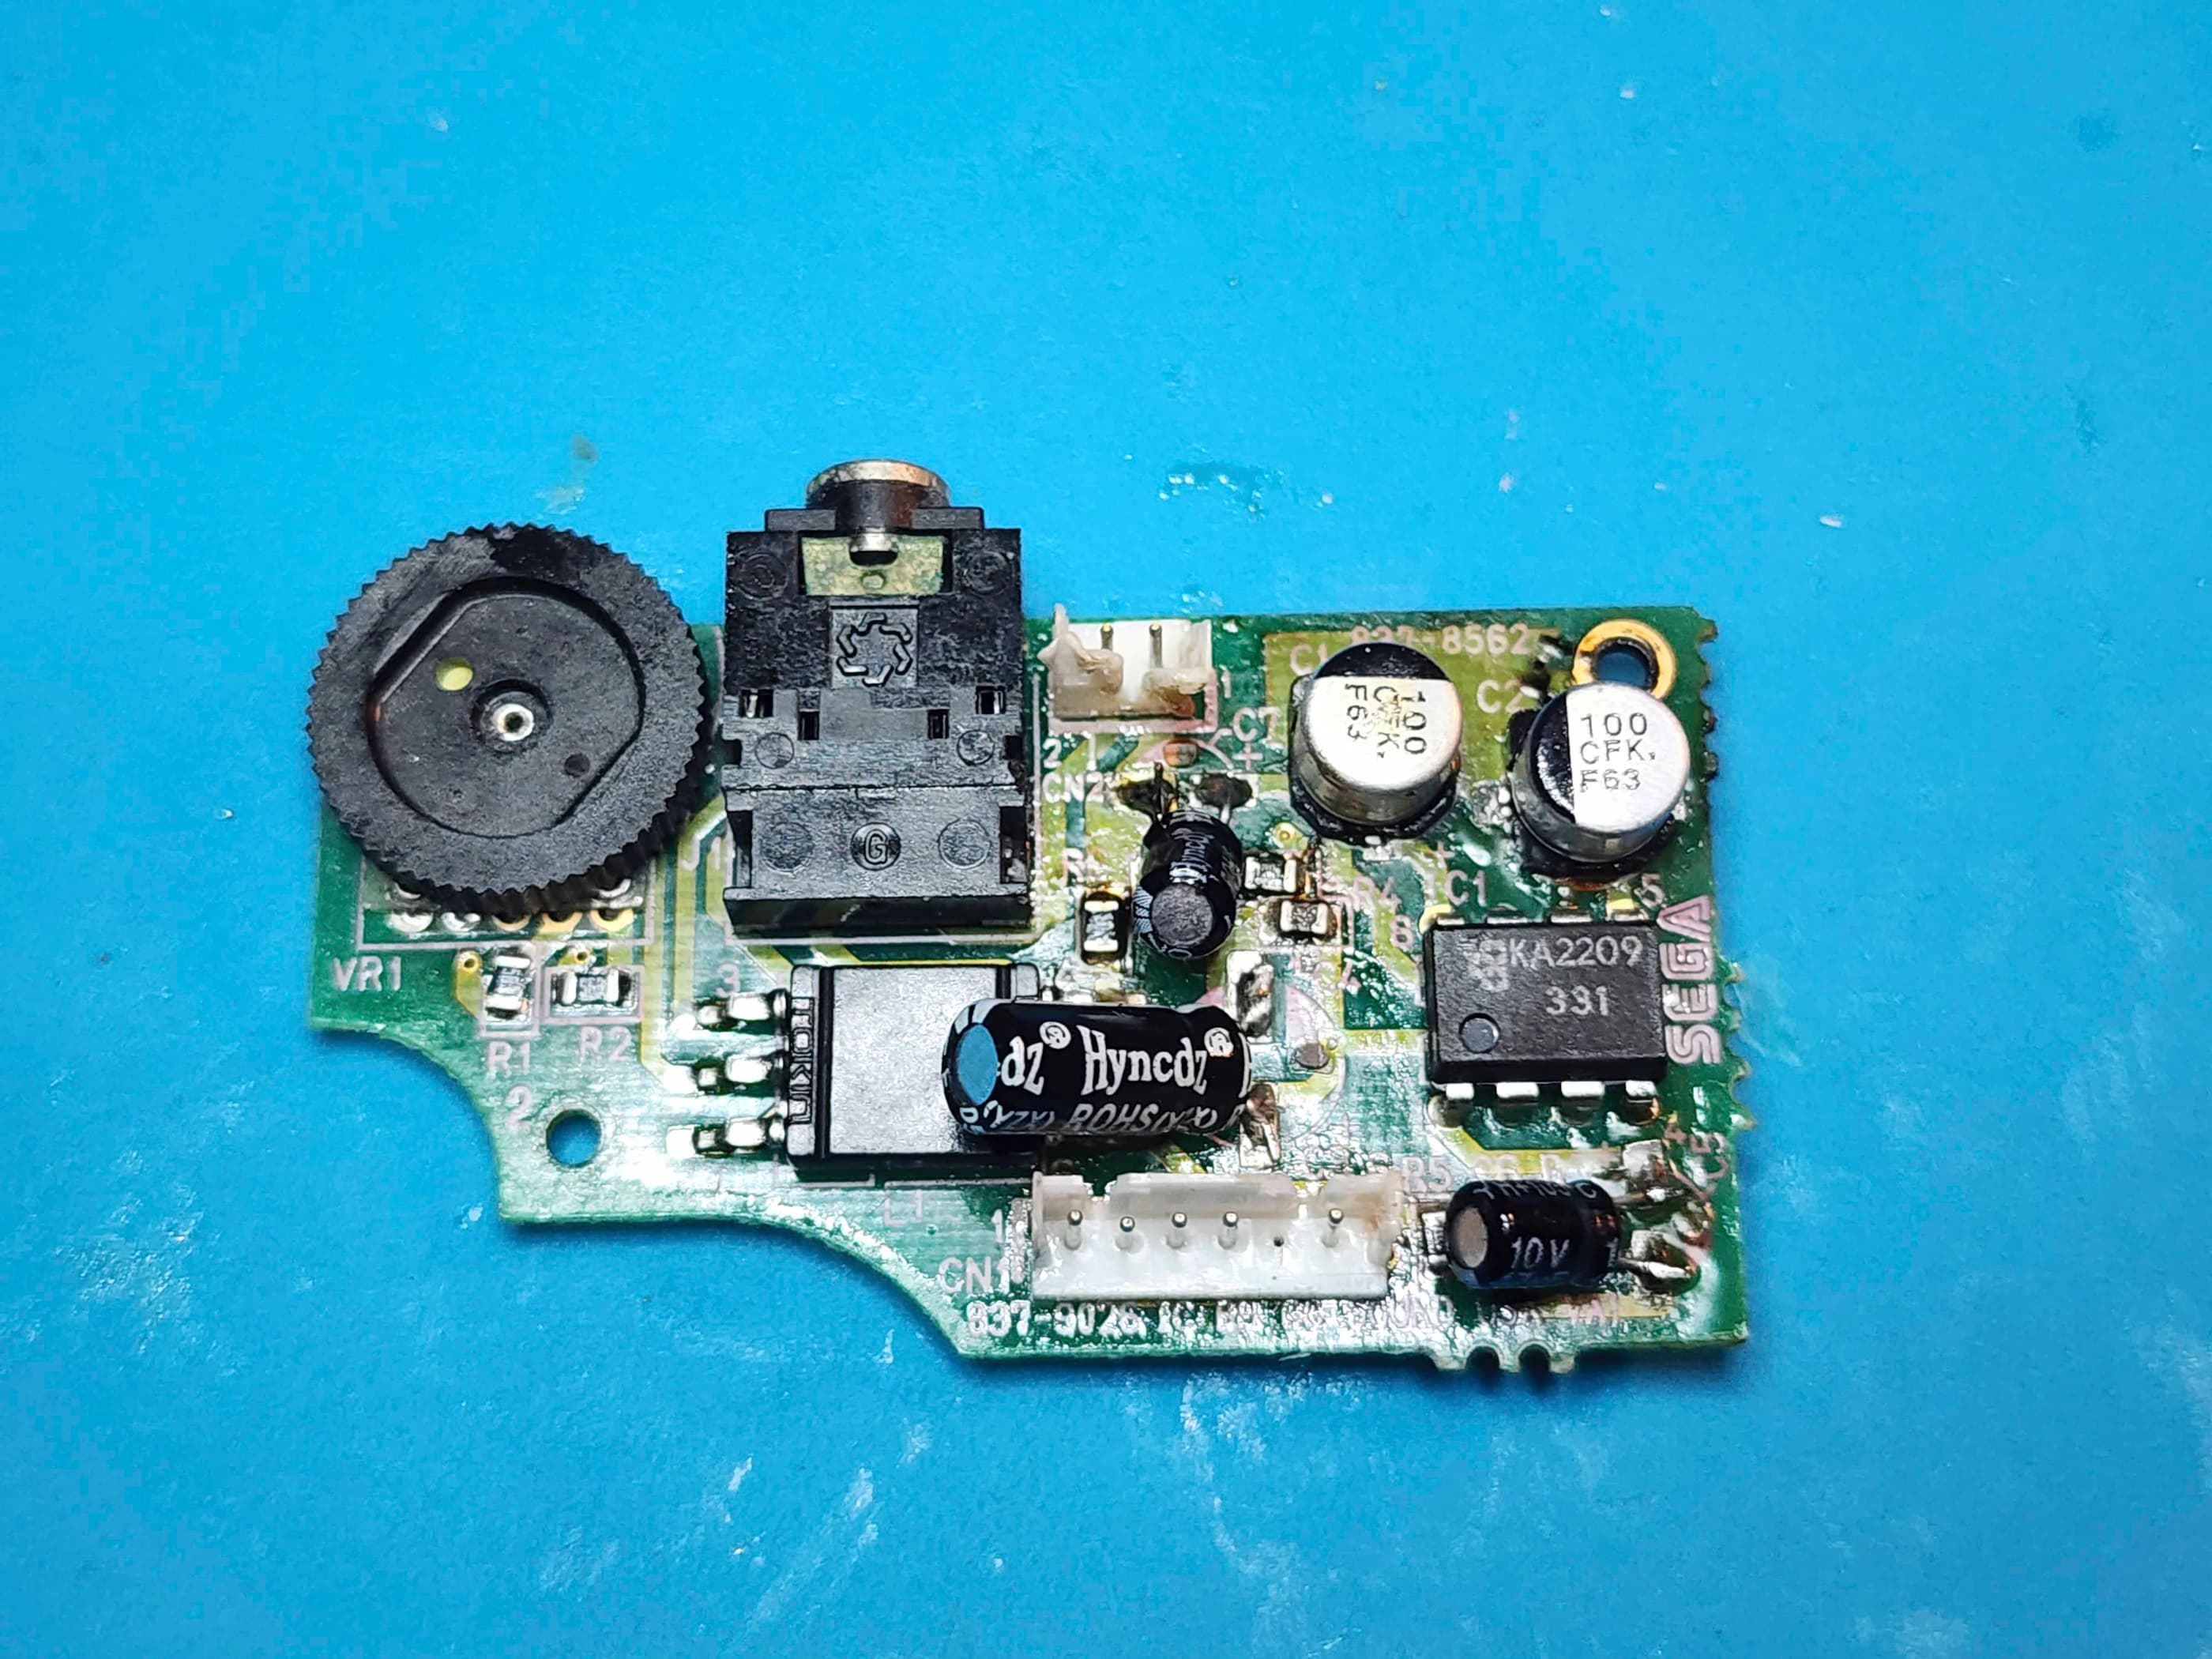
Once in place a reassembled the console and powered it on. Success! The system now worked except that the sound barely had any volume. I then disassembled the unit and proceeded to re-cap the sound board, which I found to be the crux of the entire re-capping process. Removing the SMD caps was easy, but positioning and affixing the new SMDs was tricky due to limited space. Also, one of the pads on C5 had lifted slightly during the removal process with my heat gun.
After checking the continuity to determine if the lifted pad had wrecked the trace (it hadn’t), I then decided to use hole-through radial caps for caps C3, C5, and C7. This proved to be much easier. However, I used the provided SMD caps for C1 and C2 as they were much easier to put in place. Using the SMDs here also saved me trying to awkwardly make the radial caps try and fit under the shielding.
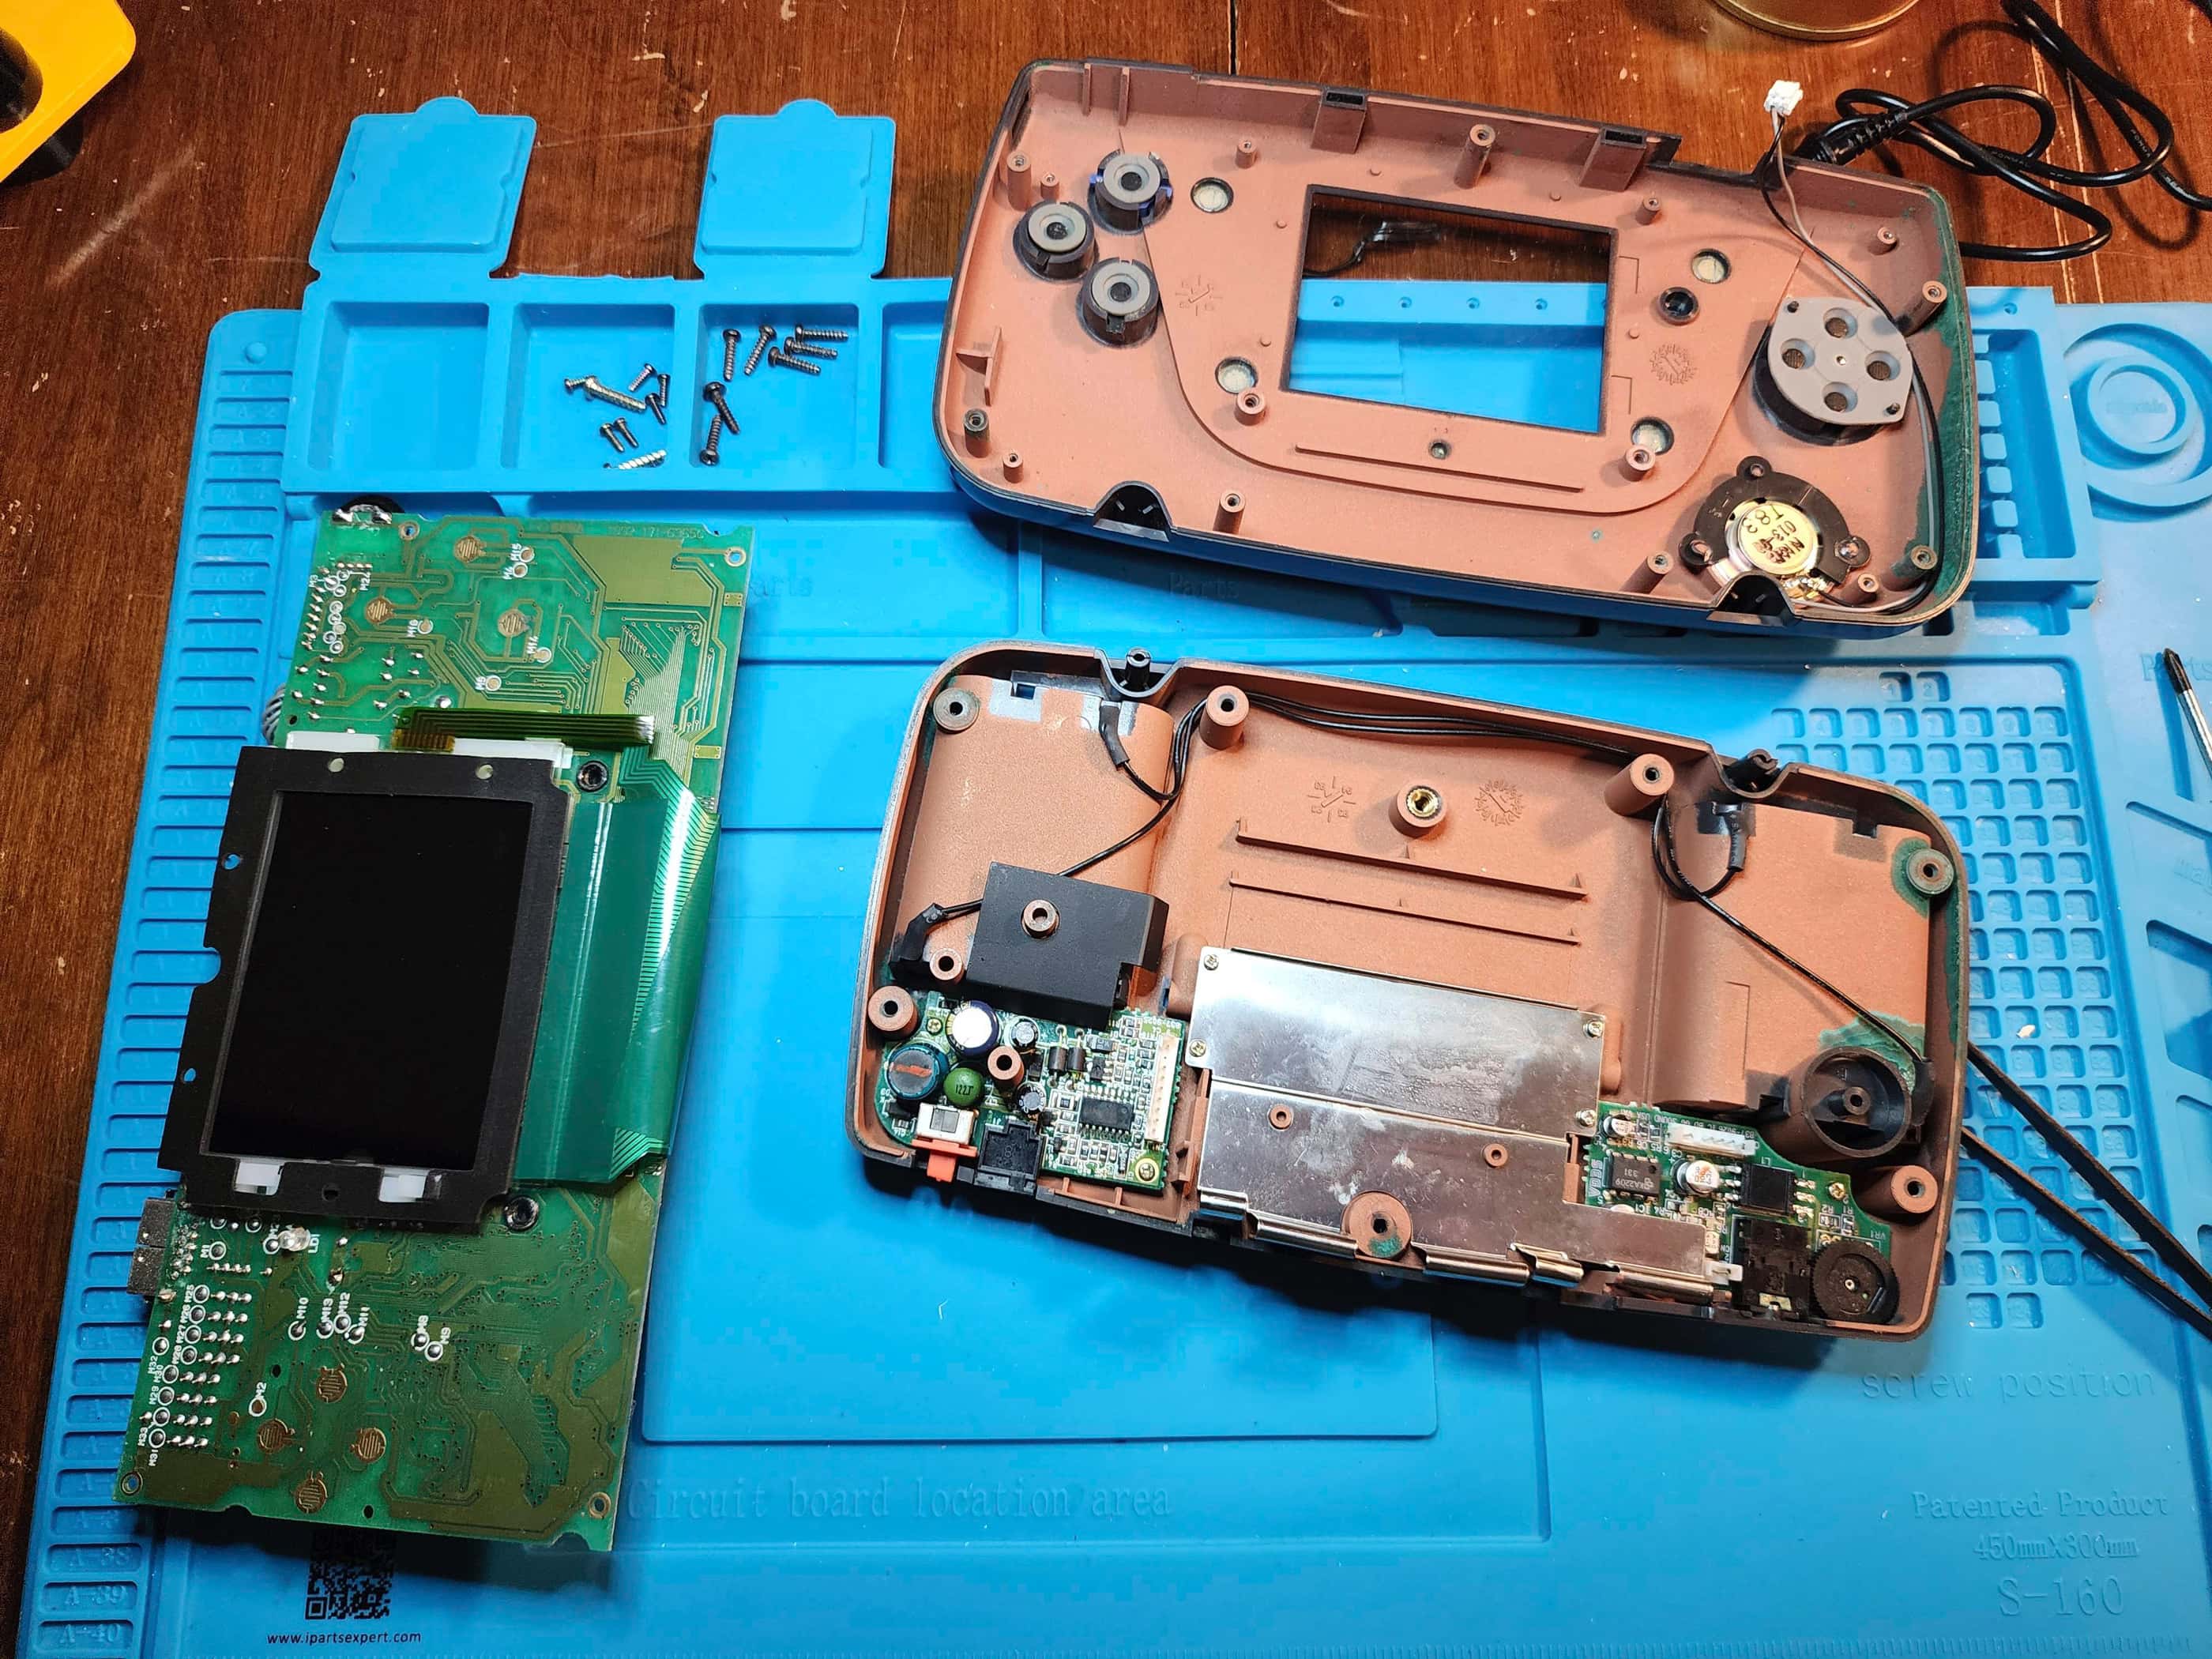
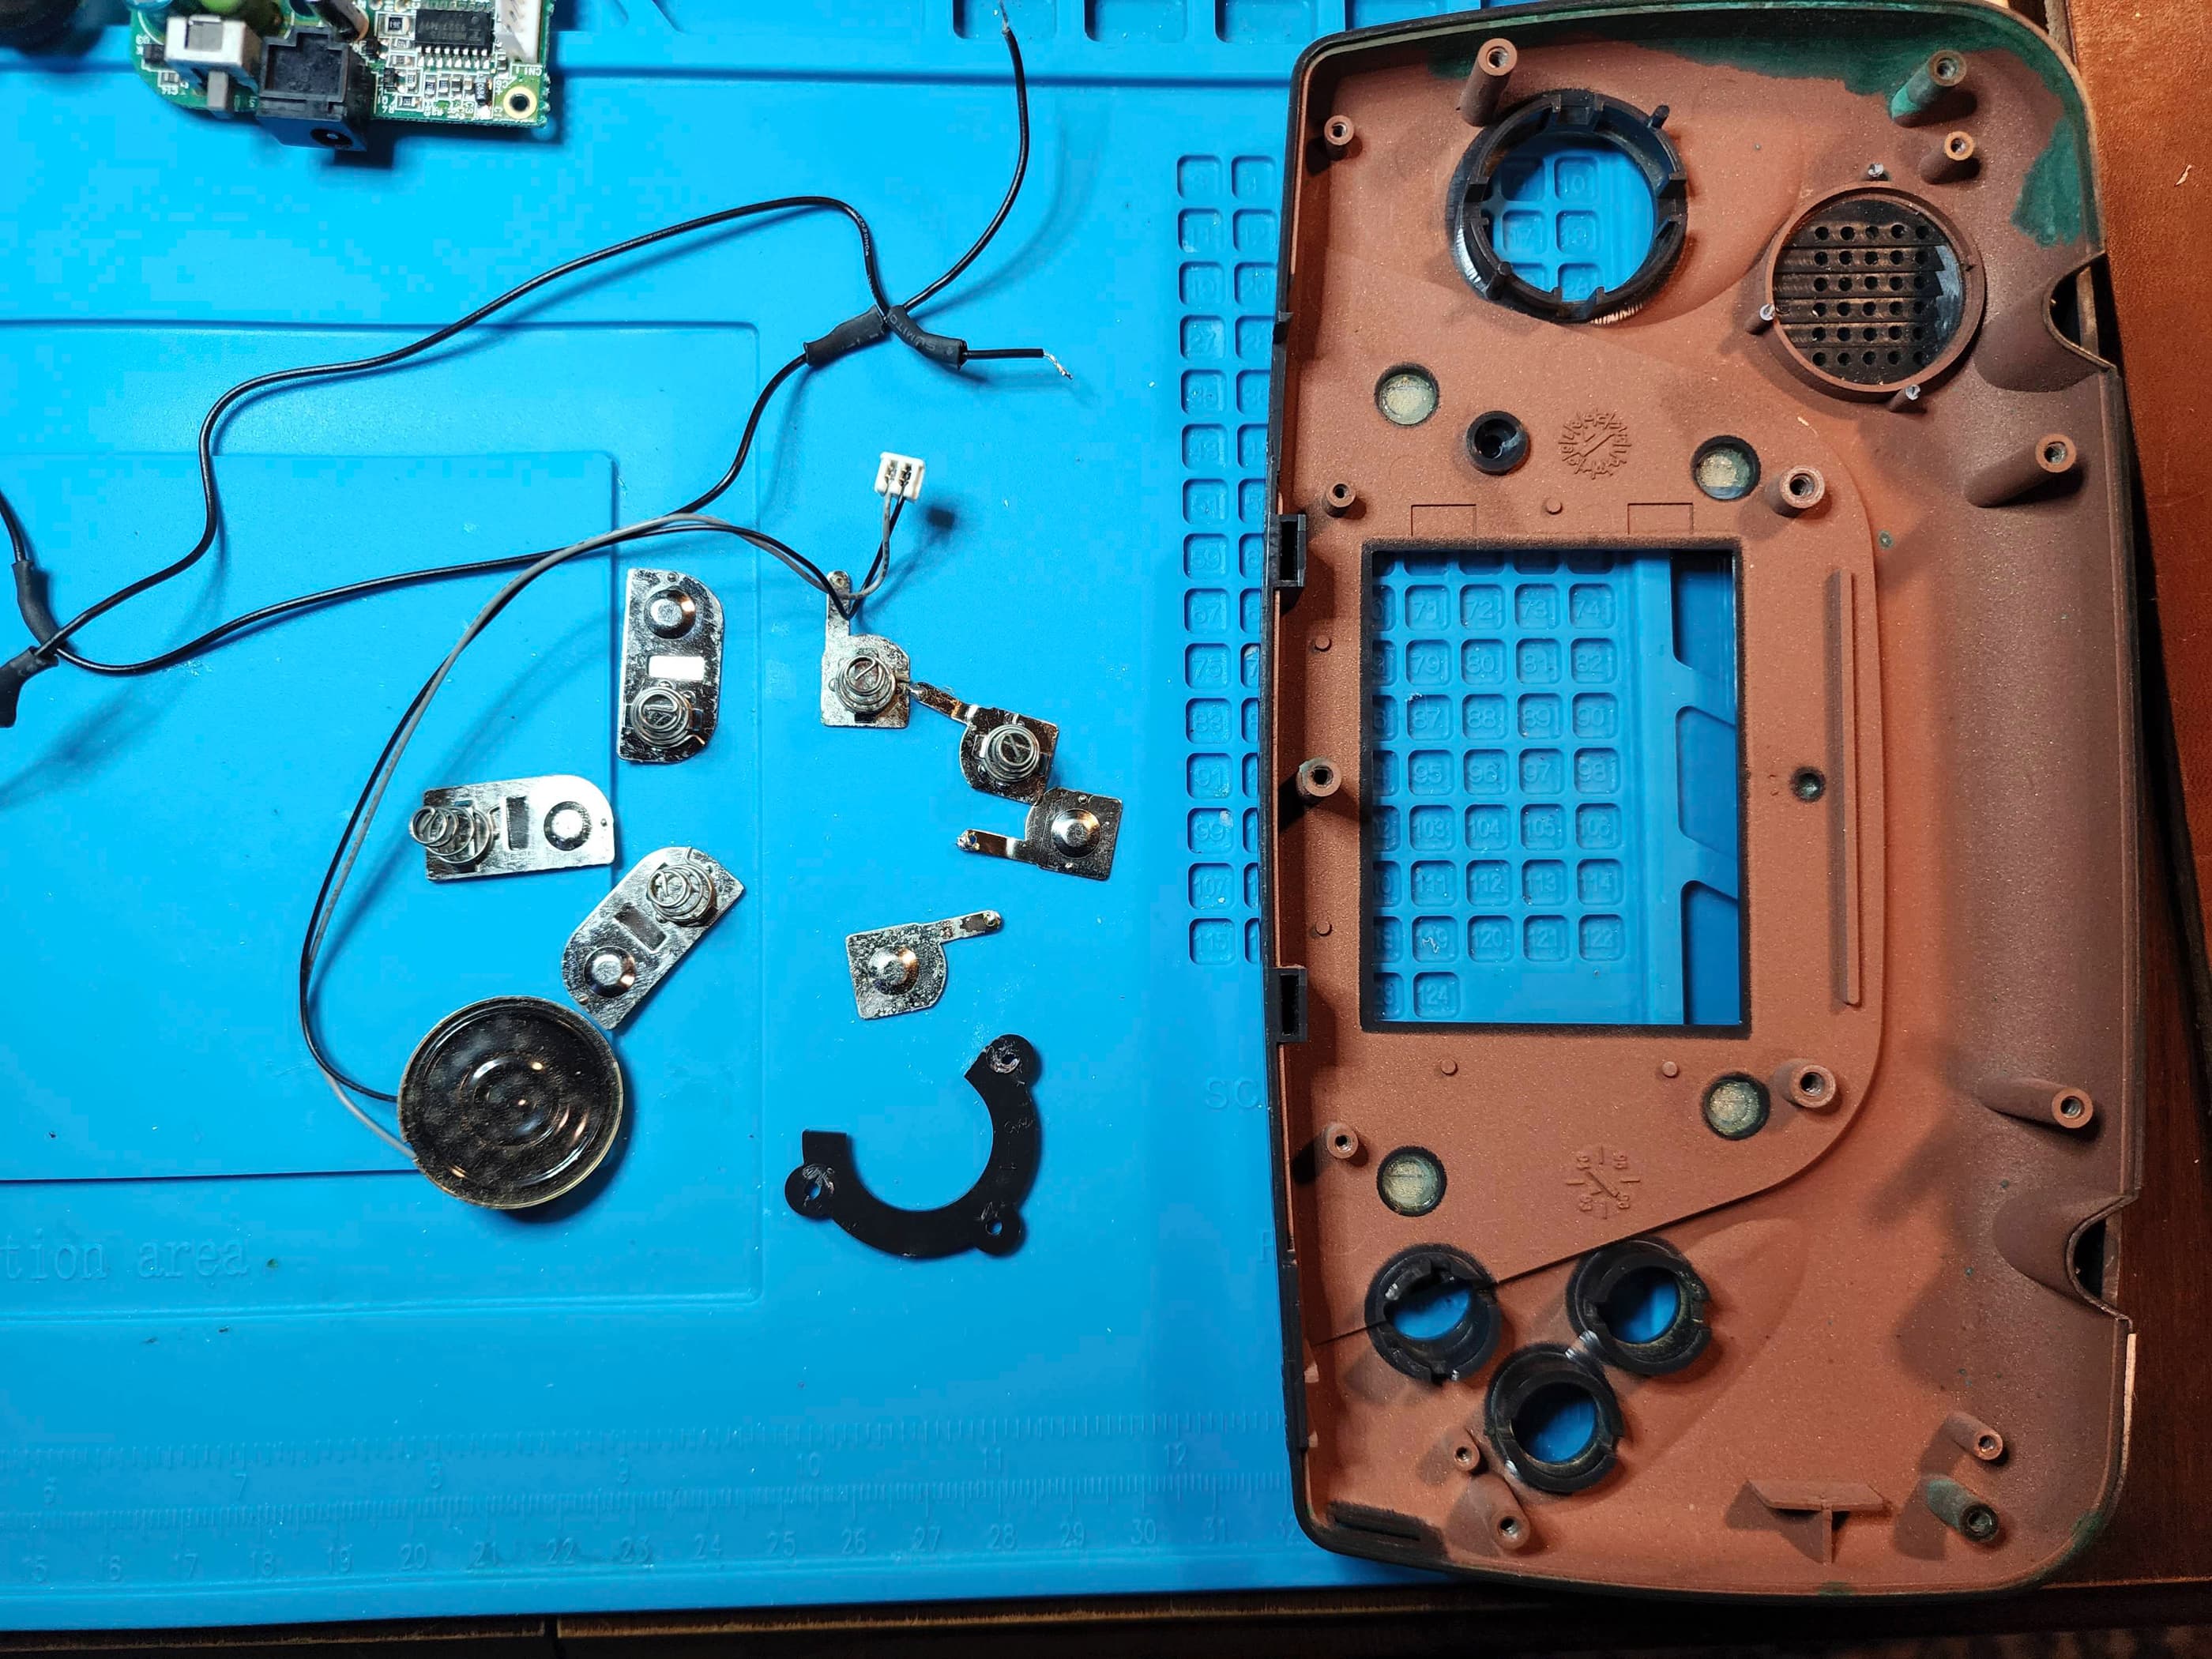
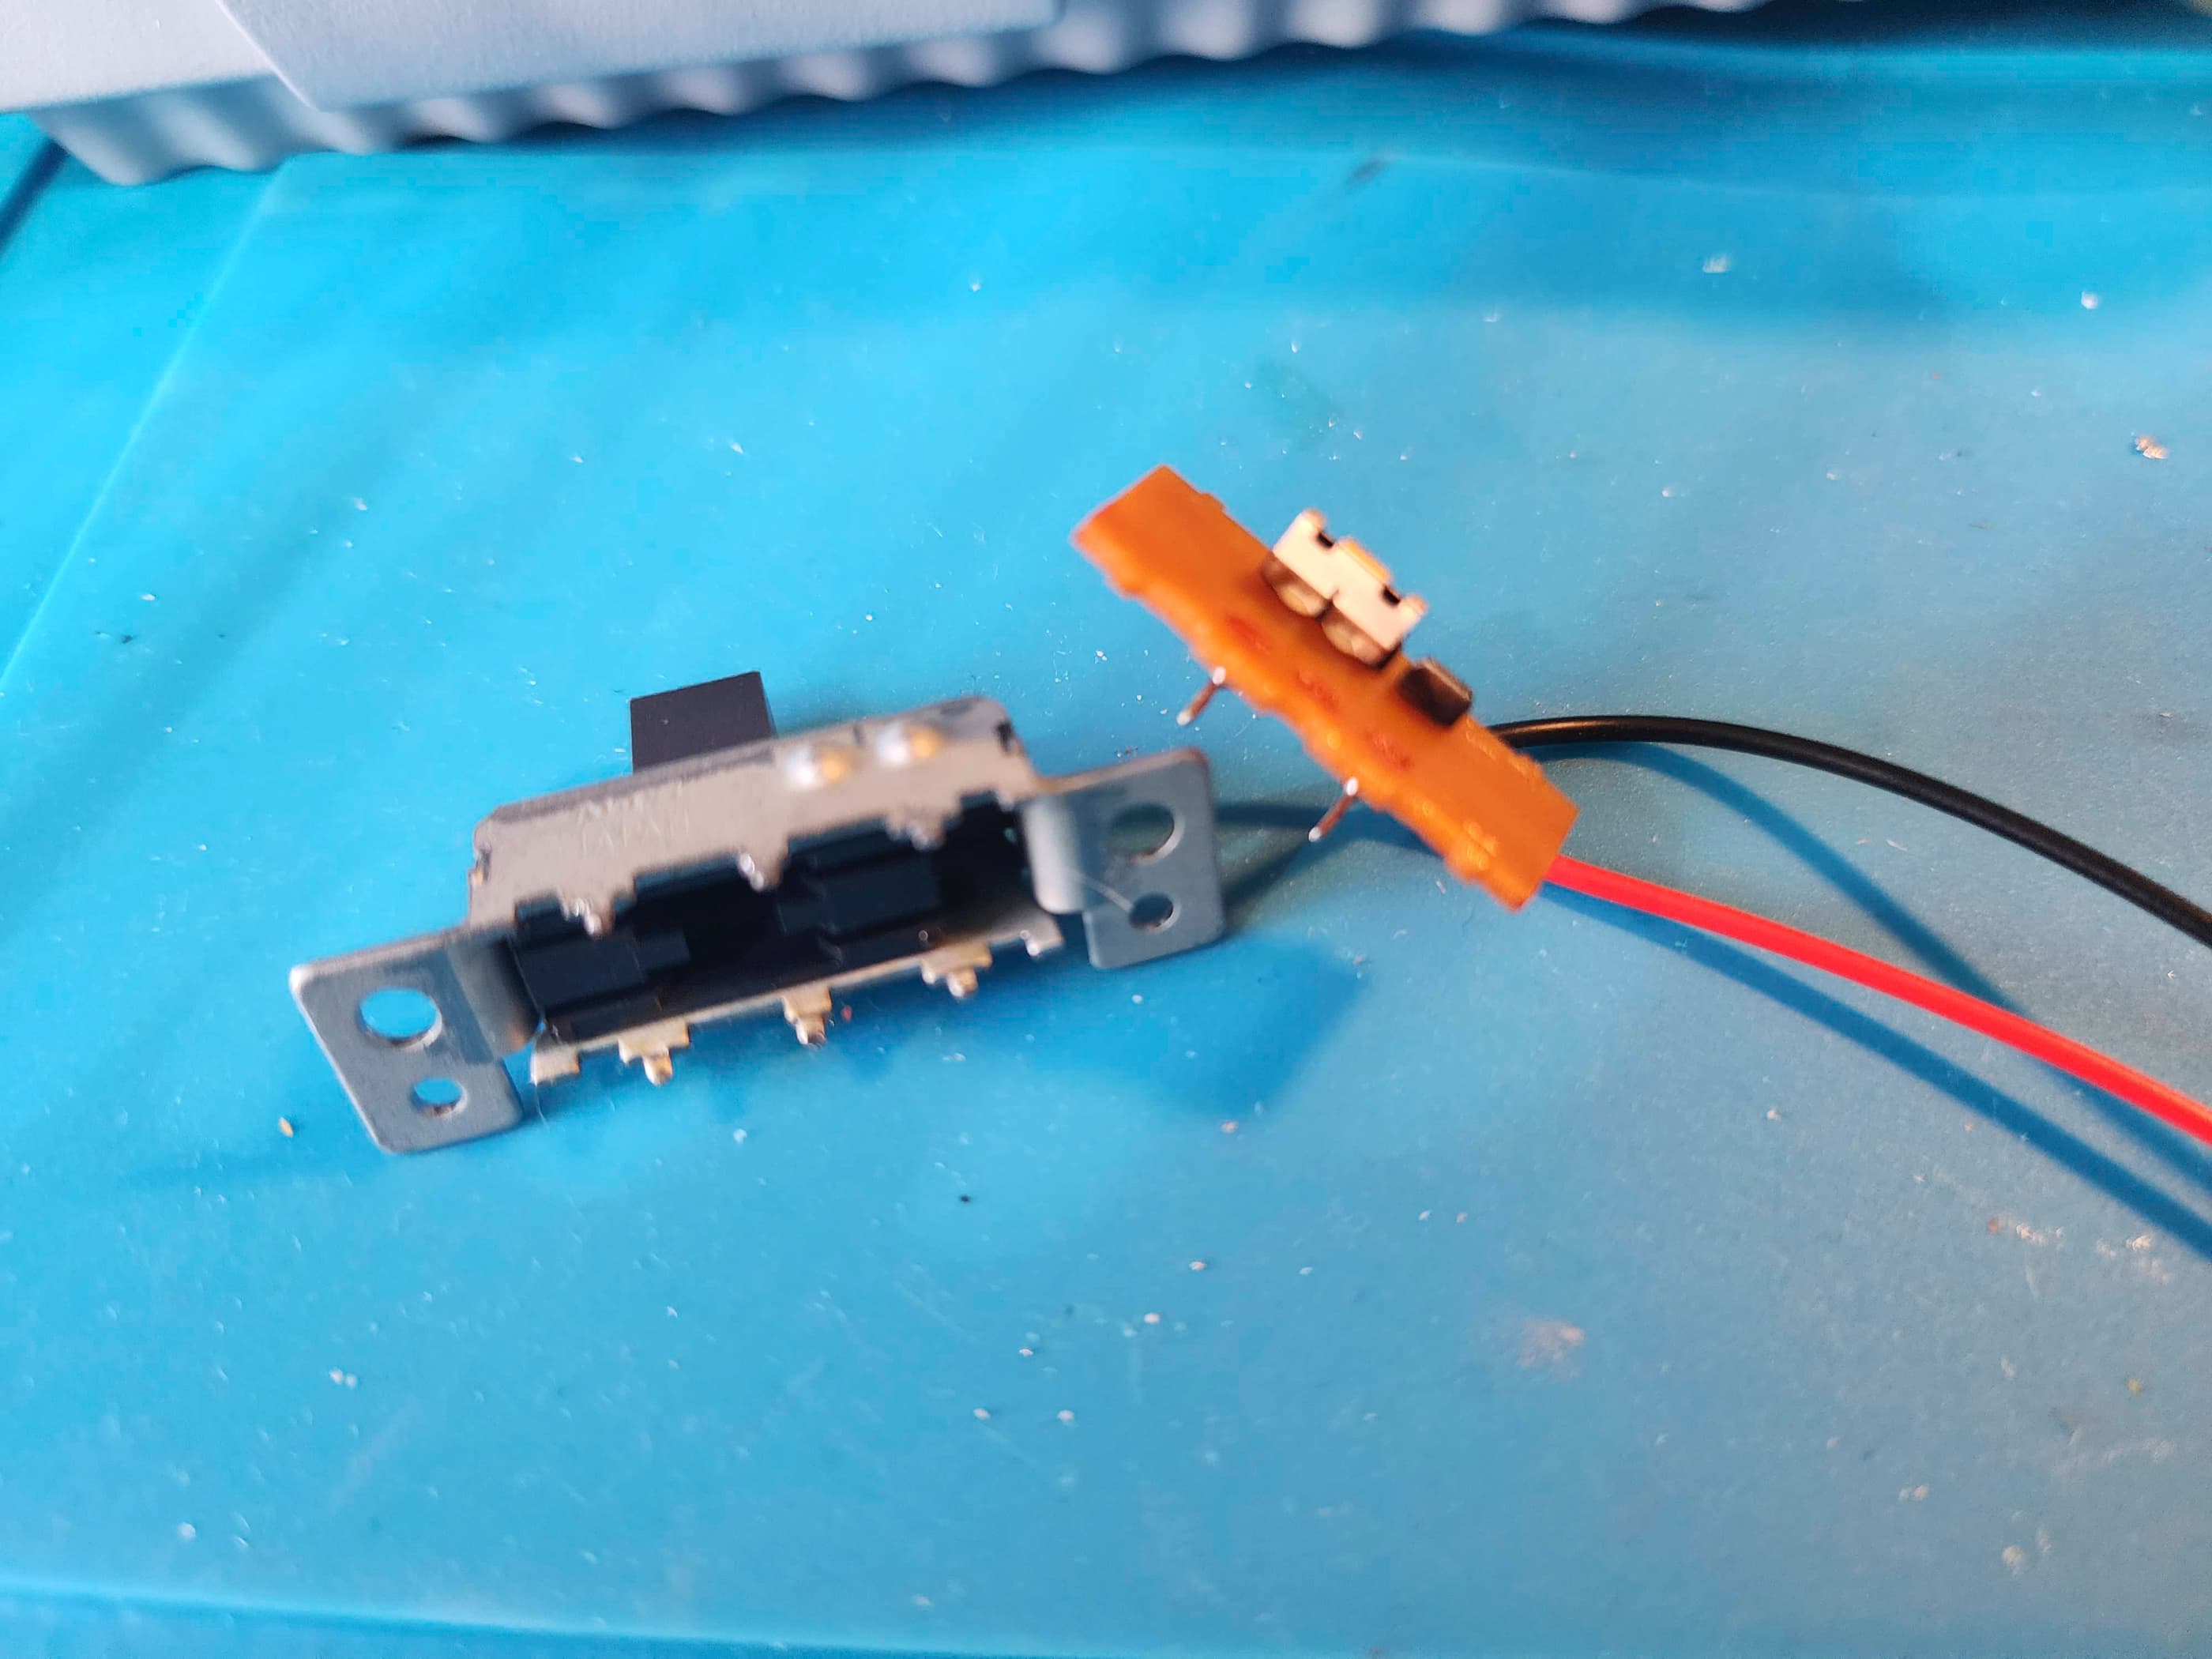
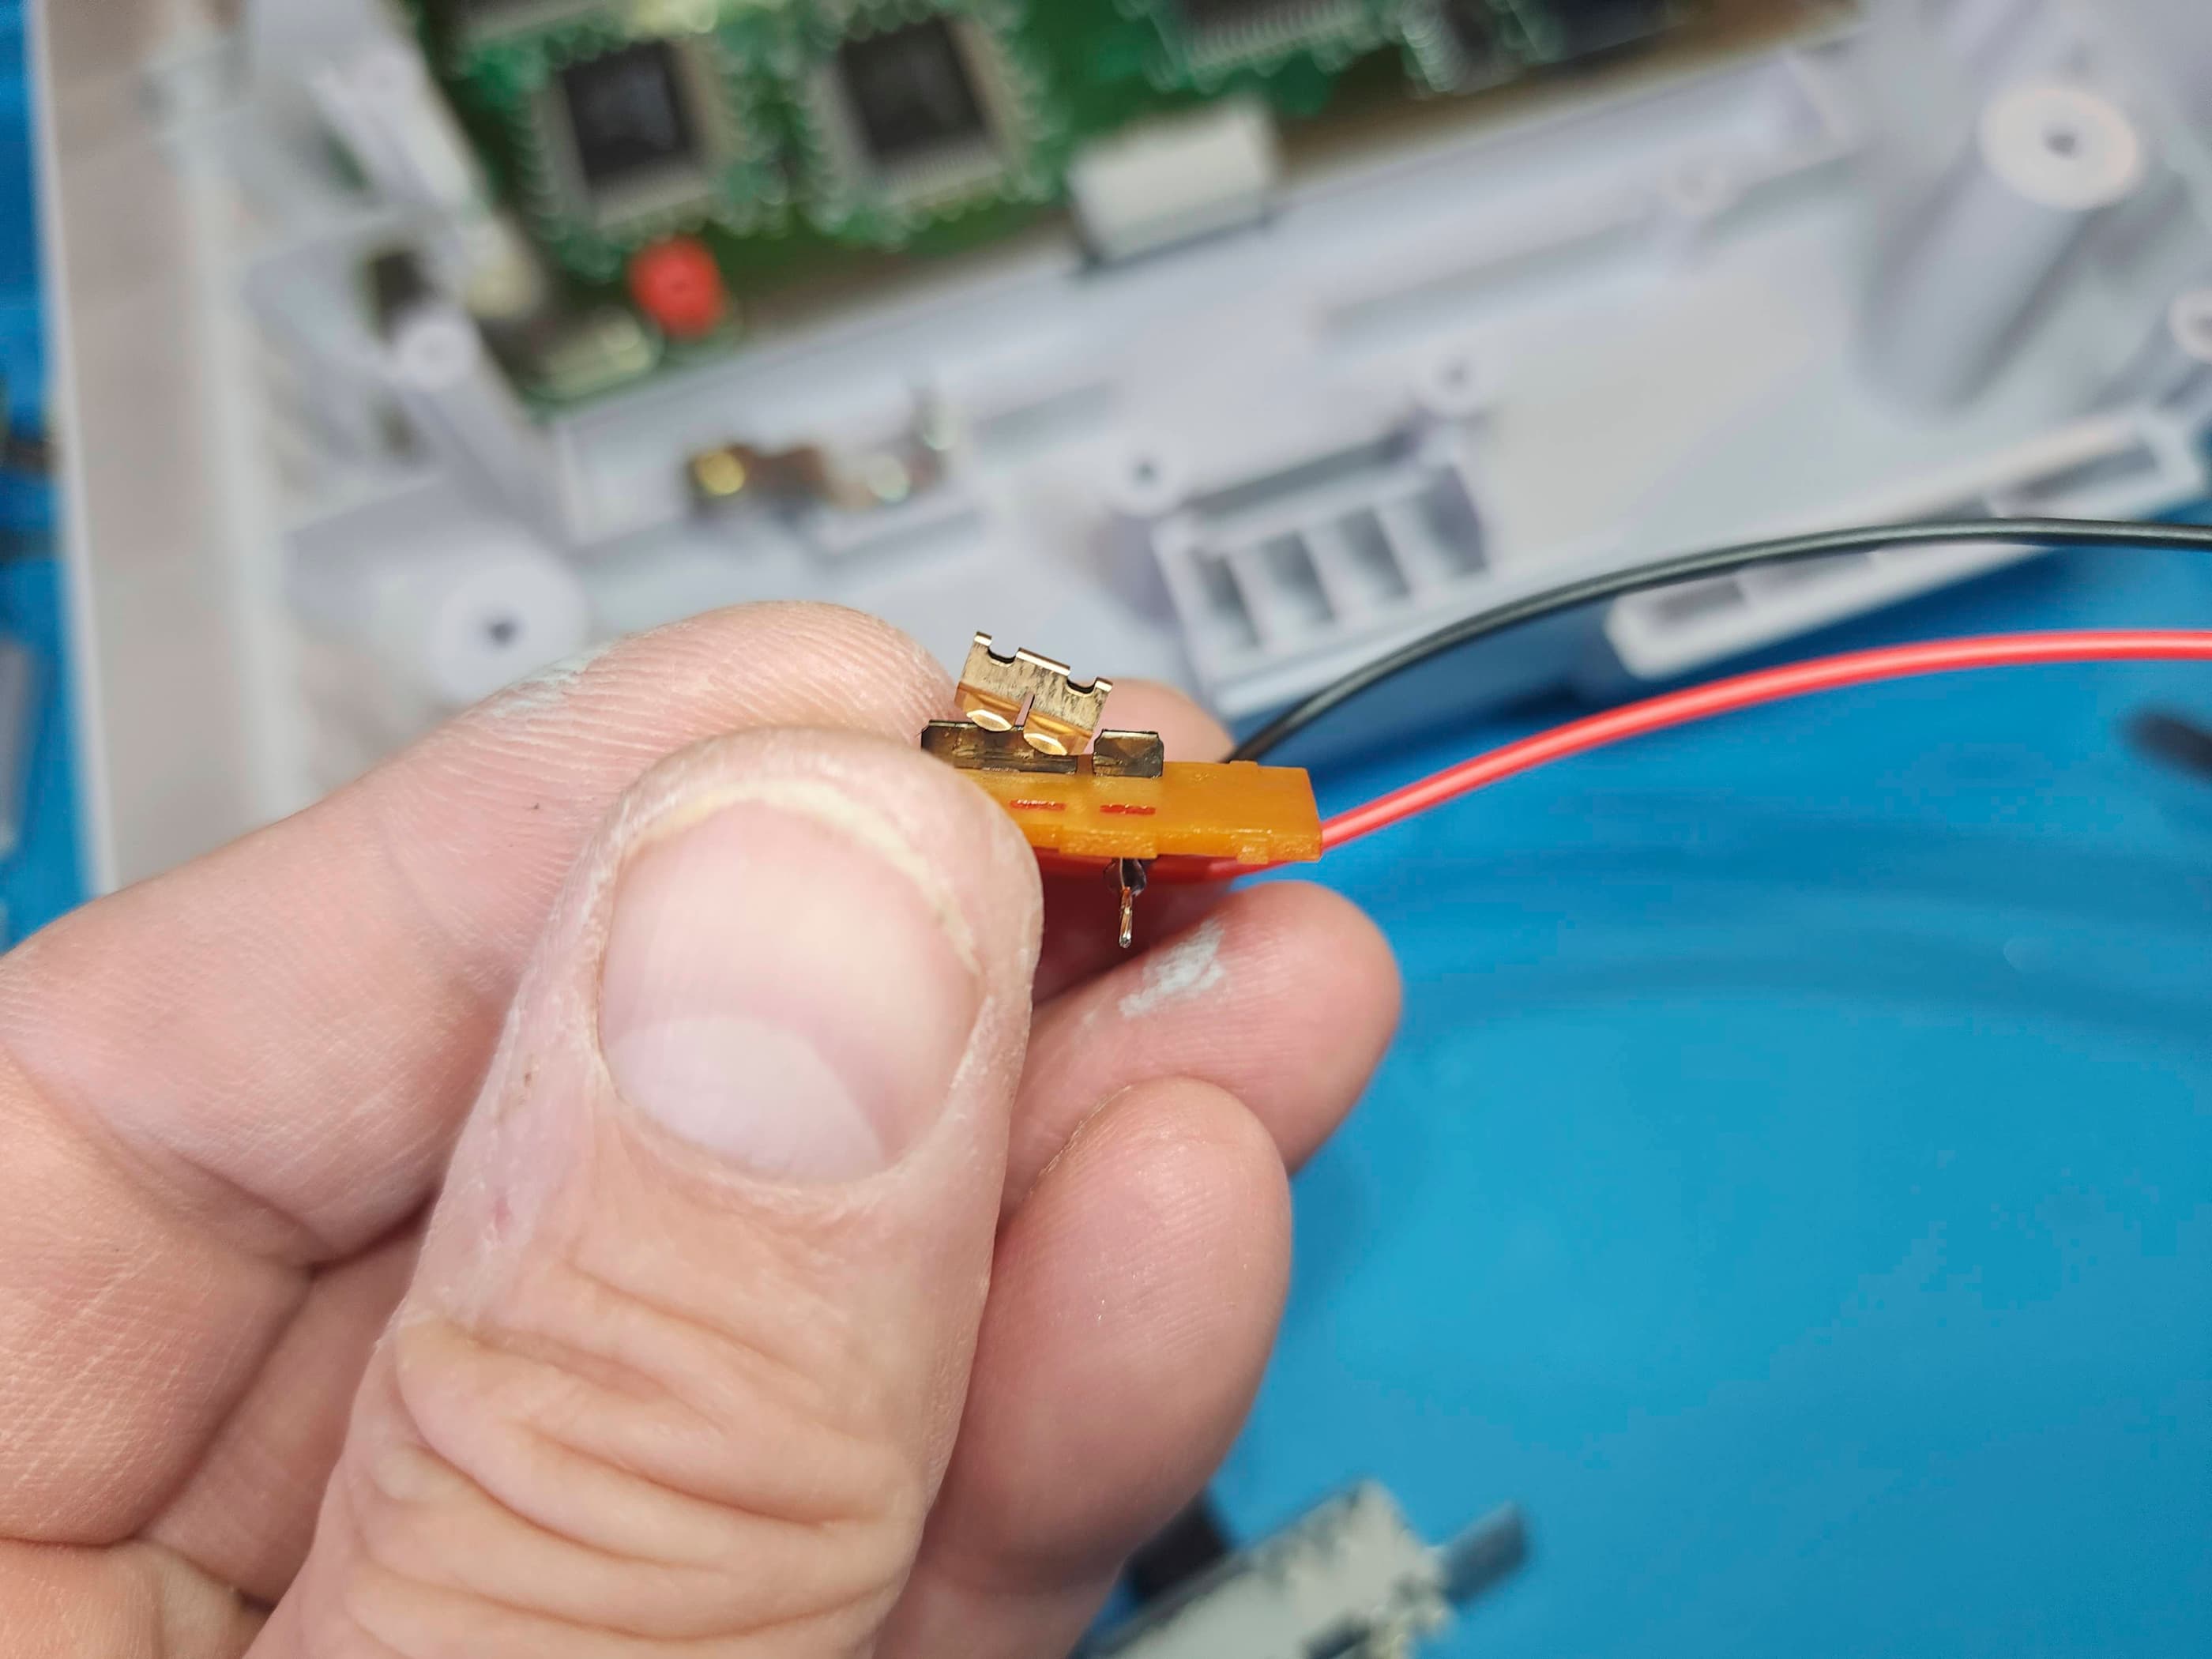
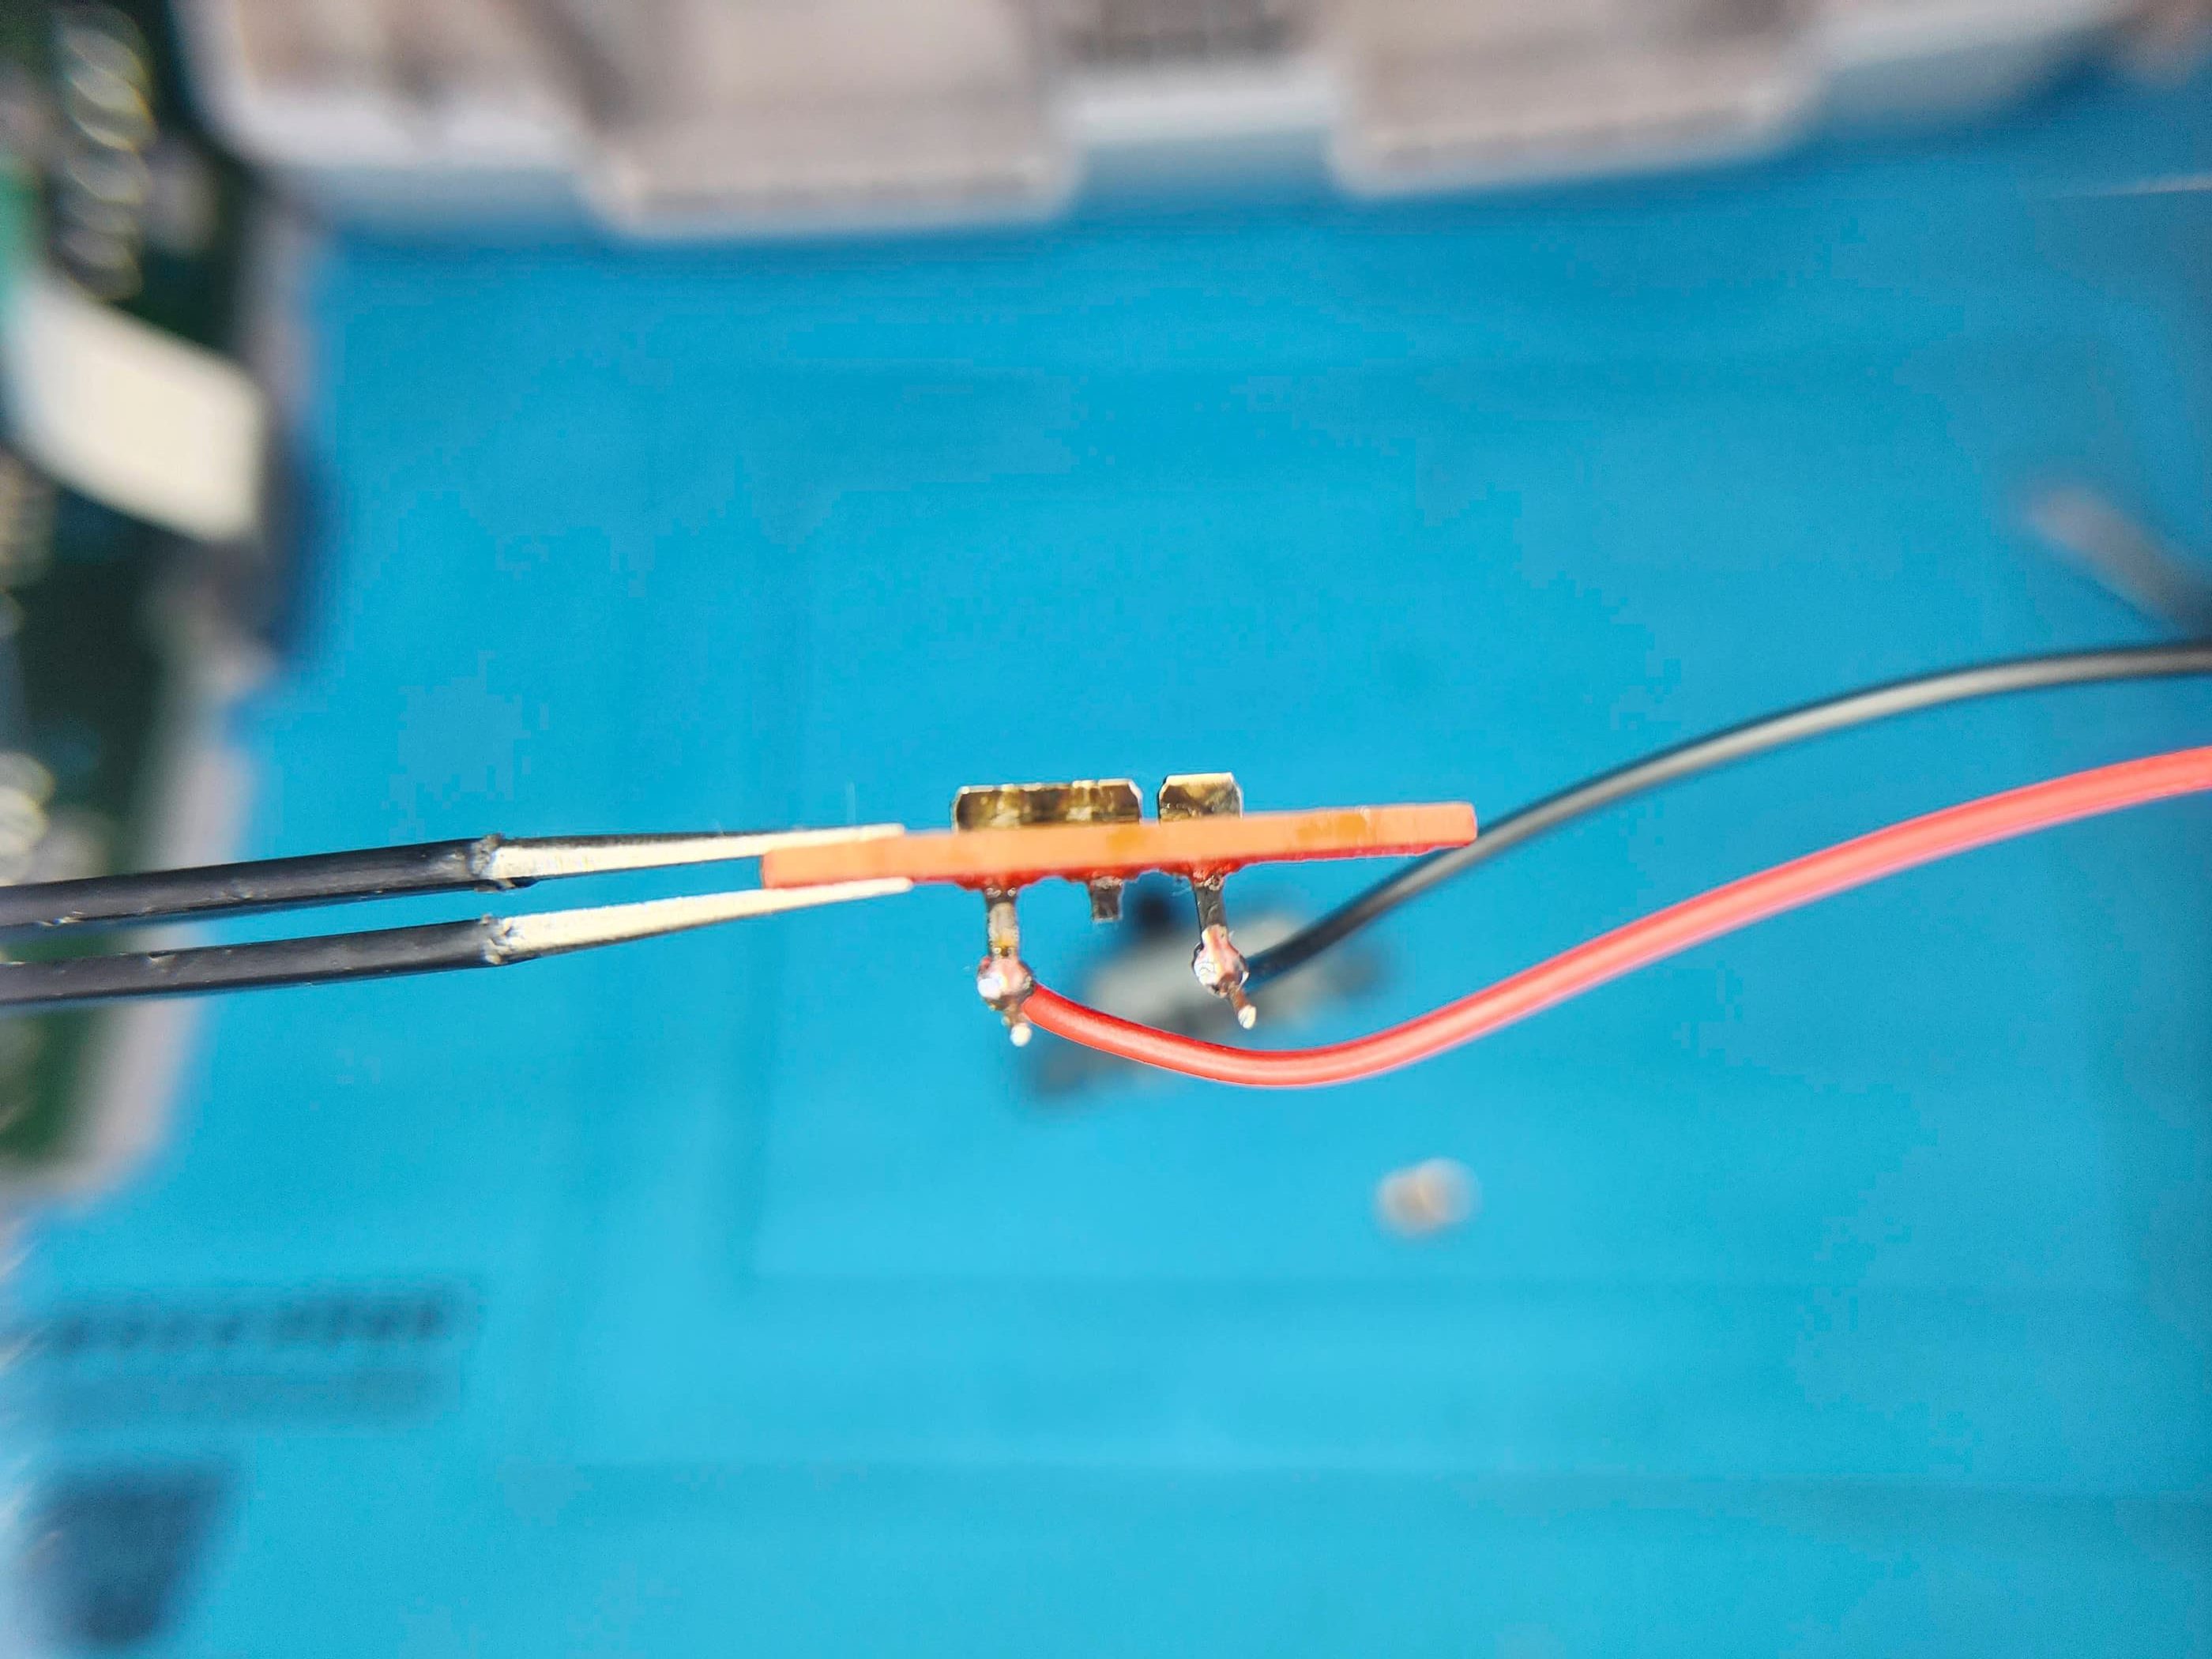
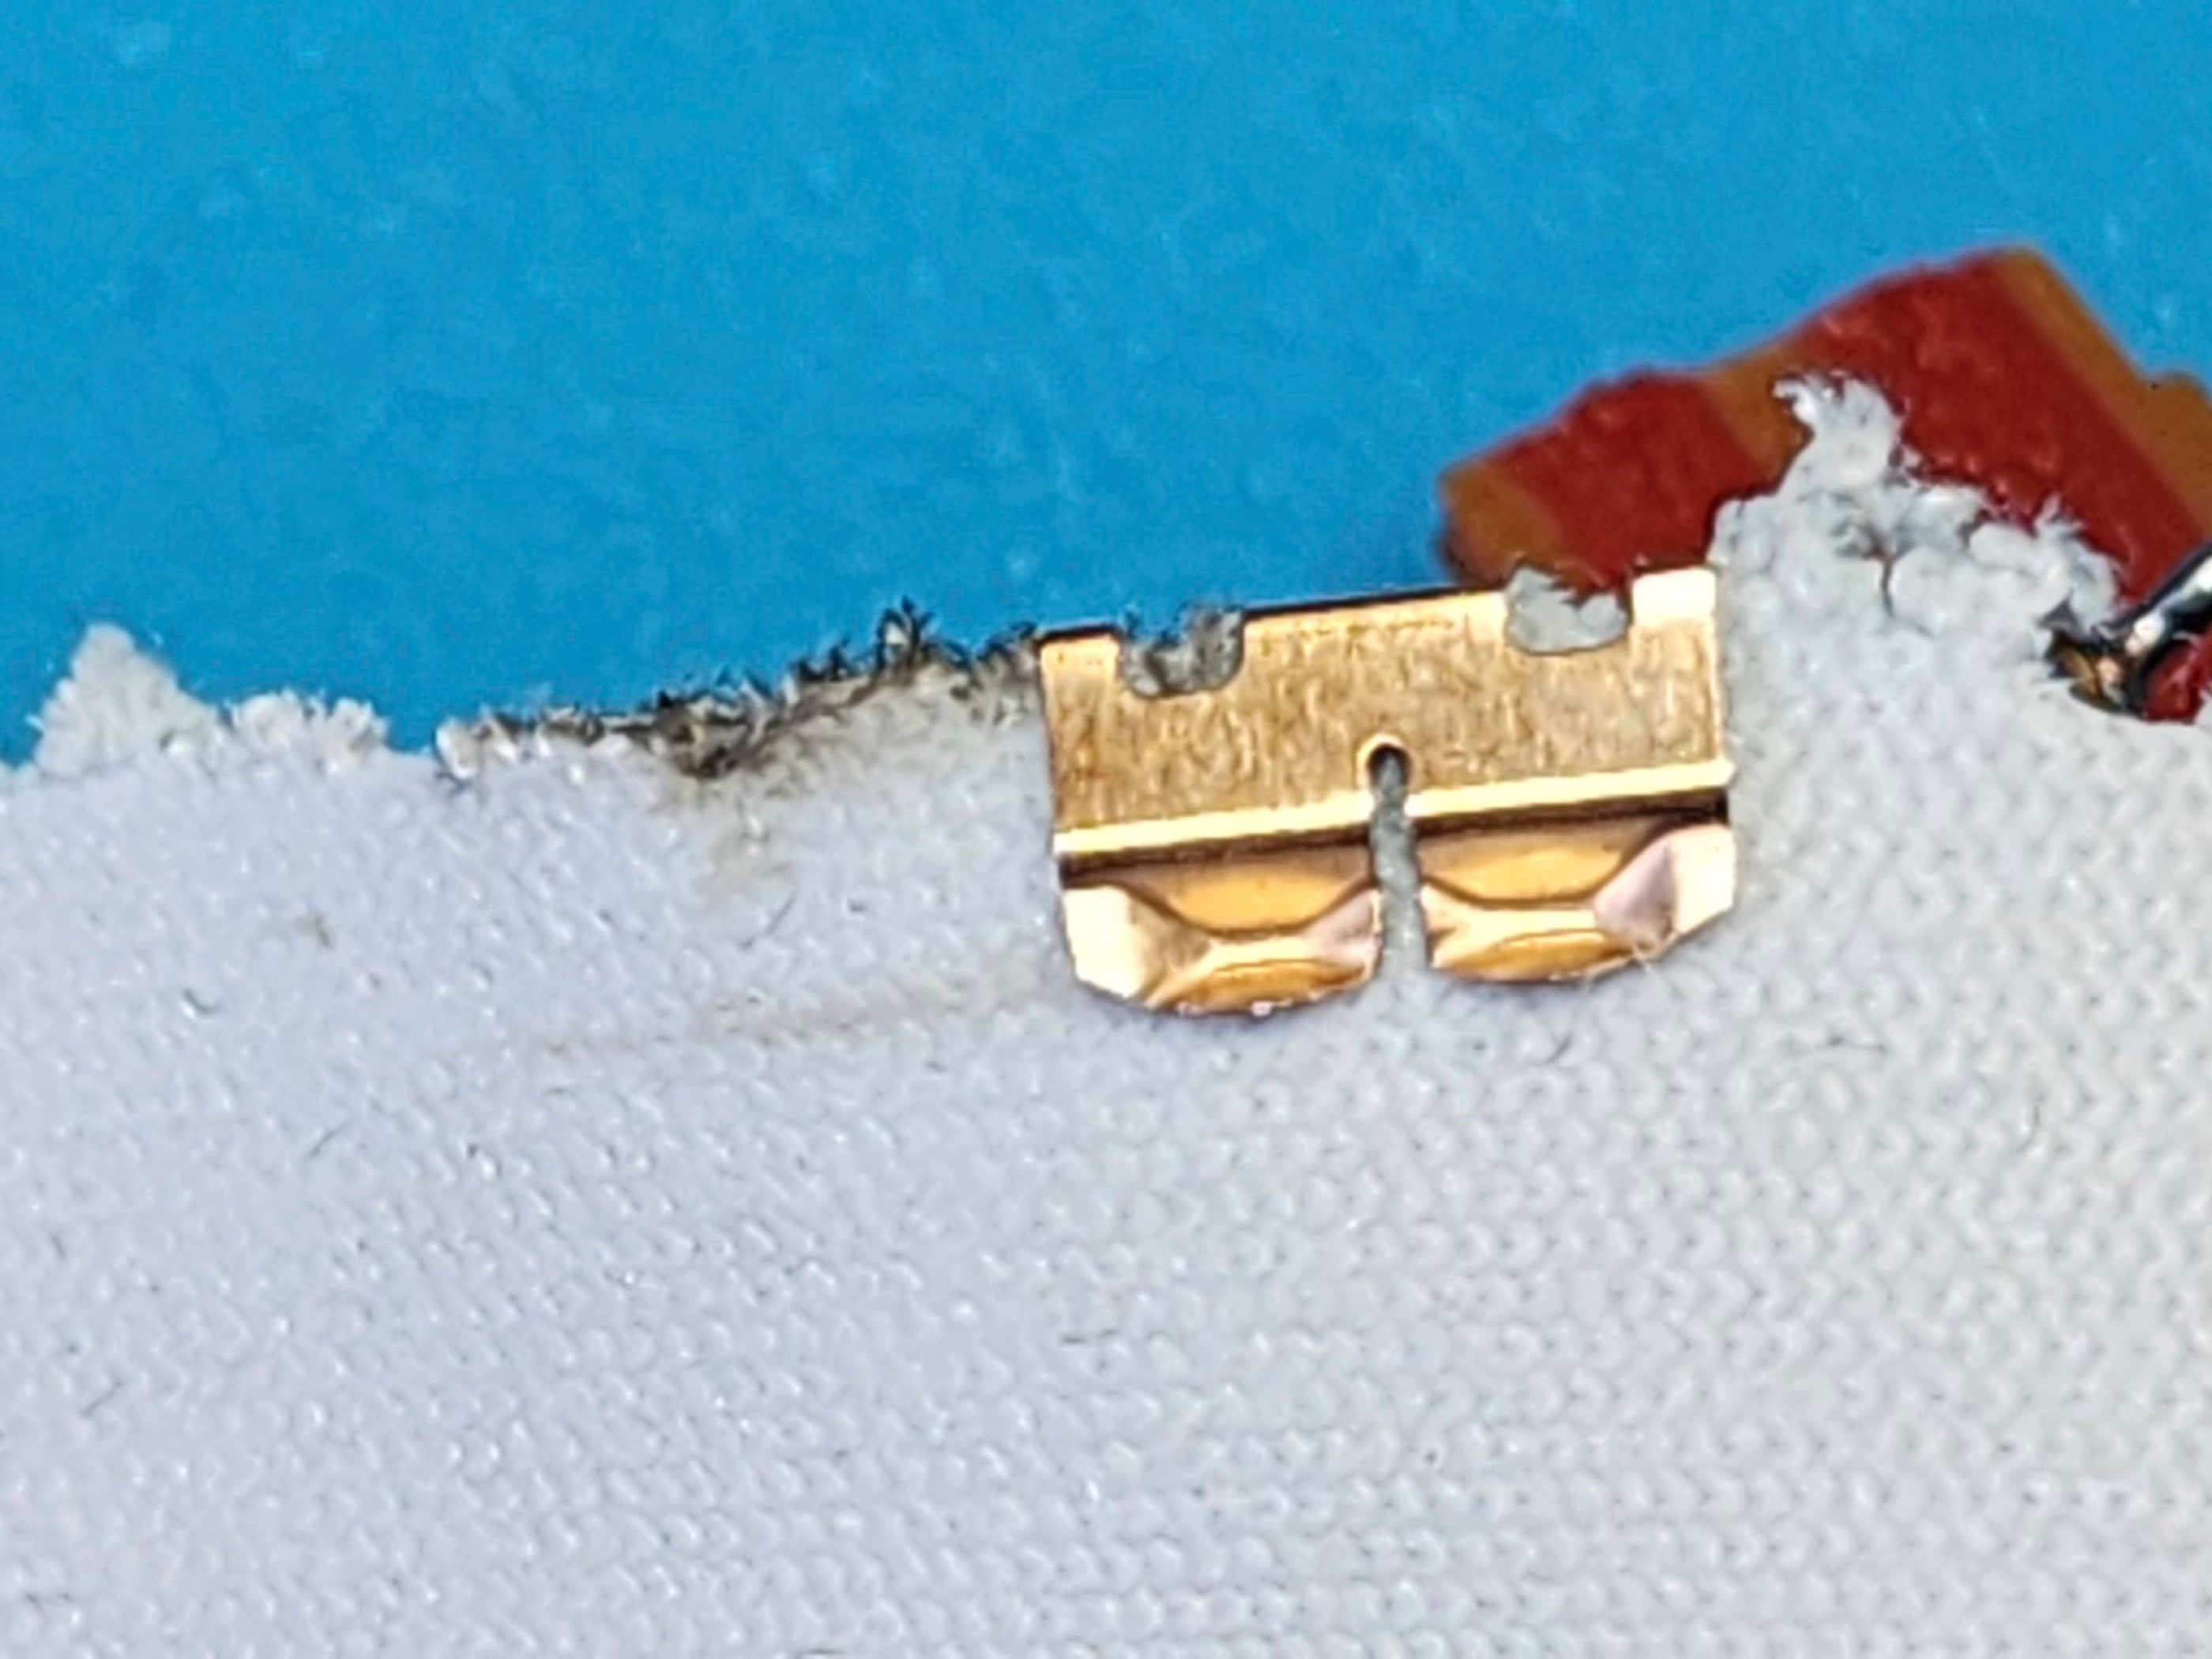
I then partially assembled the unit and powered it on. Success! The sound issue was fixed as well! I then disassembled the unit again and removed the speaker and the battery wires and contacts, a couple of which, were quite corroded and which corresponded with where the green staining occurred inside the casing. I then gave the unit a thorough cleaning before reassembling it and testing it for an extended period of time. Everything worked nicely with either the power adapter or with the batteries, though at some point, I may have to replace the unit’s screen.
As for the Powerback, I disassembled it to inspect the 7.2V 1300mAh Ni-Cd battery. After noting cracks and suspicious bulging on the battery, I removed it and clipped the connection off the end. I then disposed of the battery and placed the Powerback board and casing off to side. One day I will replace the battery with an upgrade, but not today. For now, I’m happy with having a fully working Game Gear. 🙂
Parts & Products Used: 99% isopropyl alcohol; Chemical Guys Natural Shine; Main board electrolytic capacitors (radial) – 6.3v 100 μF (2), 10V 22 μF (1), 10v 33 μF (1), 10v 68 (1), 16v 10 μF (4), 25v 68 μF (1), 50v .47 μF (2), 50v 47 μF(1); Power Board electrolytic capacitors (radial) – 10v 820 μF (1), 25v 100 μF (1), 35v 22 μF (1); Audio Board electrolytic capacitors (radial) – 10v 47 μF (2), 16v 100 μF (1); electrolytic capacitors (SMD) – 6.3v 100 μF (2)

Sega Genesis I (#1)
Years (1989-1999)
Interesting fact: With the Master System unable to loosen the NES’s hold on the market, Sega shifted strategies and produced the Genesis (Mega Drive in Europe and Japan), a 16-bit console that far-surpassed anything Nintendo had to offer. Launched in 1989, it wasn’t until 1991 when Sega found its own version of Mario in, Sonic the Hedgehog, that sales really took off. (source)
Condition When Acquired: Fully Functional
Current Condition: Fully Functional
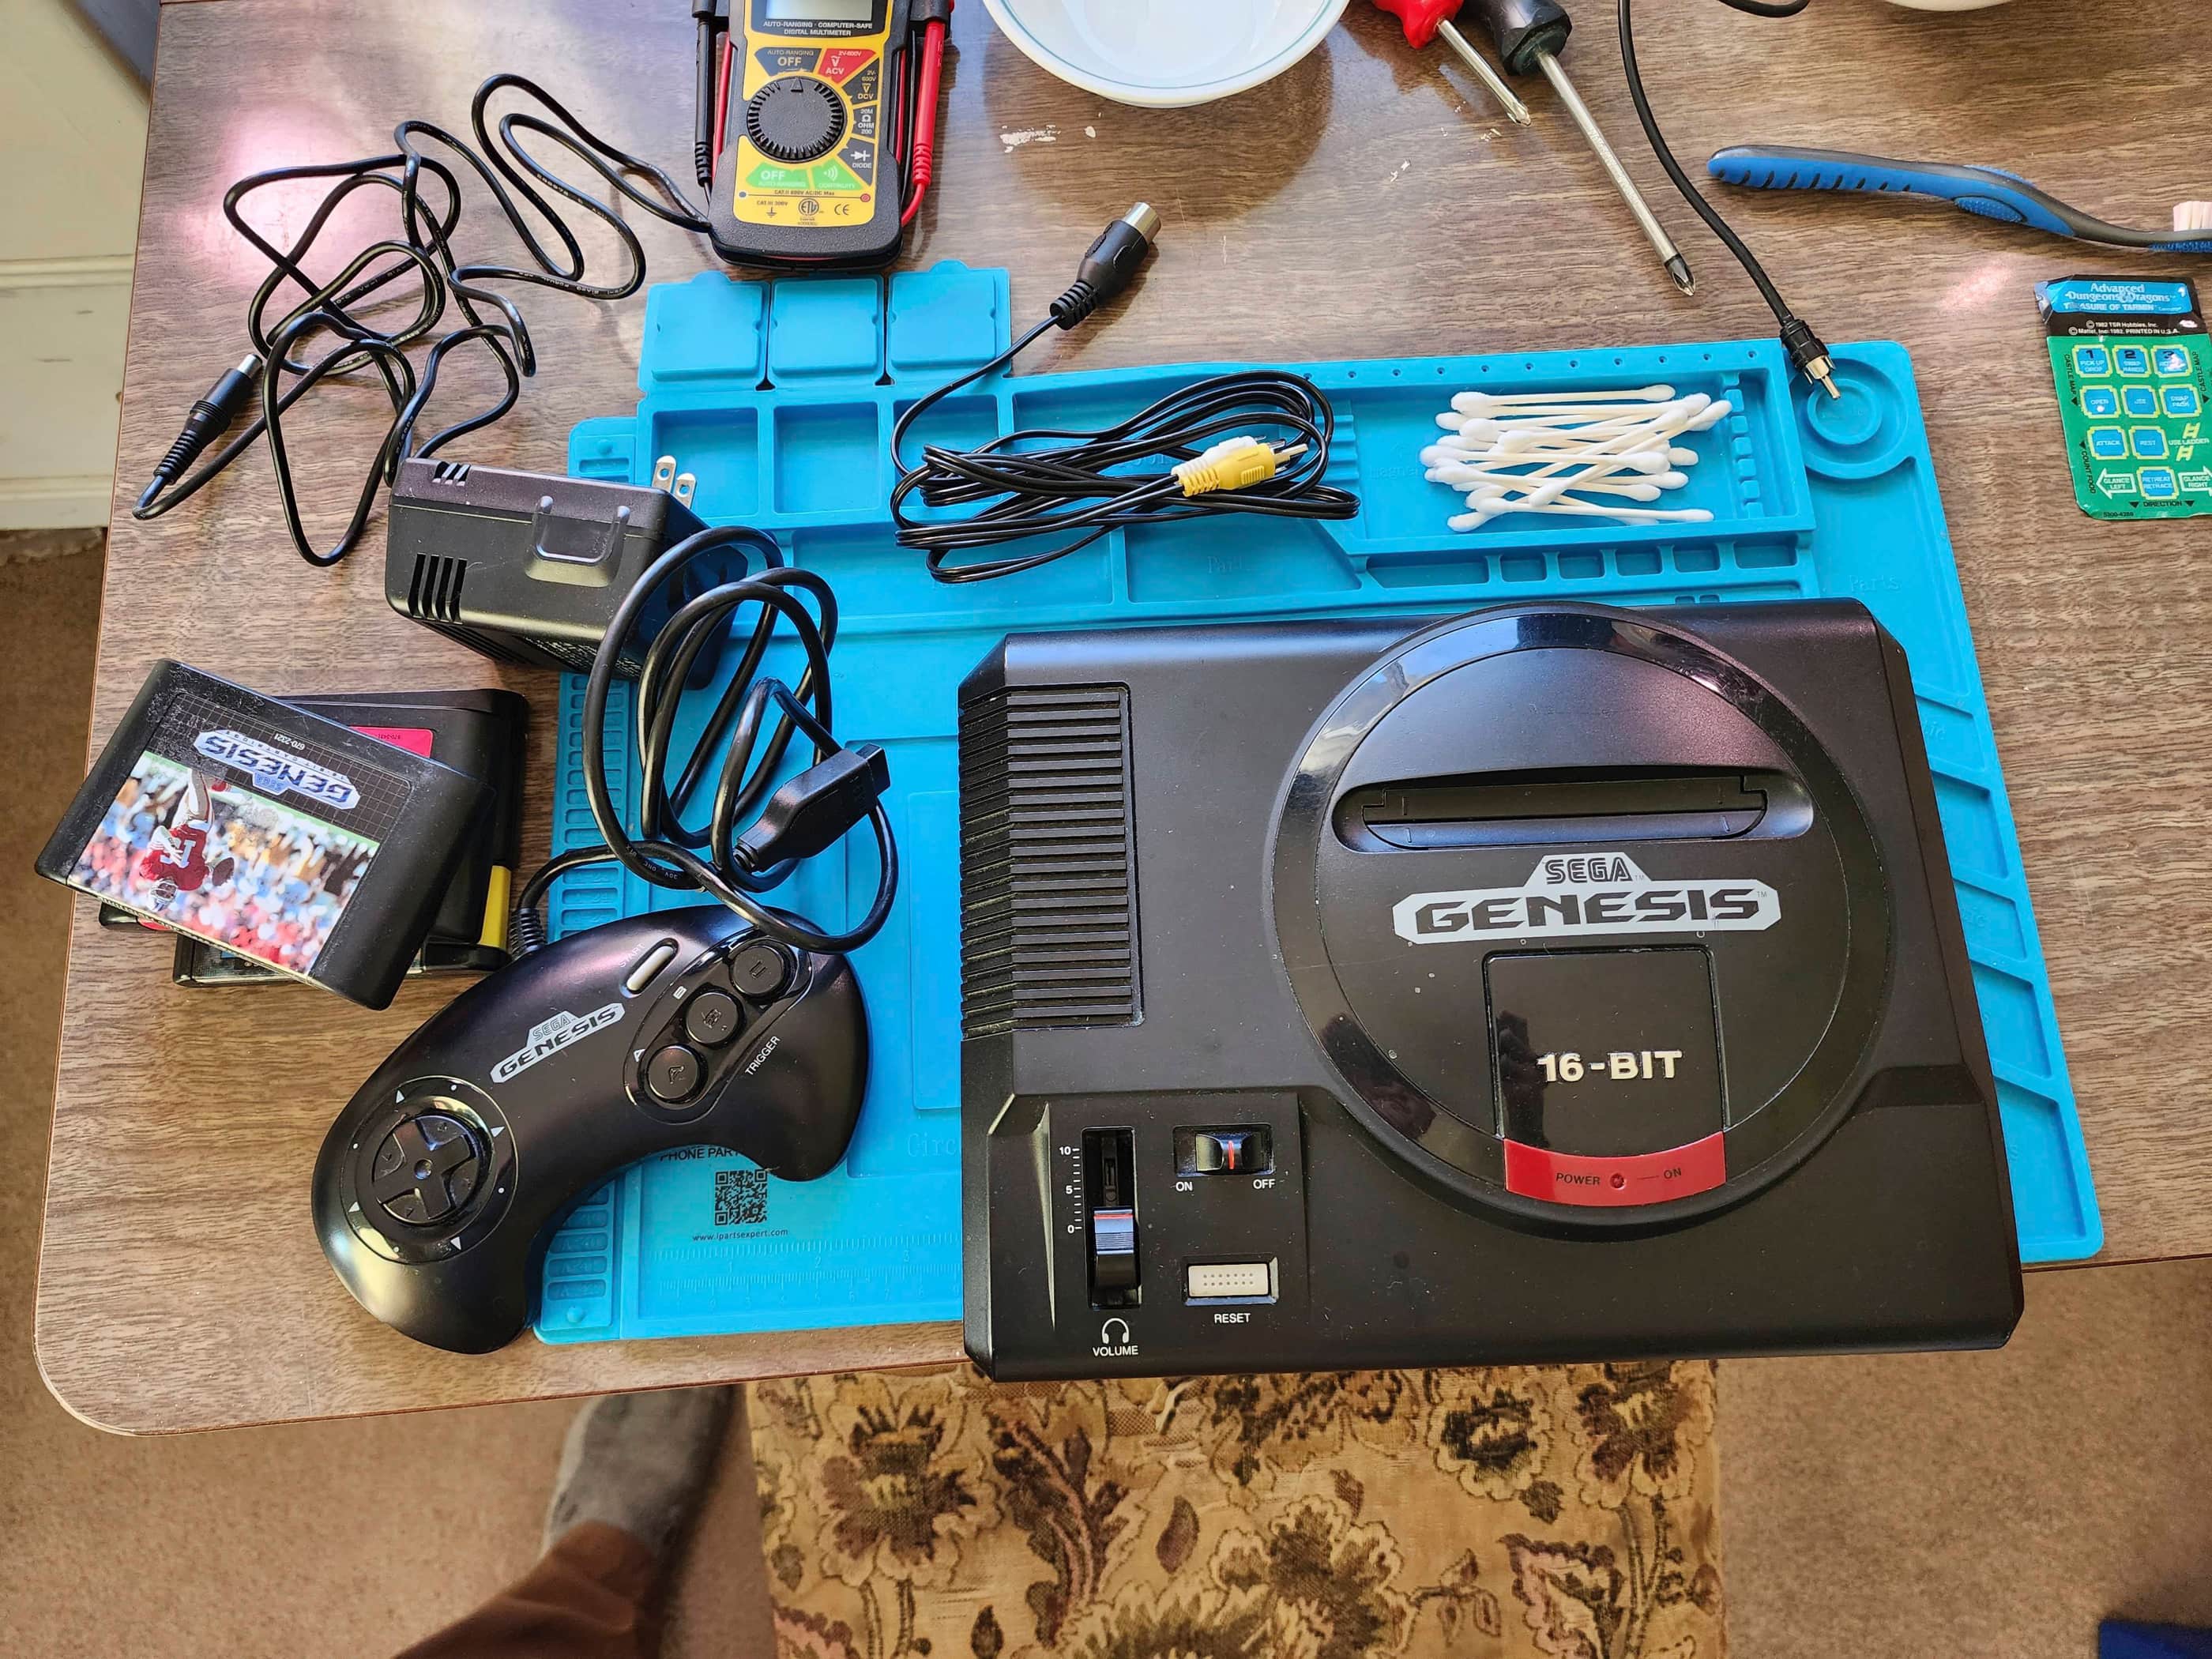
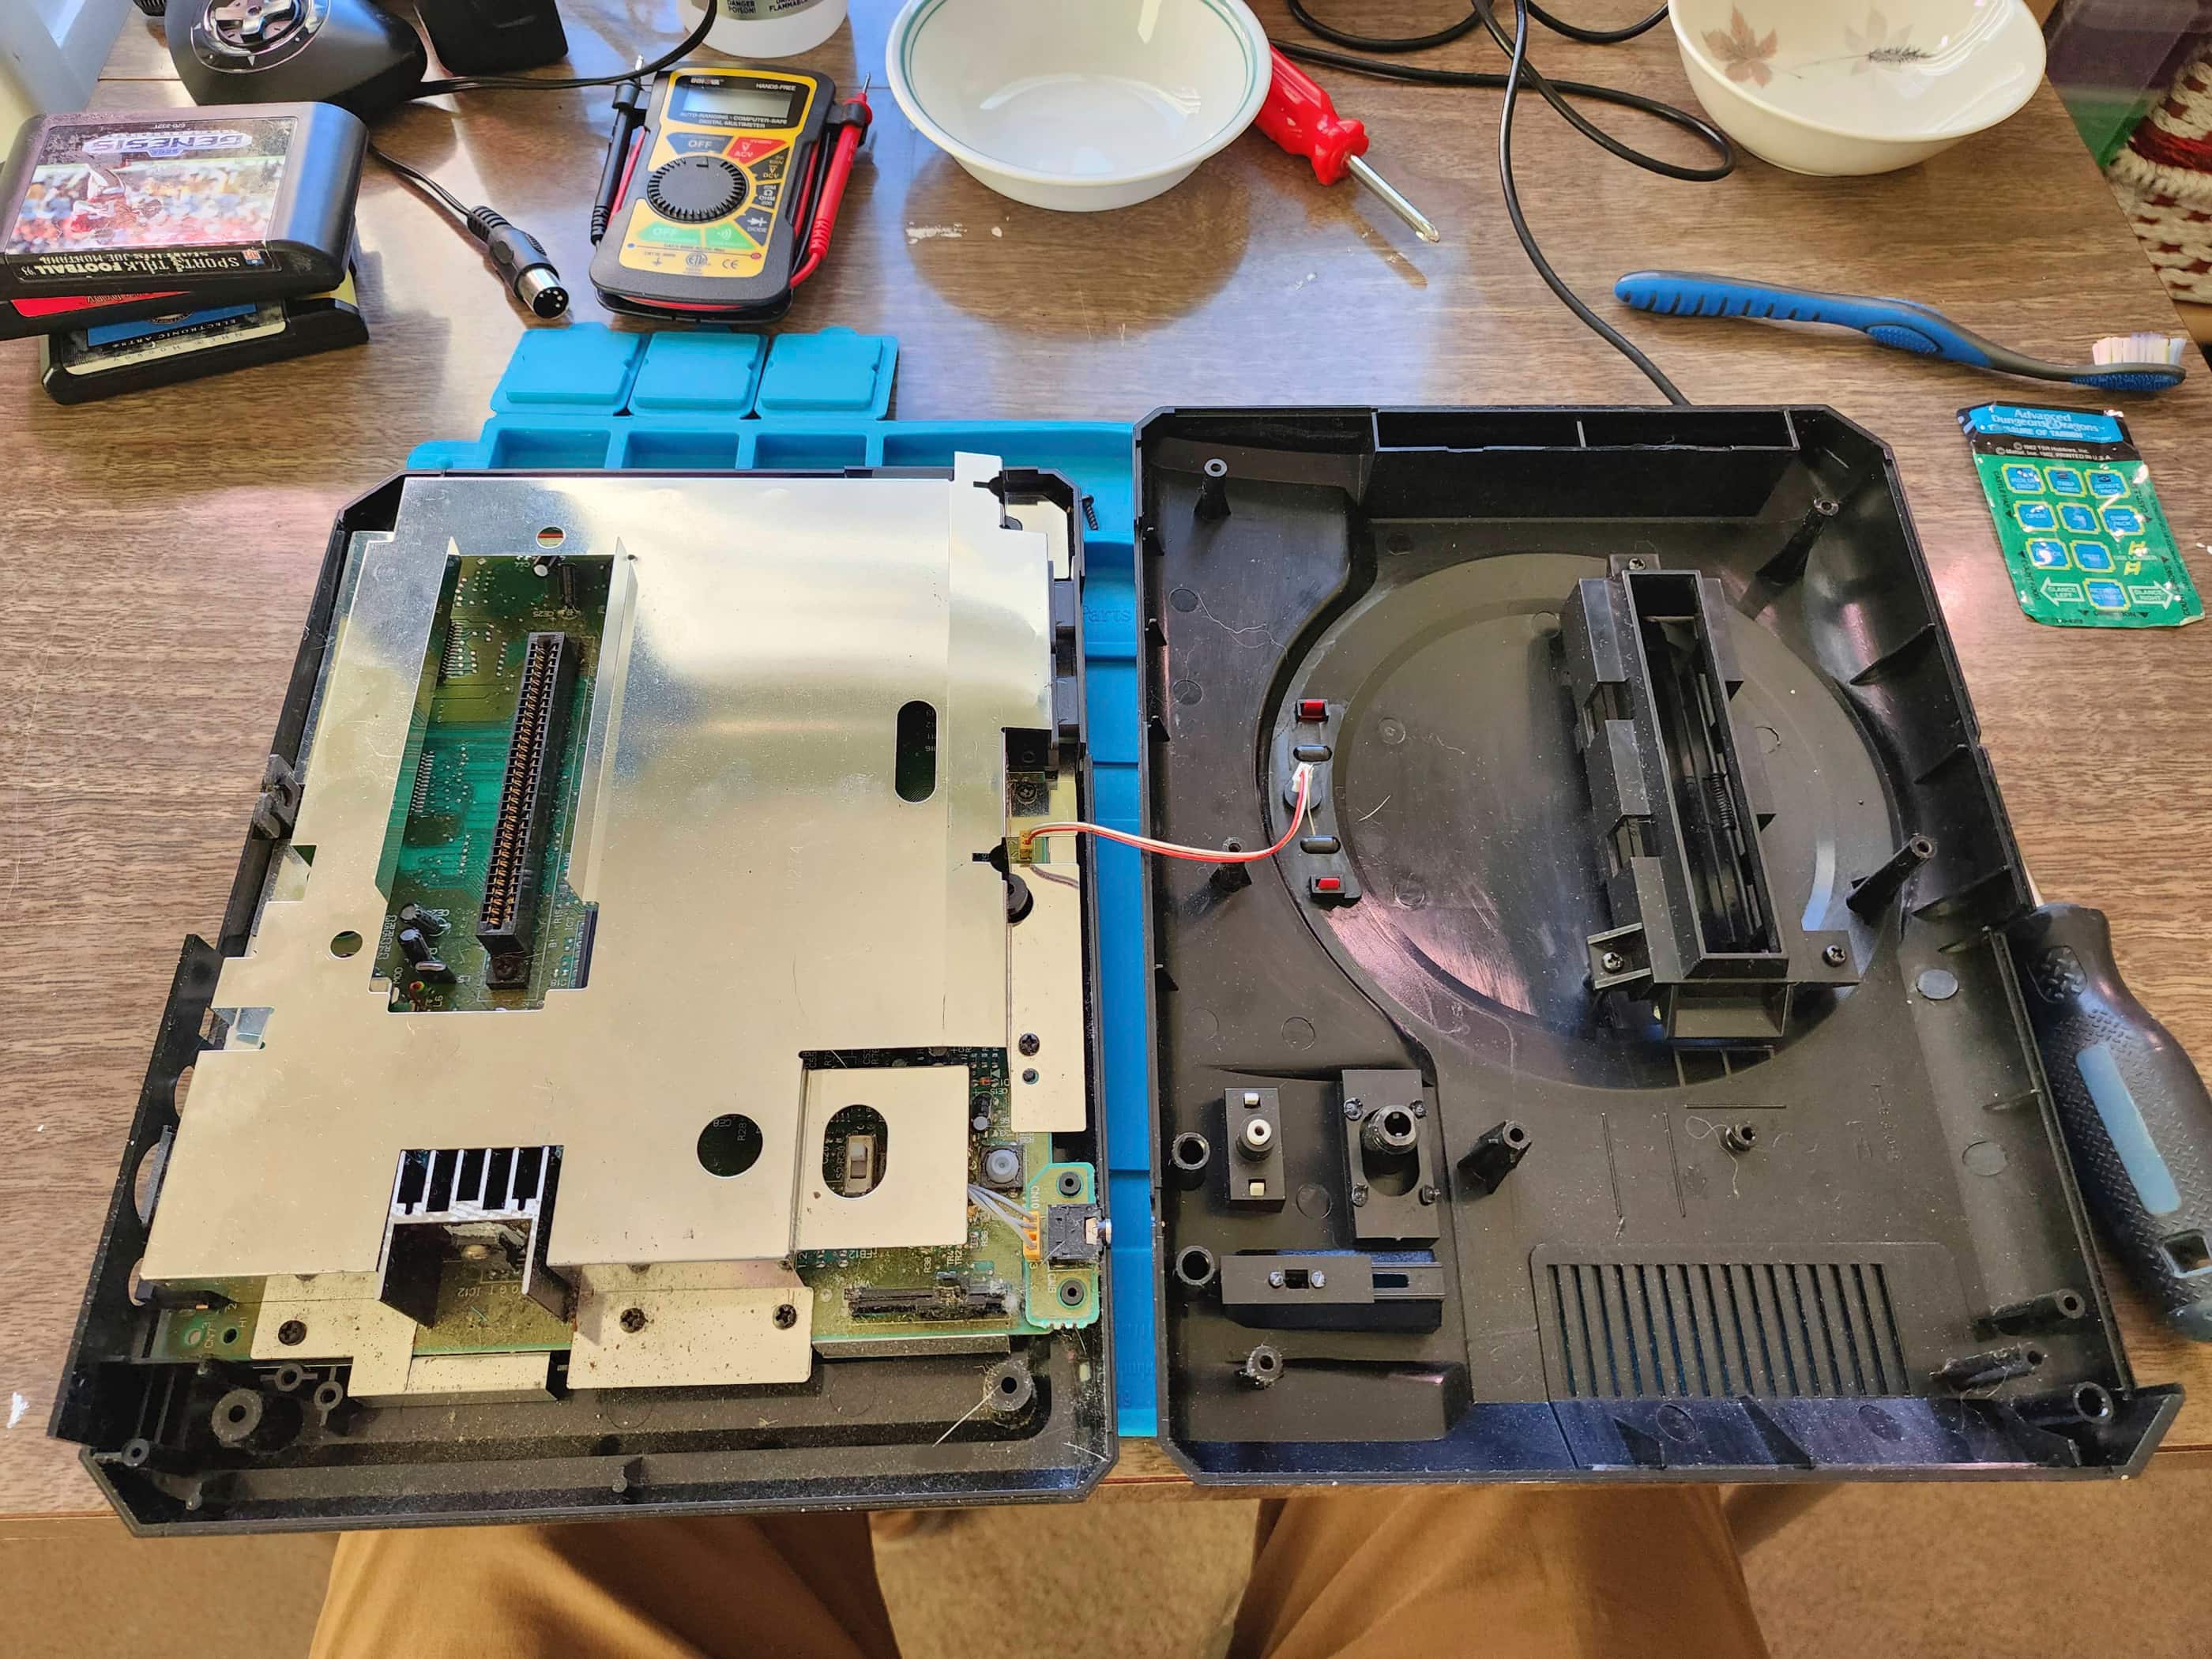


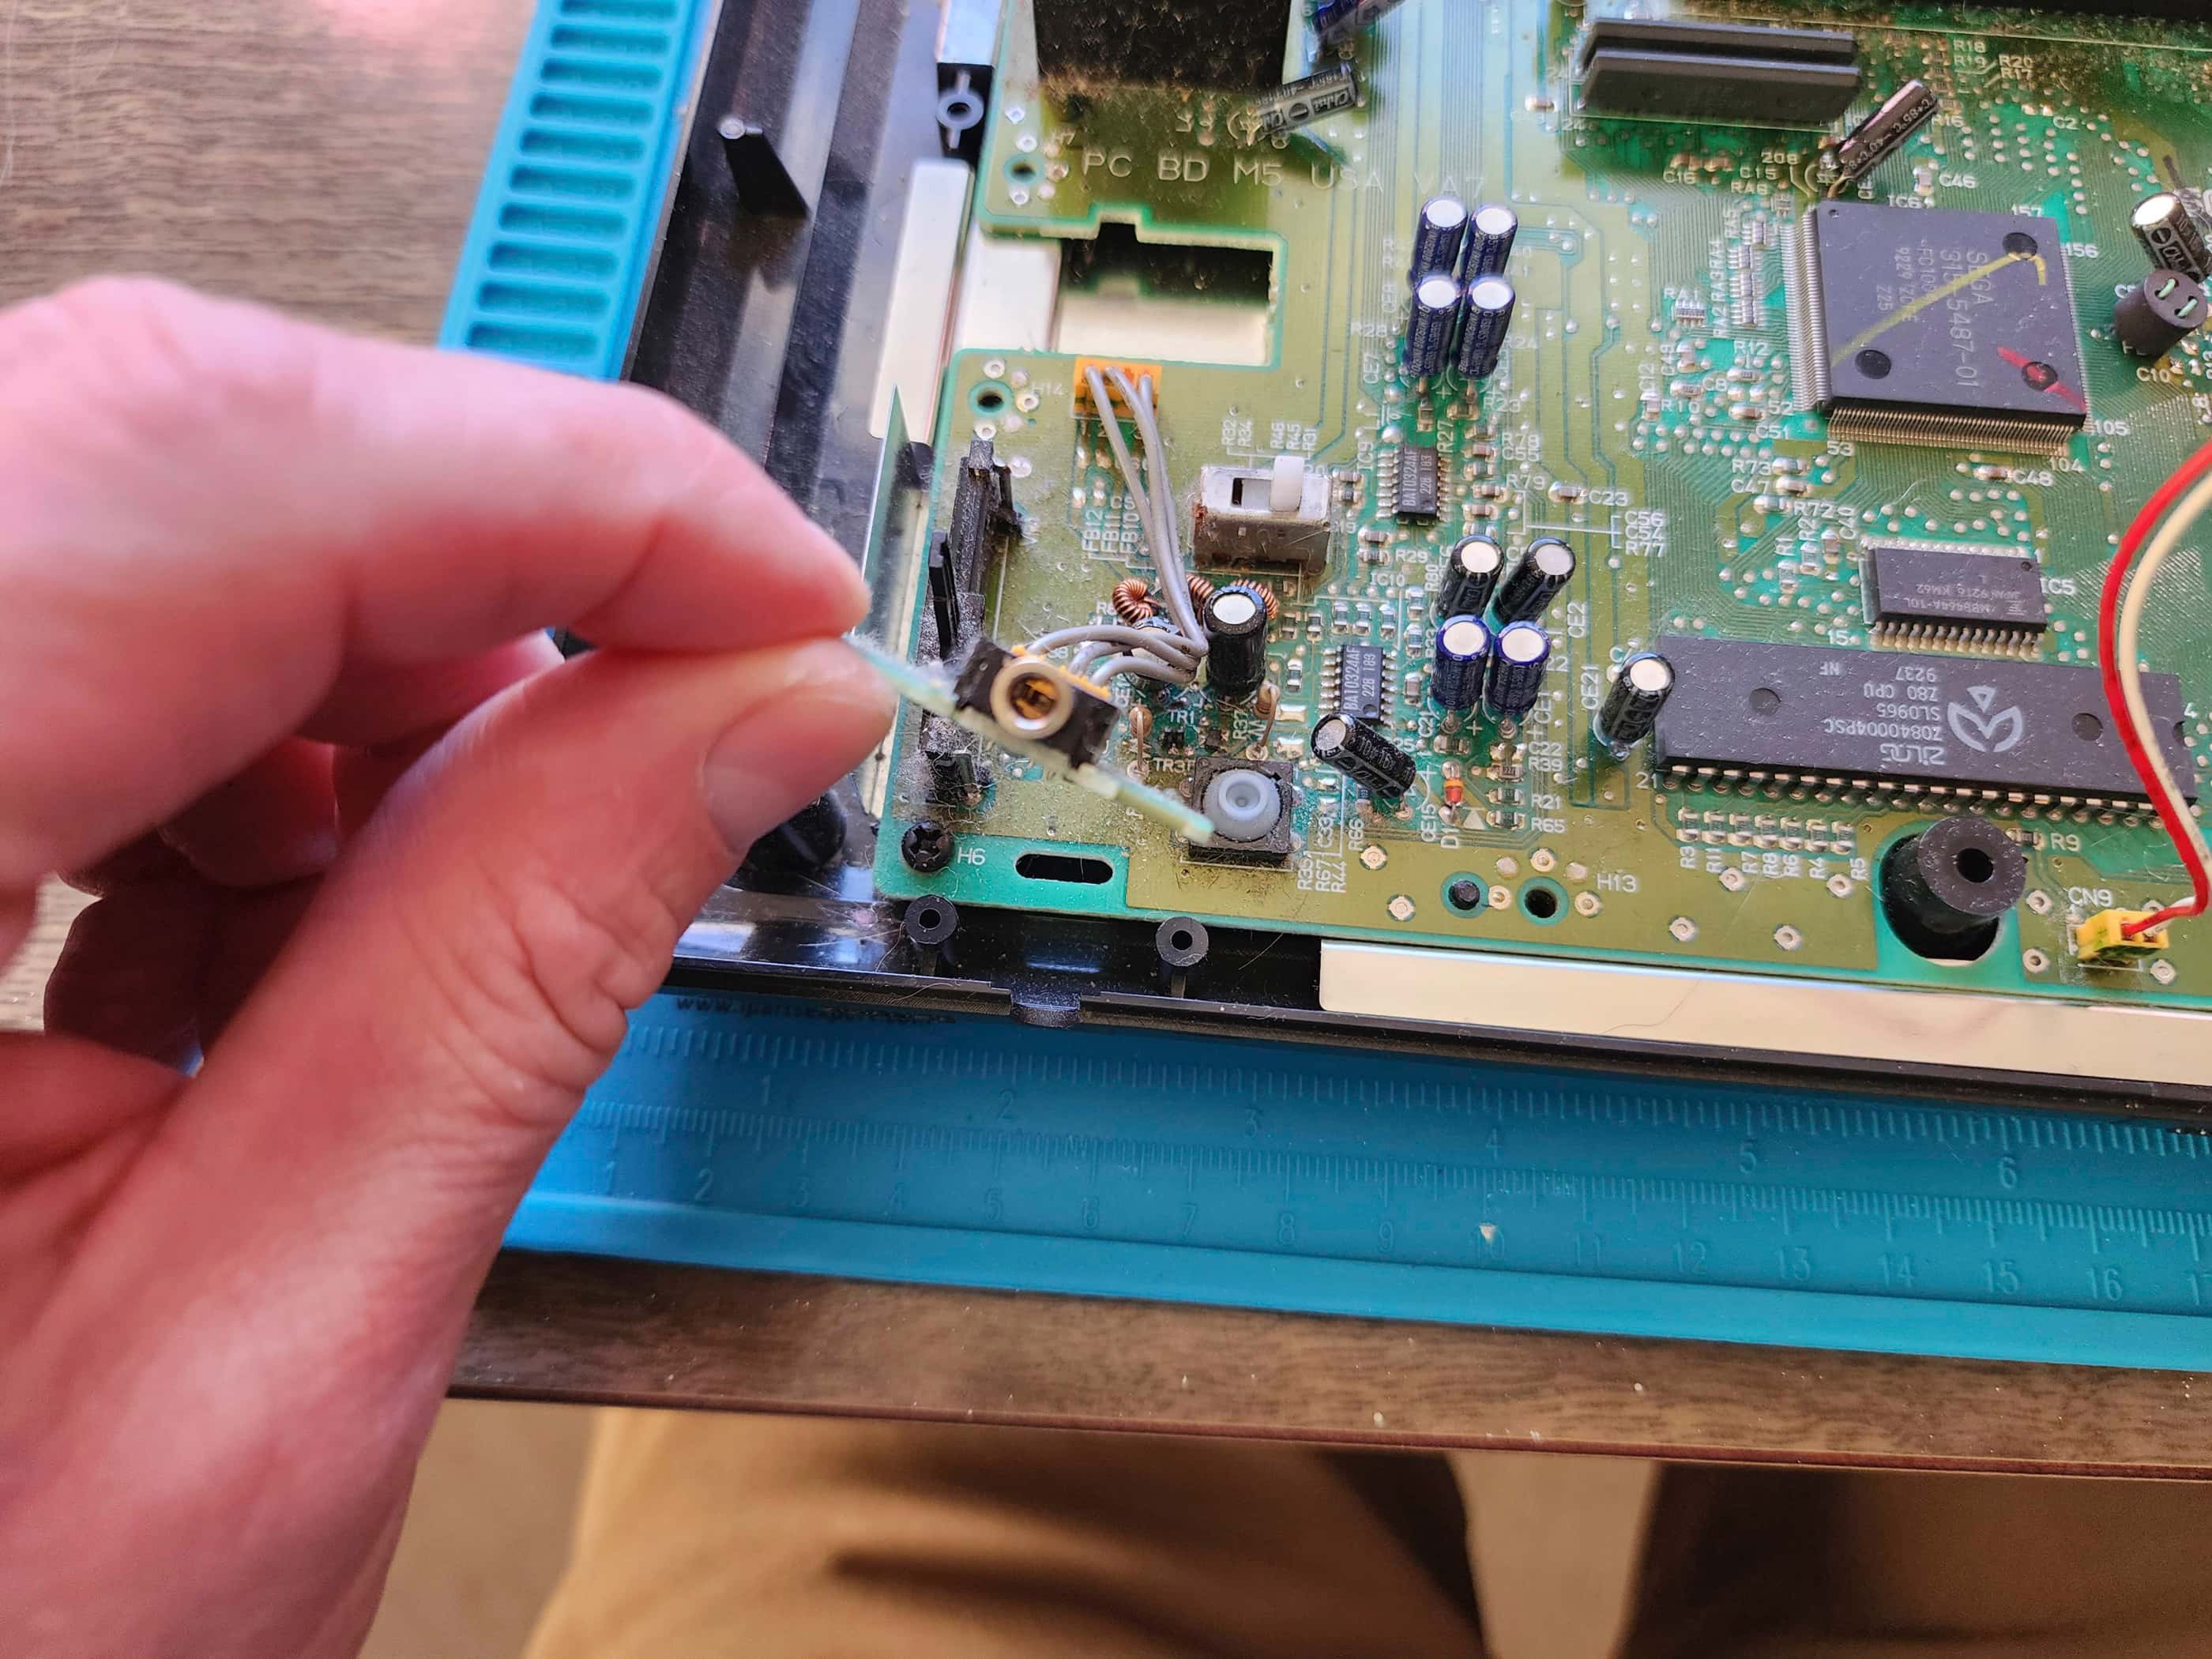

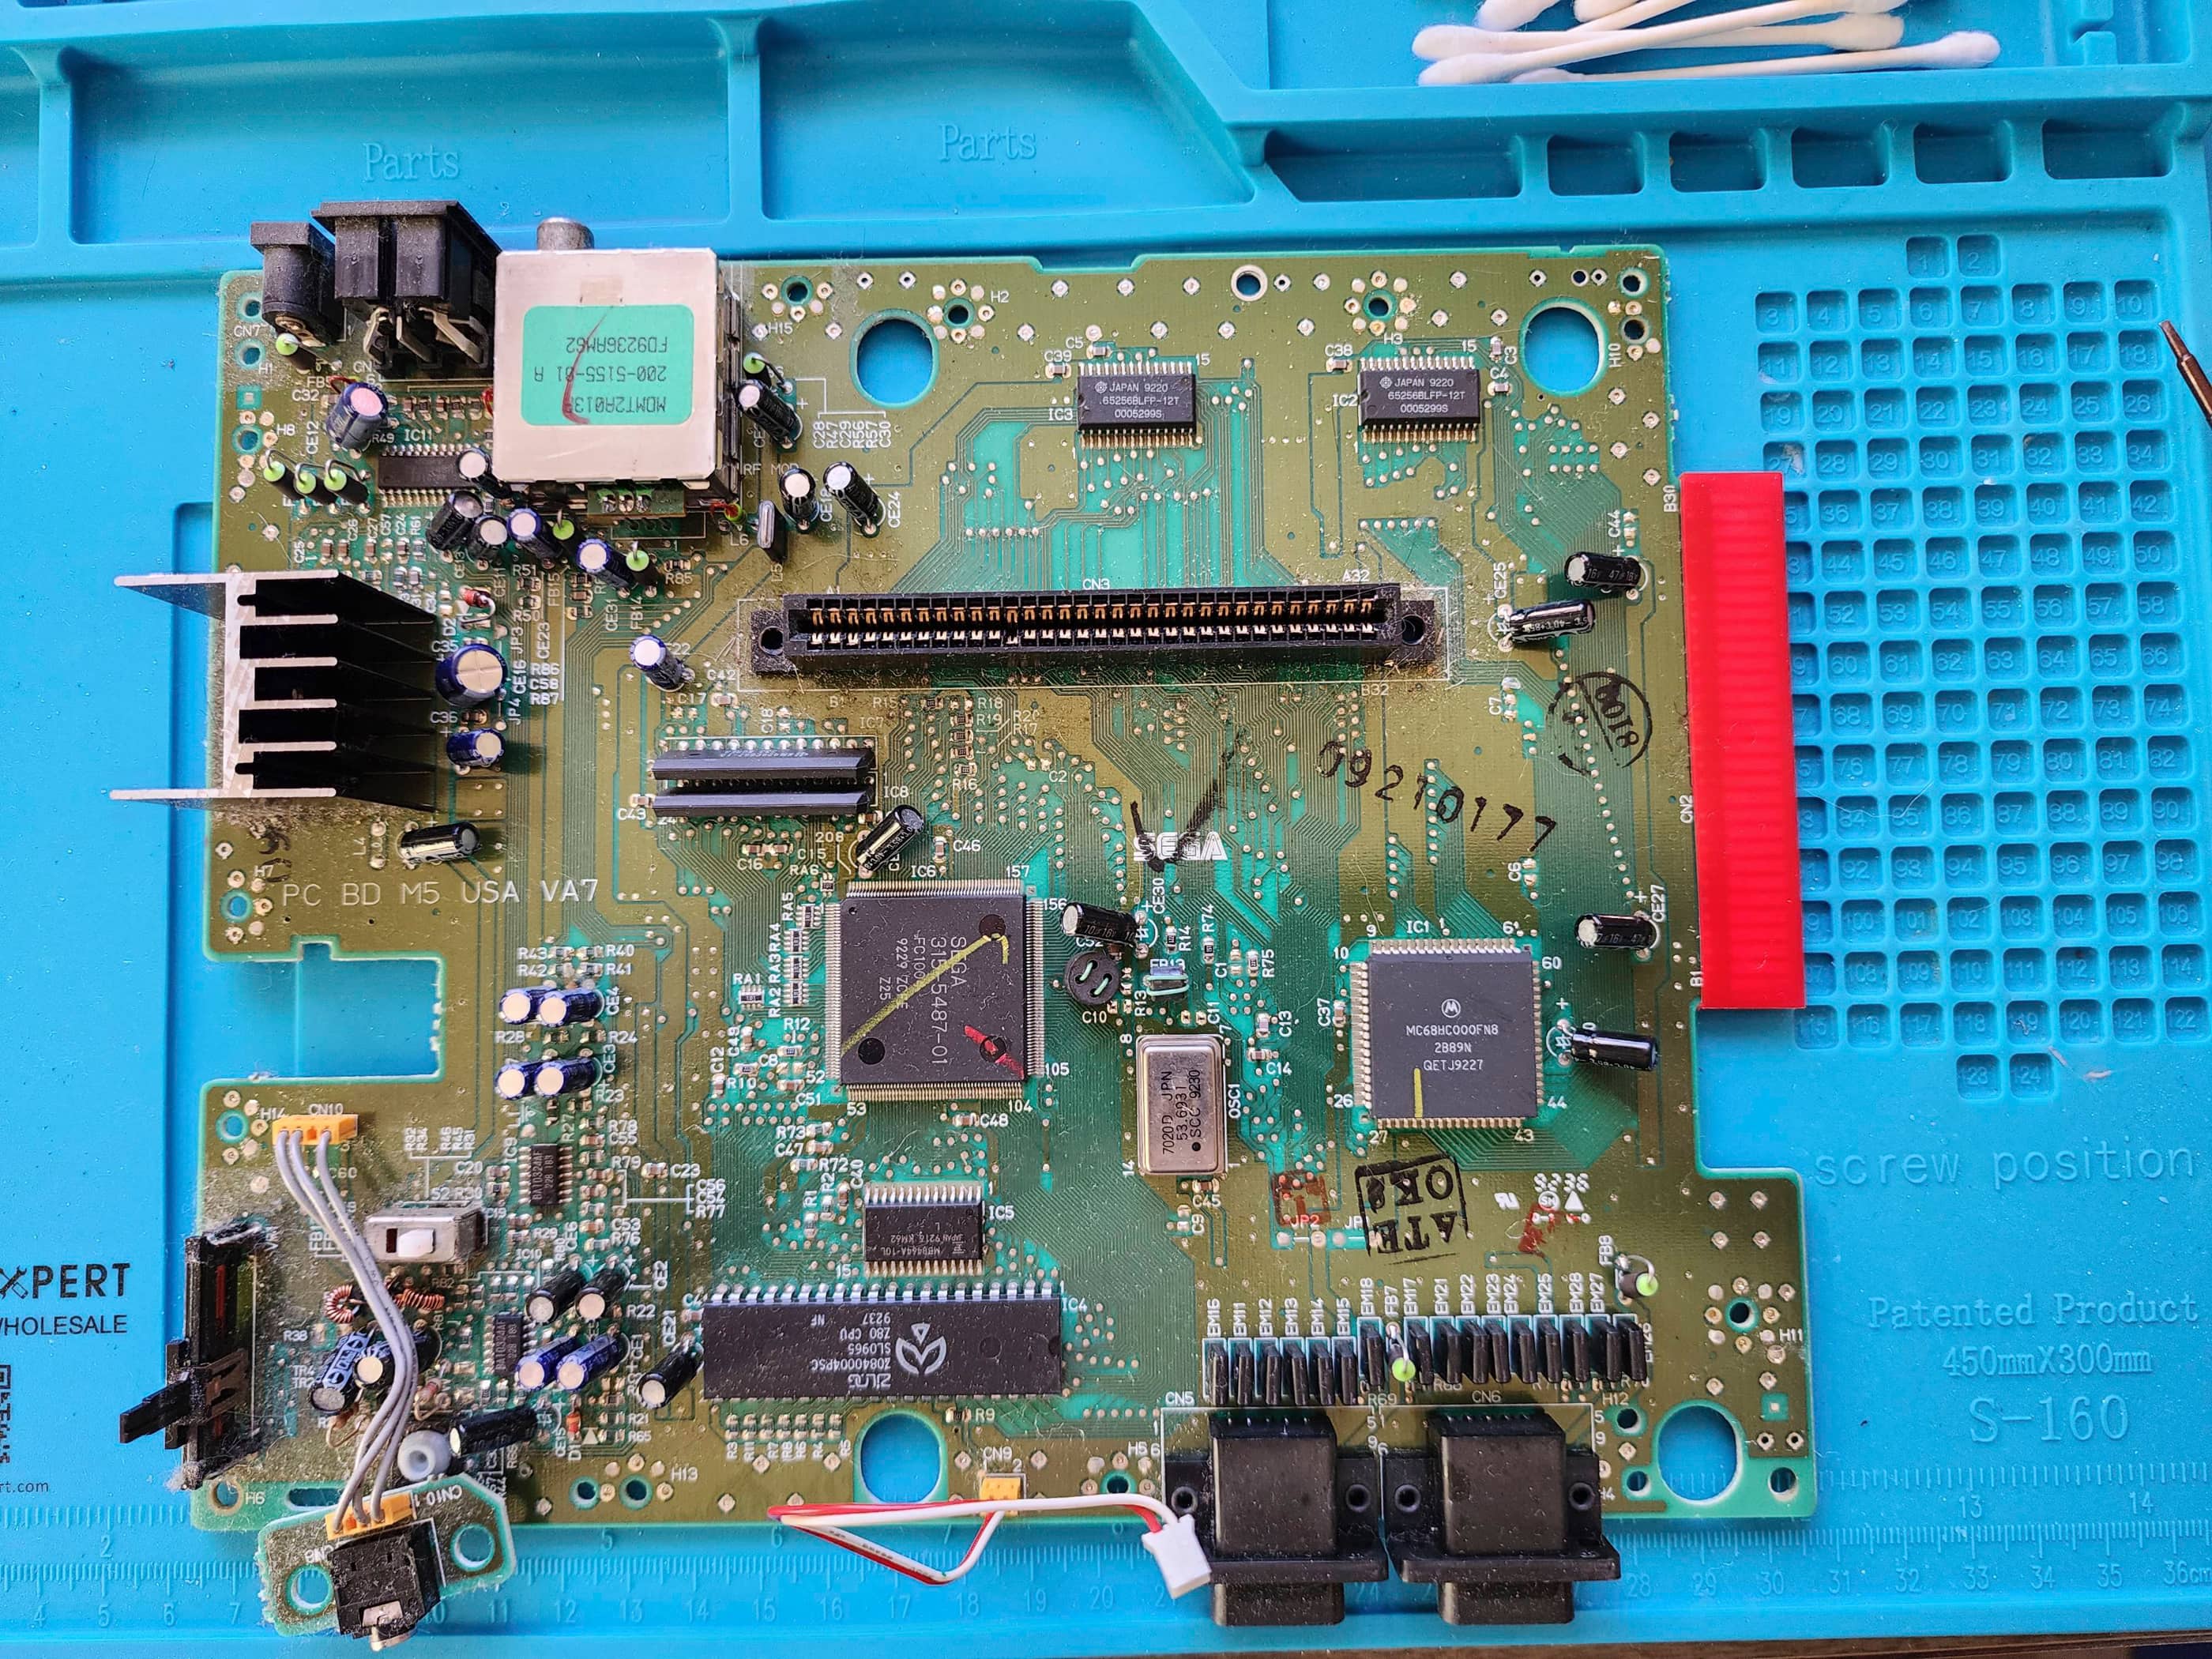


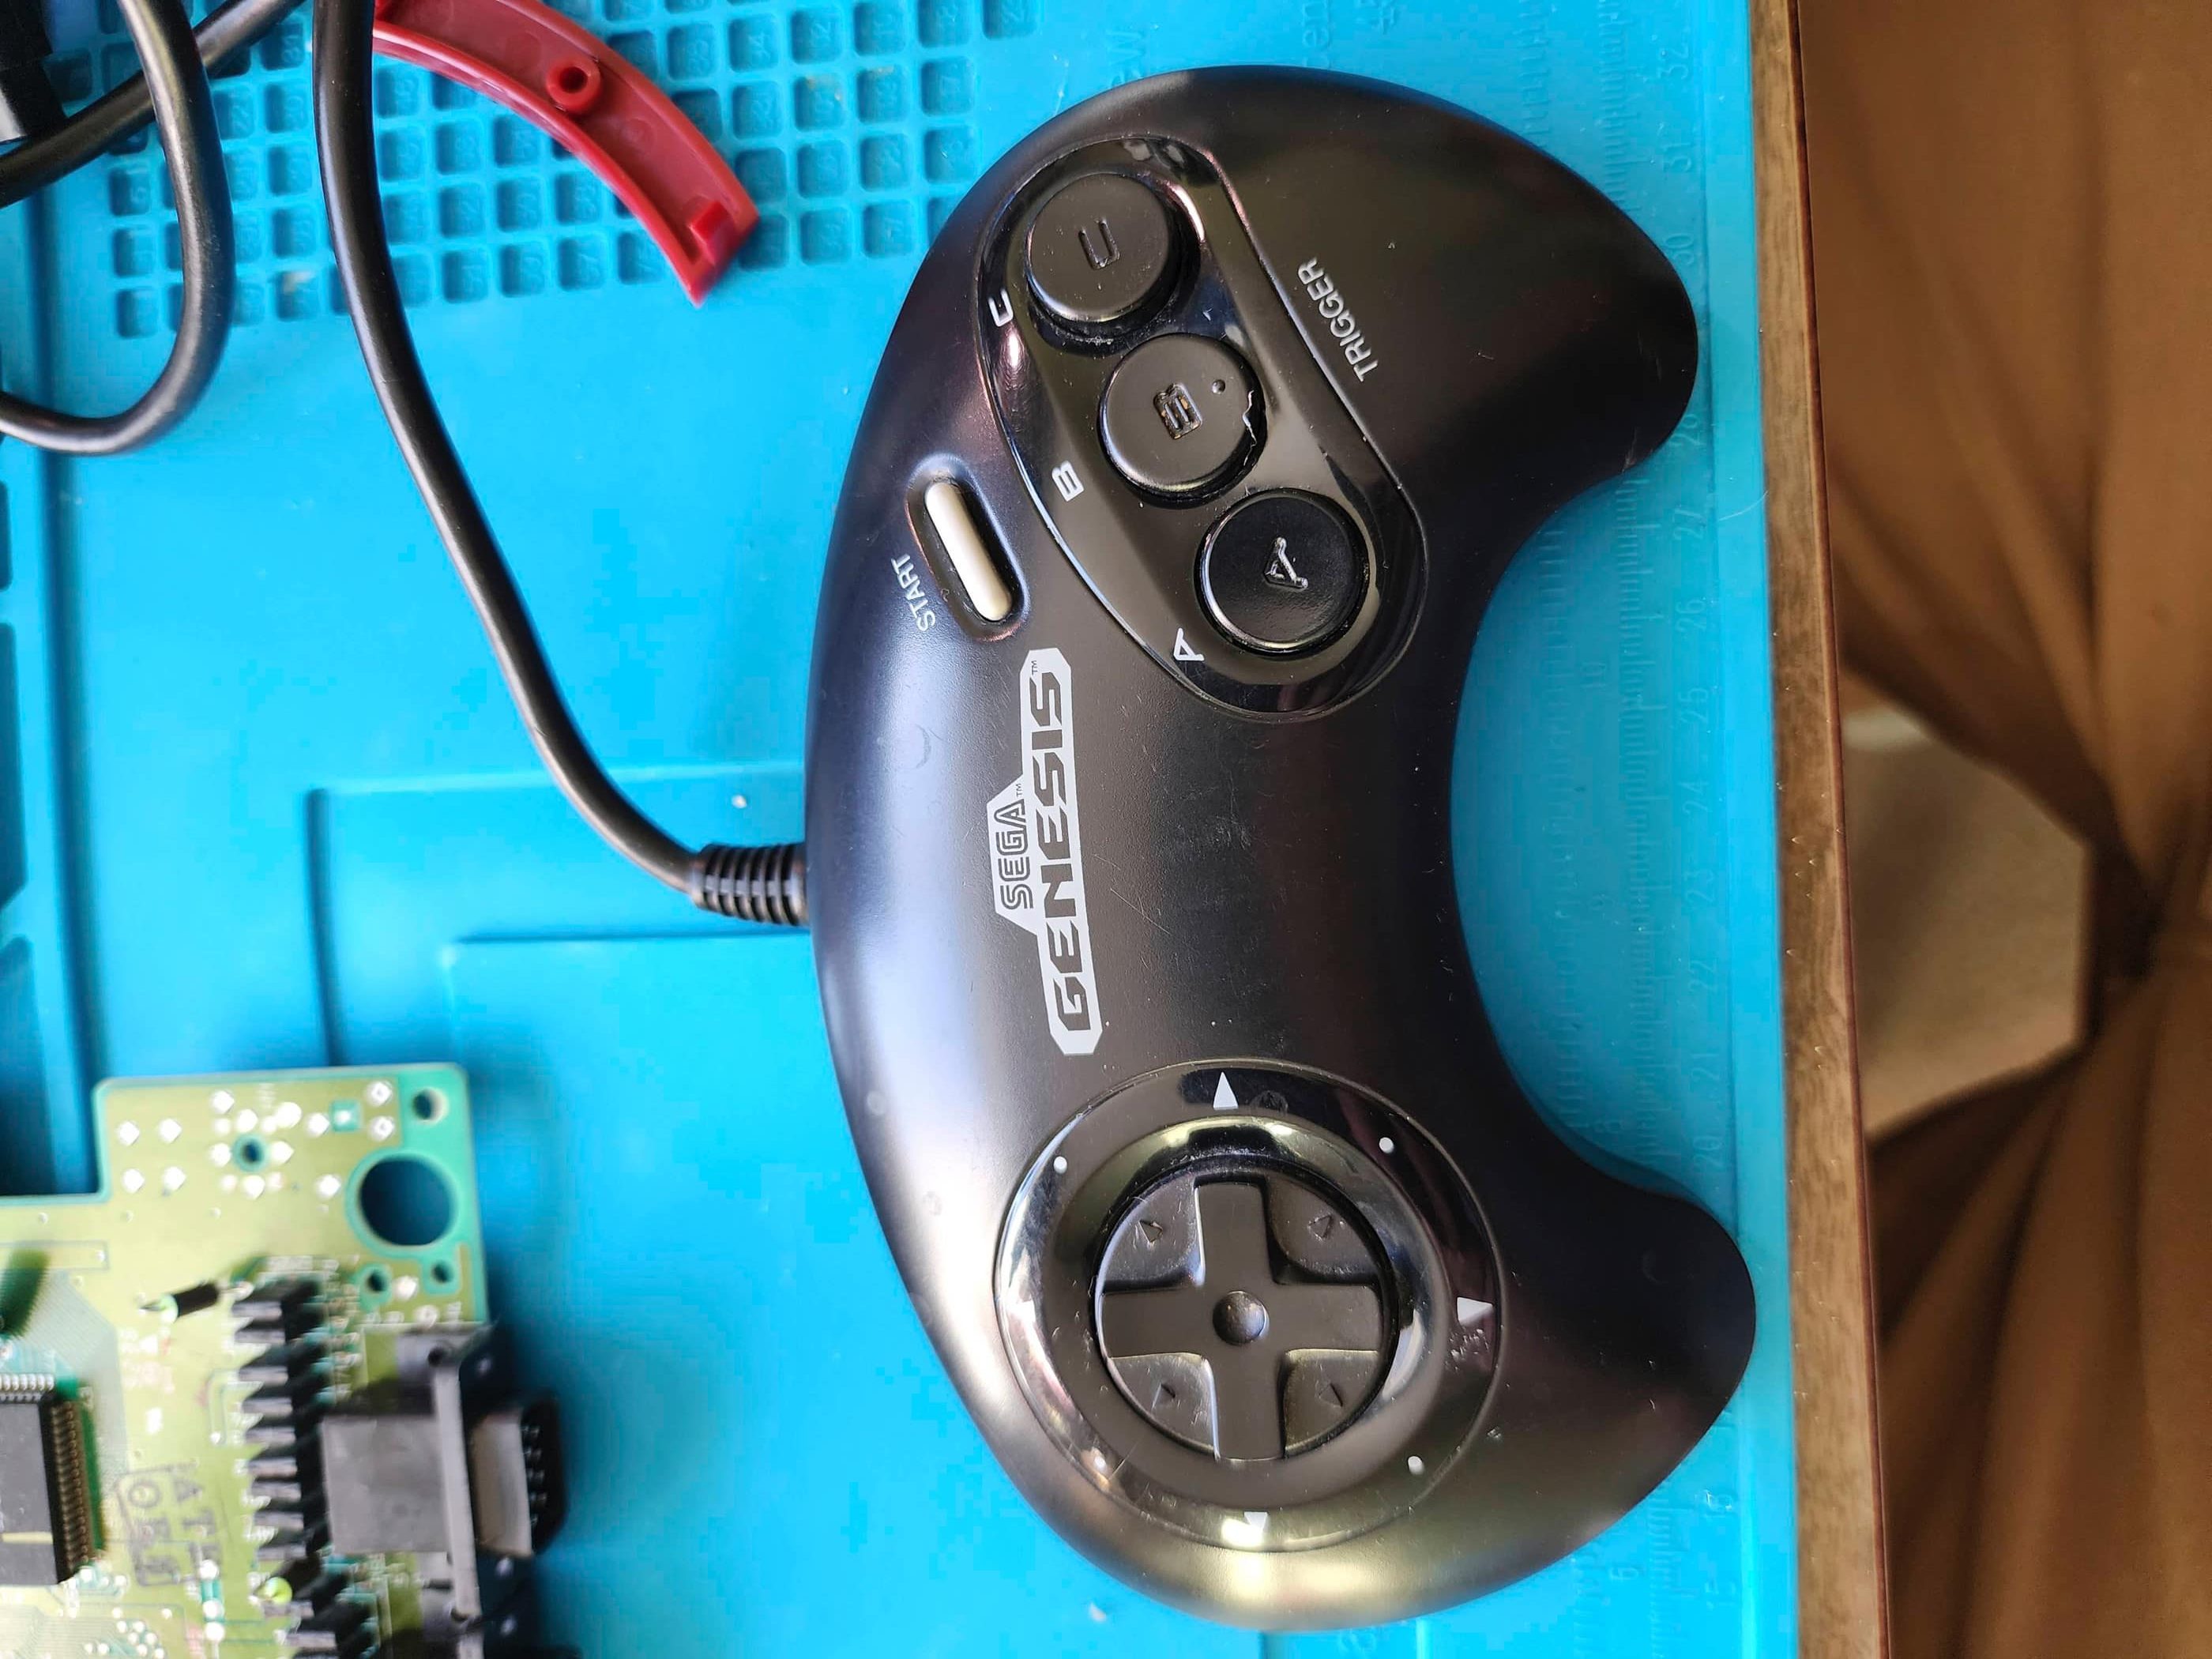
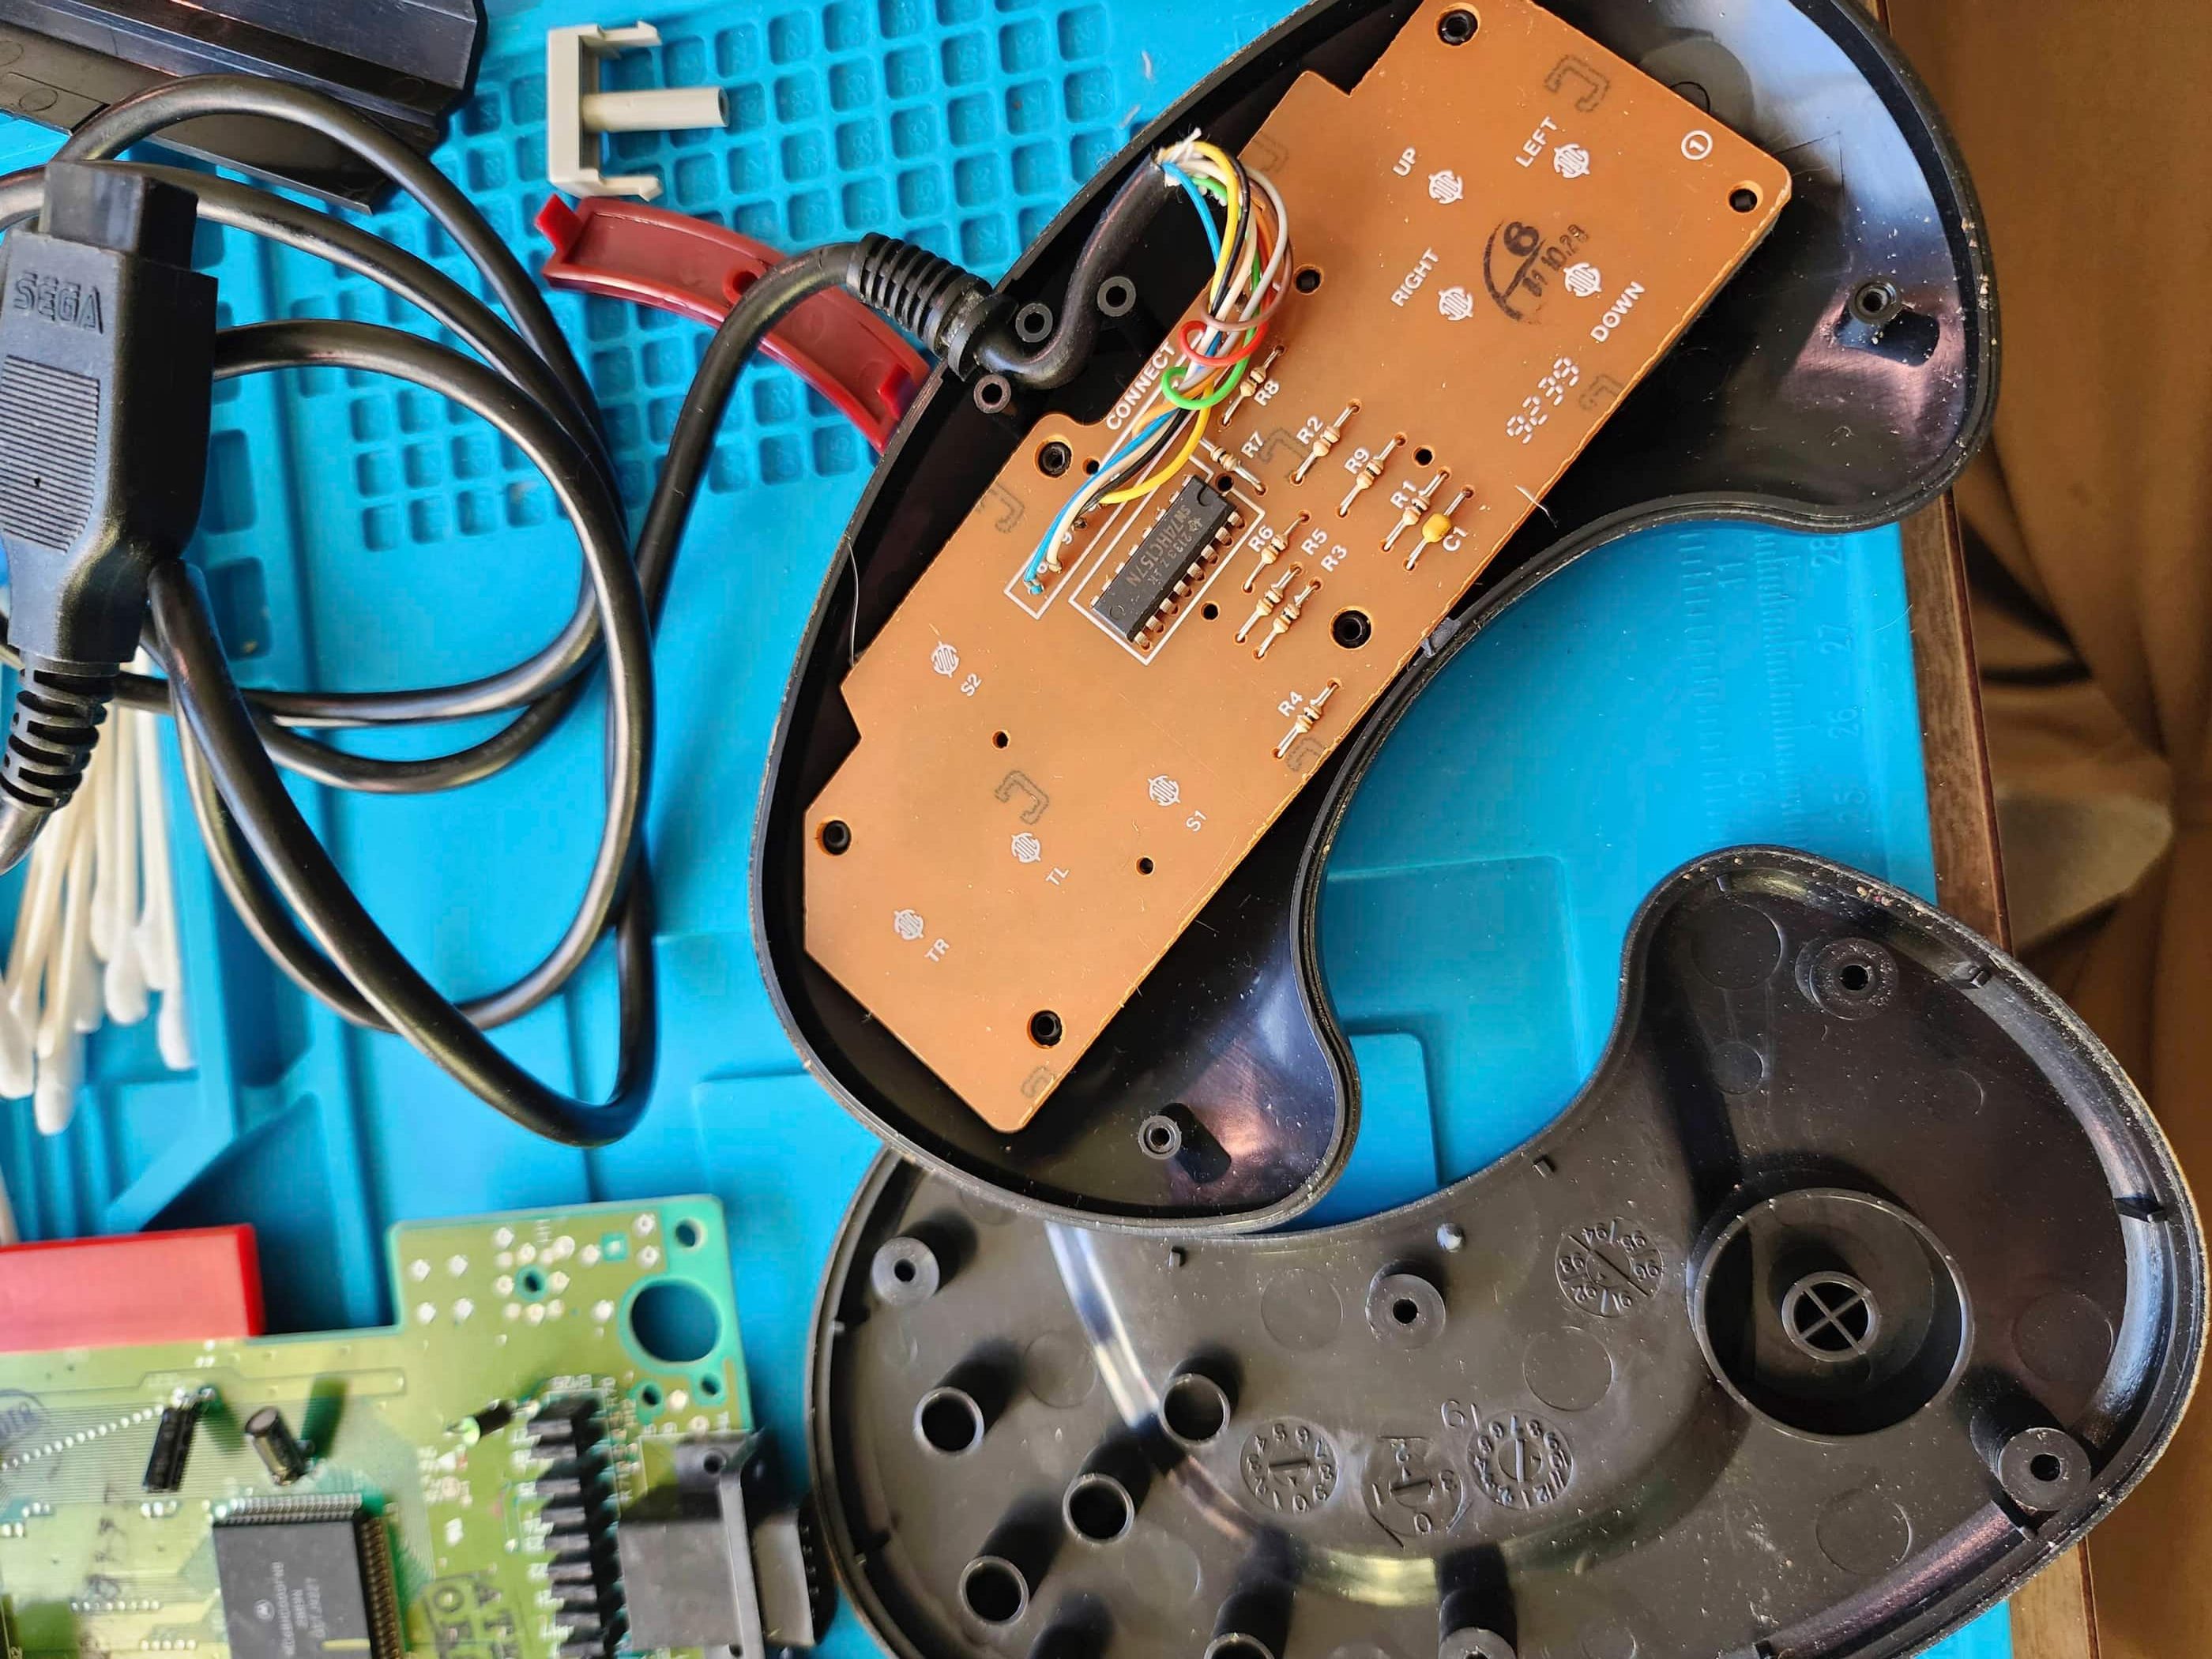

Project Details: I was excited to find this system in its original, but weathered box for $50. Back in the early 2000s when my kids were little, someone gave me a Mega Drive which was the name for the non-North American NTSC Genesis I. I think it also came with Golden Axe and I have no idea whatever happened to it…🤔 Anyway, getting the Genesis reminded me of those happy days. When I got it home, I tested the power adapter with a multimeter and saw that it was working properly. I then put in a cartridge, powered on the console, and saw that it worked perfectly. However, on closer inspection, I could see there was a slightly bent pin in the cartridge slot, so I opened it up and learned that the previous owner(s) had a dog that shed. Following a good cleaning of the board, I carefully bent the pin back and applied new thermal paste to the voltage regulator. I then disassembled the controller, cleaned, and reassembled it. After cleaning the case, I reassembled the system and tested it with some other games. It handled them all without issue and is still trucking along.
Parts & Products Used: 99% isopropyl alcohol; Chemical Guys Natural Shine; thermal paste;
Sega Genesis I (#2)
Years (1989-1999)
Interesting fact: To counter the newly released Nintendo SNES, Sega began packaging Sonic the Hedgehog with the Genesis, coupled with a price drop. That was enough to tip the scales in Sega’s favour and by the end of 1993, Sega held 60% of the 16-bit console market while Nintendo’s fell to 37%. (source)
Condition When Acquired: Unknown
Current Condition: Active Project / Parts System
Project Details: I found this beat up and untested unit for $29 at a local thrift store – which I still think was an overpay considering it was for the console only and no power adapter. I got it solely to be a parts unit.
Parts & Products Used: None yet

Super Nintendo Entertainment System (SNES)
Years (1991-1999)
Interesting fact: Concerned by the emergence of the Genesis, Nintendo responded with a 16-bit system of their own, the Super Nintendo Entertainment System (SNES). Launched in North America in 1991, the SNES boasted two important technological innovations: the SPC700 audio chip; and Mode 7, a graphics mode that allowed the creation of pseudo-3D graphics in games. (source)
Condition When Acquired: Fully Functional
Current Condition: Fully Functional

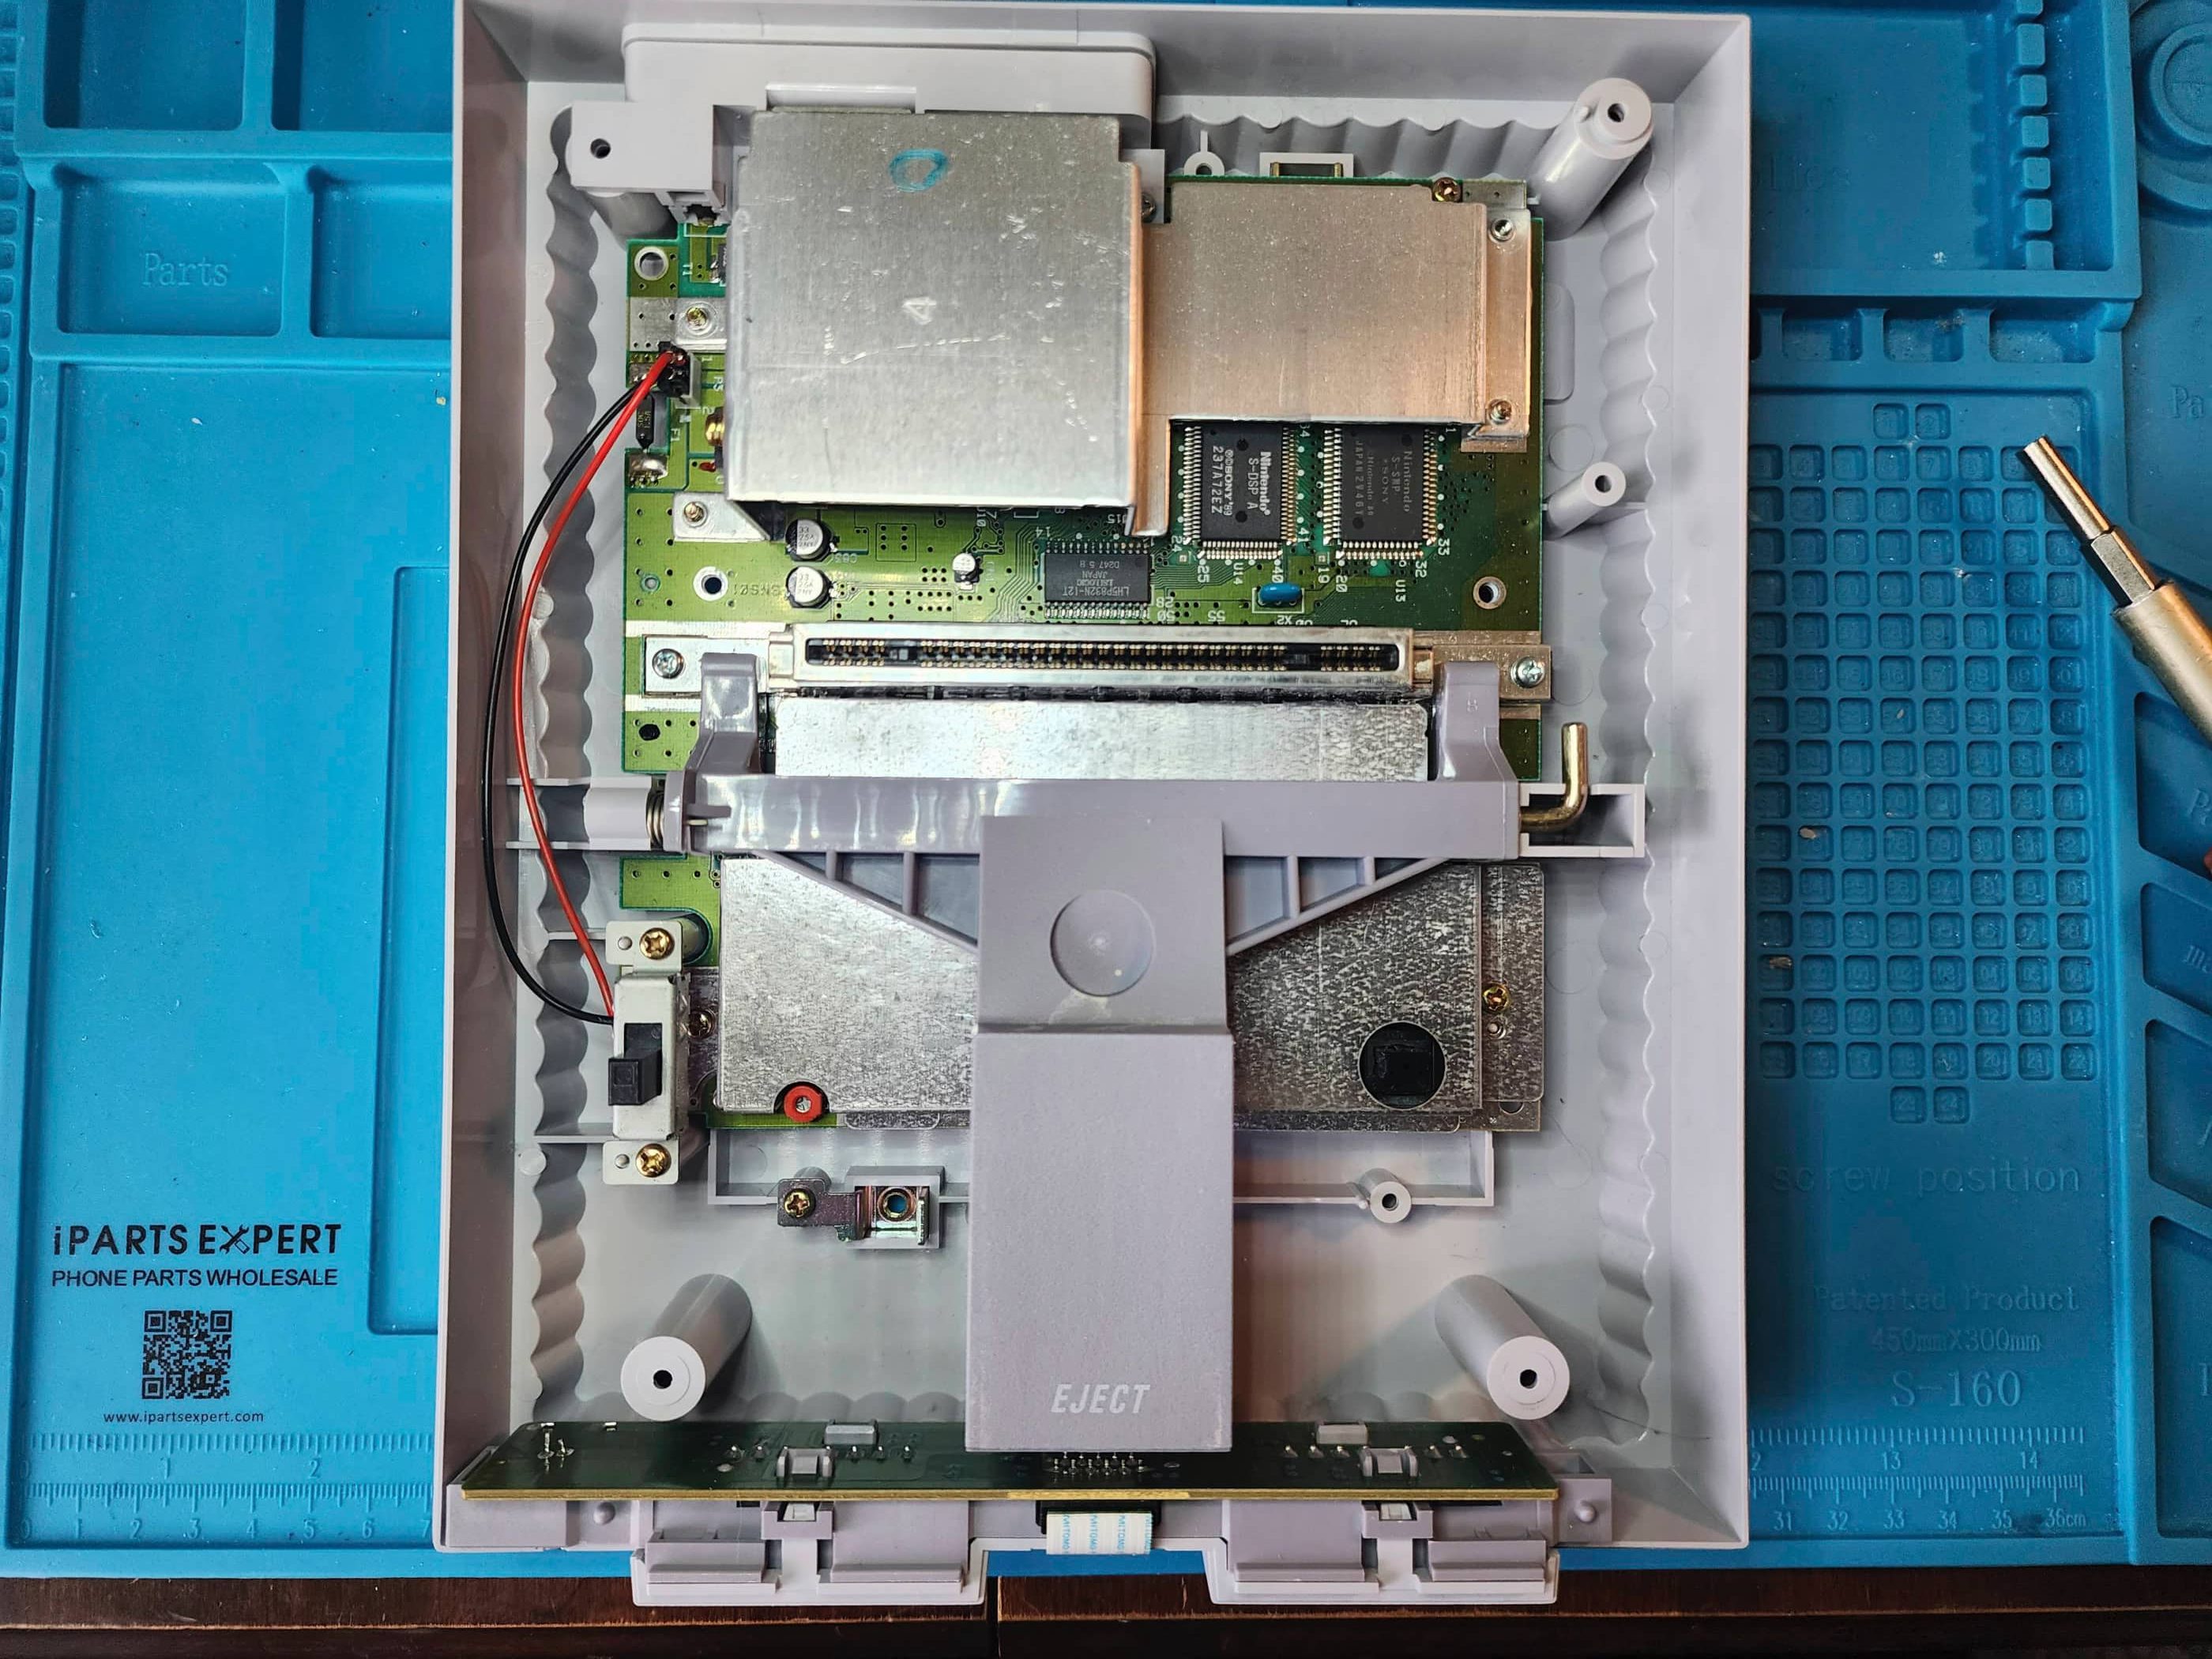


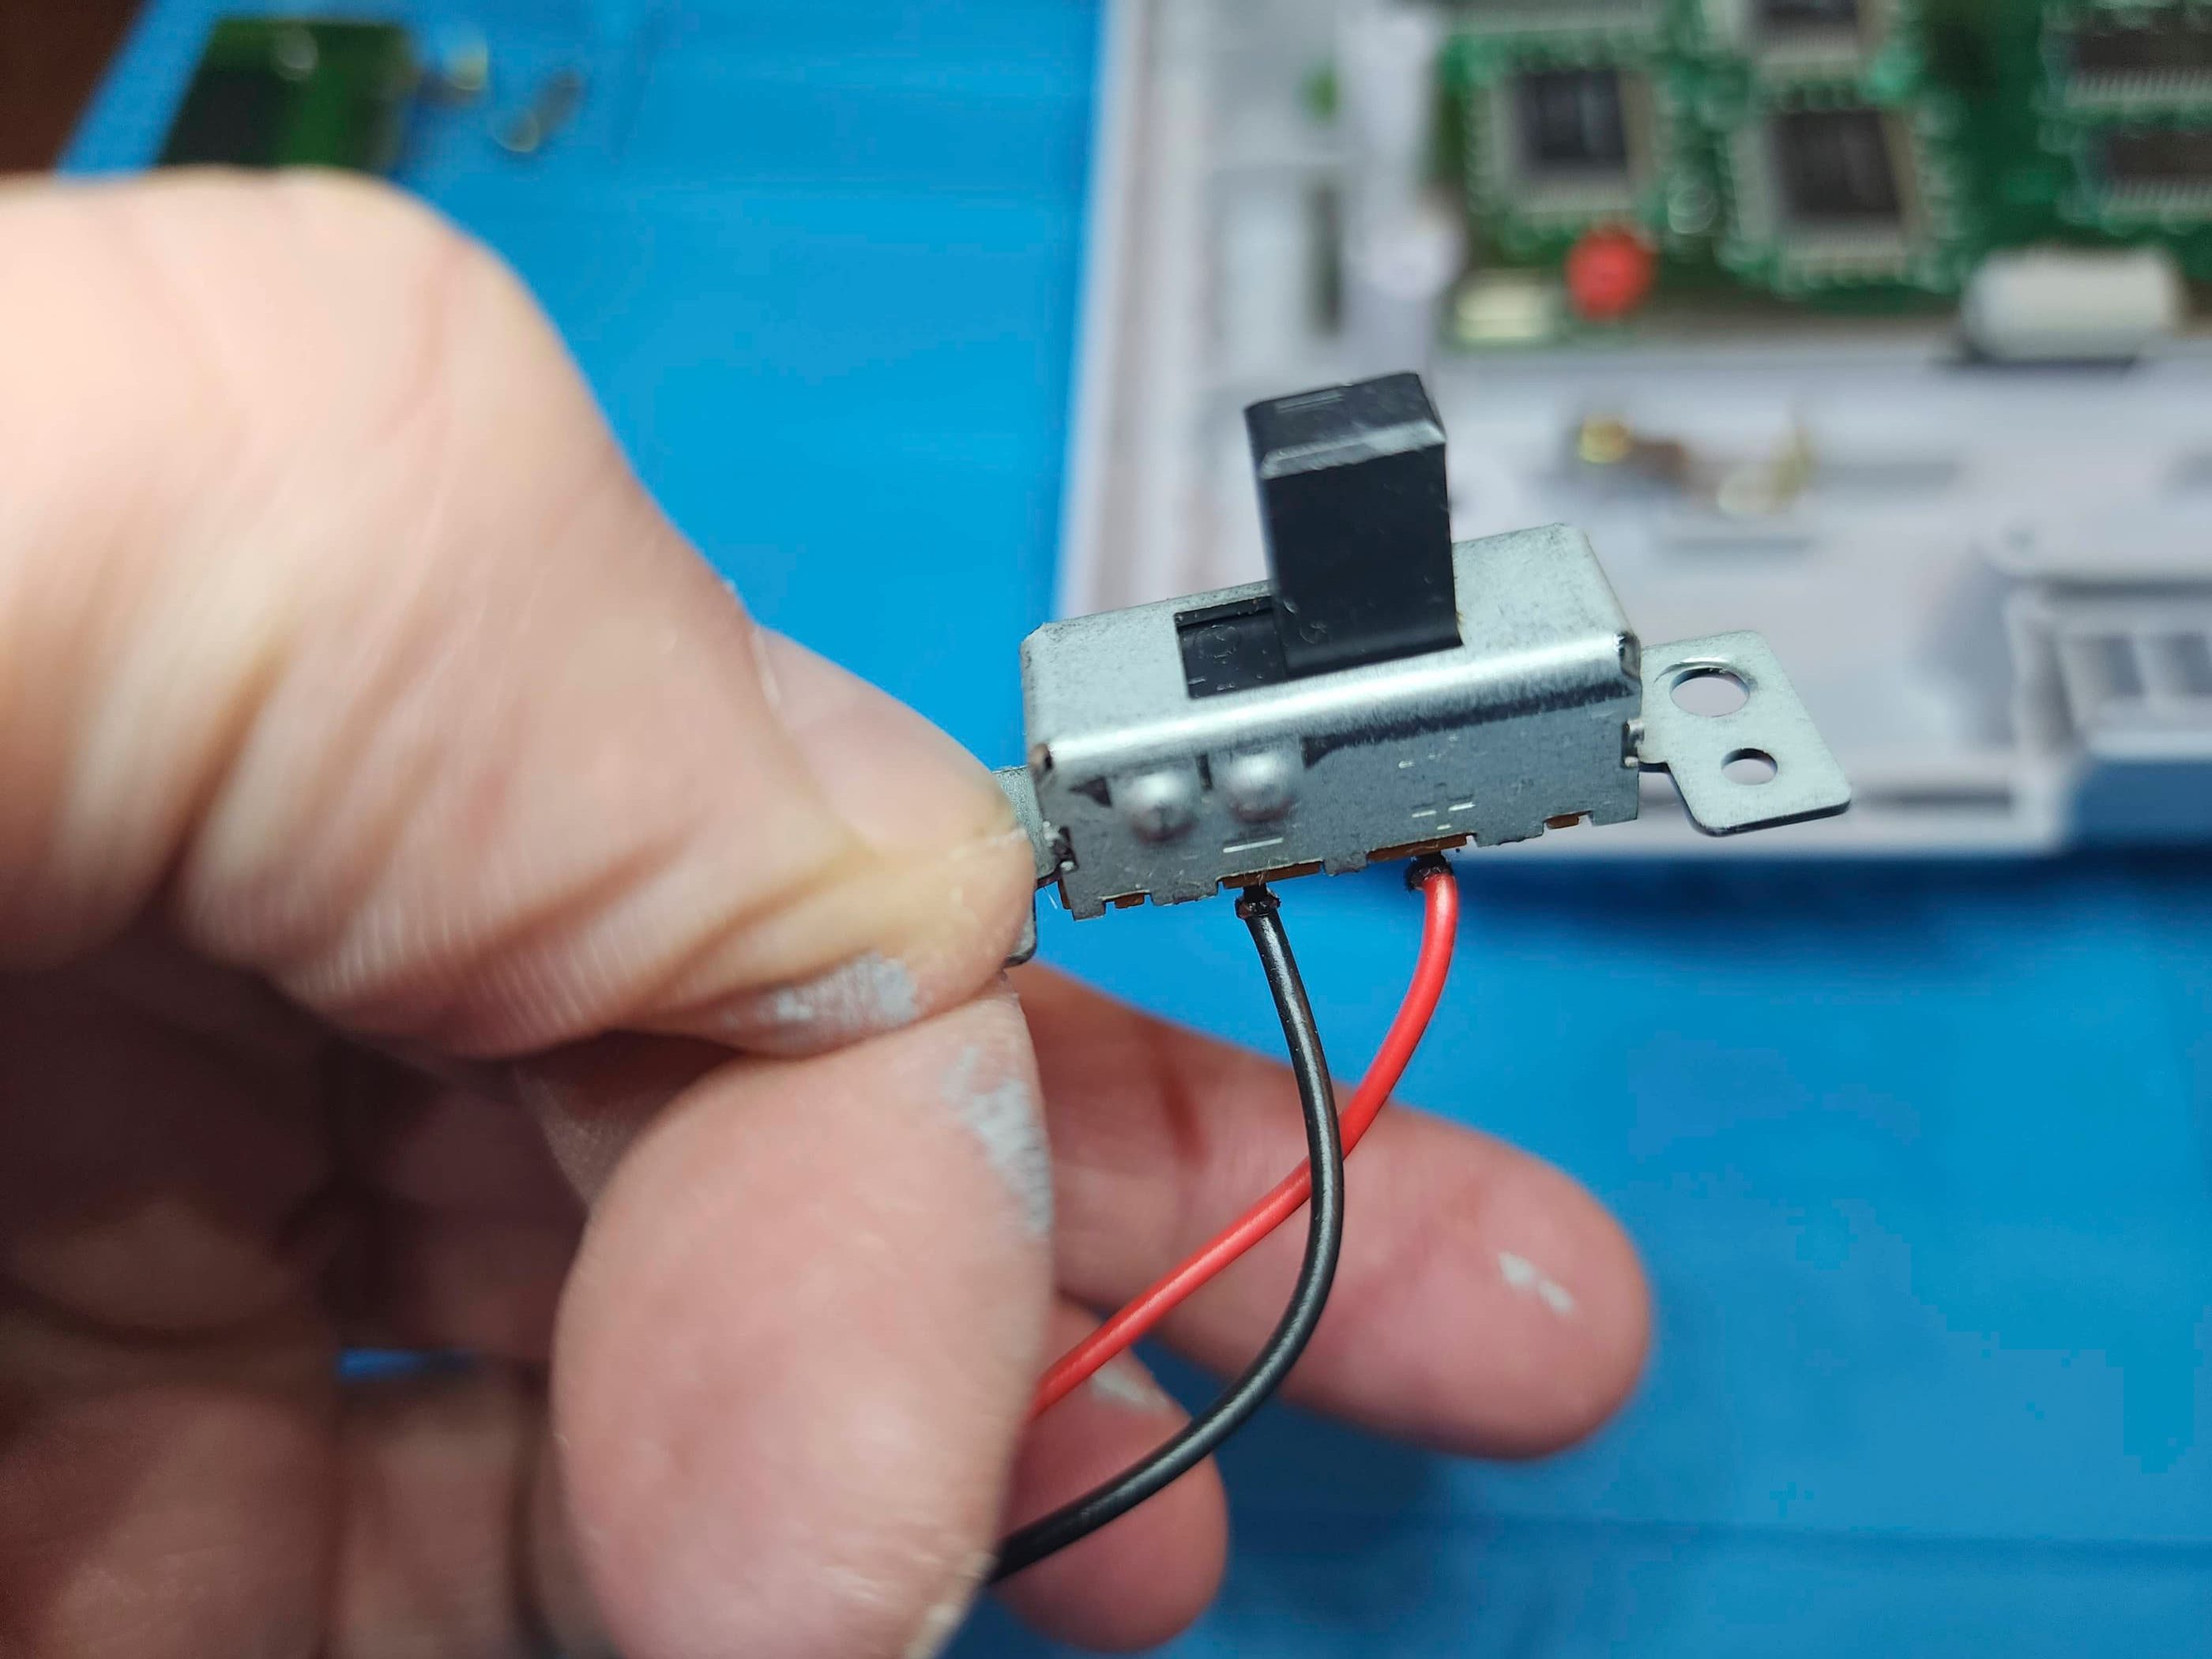


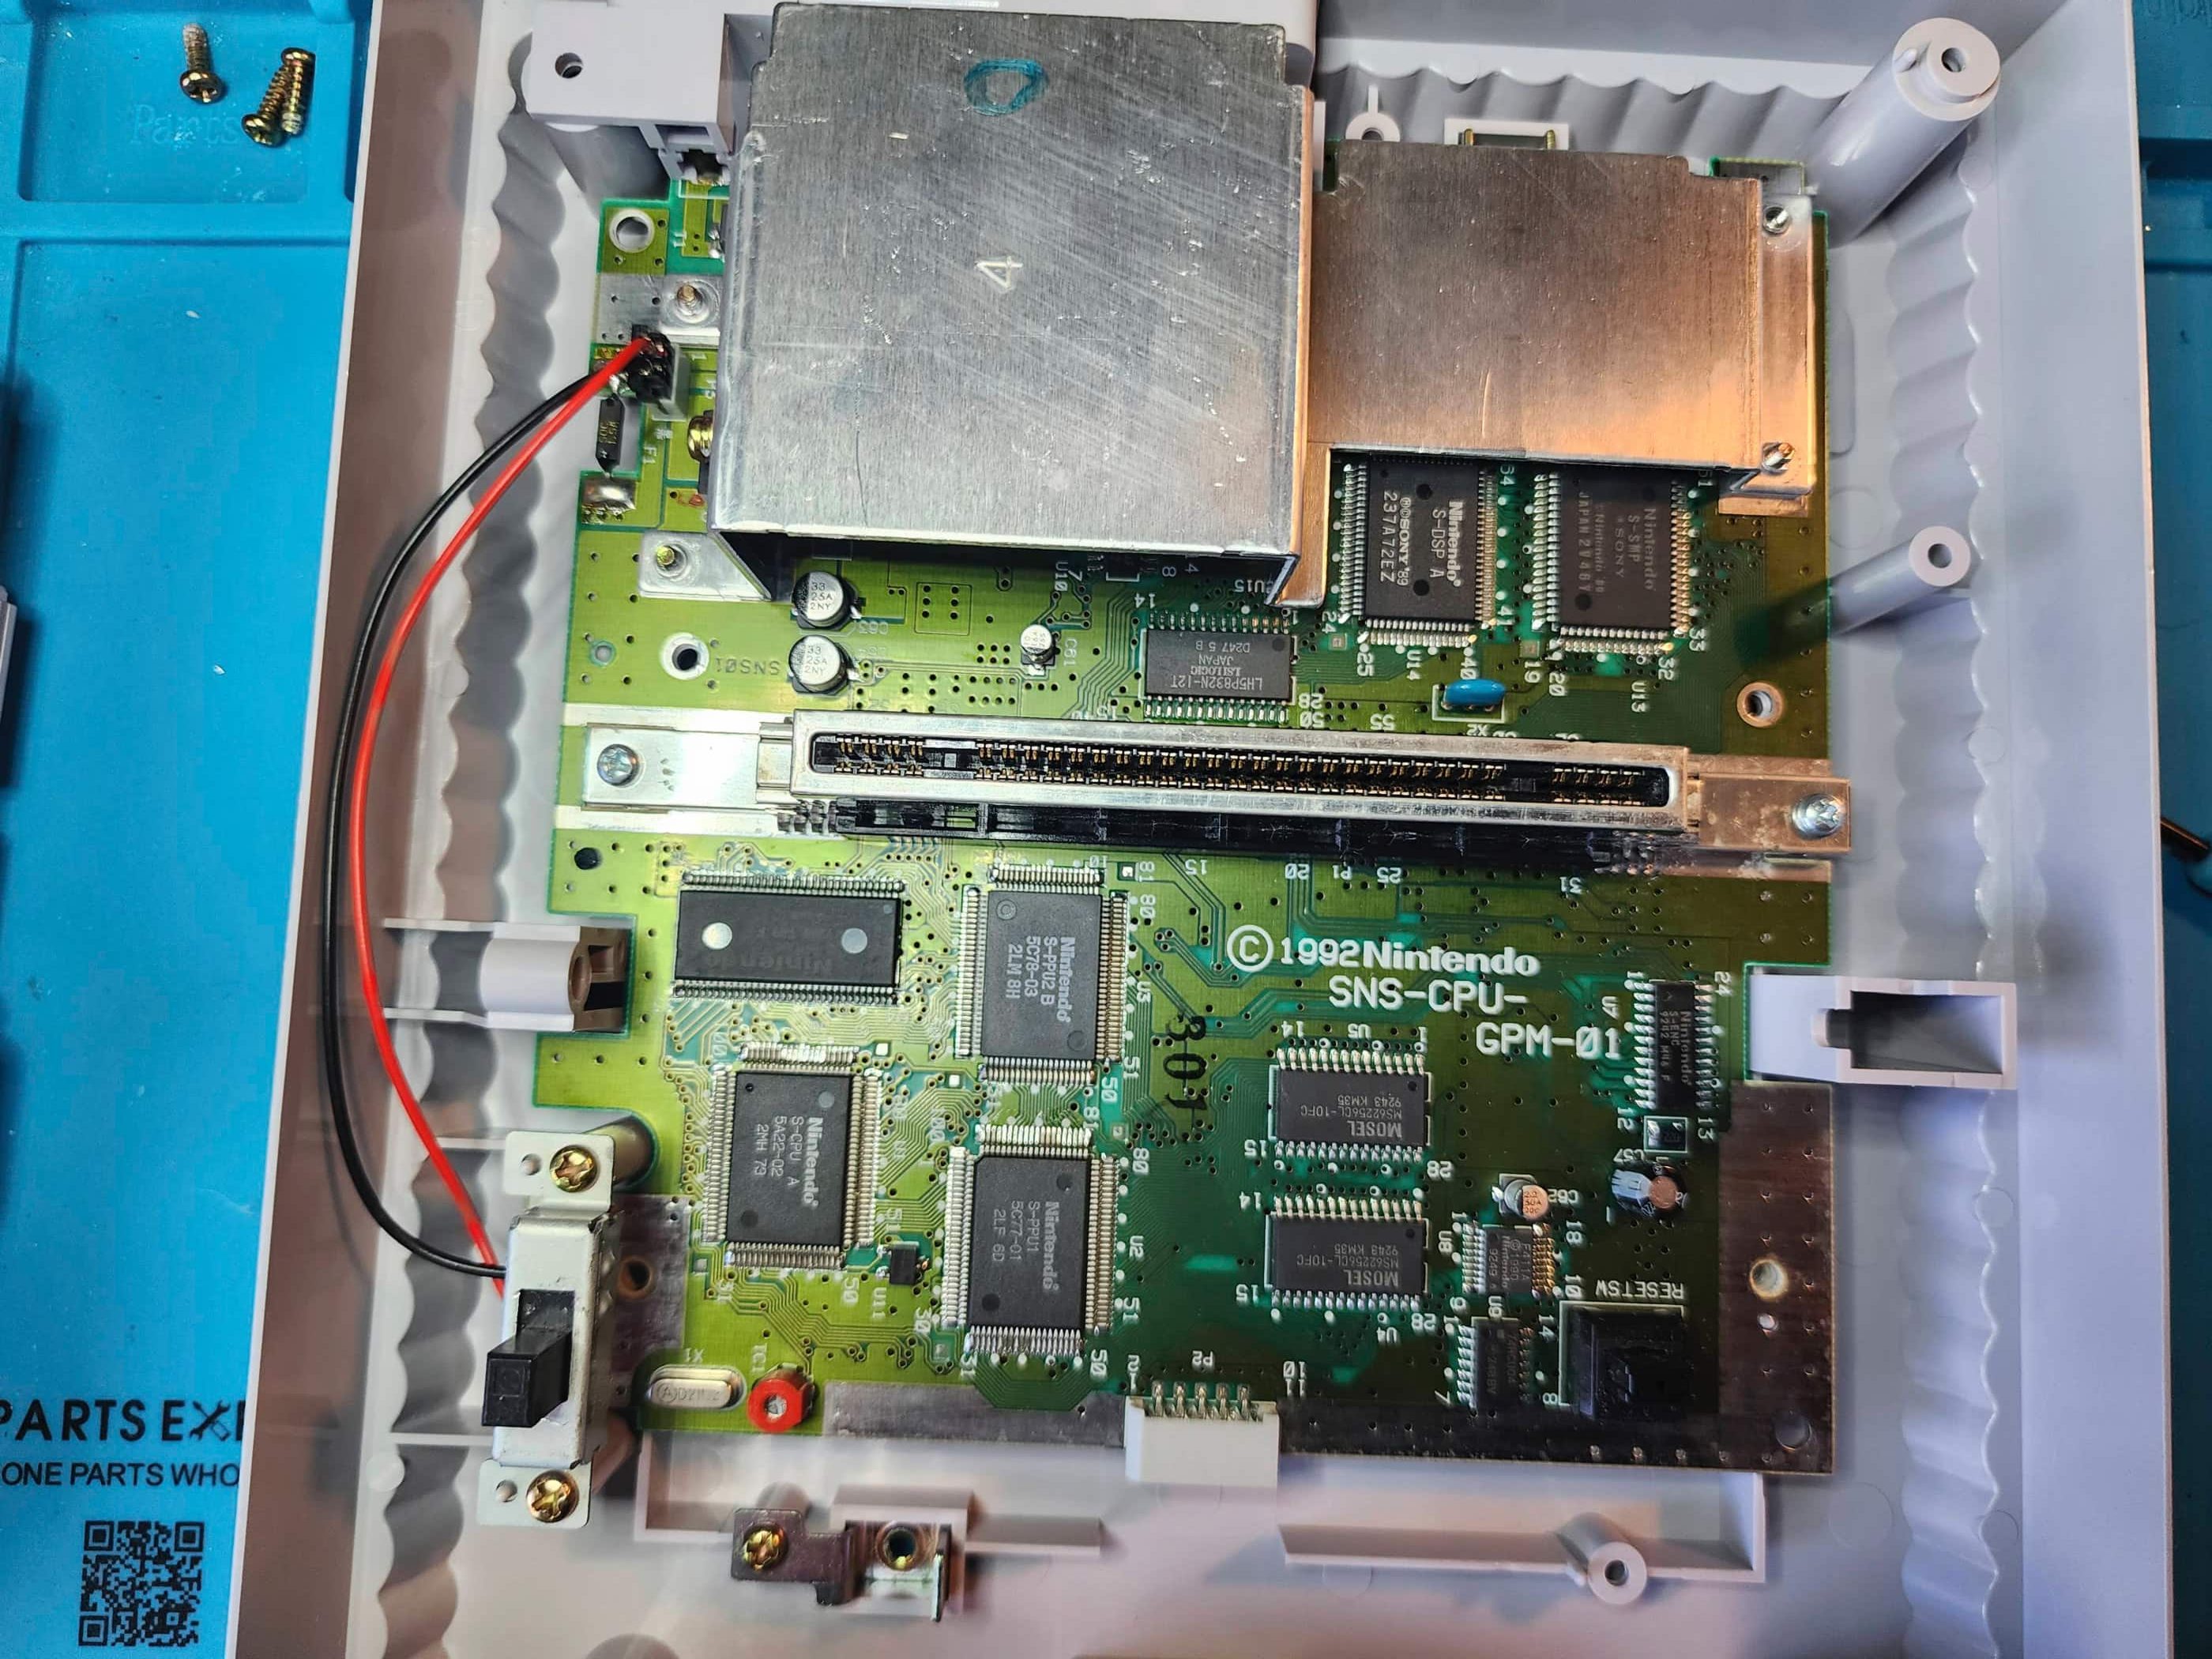
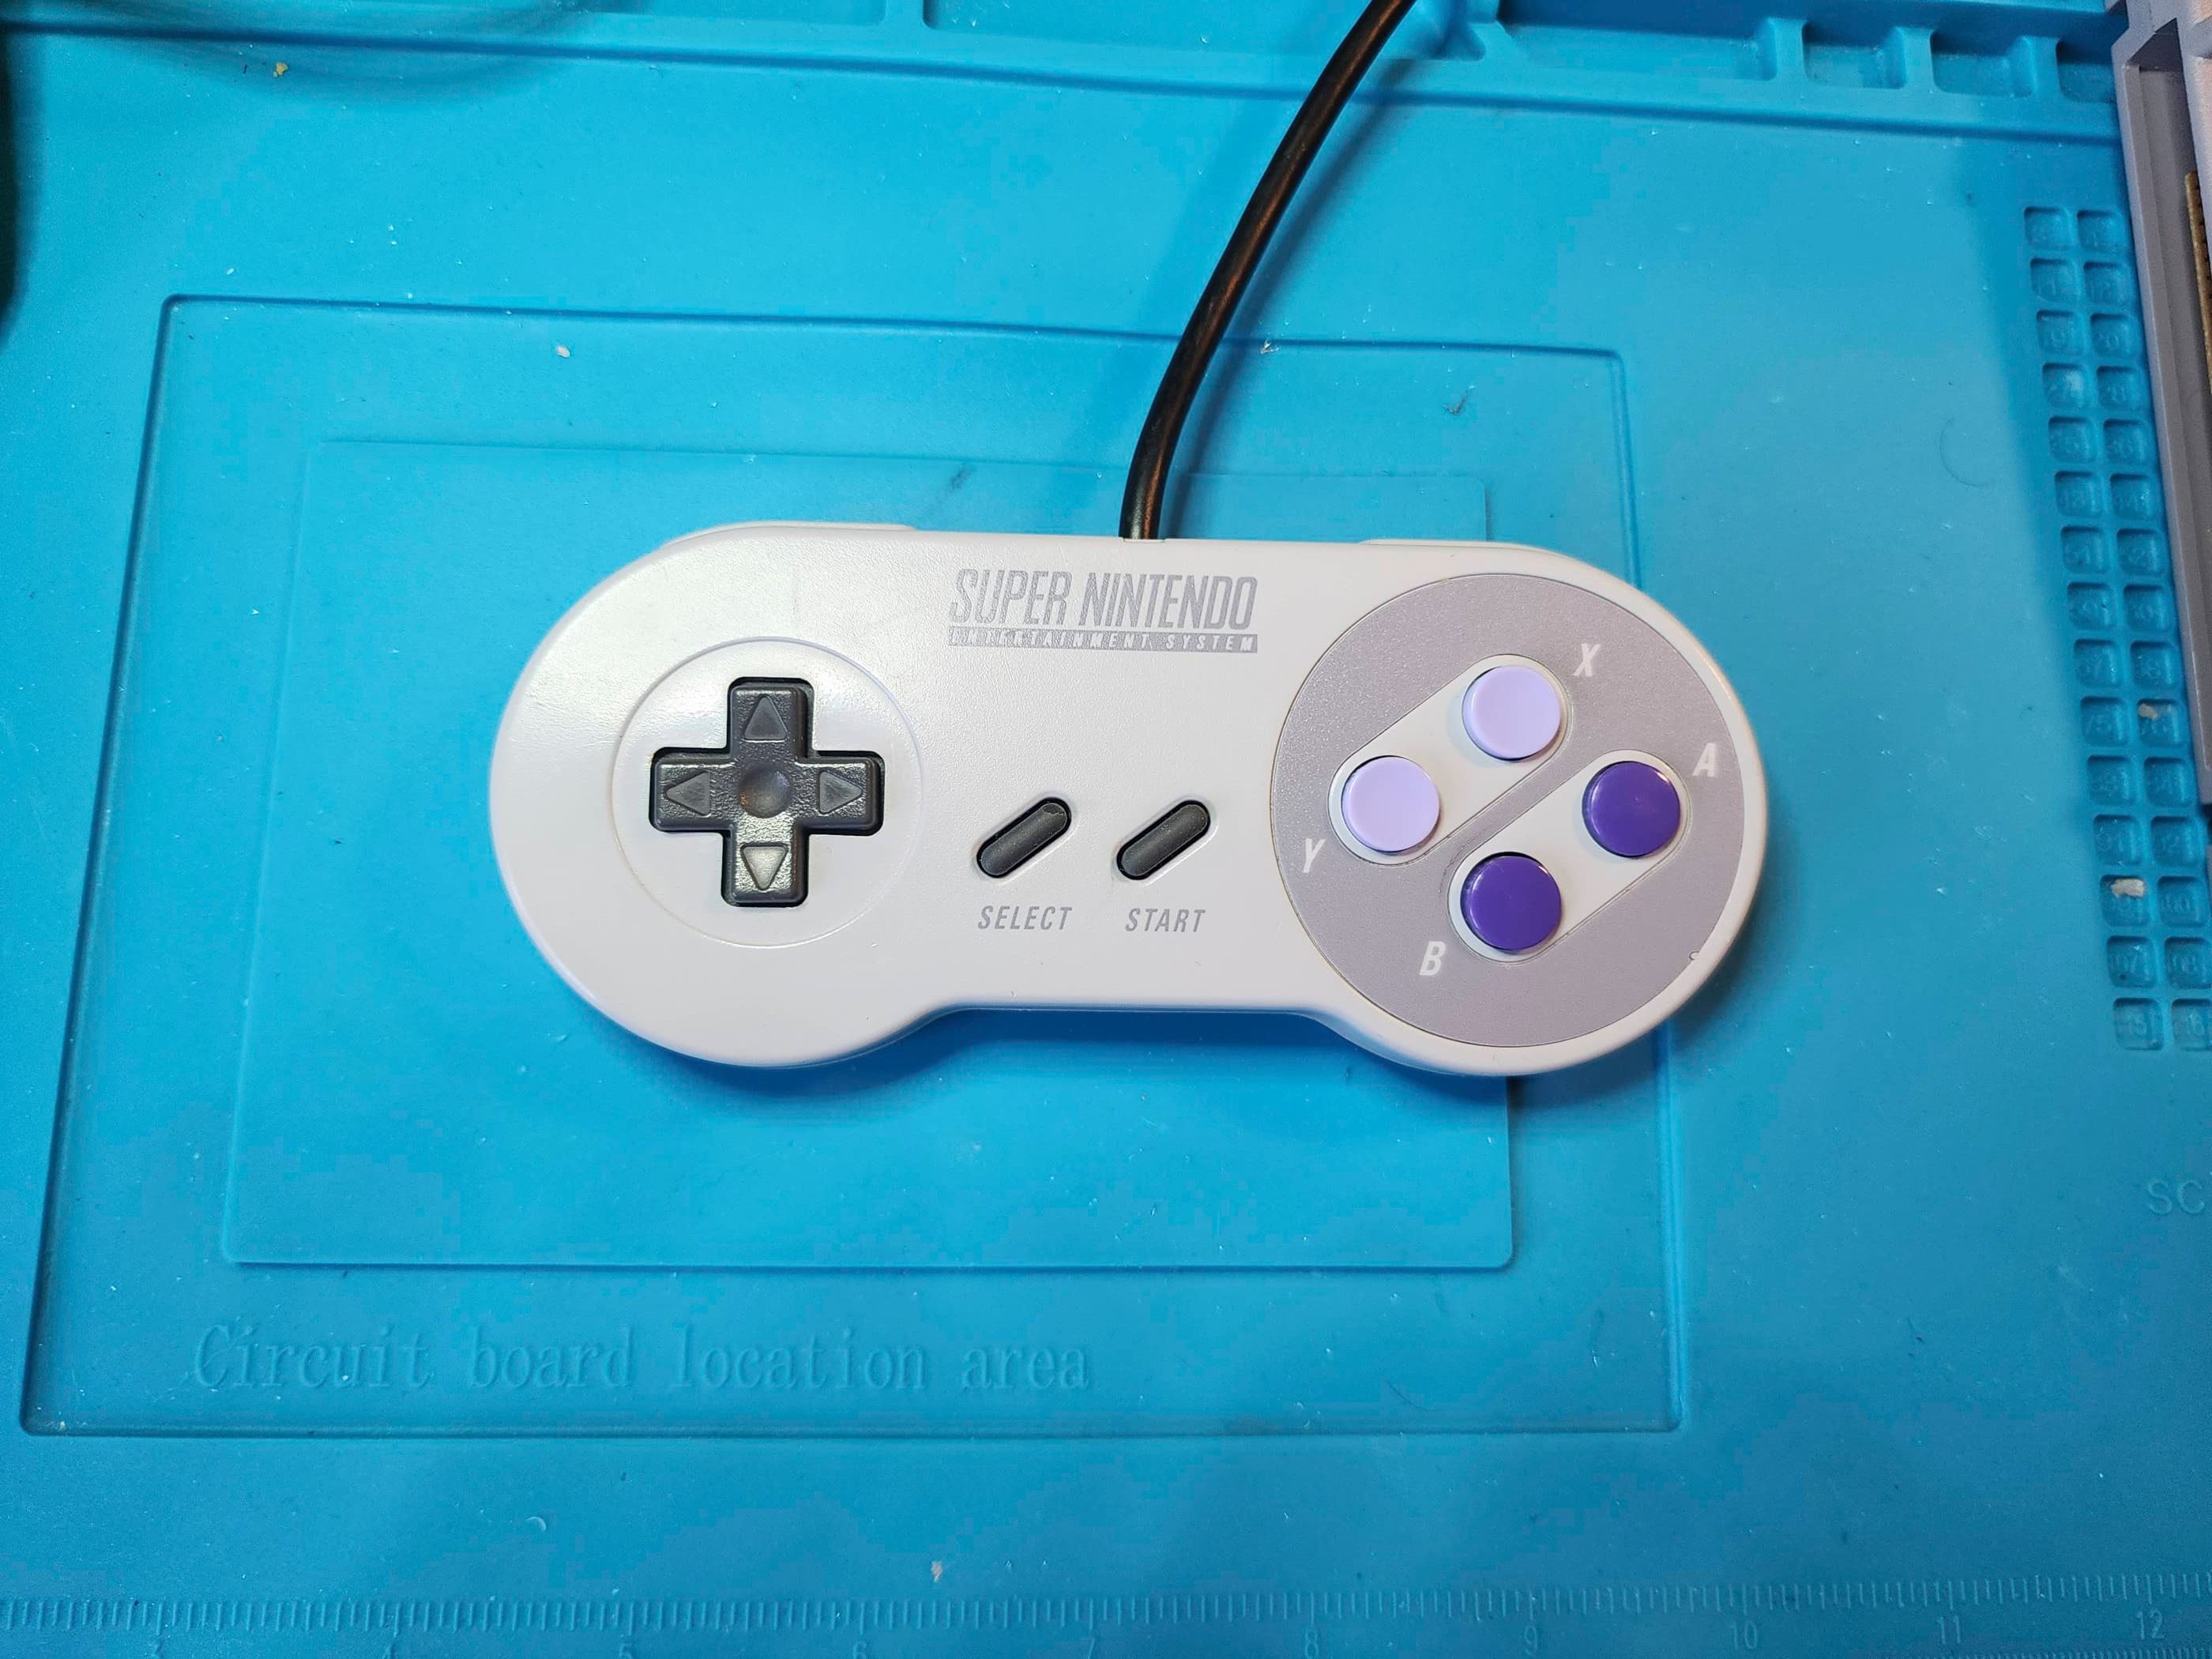


Project Details: I acquired this unit from a local pawn shop for a decent price. That the case had no signs of yellowing was particularly intriguing for me. Once I had the unit home, I popped in a cartridge and powered it up. It and the controller it came with, worked without issue. It just needed a good cleaning. 🙂 I then disassembled the unit and gave it a detailed inspection and cleaning. Not seeing anything wrong, I began to reassemble the system; applying new thermal paste to the 7805 voltage regulator. I also disassembled the power switch, cleaned the contacts, applied dielectric grease, reassembled, and installed it. Once the unit was put back together, I gave it a test and it worked without a hitch. I then disassembled, cleaned, and reassembled the controller. Like the power switch, the contact pads on the controller were quite dirty. The system now looks and works like new. 😀
Parts & Products Used: 99% isopropyl alcohol; Chemical Guys Natural Shine; dielectric grease; thermal paste;

TurboGrafx-16
Years (1989-1994)
Interesting fact: A brief competitor to the Genesis and SNES was the NEC / Hudson Soft PC Engine, that was marketed in North America as the TurboGrafx-16. The TG16 ushered in a number of innovations: 1) it was the first of the 16-bit consoles (though some argue that it’s not a true 16-bit machine because the CPU was only 8-bit); 2) it was the first console with an add-on CD-Rom; and 3) it was the first to have multi-tap support for up to five players. (source; source) It ultimately failed in North America due to poor marketing and lack of third-party support. (source)
Condition When Acquired: Non-Functional (DOA)
Current Condition: Fully Functional
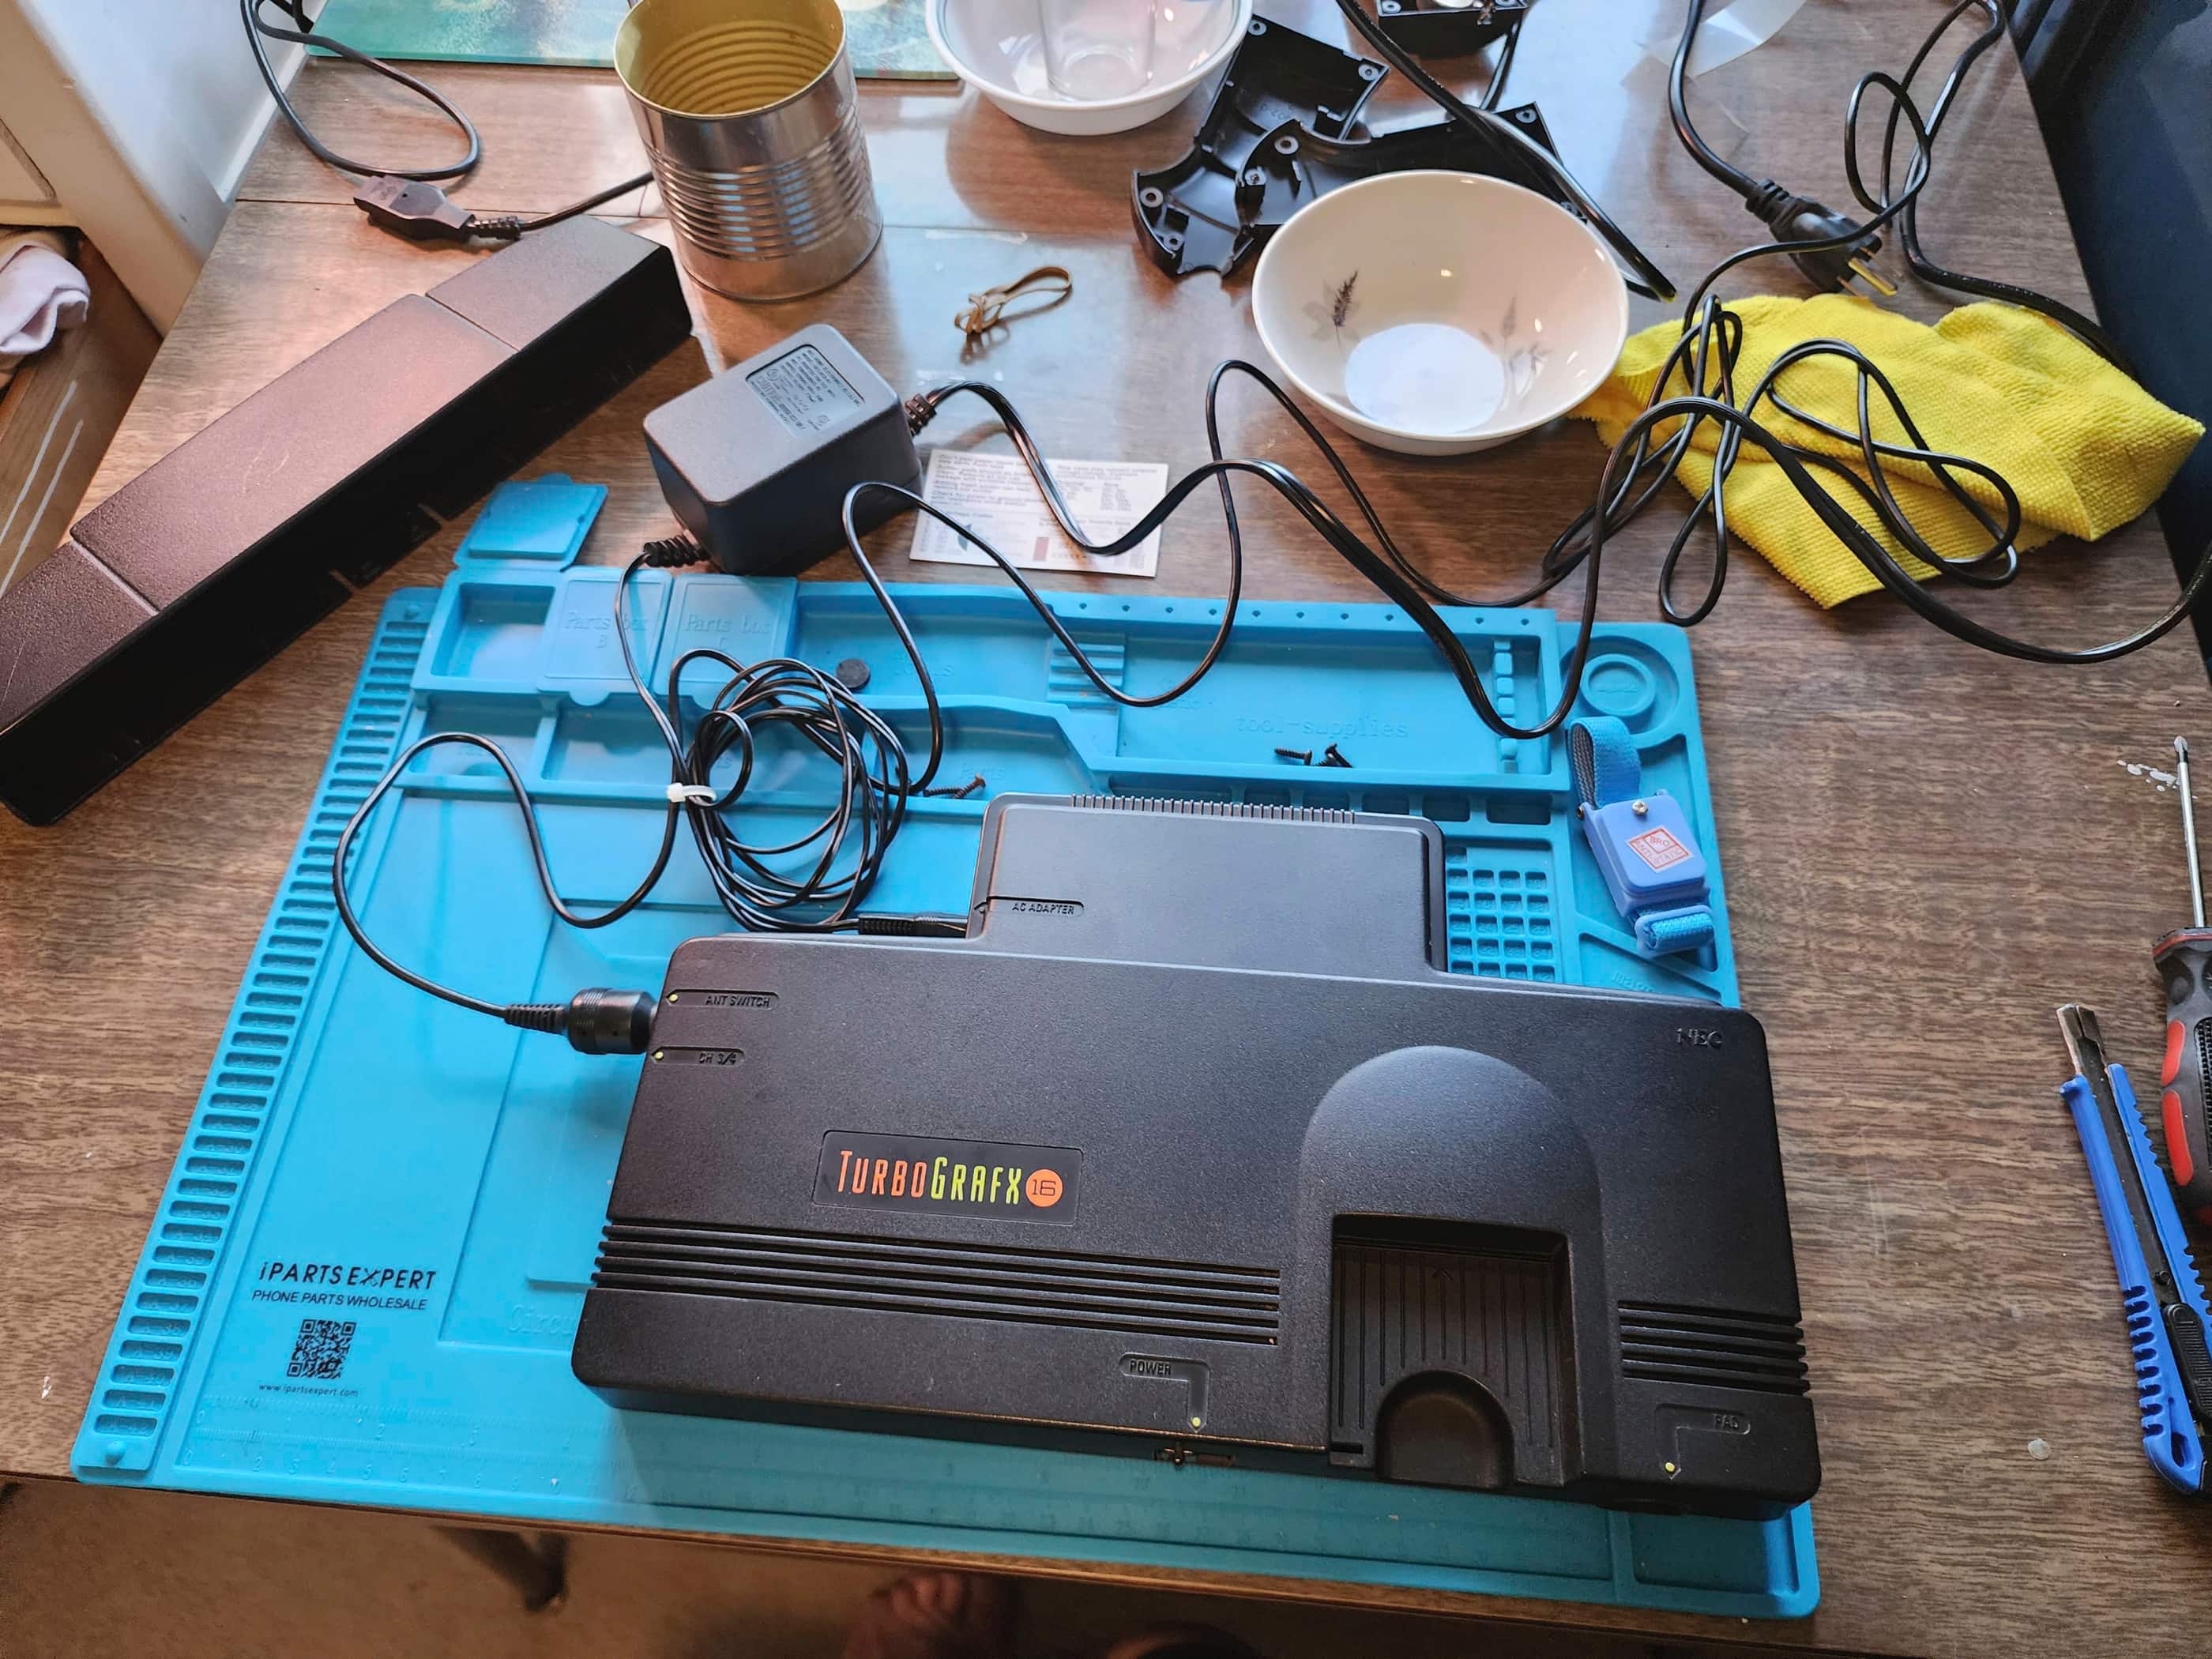


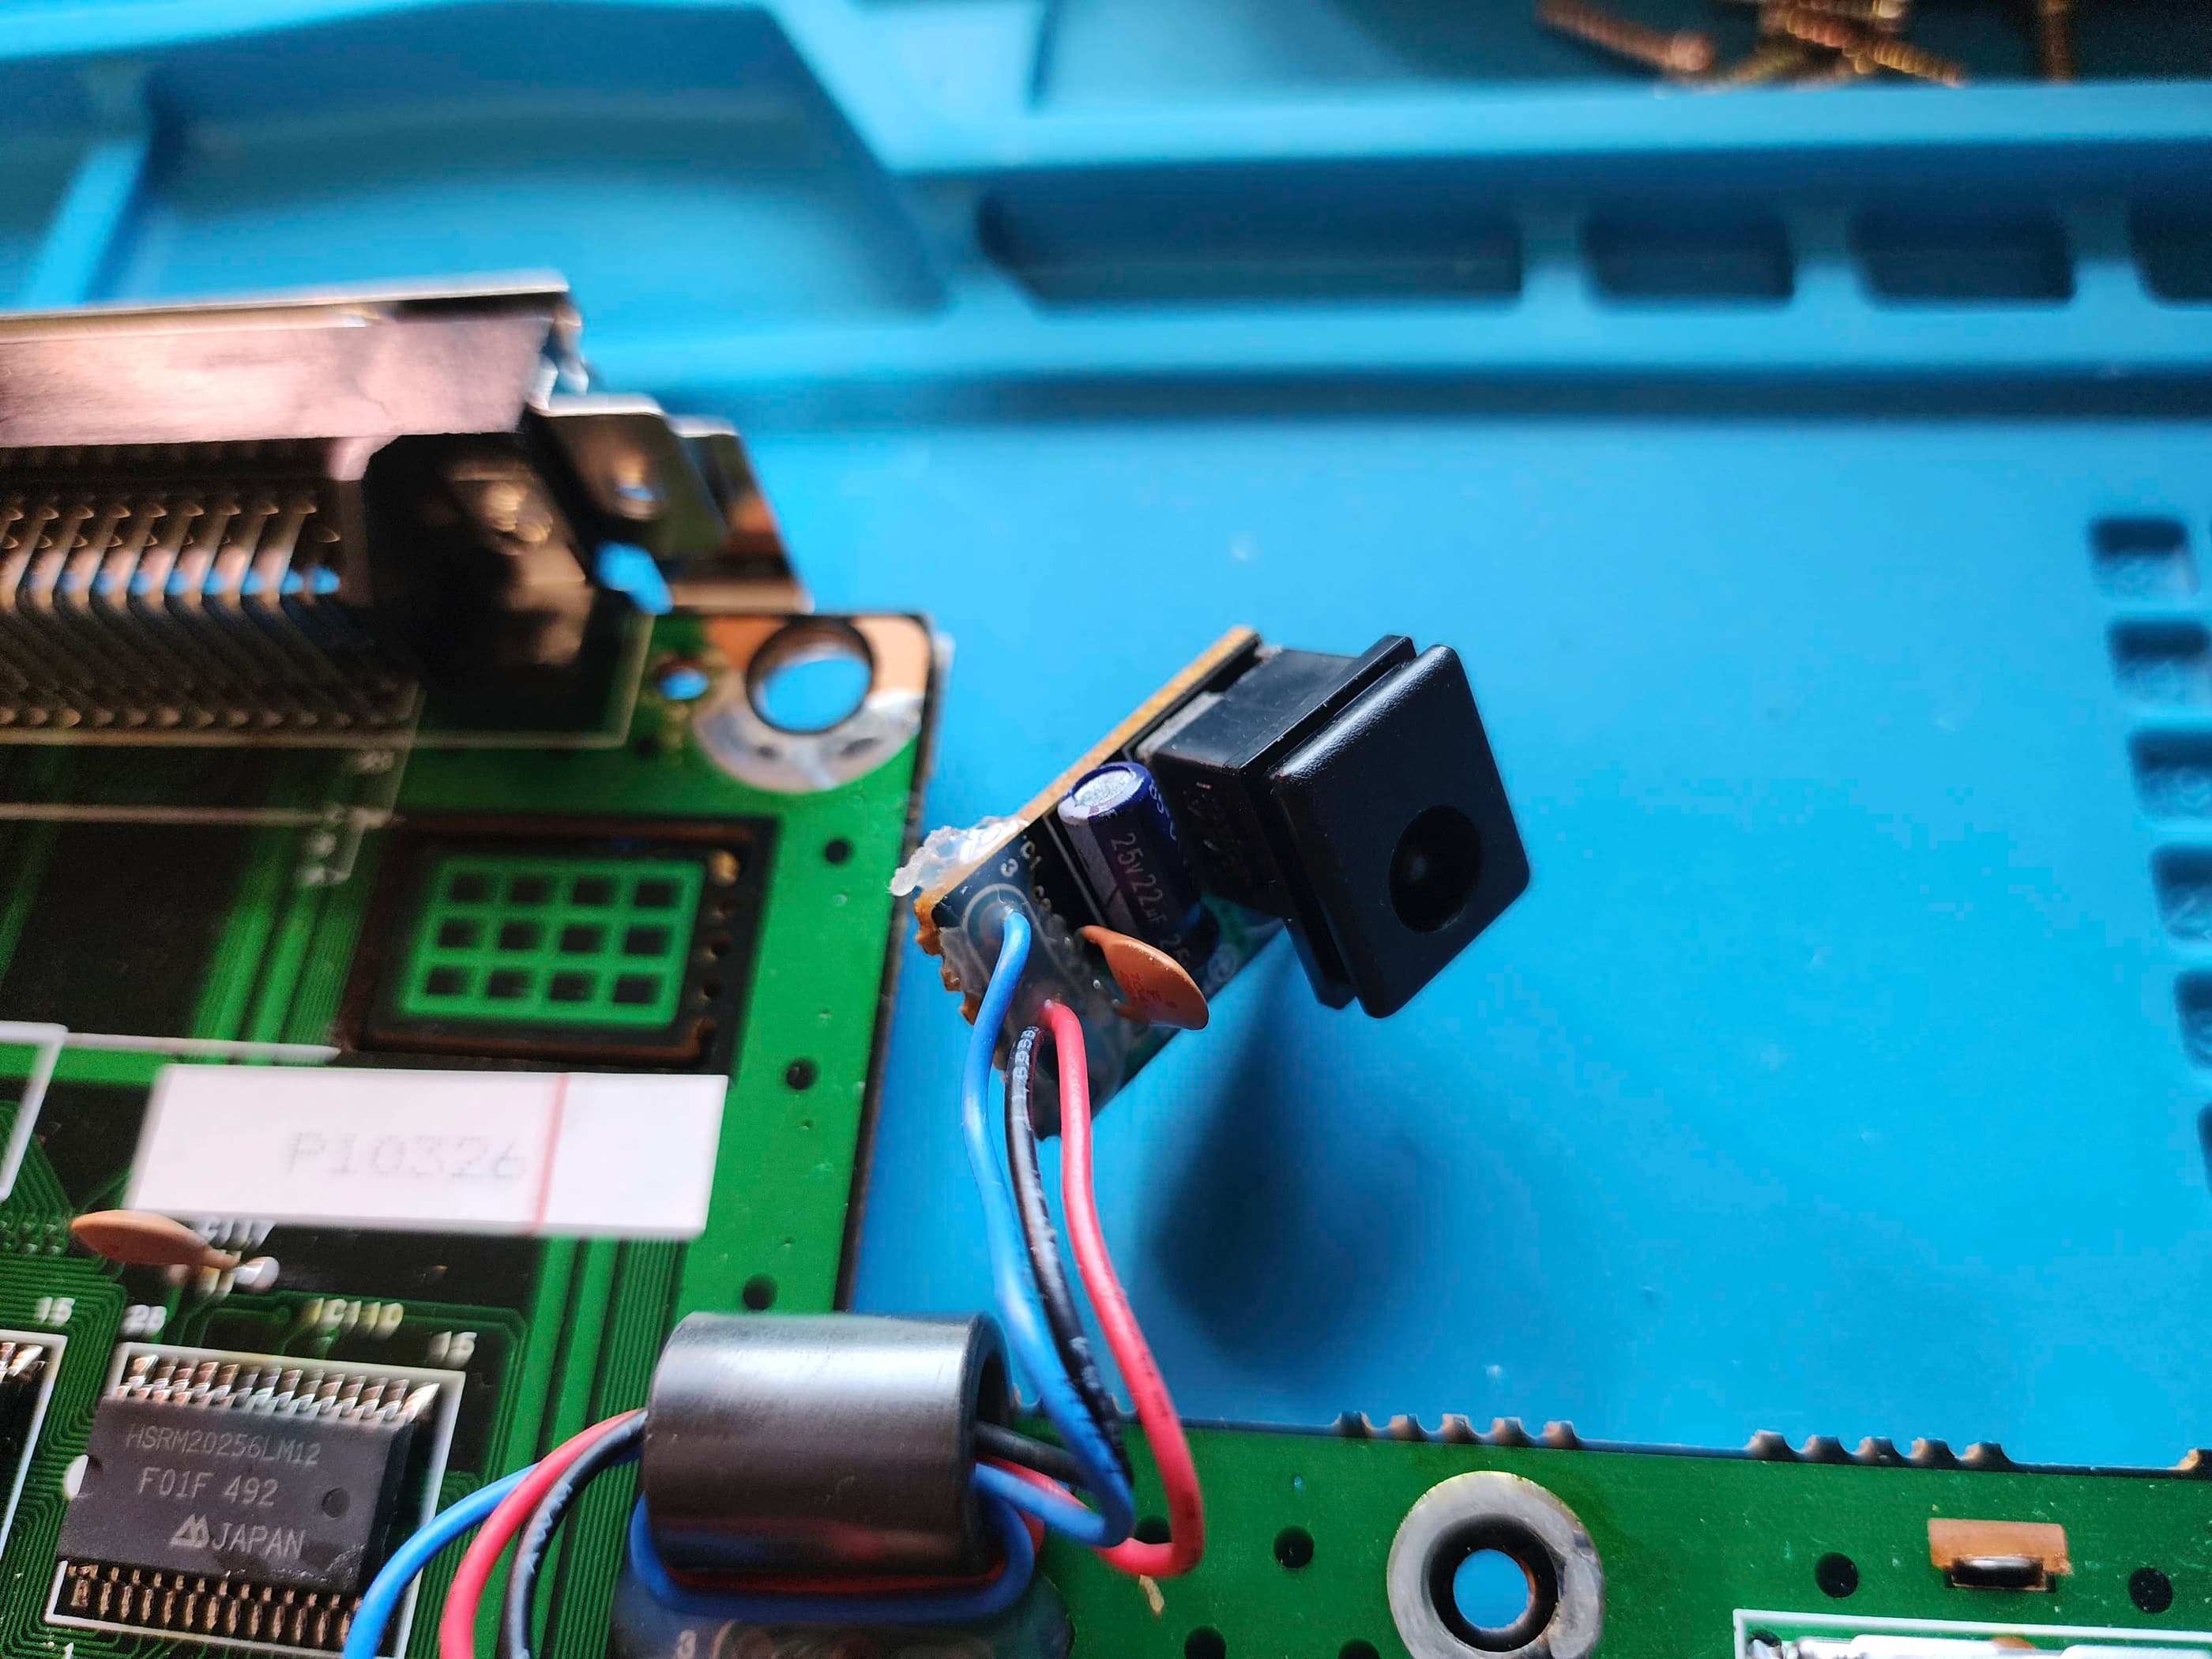


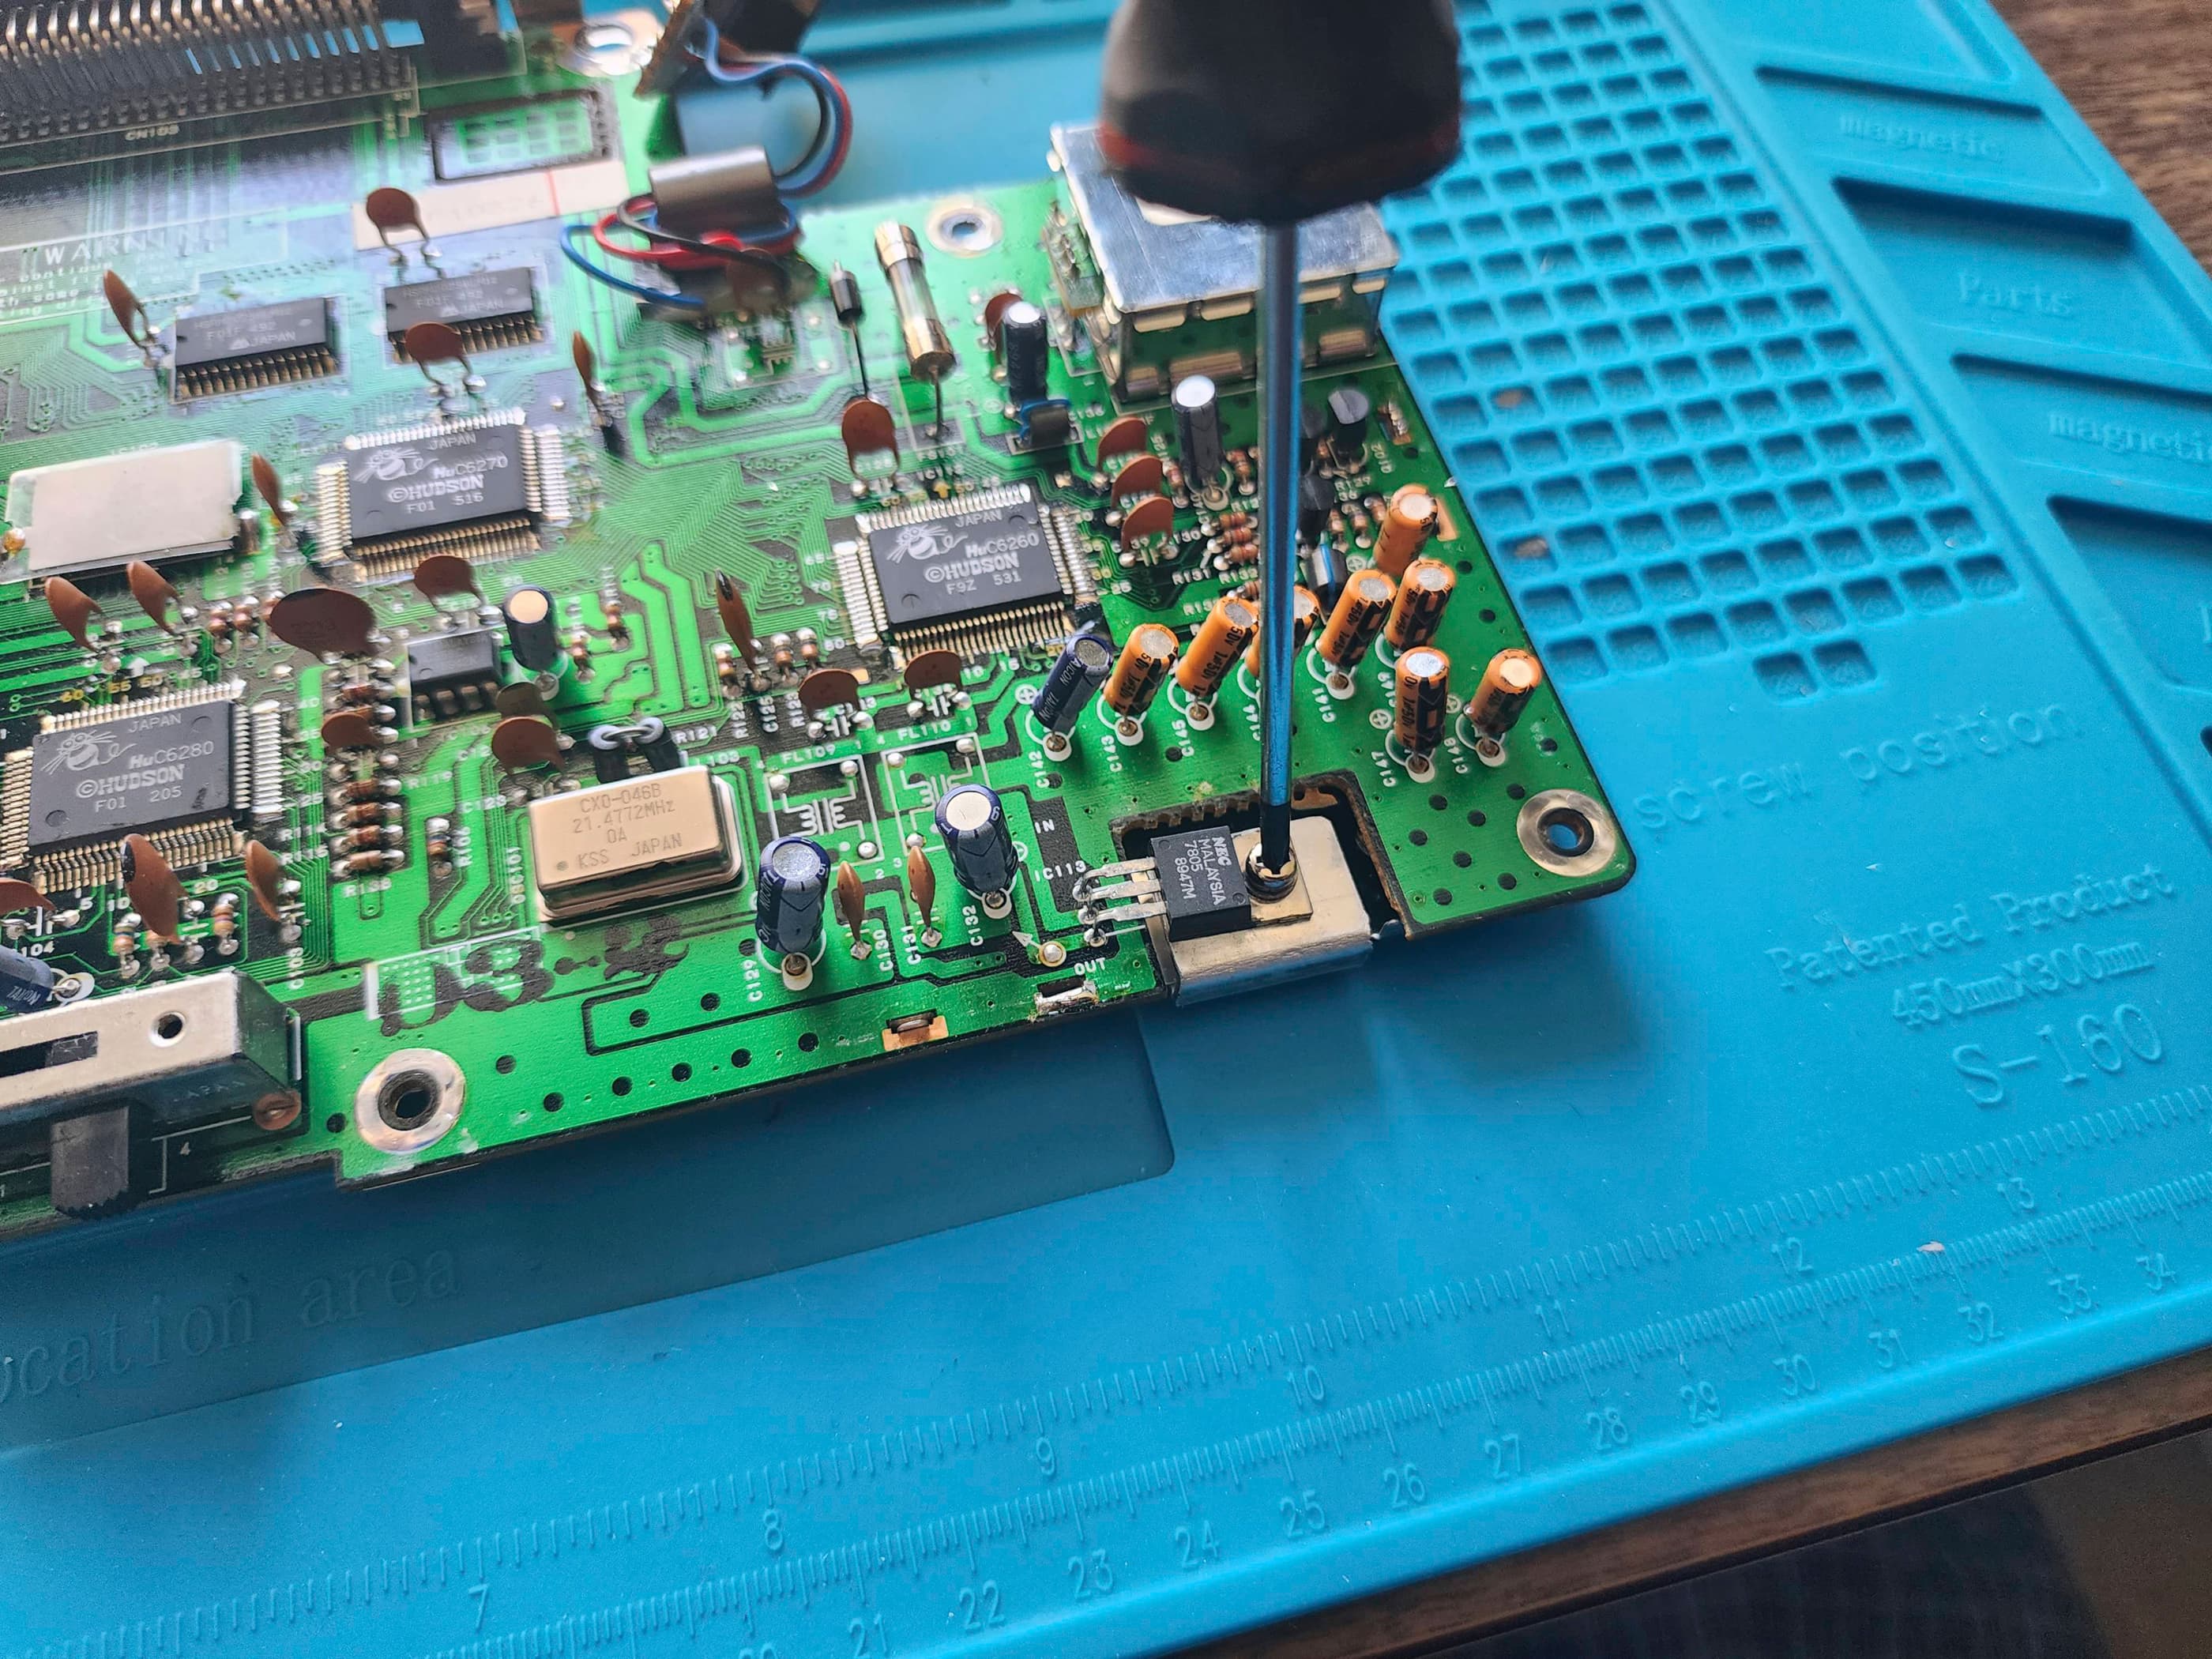
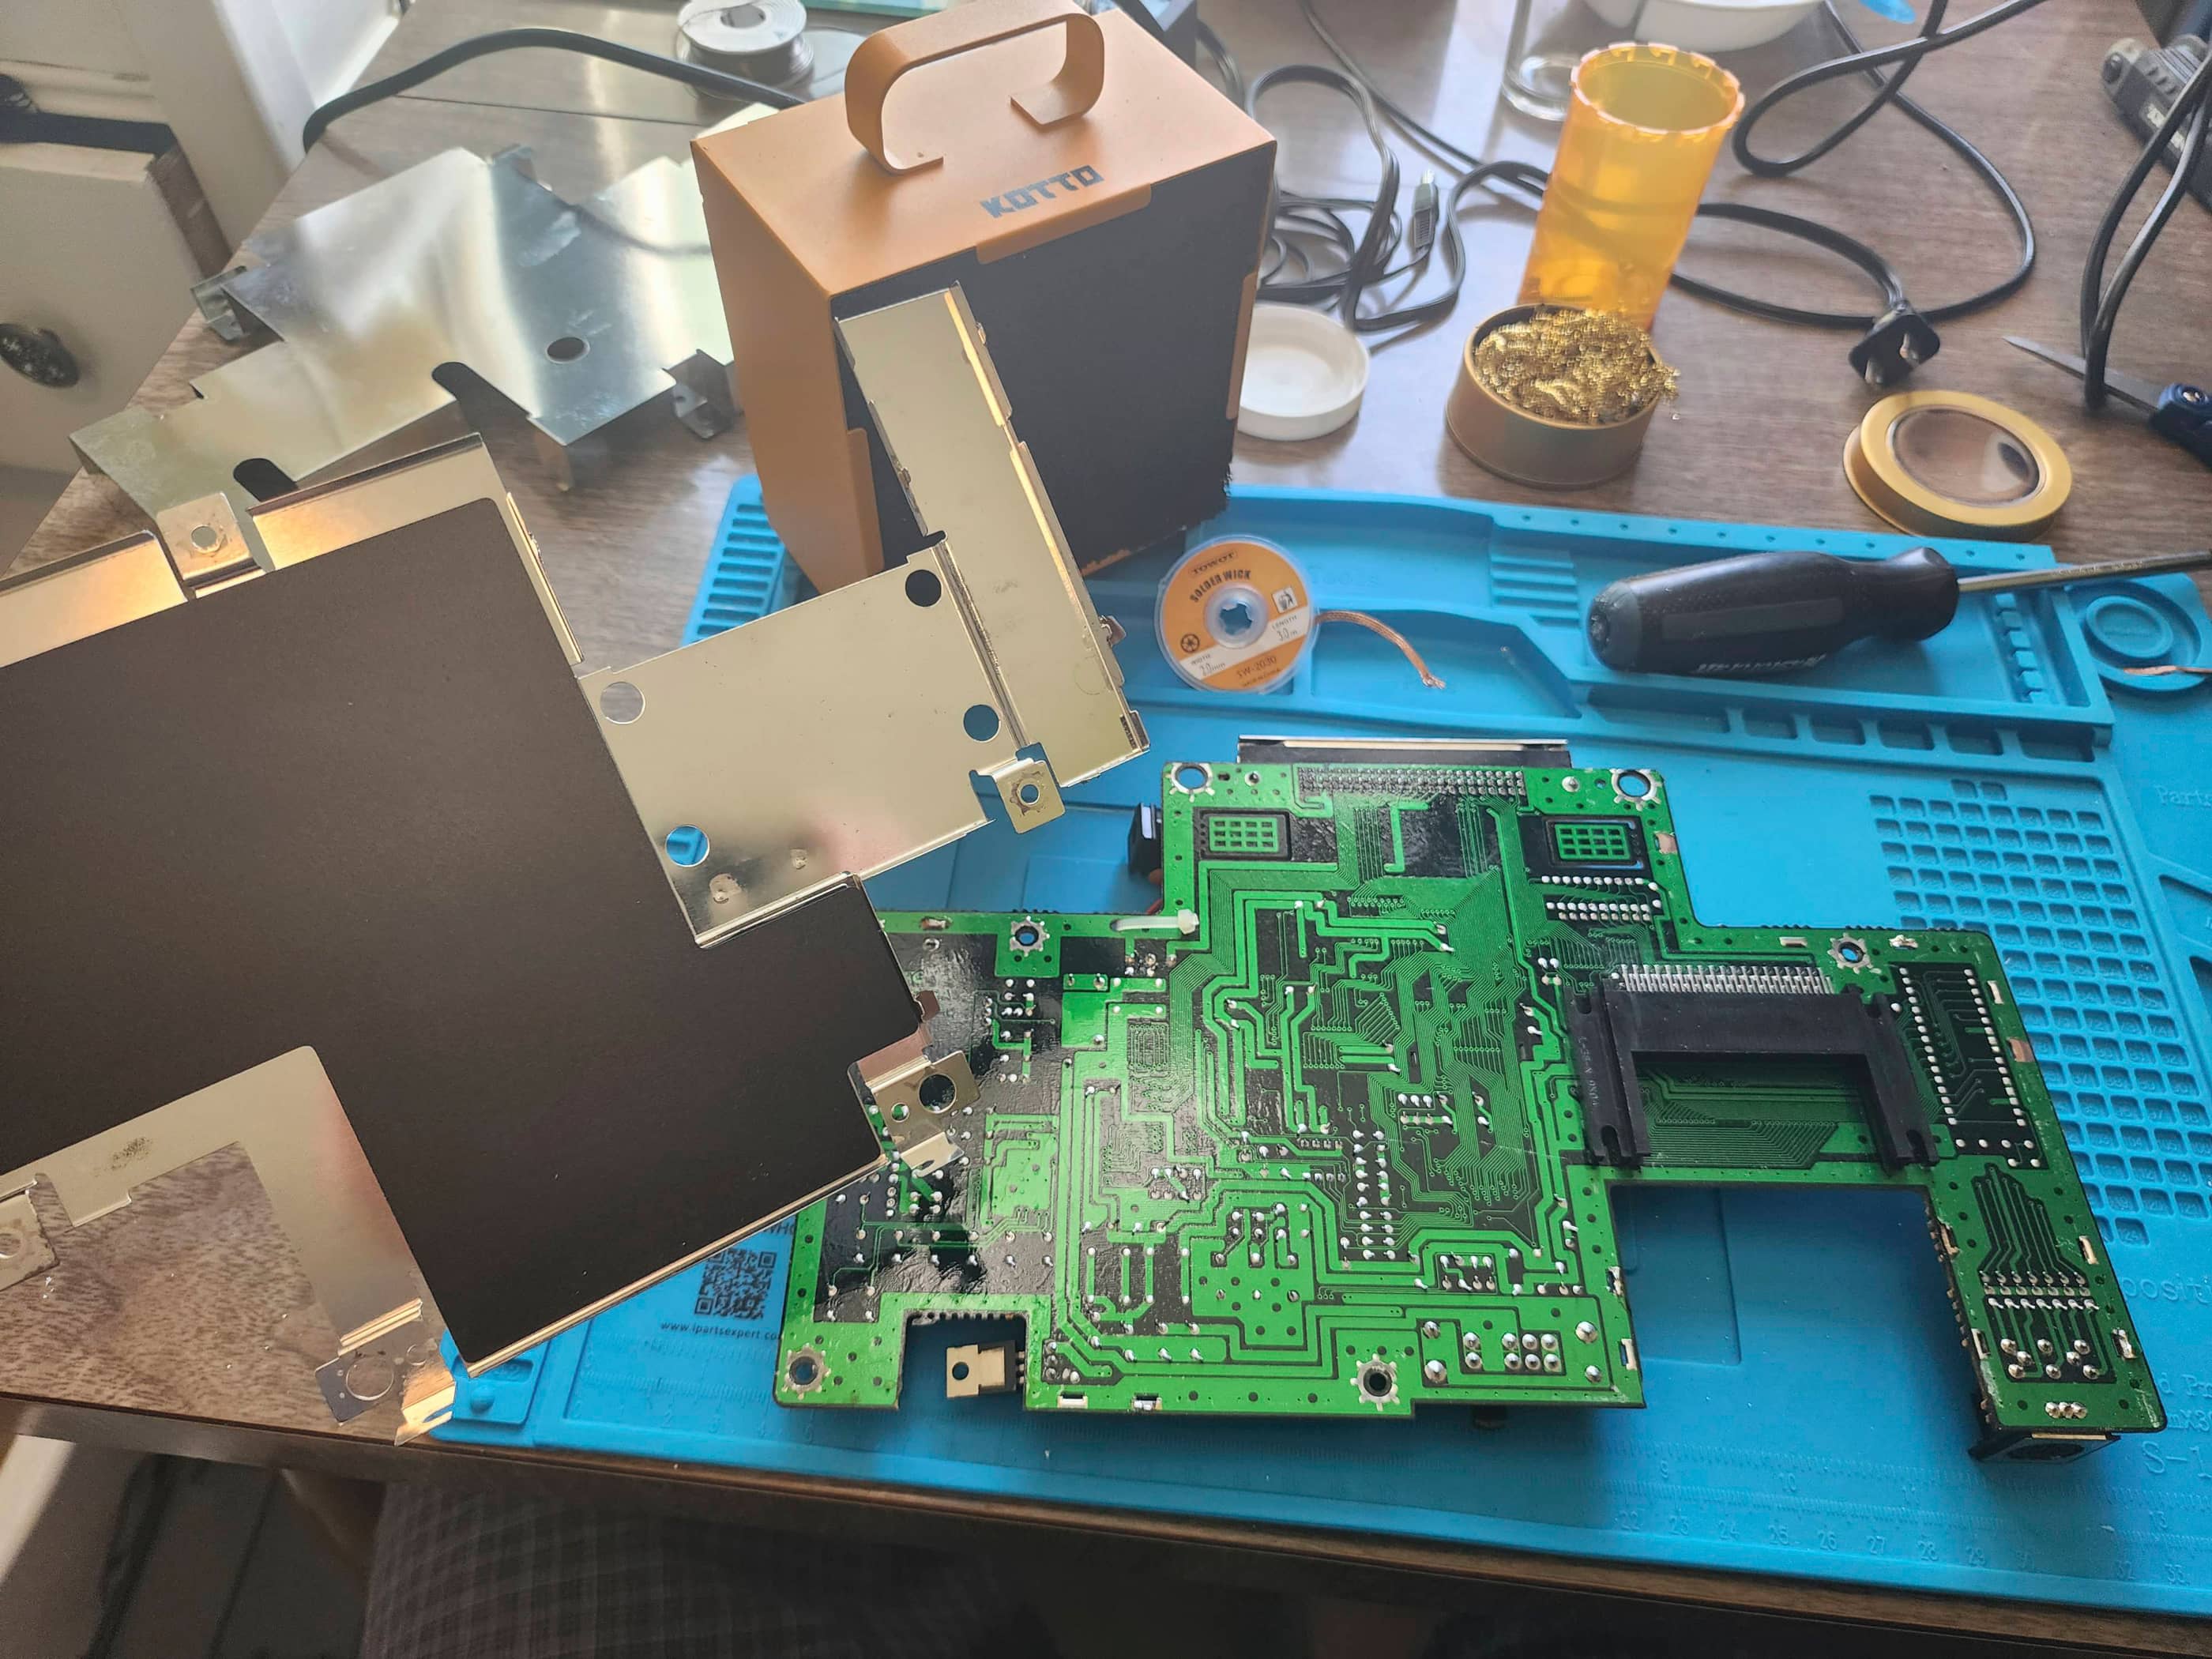

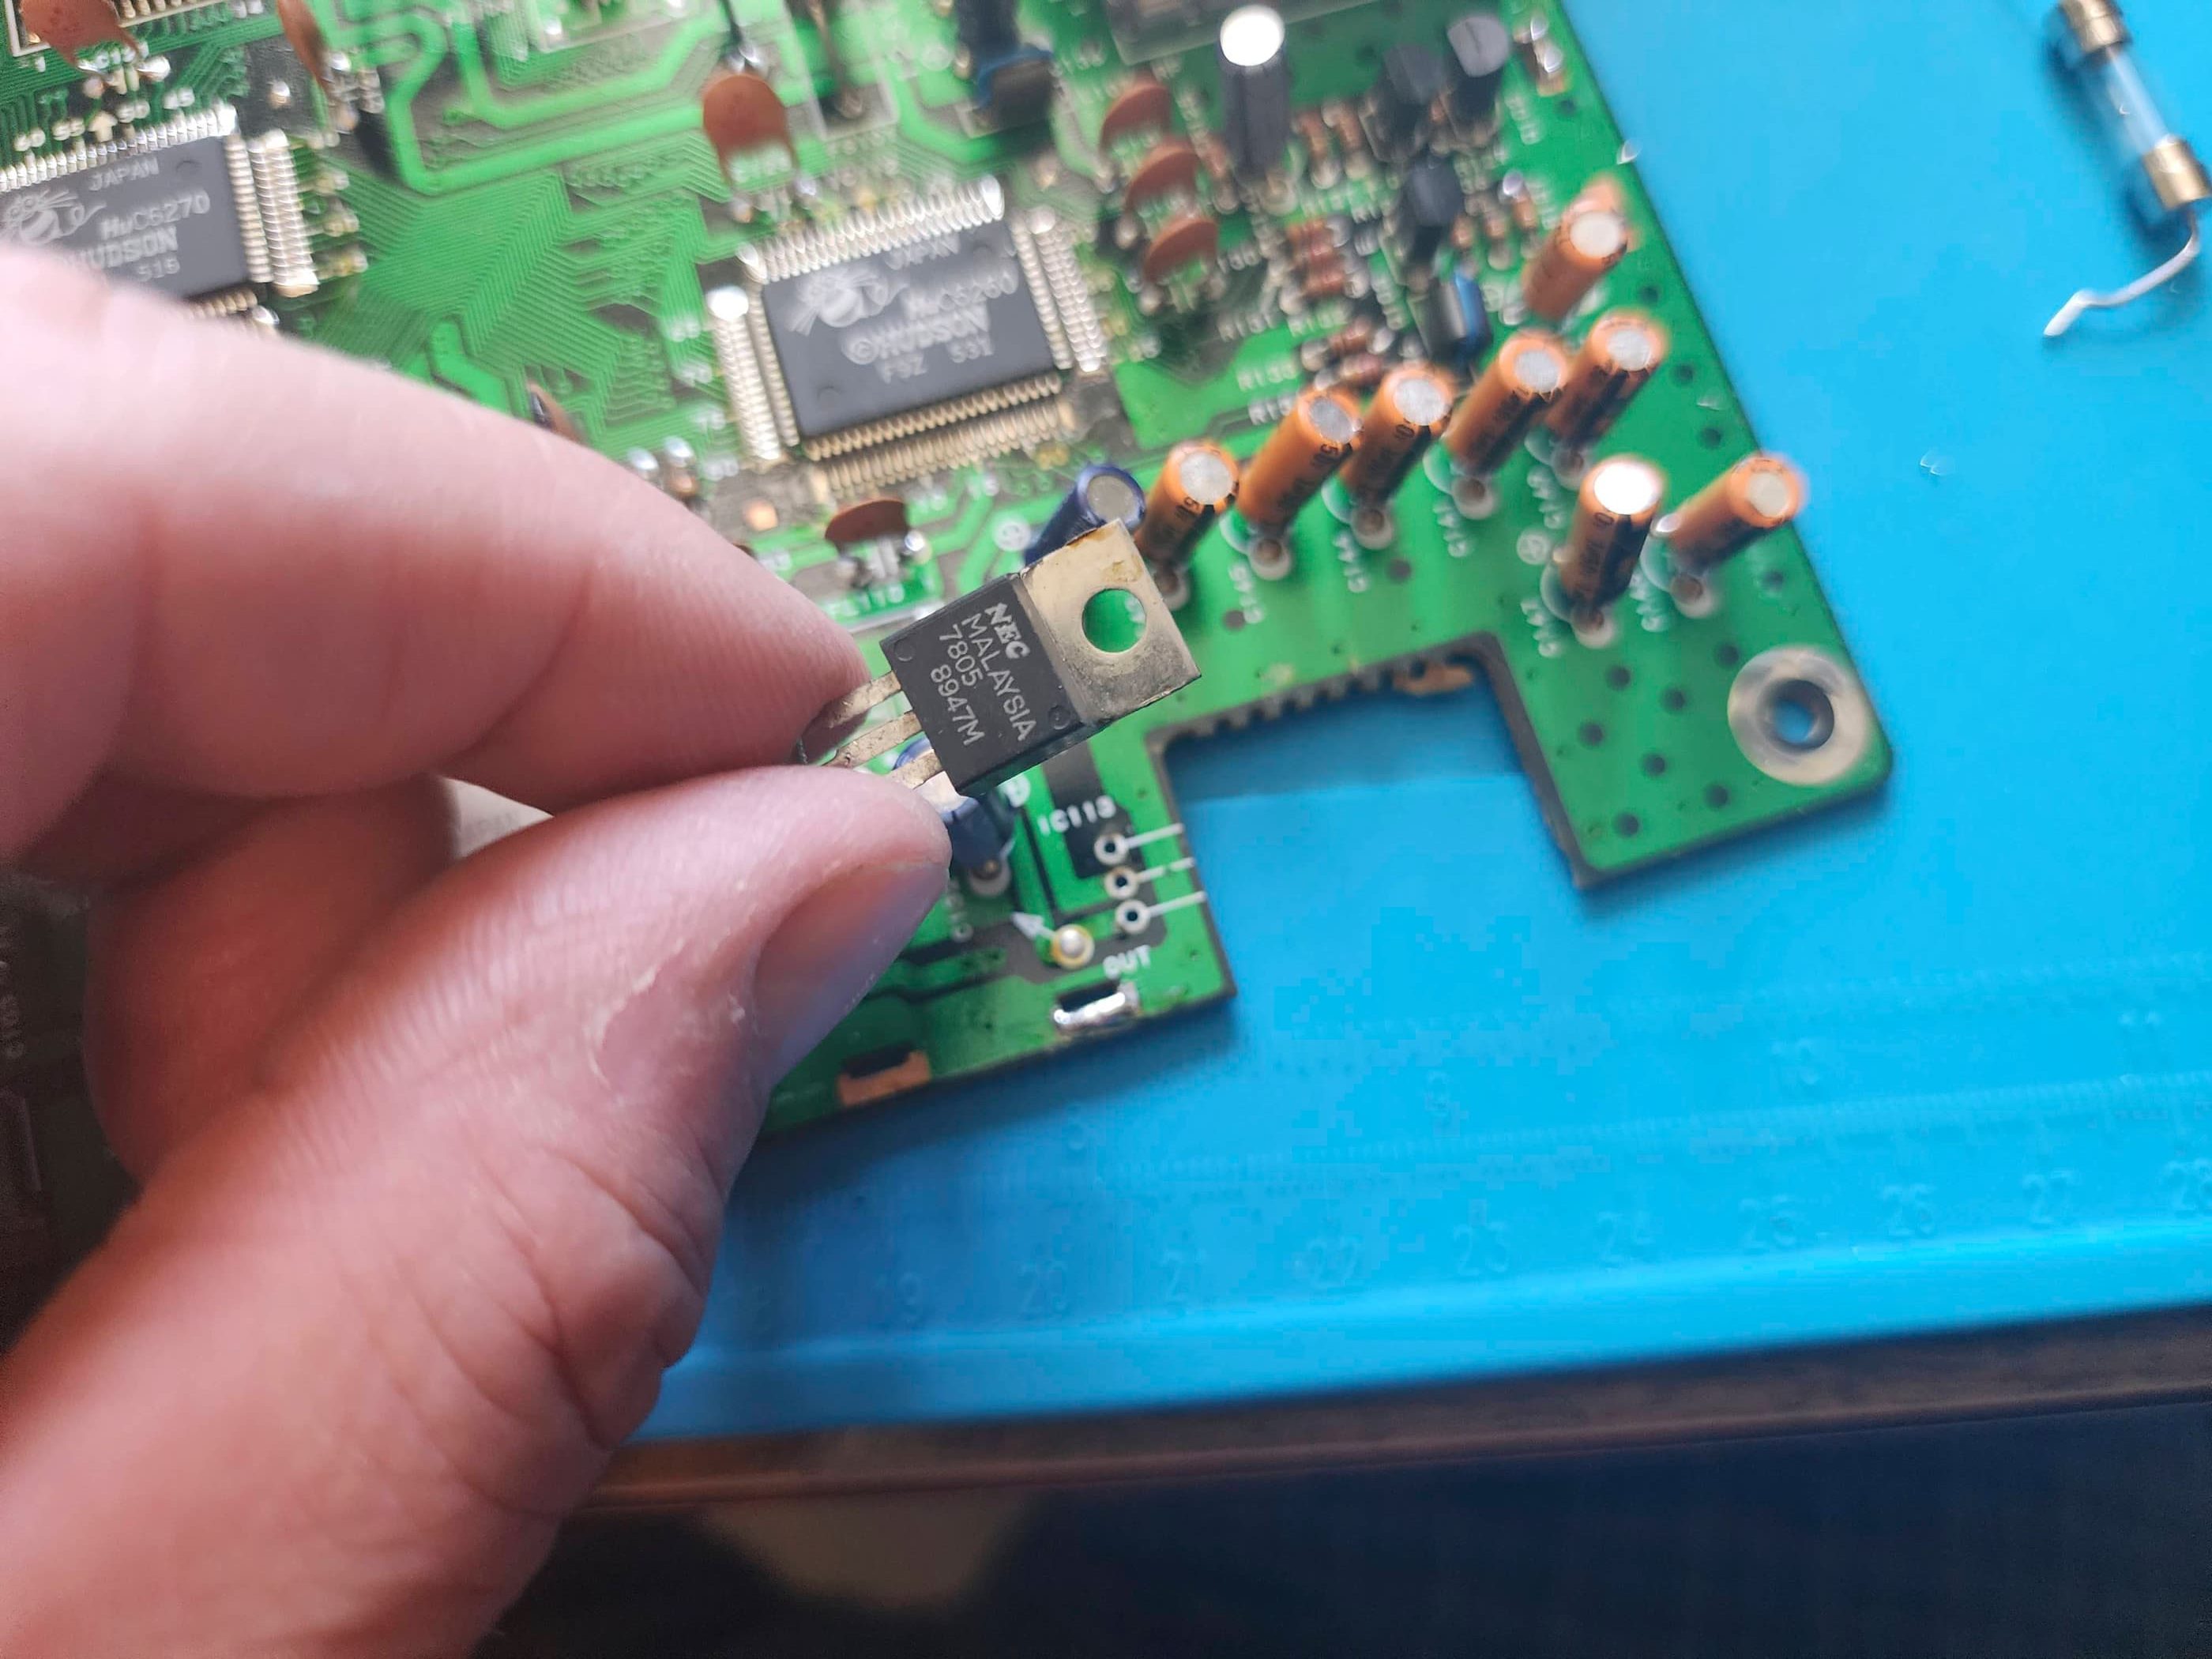

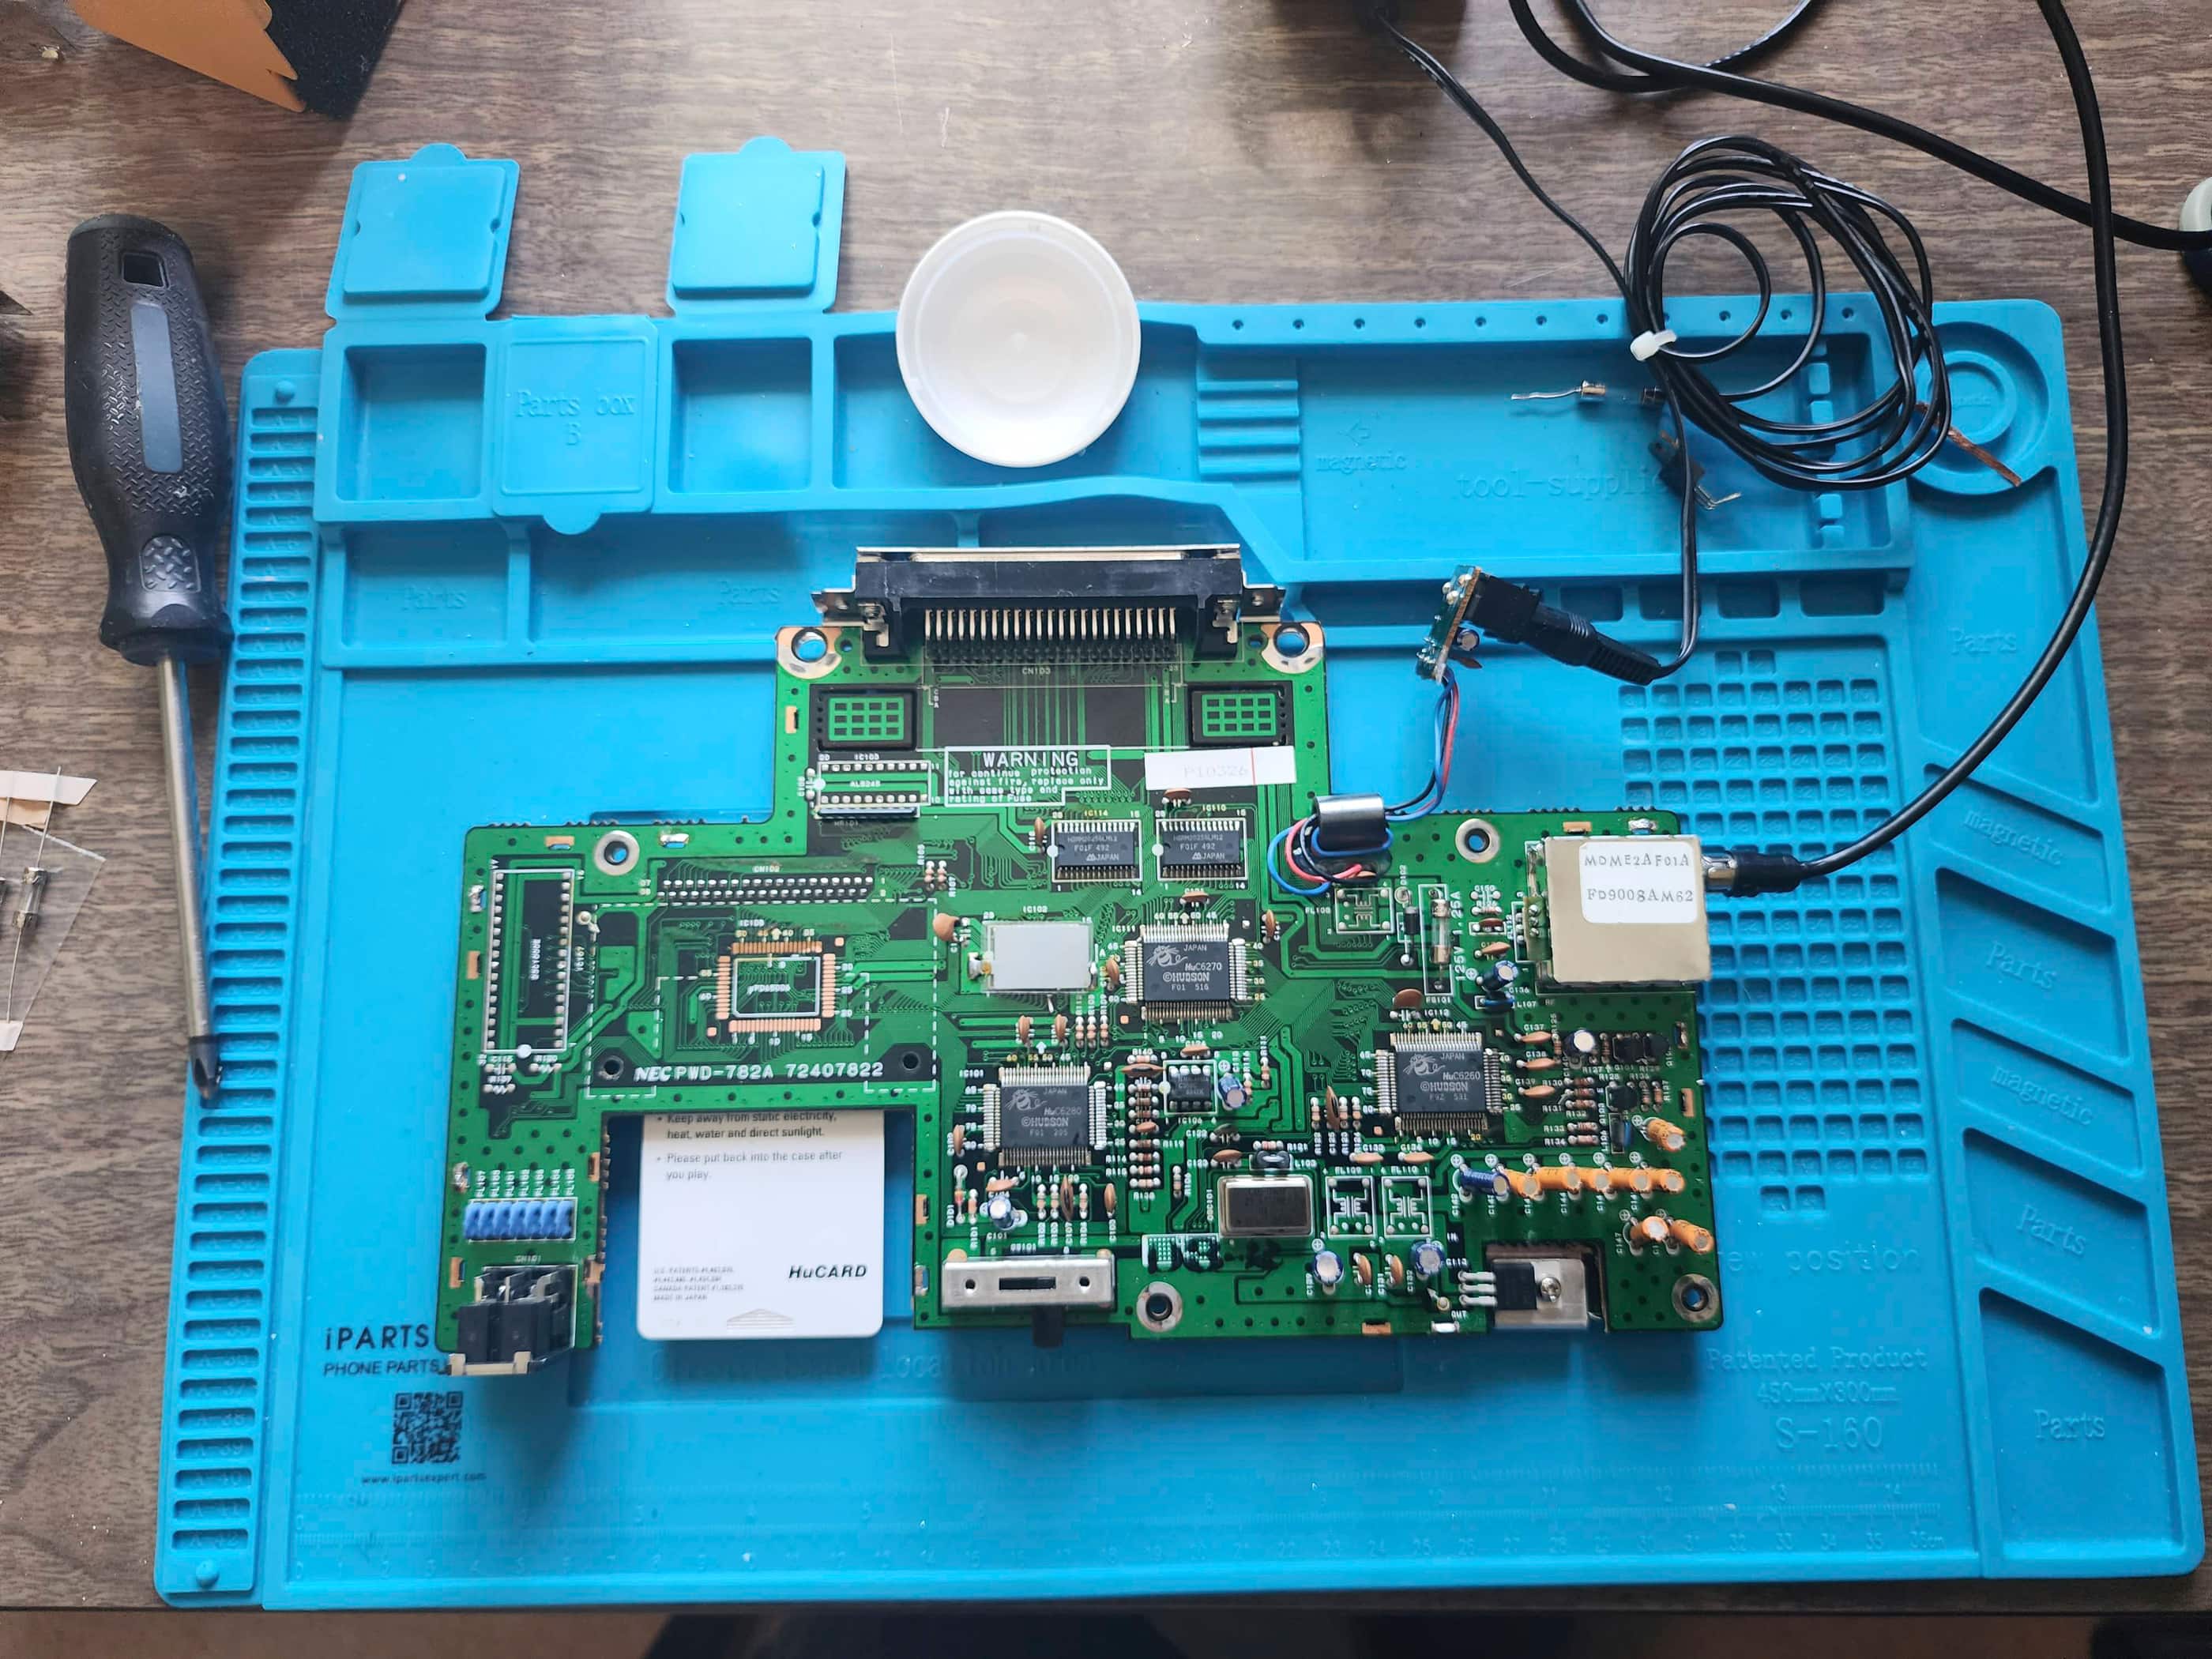


Project Details: This unit came to me DOA in its original box with two controllers; one of which had its cord cut in half. A quick test of the power adapter with a multimeter determined that it was working properly. I then took the unit apart and removed the RF shielding. It was surprisingly clean inside but since the solder joints on the RF shielding looked untouched, I concluded that it had not been opened for any serious surgery in the past. My thought process for solving why it was not powering up was greatly helped by having a copy of the original service manual. I proceeded as follows: 1) check the small 25v 22μF C1 capacitor located at the power jack; 2) check the 7805 5v voltage regulator; and 3) check the 1.25A fuse. To cover my bases, I replaced the C1 capacitor and powered the system on. No dice. I then ran a voltage check on the regulator. The manual said I should be receiving 13.5v to the regulator, but I was receiving 11.8v. Again, to cover my bases, I replaced the regulator and powered the unit on. Crickets. 🤔
I then focussed on the fuse that visually looked to be intact, but on closer inspection, the filament was not in good shape. I replaced the fuse and powered the unit on. Nothing – but at least all the voltages on the mainboard were now present and within spec. I then zeroed in on the RF box and after testing the voltages, determined that something was amiss inside the box. While poking around I came across a loose piece of solder at the end of an SMD capacitor. I shifted it back into place and powered the unit on and… Bingo! A very fuzzy display but without sound. I reflowed the solder where I could, but could never get the sound back or a clear picture. But at least I had hope. I then rigged up a makeshift composite mod and determined that the unit could still generate sound.
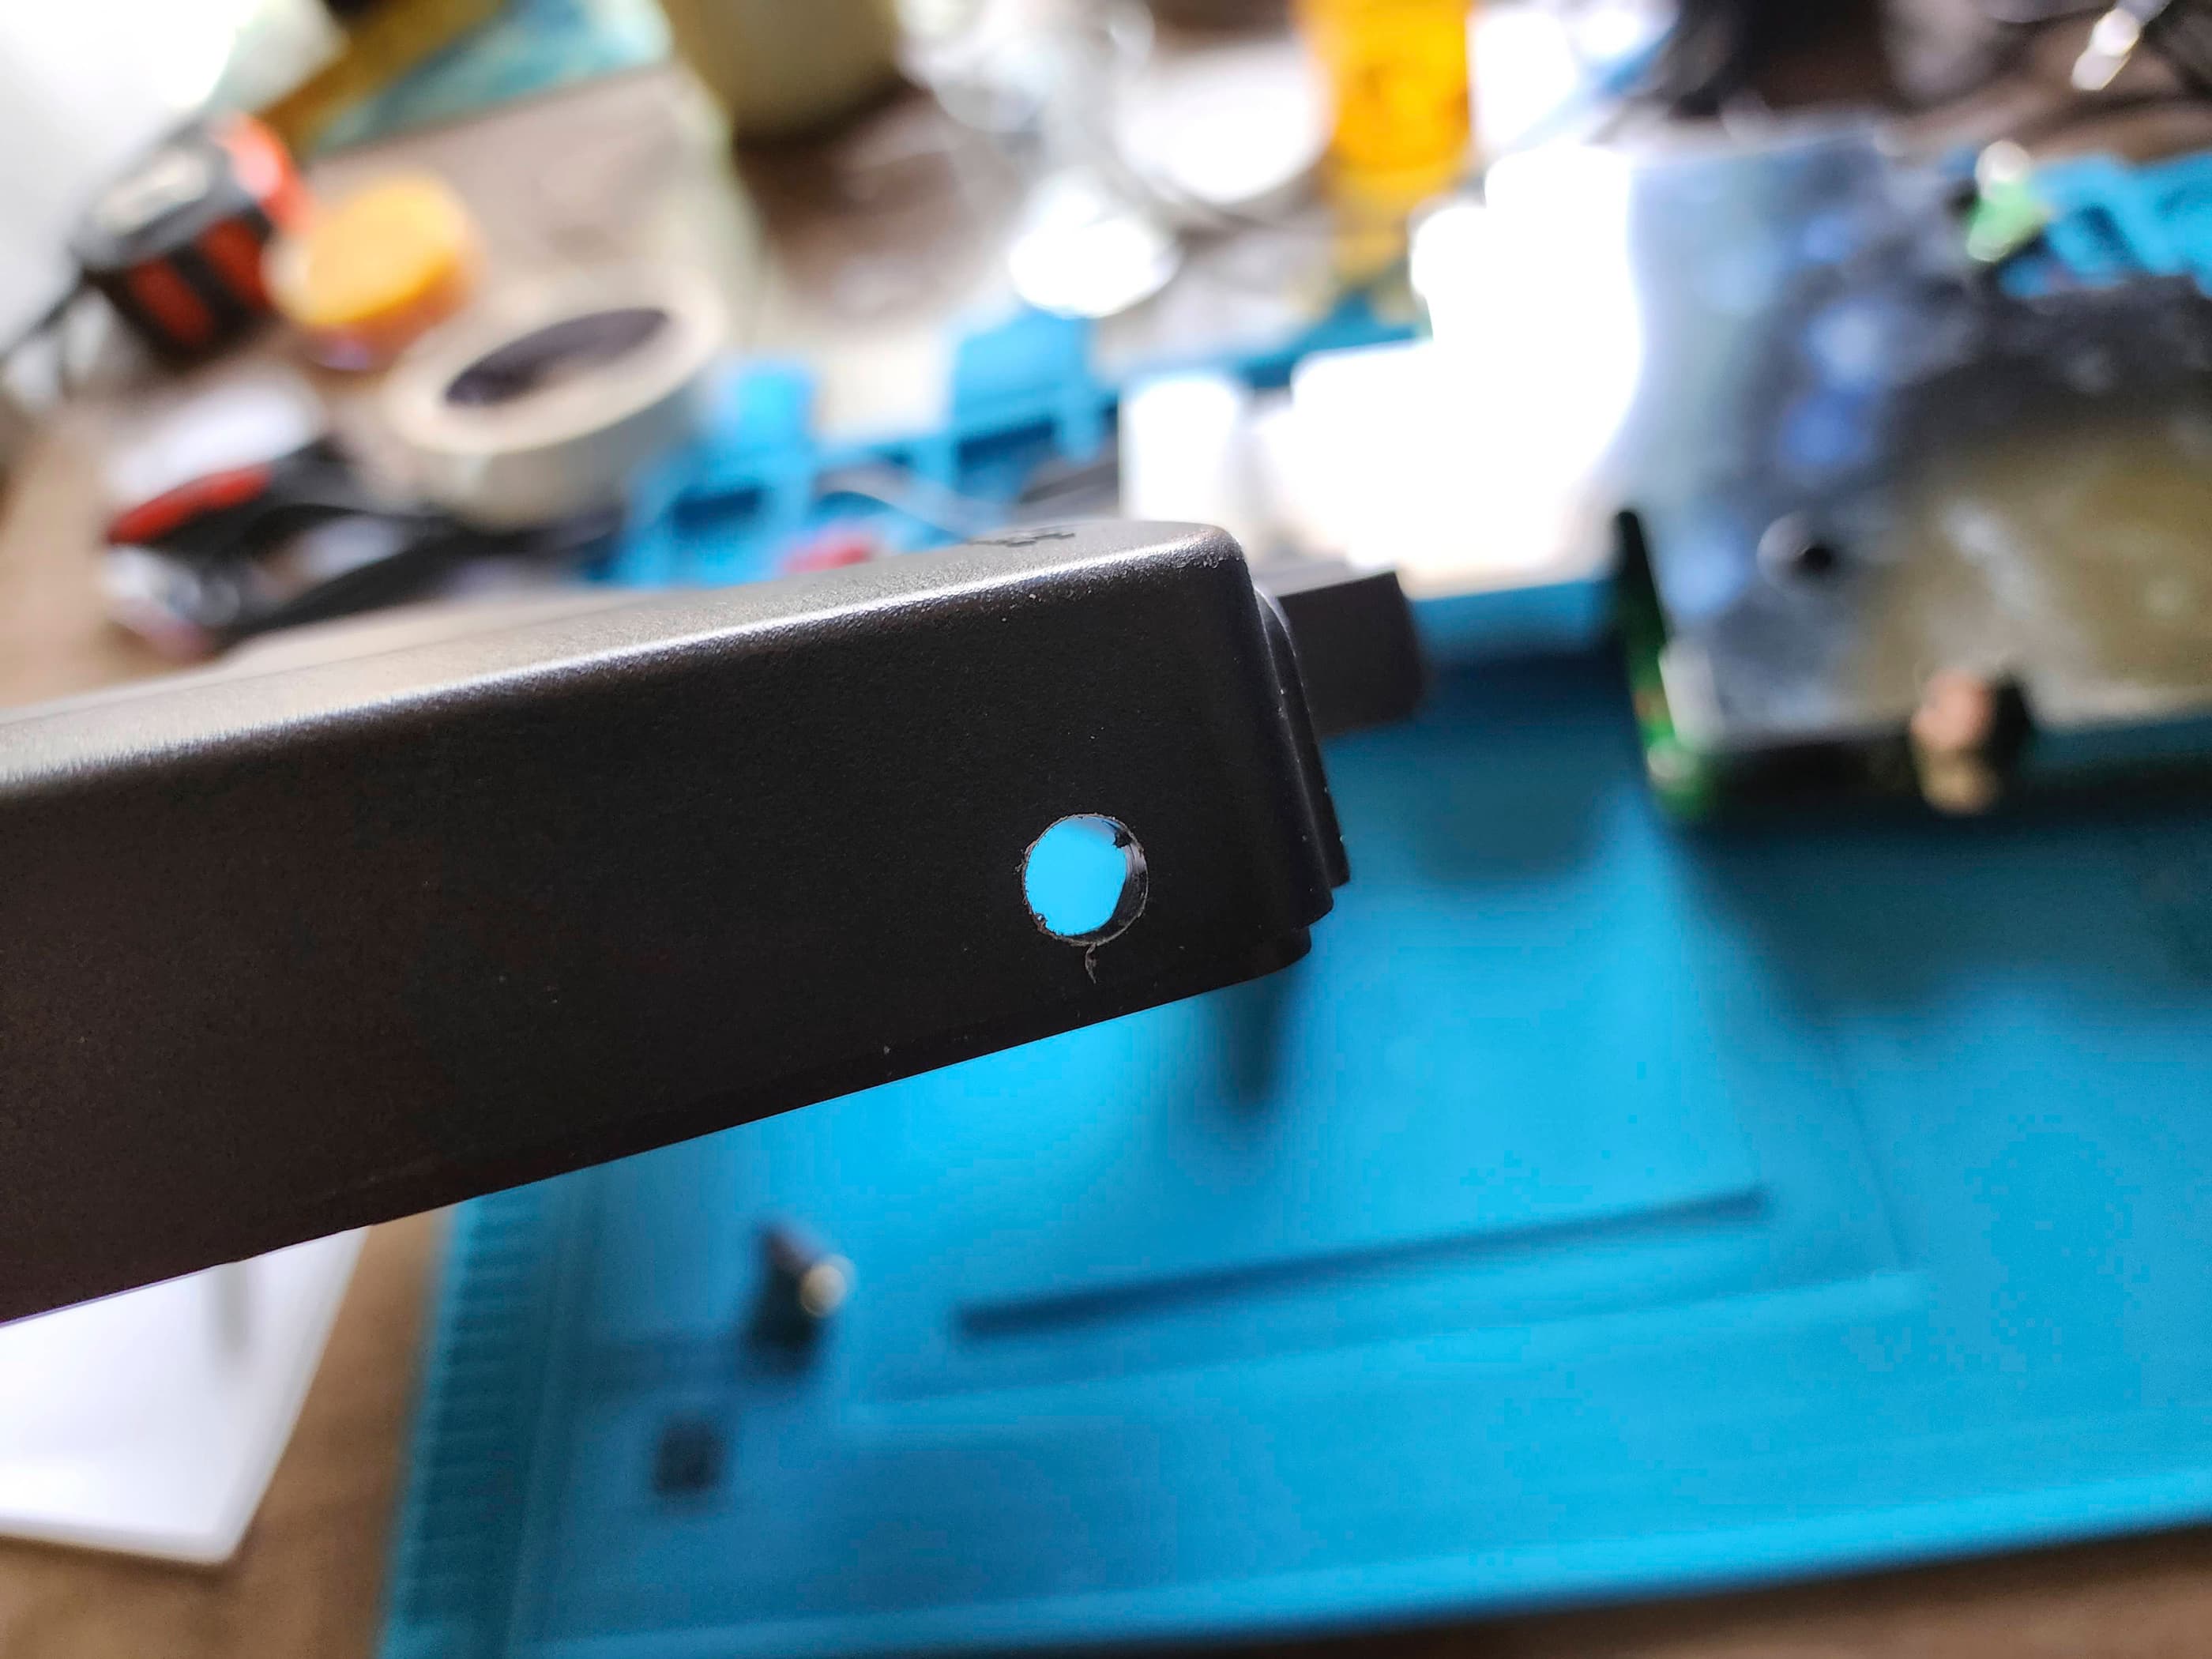
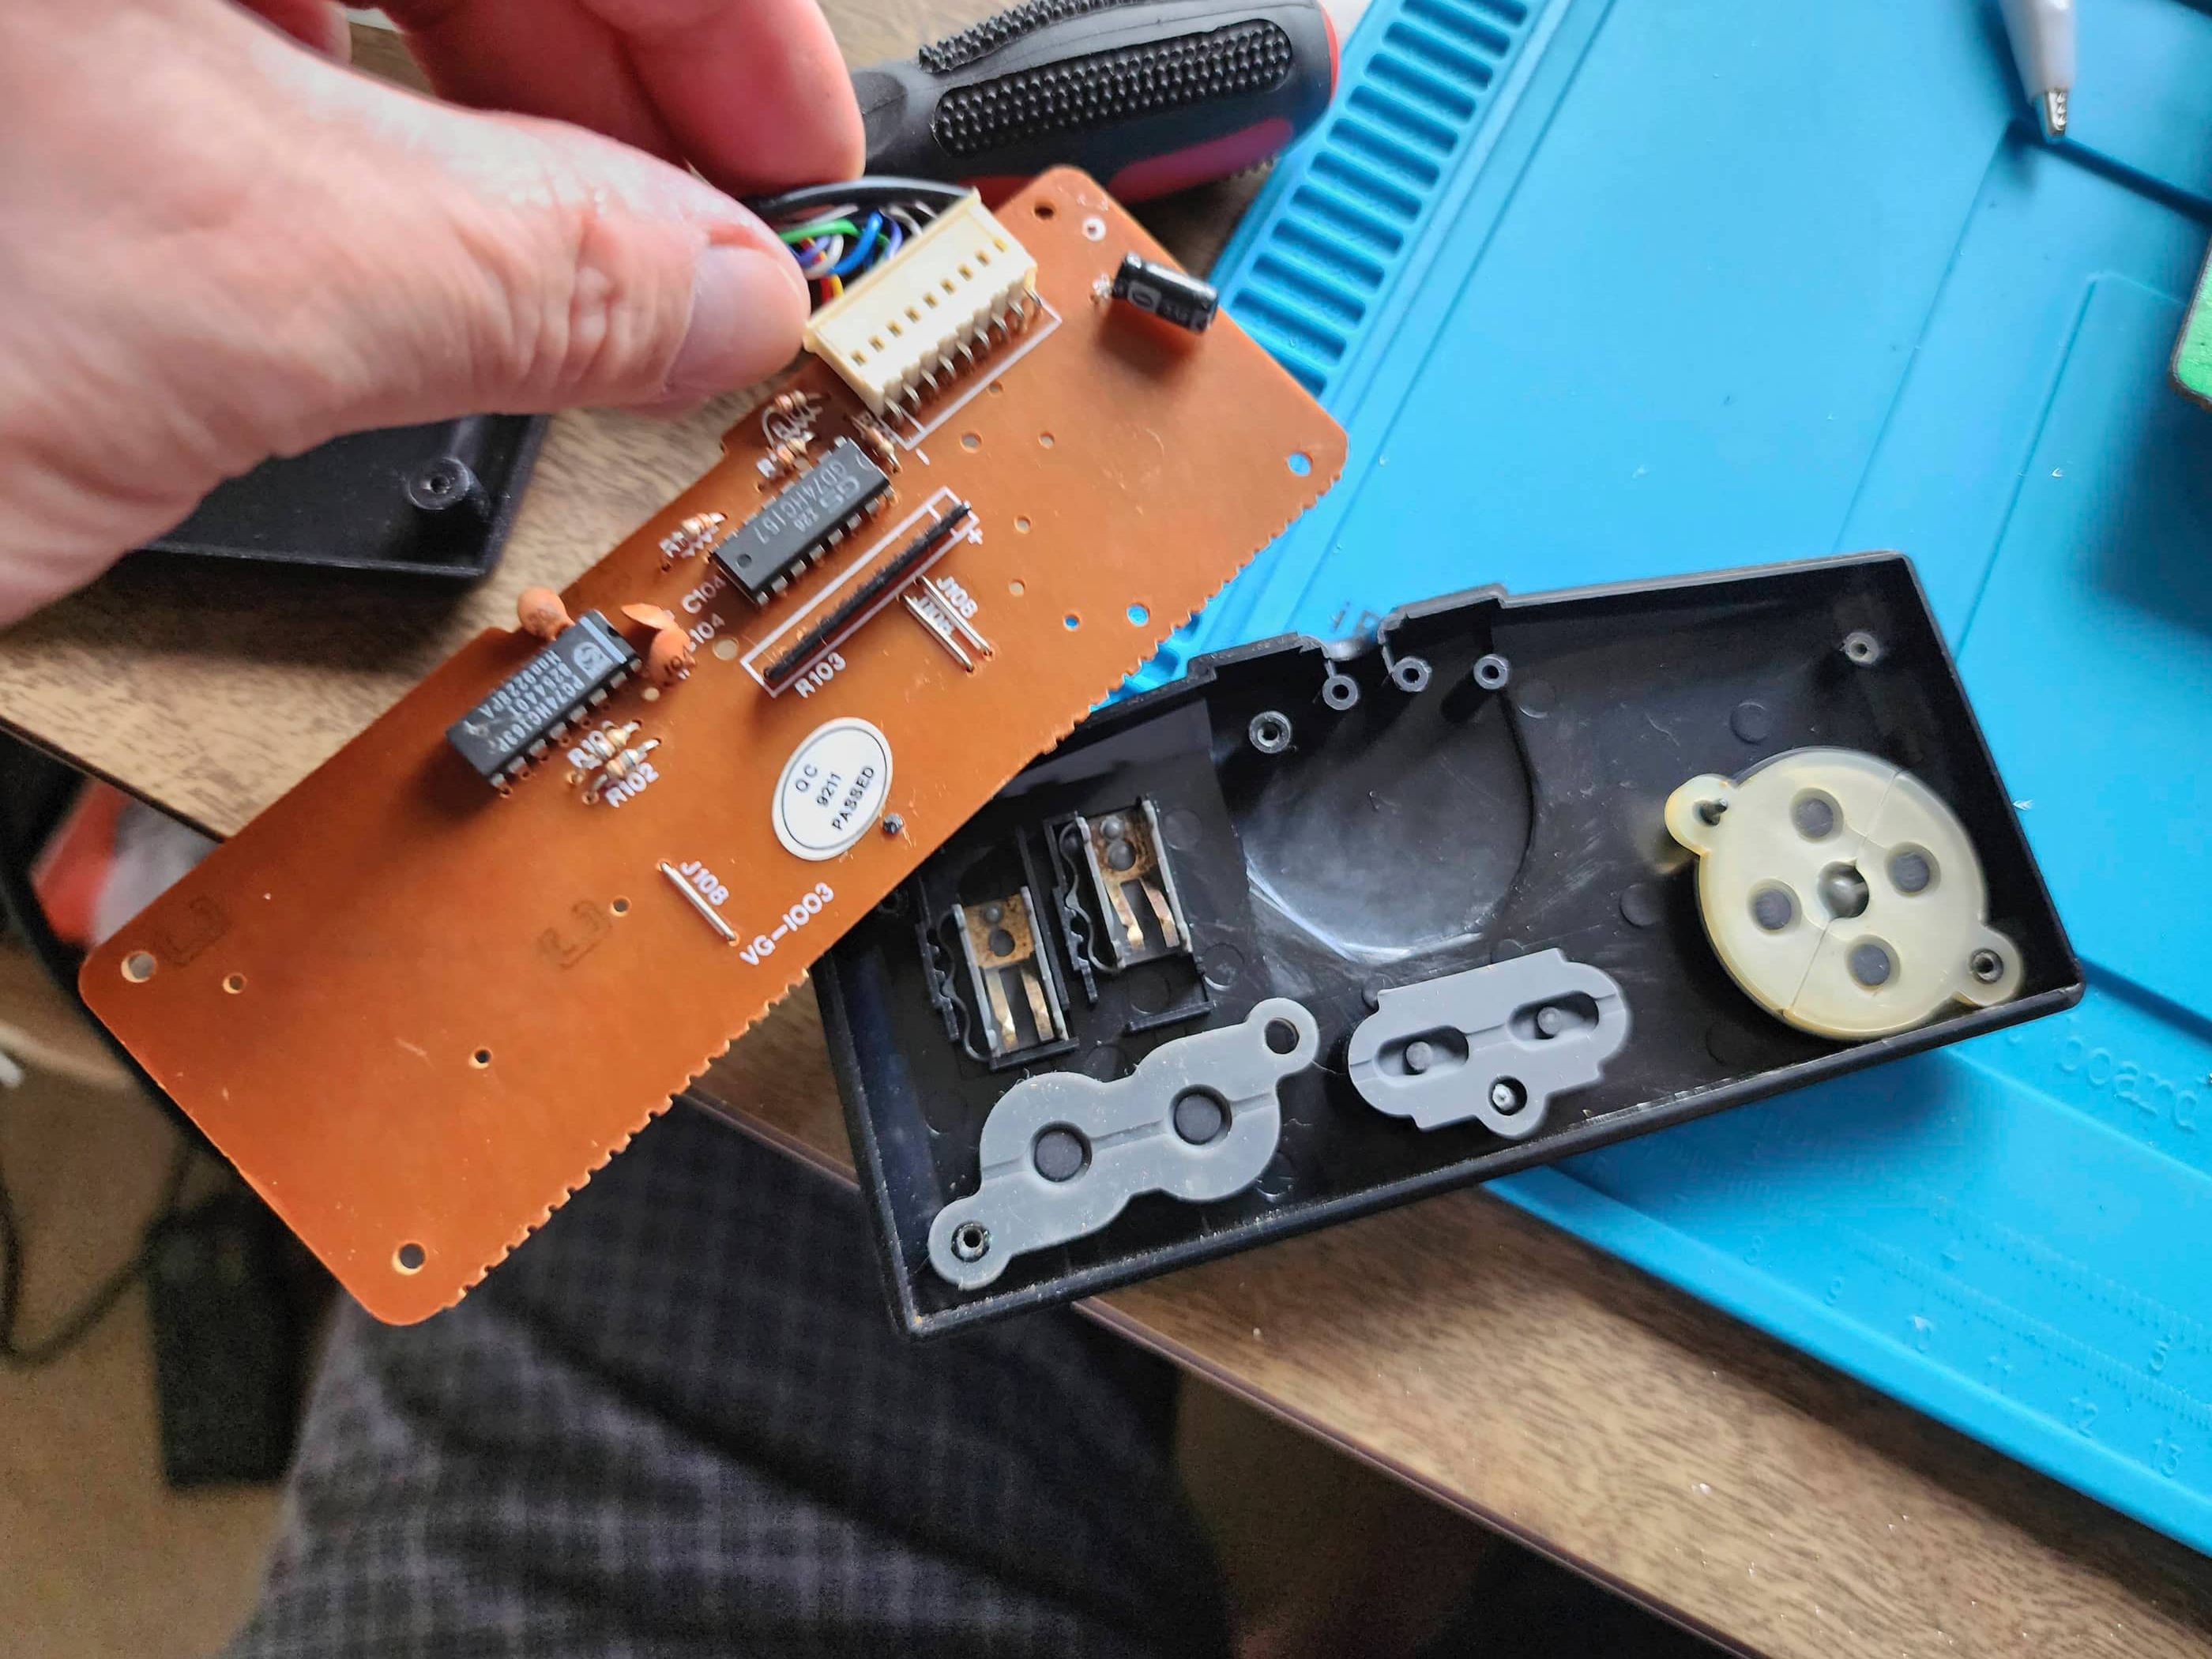
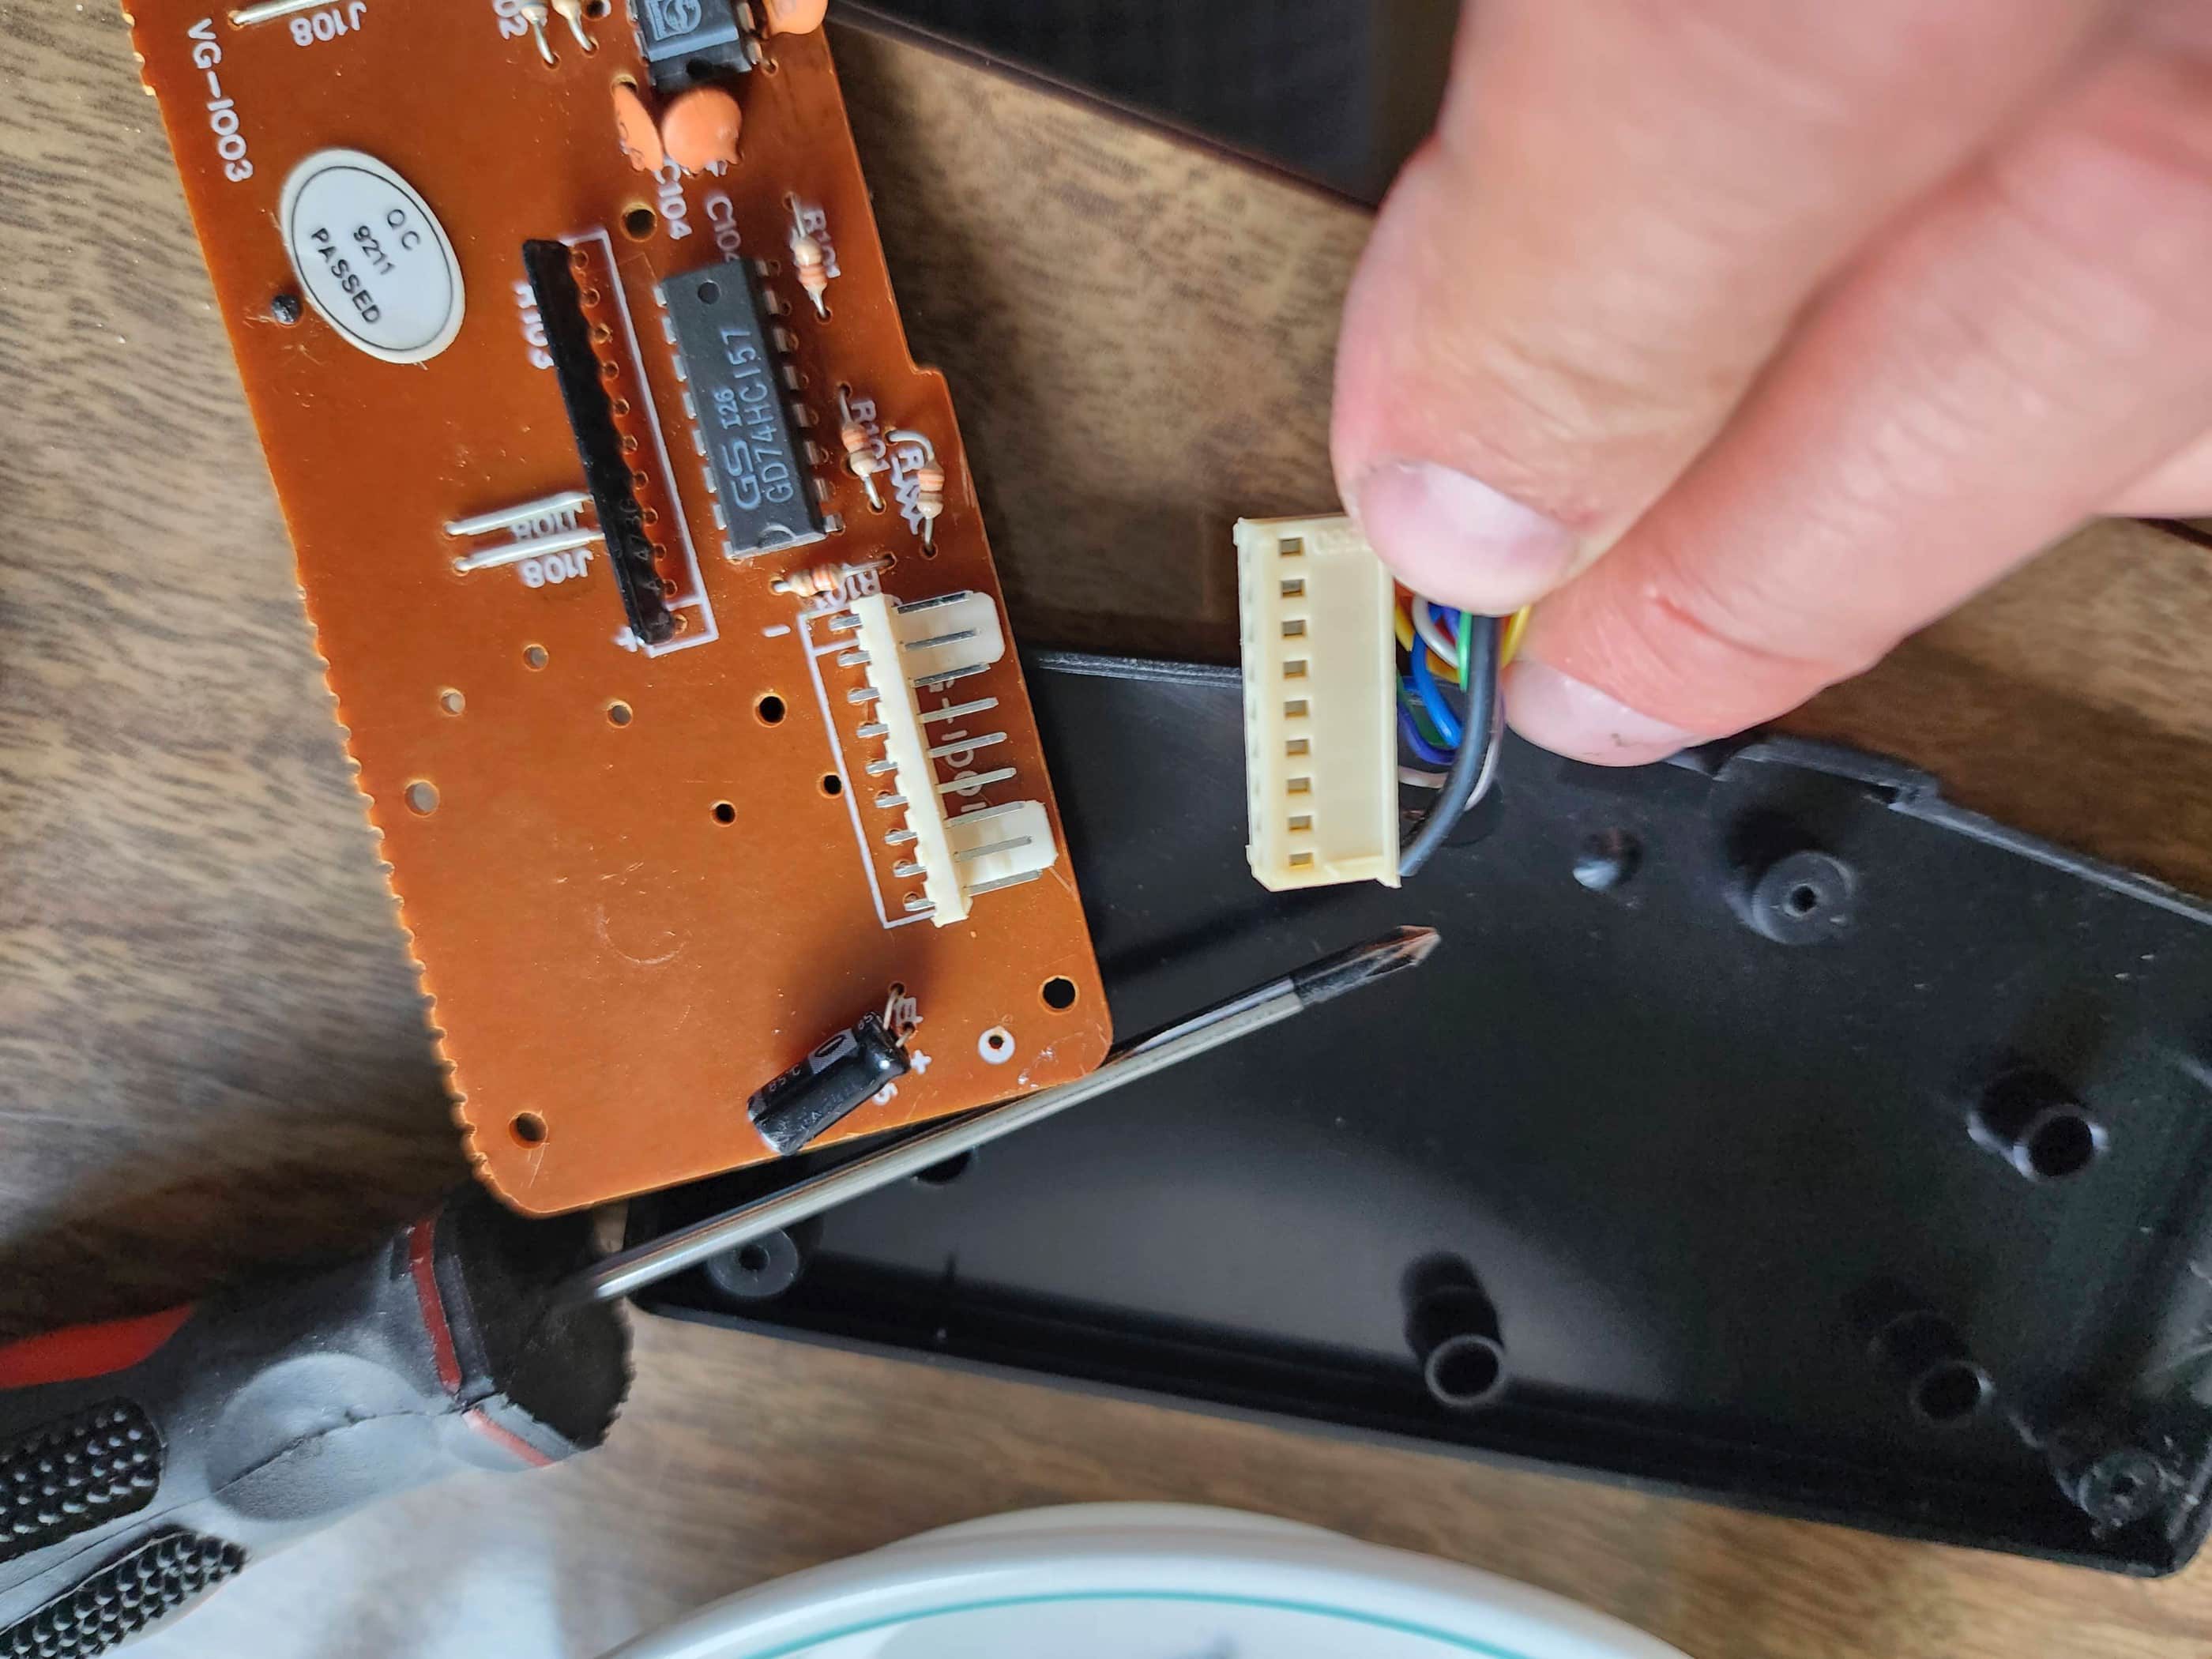
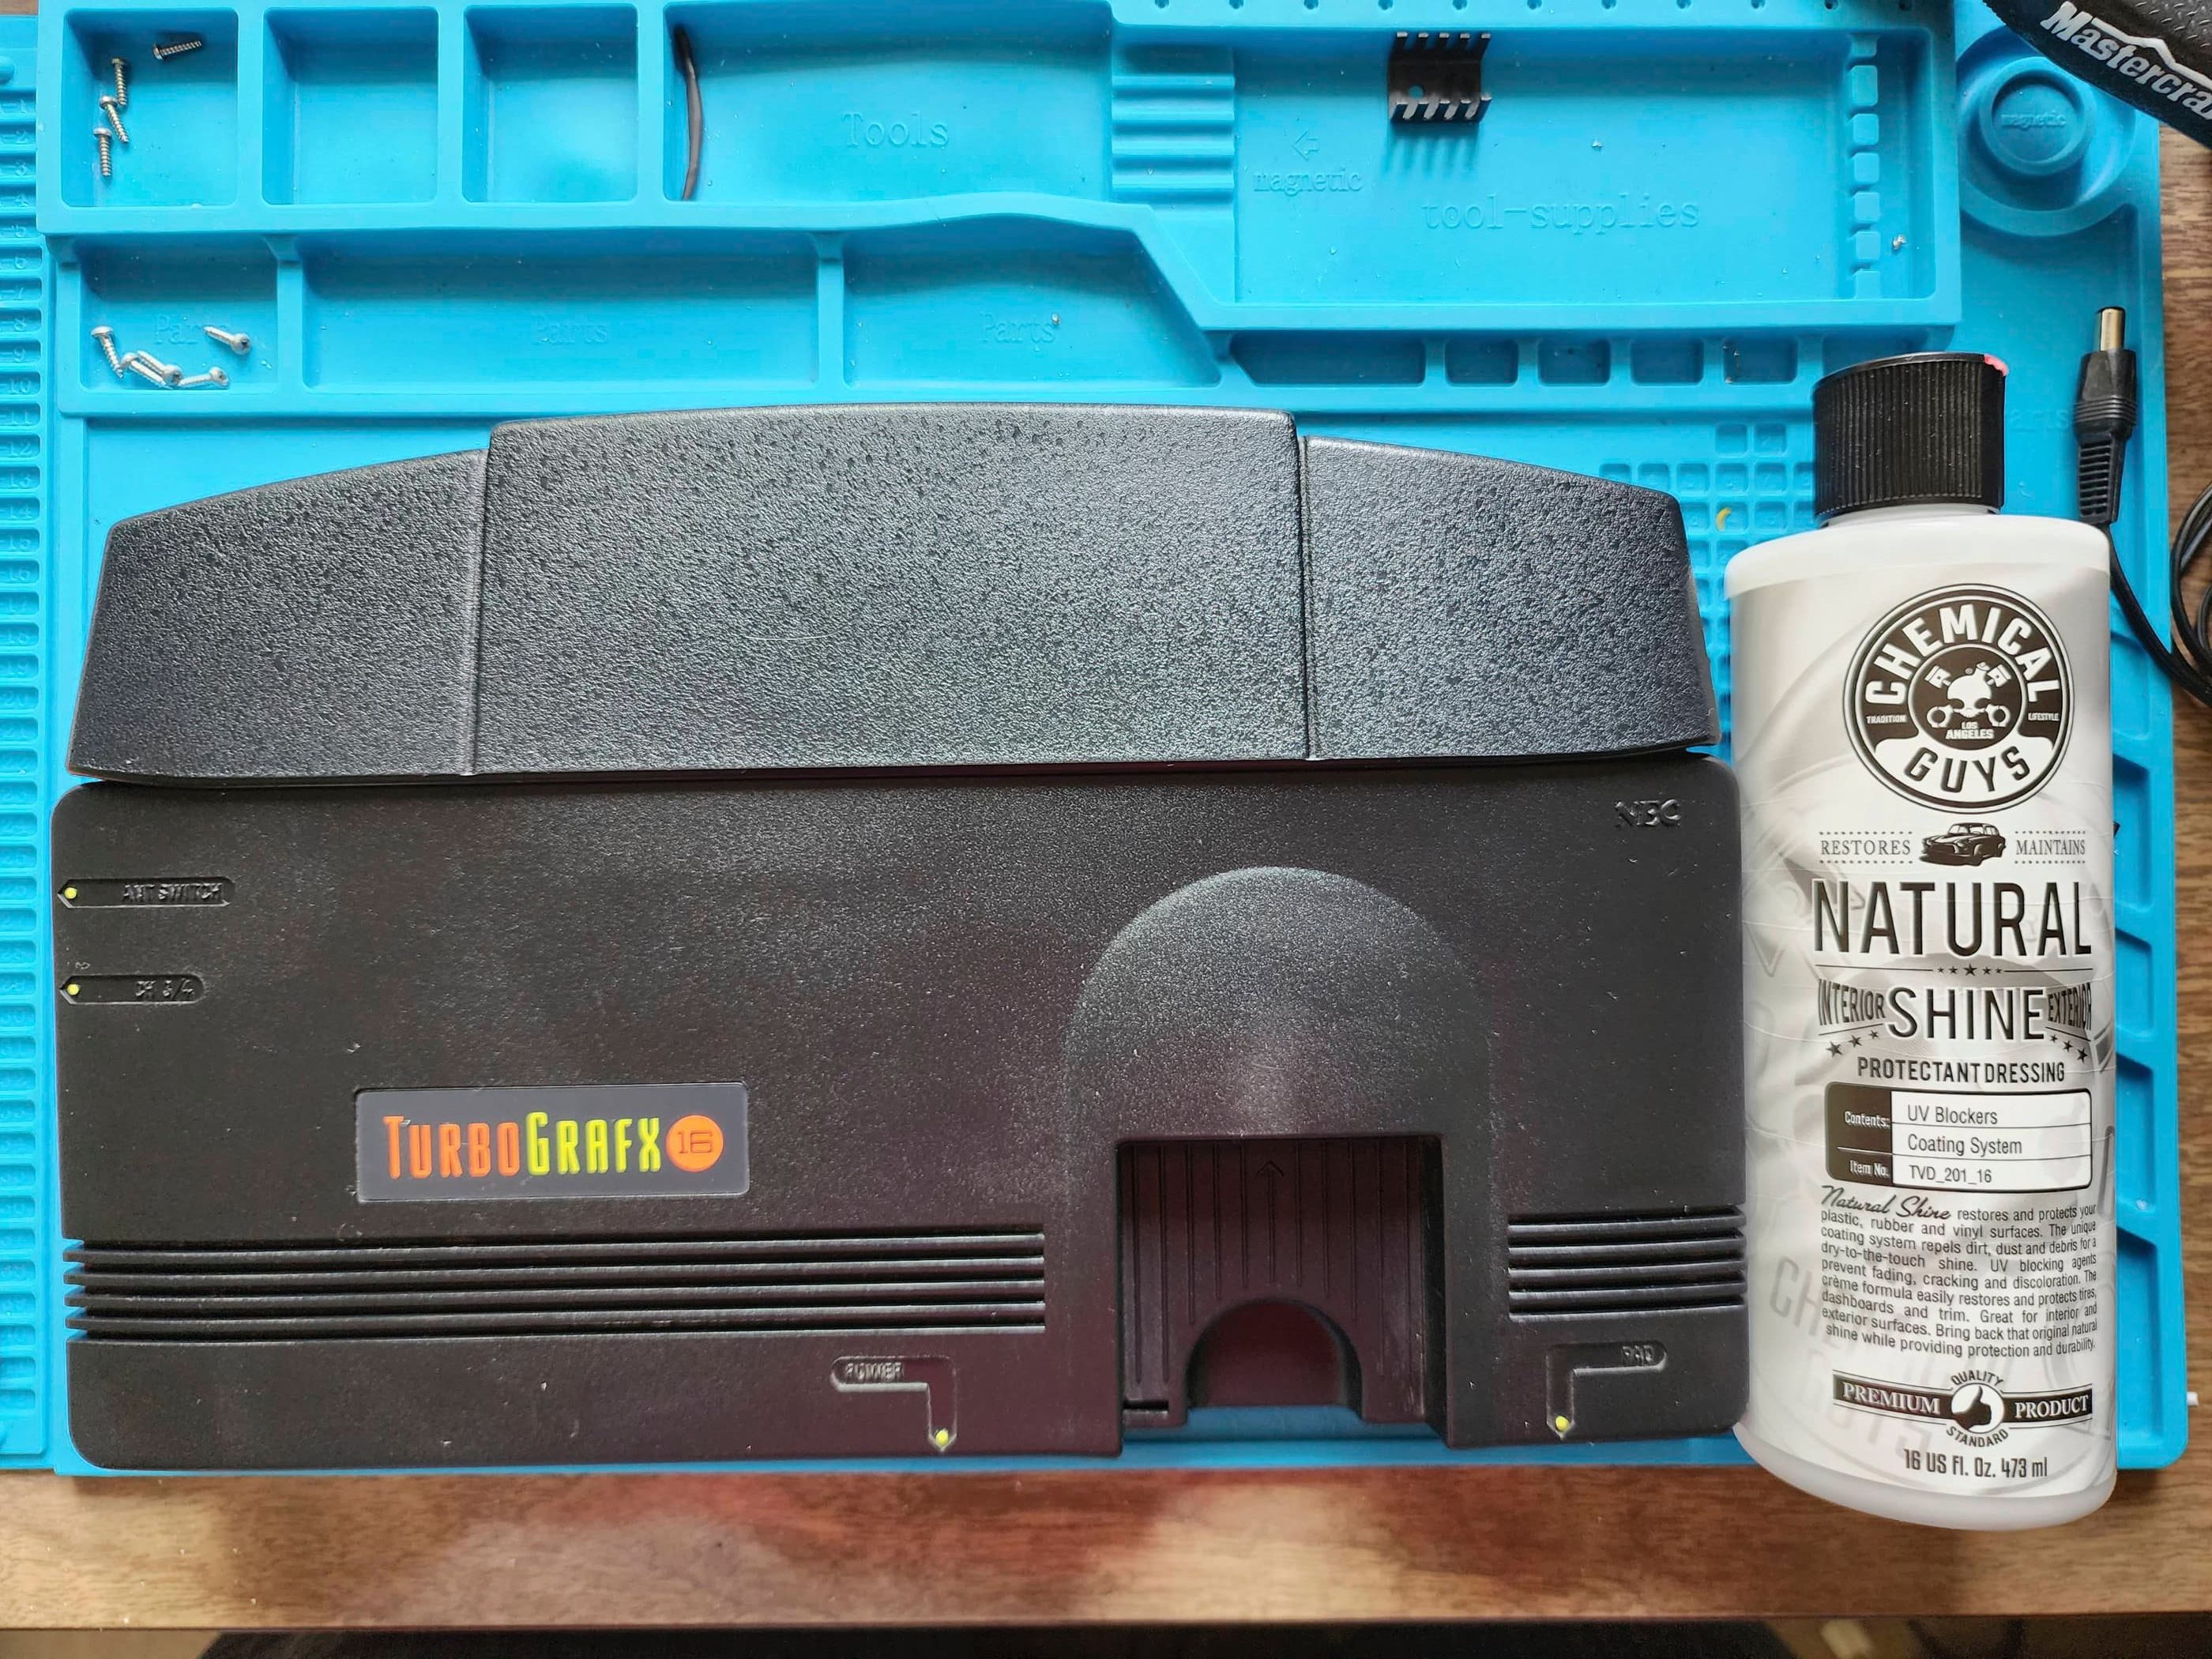
That’s when I decided to do a composite mod because the RF box was too damaged for repair. I added a TRRS 3.5mm jack to the side of the unit and it now produced great audio and video; however, the only complete controller had issues. I pulled apart both controllers, replaced the cable on one, and the electrolytic capacitor on both boards. The controller with issues now worked perfectly; though I could not get the second controller to work. Finally, I performed a detailed cleaning on both the unit and working controller. Keith Courage lives again! 😀
Parts & Products Used: 99% isopropyl alcohol; Chemical Guys Natural Shine; thermal paste; electrolytic capacitors (radial) – 25v 22μF (1); 1.25A fuse with leads; 7805 +5v regulator (1); TRRS 3.5mm female jack; 22 gauge wire;


You must be logged in to post a comment.