

⚠️ Hiking and scrambling are inherently dangerous activities. Please read my Disclaimer. ⚠️
After sticking to lower destinations over the winter months, Jeff and I were anxious to take advantage of the spring melt and gain some higher ground. Our plan to achieve this was to utilize a route of our own creation that we call, ‘The Whistler Loop’. This multi-destination trip seemed like a perfect way to kick off the official hiking season – some good scrambling combined with long ridge walks and new summits.
I originally devised this route back in January and I had been anxious to complete it ever since. The idea came to me in part because I was intrigued by the high point just to south of Table Mountain. At 2271m (my gps) this unnamed destination is 46m taller than the summit of Table Mountain (2225m) and despite being relatively easy to get to from Table Mountain, receives little attention (at least as far as I can tell). As I studied Google Earth over the winter, it also occured to me that if I were to ascend via the creek bed just to the south of the Beaver Mines Lake Campground, the high point (which I’ve named ‘Table Top’) could be combined into a fun loop that would incorporate the summits of a couple of other unnamed peaks, along with Whistler Mountain, and the old Whistler Fire Lookout. The descent route would then go down the north side of the old Fire Lookout and emerge on the other side of the creek, directly across from the ascent route.
With a beautiful day in the forecast, we set off from Lethbridge at 8:30am and were hiking by 10:00am. To quote Hannibal from the A-Team, “I love it when a plan comes together.”

Despite being the May Long Weekend, the Beaver Mines Lake campground was still closed. This meant that we had to park at the entrance to the campground and make the short trek through campground until we reached one of the most southerly camp sites. From there, we crossed a fence and had an easy trek through the woods until we reached the banks of the creek. We stayed along the lefthand side of the creek until we reached the base of the outlier to the south of Table Mountain. Originally, I thought we would go up an obvious ramp to gain the ridge, but after seeing the scrambling opportunities directly above us, and not wanting to side slope over loose scree, we decided to ascend on firmer rock just west of the ramp. After some fun sections of scrambling, we gained the ridge. From here, everything is fairly straightforward and fairly easy. There are a few gains and losses in elevation, but there are also plenty of goat trails that let you bypass anything you want to. The only minor wrinkle in our plans came during our descent down from the old Whistler Fire Lookout. Deep snow prevented us from going through the trees above the creek, so we used the open slopes on the north face of the little outlier. Once we made it into the trees, we easily bushwhacked back to the creek where we crossed it and rejoined our route back to the campground.

If I do say so myself, ‘The Whistler Loop’ is a fun early season objective. Our total distance travelled was 14.1km with total elevation gains of 1221 metres. The complete loop took us 8 hours and 33 minutes and included 4 summits (with options for more).

Since the Beaver Mines Lake campground was closed, we had to park at its entrance. That giant pack is mine and as usual, I was over prepared which had me cursing by the mid-point of the trip. We ended up not needing our snowshoes, but I insisted that we should bring them along just in case.

Looking from the campground toward our objectives. We would cross the fence and go through the forest until we reached the creek. Our route went up the slope of the outlier on the left and came down the bare slopes of the outlier on the right. Whistler Mountain is in the centre.

The trek from the campground to the creek is easy, with plenty of space between the trees with and multiple game trails to follow. This is the kind of bushwhacking that I enjoy 😉

After a short trip through the forest, we emerged on the banks of the creek. Travel along the creek is also easy, as well used game trails negate any need to actually set foot in the stream bed. Our ascent route is on the left side of the valley and our descent route is on the right.

Once we came to the base of the outlier, we sidesloped until we came to the band of rock visible in front of Jeff.

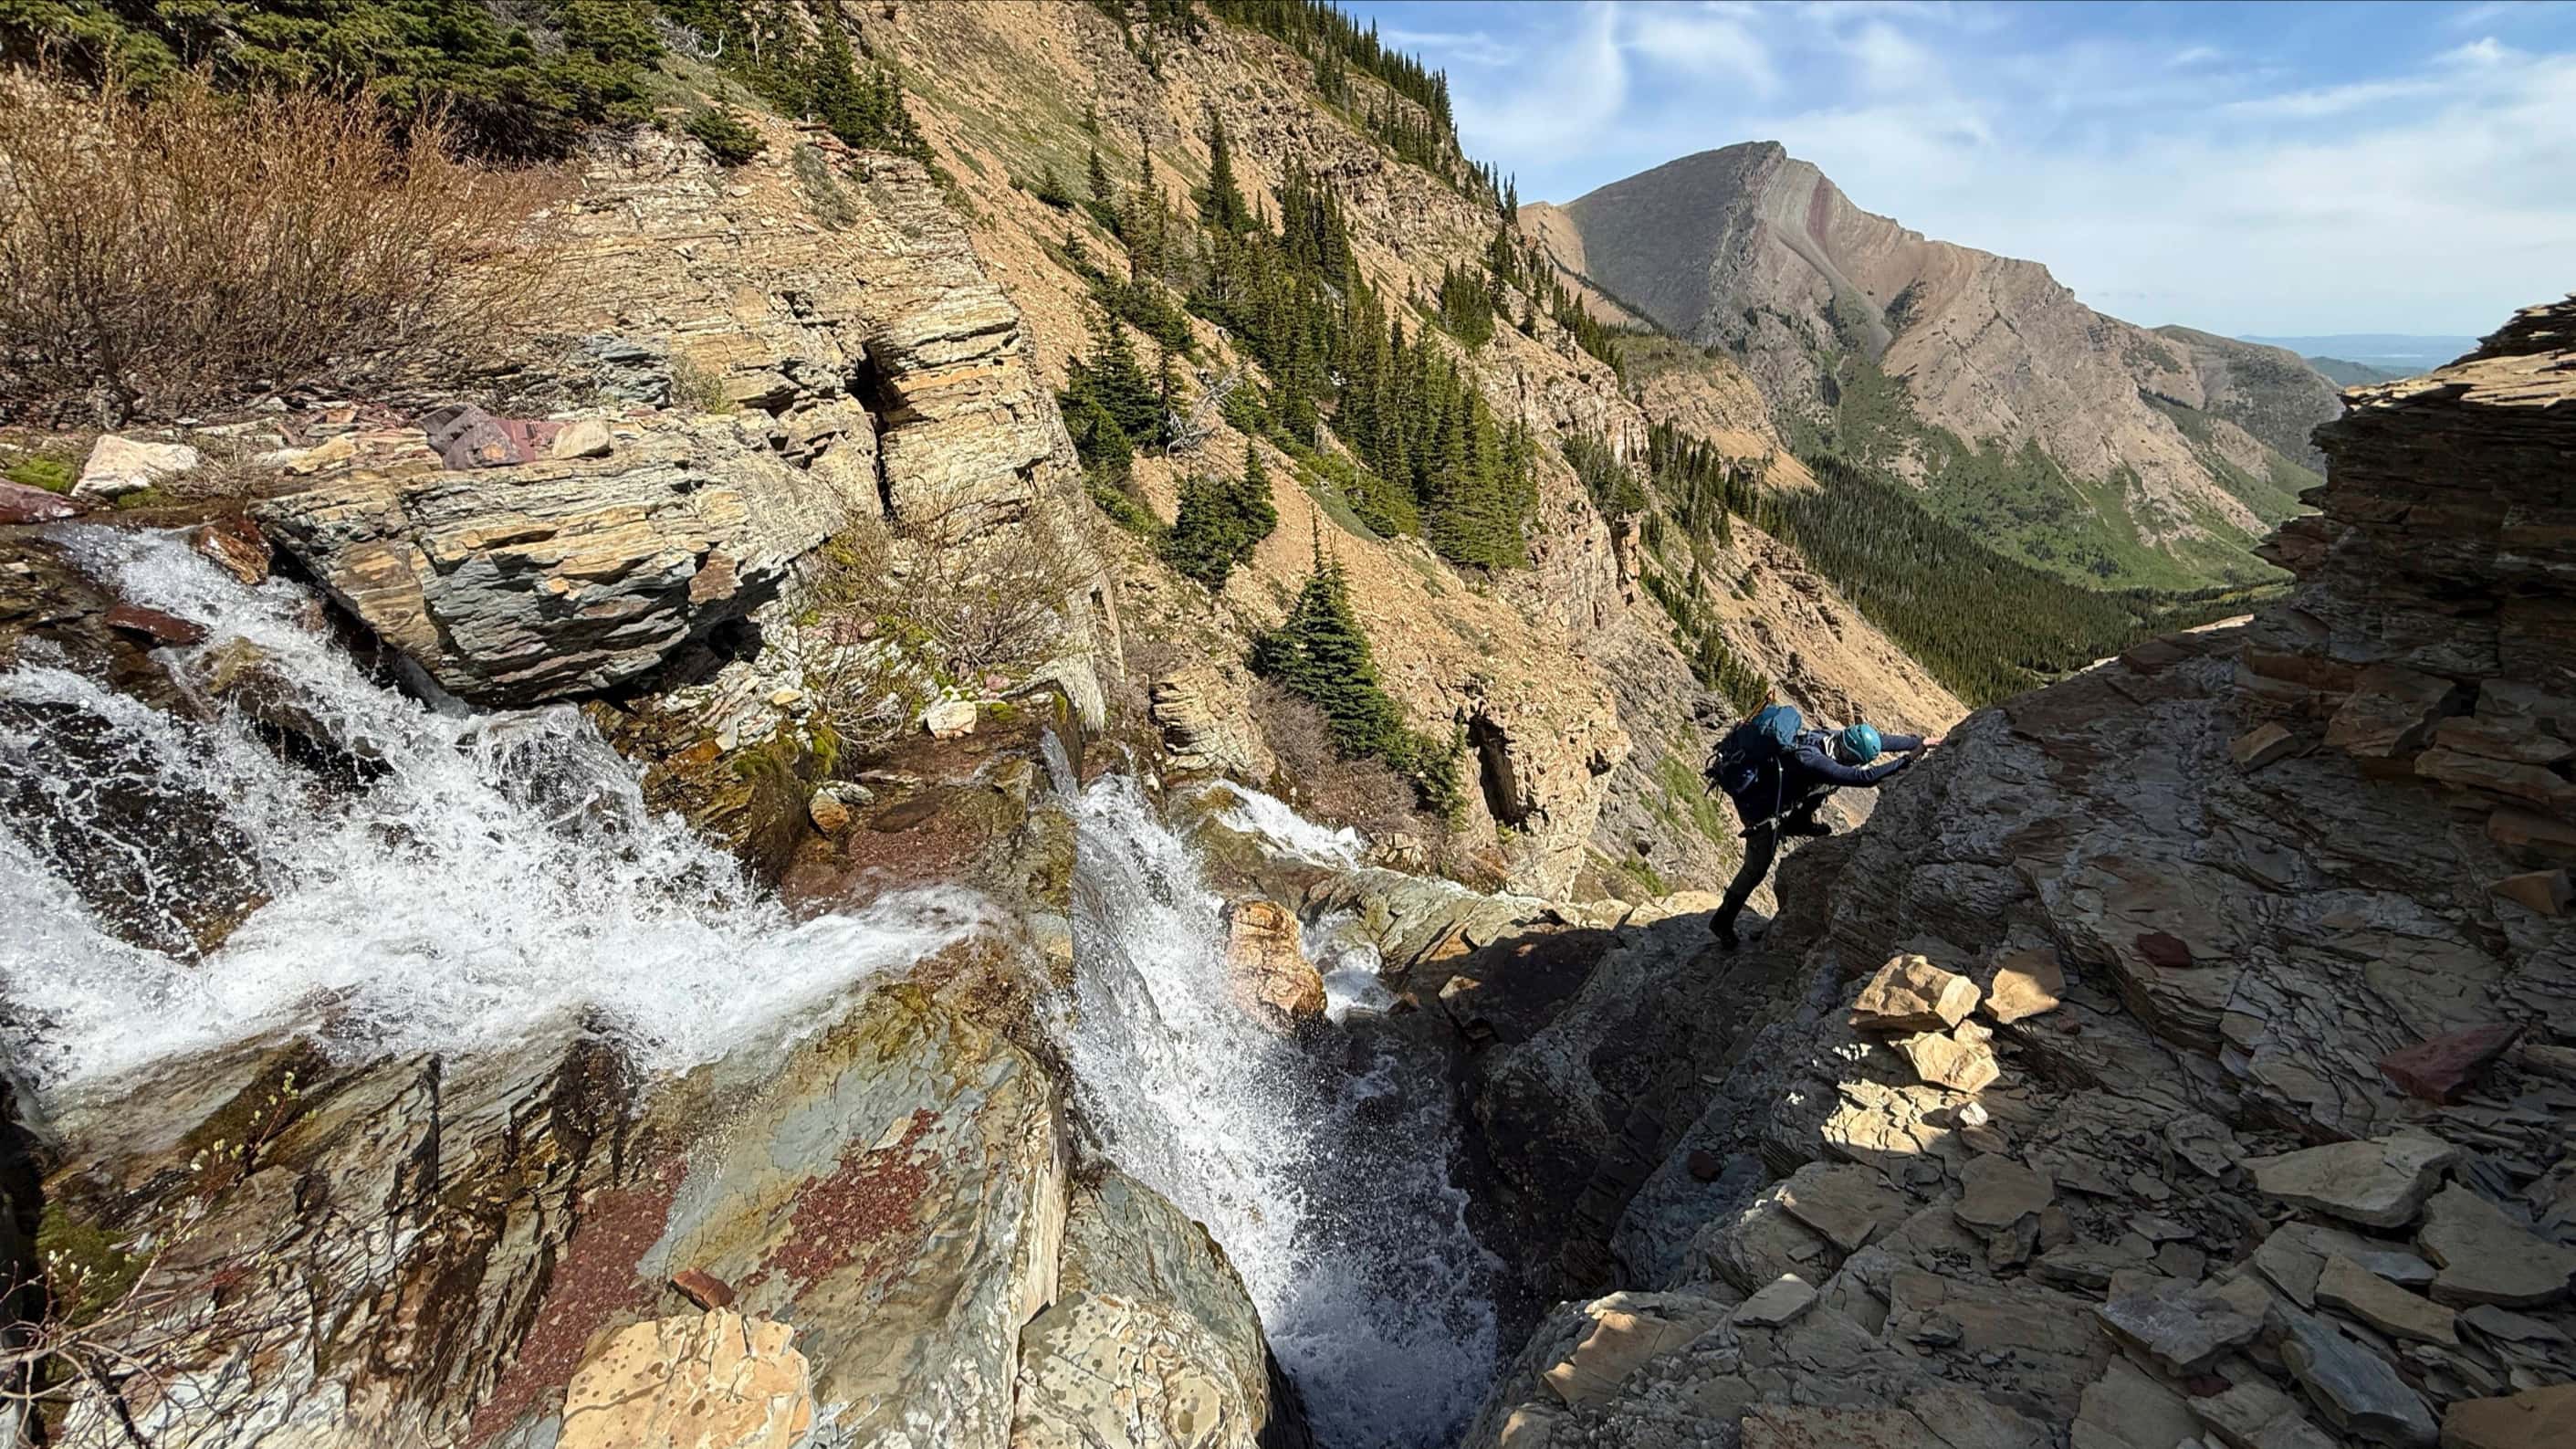
Our first scrambling of the day occurred when we reached the rock band. It wasn’t too difficult, however care was required because the rock was loose in places and there was also some mild exposure. (Photo by Jeff Lang)

Looking back at our access route along the creek as Jeff reaches the top of the first rock band.

After gaining some elevation the views begin to appear. Syncline Mountain and Mount McCarty can be seen in the distance on the left.

Our initial plan was to continue side sloping past the rock band and over to a ramp that led up to the base of the first high point along the ridge. However, the ubiquitously loose scree made this idea unappealing and so we decided to ascend the firmer sections of rock directly above us. This ended up being a great decision because we encountered some great little sections of hands-on scrambling.

Looking up the slope from the other side of the rock band. Our route went straight up from here and over the cliff bands at the top.

A view of our ascent route from our descent route across the valley. You can see the ramp that we initially wanted to use on the right hand side. Instead, our route went up on the left side of the grey gully in the centre of the picture and then through the tree covered cliff bands at the top.

Part way up, the views to the west open up even more. The tall peak on the left is Mount Darrah and Mount Coulthard is to the right of centre.

Looking west towards Southfork Mountain, Syncline Mountain, and Mount McCarty. Our descent slope is in the foreground on the left.

Looking back down to the creek from near the cliff bands.

The cliff bands near the top were short but fun.

Me and my giant pack of gear scramble up and over a section of rock. (Photo by Jeff Lang)

When we came to this section, we found the best route was to tackle the 10′ wall on the right, head on, because it had the most stable rock and the most defined holds.

Jeff comes up the same rock wall as pictured above (and yes, he accidently left his helmet in the vehicle).

With all of the extra gear that I was lugging up the mountain (I’ll blame it on that…), I definitely needed frequent water breaks as we made our way through the cliff bands. It was a gorgeous spring day.

Looking across the valley towards two of our other destinations for the day: Whistler Mountain (left) and the old Whistler Fire Lookout (right).

Shortly after clearing the cliff bands we found ourselves on top of the ridge looking at some of our destnations to the east. ‘Table Top’ is not visible at this point, but ‘Eagle Peak’ is visible in the distance on the right. I decided to call this unnamed high point on the connecting ridge, ‘Eagle Peak’, because of the large golden eagle that we saw near there later in the day. The bump on the left is the first of two high points on the way to ‘Table Top’.

Looking back to where we topped out on the ridge (to the left of the snow pack). The creek that we used to access the mountain is visible in the distance.

After skirting past the first bump along the ridge, we came to a fun and easily negotiable dragon’s back which led to the base of the second high point.

Looking back at the first bump that we passed as Jeff makes his way along the dragon’s back.

A nice view of Table Mountain from the base of the second high point. The Western Plateau is on the left and the summit can be seen poking up in the distant centre.

We scrambled over these cliff bands on the second high point. There is a weakness just right of centre.

Immediately above the second high point, the terrain transforms into a broad plateau. This picture is looking back towards the top of the second high point (right).

The route to ‘Table Top’ (distant right) ended up being an easy walk along the plateau. The summit of Table Mountain can be seen on the left. Despite being higher than the summit of Table Mountain, ‘Table Top’ does not have an official name.

Jeff pauses on our way to ‘Table Top’ to take a picture of Syncline Mountain (right). Southfork Mountain and Barnaby Ridge are in the centre. Mount Haig can be seen in the distance to the left of centre. Our other destinations for the day, Whistler Mountain and the old Whistler Fire Lookout, are in the foreground on the left.

Looking south from the plateau at the connecting ridge to Whistler Mountain. ‘Eagle Peak’ is just to the right of centre. Lys Peak is on the far right. According to my topo map, ‘Eagle Peak’ looked to be a few metres taller than the neighbouring high point in the foreground. Knowing (or at least blindly believing) that ‘Eagle Peak’ was slightly higher allowed us to skirt around the other unnamed high point without feeling bad about missing out on another summit – though I’d encourage you to tackle it if you have the time and energy.

Just below the summit of ‘Table Top’ we had to cross a section of snow. Though I didn’t need to, I strapped on my snowshoes just so that I could justify lugging them this far.

Jeff makes his way to the base of ‘Table Top’. The connecting ridge to Whistler Mountain is in the background.

Looking to the southwest from the unofficial summit of ‘Table Top’. Not only is ‘Table Top’ is higher than Table Mountain, it is also higher than the official summit of Whistler Mountain (centre).

Looking north from ‘Table Top’ towards the summit of Table Mountain (right). The route to get to Table is fairly obvious.

Looking west from the summit. The South Peak of the Livingstone Range is in the distance on the right. Mount Coulthard, Hillcrest Mountain, Turtle Mountain, Poker Peak, Maverick Hill, Carbondale Hill, and Byron Hill are also visible.

Looking south from the summit at Mount Gladstone (foreground left), “Larry Mountain” (foreground centre right), and “Frankie Peak” (foreground right). Windsor Mountain and Castle Peak stand out in the centre. Victoria Peak can be seen on the far left.

Looking to the southwest from the summit. Mount Haig is in the distance on the right.

My gps reading from the summit of ‘Table Top’. A blurry Victoria Peak can be seen in the distance on the right and Prairie Bluff Mountain is in the centre.

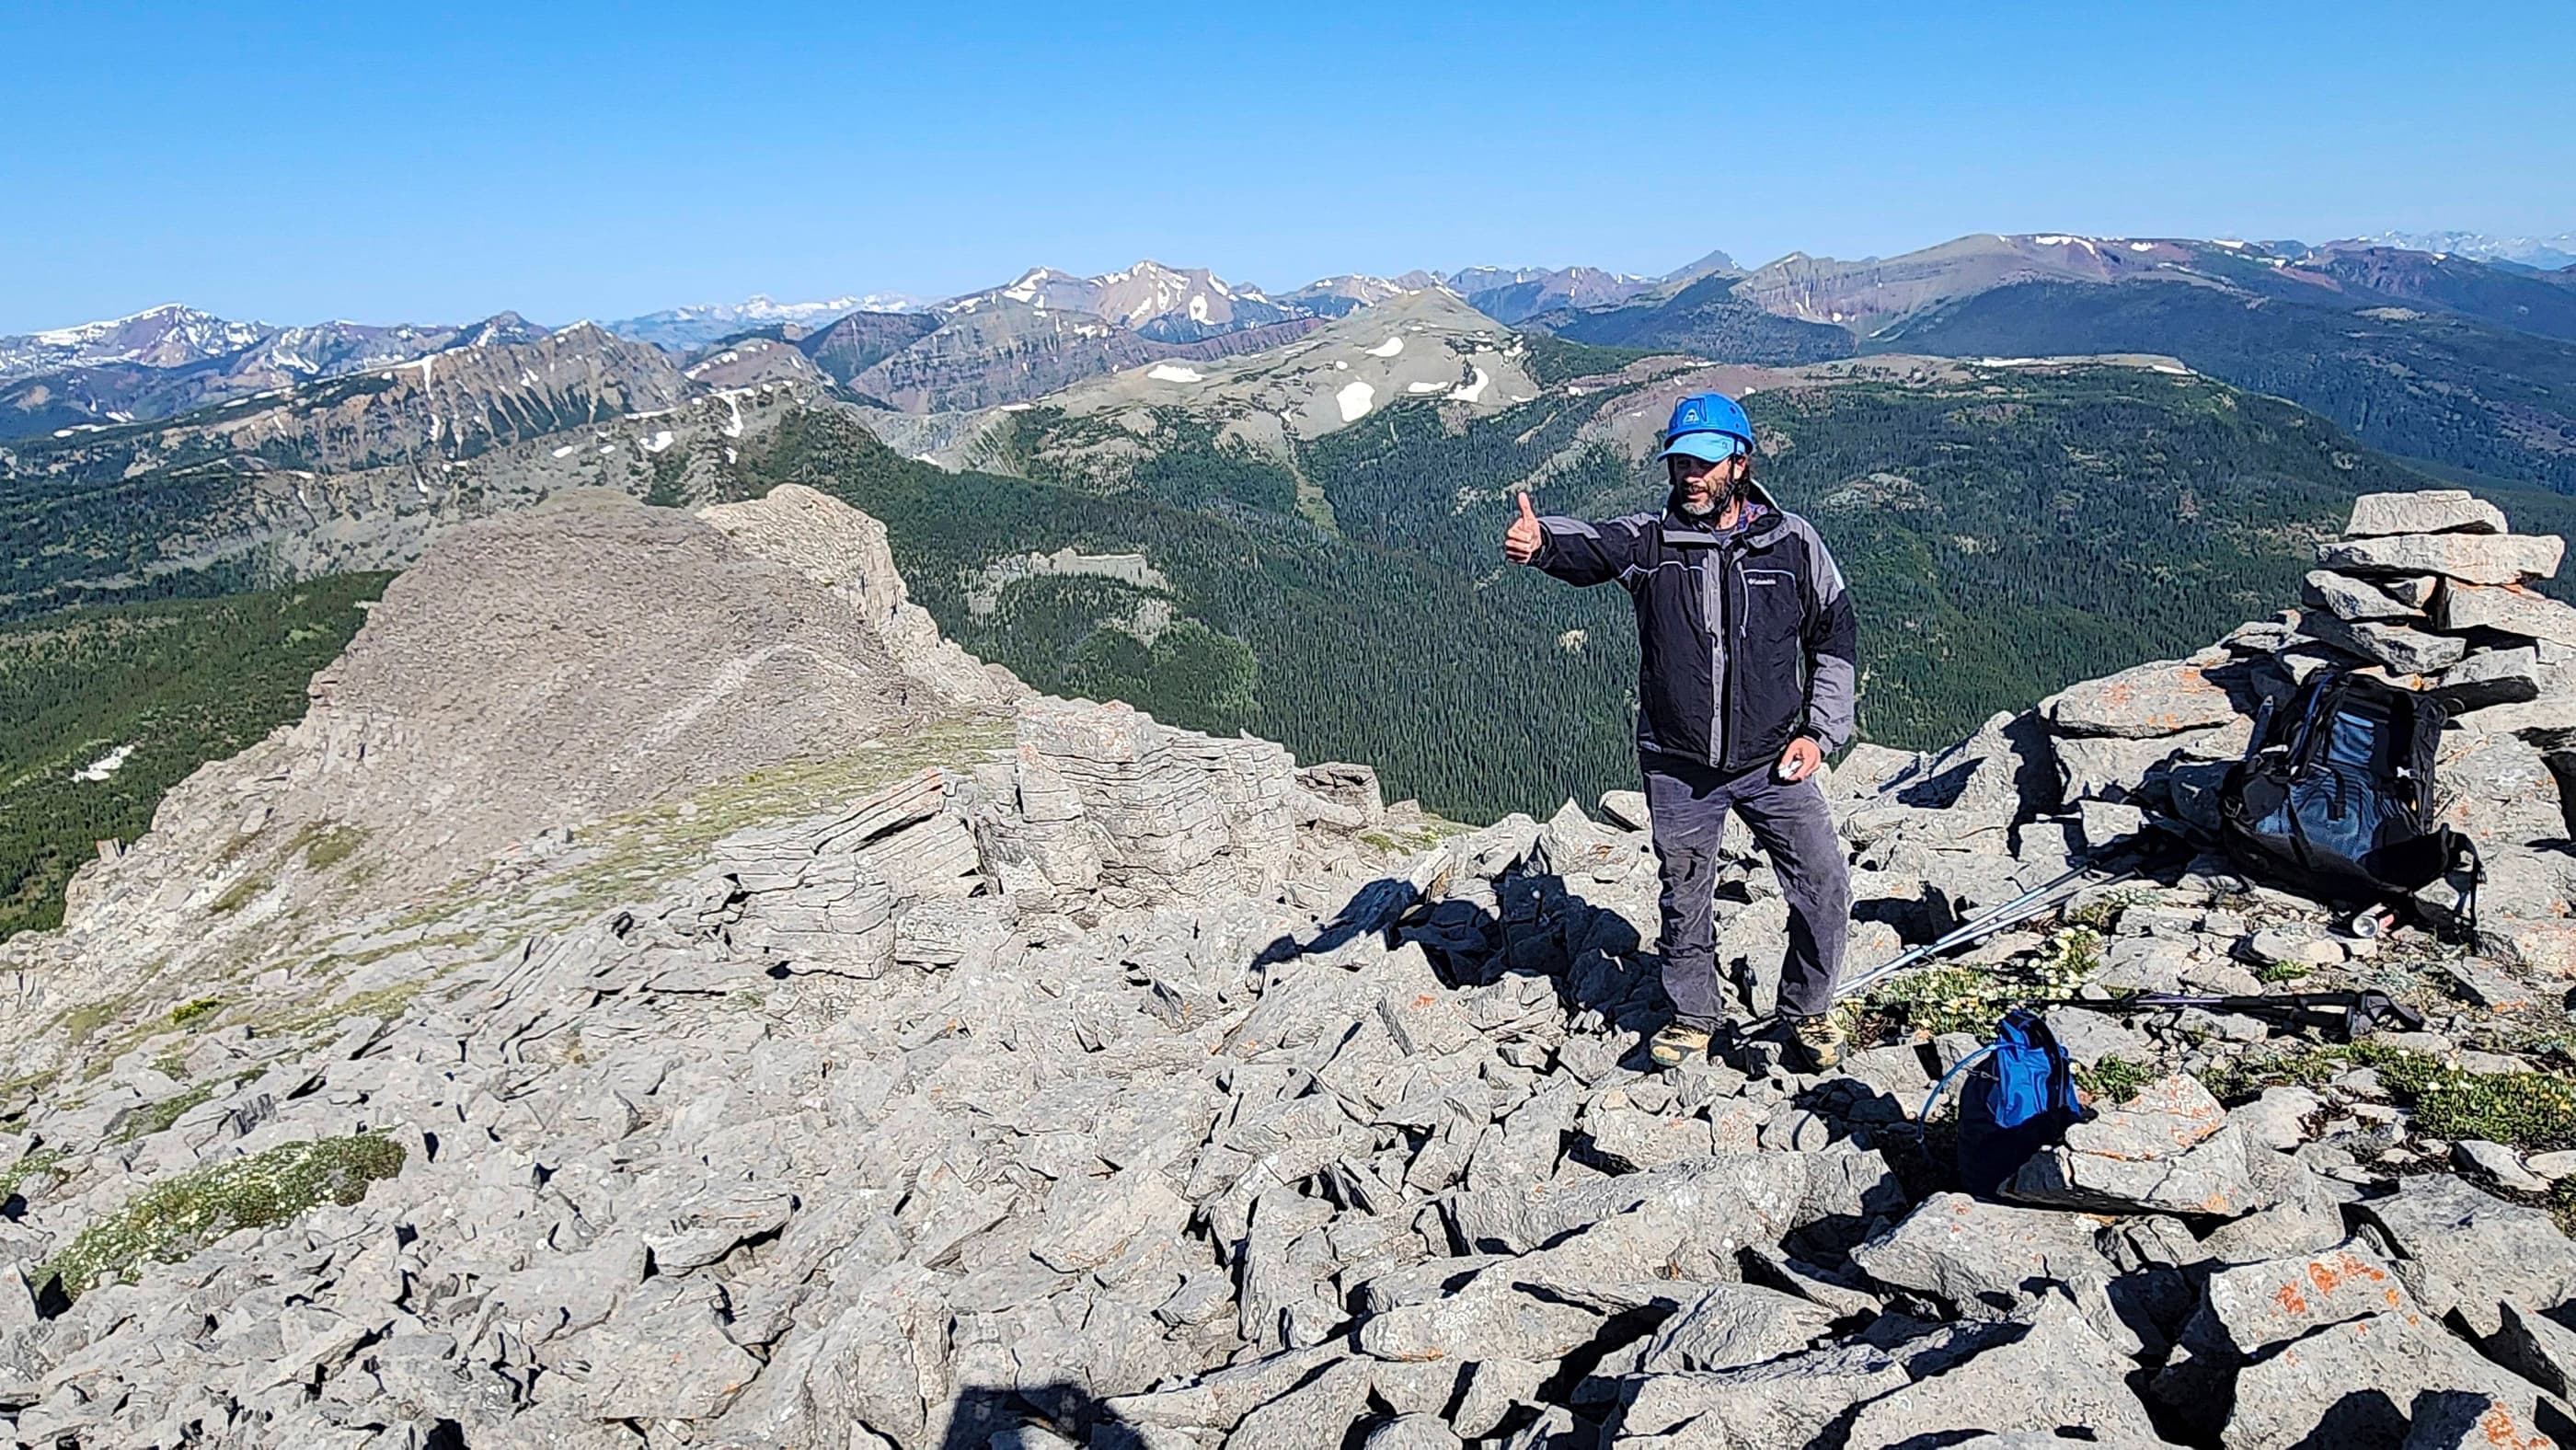
There wasn’t a cairn on the summit, so we took it upon ourselves to build one. I named it Homer.

Jeff kneels beside our little cairn on the unofficial summit we call Table Top’.

Looking west from the summit. The broad plateau at the top of the second high point is visible in the foreground.
After spending some time enjoying the view, it was time to leave for ‘Eagle Peak’ (click), our 2nd destination on The Whistler Loop.

Leave a Reply