

⚠️ Hiking and scrambling are inherently dangerous activities. Please read my Disclaimer. ⚠️
With the long weekend forecast calling for rain and snow on the Alberta side of the Divide, Andrew and I headed towards Corbin B.C. where SpotWx called for somewhat better conditions. Initially, we had Michel Head in our sights, but that soon changed when I suggested what I thought might be a quicker trip: Leach Ridge.
Situated to the southwest of Mount Taylor, this official, but obscure summit probably sees few visitors outside of snowmobilers. Moreover, as far as I can tell, an online trip report does not exist. In fact, Leach Ridge first came onto my radar a number of years ago when I took the time to explore the myriad of Forest Service Roads (FSR) that mark the area. Back then, there was concurrent pipeline construction and ongoing forestry activity, so the Leach Creek FSR was full of activity. Despite this, I was able to drive quite far up the northeast ridge of Leach before turning around when things got sketchy. This is how I knew it existed in the first place.
From this experience, I had it in my mind that Leach Ridge would be relatively quick and easy to reach but never followed up on it. Fast forward to today and with Michel Head on our minds, I suggested that we consider an approach from the west using the Leach Creek FSR and from what I could tell, was an old logging road / trail that led through the valley to the base of the mountain.
However, the weather began to deteriorate on our drive in, so I suggested Leach Ridge as a ‘quick’ alternative. I confidently told Andrew that it would be an ideal choice for the day because as I remembered it, it would be like shooting fish in a barrel: drive up some logging roads and then run up to the summit. Oh, how my memory failed me! 😂 Yet, in an odd twist of events, this was also the beginning of a string of luck that followed us throughout the day.
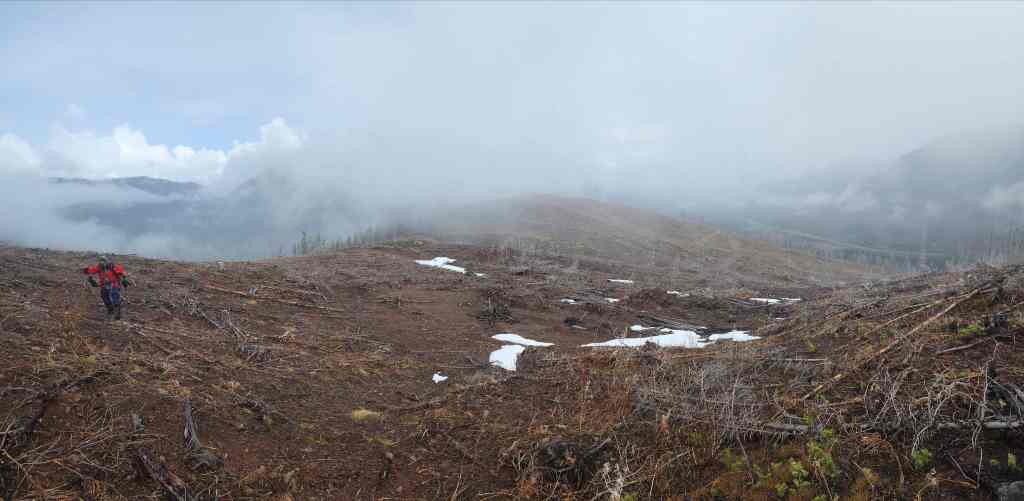
Our first task was finding the junction with the Coal Creek FSR. The pipeline construction had obscured the location, but once found, it was easy to reach the base of the northeast ridge of Leach. I had assumed that the roads I once followed were still passable, but they weren’t, and so we pulled off to the side under the power lines to head up the ridge’s easy north slope. Had I driven further down the road, we would’ve come to the larger north ridge where other options for ascent lie, but with all the forestry activity plus a forest fire in recent years, sticking to roads as much as possible would help us avoid the inevitable deadfall.
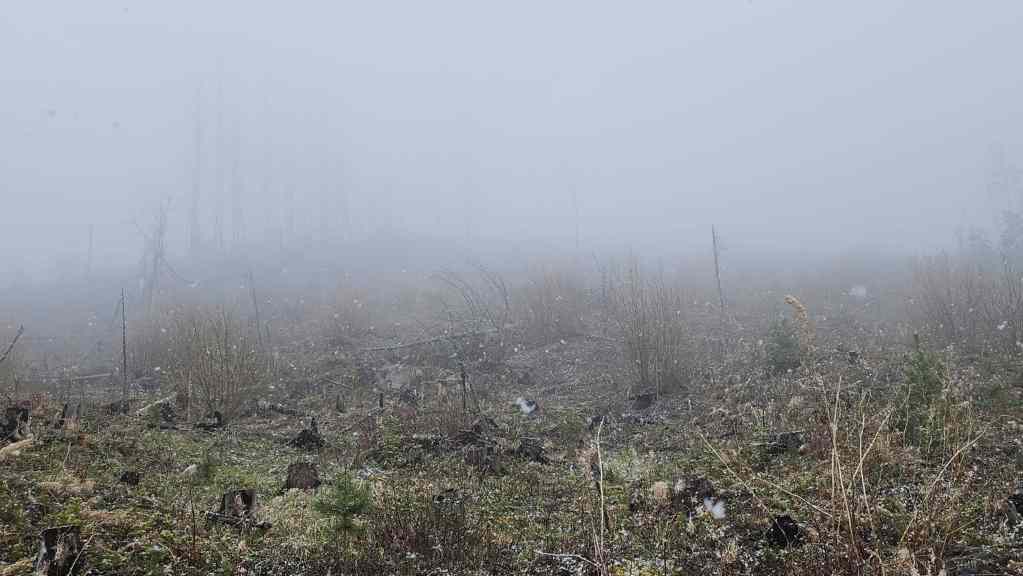
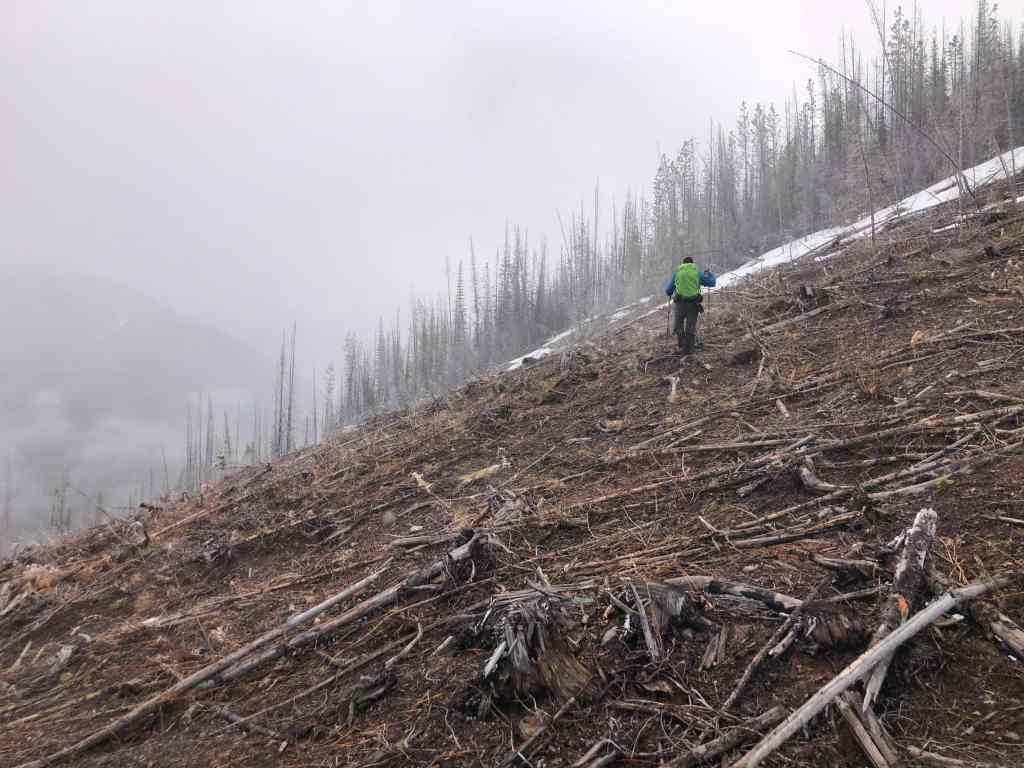
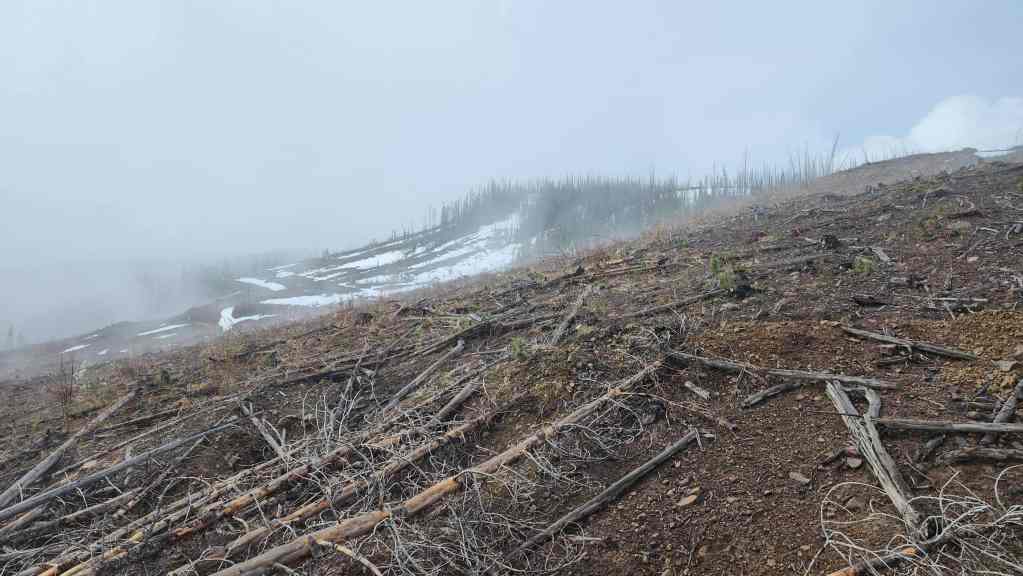
So, under near-whiteout conditions, Andy and I started off with me still thinking this would be a quick trip. Thankfully, SpotWx was correct and a window of excellent weather began as we followed an old road along the crest of the northeast ridge: lucky break #1. This allowed us to see other roads that in turn, aided our ascent. When we finally came to the end of a road on the east side of the crest, we made a short ascent through a logged patch back up to the crest, where we found another old road: lucky break #2. This road paralleled the connecting shoulder between the northeast ridge and the high point on Leach’s north ridge – which I had always thought was the summit. It is not.
Following the road until it began to lose elevation allowed us to avoid bushwhacking along the narrowest section of ridge. After a quick ascent from the road, we found ourselves looking up at the highpoint along a 1m+ layer of snow. As we didn’t bring our snowshoes, this might have been the end of the line; however, the snow was incredibly firm for this time of year and it made for a nice ascent: lucky break #3.
Once on top of the highpoint, Drew noted that the summit was still 2 km away and looking around, we were astounded to find ourselves immersed in a winter wonderland. There was so much snow and it was deep, very deep. Fortunately, like the ridge, the snow was incredibly firm and aside from a few spots where we almost fell victim to the Sword of Testocles, it was an easy and scenic hike to the second high point and then the summit: lucky break #4.
Once on the summit, we could see things rapidly changing as the weather window closed. This was our sign to head back sooner rather than later. Hiking under an odd mix of sunshine above and dark, foreboding clouds in front of us, we headed back to the second highpoint – which by the way, is only a few metres lower than the actual summit. As we followed our tracks, the wind suddenly picked up followed by several claps of thunder. 😯 Thankfully, aside from a quick snow squall, the weather held but all around us, it was intense: lucky break #5.
Finally, to descend from the first high point, we contemplated either following the north ridge back to the Coal Creek FSR, or following it part way and then descending down to a road that we assumed led back to the Coal Creek FSR. However, our instincts told us to return the way we came, which proved to be very quick and easy, especially because we could see better roads to follow unlike earlier in the day. While ascending / descending the north ridge of Leach may be more direct, it was hard to tell what the deadfall situation is like. The worst thing that could happen was being caught in a Cherry Hill situation in bad weather. Call it good instincts or lucky break #6 – or both – following the roads along northeast ridge back to my truck was the right call. 🙂
I highly doubt many will visit or be interested in Leach Ridge, but it was an adventure and under sunny skies, it was easy to see that you’d have some great views of the Flatheads. Moreover, a quick walk to the west allows you to see the Three Sisters, Mount Bisaro, and Mount Hosmer as it’s not far as the crow flies from the town of Fernie. I did a cursory search to find out more information on who Leach was, but I couldn’t find anything. I’ll keep looking and add it when I find it. With that, I’ll end this obtusely long narrative with a massive thank you to Andrew for an exceptionally fun day of improvising and exploring!
Be sure to read Andrew’s excellent trip report! [link coming]

To get to Leach Ridge, we drove west from the Crowsnest Pass along Highway 3 until we came to the Corbin turnoff on our left. We then drove south for ~11.5 km until we came to the turnoff on our right for the Leach Creek FSR. After turning onto the FSR, we proceed straight for ~6.2 km until we came to the entrance to a pipeline pumping station. Here we turned to the right and followed the road for ~200 m until we came to the junction with the Coal Creek FSR, again on our right. We then followed this road for ~600 m (there is a bridge over Leach Creek) until we came to a junction with a road on our left. After exploring our options, we decided that this would be where we parked.
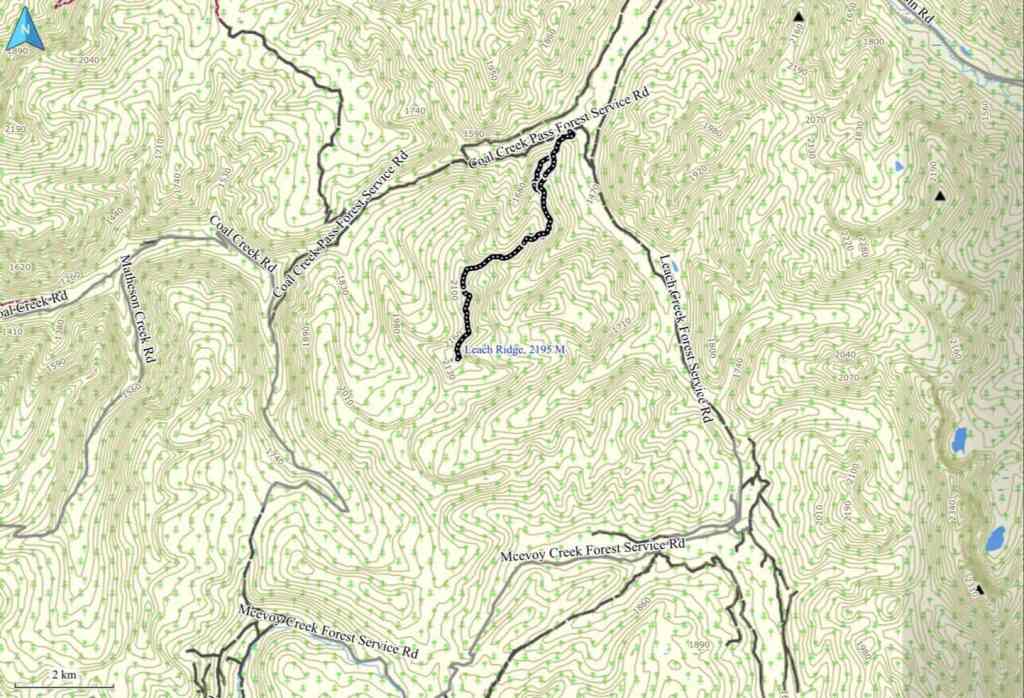
From my truck, we then followed the road on our left for a short distance, keeping to the right, until we were at the base of the north slope of the northeast ridge. This is where we left the road and made the easy hike onto the ridge crest. Once on the broad crest, we were able to follow a couple roads as we made our way along. Eventually the ridge rises into a set of thick trees, so we opted to go through a cutline on our left, but should have just kept going over to an obvious road that was a little further away (we would use this on the way back).
Emerging from the cutline, we decided that instead of gaining the crest again, it might be easier to join the road to our left that we had noted earlier. We then followed this road for ~690 m until it came to an end. We then headed across and up a logged clearing where we regained the crest and the start of another road. We now also had a clear view of the highpoint on the north ridge.
We followed the new road for ~650 m until it began to lose elevation. Seeing a small break in the trees to our right, we left the road and were soon standing on the ridge beneath the high point. From here it was an ~800 m hike (250 m elevation gain) to reach the top of the high point. For reference, this was 4.8 km from my truck with an elevation gain of 726 m.
From the high point we followed the ridge for ~650 m until we were at the top of a second high point that is only a couple metres lower than the actual summit. From here we hiked for another ~1.35 km until we reached the summit (2195m). For reference, from my truck to the summit it was 6.9 km with a 740 m elevation gain.
We returned the way we came except when we arrived on the road that we descended to earlier in the day on the northeast ridge, we followed it back to almost my truck, leaving it when it finally switched back and away from heading north. However, it may actually connect back to the road where we parked and in hindsight, I’m pretty sure that this is road I followed several years ago before it was decommissioned.
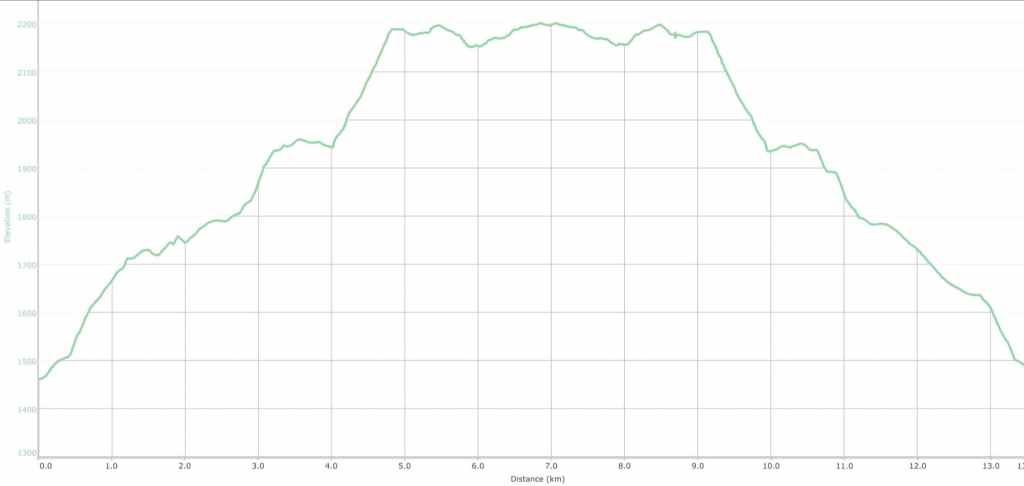
Our total distance travelled was 13.6 km and total elevation gains came in at 940 m (740 m from my truck to the summit). Our total roundtrip time came in at 5 hours and 30 minutes.

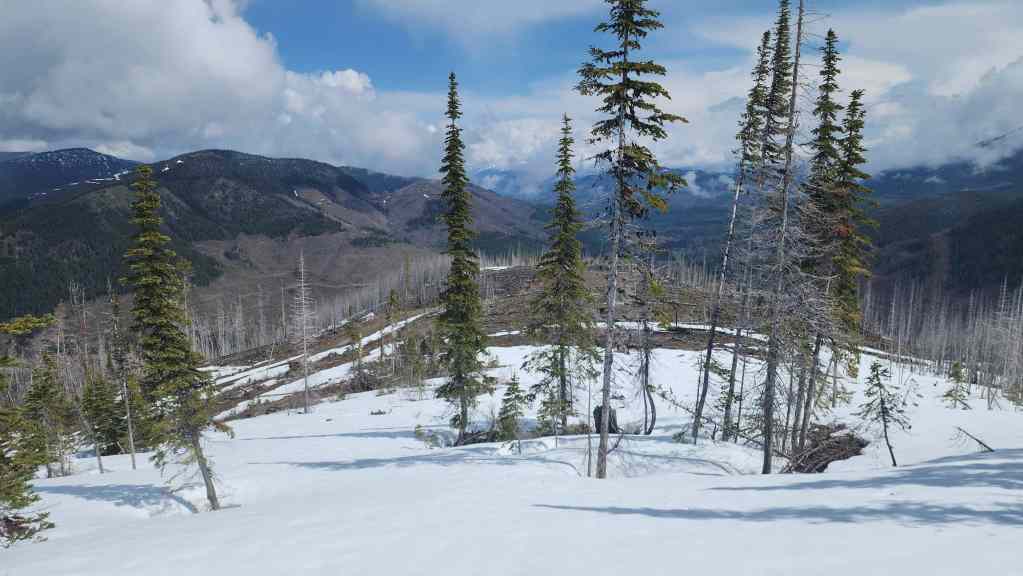
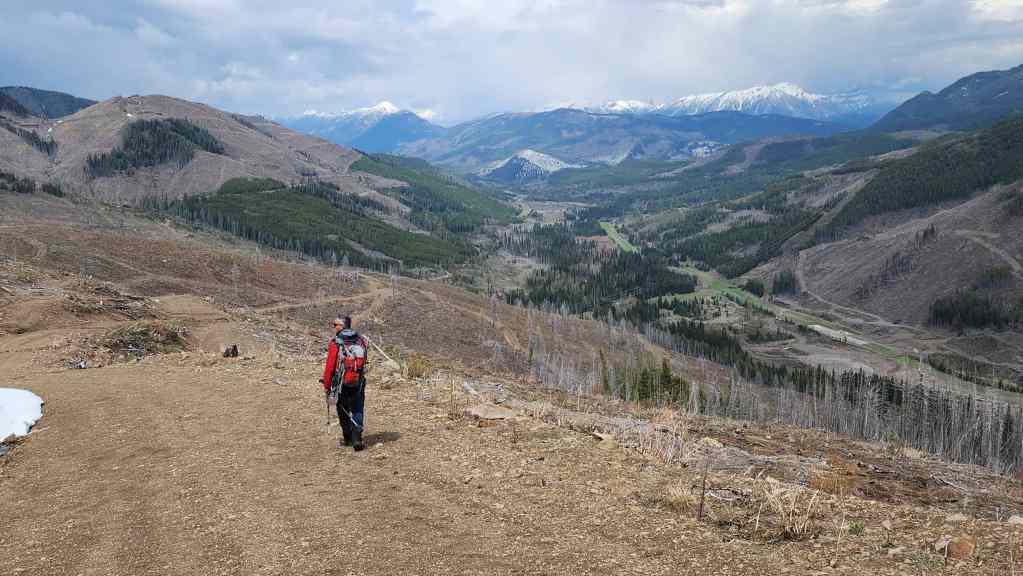
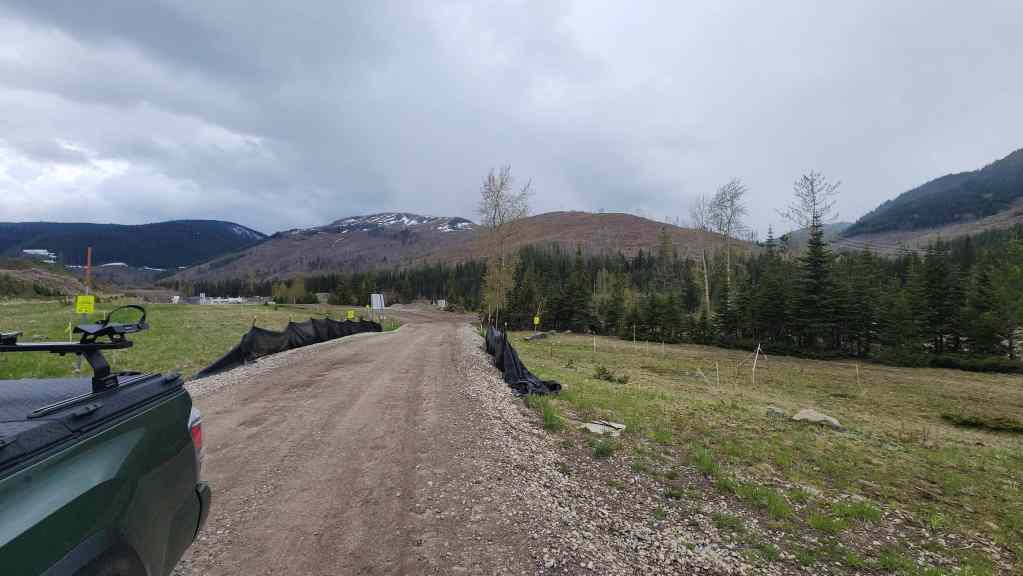
Our starting point on the north end of Leach’s northeast ridge. Several years ago, I was able to drive now-decommissioned logging roads almost to the top of the ridge.
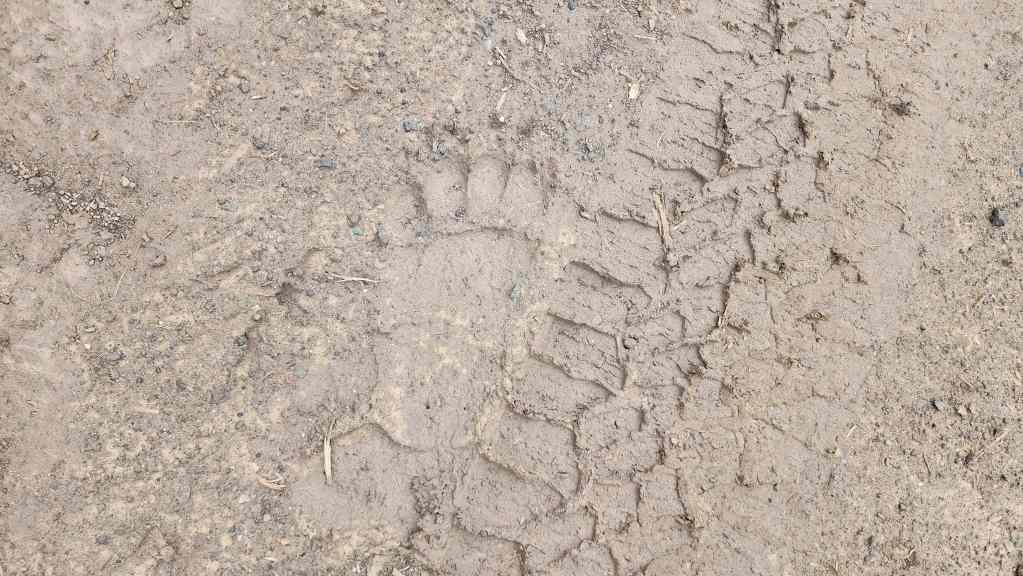
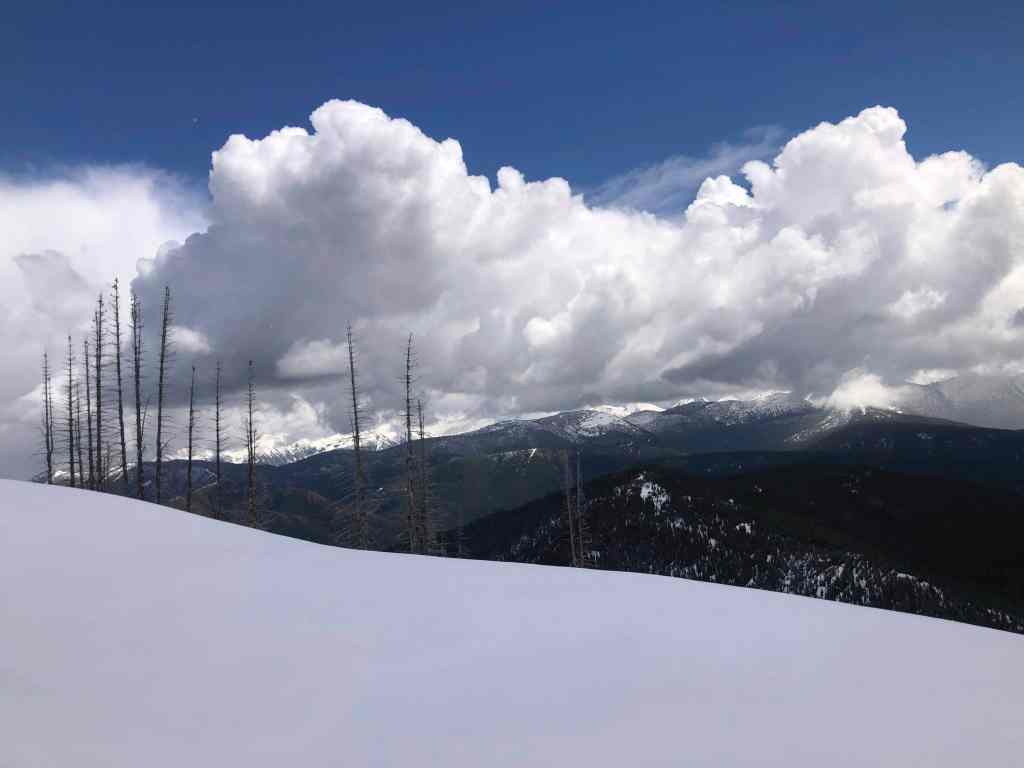
The big boys are out and about.
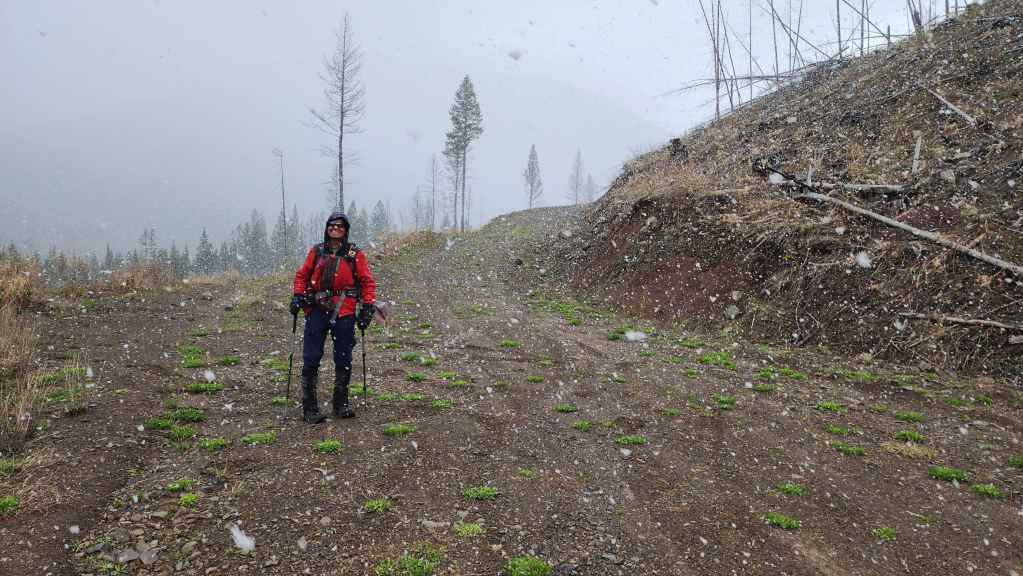
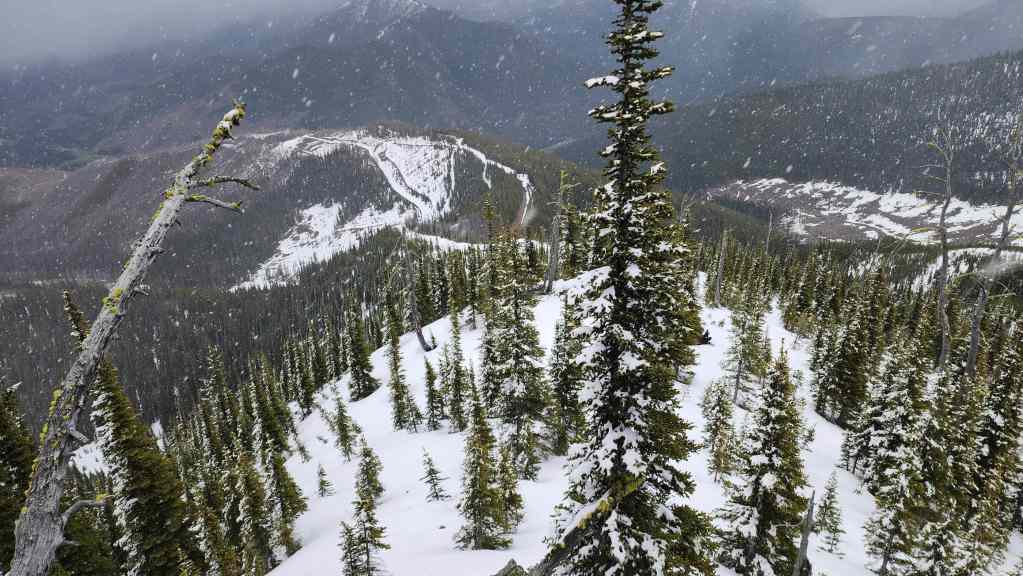
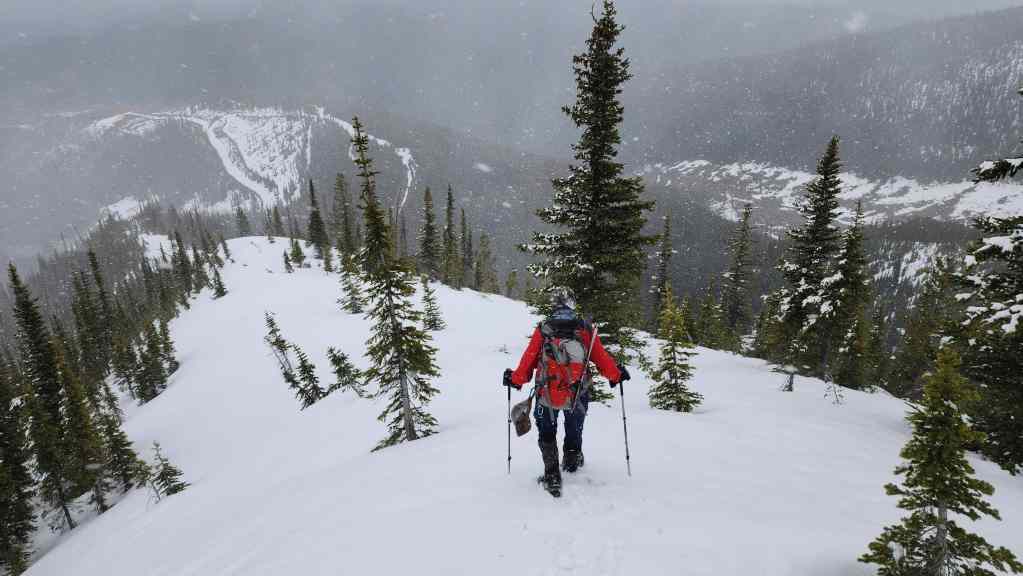
Here comes the snow!
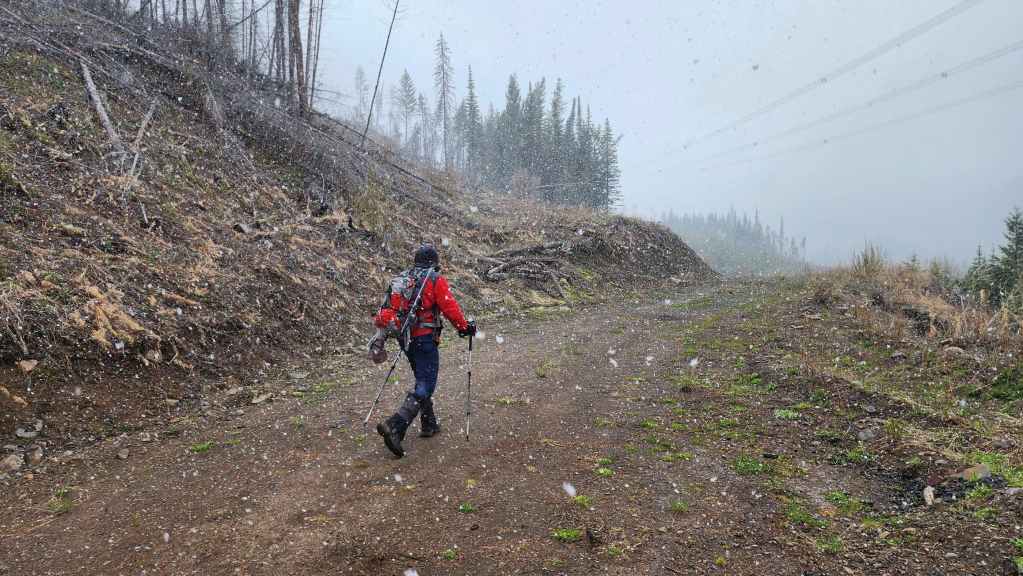
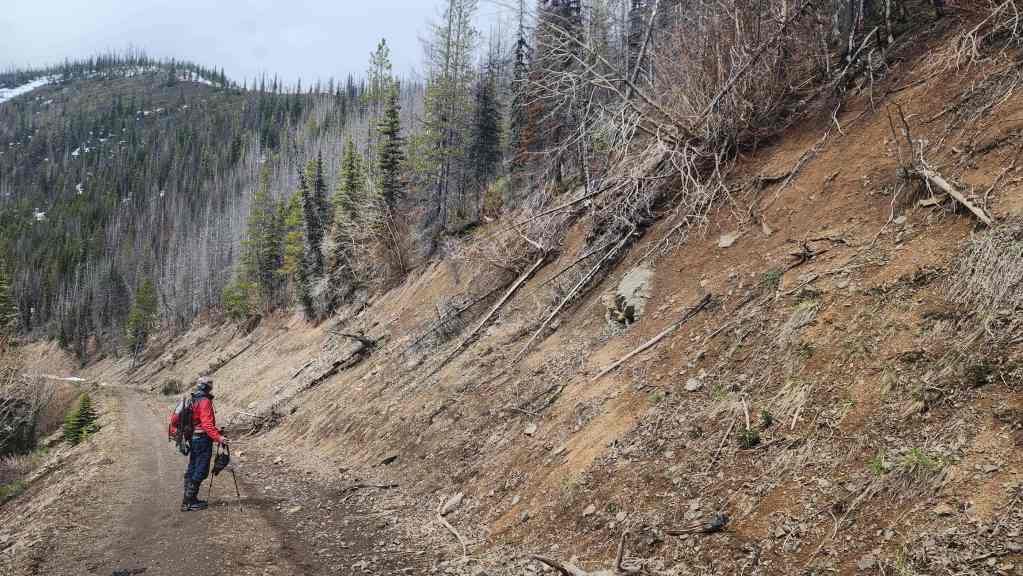
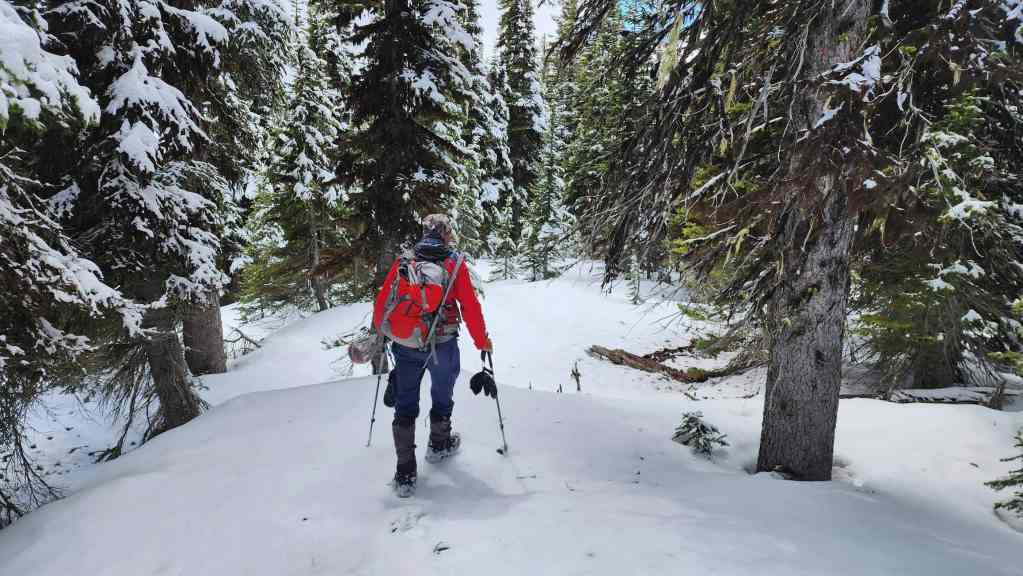
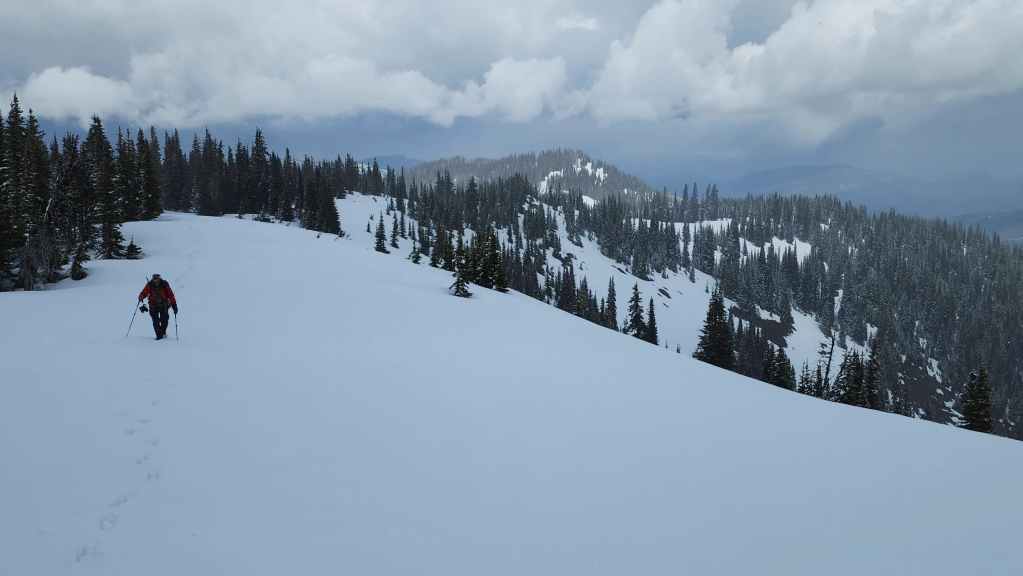
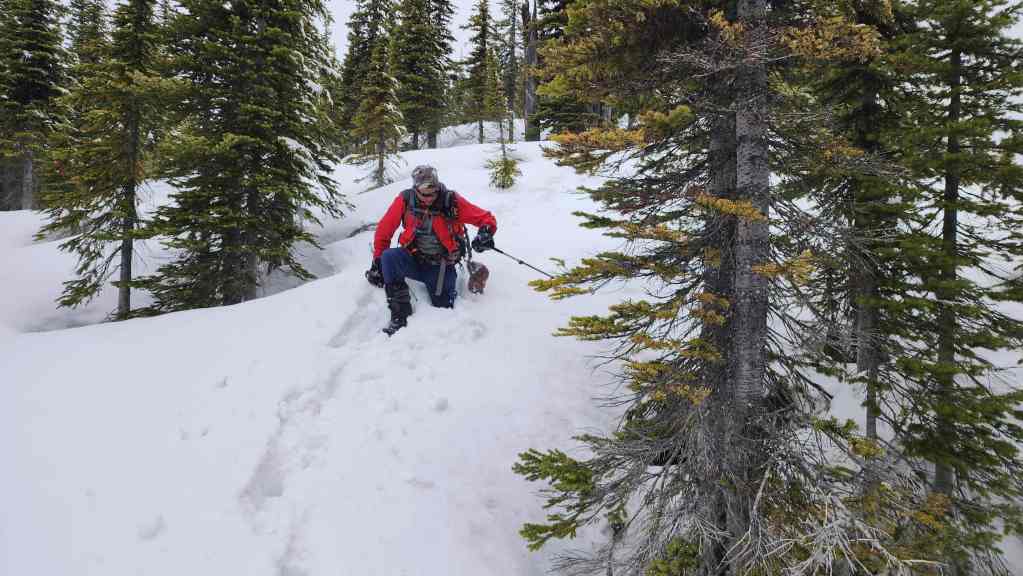
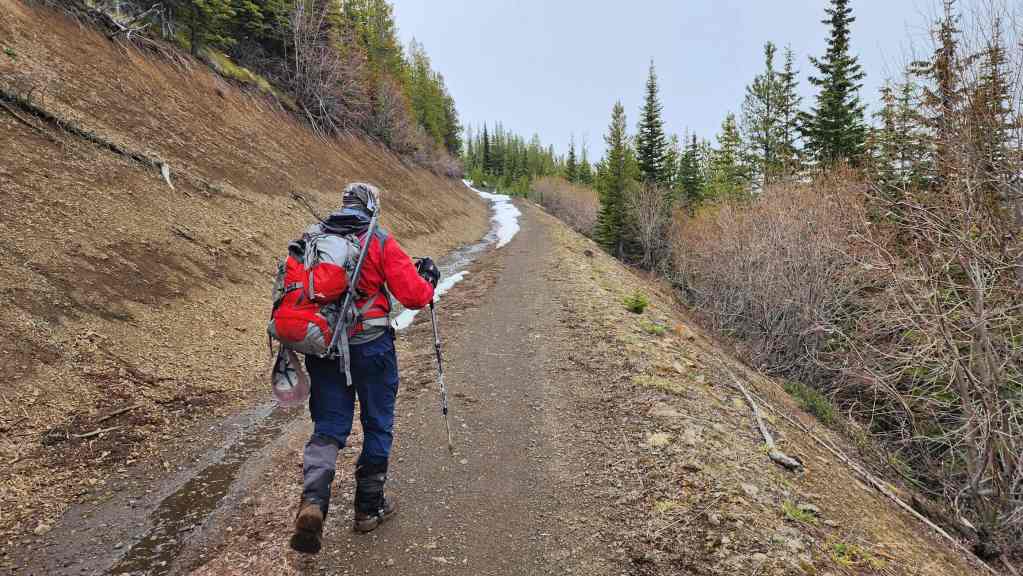
After following the road a short distance from my truck, we come to an easy point of access onto the north slope.

Leaving the road and heading up.
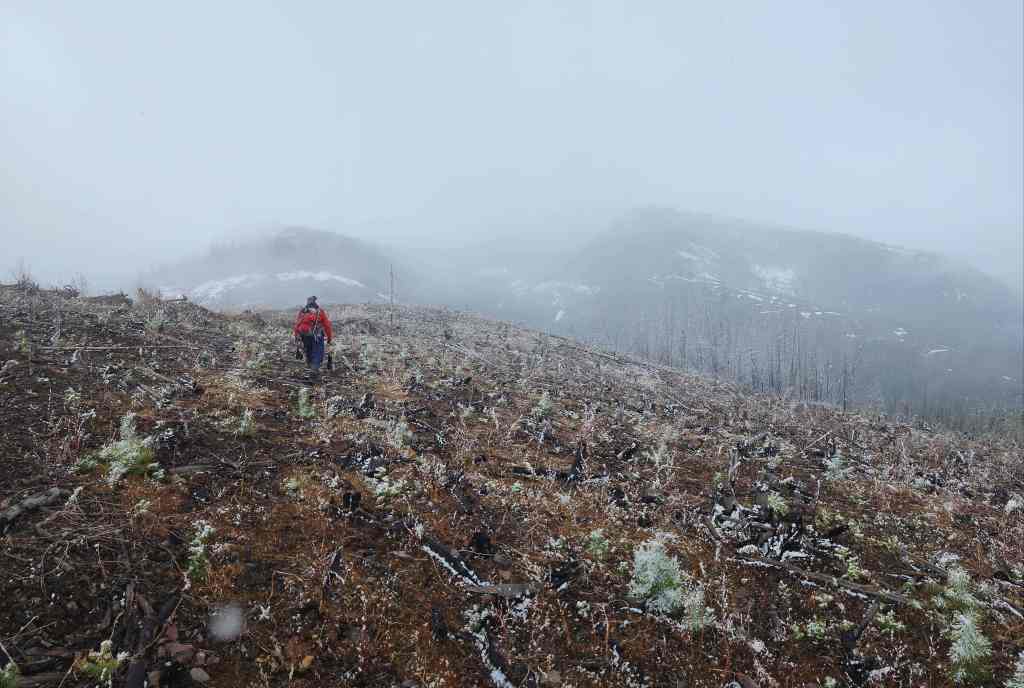
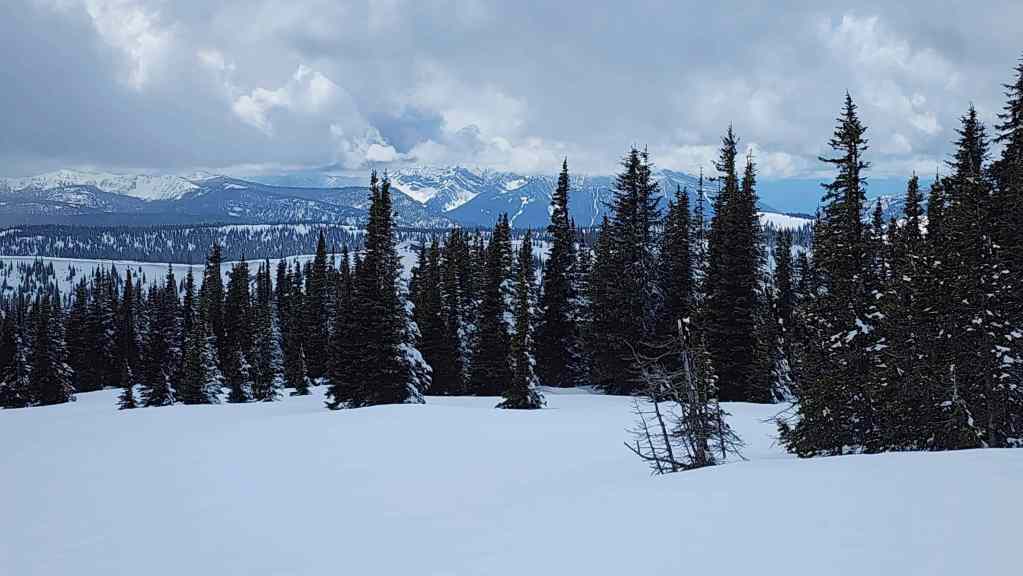
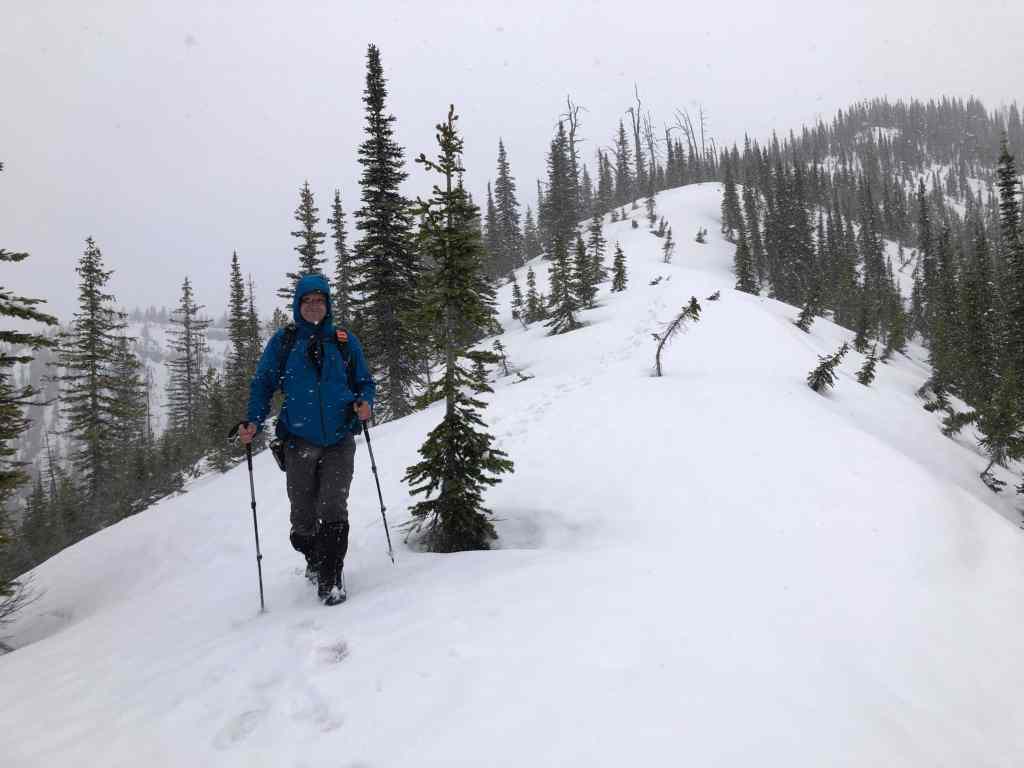
So far, the views are outstanding! 😂

Hoping that SpotWx was correct in its prediction that a brief period of snow would be followed by clearing. (Photo by Andrew Nugara)

The northeast ridge is covered in roads. This one conveniently brought us onto the lower crest. (Photo by Andrew Nugara)
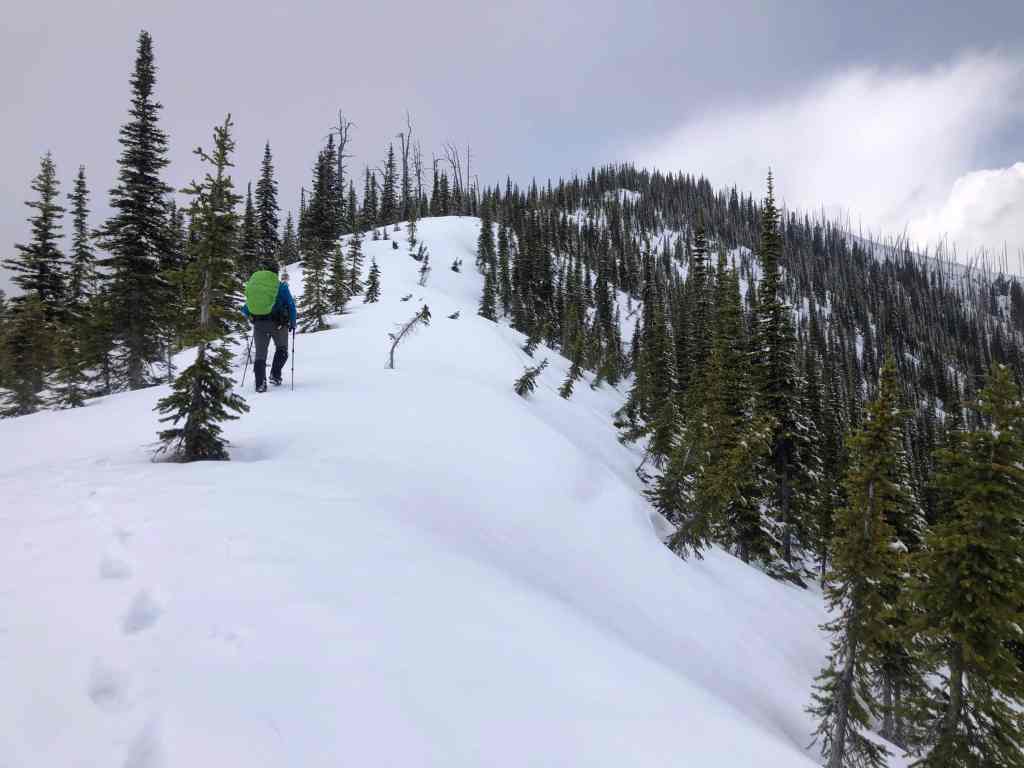
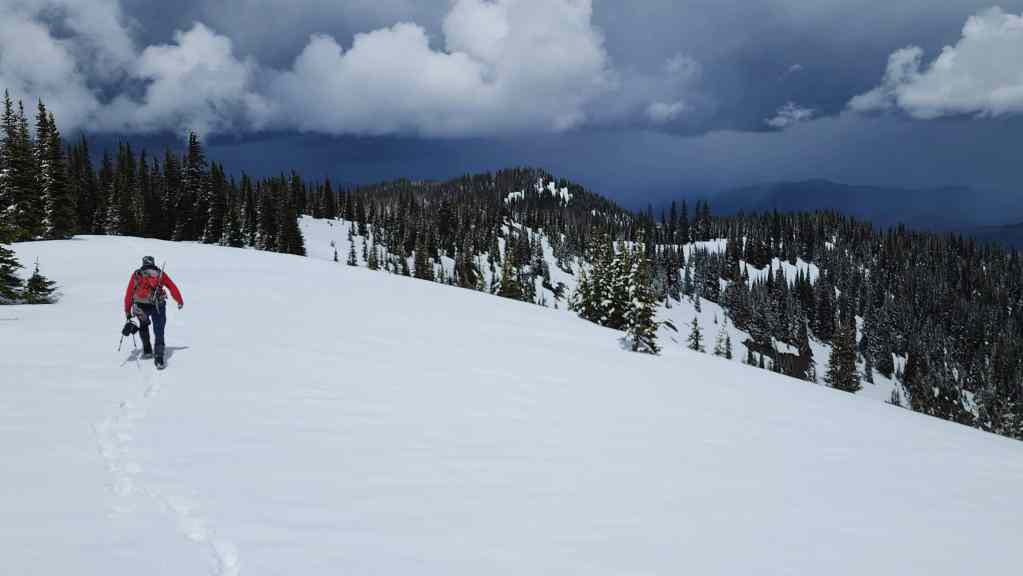
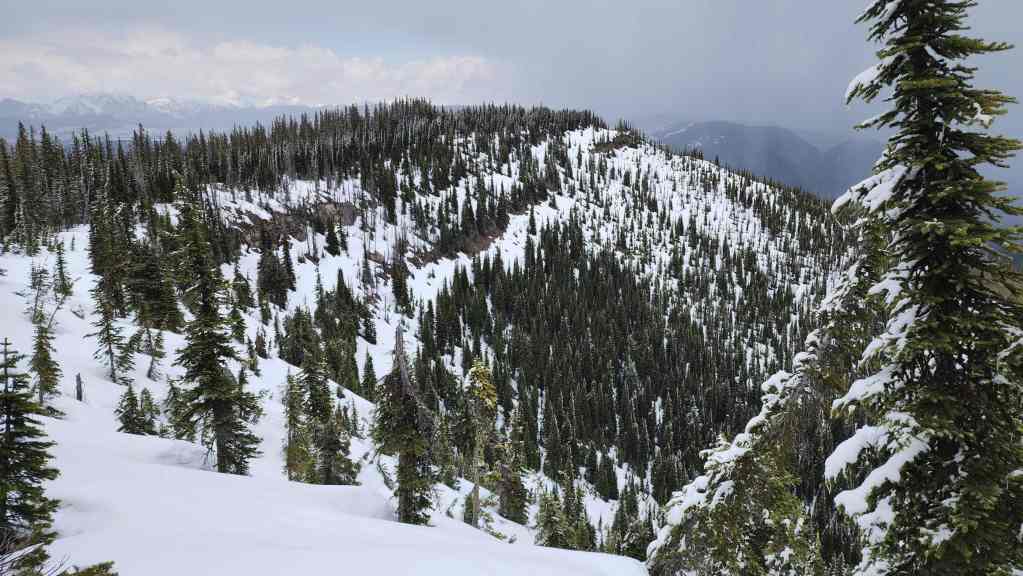
The northeast ridge continues in front of Andrew before curling over to join the much larger north ridge and the first high point (right).
Wait. Is that blue sky? Could SpotWx be right? Lucky break #1 for the day!
The view back.
Leaving the road on the crest to see where a small cutline led.

Looking back from the cutline along the northeast ridge. In hindsight, we should’ve just followed the road on the lower right – which we’d do on our way back.
The view from the other side of the cutline. Here is where we decided that if the road kept heading up, it would be easier than rejoining the crest.

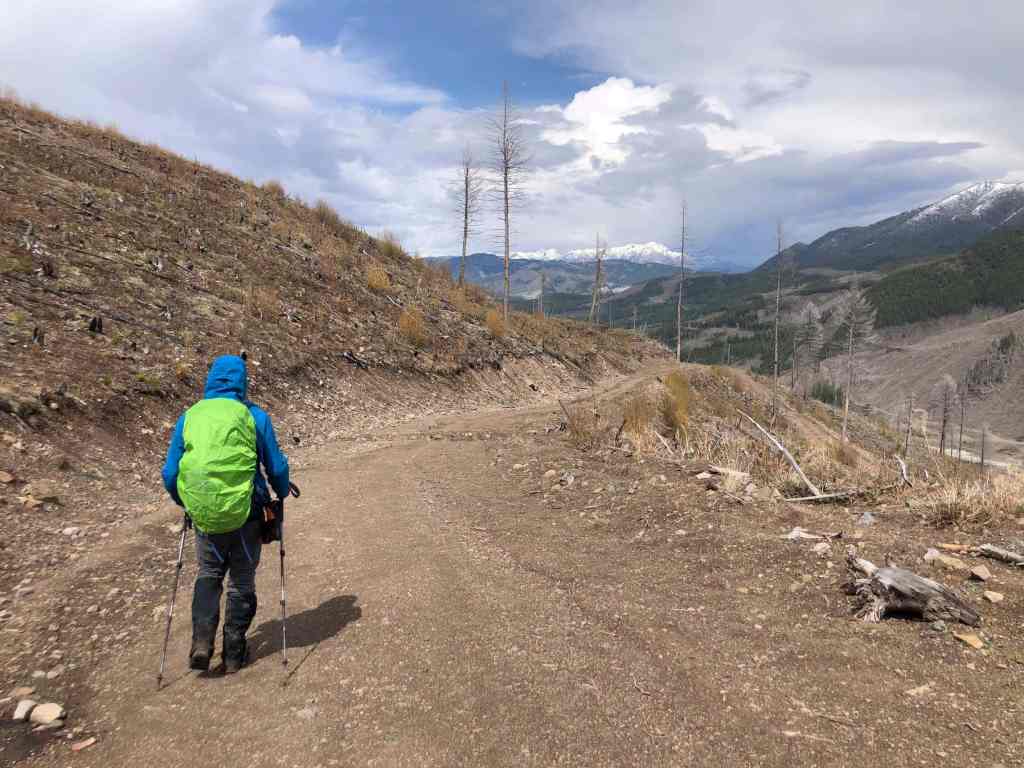
A short descent brought us onto the road. In the background is Mount Taylor.
I’m pretty sure that I drove up this road several years ago before turning round. This is partly why I thought Leach would be such a quick hike. (Photo by Andrew Nugara)
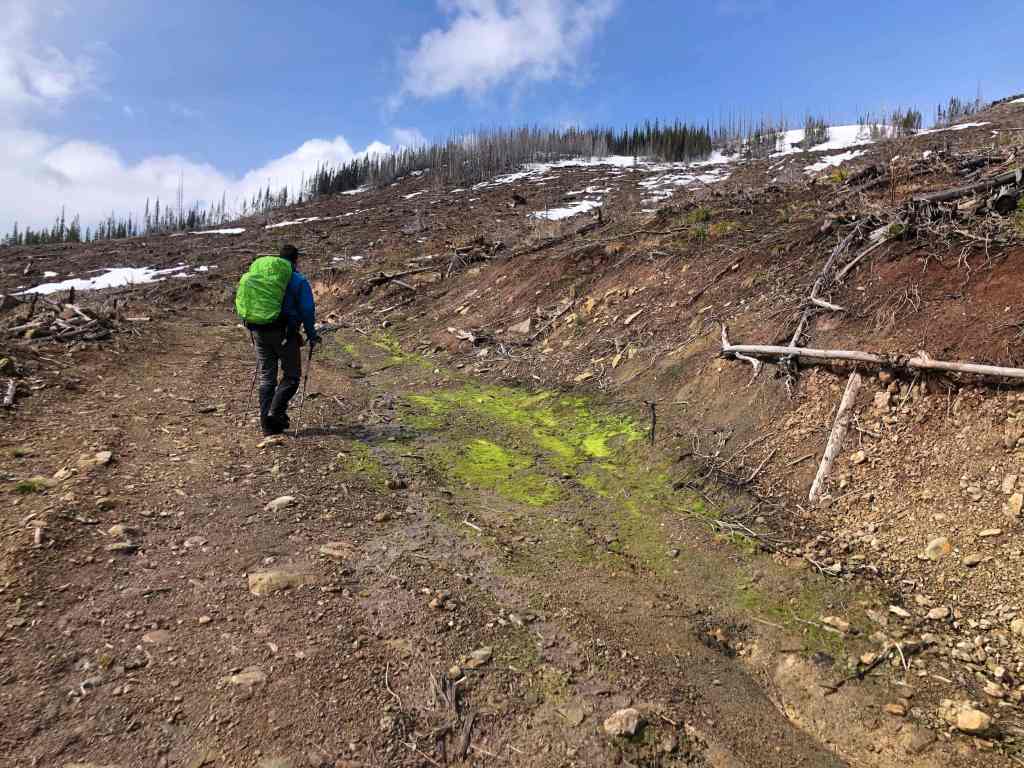
Passing beside some green moss – or radioactive material. 😂 (Photo by Andrew Nugara)

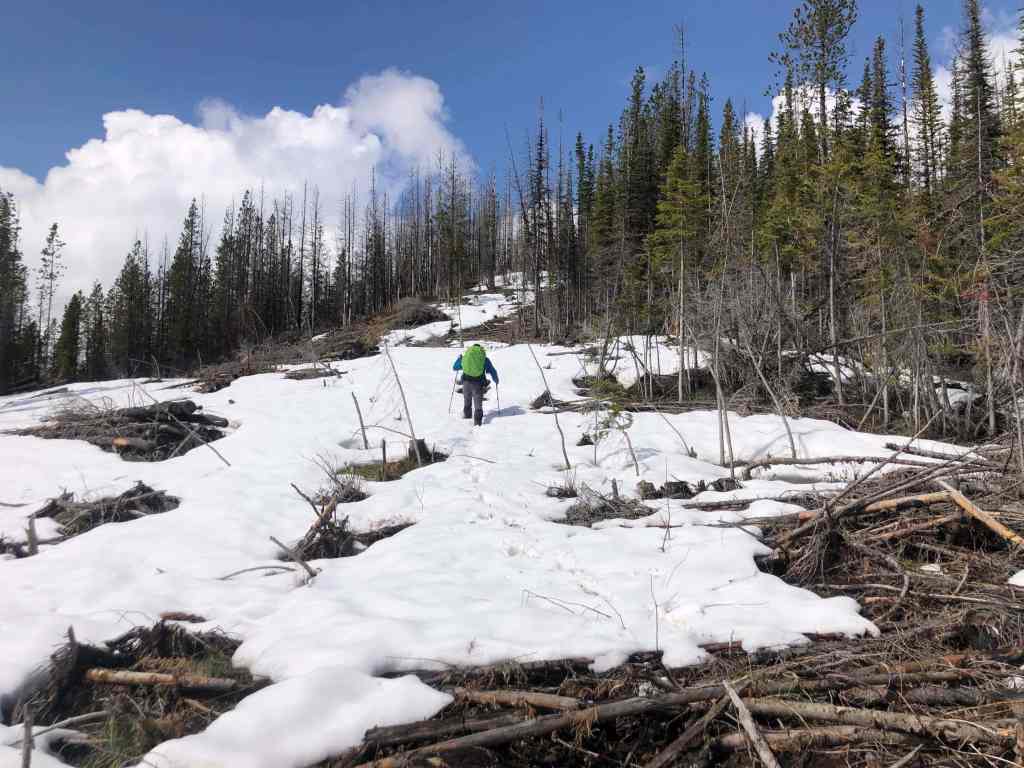
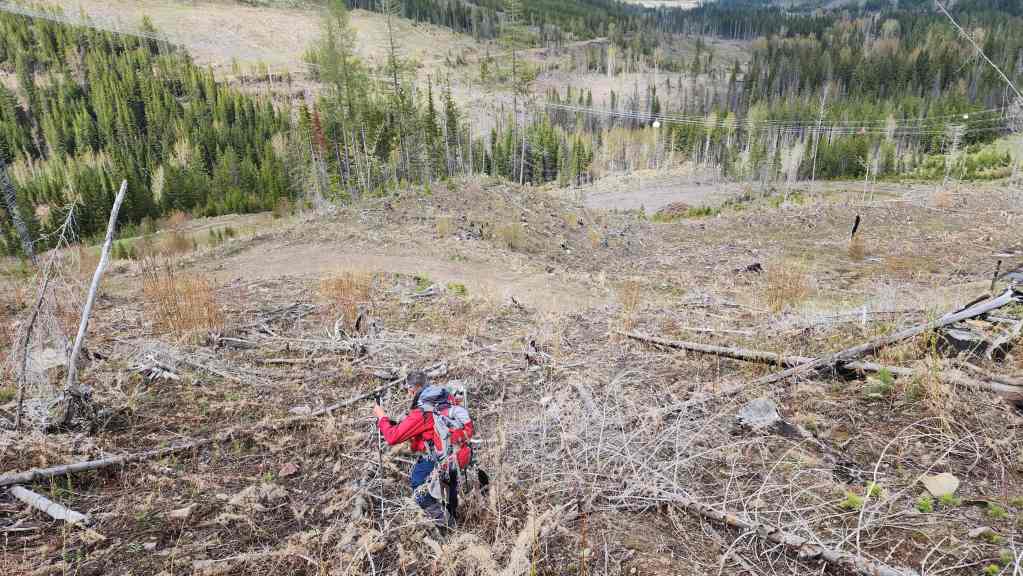
After following the road for ~690 m, it eventually came to an end. This is where we’d leave it and head onto the ridge crest.
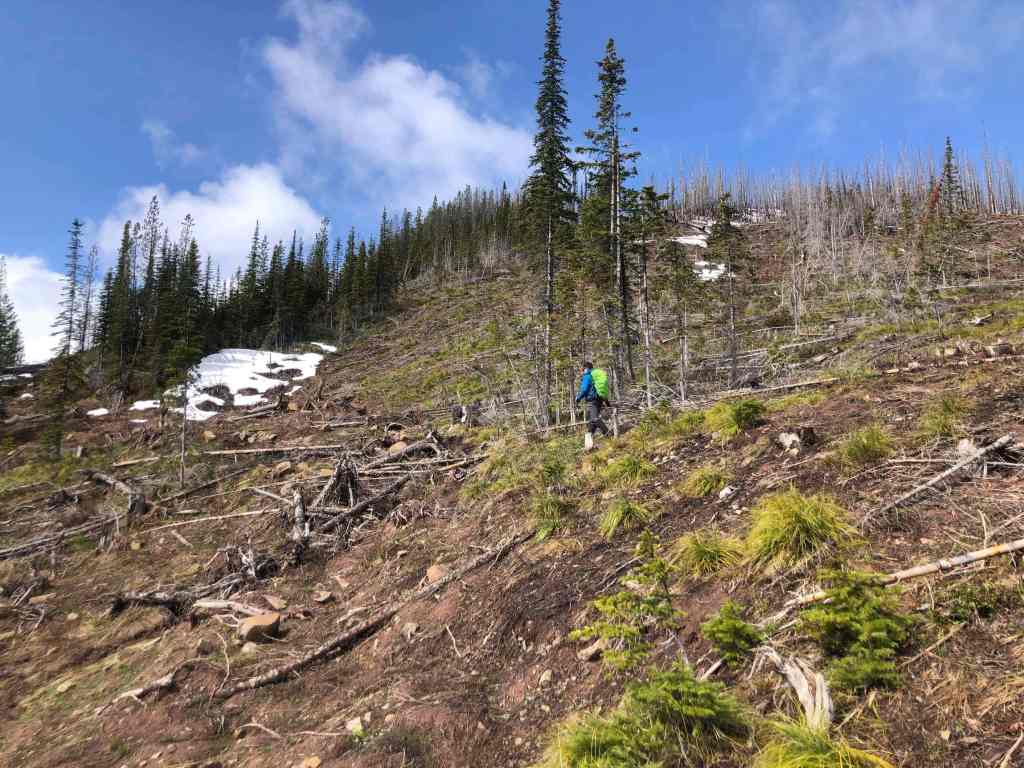
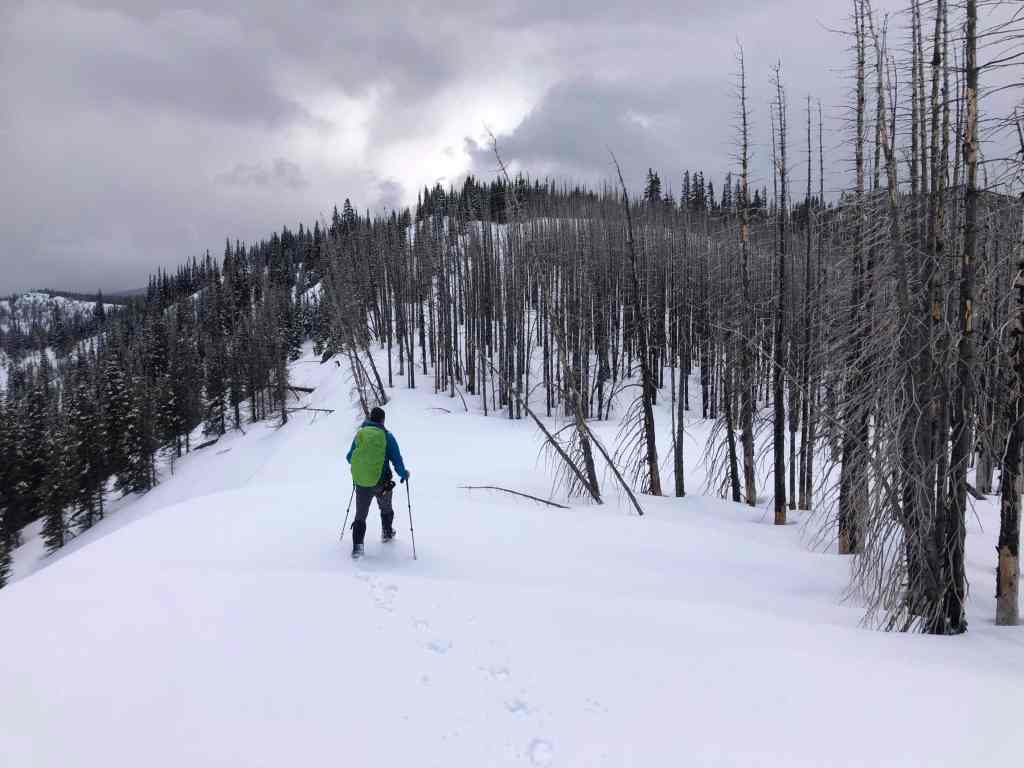
Thankfully, the deadfall was minimal. (Photo by Andrew Nugara)
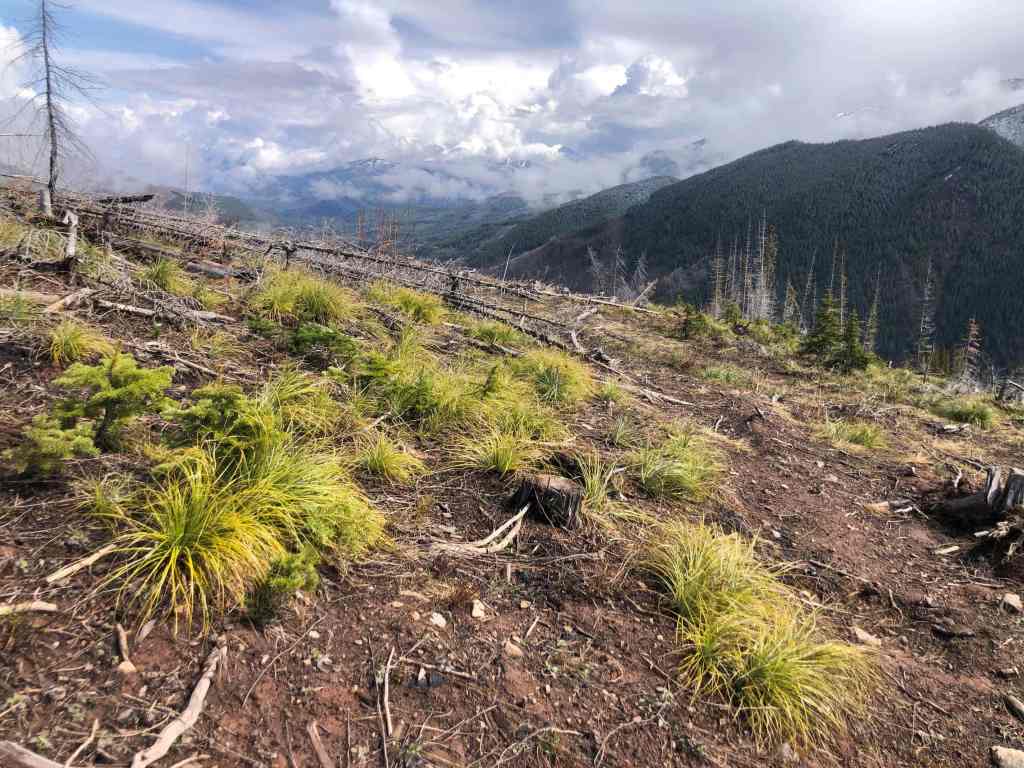
A cool shot of new growth. (Photo by Andrew Nugara)

Heading up an obvious slope to regain the ridge. (Photo by Andrew Nugara)

My view back from the previous photo.
Back on the ridge crest and looking to the north. Marten Ridge is on the left and I will definitely come back for it. 🙂
Heading towards an obvious gap in the trees… (Photo by Andrew Nugara)

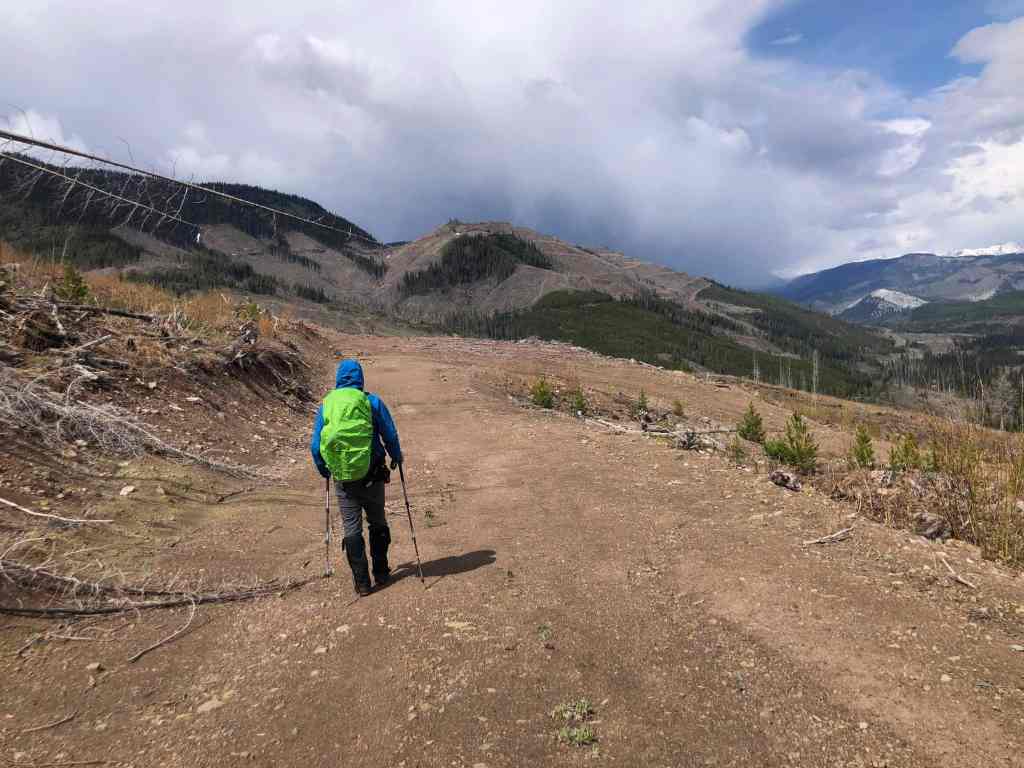
That led to another road – and our first good look at the first two high points on the north ridge. Lucky break #2 for the day!

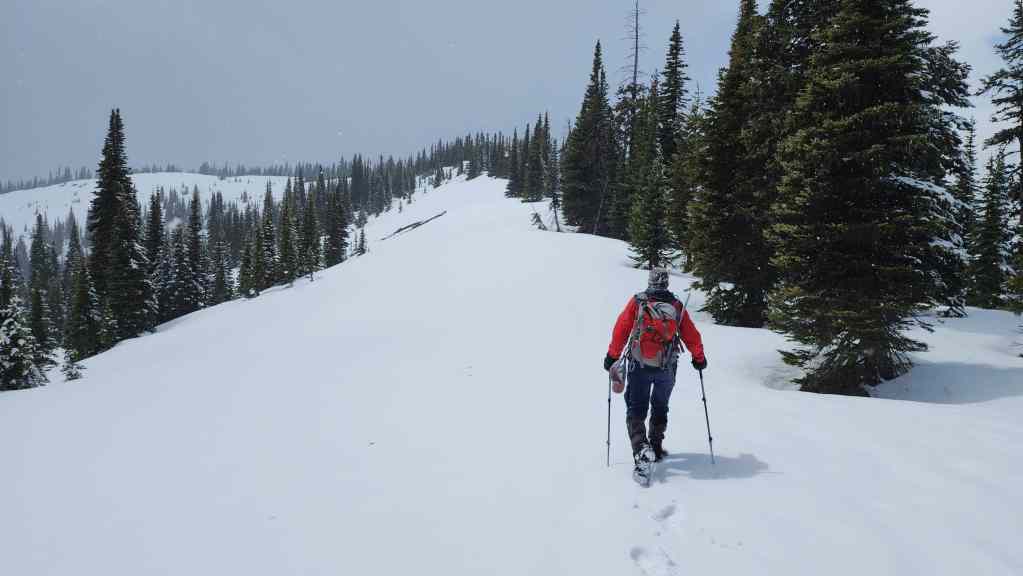
The snow was firm and easy to walk on.
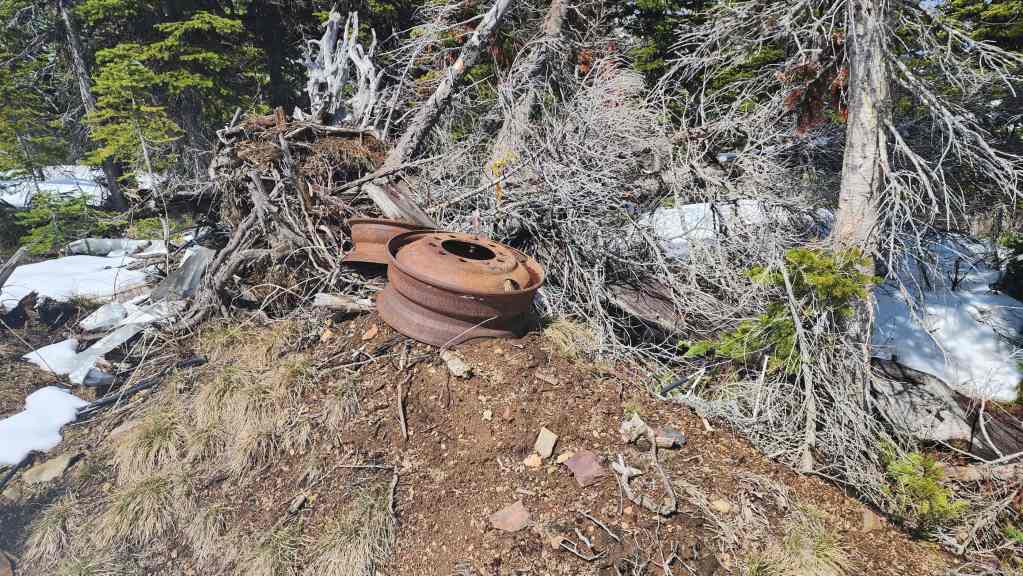
Anyone looking for some new wheels? 😂

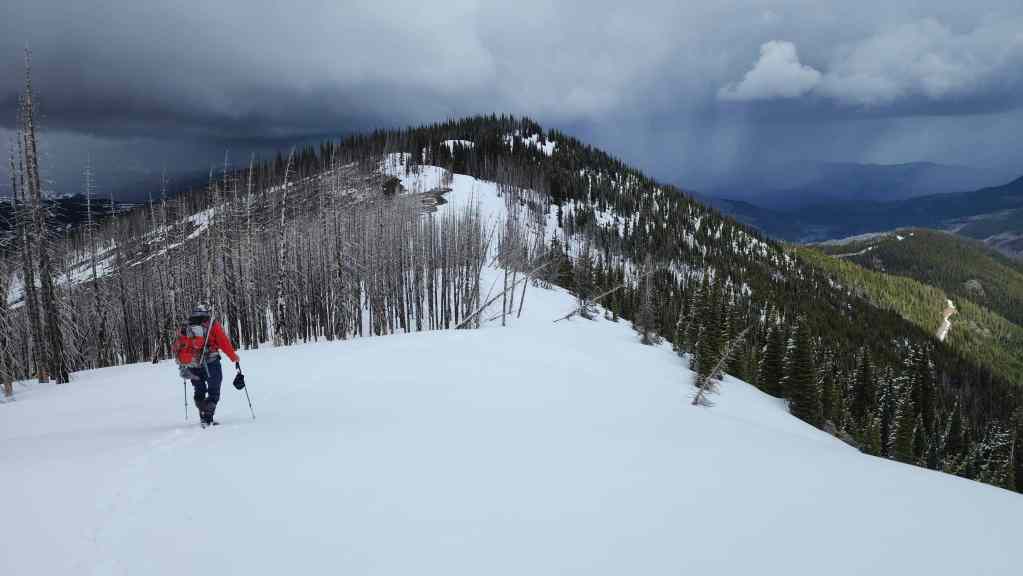
A good look at the first high point and its connection to the northeast ridge. We will follow this to reach the top.

Another look, this time showing the second high point directly in front of Andy. This high point is only a few metres lower than the actual summit and on some maps is marked as the summit; hence my thinking that this would be a quick trip, especially if we could have driven up like I did in the past.

The road allowed us to avoid the most heavily treed section of the connecting ridge.
However, when it began to descend, we quickly identified a small gap in the trees that we could use to get back onto the ridge.

Leaving the road.

Back on the ridge and encountering lucky break #3 for the day: the snow was deep but extremely firm. Had it not been, we might have turned back because we didn’t bring our snowshoes. (Photo by Andrew Nugara)

Looking back as we make the steep, but easy ascent. In the background on the left is Mount Taylor with Michel Head on the right.
The same view but this time showing the entirety of the northeast ridge (left of centre).
The snow was 1m+ deep but only occasionally did we post-hole. (Photo by Andrew Nugara)
Looking west at Mount Hosmer.
Nearing the top.
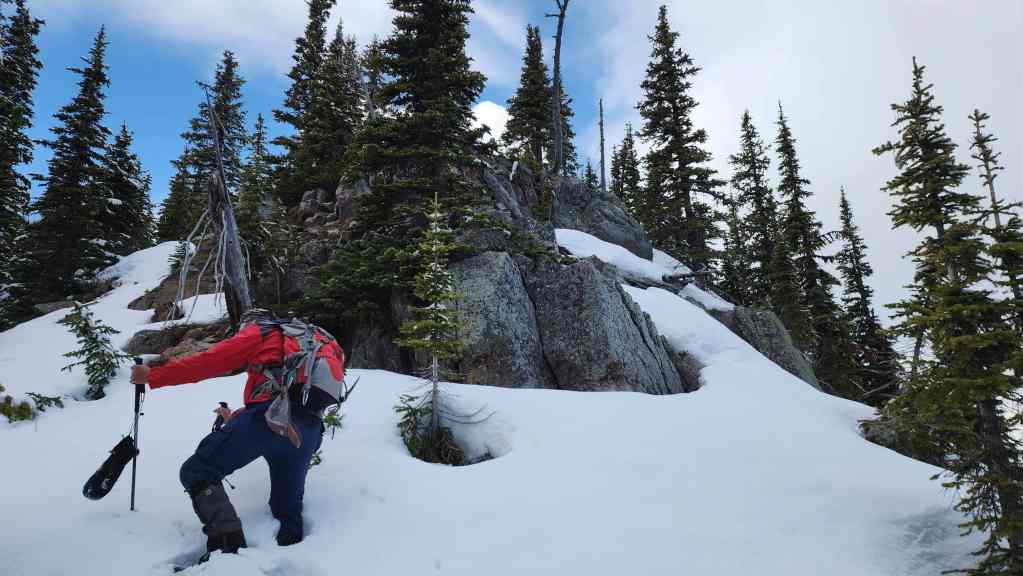
We’ll scramble over this outcrop.
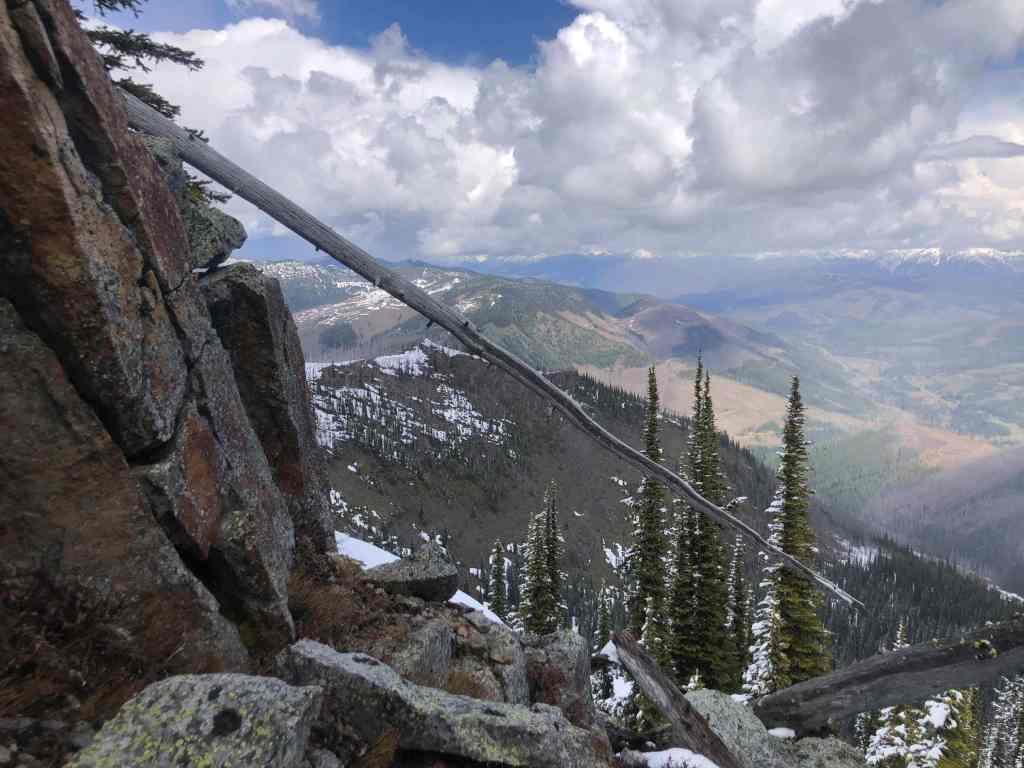
A neat view over to Marten Ridge. (Photo by Andrew Nugara)

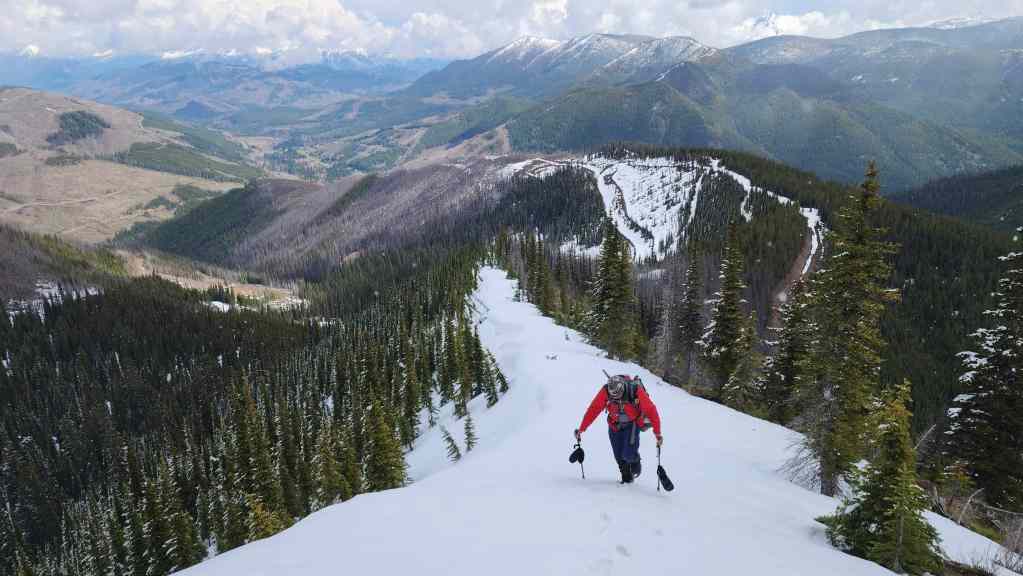
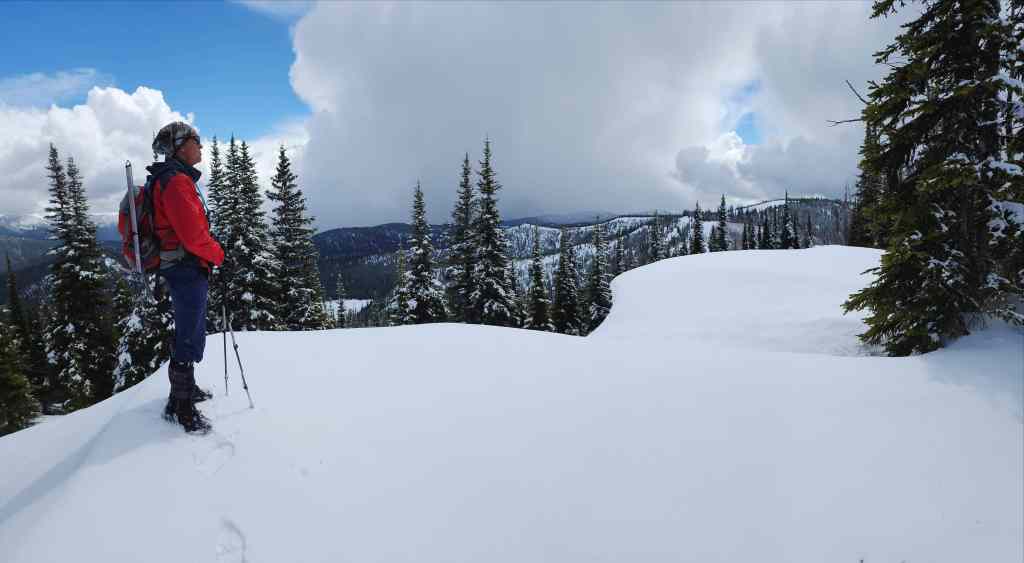
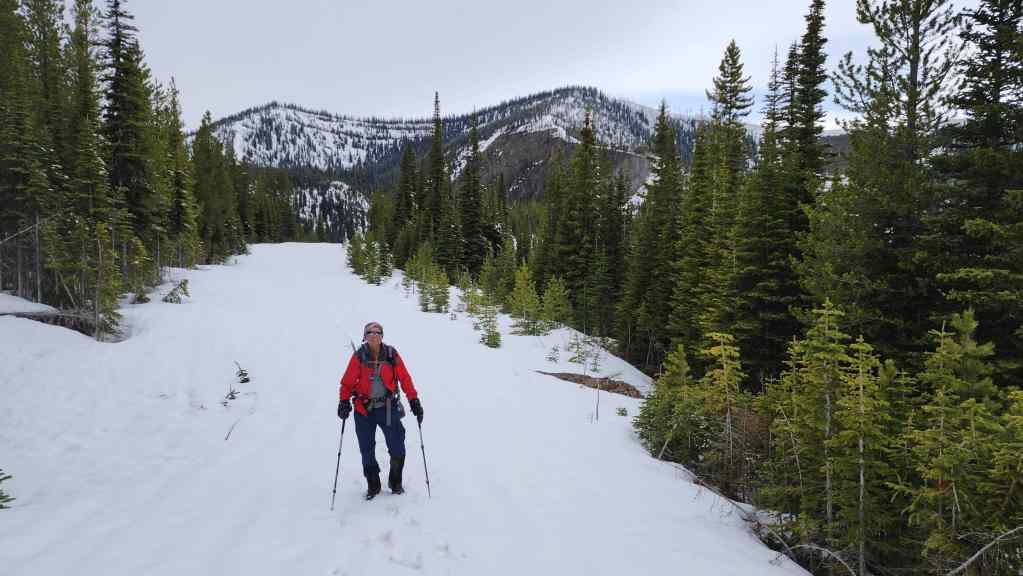
Arriving at Santa’s workshop on top of the first high point. From here, the second high point is ~650 m away while the summit is ~2 km. For reference, we had covered ~4.8 km (726 m elevation gain) since leaving my truck.
Lucky break #4 for the day: the deep snow on top of the ridge could also be easily walked on.

By this point, it had turned into a beautiful day.
Andrew gazes along the corniced-ridge towards the summit.
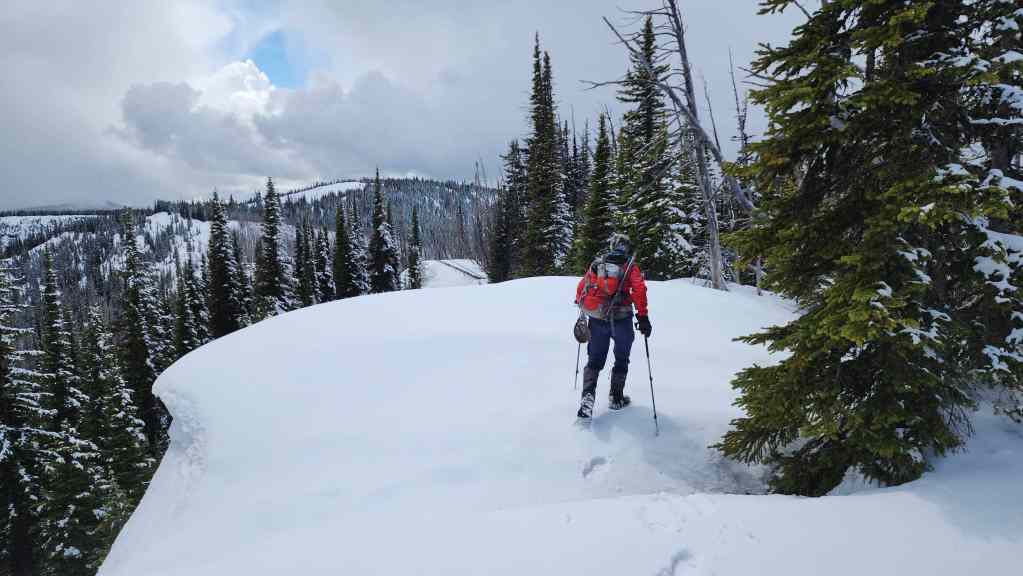
Andrew’s view from the previous photo with the summit in the centre. Thanks to the great snow, it will be an easy walk with only a ~40 m elevation loss and gain.

Passing beside one of many huge cornices. (Photo by Andrew ‘Mr. Nugs’ Nugara)

Another cornice. As I mentioned before, the snow was very deep.

Approaching the lowest point between the second high point and the summit. (Photo by Andrew Nugara)
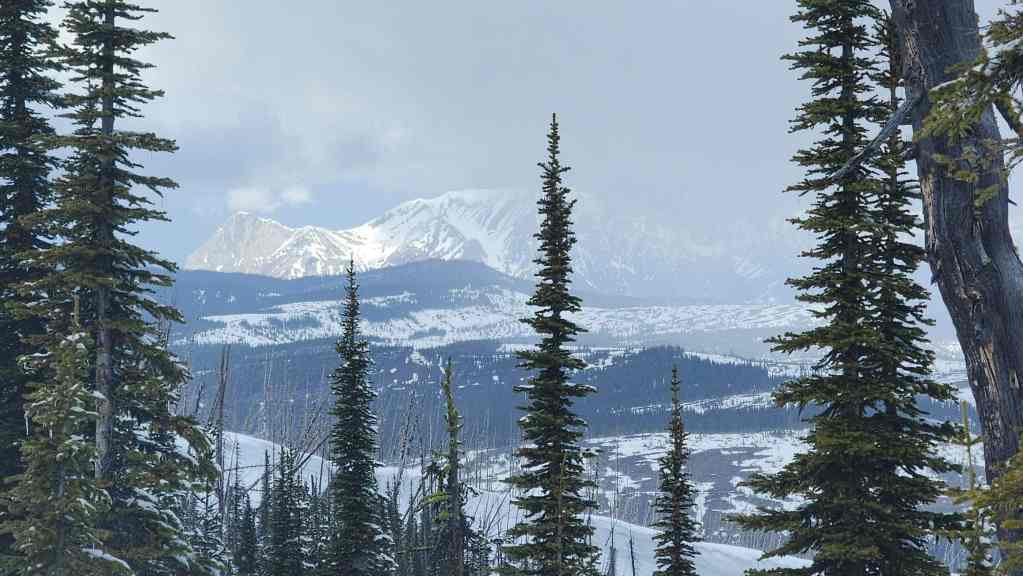
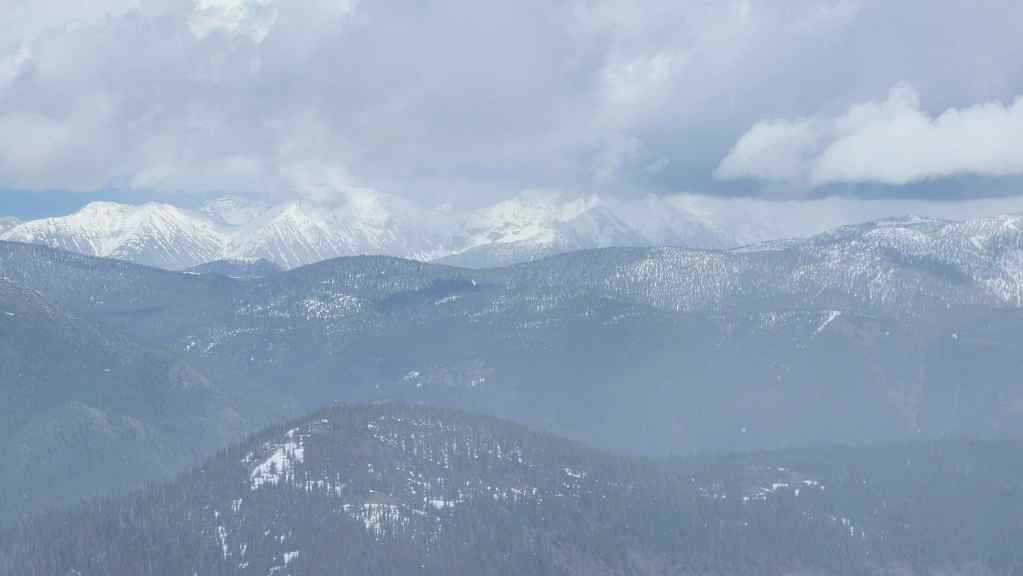
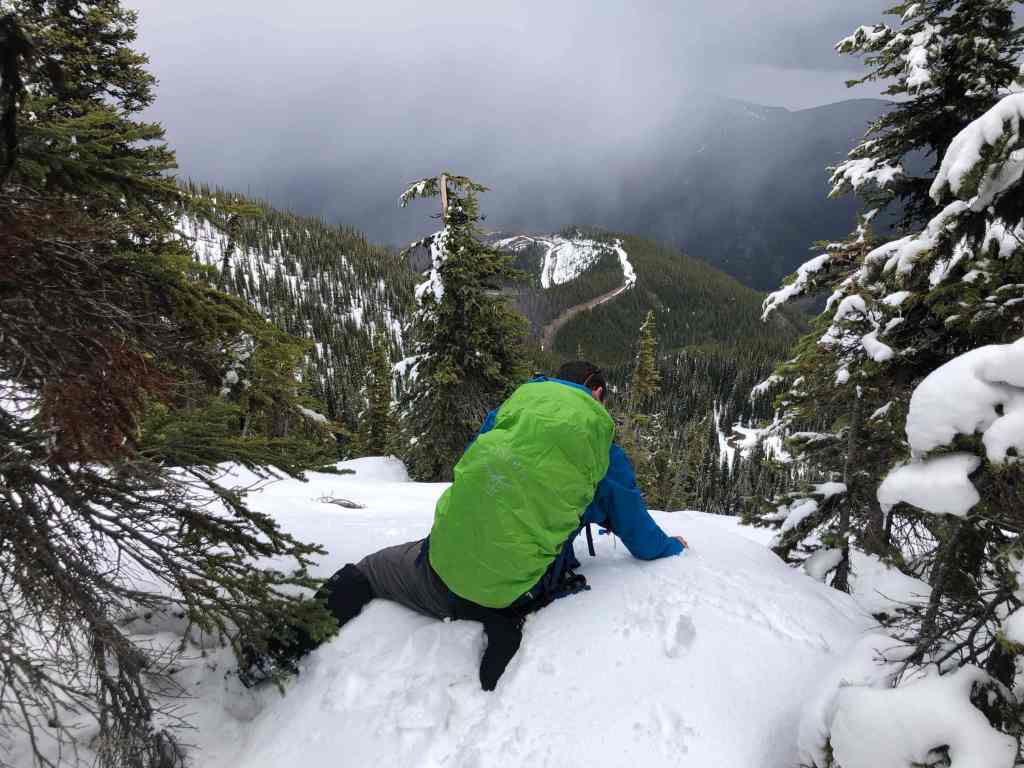
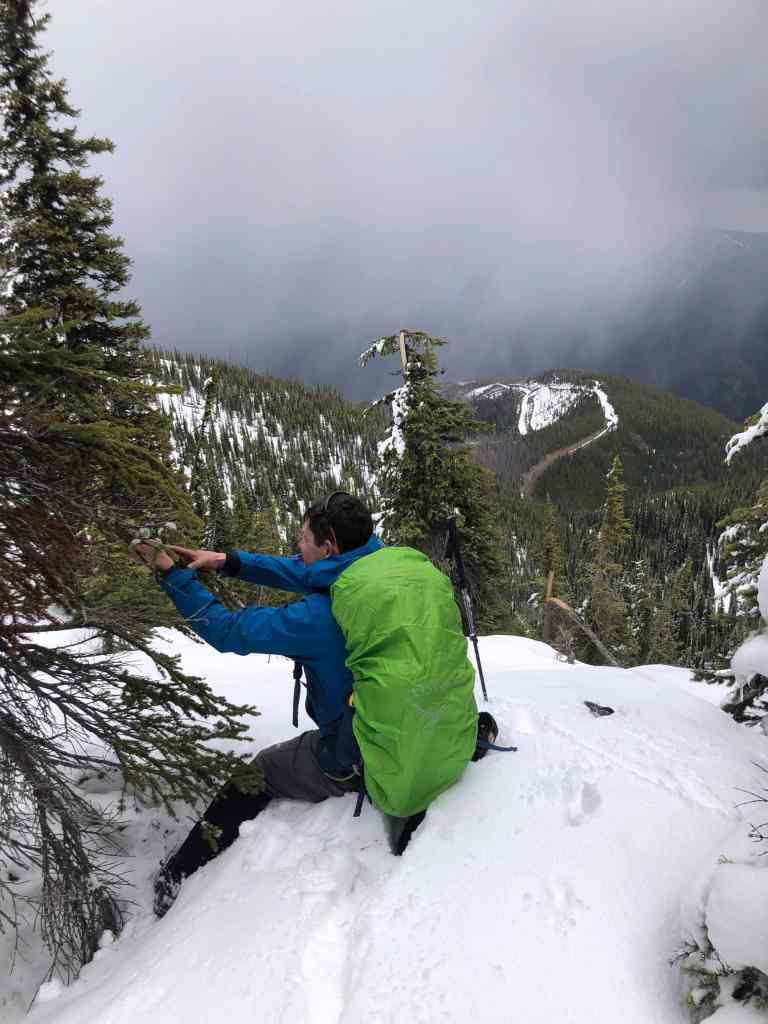
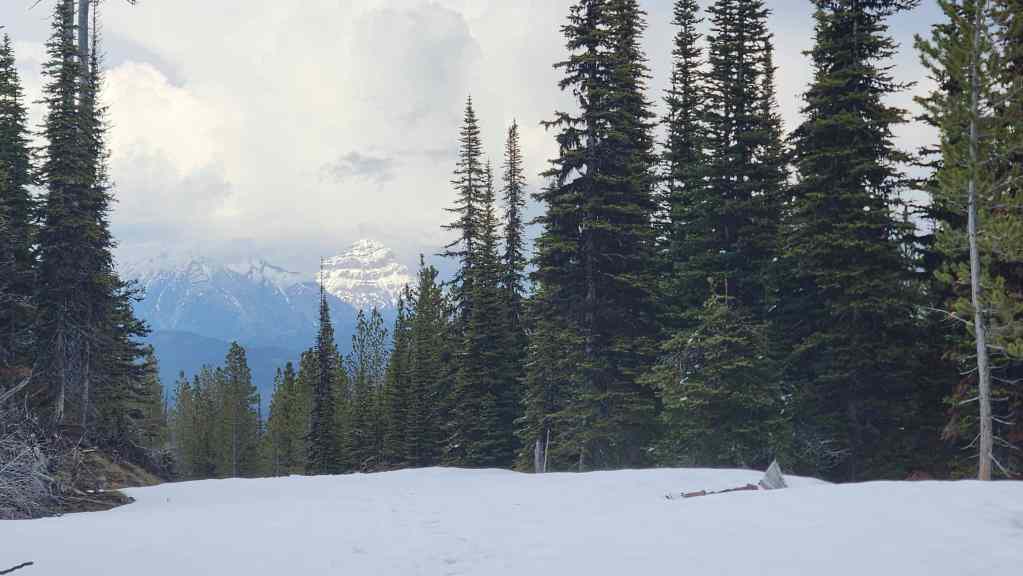
A great shot over to Michel Head and Michel Ridge (centre) and Barnes Peak (right). (Photo by Andrew Nugara)

The clearest view we’d get of Mount Ptolemy. Note that it looks like a recumbent or sleeping mummy from this angle and is the reason why it was originally called Mummy Mountain.
Starting to regain elevation. (Photo by Andrew Nugara)

Getting closer…
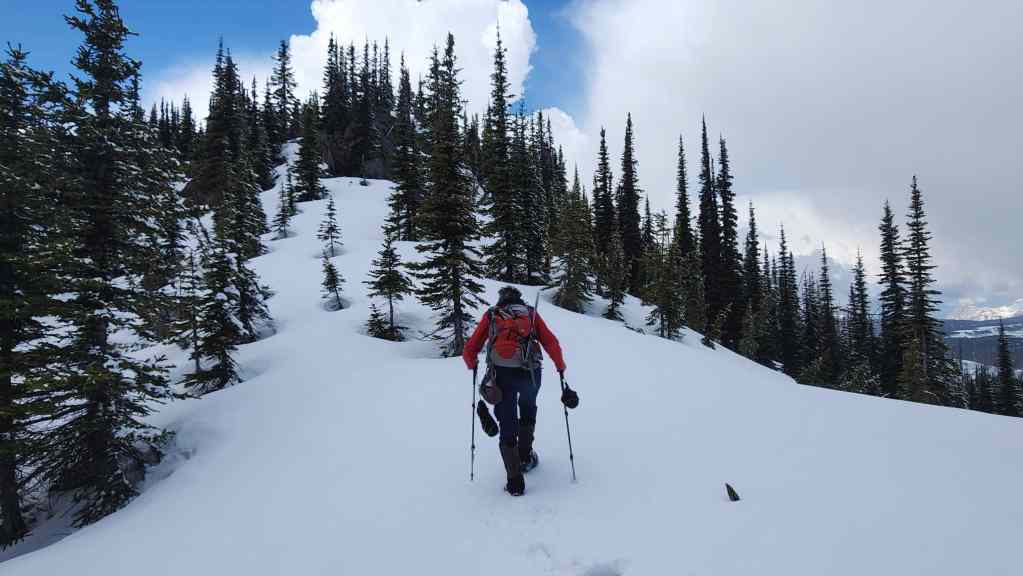
Now on the home stretch with the summit on the left.

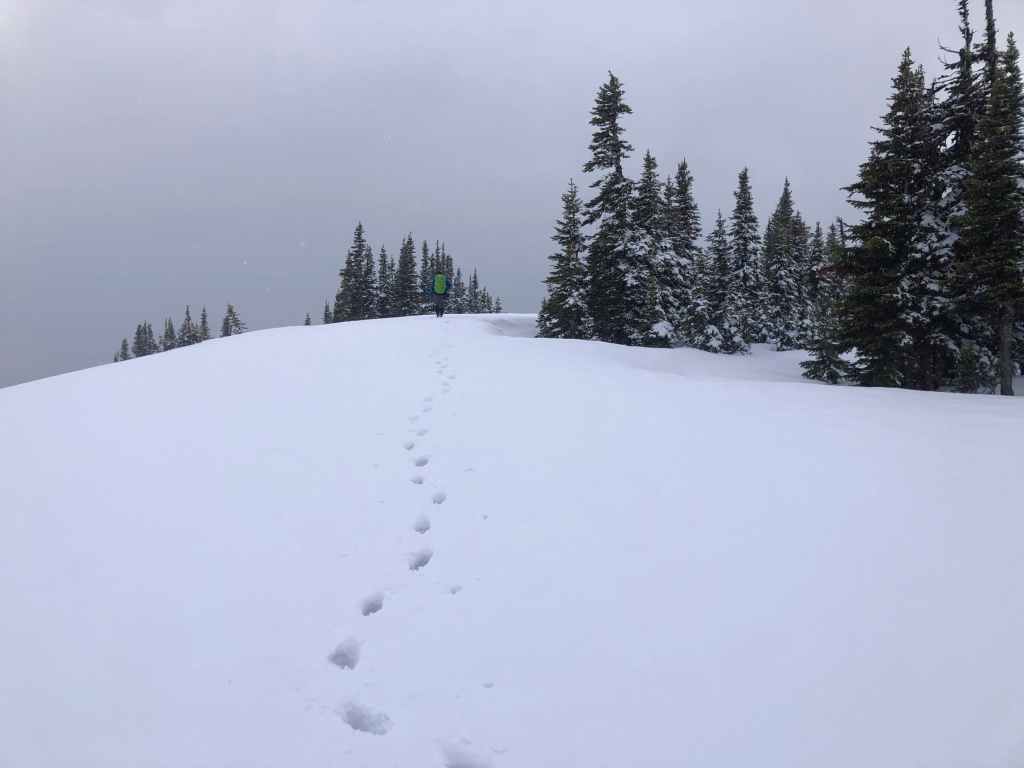
More easy hiking thanks to the snow.

Almost there…
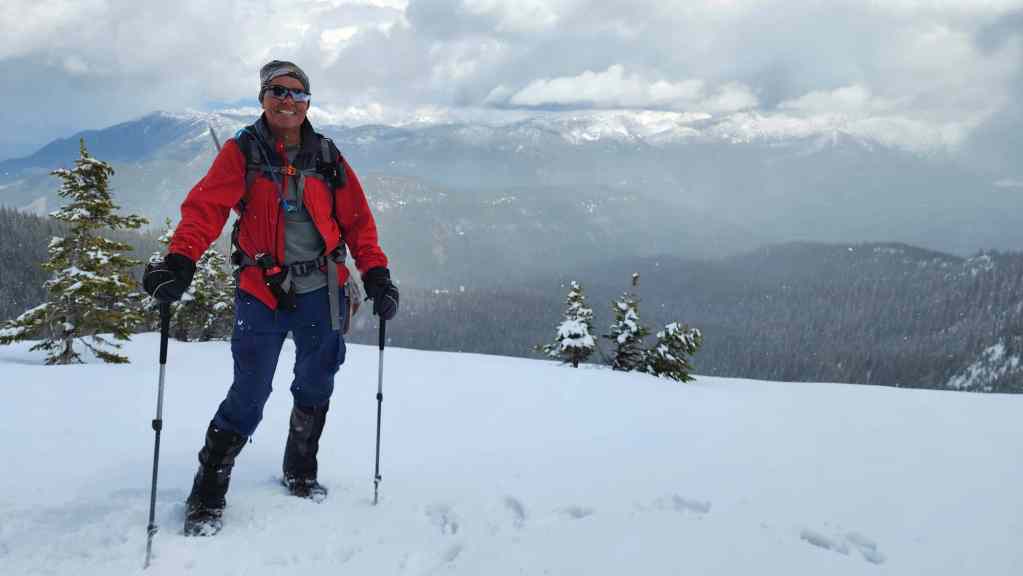
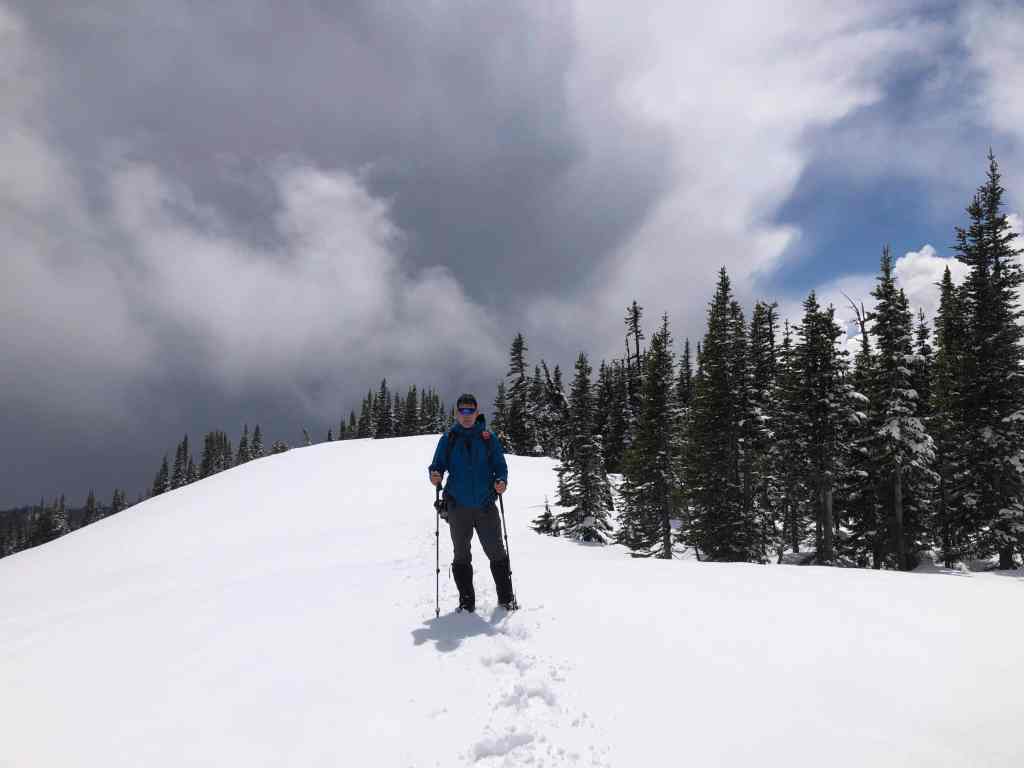
I arrive on the summit of Leach Ridge (2195 m). For reference, from my truck to the summit it was ~6.9 km with a 740 m elevation gain. (Photo by Andrew Nugara)
I’m soon joined by Andy. Note the second high point to the right of centre. It is only a few metres lower than the summit.
A pano to the east.

And then the same thing a few minutes later as the weather begins to change. (Photo by Andrew Nugara)
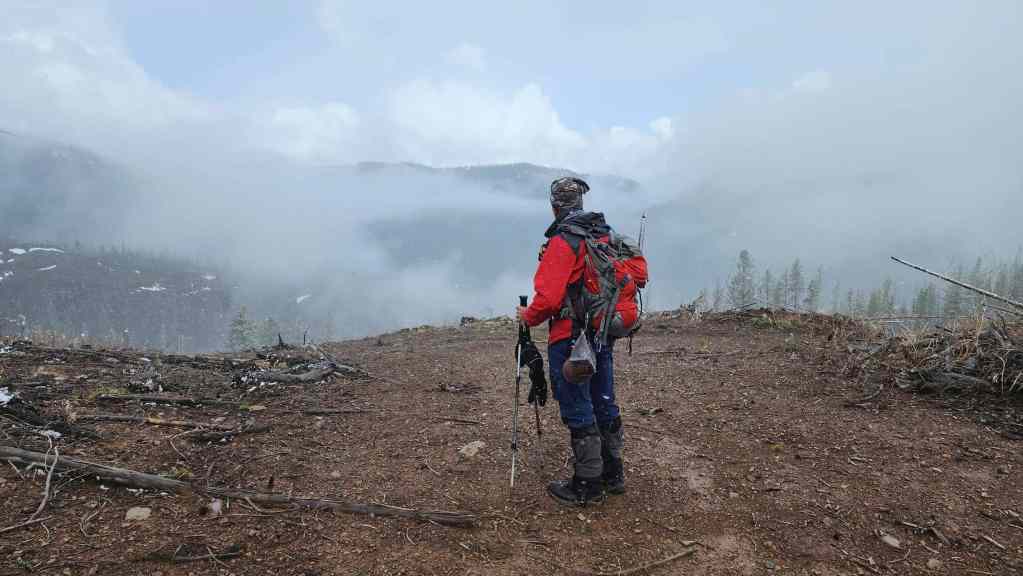
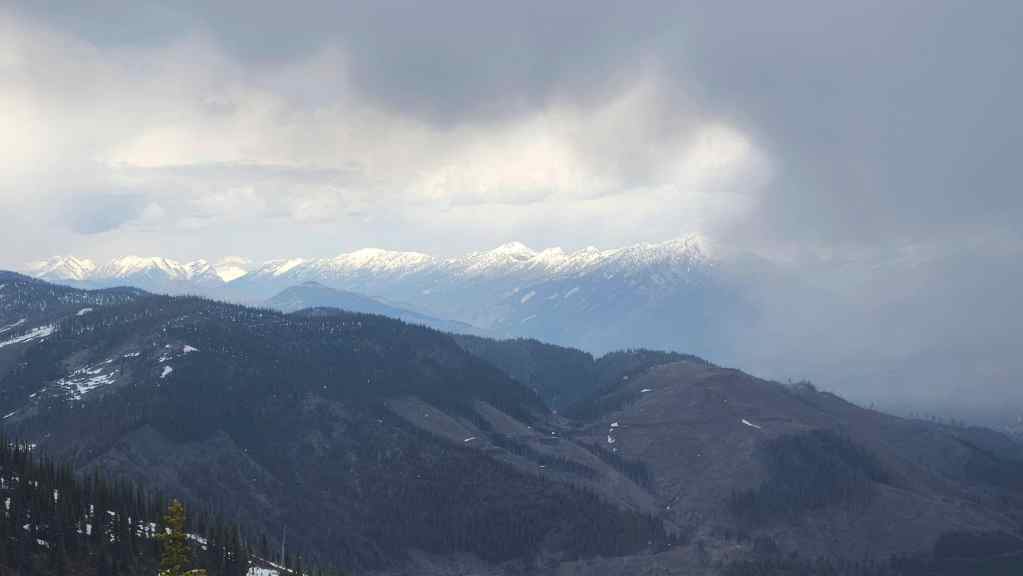
You can barely see the Flatheads because of the clouds, but on a clear day, the view would be quite good.
Same comment as before.

Looking back to the second high point (centre) and the first high point (left).
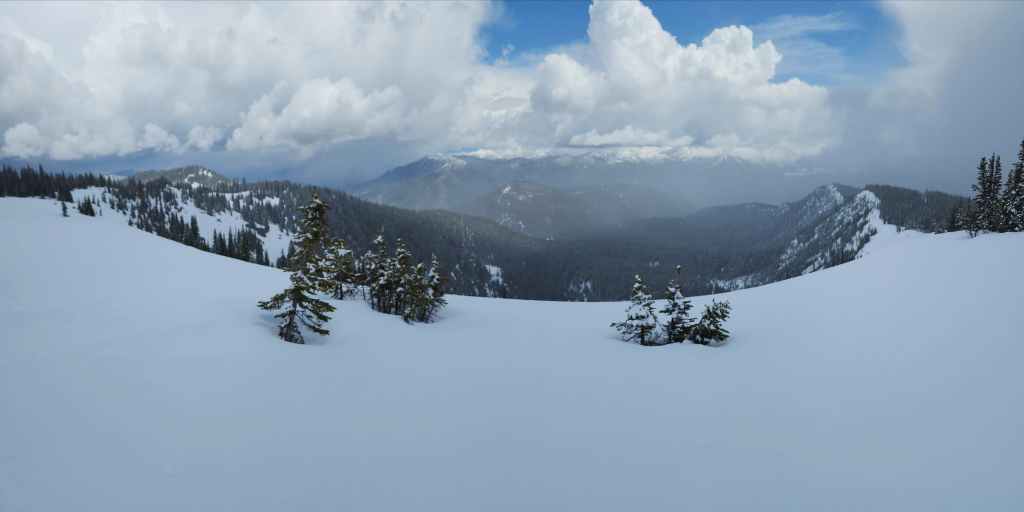
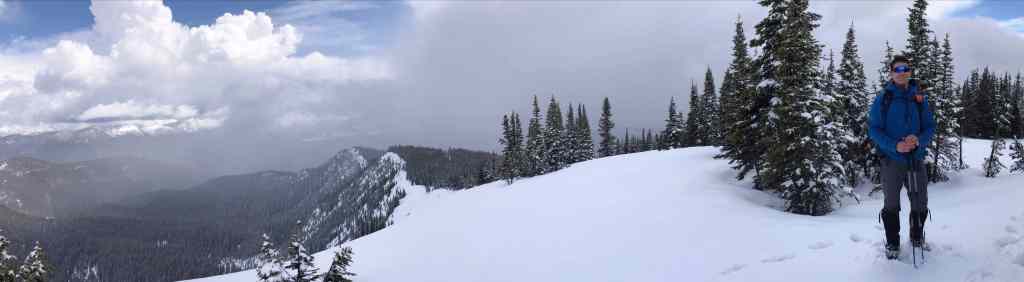
From the summit, I made a short walk through the trees to the west where I took this pano.

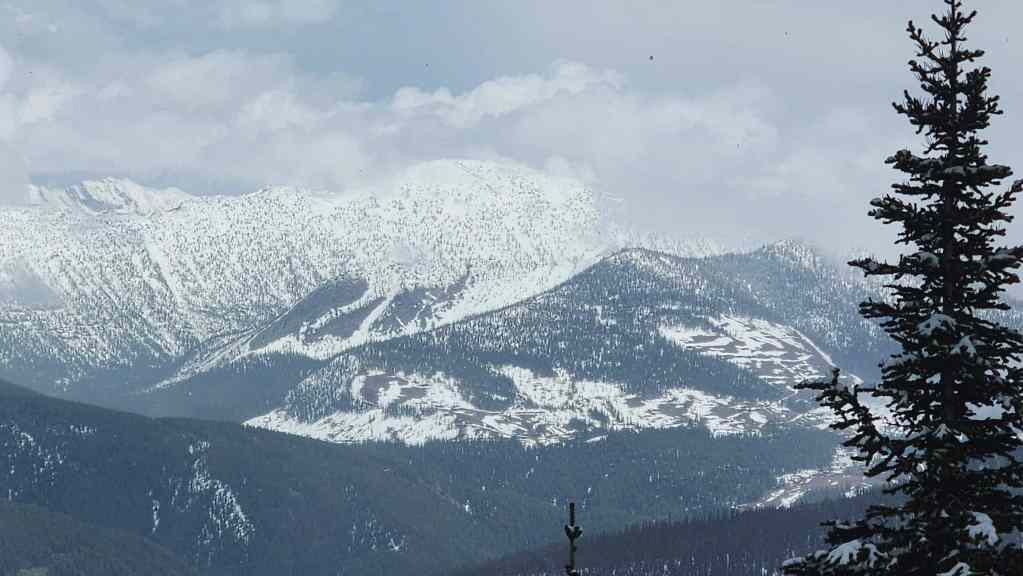
Zooming in on Mount Broadwood.

I return to see Andrew taking more photos.
We made it! Now we just have to get back in case the weather turns.
Me on the summit. The pano also highlights the south ridge of Leach. (Photo by Drew Nugara)

Yikes! Those are some dark skies…
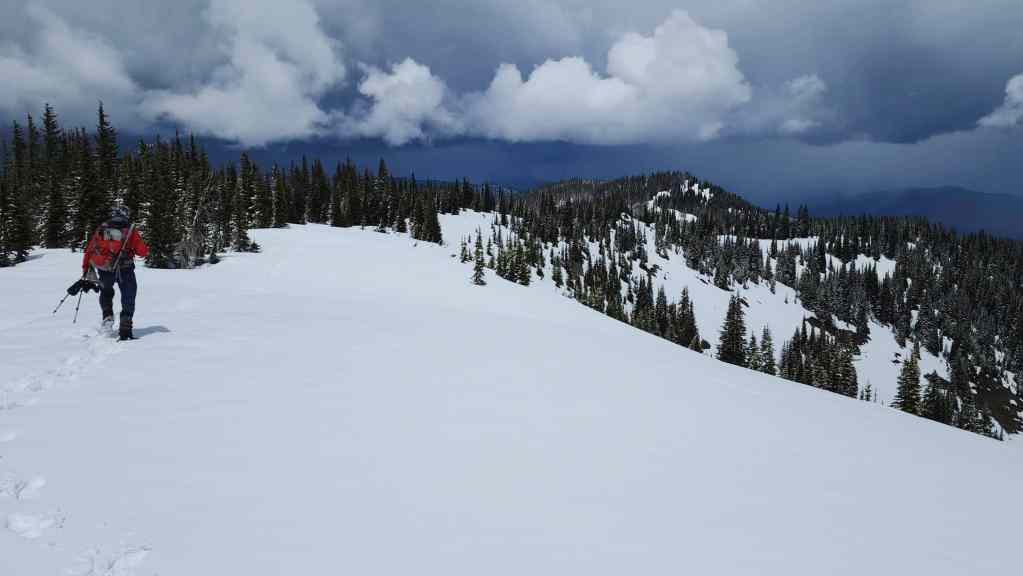
Time to make a quick retreat!
It was weirdly sunny yet forebodingly dark.
The weather was also turning behind us. (Photo by Drew Nugara)

Things look bad to the north…

Yet it remained sunny on Leach.

The point when we began to hear thunder.
Heading back to the second high point.
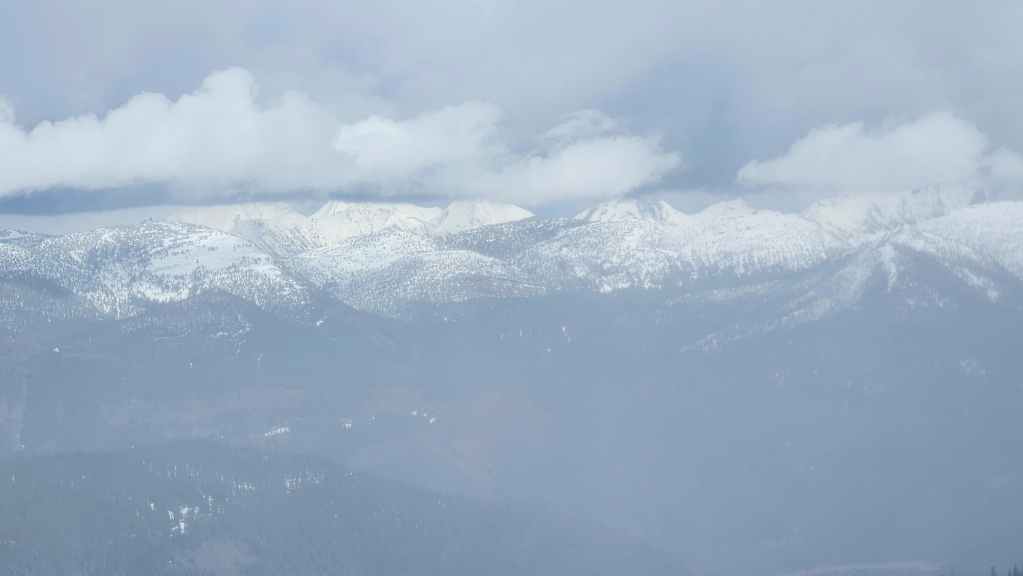
A closer look at Barnes Peak (centre).
Looking from the second high point over to the first high point when suddenly…
The Sword of Testocles strikes from below! 😂 (Photo by Andrew Nugara)
Using a tree to extricate myself. (Photo by Andrew Nugara)

Back on the first high point and deciding if we should follow our route back or descend the north ridge. (Photo by Andrew Nugara)
My view from the previous photo.

After some deliberation, we made the wise choice to retrace our route. Not knowing what the deadfall situation was like on the north ridge was a big factor. (Photo by Andrew Nugara)
The Sword of Testocles tries to claim another victim. 😂
Things begin to clear to the north.
However, a short-lived snow squall catches us from the west.
It was snowing but it was still an easy descent. In fact, the snow came and went very quickly: lucky break #5 (Photo by Andrew Nugara)

Arriving back on the road from the ridge.
It will be easy and mostly quick hiking from here.
Gazing back at the second (left) and first high points.
The clouds clear and the sun shines briefly on Omahkai’stoo (Crowsnest Mountain).
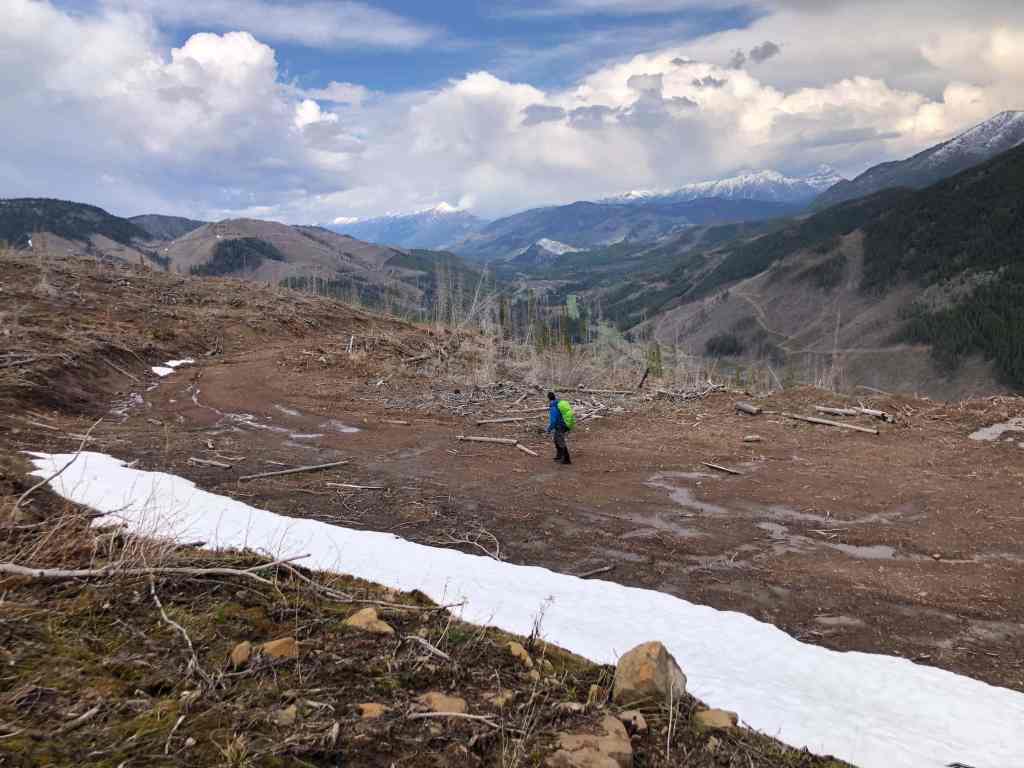
Leaving the road and trying a shortcut to the clearing that we used to get back on the northeast ridge. It didn’t work so good.

Heading down the clearing with good views of Mount Taylor (far left) and Michel Head (right of centre). (Photo by Andy Nugara)
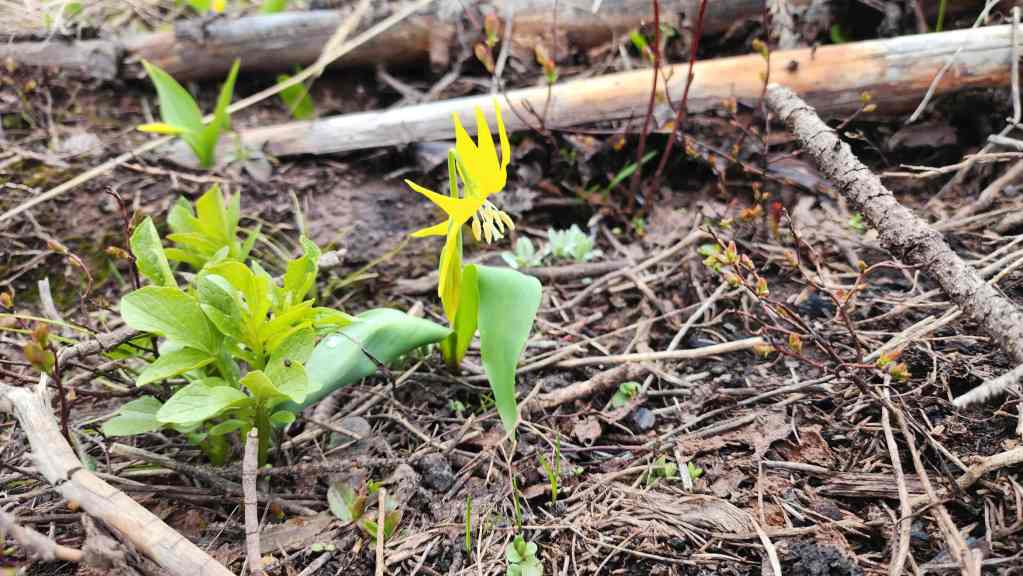
A glacier lily.
Back on the lower road. It will be easy-peasy getting back from here. (Photo by Andrew Nugara)
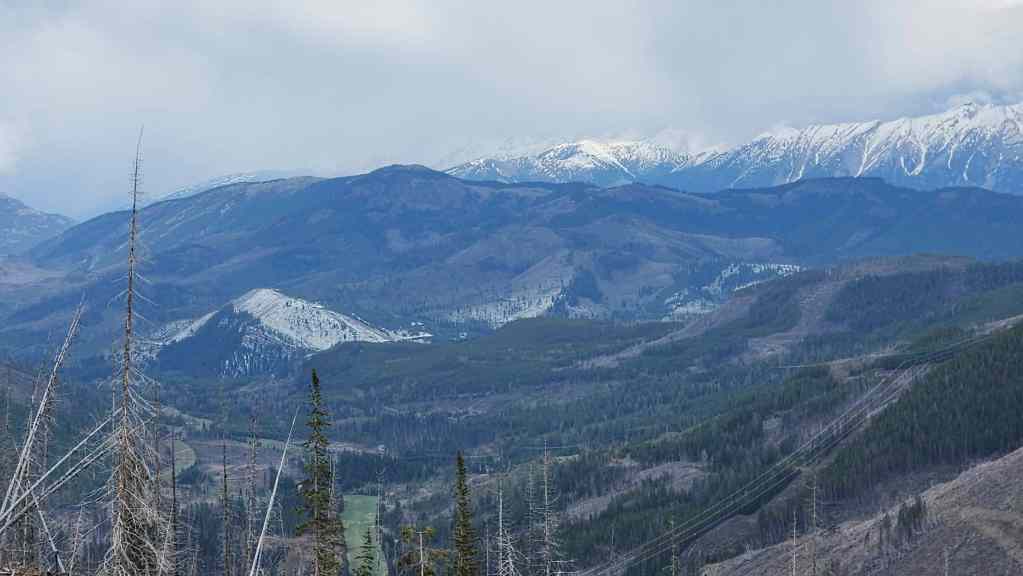
A closer look at Loop Ridge…

And then Mount Erickson (left of centre).
Now that the clouds were clearing, we could finally see Phillipps Peak (left of centre), Mount Tecumseh (centre), and Omahkai’stoo (Crowsnest Mountain) (right of centre).

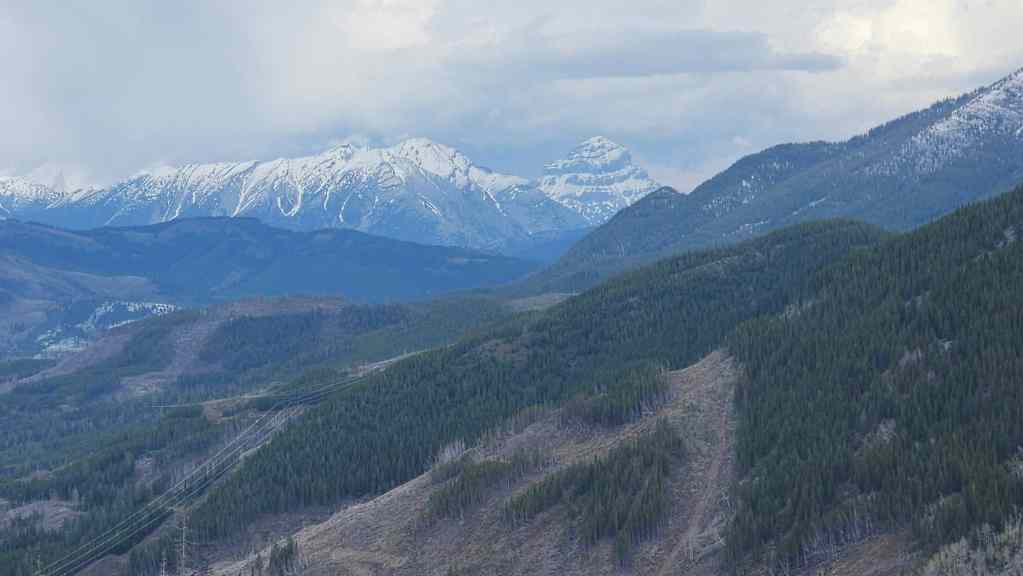
Another look at Mount Taylor.
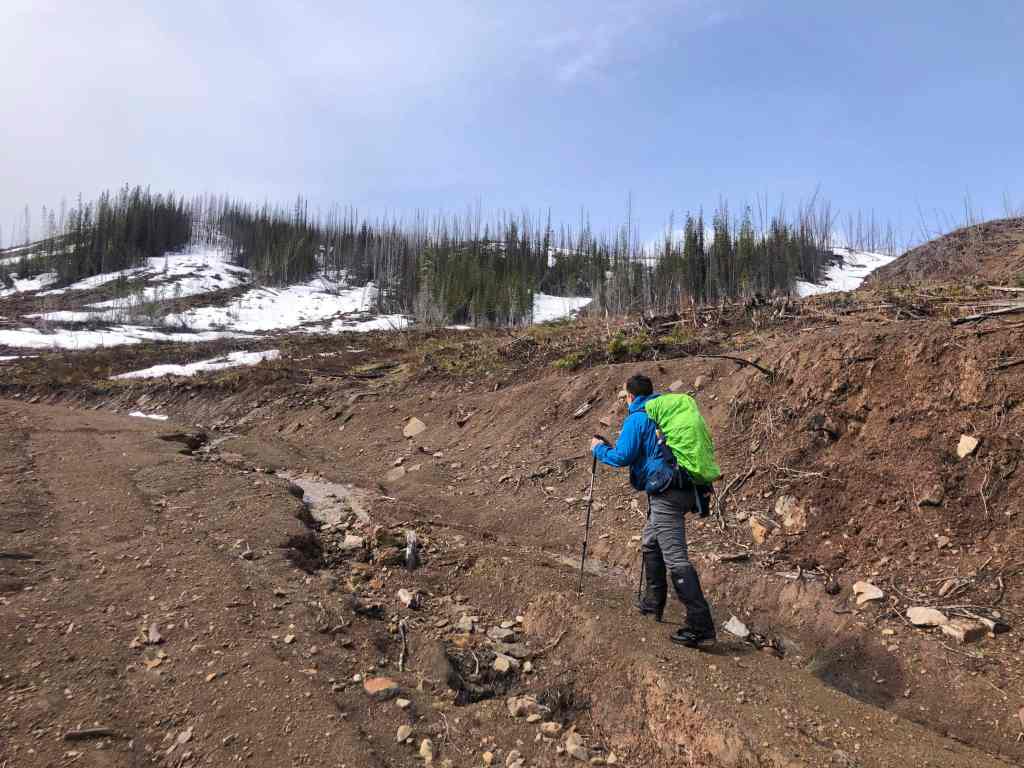
Instead of returning to the northeast crest, we would follow the road as far back as we could. This was another great decision and is lucky break #6 for the day.

A pano of the previous shot with the south end of Marten Ridge in front of Andy.
We will keep heading straight at the first switchback (right). (Photo by Andrew Nugara)
Nearing the final switchback and the point where we will leave the road by heading straight. I do wonder though, if the switchback goes down to another switchback that then heads towards my truck… 🤔 (Photo by Andrew Nugara)

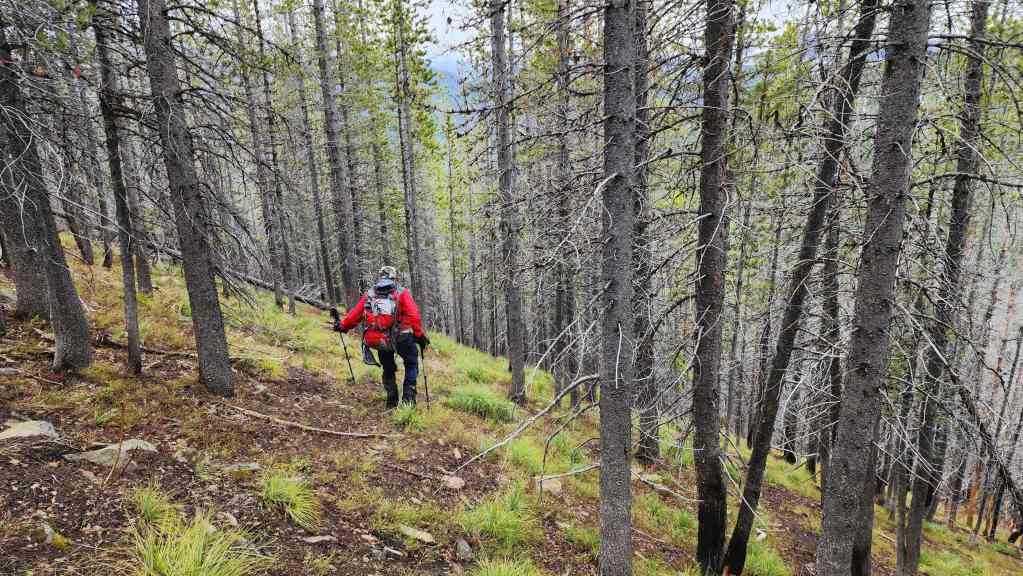
Easy travel after leaving the road. (Photo by Andrew Nugara)
Heading through a short but uncomplicated section of deadfall down to the road we started from.

Arriving back at my truck after logging 13.6 km over 5 hours and 30 minutes after starting. This included a total elevation gain of 940 m.
A final look at the northeast ridge of Leach (foreground) as we drive away. This impromptu trip ended up being a lot longer than I had expected based on my past scouting efforts. However, we lucked into a great weather window when most other places were being hammered. This was coupled with great luck in discovering good roads and ideal snow conditions All in all, this ended up being a highly enjoyable adventure up an obscure peak.
I’m not sure what the terrain would be like in the summer without snow, nor do I know whether a more direct approach up the north ridge is a better route. I’d also like to find out information on who Leach was (my three guesses are a local miner, a local forester, or a local war hero) and then include that content later on. Finally, a huge thank you to Andrew for an awesome and engaging trip! 🙂


Leave a Reply