
⚠️ Hiking and scrambling are inherently dangerous activities. Please read my Disclaimer. ⚠️
Hats off to Mike Potter for his excellent route descriptions for Mount Ashman and “Bennett Peak” in, Ridgewalks in the Canadian Rockies (Second Edition). Though he didn’t have the information for Ashman’s name back in 2009, his inclusion of the, “Ridge West of Akamina Ridge”, set the stage for many others to enjoy this fun trip in Akamina Provincial Park.
Following Potter’s lead, Andrew Nugara posted a trip report for “Akamina West” in 2011 that followed Potter’s route and provided even more information, such as referencing the high points, GR097347 and GR073337, as “Akamina West 1” and “Akamina West 2”. Then in 2016 as part of a multi-day backpacking trip, Sonny Bou and Zosia Zgolak ascended “Akamina West 1” on the ridge above Bennett Pass and named it, “Bennett Peak”.
In 2023 as an add-on to our Akamina Ridge trip, Andrew and I ascended “Bennett Peak” and I became curious not only about the ridge, but also about See Peak that sits a little further to the west of what Andrew called “Akamina West 2”. After getting home and doing more research, we discovered that “Akamina West 2” actually had a name. Thanks to Rick Collier’s report on Kishinena Ridge and See Peak – and through Figure 4-3 (page 27) in a publicly available guiding application from 2017 – we were able to determine that “Akamina West 2” was called, Mount Ashman, as it sits above Ashman Lake. This was probably common knowledge, but it was new to us.
I did some further digging and according to the official BC Geographical Names webpage, Ashman Lake is named after Levi Ashman “who operated a licensed trapline in this area for many years; one of the old timers, and greatly respected.” Further investigations revealed that Levi Ashman resided in Waterton and is listed in the Government of Canada’s Hometown Heroes – Waterton National Park – Honour Roll for his service in the First World War. According to Find A Grave, Levi Ashman was born in 1891 in Wales and died in Calgary in 1958. The photo of his gravestone shows that he is interred in the Field of Honour and that he was a corporal in the Royal Munsters Fusiliers. Finally, the site notes, “Born in Wales, Mr. Ashman came to Canada after serving in the First World War. He went to Corbin, B.C. in 1918 and worked as a coal miner. He moved to Waterton in 1927 and had resided here since. He had a trap line in the Akamina – Kishinena Valley.”
Recent trips to Mount Ashman by Devan Peterson and Vern Dewit rekindled my determination to return and complete the entirety of Ashman Ridge; though I wasn’t expecting to get to it until next year. However, as Brad and I were trying to figure out what trip to do this weekend, an incoming front saw the forecast calling for strong winds from the northwest followed by rain and snow the following day.
Thinking about the direction of the wind combined with a sheltered approach, Brad suggested “Bennett Peak” and Mount Ashman, to which I had no hesitation agreeing to. It was also fantastic that Dave and his brother, James, were going to join us as they are also really great guys to be on a mountain with.
Long story short, it ended up being an excellent day that in addition to Mount Ashman and “Bennett Peak”, we also followed Andrew’s suggestion and summited “Wall Mountain”, which is a prominent little peak that overlooks Wall Lake. Andrew had previously ascended this peak, and we had a great time scrambling the short but fun, argillite couloir near the summit. In fact, it was the perfect way to end the day.
A little over 10 hours and nearly 26 km after leaving the Akamina parking lot, we returned just as darkness was settling in. When we checked our GPS devices, we were surprised to see that we’d amassed 2155 m in total elevation gains, but then again, it seemed like we were always losing then gaining elevation, especially on Ashman Ridge.
Finally, a huge thanks to Brad, Dave, and James for a super fun and super funny day in the mountains! 🙂
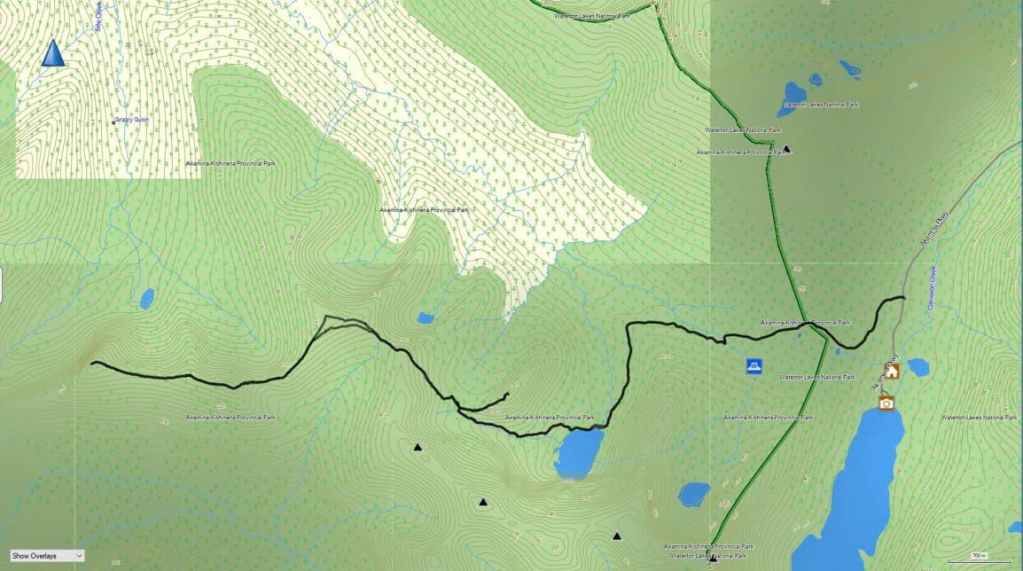
To get to Mount Ashman we started from the Akamina Pass trailhead in Paahtómahksikimi (Waterton National Park) and followed the signed and easy trail for 1 hour and 18 minutes (5.5 km with a 193 m elevation gain) to its junction with the Bennett Pass trail at Wall Lake. From the lake we then followed the trail for 1 hour and 15 minutes (~2.7 km with a 505 m elevation gain) until we were standing on the trail above Bennett Pass.
From here, we descended to the Pass (64 m elevation loss) before starting to hike up and towards “Bennett Peak”. However, we decided to bypass “Bennett Peak” in favour of heading straight to Mount Ashman by following a trail beneath Bennett that led through the trees and onto Ashman Ridge. Soon, we were standing above the col before the first high point on the ridge. A 65 m elevation loss and followed by a 150 m gain, brought us onto the top of the first high point (2379 m). The trip from here to the summit of Mount Ashman (2421 m) involved another ~1.7 km of hiking. For reference, from the main trail above Bennett Pass to the summit of Mount Ashman, it was ~3.9 km. Our total time from the Akamina trailhead to Mount Ashman was 4 hours and 48 minutes over ~12.1 km with a total elevation gain of 1146 m.
With the wind now at our backs, we set off for the summit of “Bennett Peak” (2434) which involved retracing our steps until we were on the easy slopes beneath the summit where we had previously joined the ridge. From here it was a short distance to reach the summit. For reference, it was a ~3.1 km trip from the summit of Mount Ashman to the summit of “Bennett Peak”. Further, from the ridge above the col with the first high point, it was a ~933 m hike (146 m elevation gain) over gradual slopes to reach the summit.
From “Bennett Peak” we then descended to Bennett Pass (~717 m with a 220 m elevation loss) before heading up to the main trail to Wall Lake. Once on the trail, we retraced our steps for ~1.2 km until we were at the base of “Wall Mountain”. Here, we left our packs beside the trail and made the ~684 m (153 m elevation gain) scramble to the summit of “Wall Mountain” (2189 m). For reference, it took us 27 minutes from the trail to the summit and about an equal amount of time to get back to the trail.
Once on the trail it was a ~1.5 km hike (222 m elevation loss) back to Wall Lake and then from Wall Lake, it was another 5.5 km to reach the Akamina Pass trailhead.
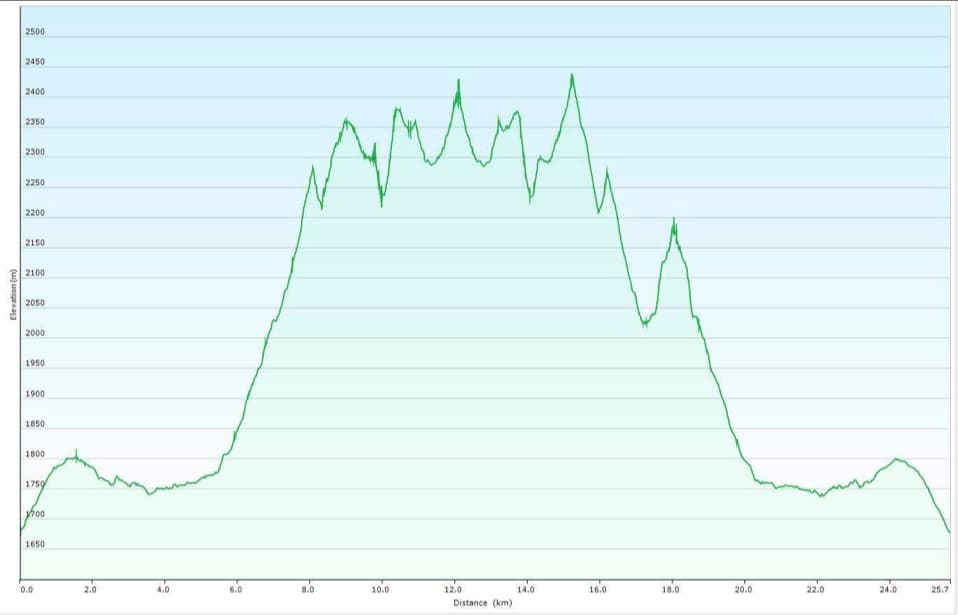
Our total roundtrip distance was 25.7 km with total elevation gains of 2155 m. Our total roundtrip time was 10 hours and 16 minutes.
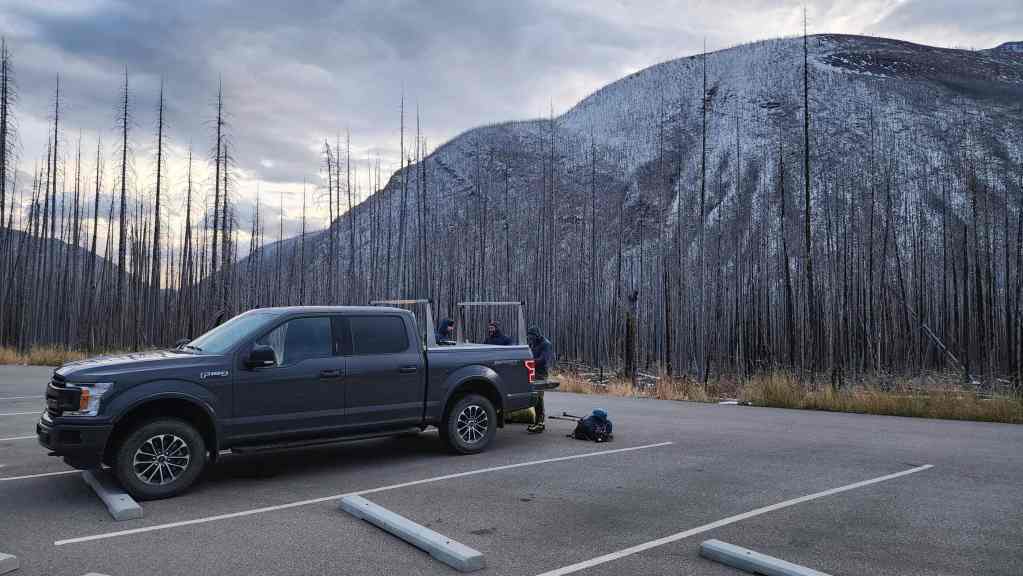
Gearing up at the Akamina Pass trailhead. We were the only ones here when we started and we would be the only ones here when we returned.
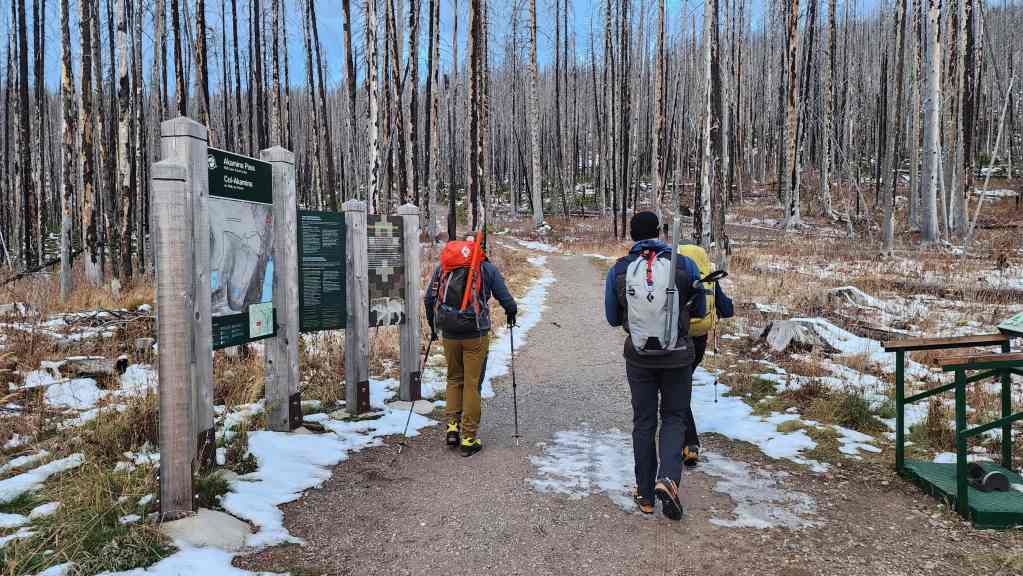
Starting off.

Crossing the border into BC.

Passing the junction for the trail to Forum Lake.
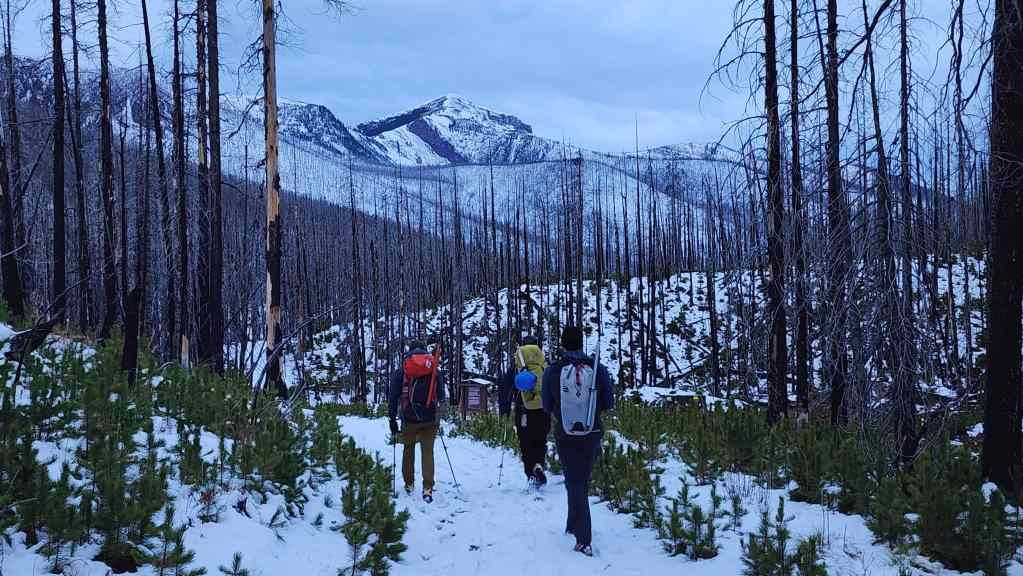
Bennett Pass and “Bennett Peak” are directly in front of us. This would be my second trip up “Bennett Peak” but the first for Brad, Dave, and James.
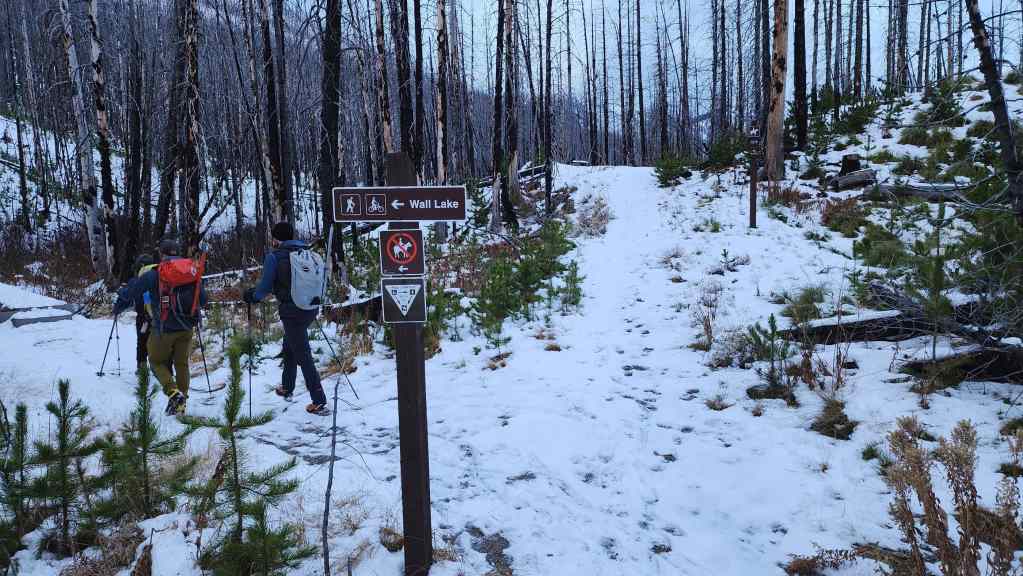
Leaving the Akamina Pass trail for Wall Lake.

Easy hiking.

Getting closer to Wall Lake.
Arriving at Wall Lake 1 hour and 18 minutes after leaving the parking lot.
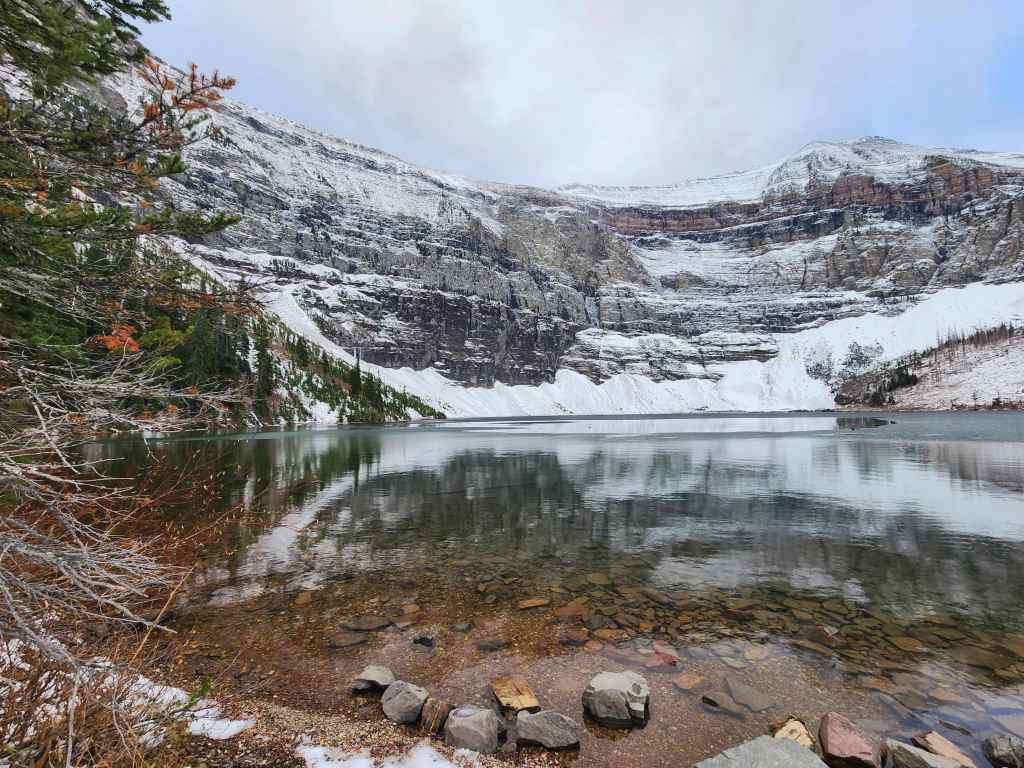
Though the wind was howling up top, down by the lake it was gorgeous morning. The sheltered approach from the northwest wind was a big reason why we chose Mount Ashman for today. (Photo by Brad Wolcott)
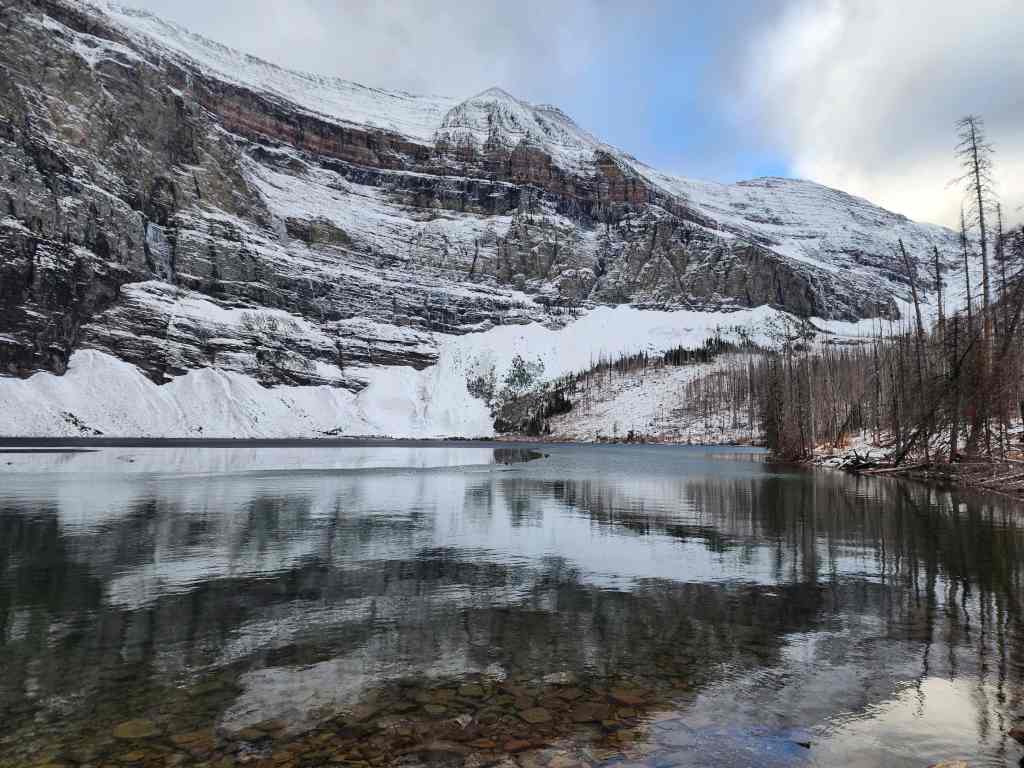
Another great shot of the lake. (Photo by Brad Wolcott)

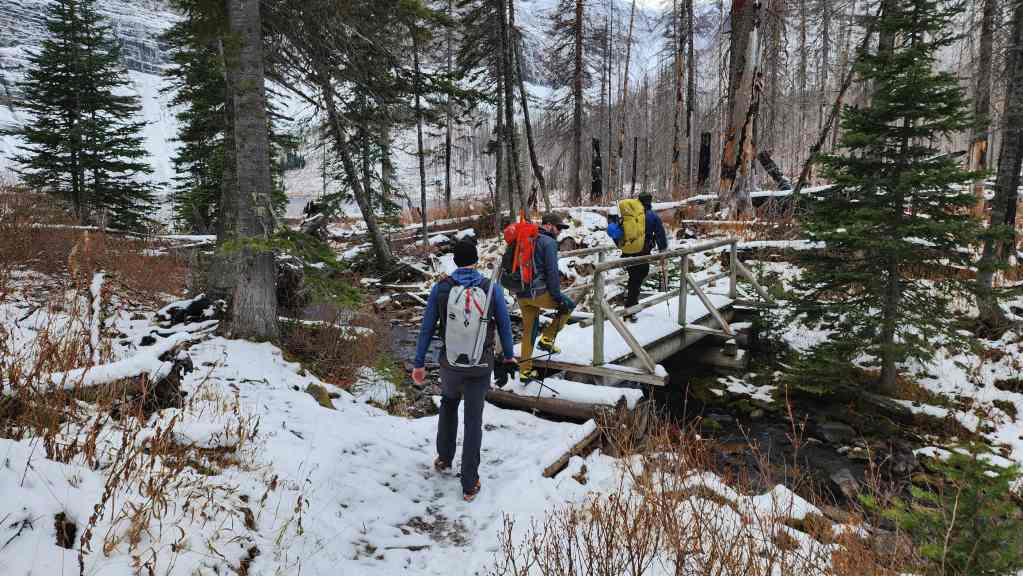
Leaving Wall Lake and heading up Bennett Pass trail. For reference, it would take us 1 hour and 15 minutes to cover the ~2.7 km (505 m elevation gain) distance to Bennett Pass.

Winter is coming!

James stops to check out some frozen waterfalls forming on the cliffs in the centre.
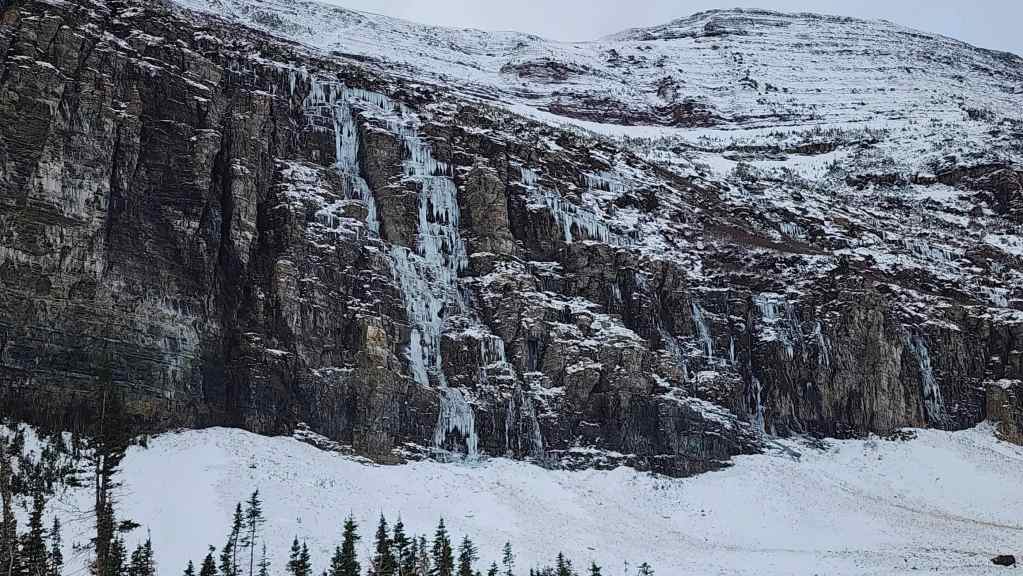
A closer look at the waterfalls.
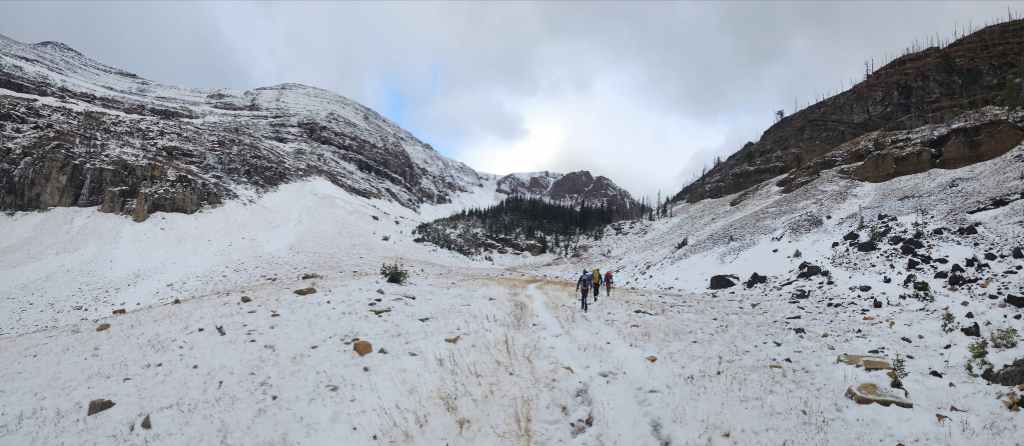
The upper bowl is a neat place. The lower slopes of “Wall Mountain” are on the right.
Approaching the part of the trail where we will gain steady elevation up to Bennett Pass.

The view back to Wall Lake.

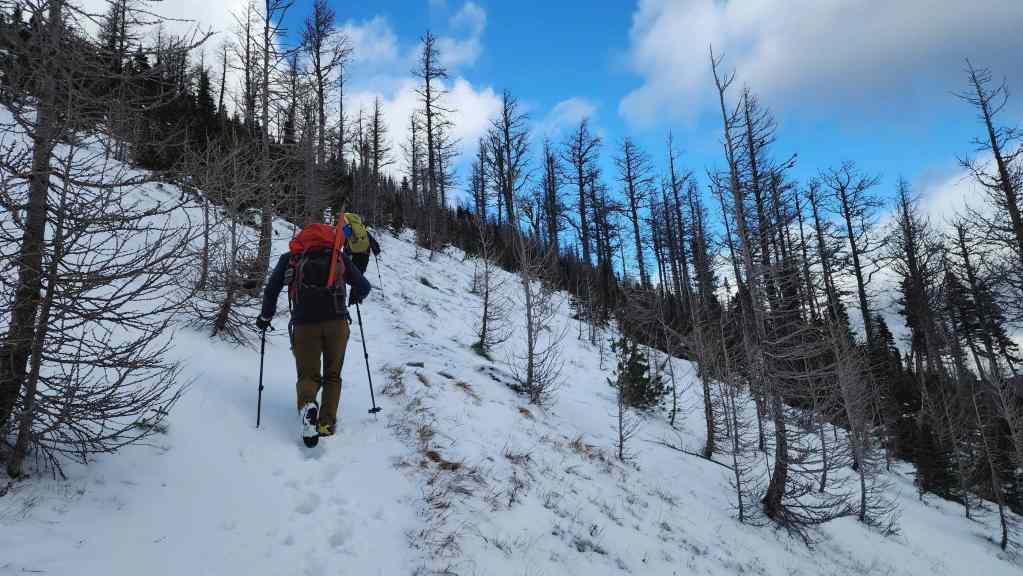
Heading up. Thankfully, the snow was not deep enough to force us into post-holing.
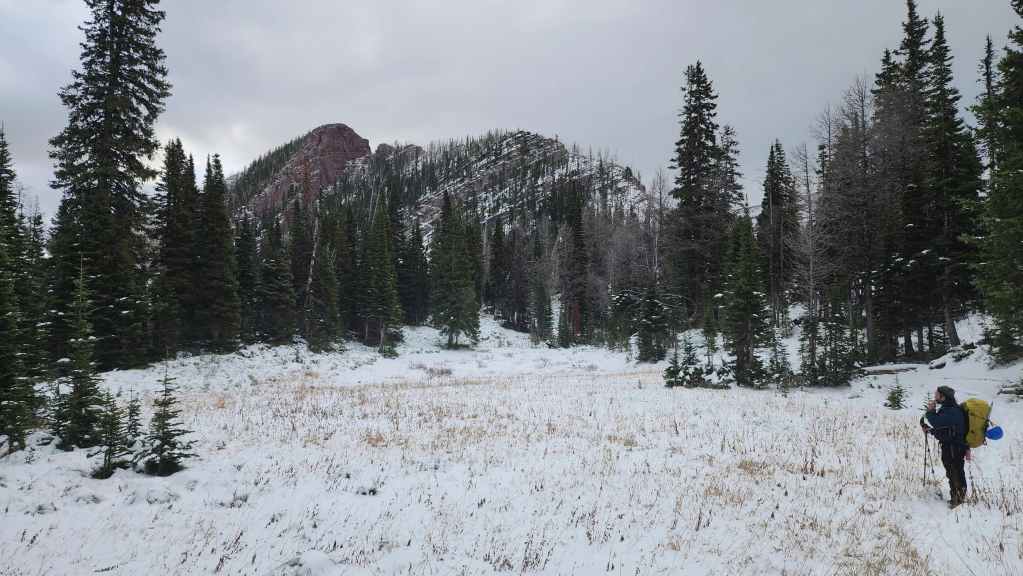
Pausing to look at the back side of “Wall Mountain”. Approaching it from this direction saves a ton of elevation as opposed to tackling it from closer to the lake.
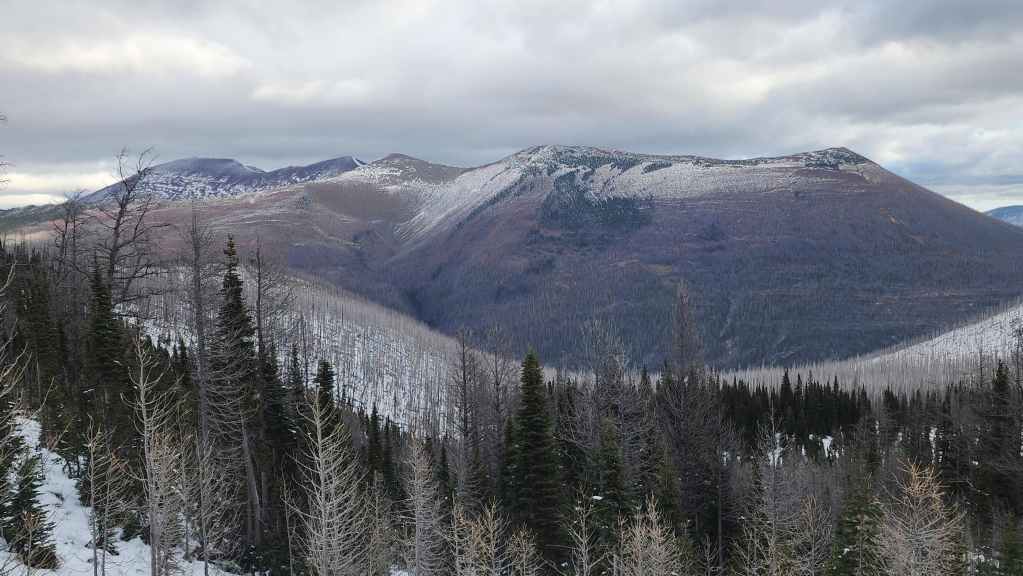
The view across to Mount Rowe (right) and Festubert Mountain (far left) as we gain elevation.
The view back to “Wall Mountain” (left).
Gaining steady elevation as we near Bennett Pass.
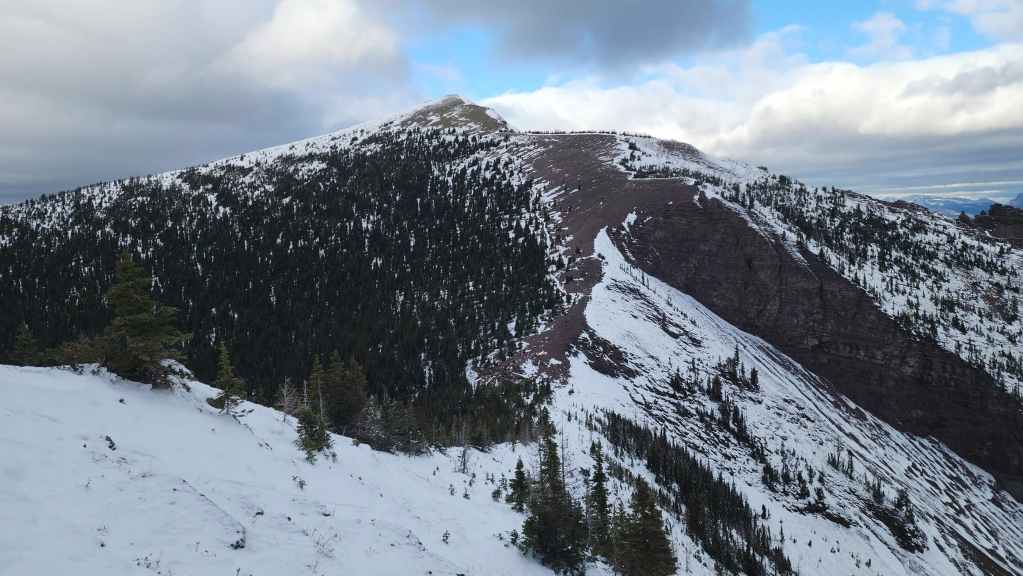
Standing above Bennett Pass and looking towards “Bennett Peak”.

Making the quick descent into the Pass.
Looking southwest from Bennett Pass. From here, a trail leads down to North Kintla Creek and if you want to read a great report on what it’s like to backpack in this area, I’d highly recommend Sonny and Zosia’s 2016 trip report. The amount of bushwhacking that they endured along this trail is truly the stuff of nightmares! 😳 (Photo by Brad Wolcott)
Gazing down at the little tarn that sits on the northeast side of the Pass.

At first, we thought we’d tackle “Bennett Peak” right away; however, because we were heading into a strong wind from the northwest, we decided to tag “Bennett Peak” on our way back from Mount Ashman, when the wind would be at our backs.
A wider view back to Bennett Pass.

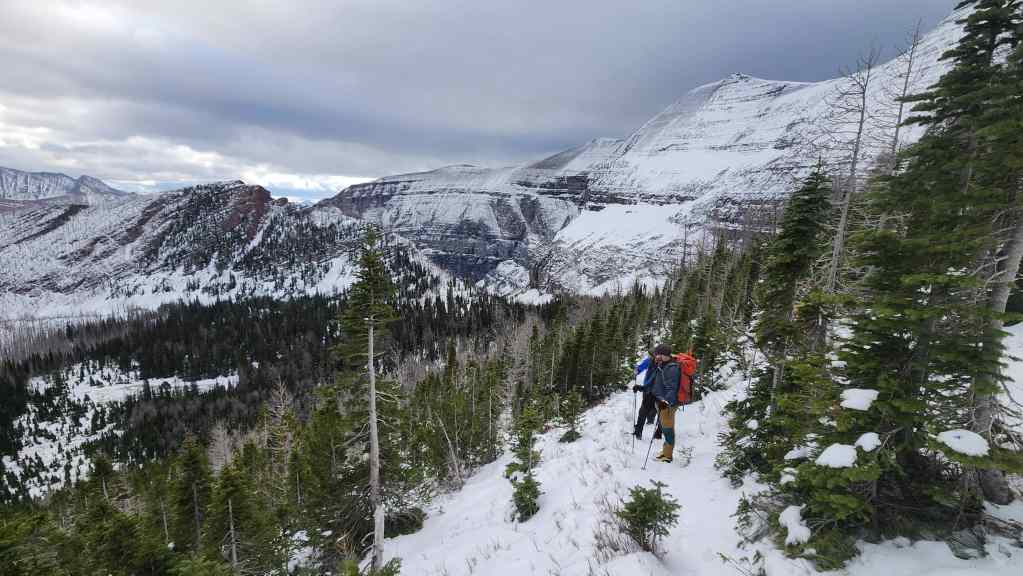
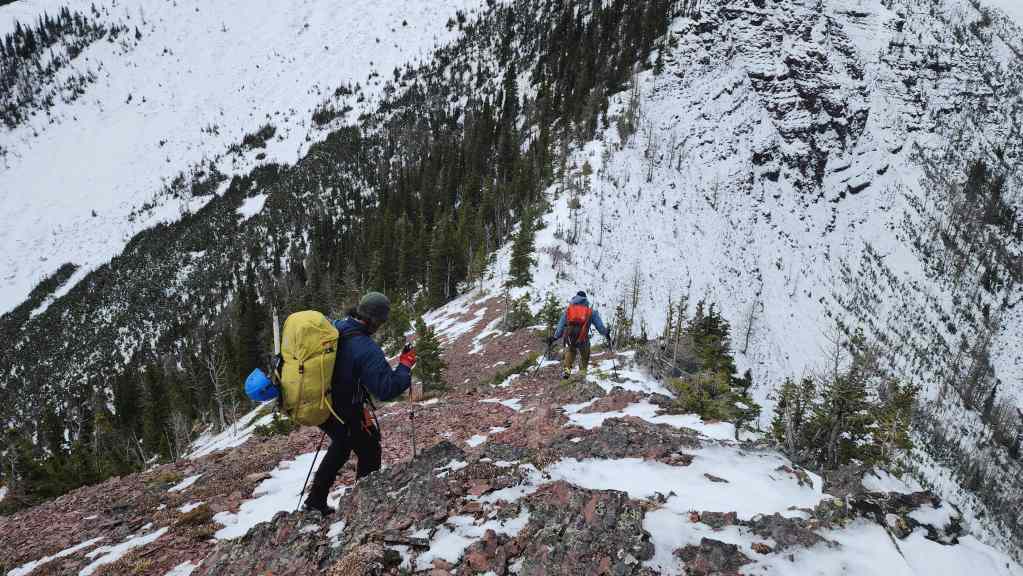
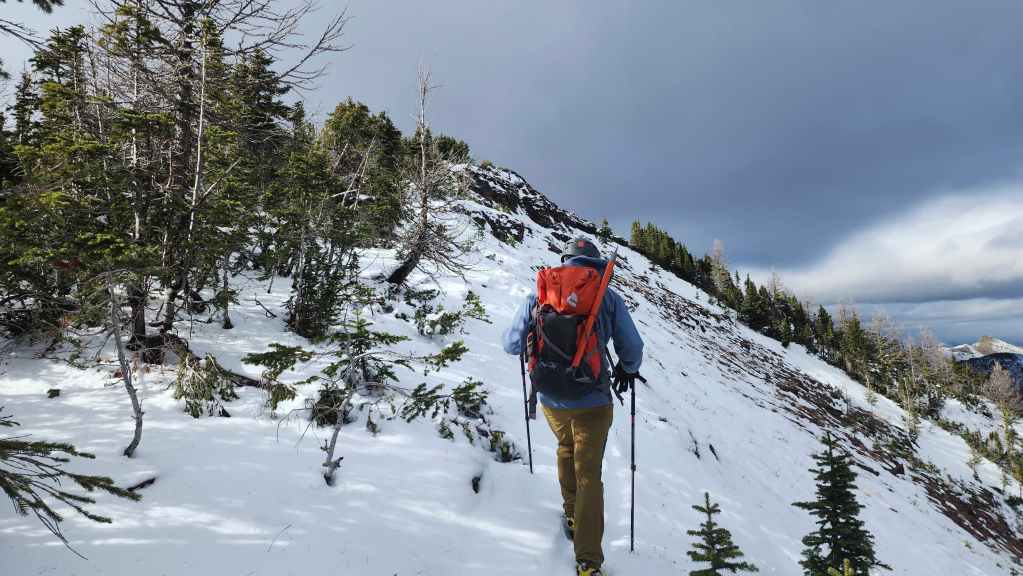
To stay out of the wind, we found a trail that we could use to traverse underneath “Bennett Peak” and onto Ashman Ridge.

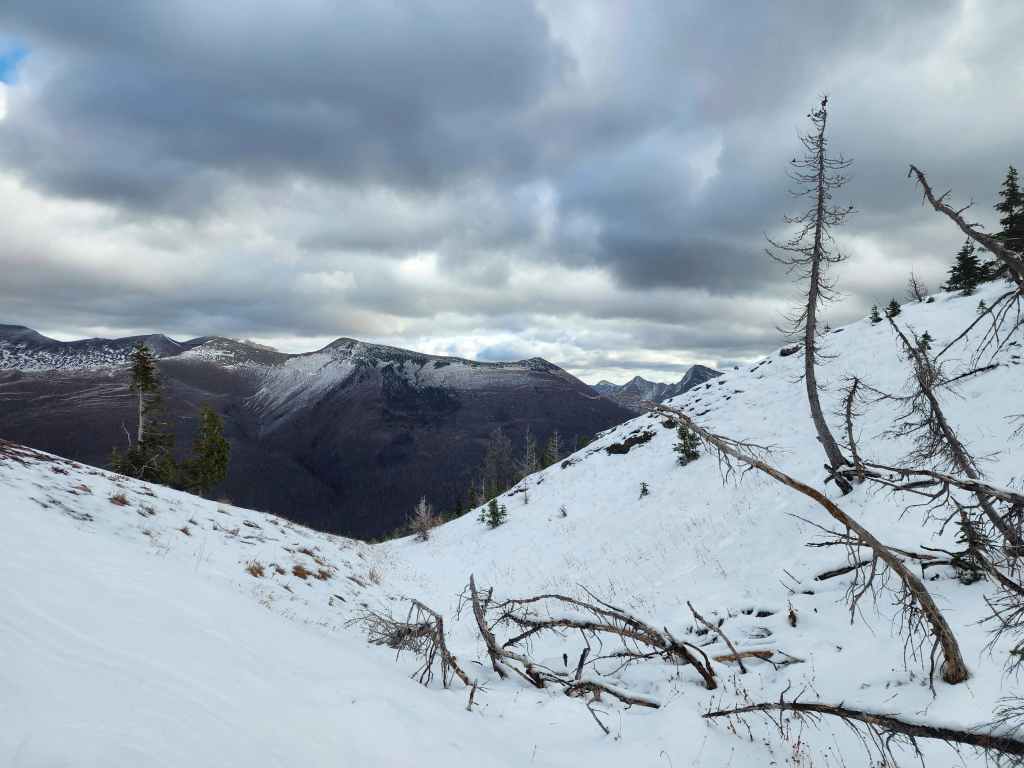
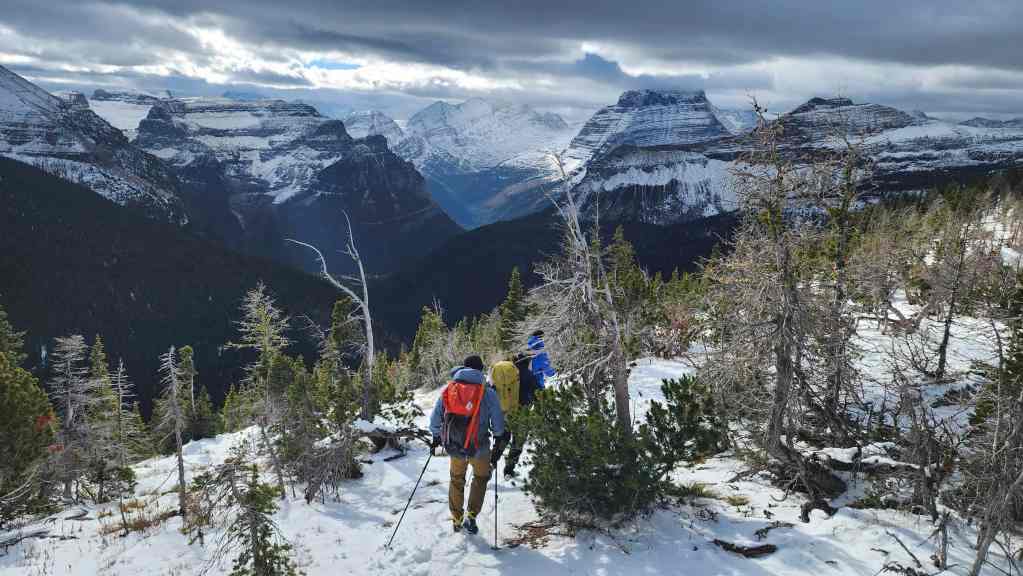
Now sheltered in the trees, we started to enjoy the views. This is looking back to Bennett Pass (left) and over to Akamina Ridge (centre).

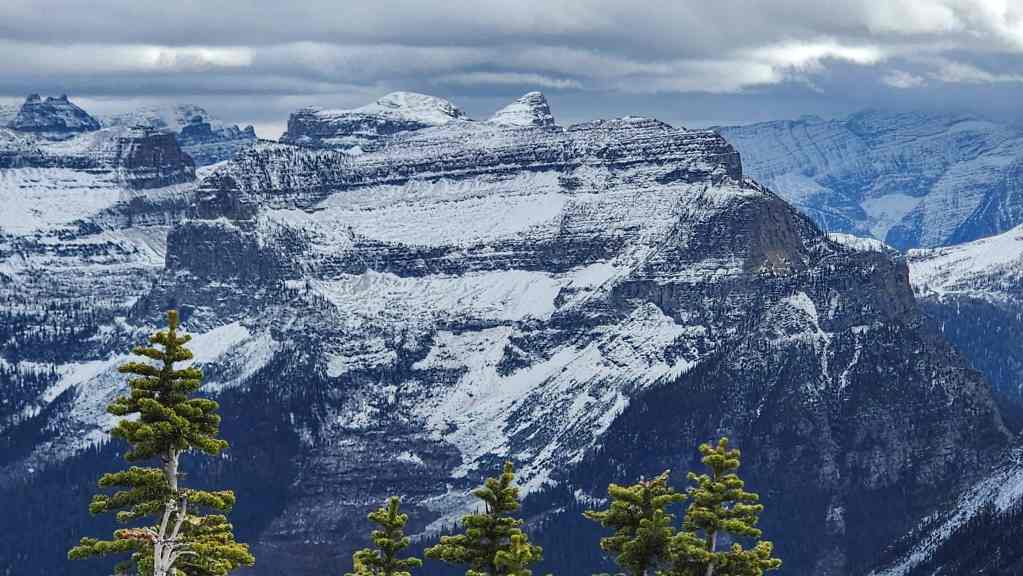
Though beclouded for most of the day, Kinnerly Peak (centre) was still impressive.

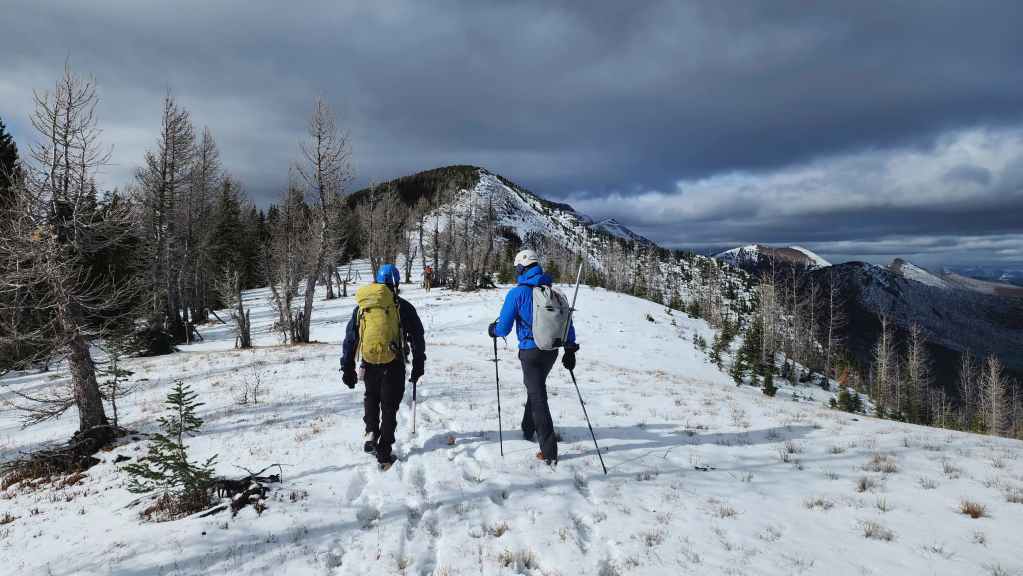
Continuing our traverse.

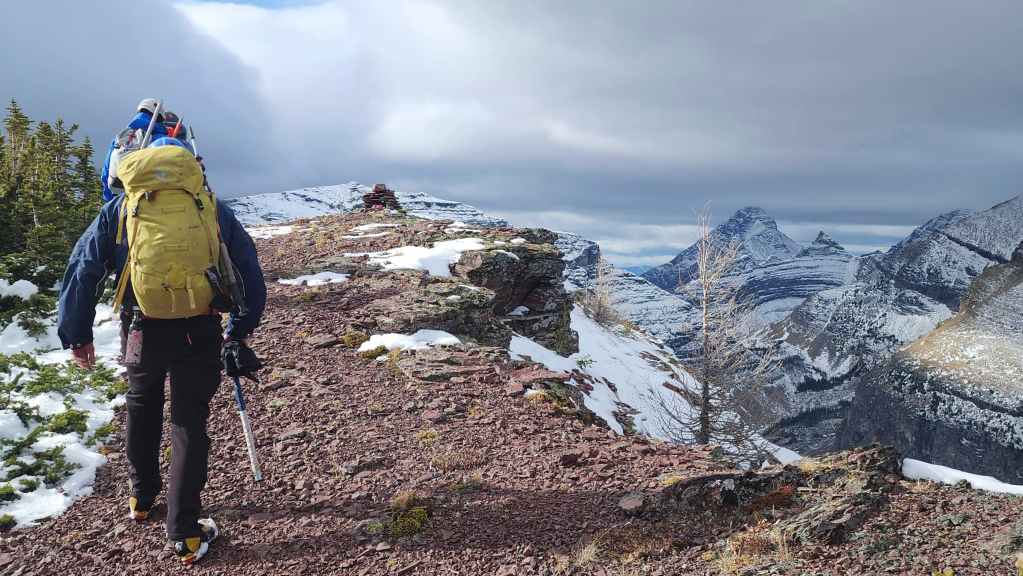
Arriving on Ashman Ridge.
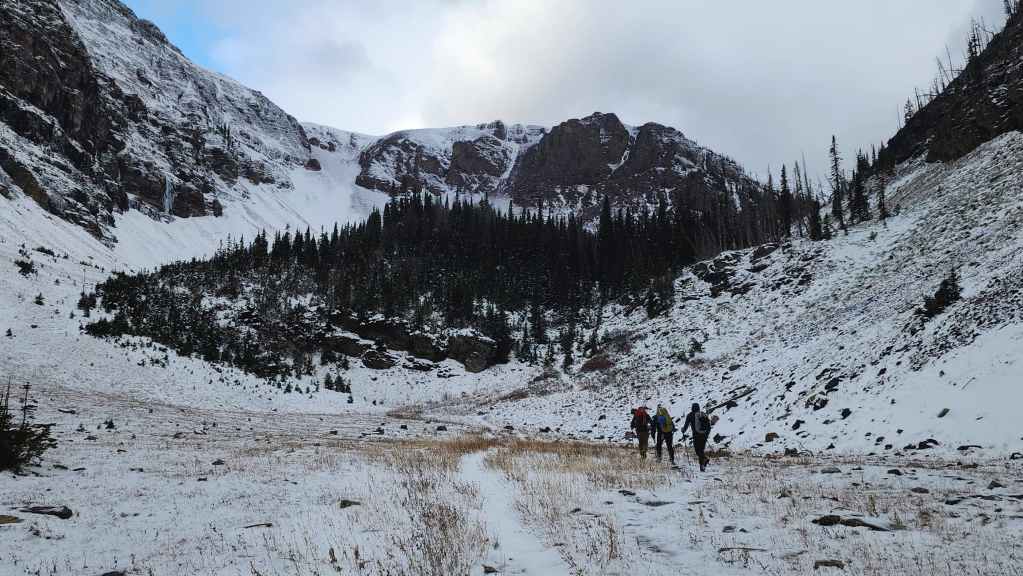
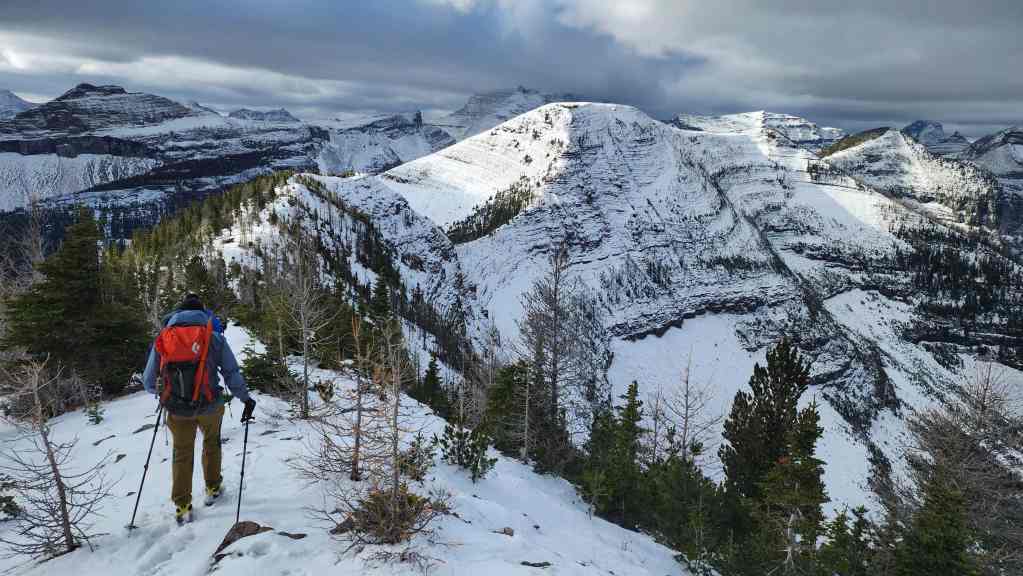
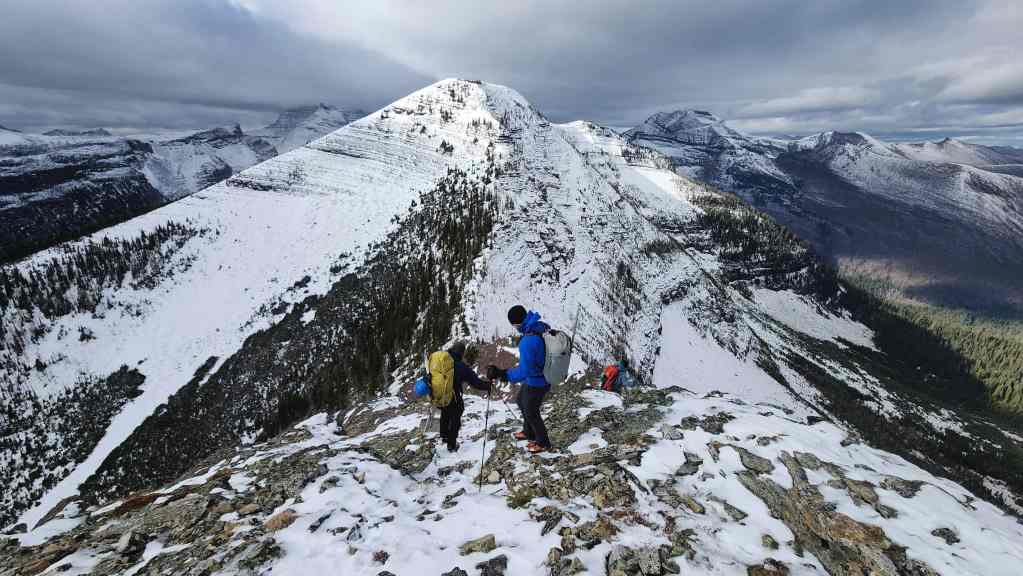
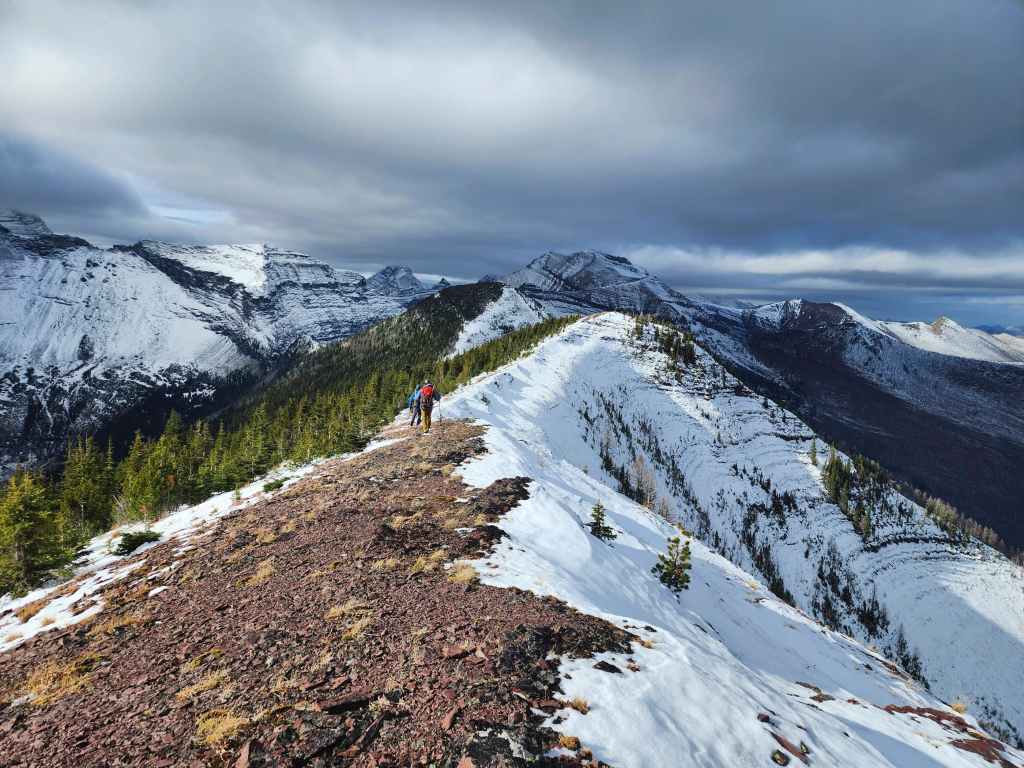
Our first clear view of the route before us, with the summit of Mount Ashman on the right and the first high point in the centre.
Despite the howling northwest wind, the ridge itself was remarkably calm. This is exactly what we were hoping for! 🙂
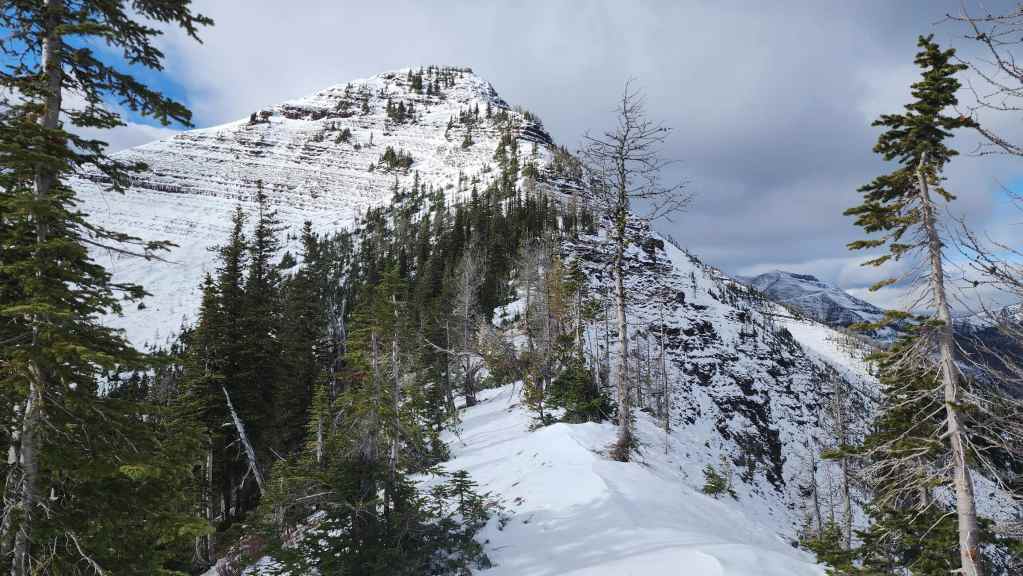
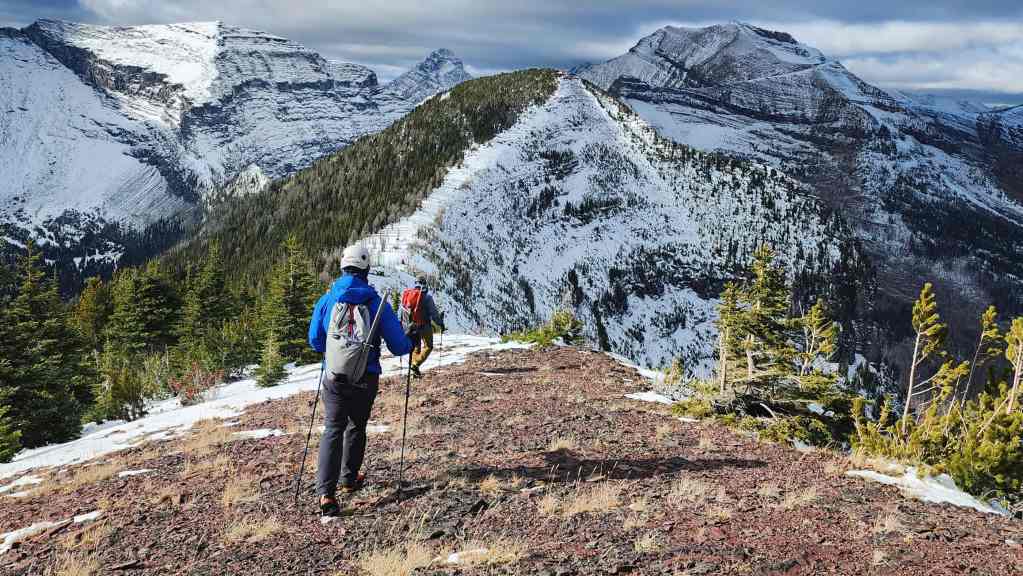
The view up to “Bennett Peak”.
At this point, we were wondering if the snow would impede our progress onto the first high point.
The valley to the left of centre leads to Upper Kintla Lake.
Above the col and scoping out the route onto the first high point.
A closer look at the col.
Heading down.
Reaching the col involved a loss of 65 m in elevation.
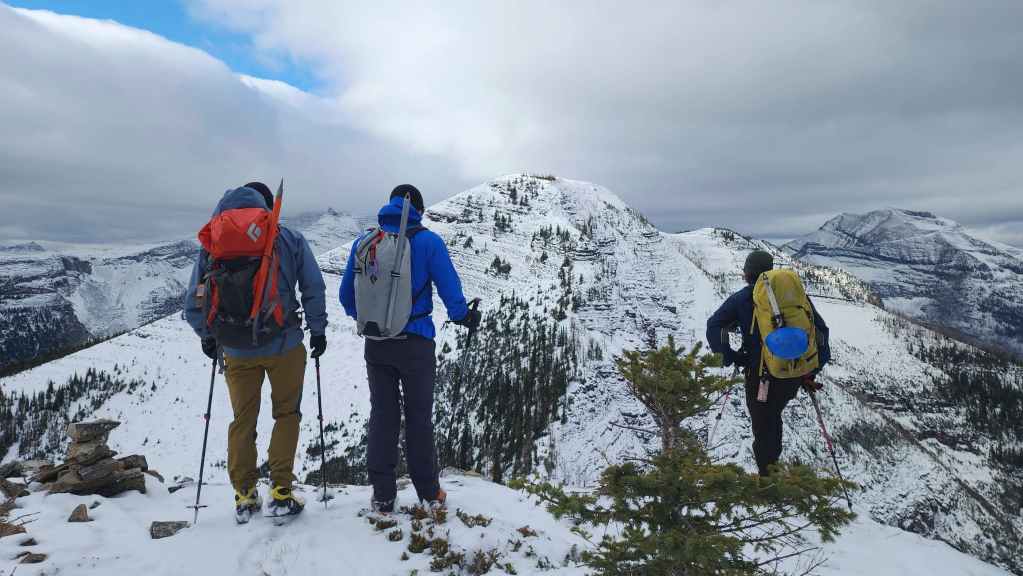
On the col and looking at our route up the first high point. We stopped here for about 20 minutes or so for a bite to eat.

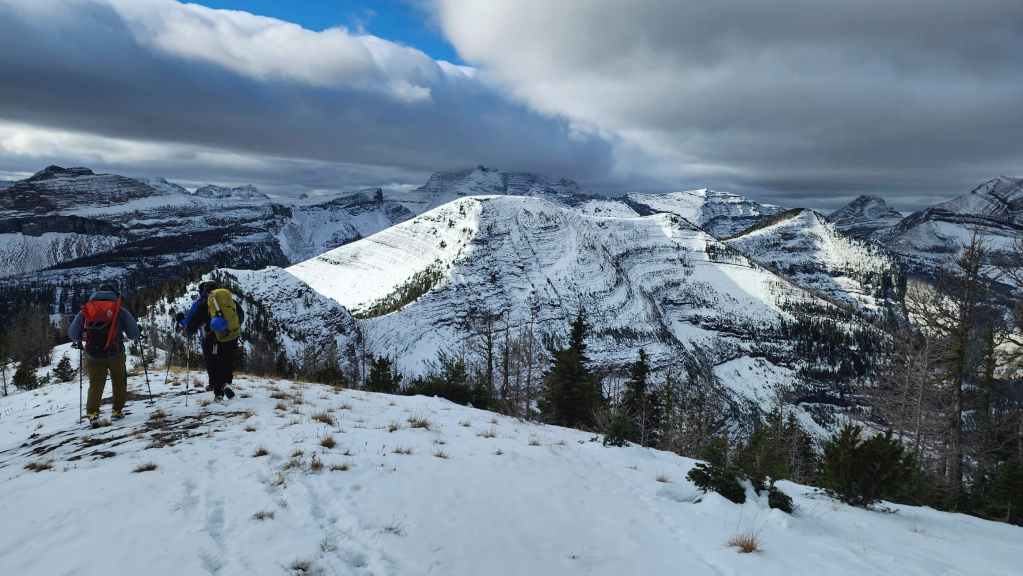
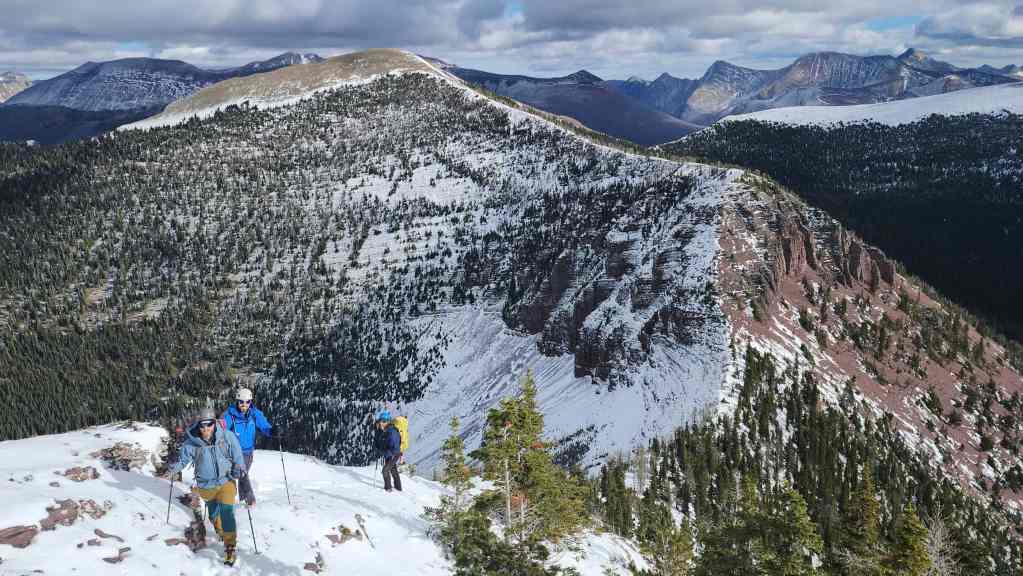
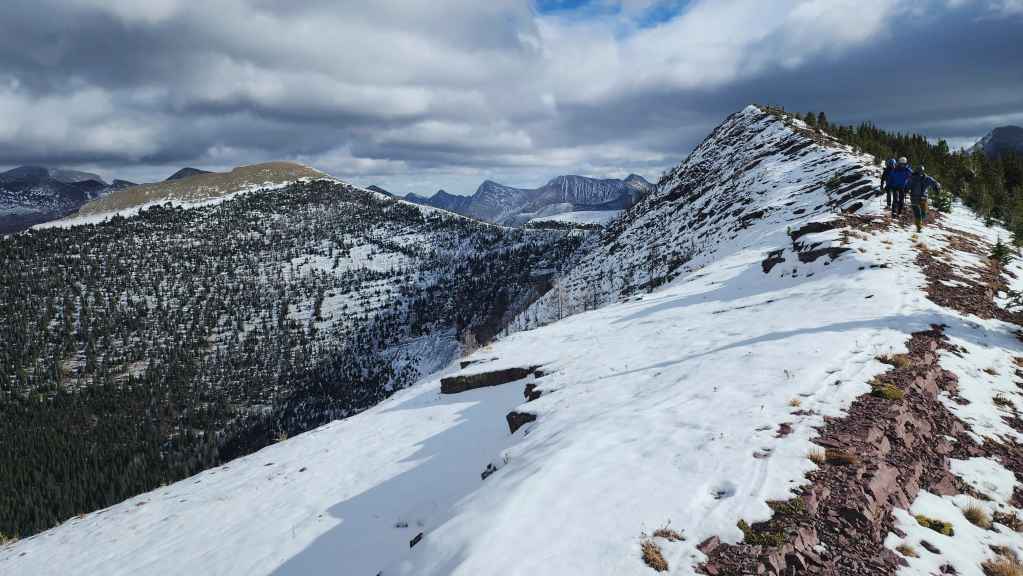
Looking back to “Bennett Peak” from near the top of the first high point. You can see Dave, James, and Brad (bottom centre) as they follow me up.
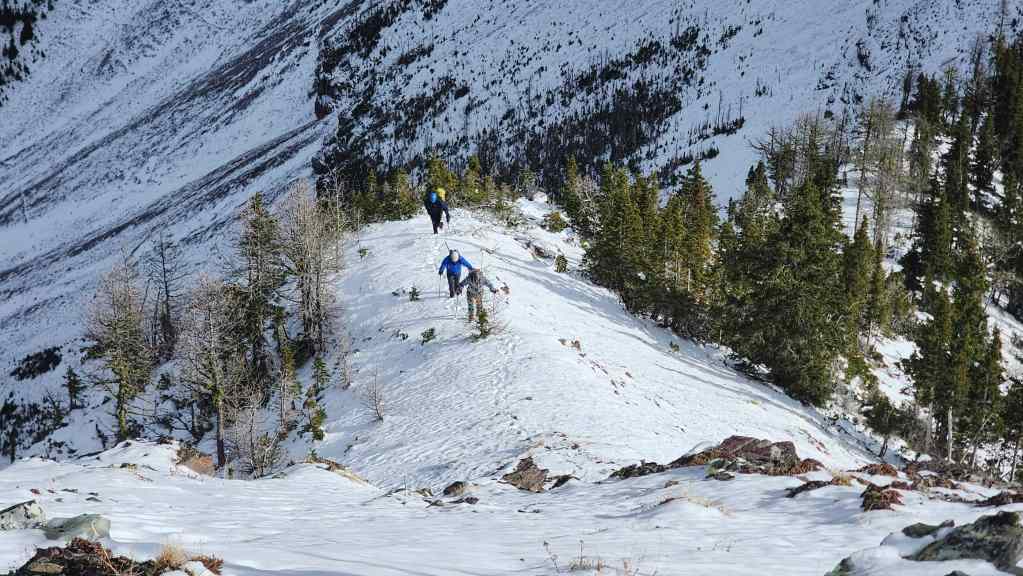
A closer look at the trio from the previous photo. From the col, it is a 150 m elevation gain to the top of the high point.

Another look at Akamina Ridge (left of centre) and “Akamina Minor” (right).
One more look back as the group joins me.
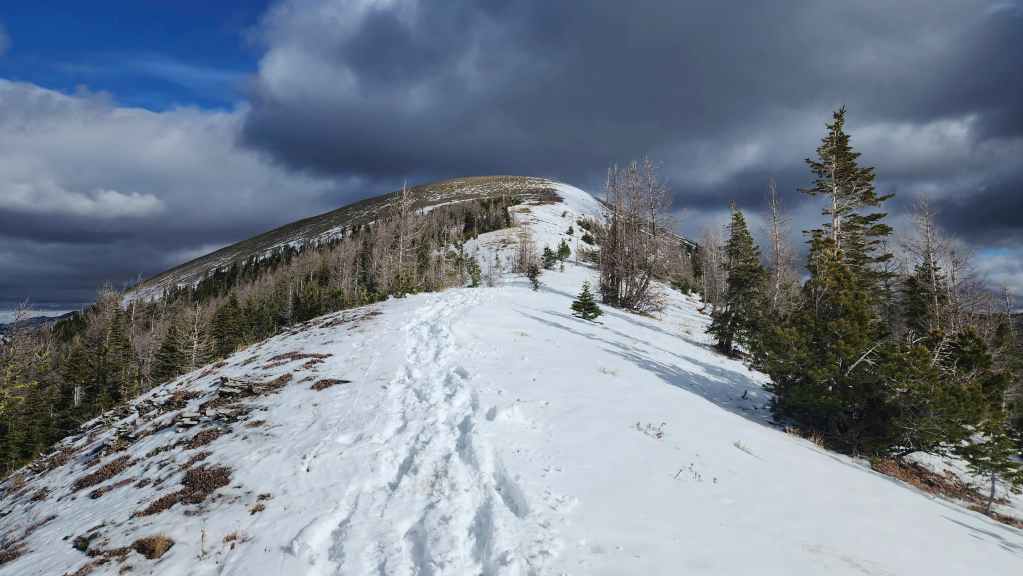
Arriving on the summit of the first high point (2379 m)

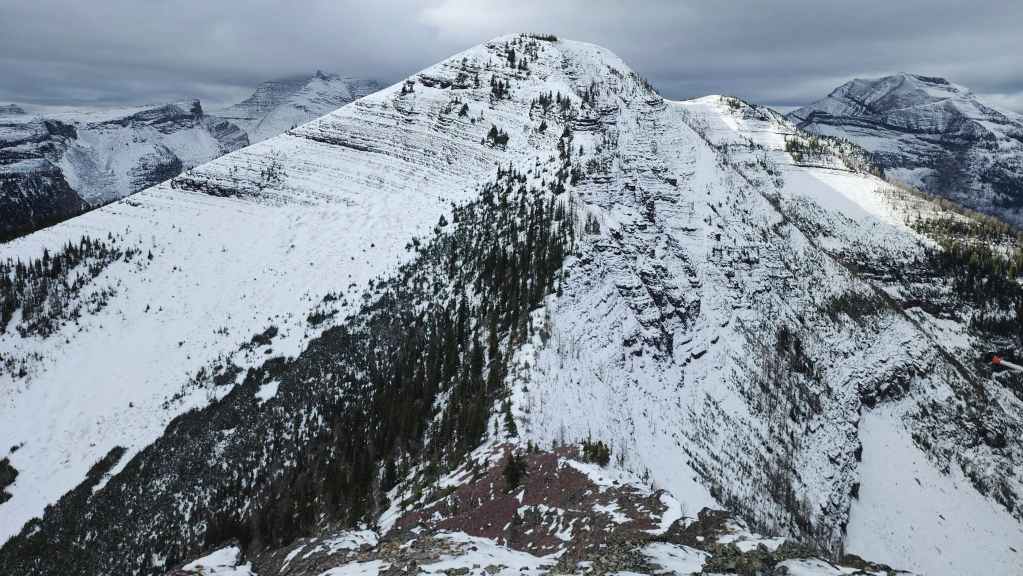
From here to the summit of Mount Ashman, it will be a relatively easy hike over ~1.7 km.
The summit of Mount Ashman sits just beyond the second high point.
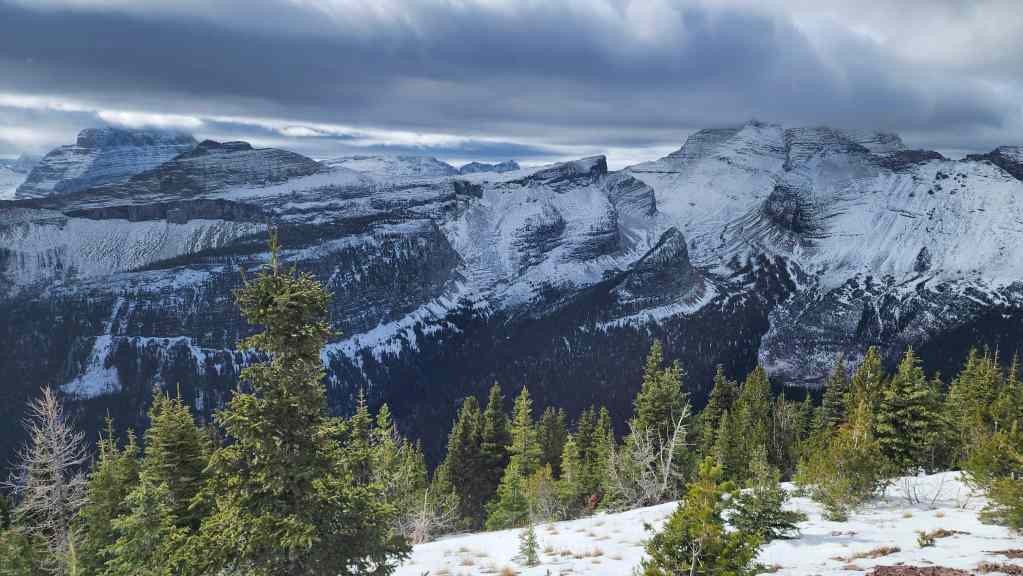
The view to the south. That interesting curved, little tower in the foreground to the right of centre is referred to by Mike Potter as a “cliff-girt outcrop” and he speculates that it’s a “nunatak: a feature whose summit was never glaciated”. (Ridgewalks in the Canadian Rockies, #130) When people say every mountain has been climbed by someone, it’s the truth. Indeed, Daniel Vanderpyl has posted an interesting ascent of it on Peakery. Huge thanks to Vern for pointing this out in his trip report.
Approaching the second high point.
Looking back.

The argillite on Ashman Ridge has a shiny surprise inside.
Next stop, the summit of Mount Ashman.

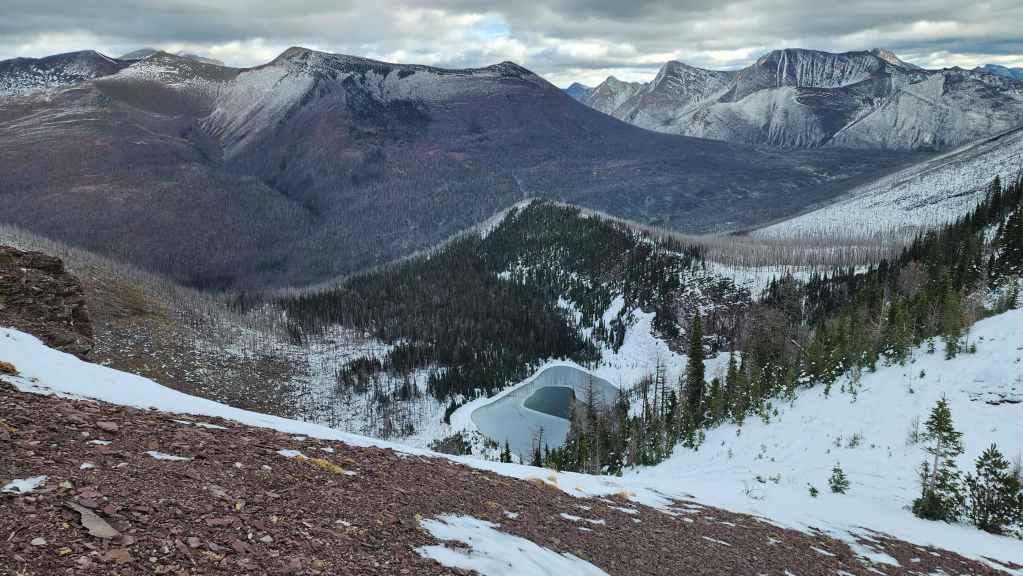
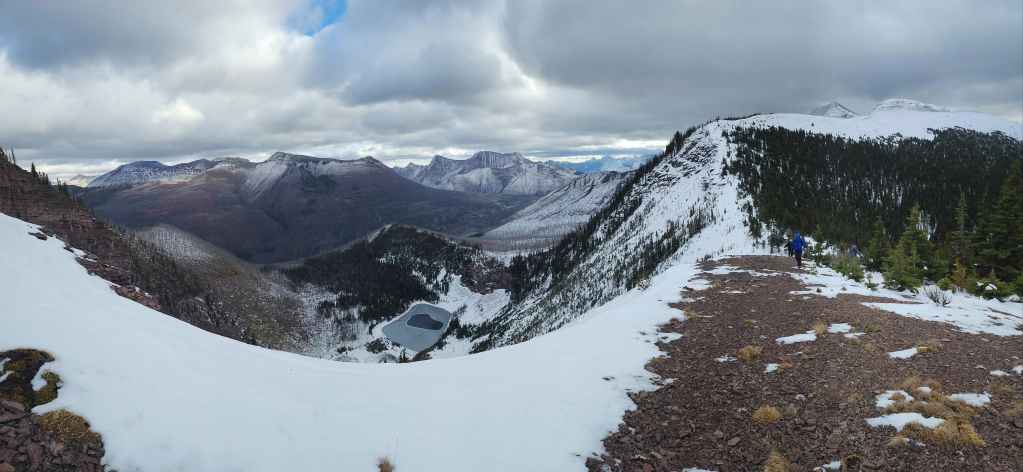
The view west and down to Grizzly Gulch and Ashman Lake.

A closer look at Ashman Lake.

We followed a set of elk tracks along the entirety of the ridge.
The summit is an easy jaunt from here.
Dave leads us up.
Arriving on the summit of Mount Ashman (2421 m). For reference, from the Akamina Pass trailhead it took us 4 hours and 48 minutes (including a couple of breaks) over ~12.1 km with a total elevation gain of 1146 m.
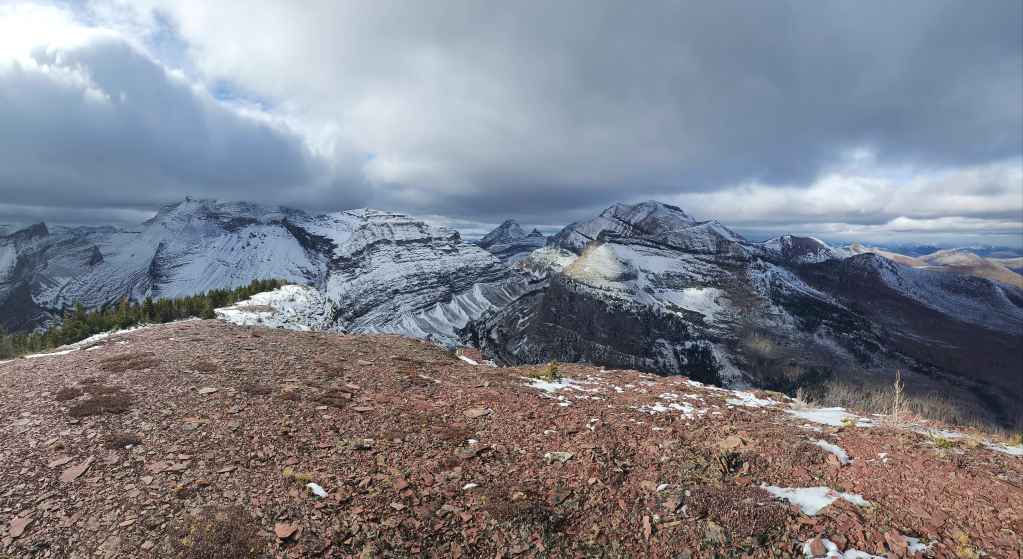
A pano to the west…

Followed by a pano to the north.

Looking east…

And finally, to the south.
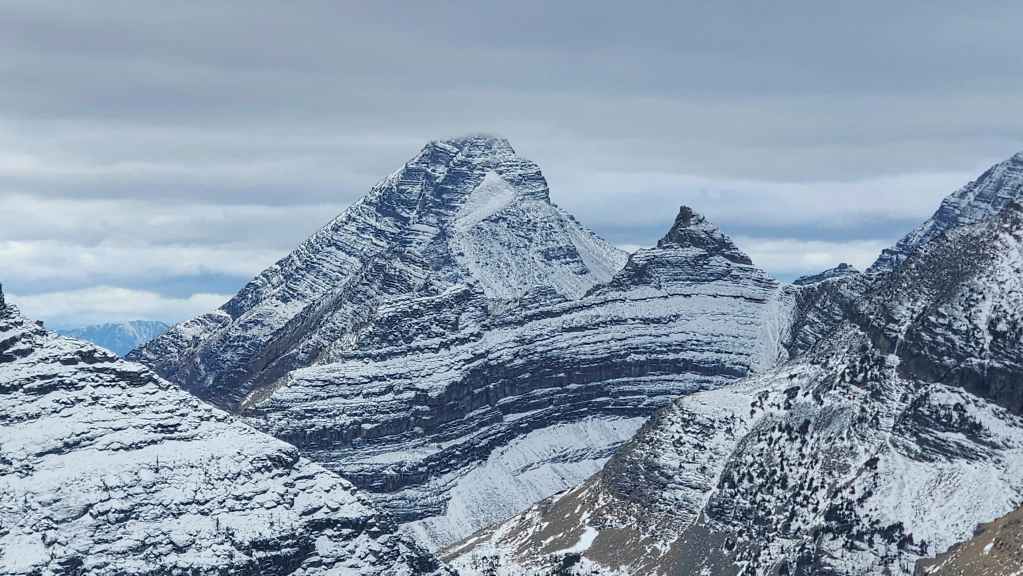
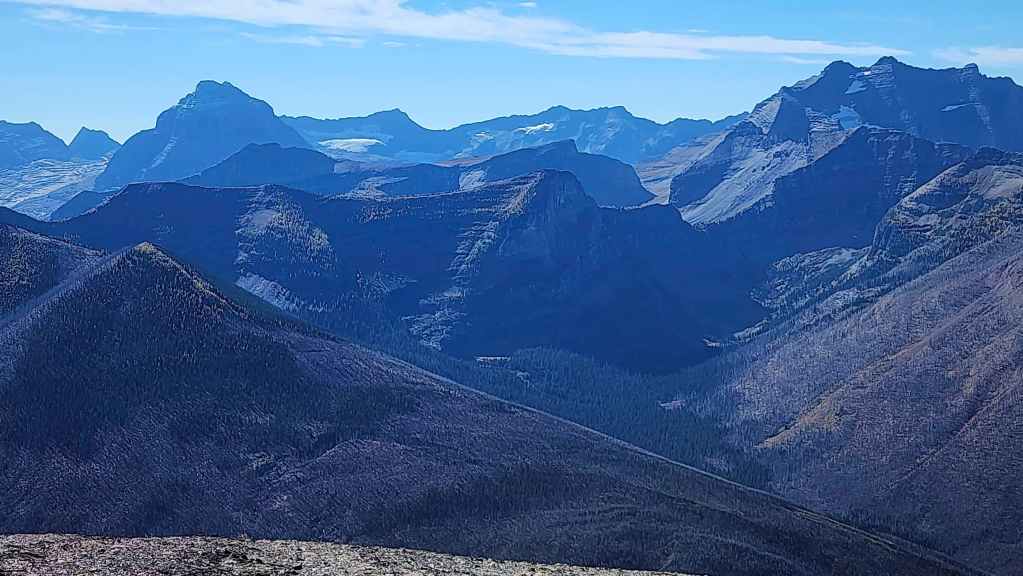
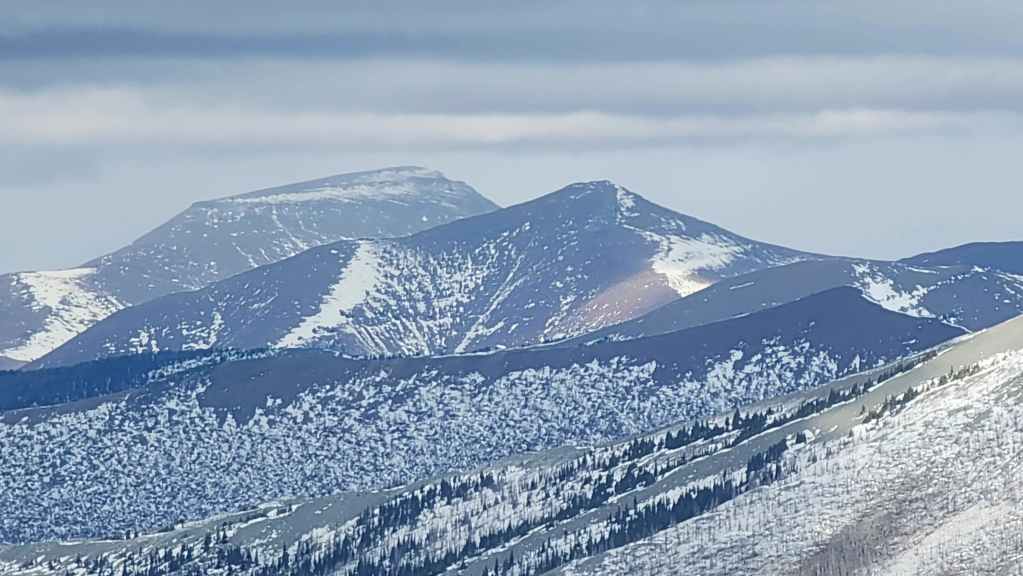
A closer look at King Edward Peak which sits directly to the west.

Also to the west and directly across Grizzly Gulch from Mount Ashman, is See Peak which is the highest point on Kishinena Ridge. See Peak is definitely on my ‘To Do’ list. 🙂
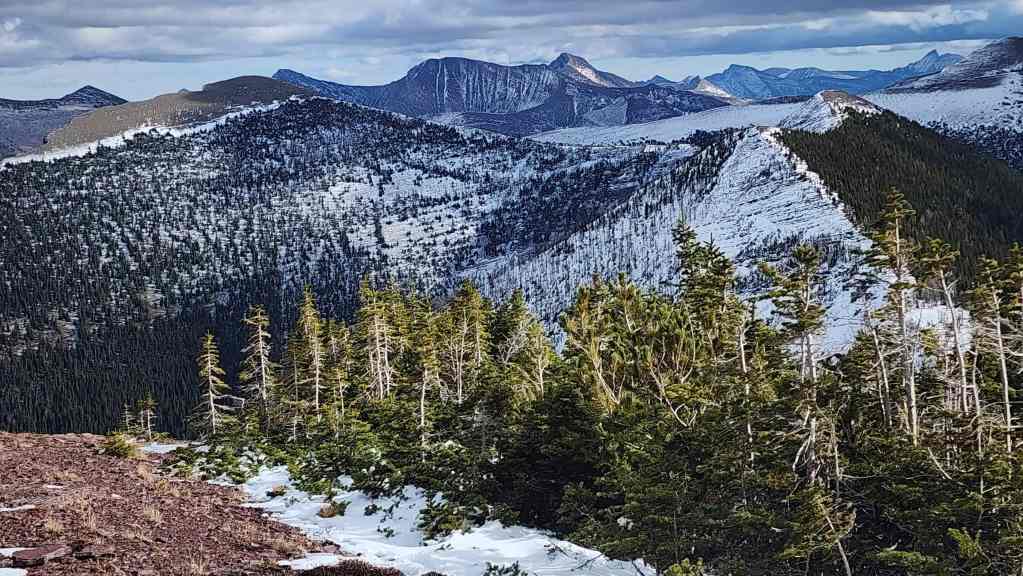
I was surprised to be able to see Loaf Mountain (left) and Spionkop Ridge (centre).

Zooming in on Anderson Peak (left of centre).
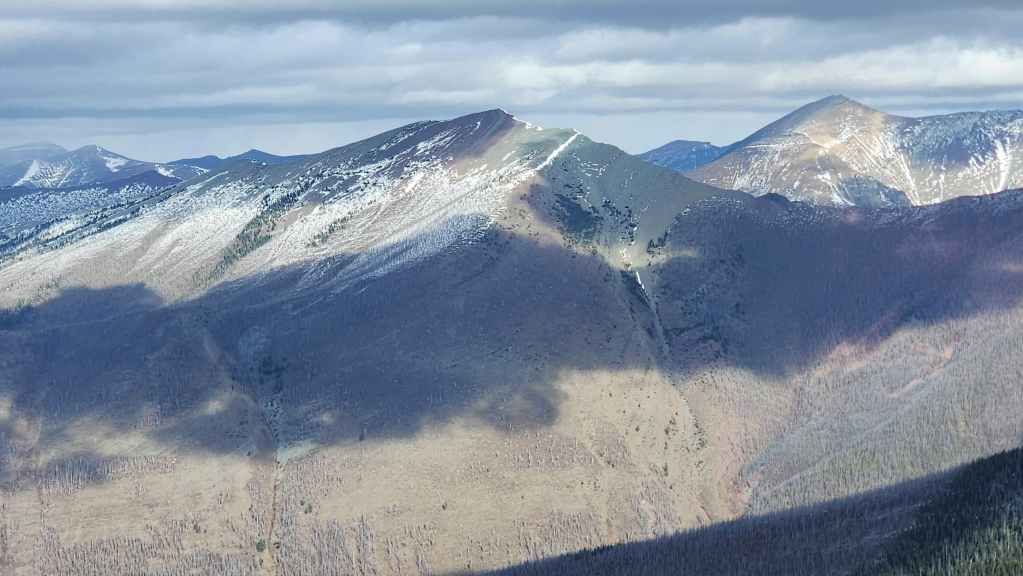
Same view as the previous photo, but widened to include Festubert Mountain (centre) along with Anderson Peak (right).
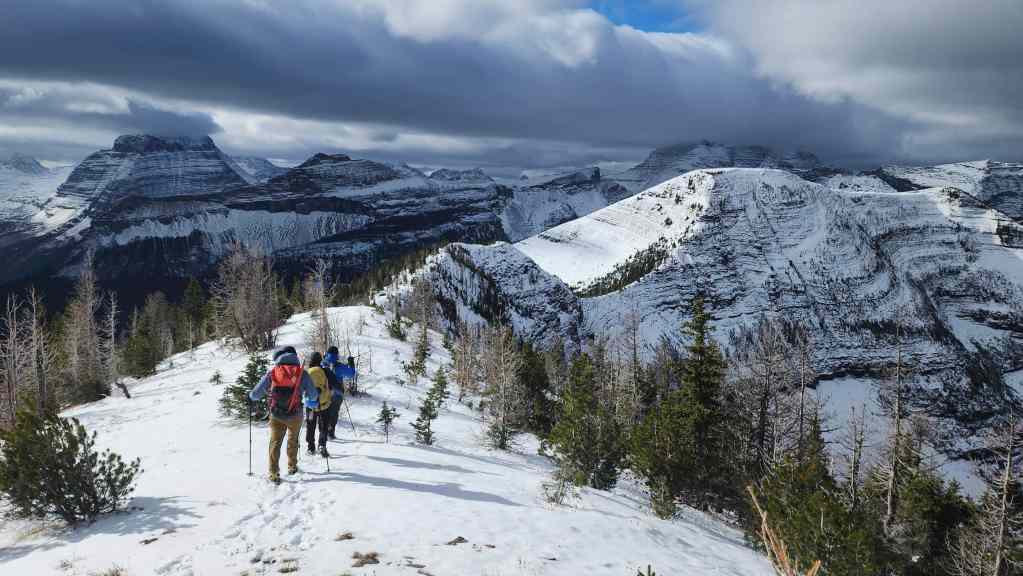
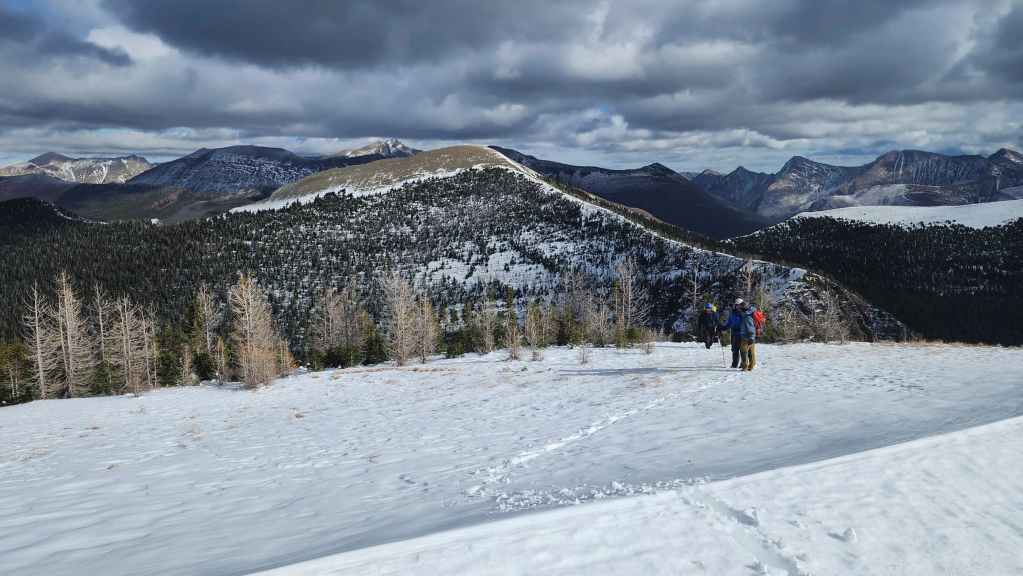
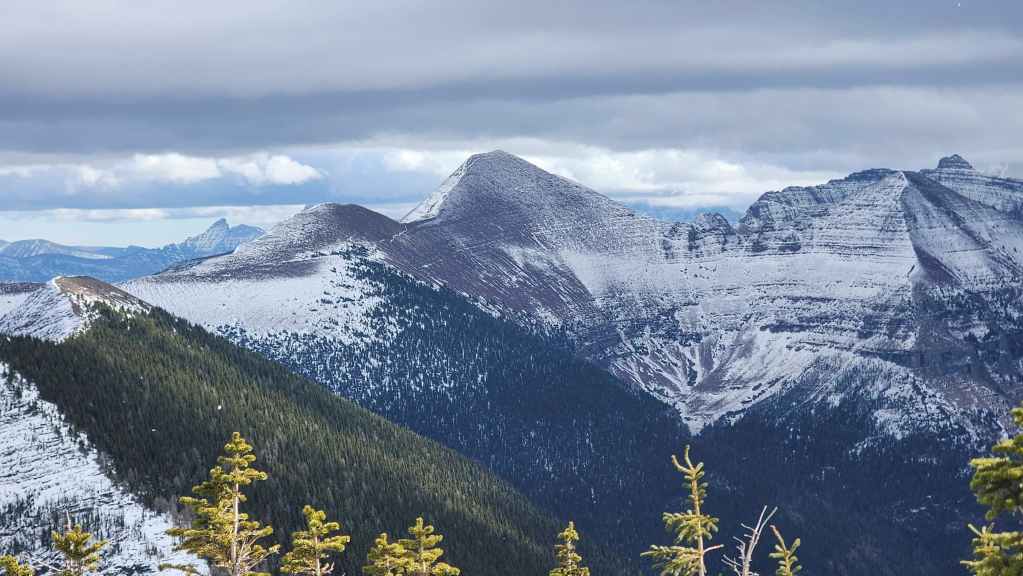
The view back and along Ashman Ridge to “Bennett Peak” (left). In the background is Mount Carthew (left of centre) and Mount Alderson (right of centre).

A closer look at “Bennett Peak” which is higher than Mount Ashman. Immediately behind it are Buchanan Ridge (right of centre), Mount Carthew (far right), and Mount Rowe (left).
Gazing over to Akamina Ridge (centre) and “Akamina Minor” (far right).

A beclouded Kinnerly Peak (centre).
Getting across the col (far right) from Ashman to the ridge in front of Long Knife Peak would be tricky – and long.
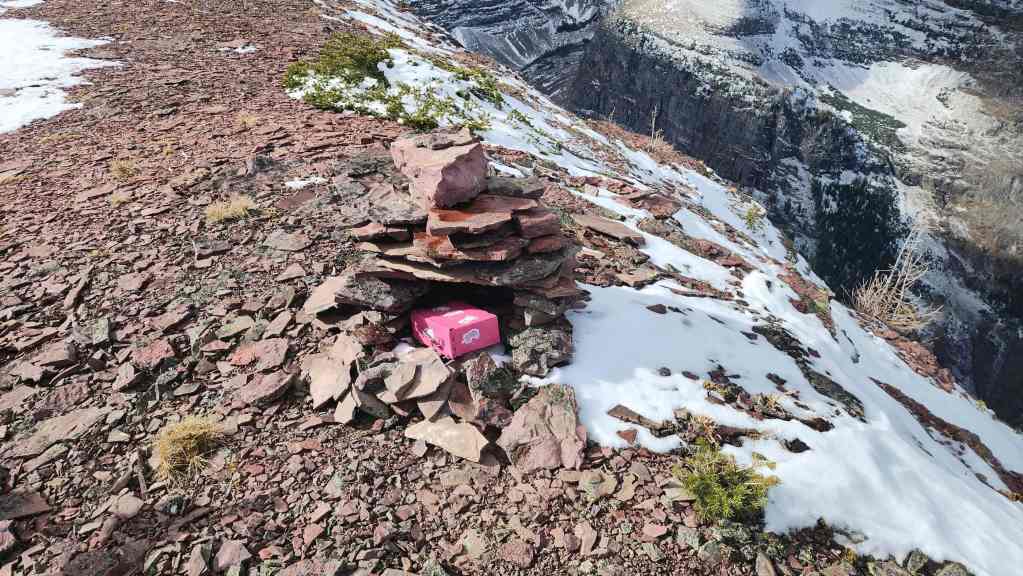
The summit cairn.
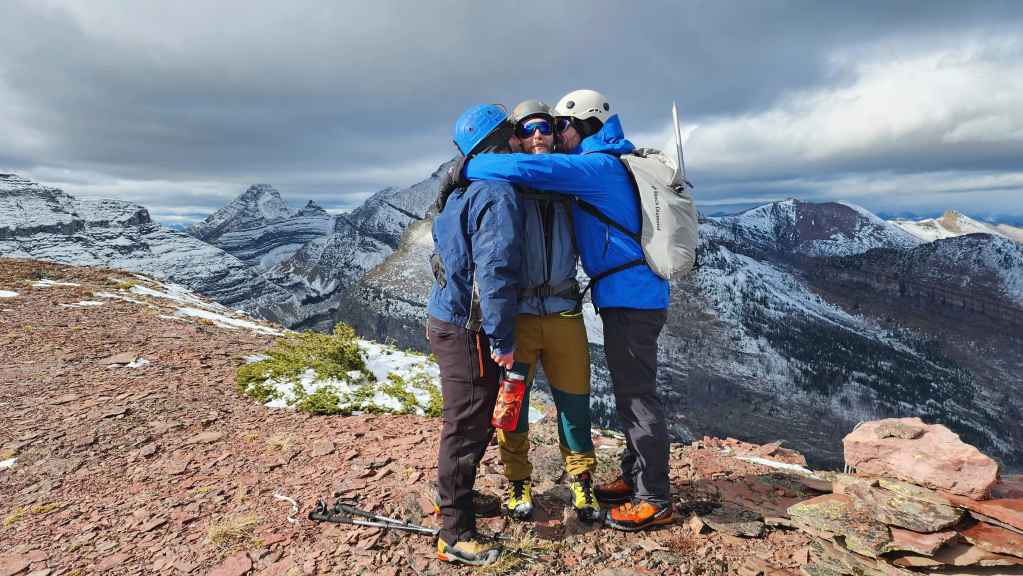
The summit of love. 😂

There’s never a dull moment when Brad’s around. 😂
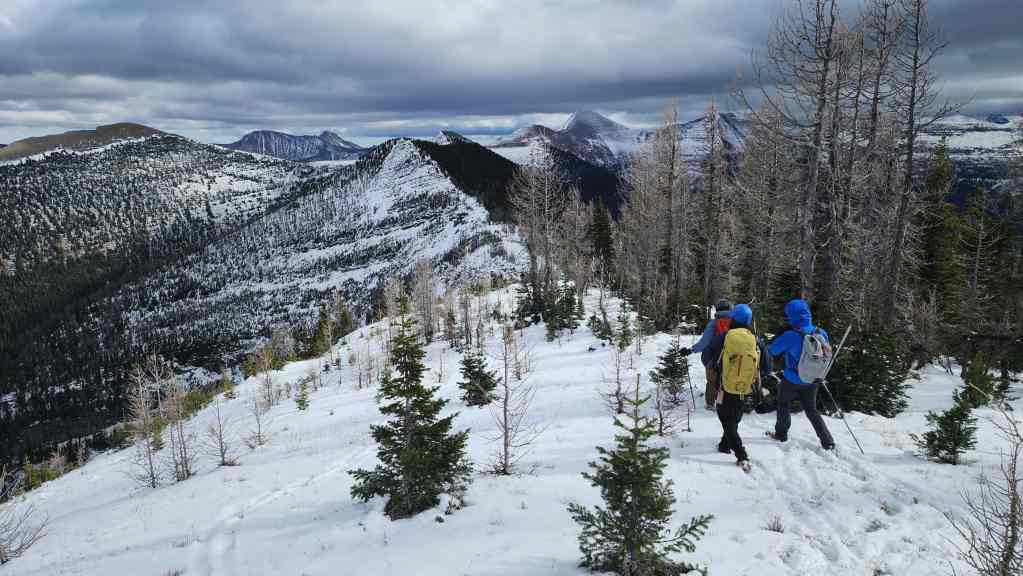
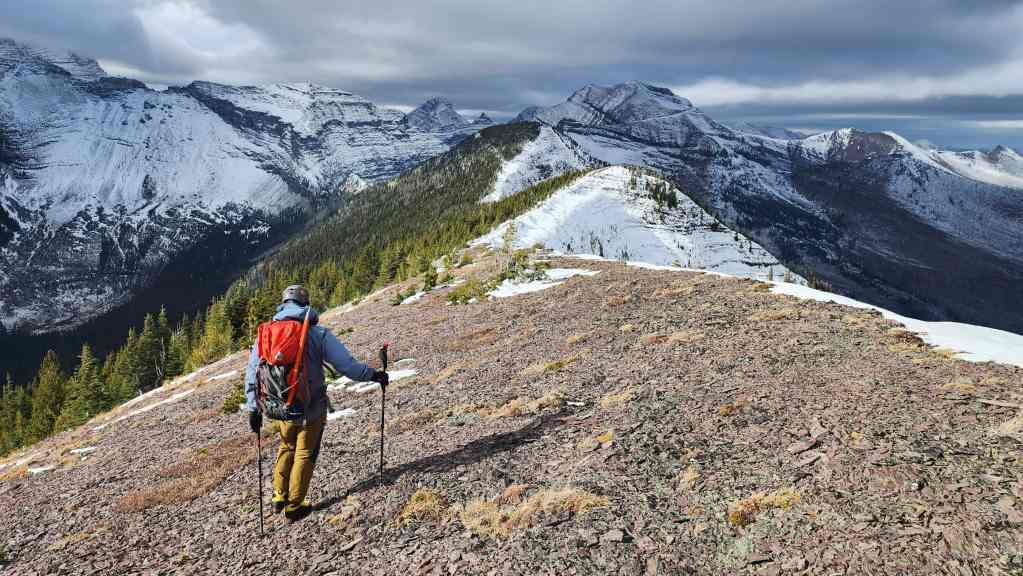
With the wind at our backs, it was time to head over to “Bennett Peak” (far left). Click to continue with our trip.


Leave a Reply